A short while ago, Apple added the iCloud Shared Photo Library feature to its operating systems after a few weeks of waiting. If you activate this function, a shared library will be created in which you can contribute together with other participants you choose, i.e. family members, friends, etc. In this shared library, all participants can also edit and delete content without limit. Let's take a look together in this article at 5 tips in iCloud Shared Photo Library in macOS Ventura that are useful to know.
It could be interest you

Adding content
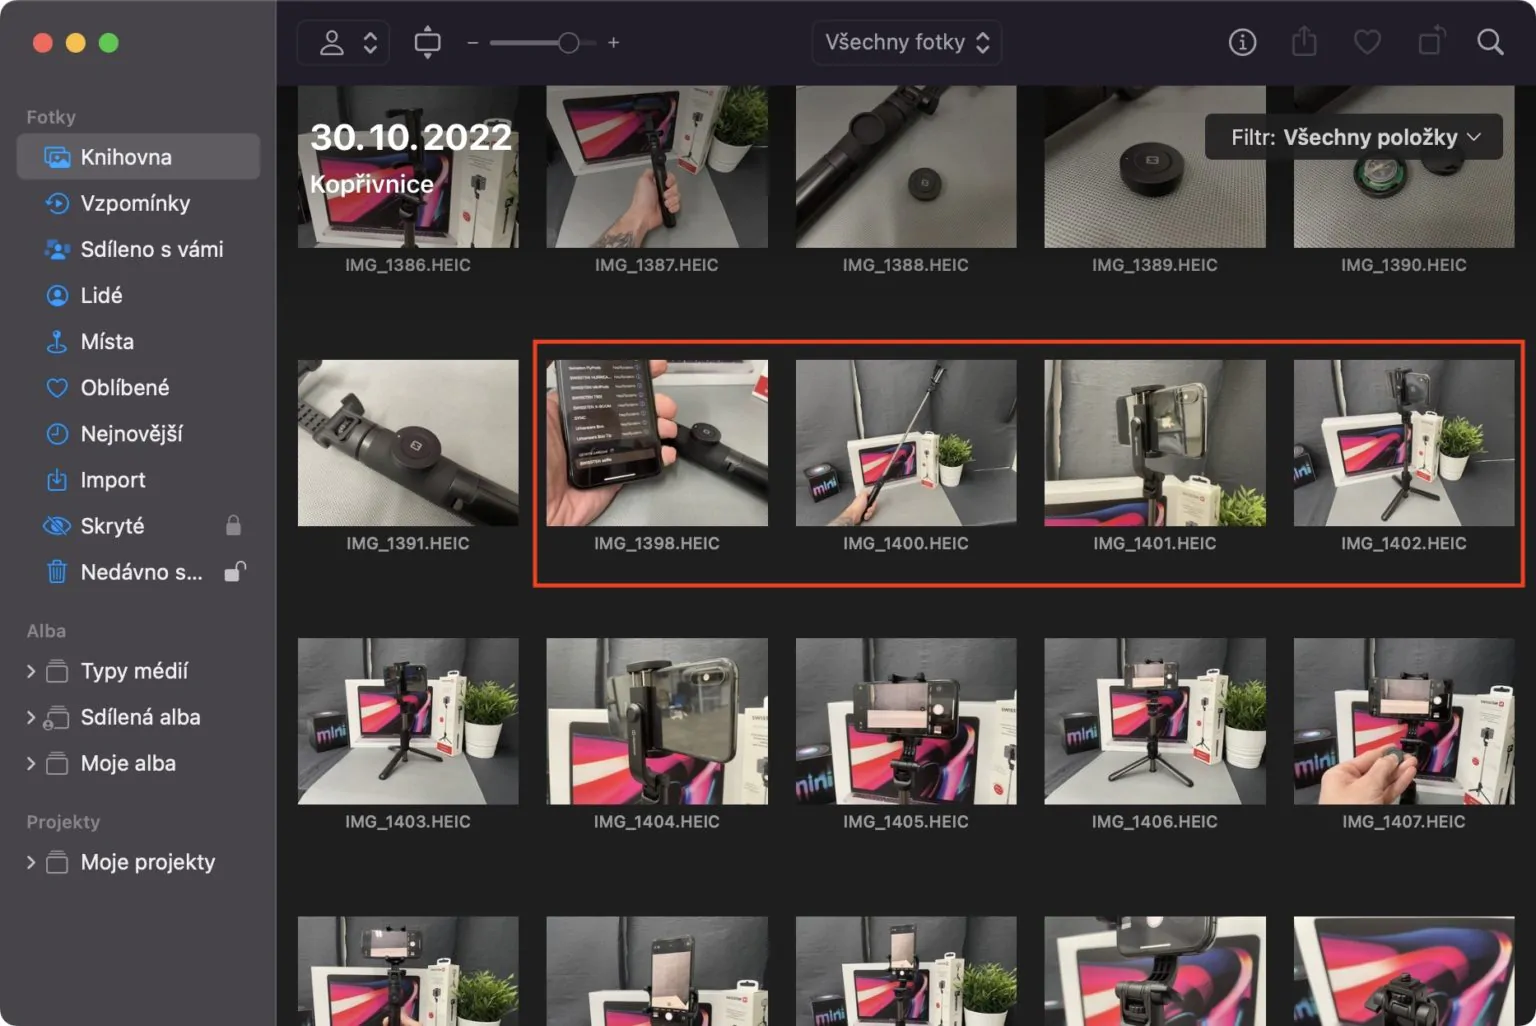
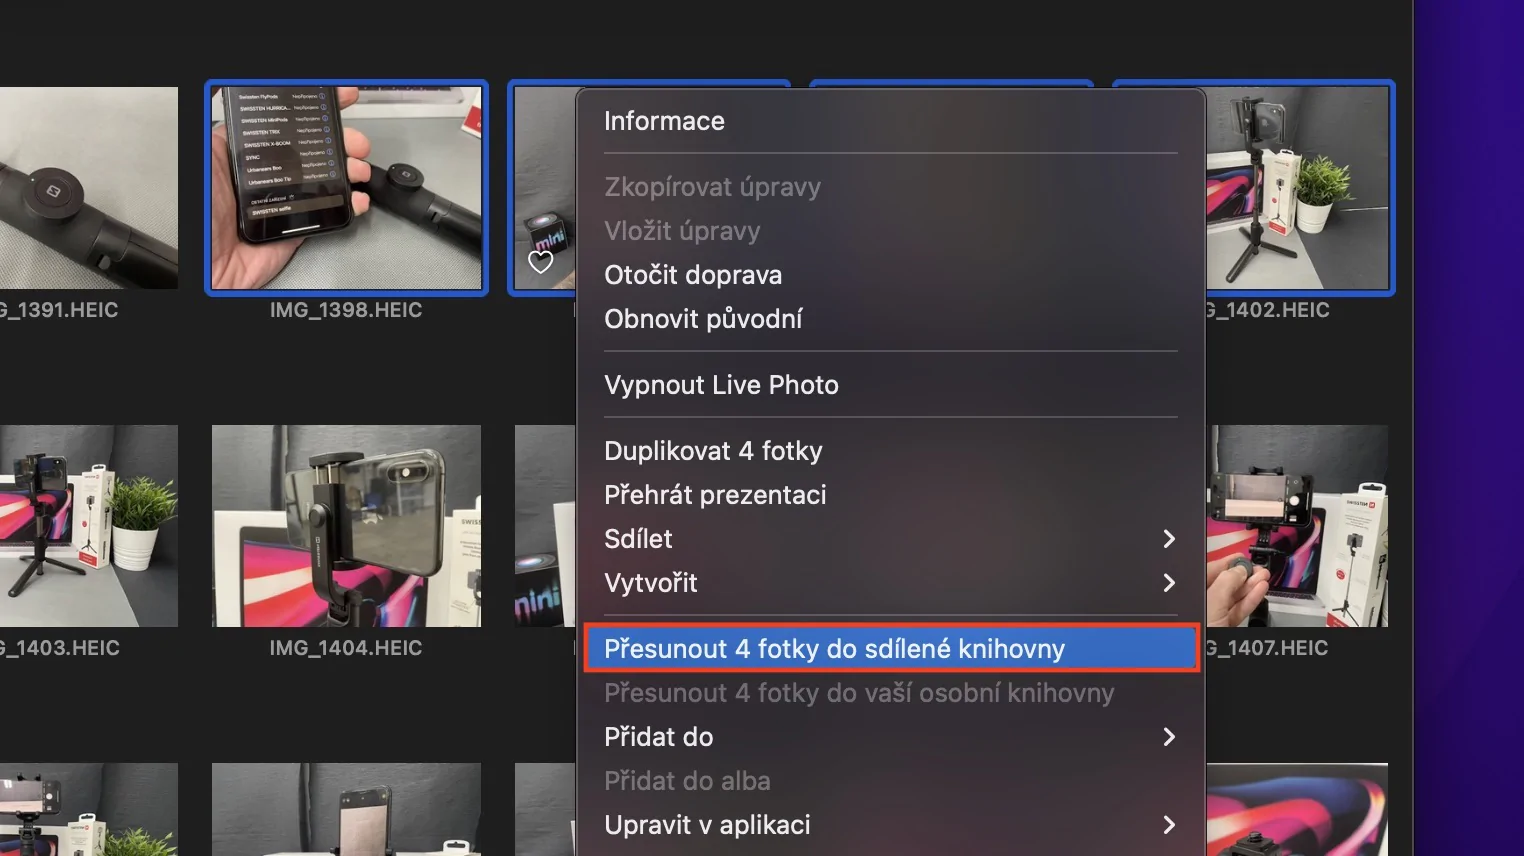
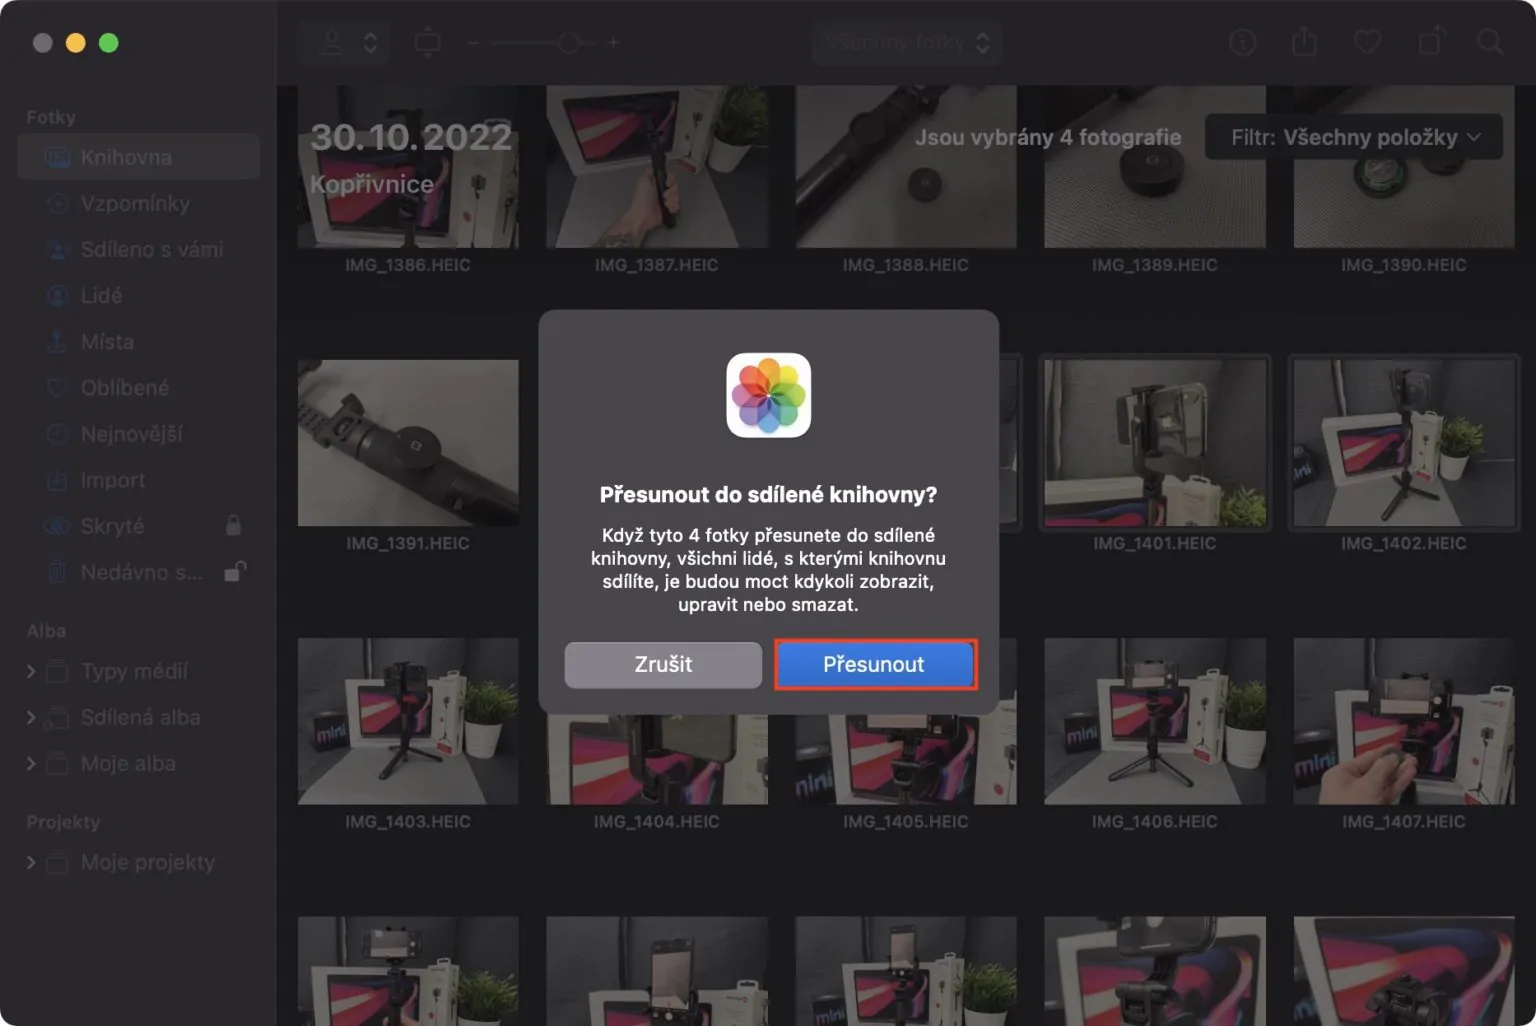
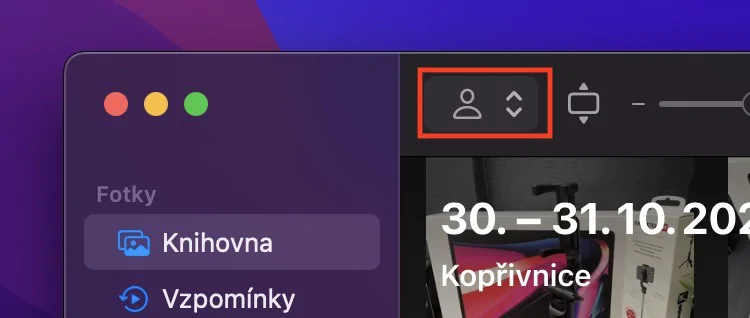
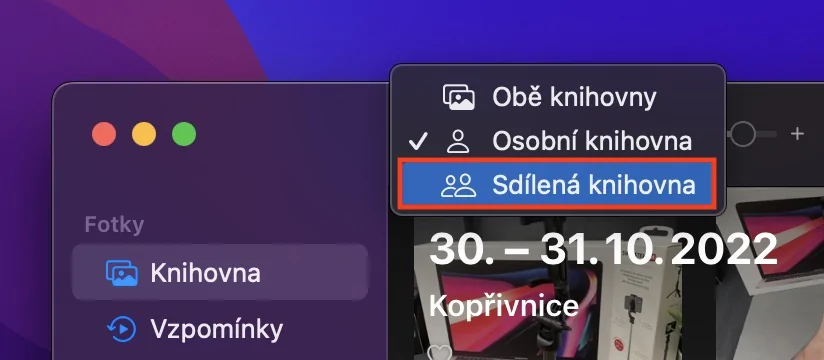
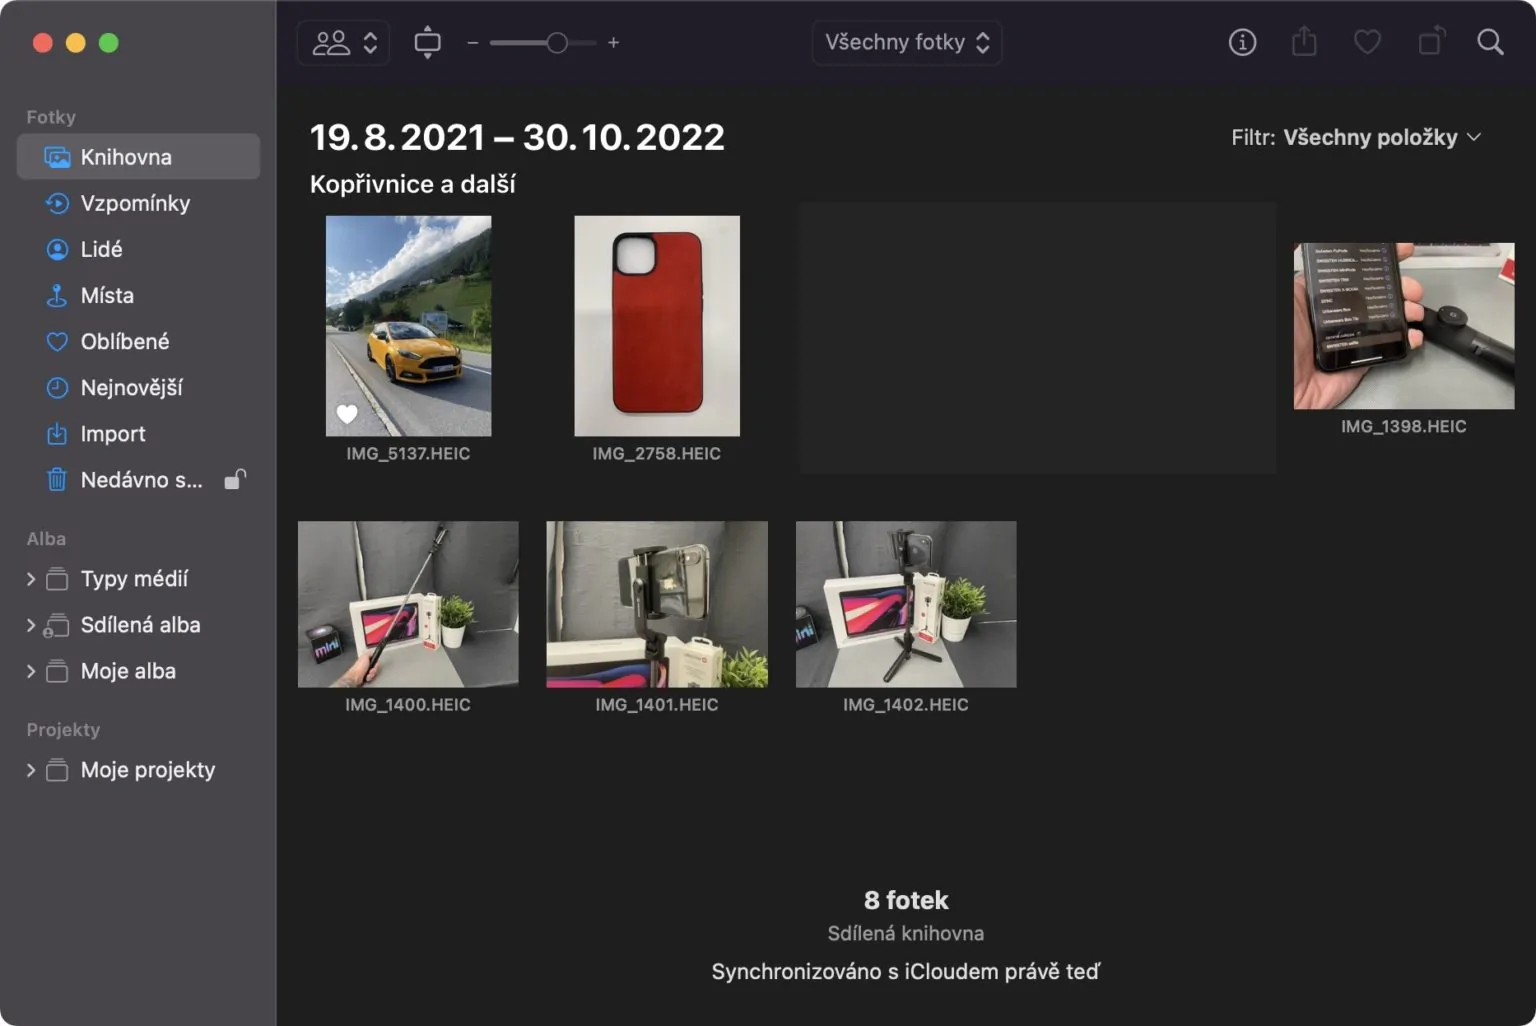
Once you activate the shared library, it will be created and of course it will be empty. This means you have to move some content into it, which luckily isn't difficult at all. All you have to do is in the application Fotky found the content you want to move from a personal to a shared library, and then marked. Then click on one of the marked items right click (two fingers) and select an option Move [number] to shared library. If you would then like to move to the shared library, just tap on the icon on the top left and select it.
Deletion notice
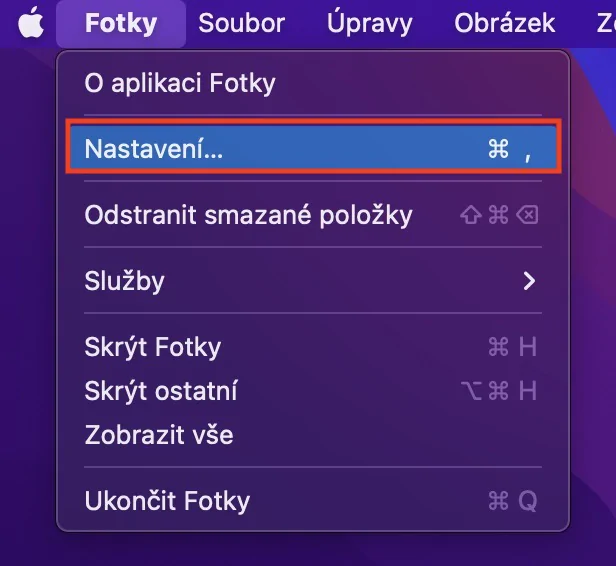
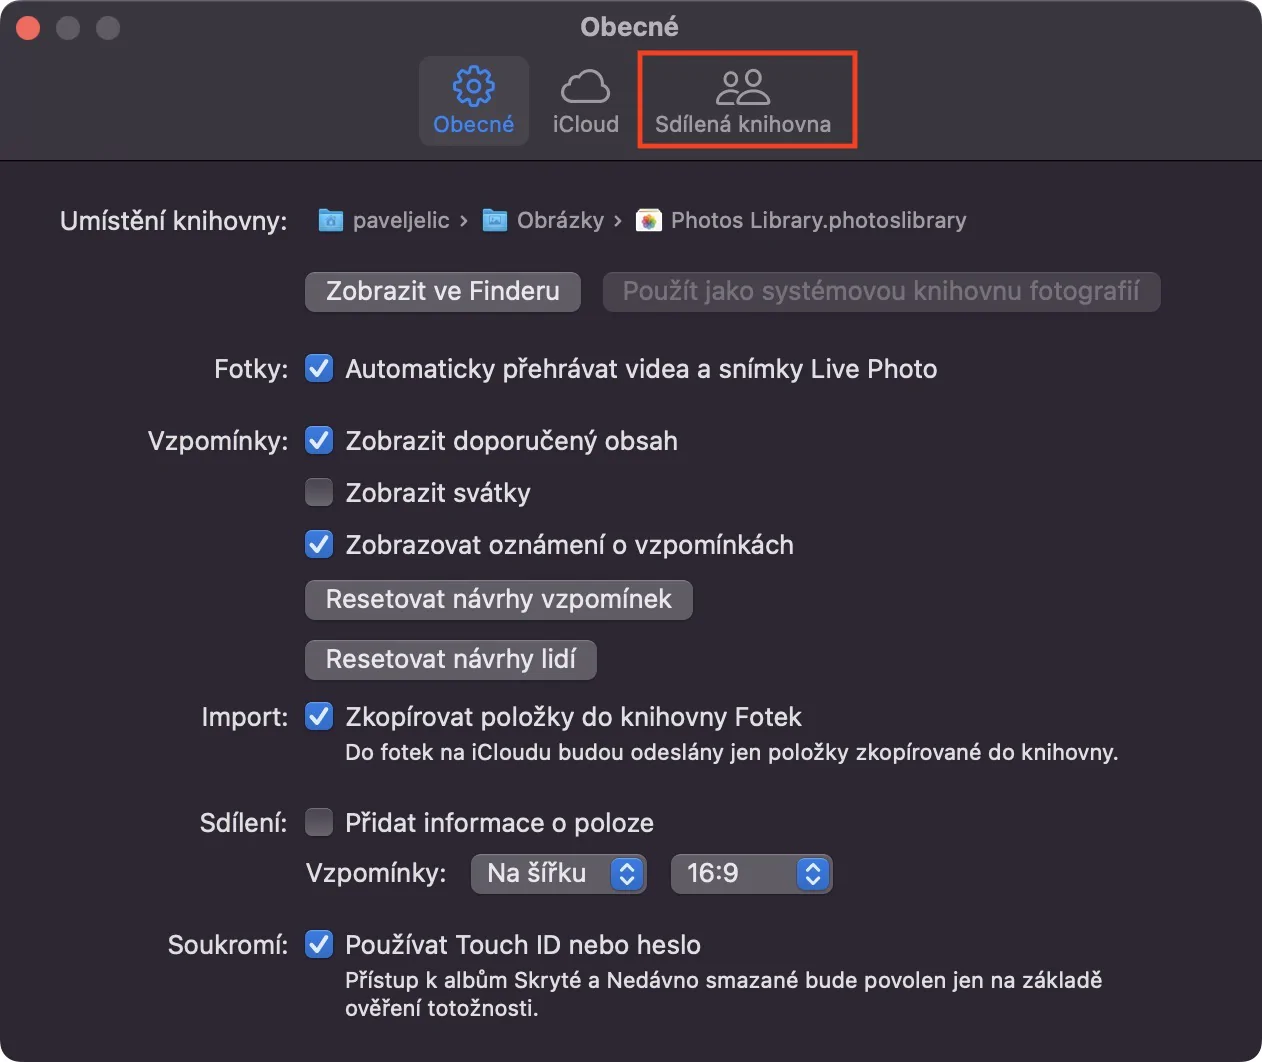
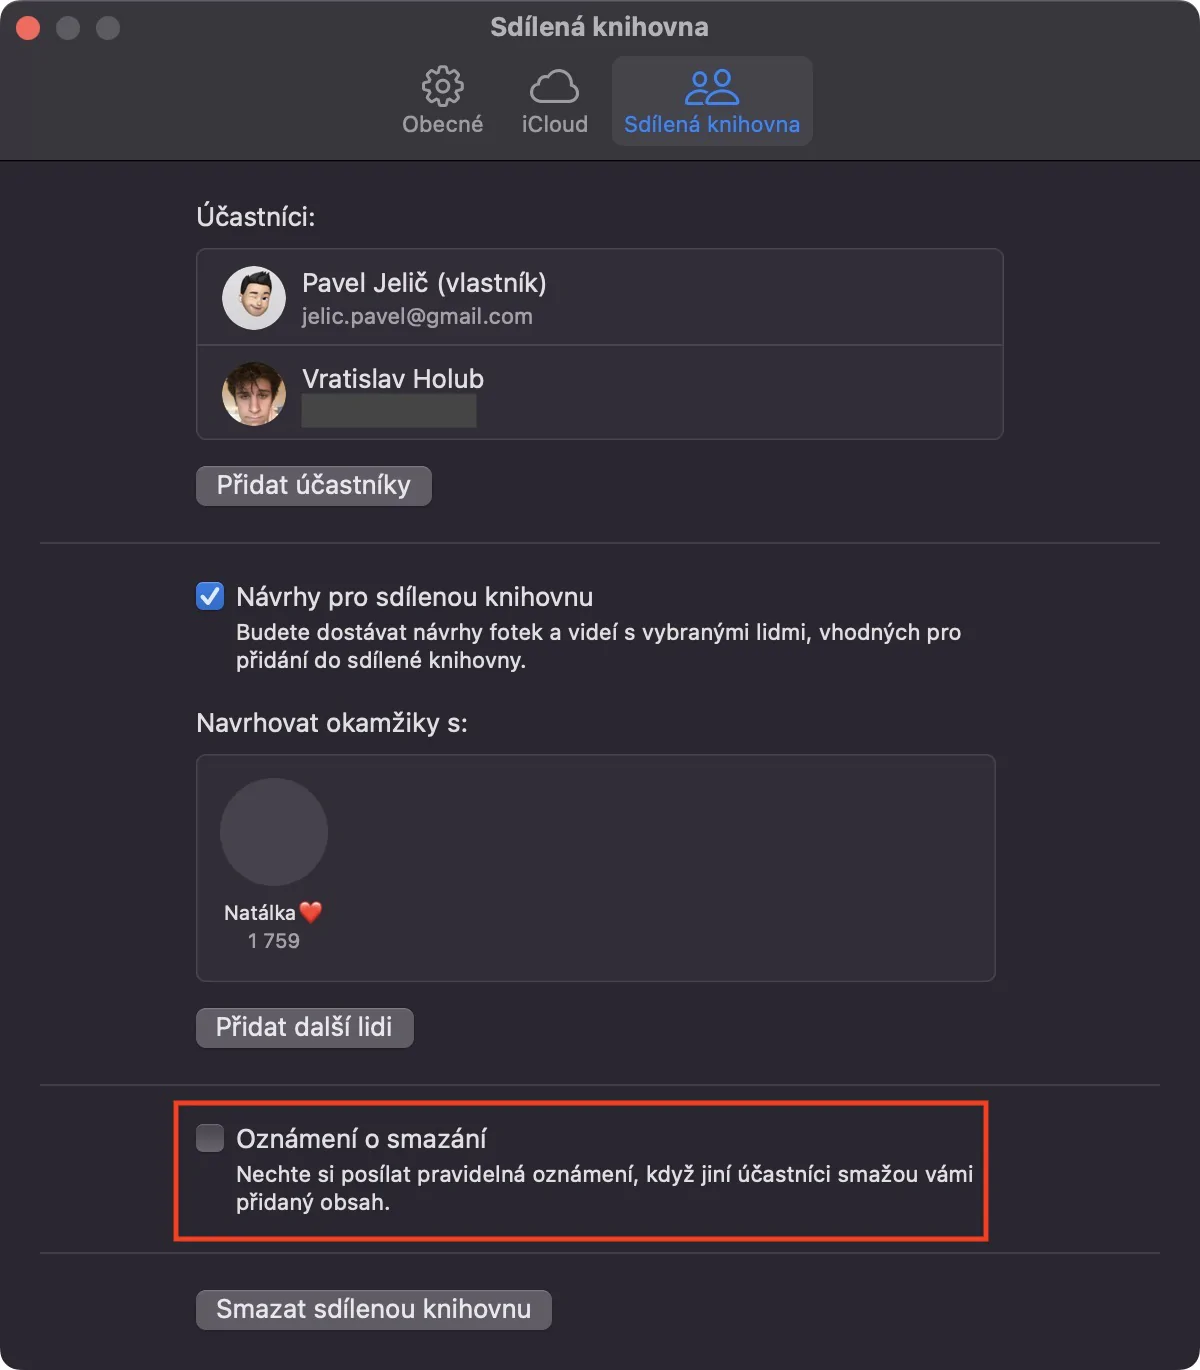
As I mentioned at the beginning of this article, participants can not only add content to the shared library, but also edit or delete it. If you have started to notice that some photos or videos are disappearing in your shared library, you can activate a deletion notification, thanks to which you will immediately know about the removal of content. To turn it on, just open the app Photos, where then in the top bar click on Photos → Settings… → Shared Library. It's enough here activate possibility Deletion notice.
Recover deleted content
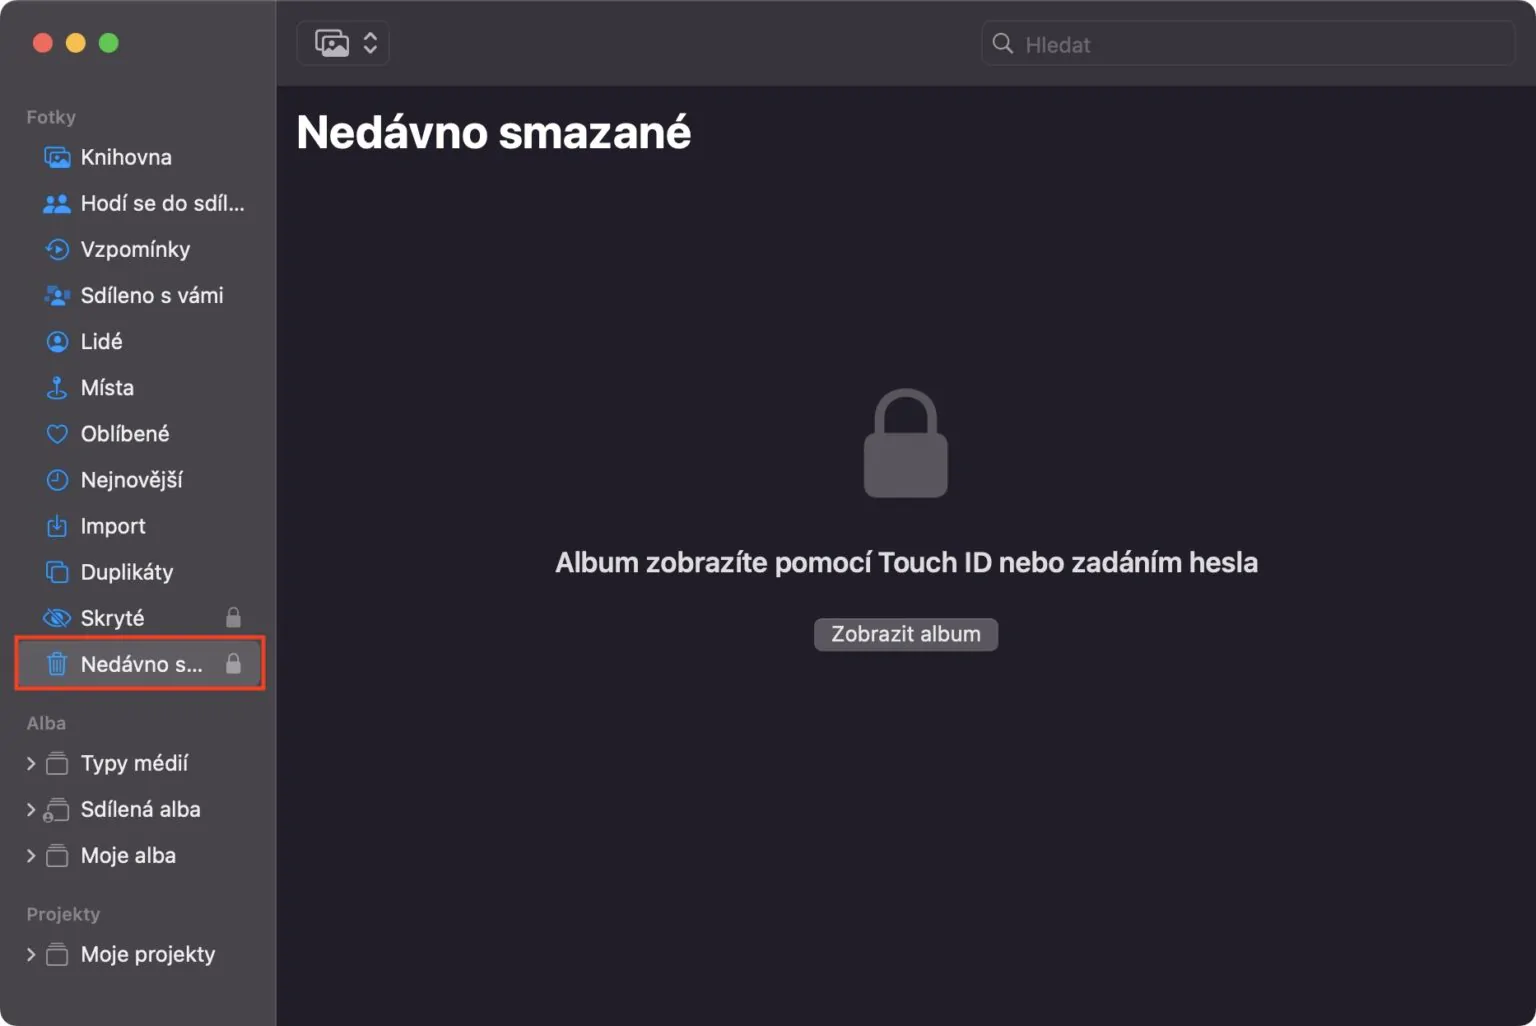
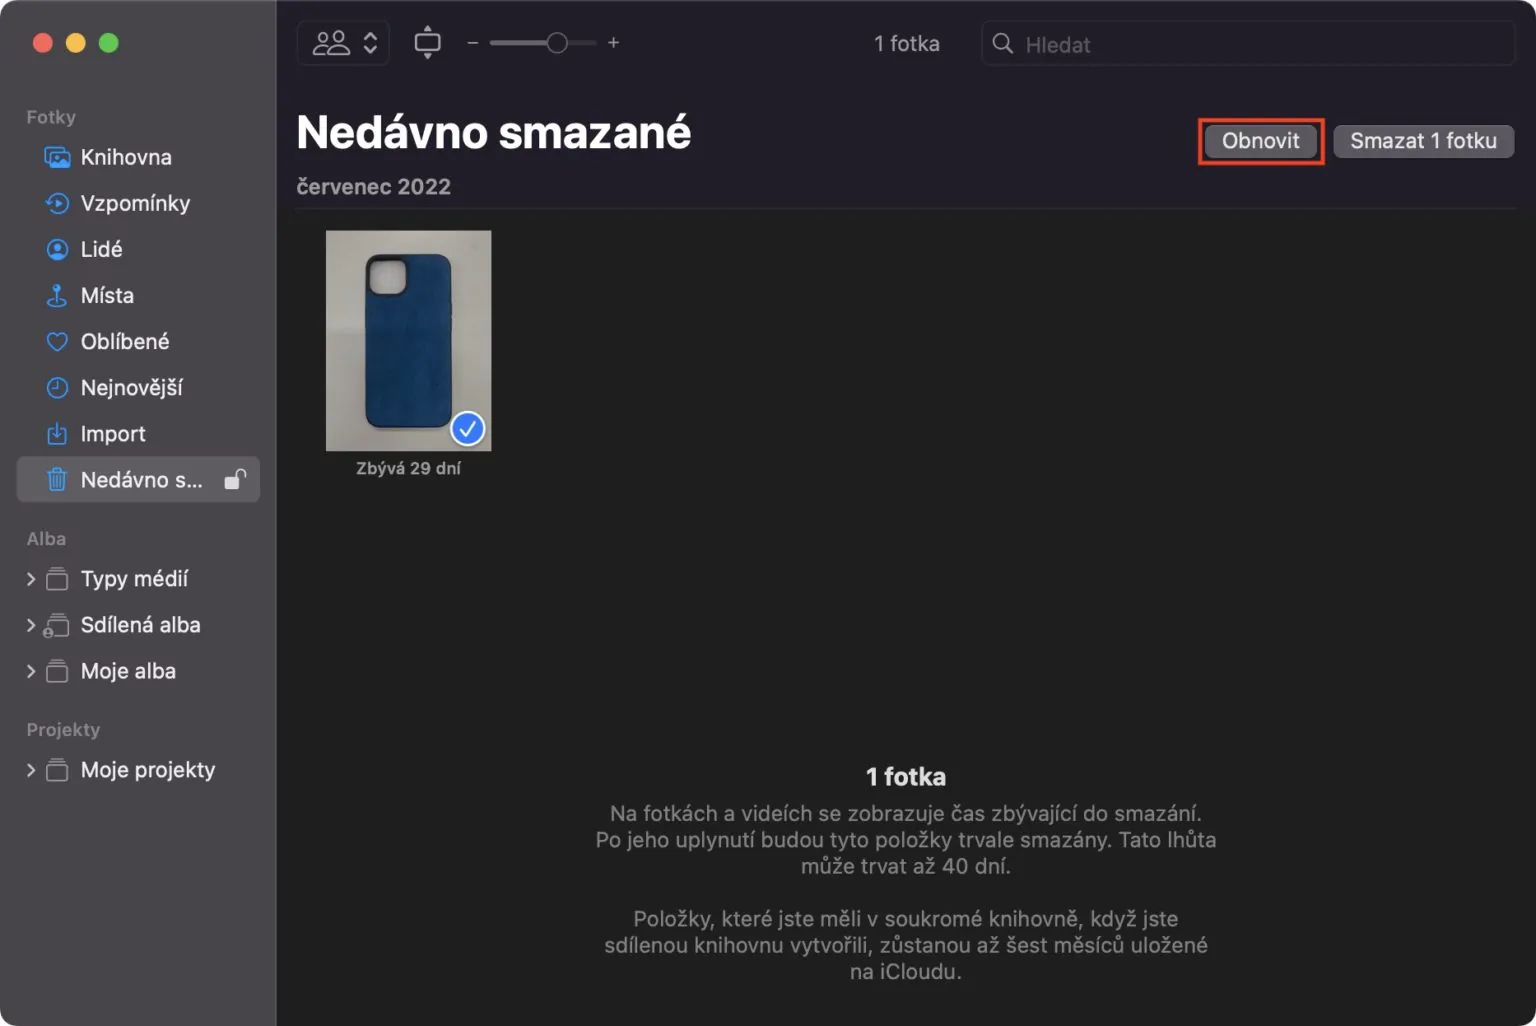
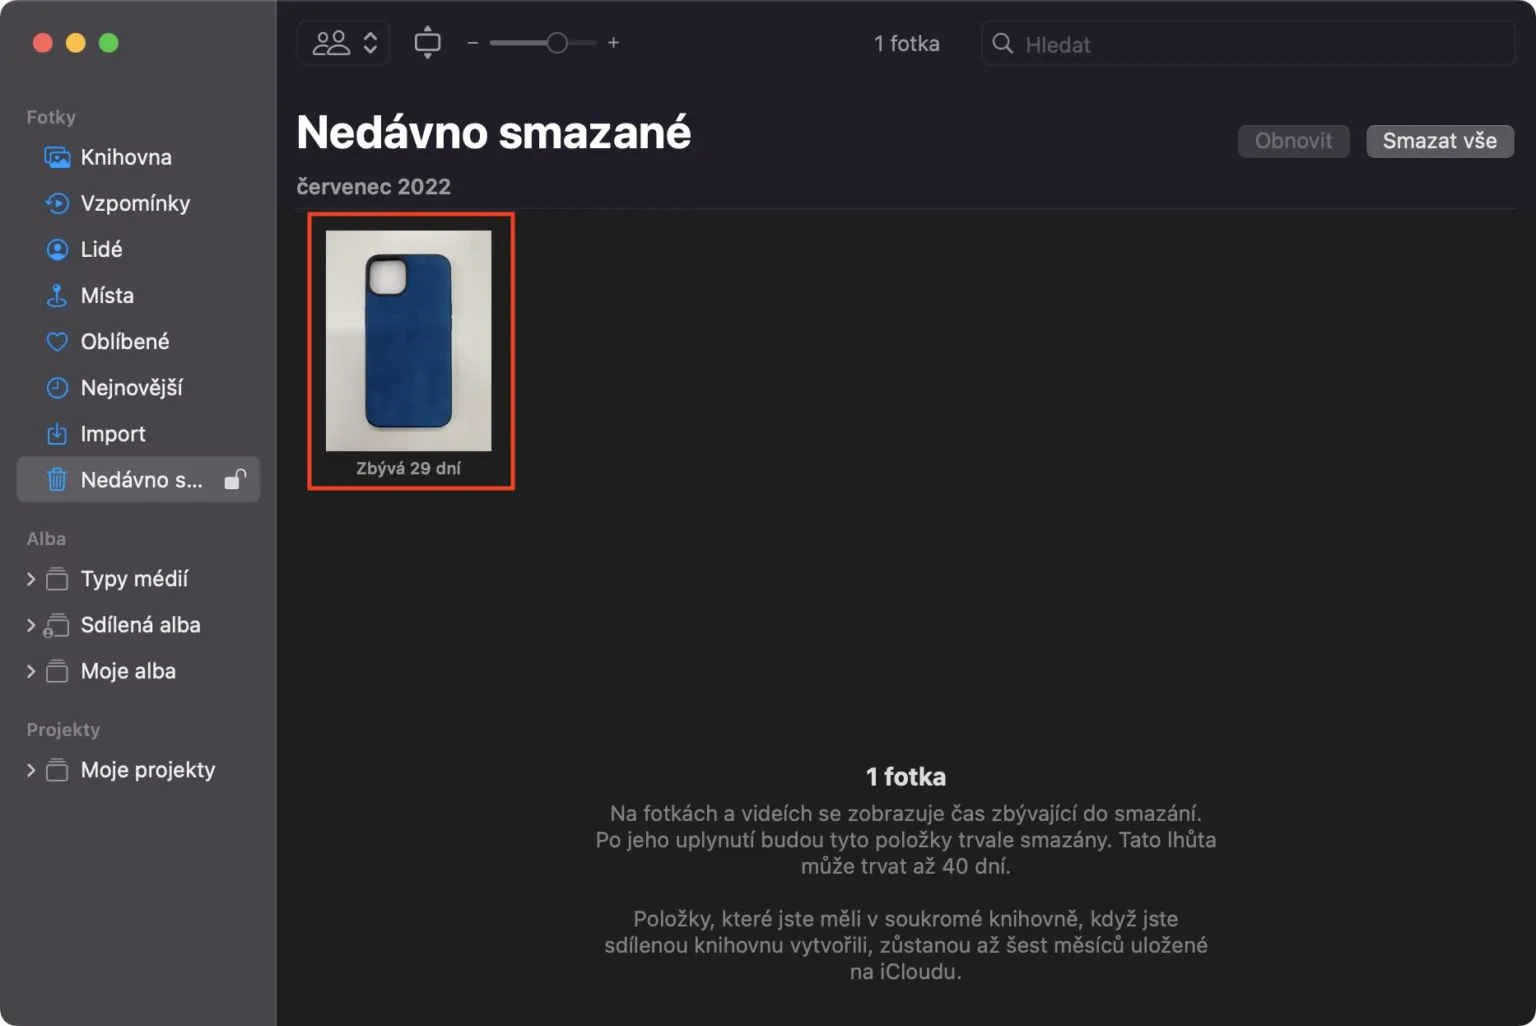
In the event that the content of the shared library is deleted, either by you or by a participant, you should know that it will classically be moved to the Recently Deleted album. This means that once content is deleted, you can still easily restore it for up to 30 days. If you would like to do so, just go to the app Photos, where in the sidebar click Recently deleted. Here, just content is enough to restore search, mark and tap on Restore at the top right. To view deleted content only from the shared library, just tap on the icon in the upper left and select it.
Adding participants
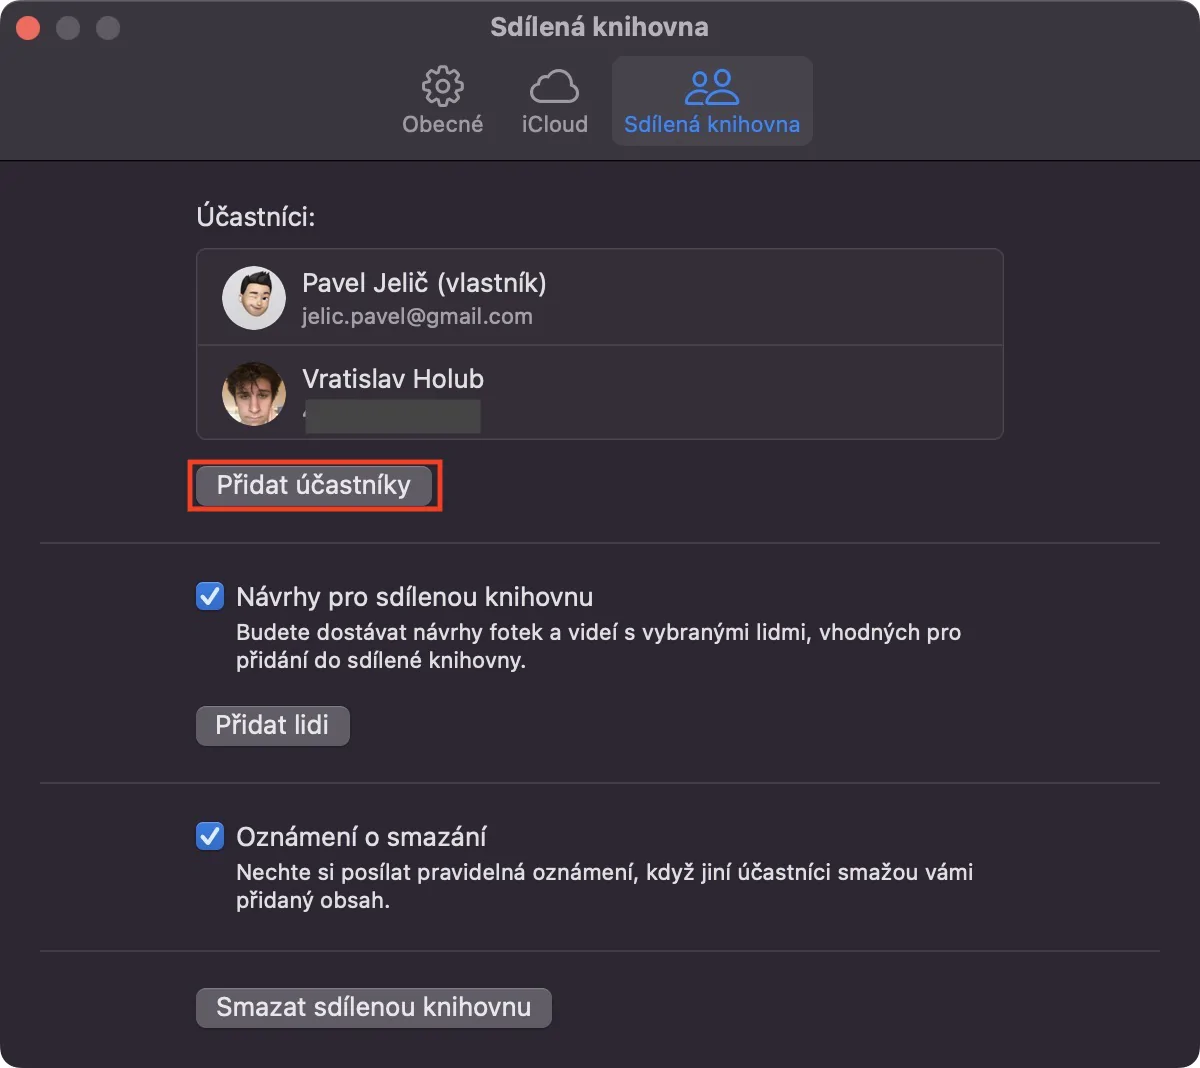
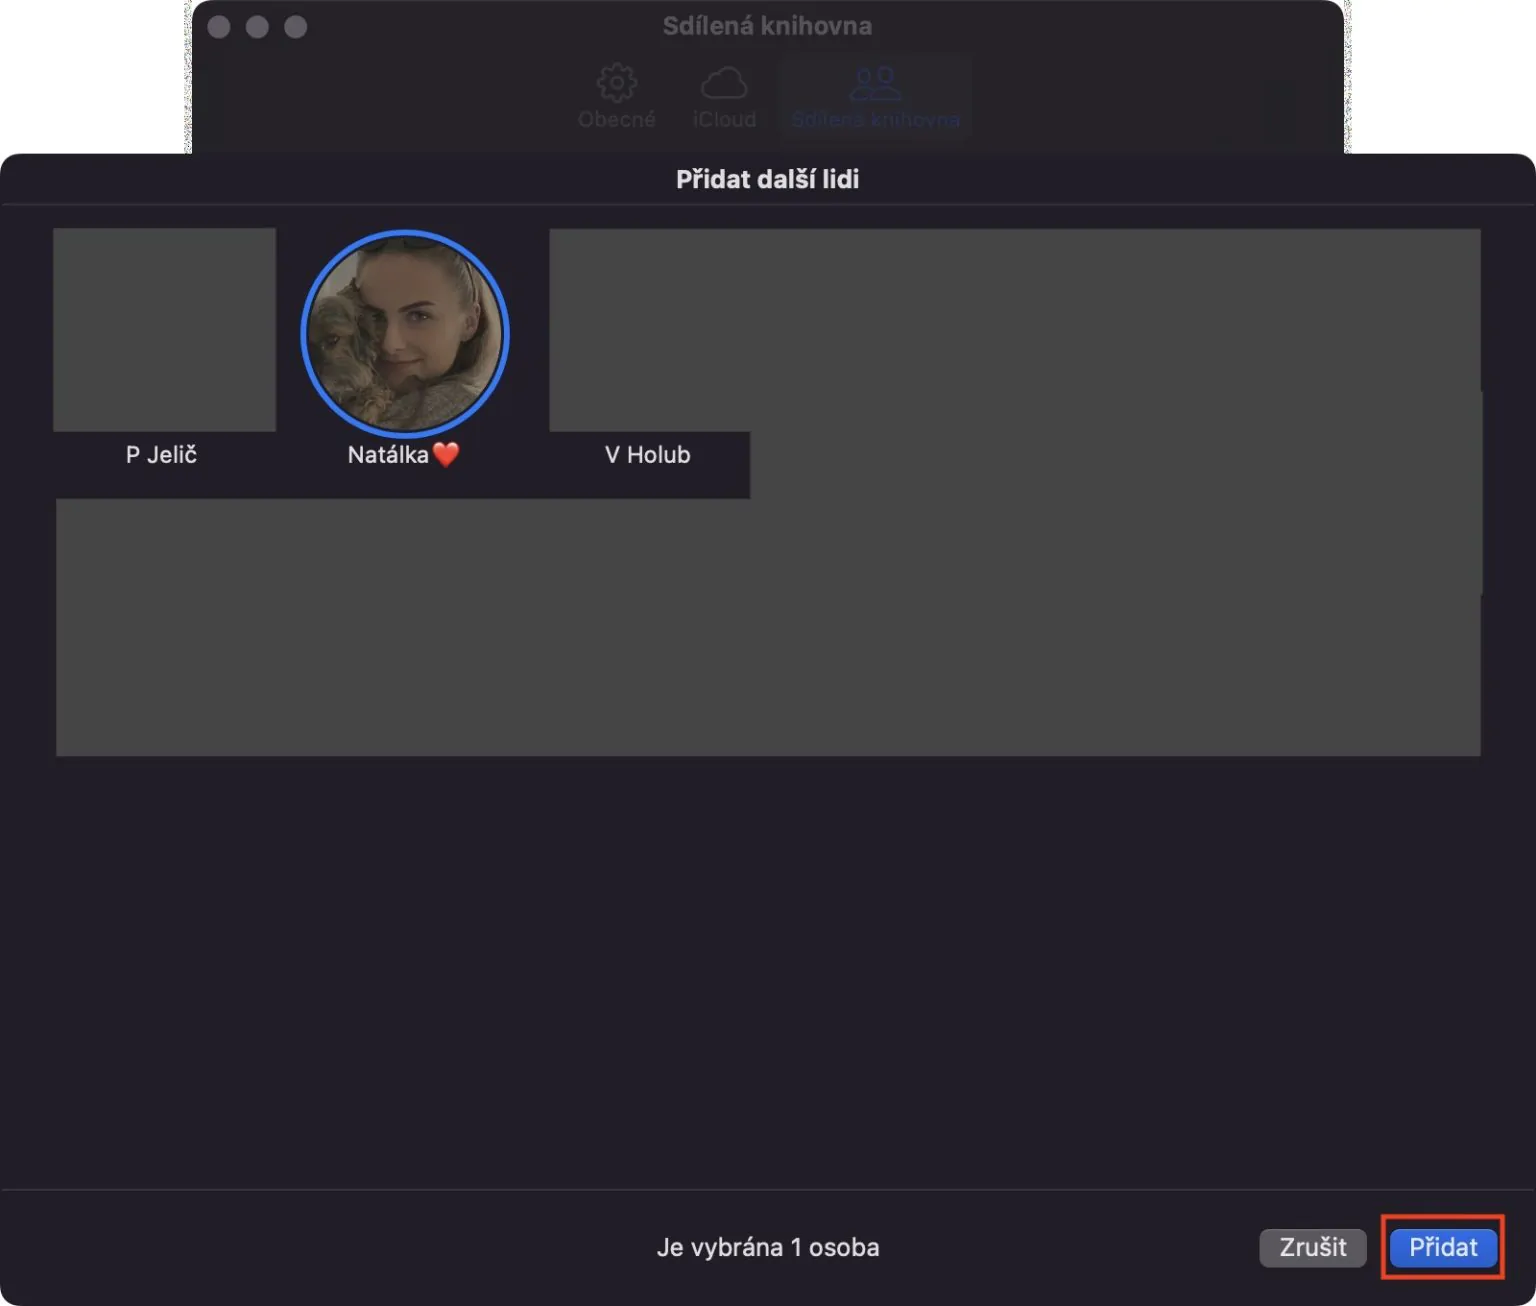
You can add participants to a shared library when you create it. However, if you decide to add another participant to the library after creation, of course you can. Just keep in mind that the person in question will see all the contents of the library, including the ones that were added before they joined. To add a participant to your shared library, go to the Photos app on your Mac, then tap in the top bar Photos → Settings… → Shared Library. Here in the category Participants click the button Add participants. Then all you have to do is send the persons in question an invitation.
Design settings
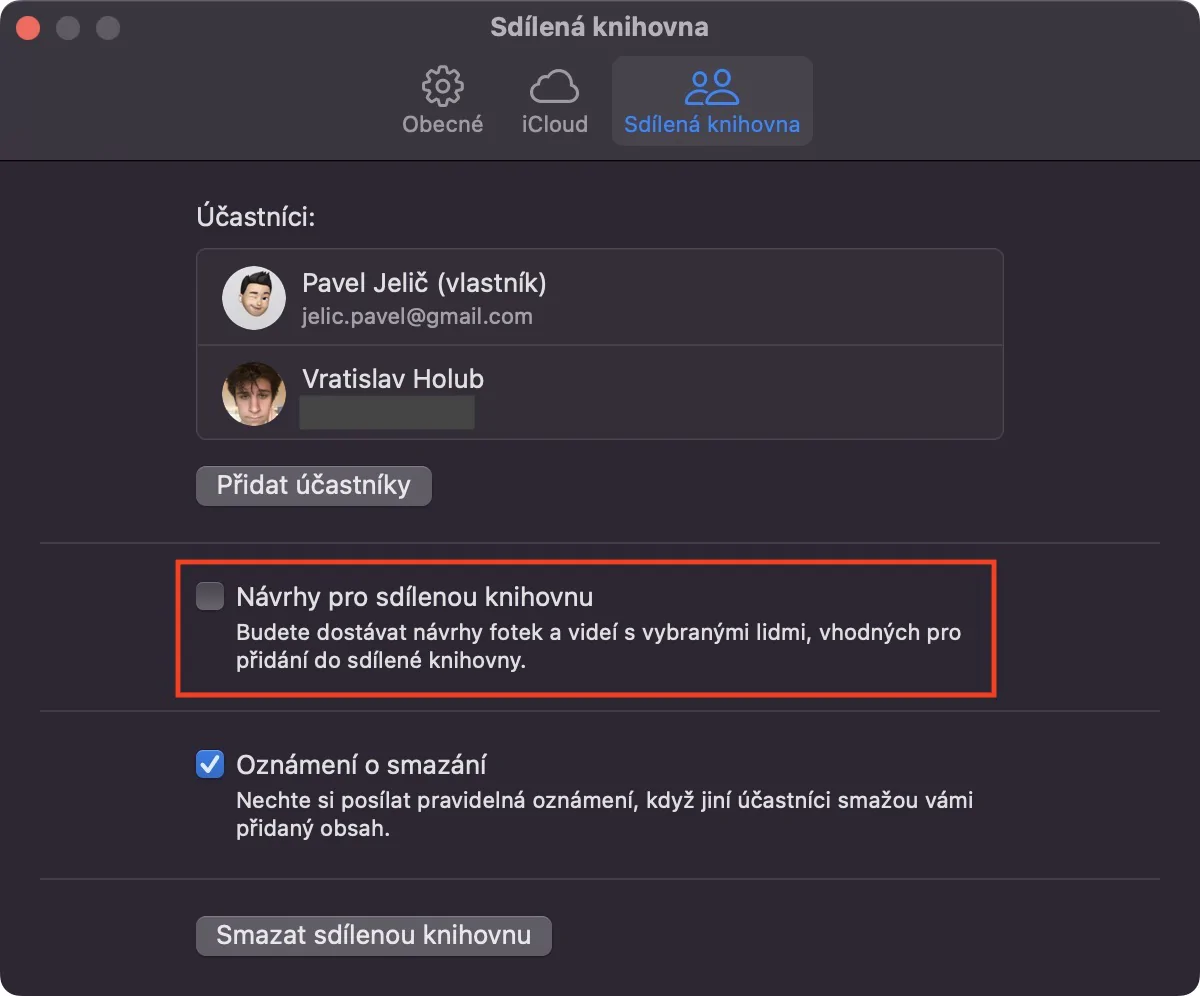
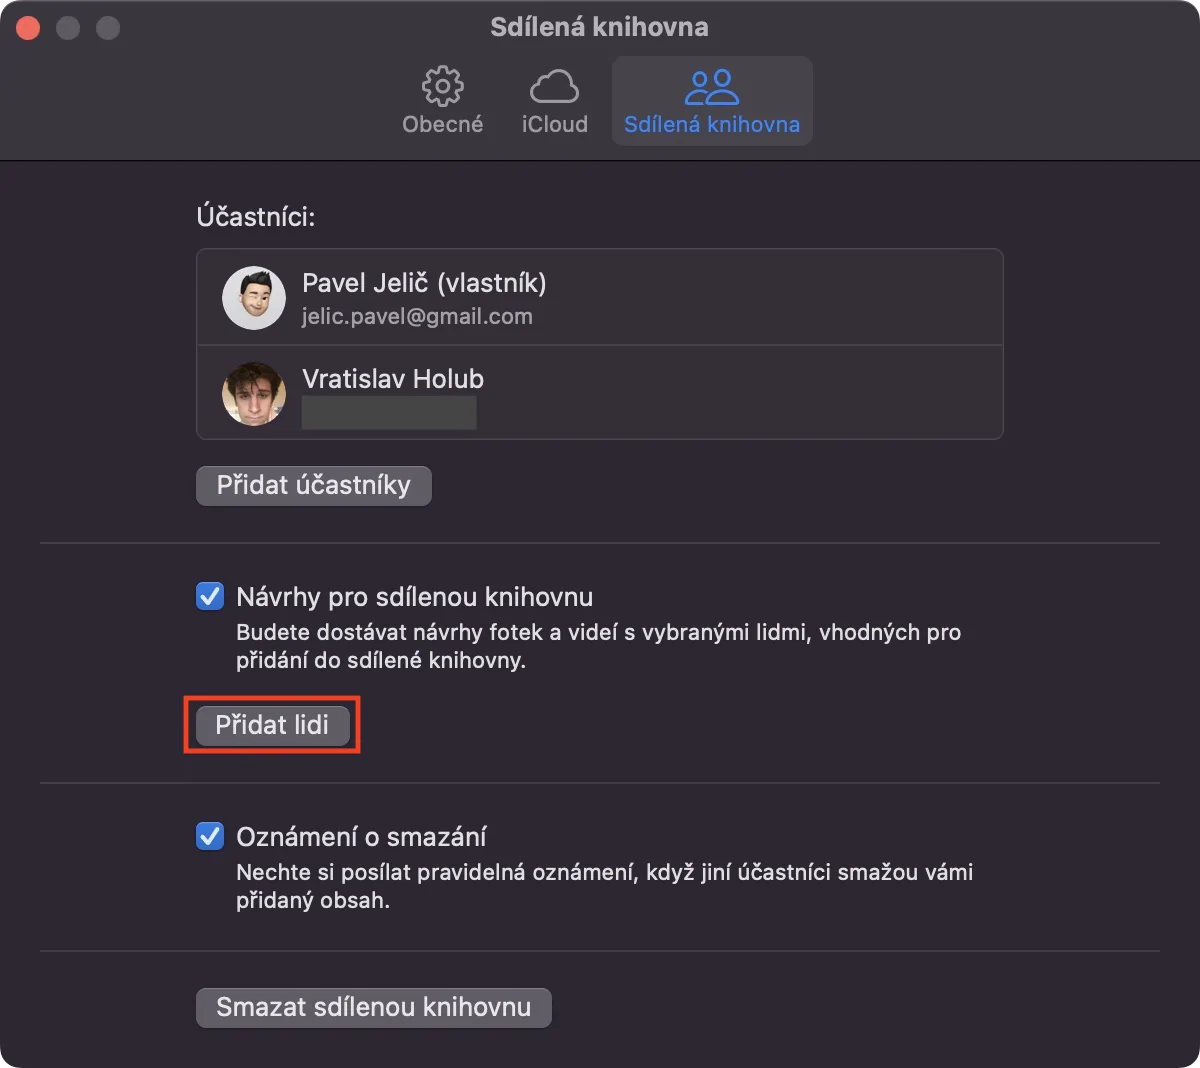
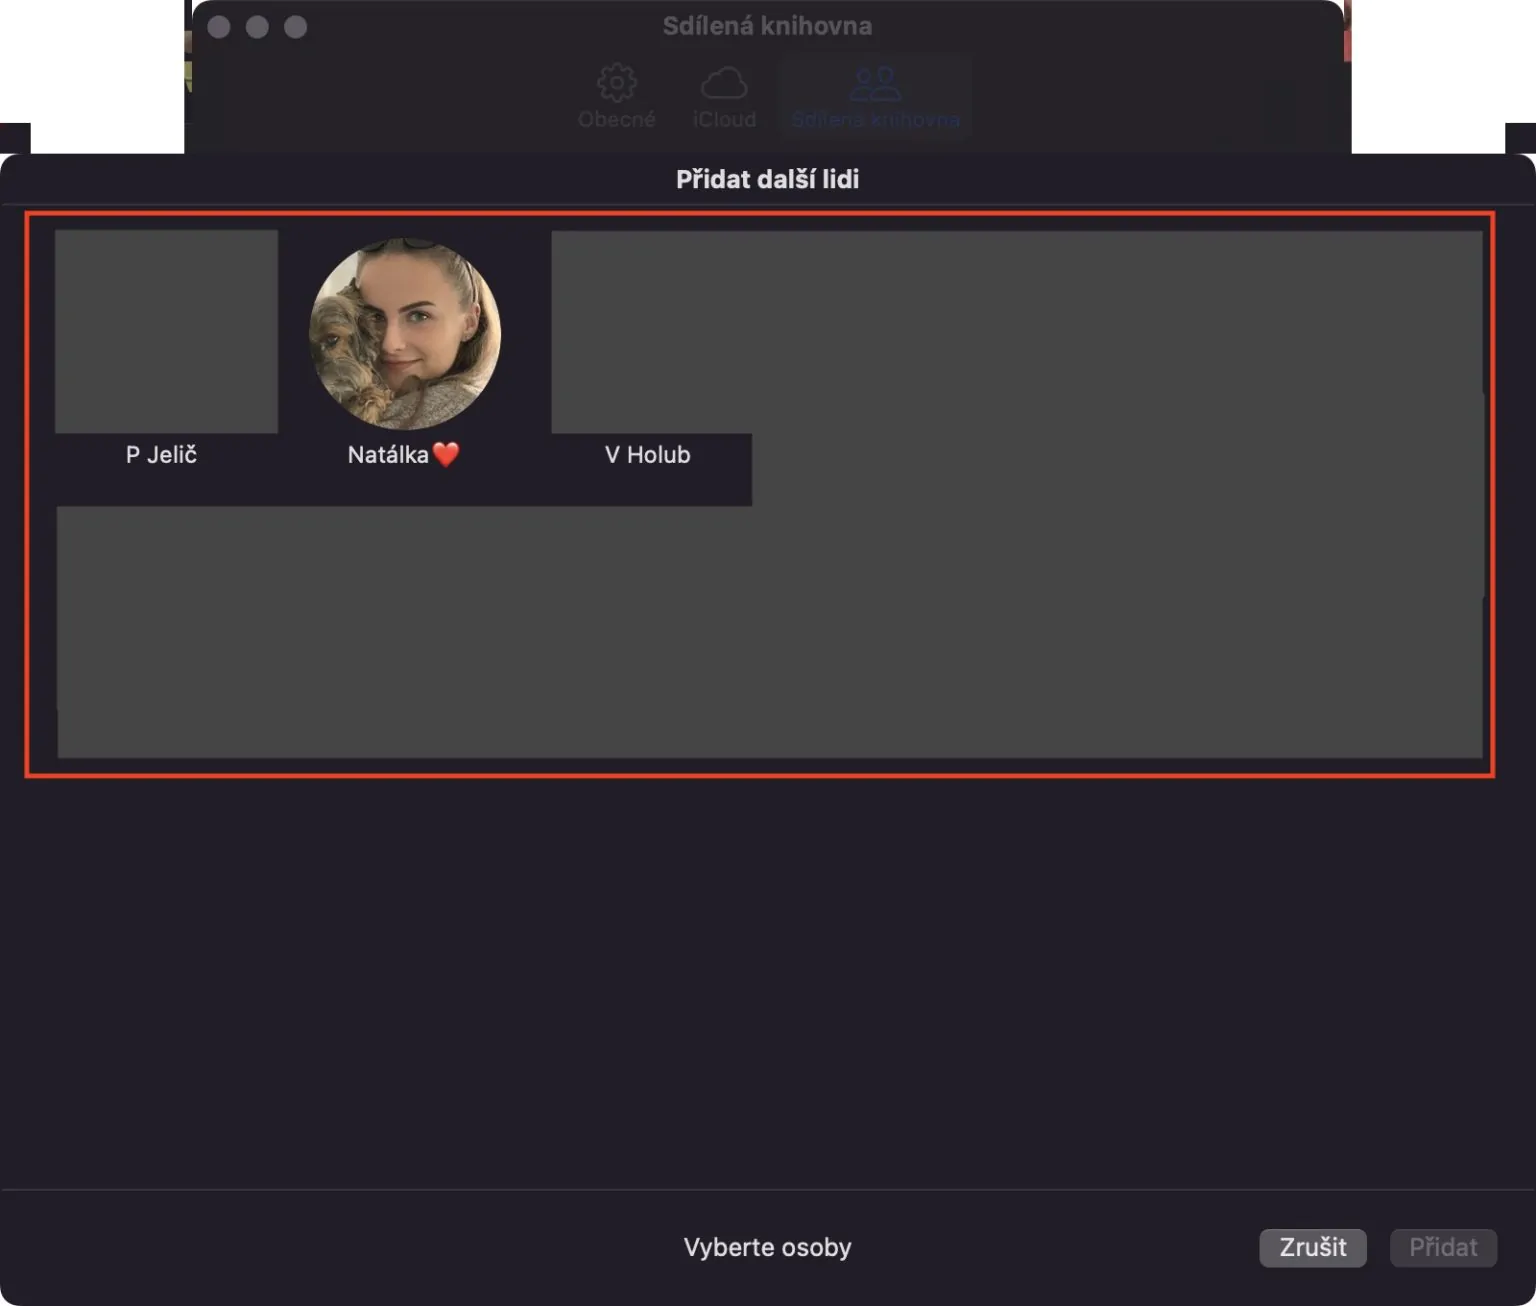
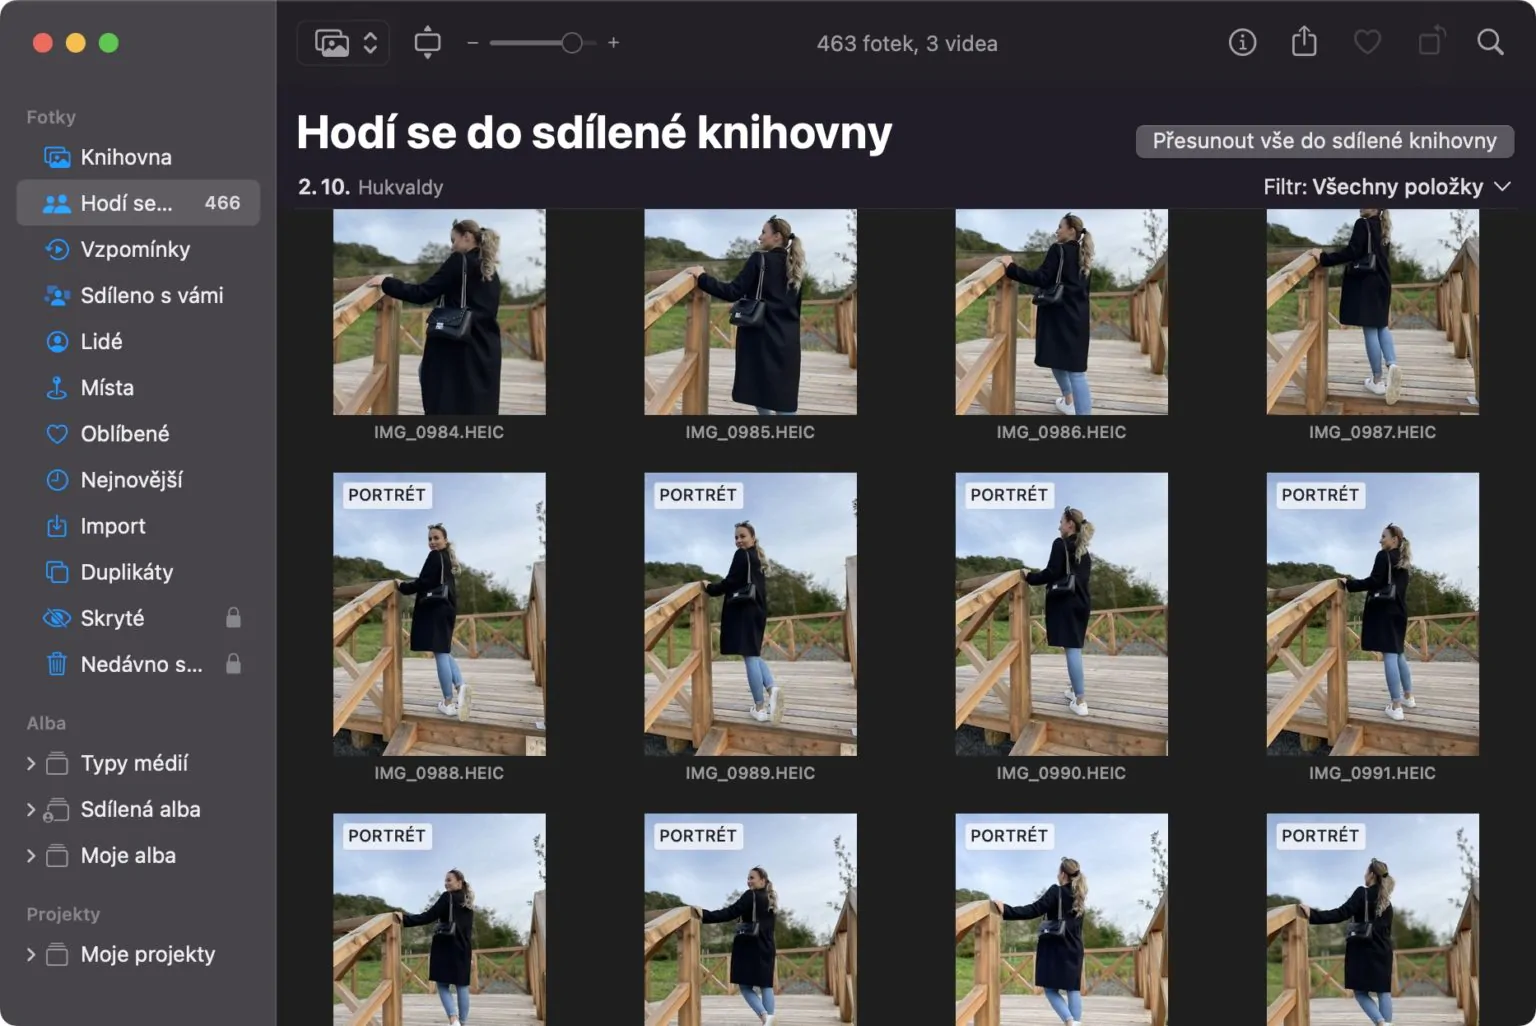
After creating a shared library, of course you need to add content to it. While on the Mac it is necessary to add it manually, on the iPhone you can set the photos taken to be saved directly to the shared library. In addition, suggestions for the shared library can be activated, which can automatically recommend content that might be suitable to add to the shared library, based on participants, etc. To activate this feature, just go to the Photos application, then click on the top bar on Photos → Settings… → Shared Library. Here subsequently activate function Suggestions for a shared library and click below Add people. Then it's enough select persons, with which the suggestions should be linked and press Add bottom right. You can then find content suitable for moving in the album Fits into a shared library.
