The Photos application in the iPadOS operating system contains a number of useful tools for image correction. Here's how to convert color photos to black and white using your iPad. This tutorial is intended especially for beginners who want to play a little more with photos on the iPad and don't want to use the basic preset filters.
It could be interest you
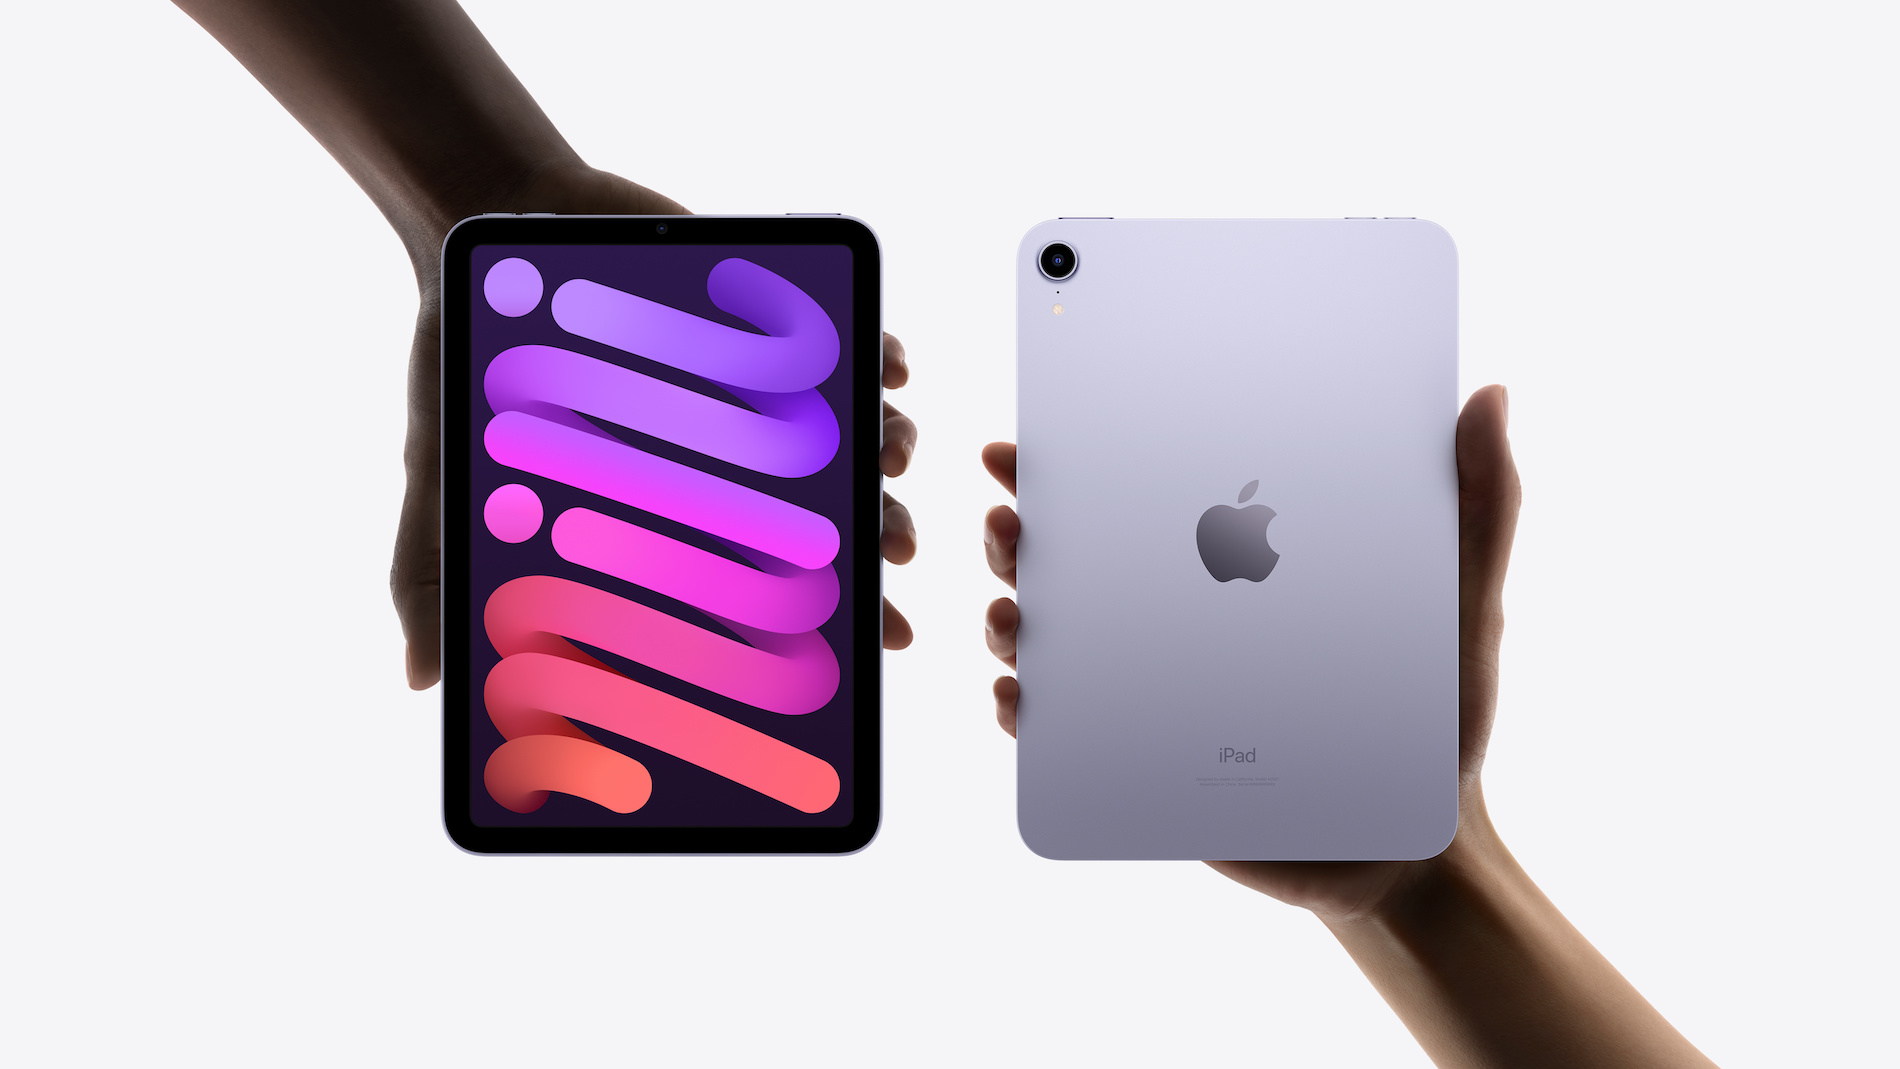
The iPad is a great device for a wide variety of purposes, including basic photo editing. Being able to take and view high-resolution photos with the iPad is truly wonderful. The ability to instantly share photos with others over the Internet is also amazing. Sometimes you want to send someone a black-and-white version of a color photo without having to copy it to your desktop computer and edit it first—no problem on the iPad.
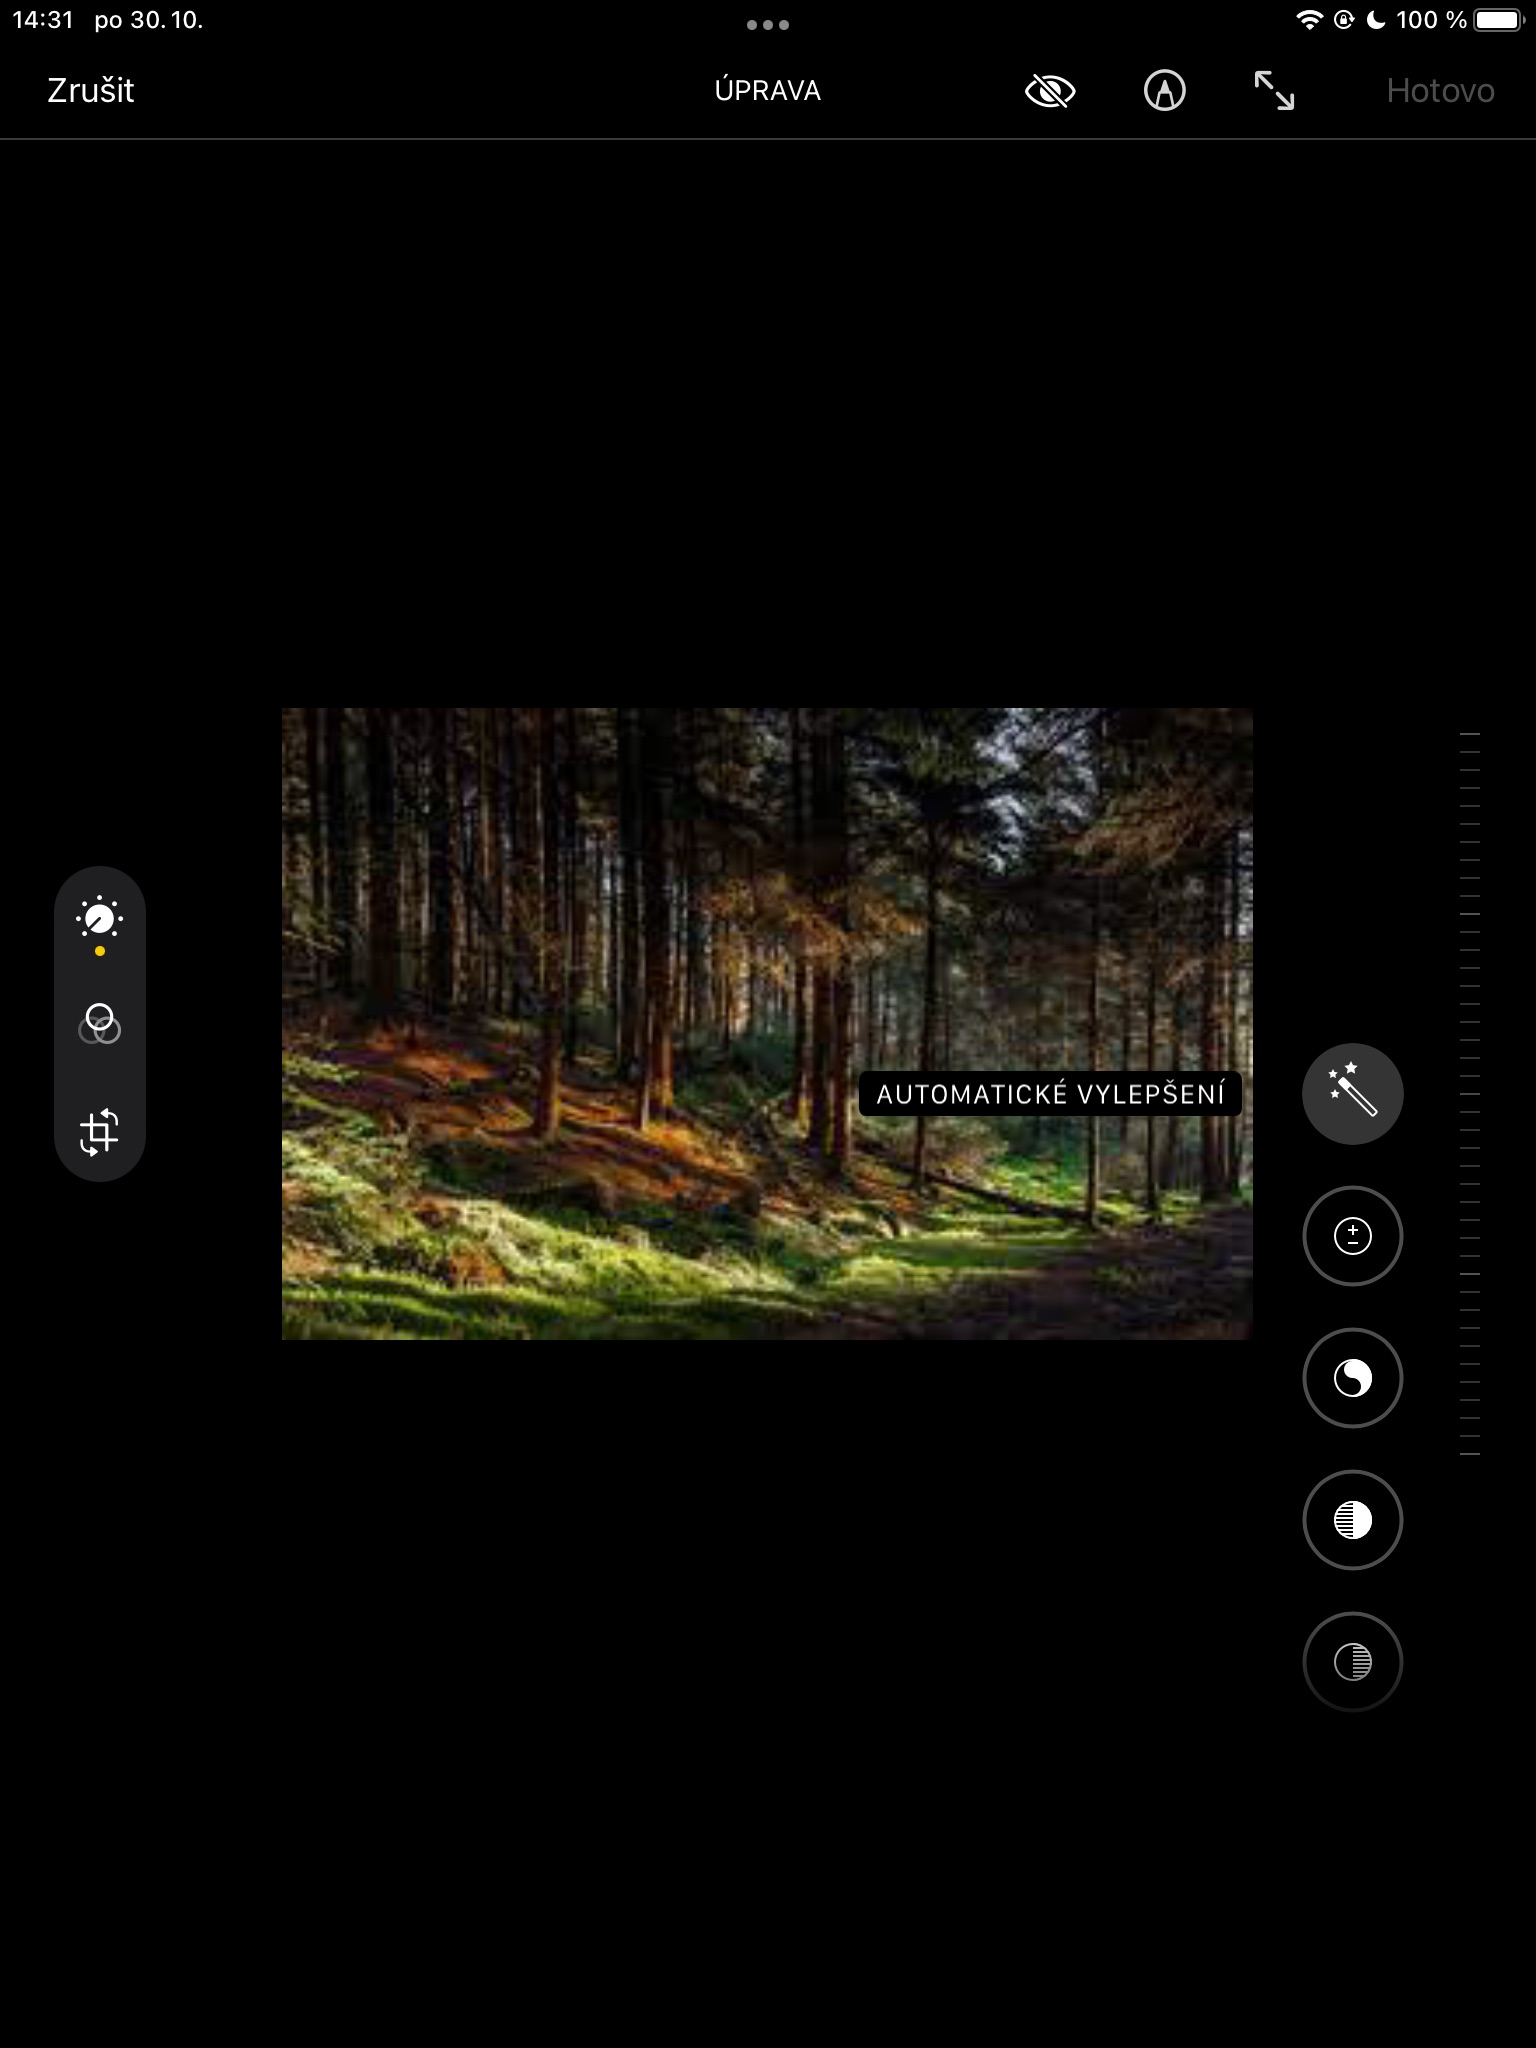
If you want to change a color photo to black and white on iPadOS and for whatever reason you don't want to use the preset filters, first open the Photos app, then select the photo you want to edit.
- At the top right, tap Adjust.
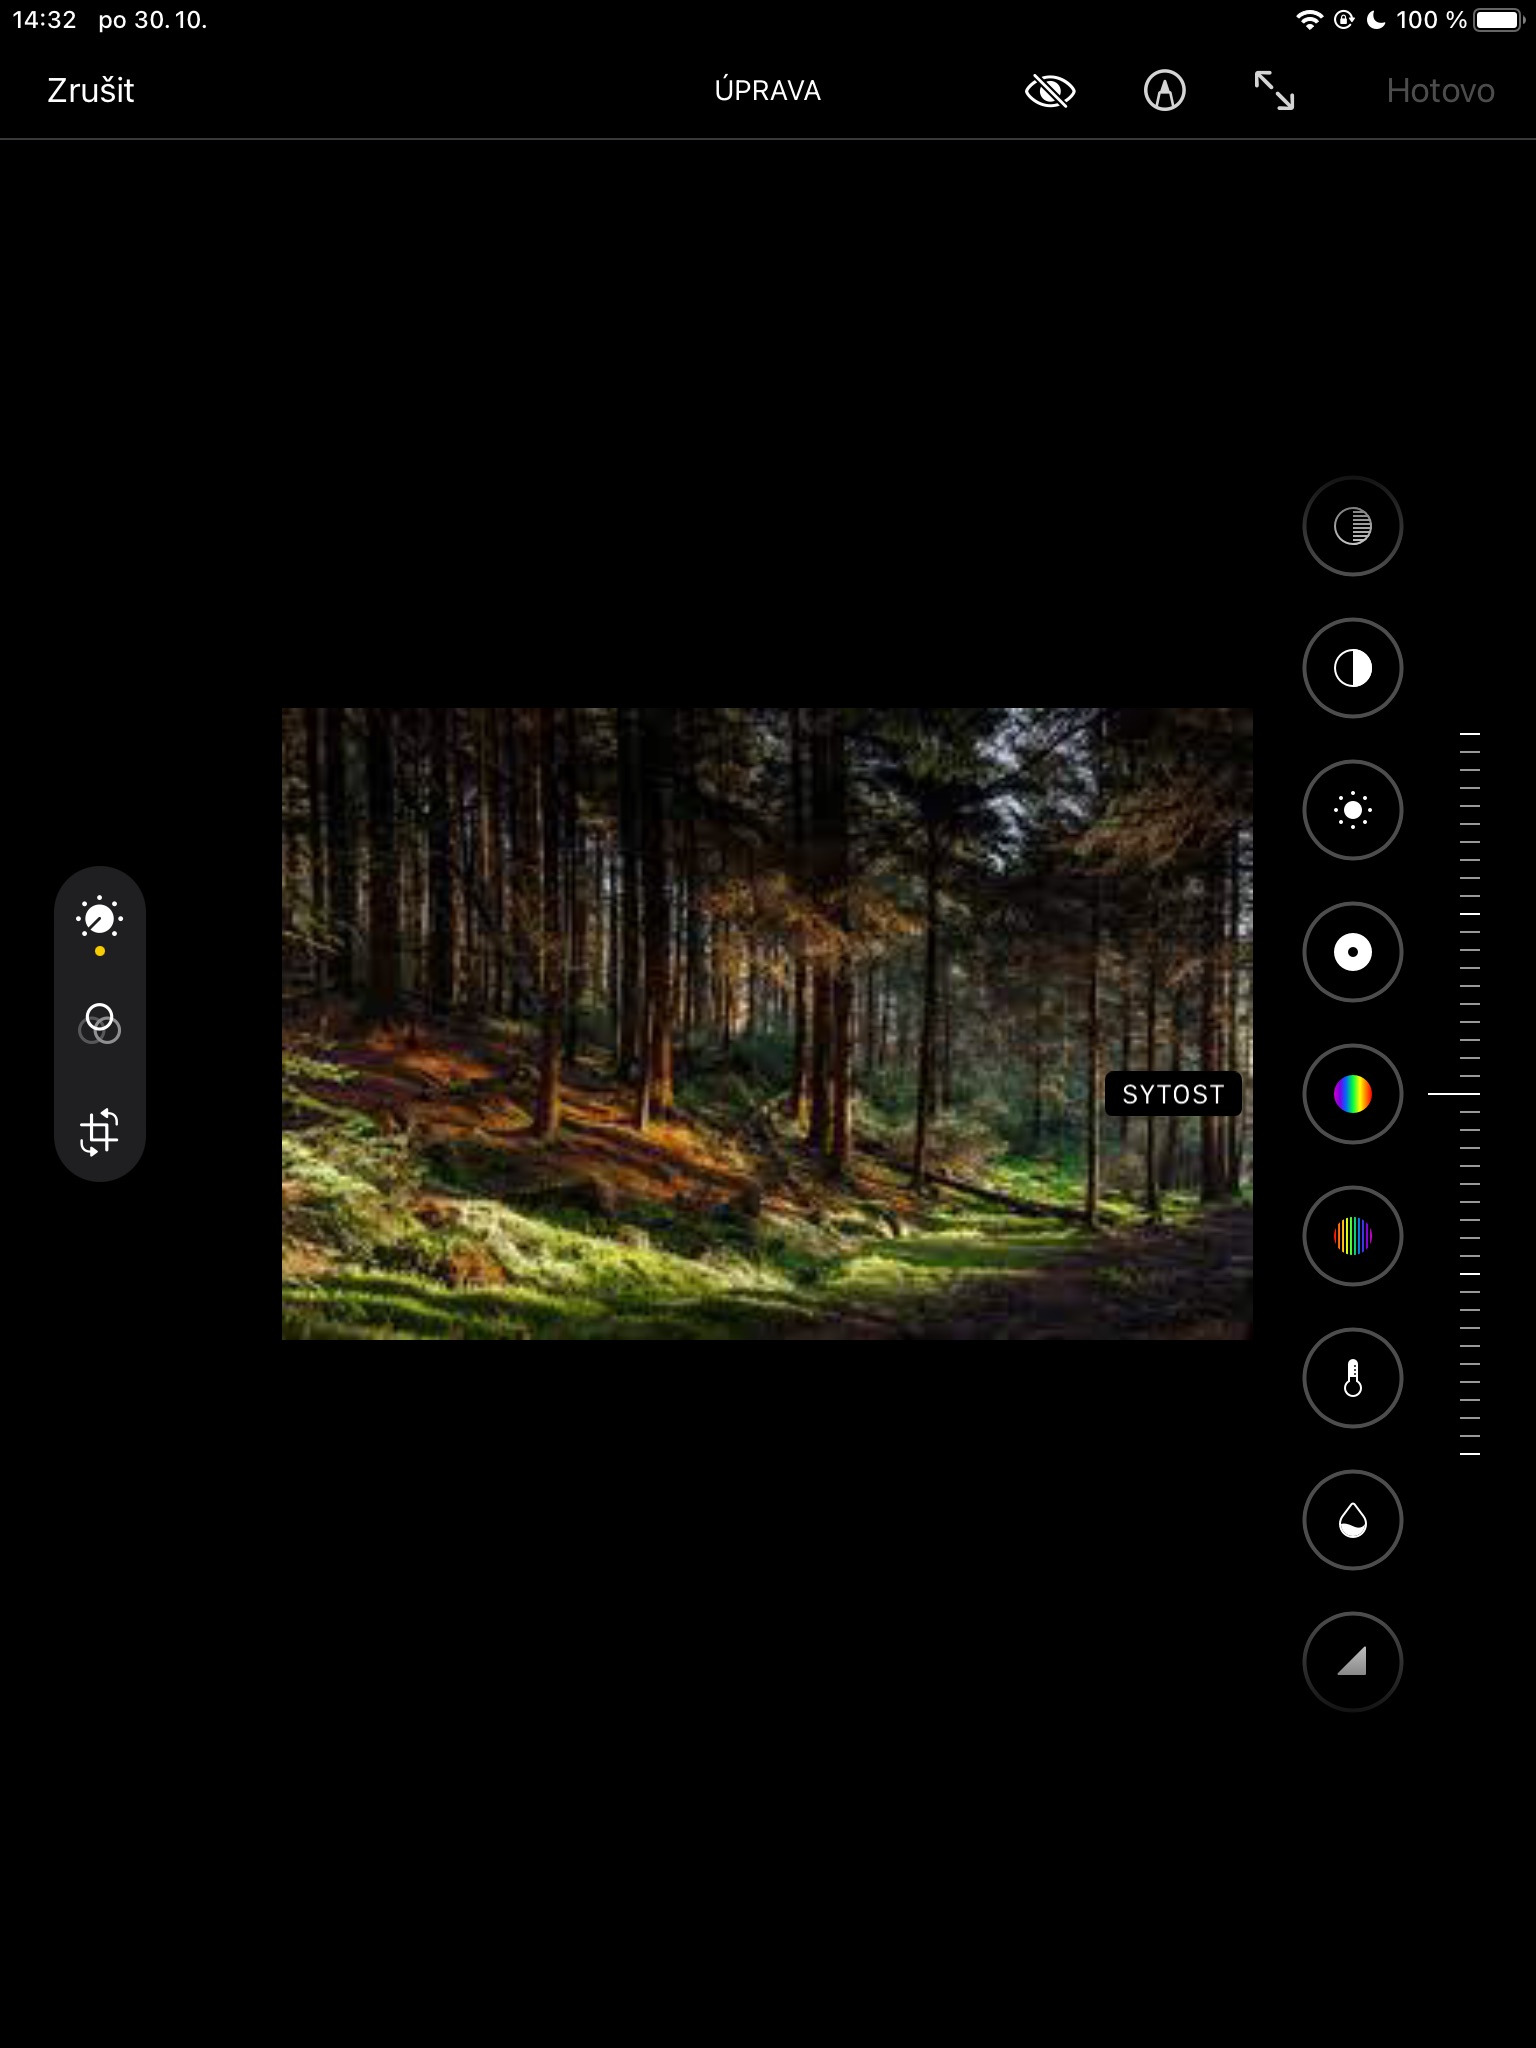
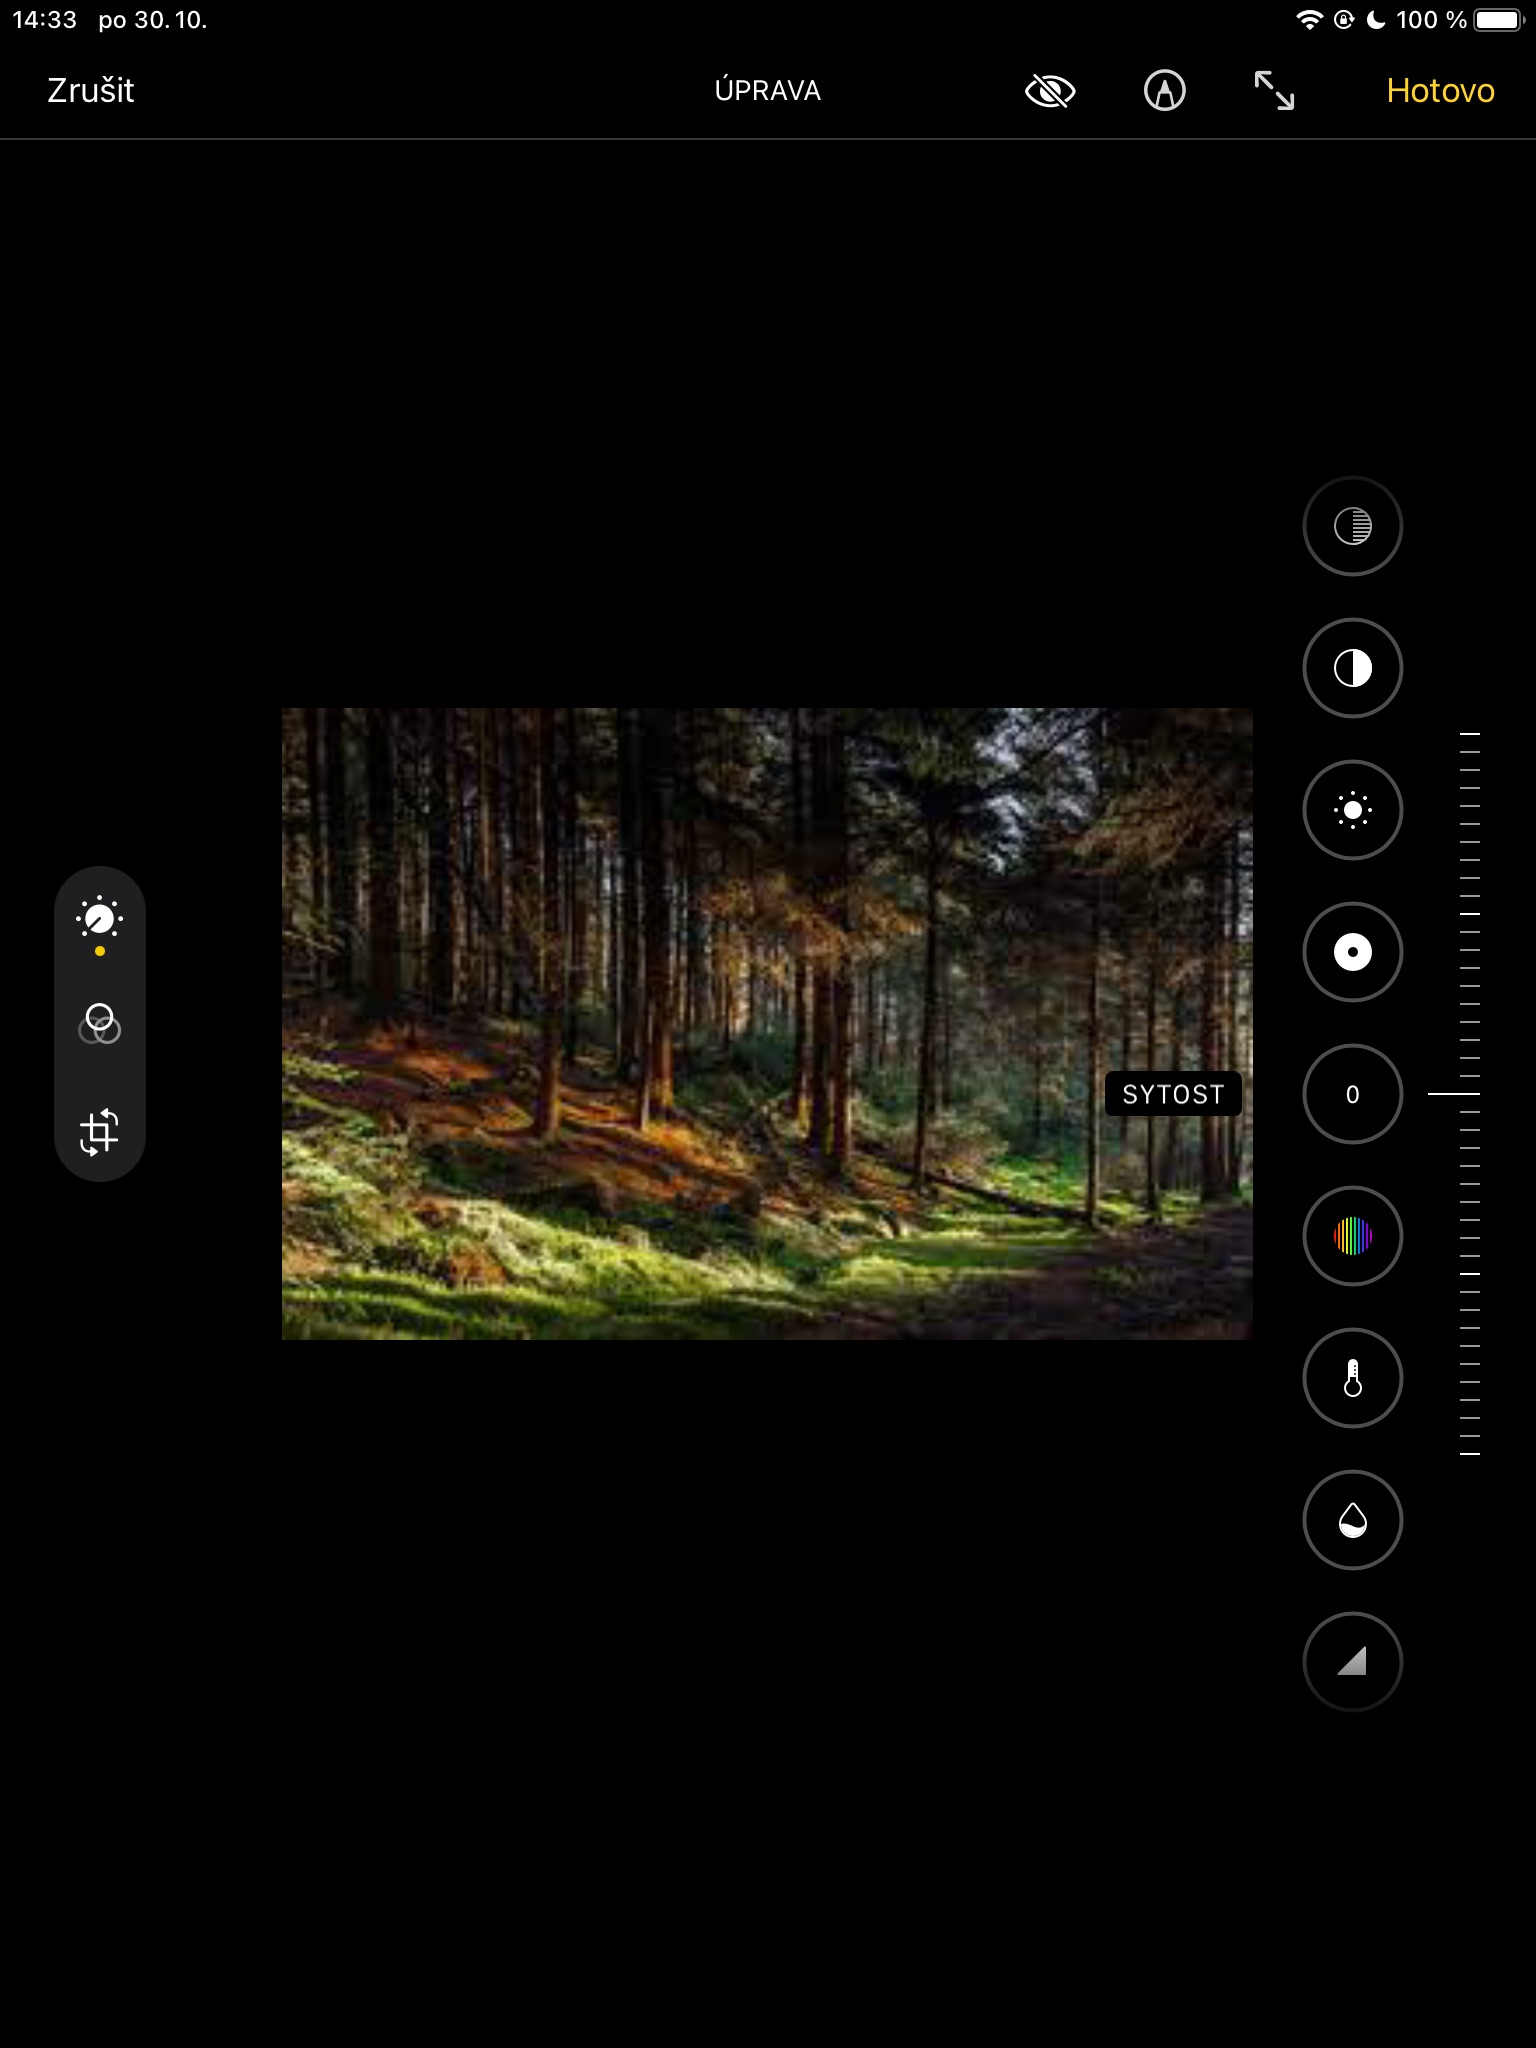
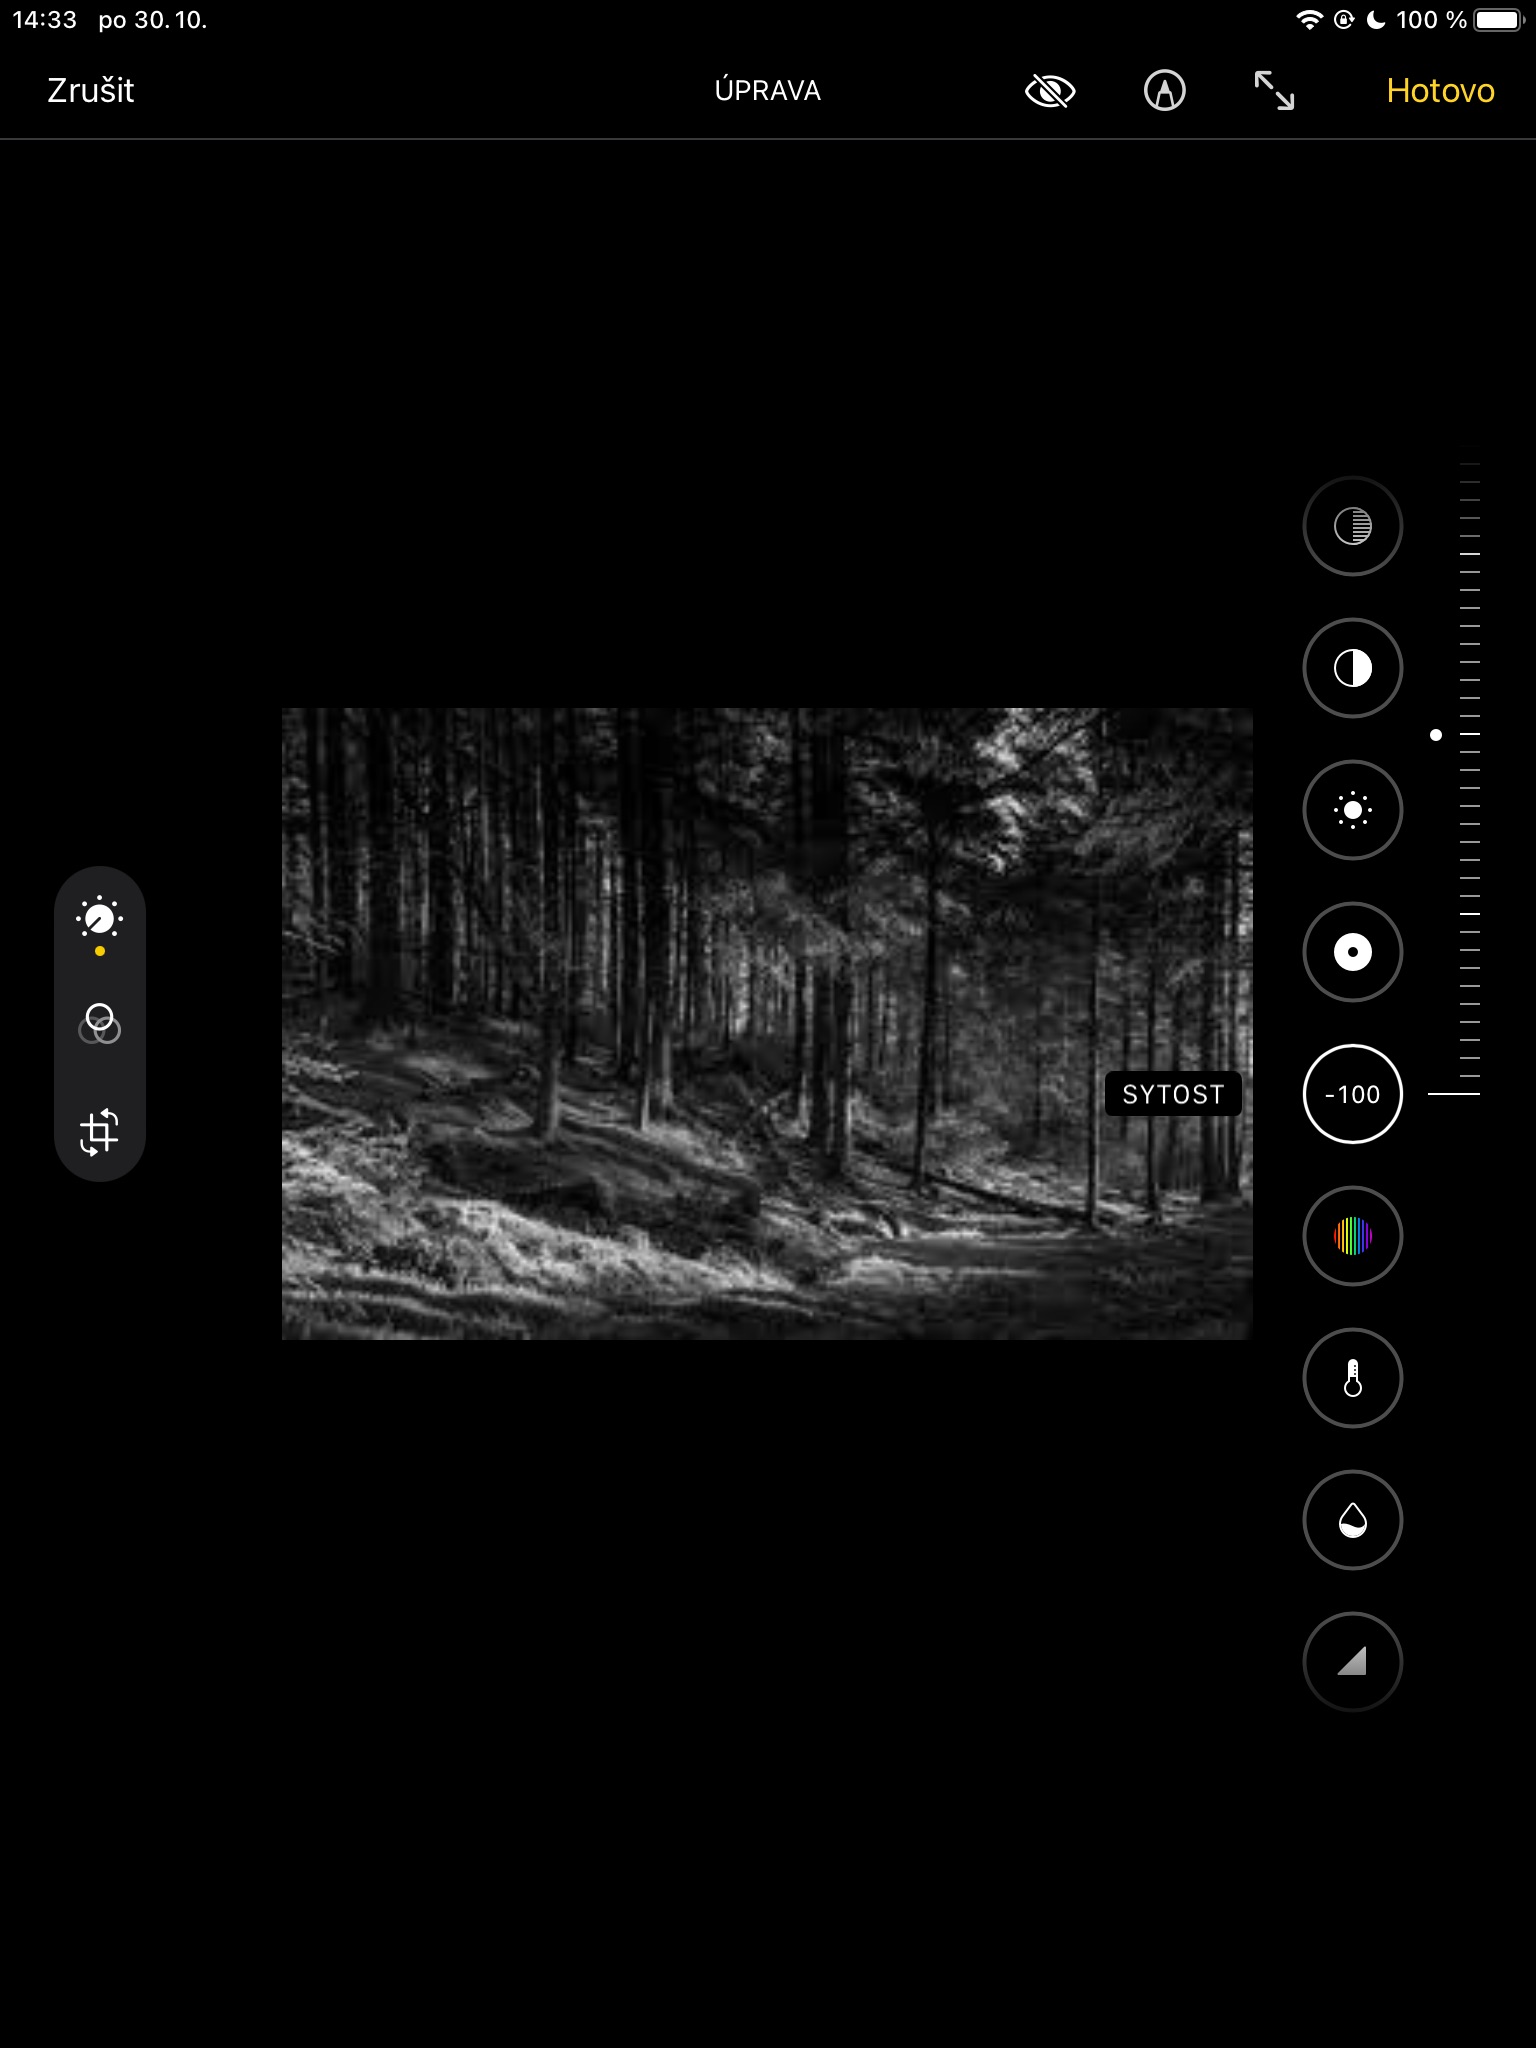
- Select an item on the right Satiety and set the value to -100.
- If you don't want to edit any other parameters of the photo, tap on Done in the top-right corner.
Manually converting a photo to black and white has the advantage of the possibility of further adjustments - you can set vignetting, adjust brightness, temperature, sharpness and a whole host of other parameters. Of course, there is also a quick way to convert a photo to black and white - just tap on Adjust, left tap on icon of three connected circles and then select a filter to the right of the photo Mono, Silver or Black.
 Adam Kos


