Another of the native apps you can use on your iPad is Calendar. In addition, its use is significantly more comfortable, easier and clearer thanks to the larger dimensions of the apple tablet display. In today's article, we will show you how to work with Calendar for iPadOS - specifically, we will focus on adding events and creating invitations.
It could be interest you

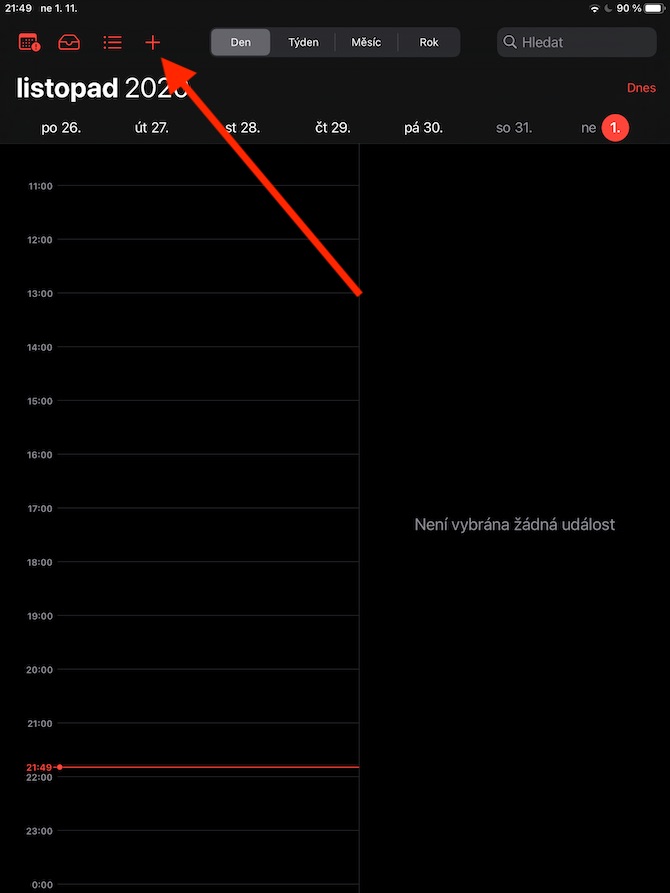
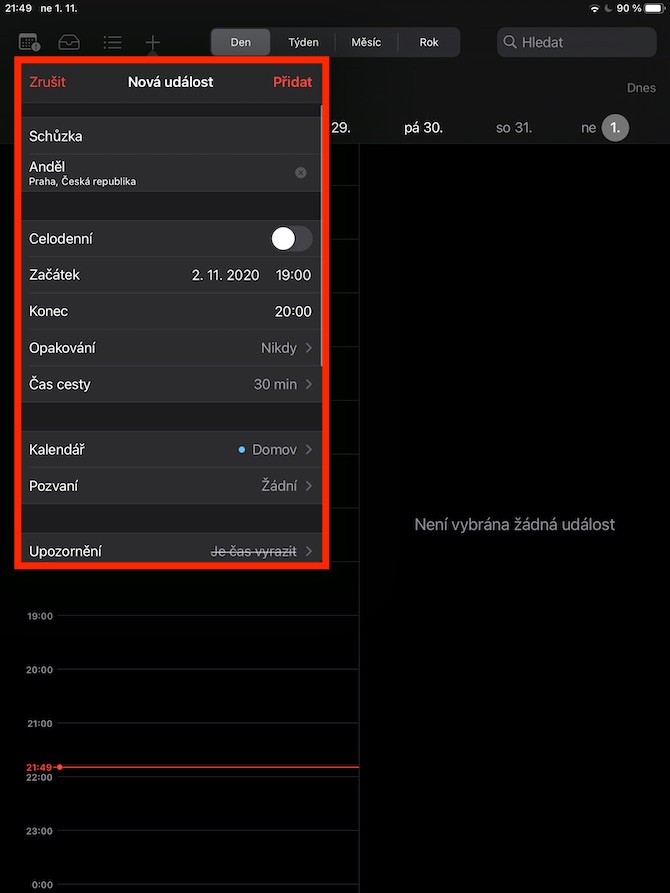
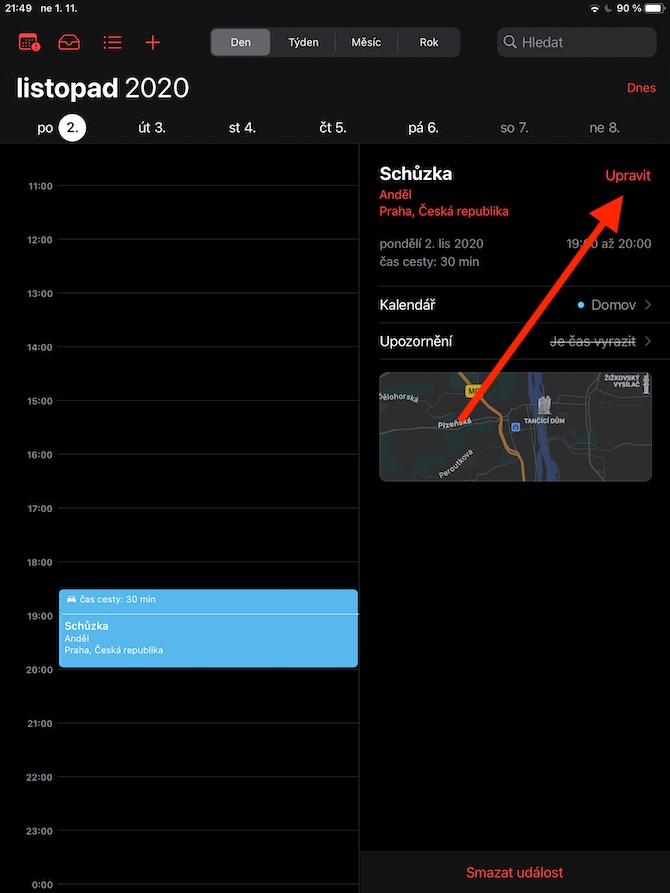
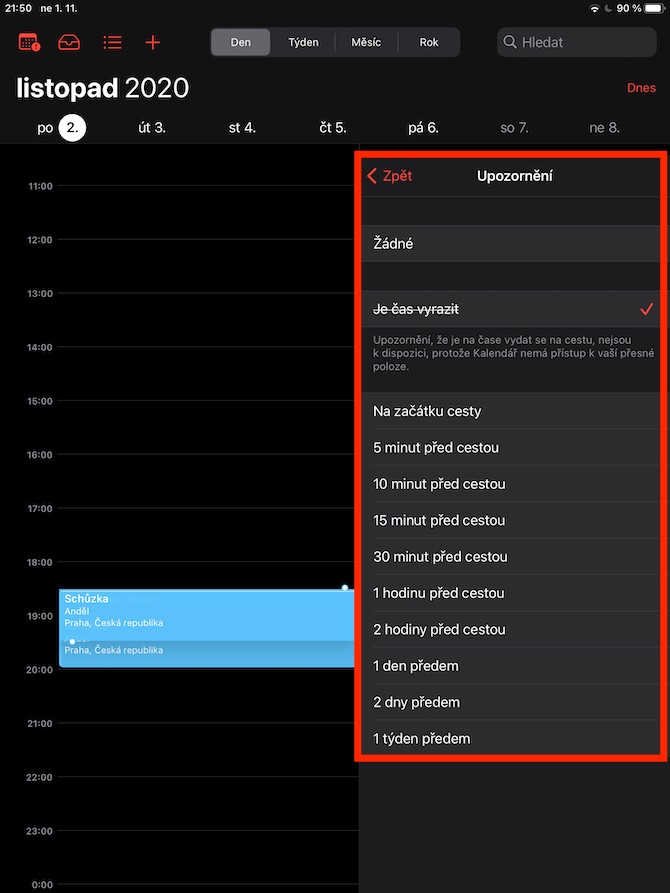
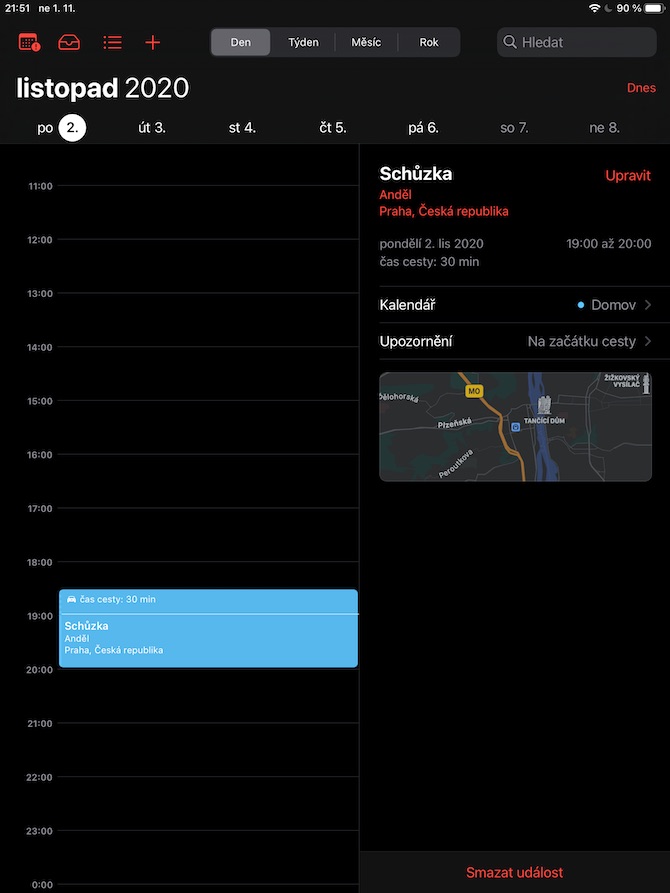
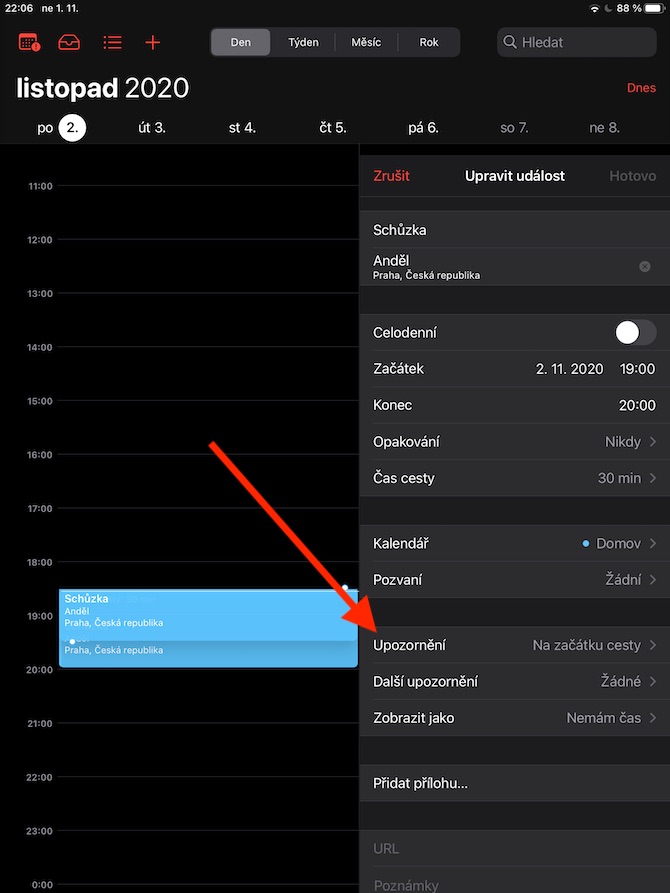
Creating and editing calendar events in iPadOS is not difficult. To add a new event, click the “+” button at the top left, then enter all the information about the event you want to have on the calendar - name, location, start and end time, repeat interval and other parameters. When done, click Add. You can also add reminders to your events in the native Calendar in iPadOS. Tap the created event and tap Edit at the top right. In the event tab, tap Notifications, then choose when you want to be notified of the event. To add an attachment to an event, click on the event and select Edit at the top right. On the event tab, click Add attachment, select the desired file and attach it to the event.
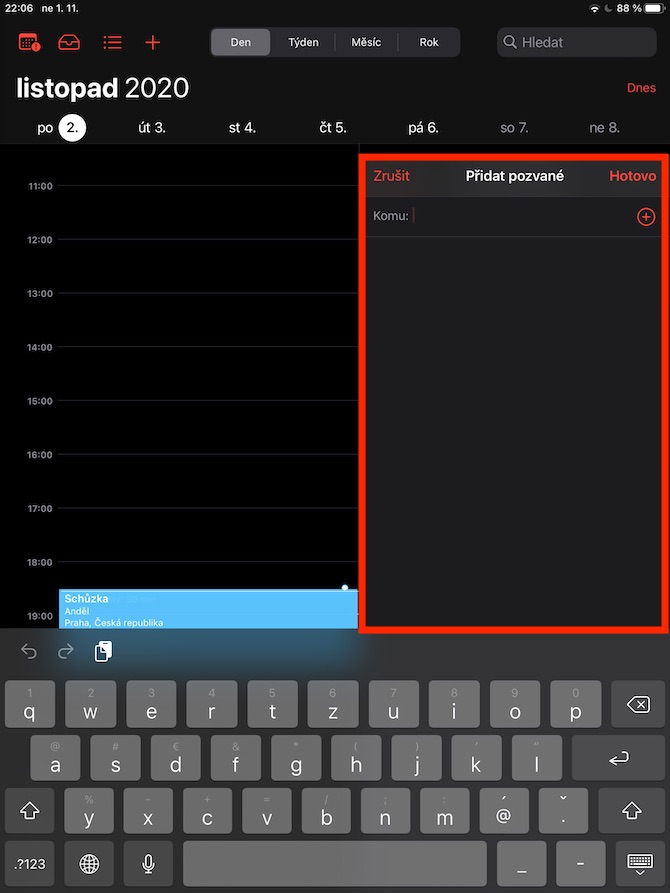
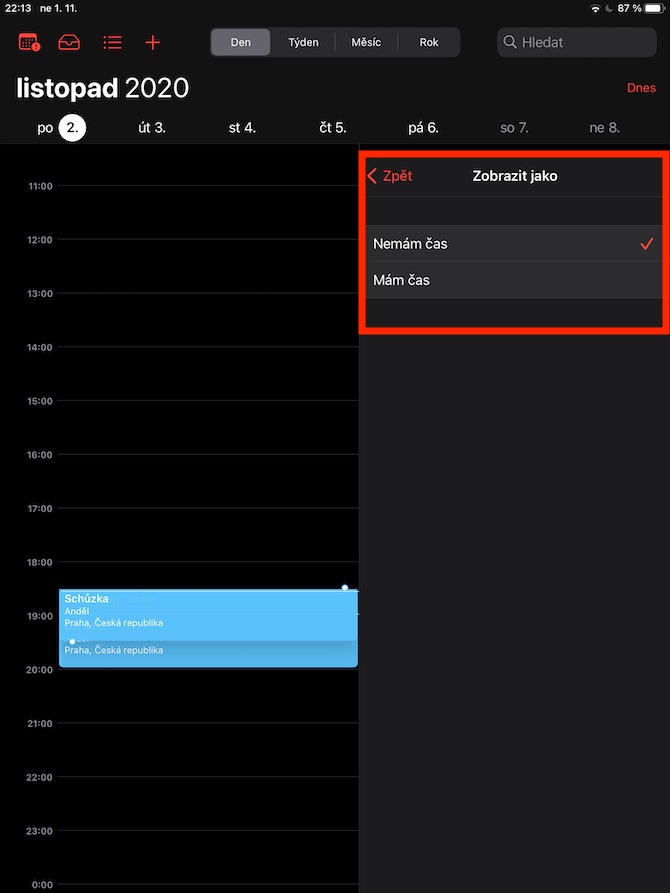
To add another user to an event you've created, tap the event, select Edit in the event tab, and then select Invite. After that, you can start entering the names or e-mail addresses of the invited individuals, or after clicking on the "+" to the right of the input field, you can search for the given person in your contacts. When finished, tap Done. To disable notification of potential meeting rejections, go to Settings -> Calendar on your iPad and turn off the option Show invitation rejections. If you want to appear available to other users at the time of the event, click the event and click Edit. On the event tab, in the View as section, enter I have time. To suggest a different time for a meeting you've been invited to, tap the meeting and then choose Suggest new time. Tap a time, enter your suggestion, then tap Done and Submit.
Good day. How long is information stored in the Calendar? I wanted to look back for an event two or 3 years ago and the calendar 3 years back is completely empty. Thank you.
In Settings – Calendar – Synchronize – All. I have appointments in my calendar since 2010.
It's growing. Thank you for the advice. I have everything set to sync. I worded the question wrong. I also have events from 2010 in my calendar on my iPhone. However, if I search the calendar on my iPhone, it does not find a specific event that is older than a year, even if I enter the exact name. I looked for it on the Internet, Apple advises to search on a PC. Is there no other way to search the iPhone calendar for a specific event several years older? I'm sorry and thank you.
Link to apple
https://support.google.com/calendar/answer/37176?co=GENIE.Platform%3DiOS&hl=cs