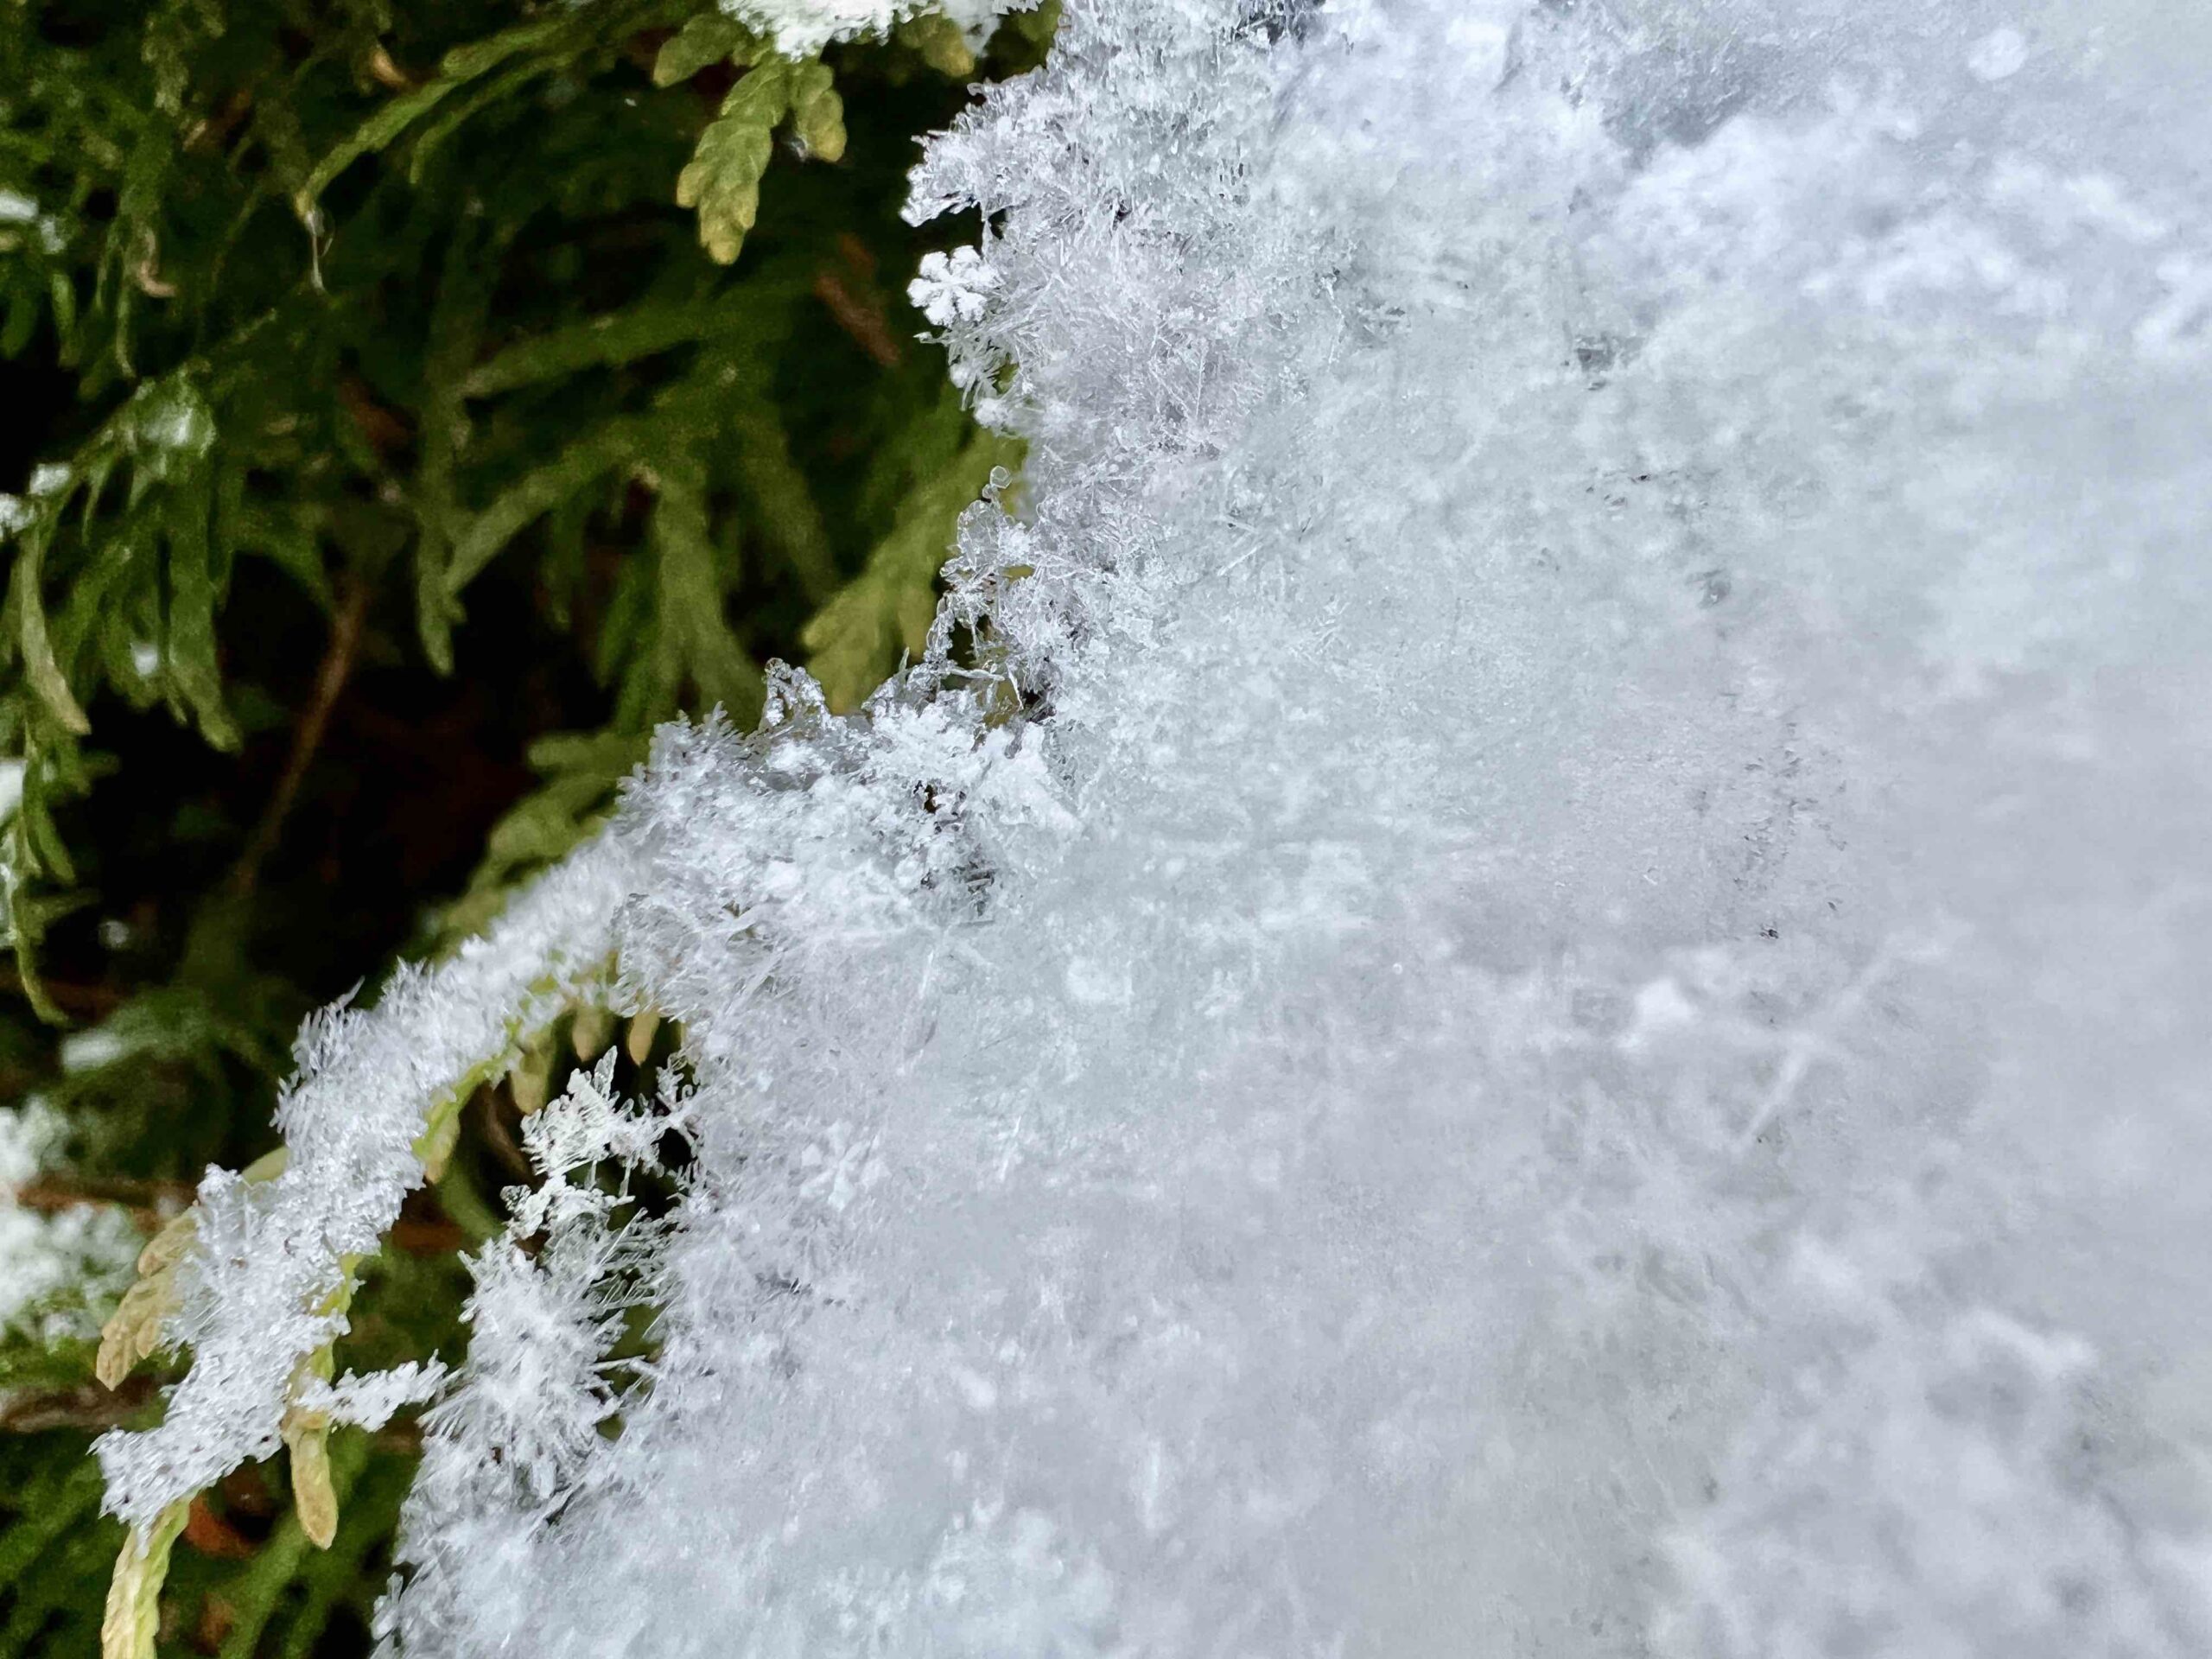
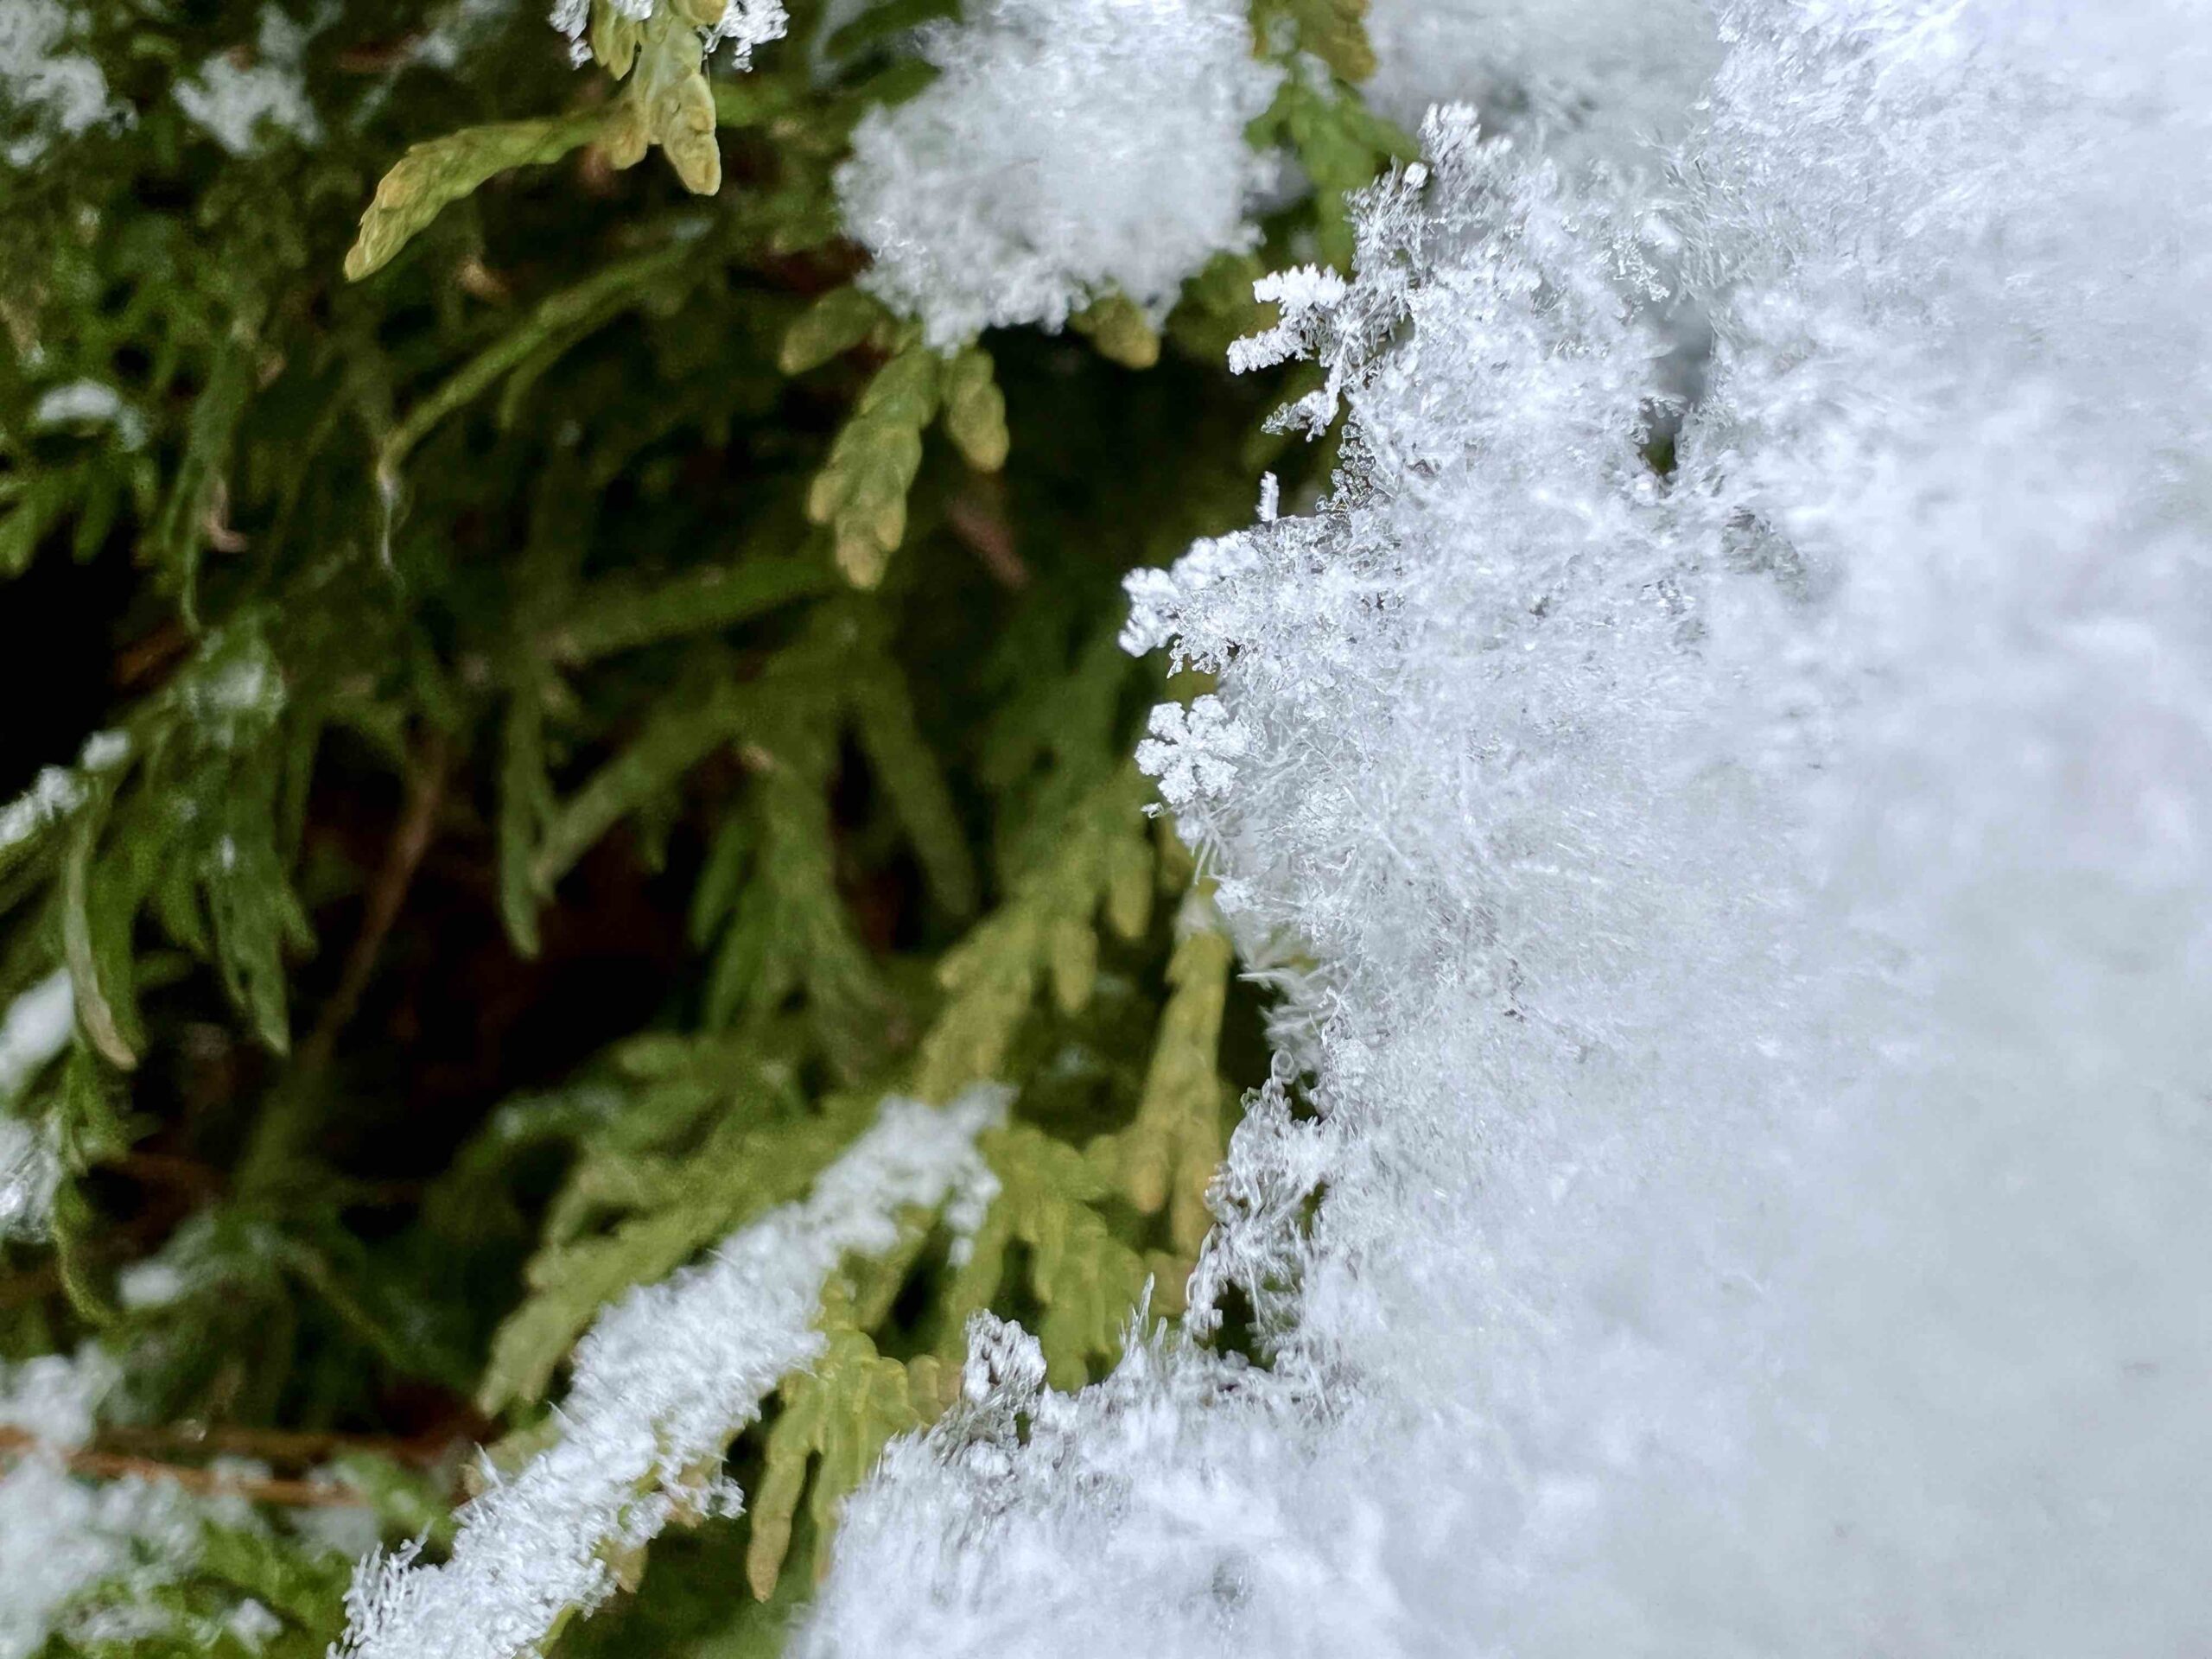
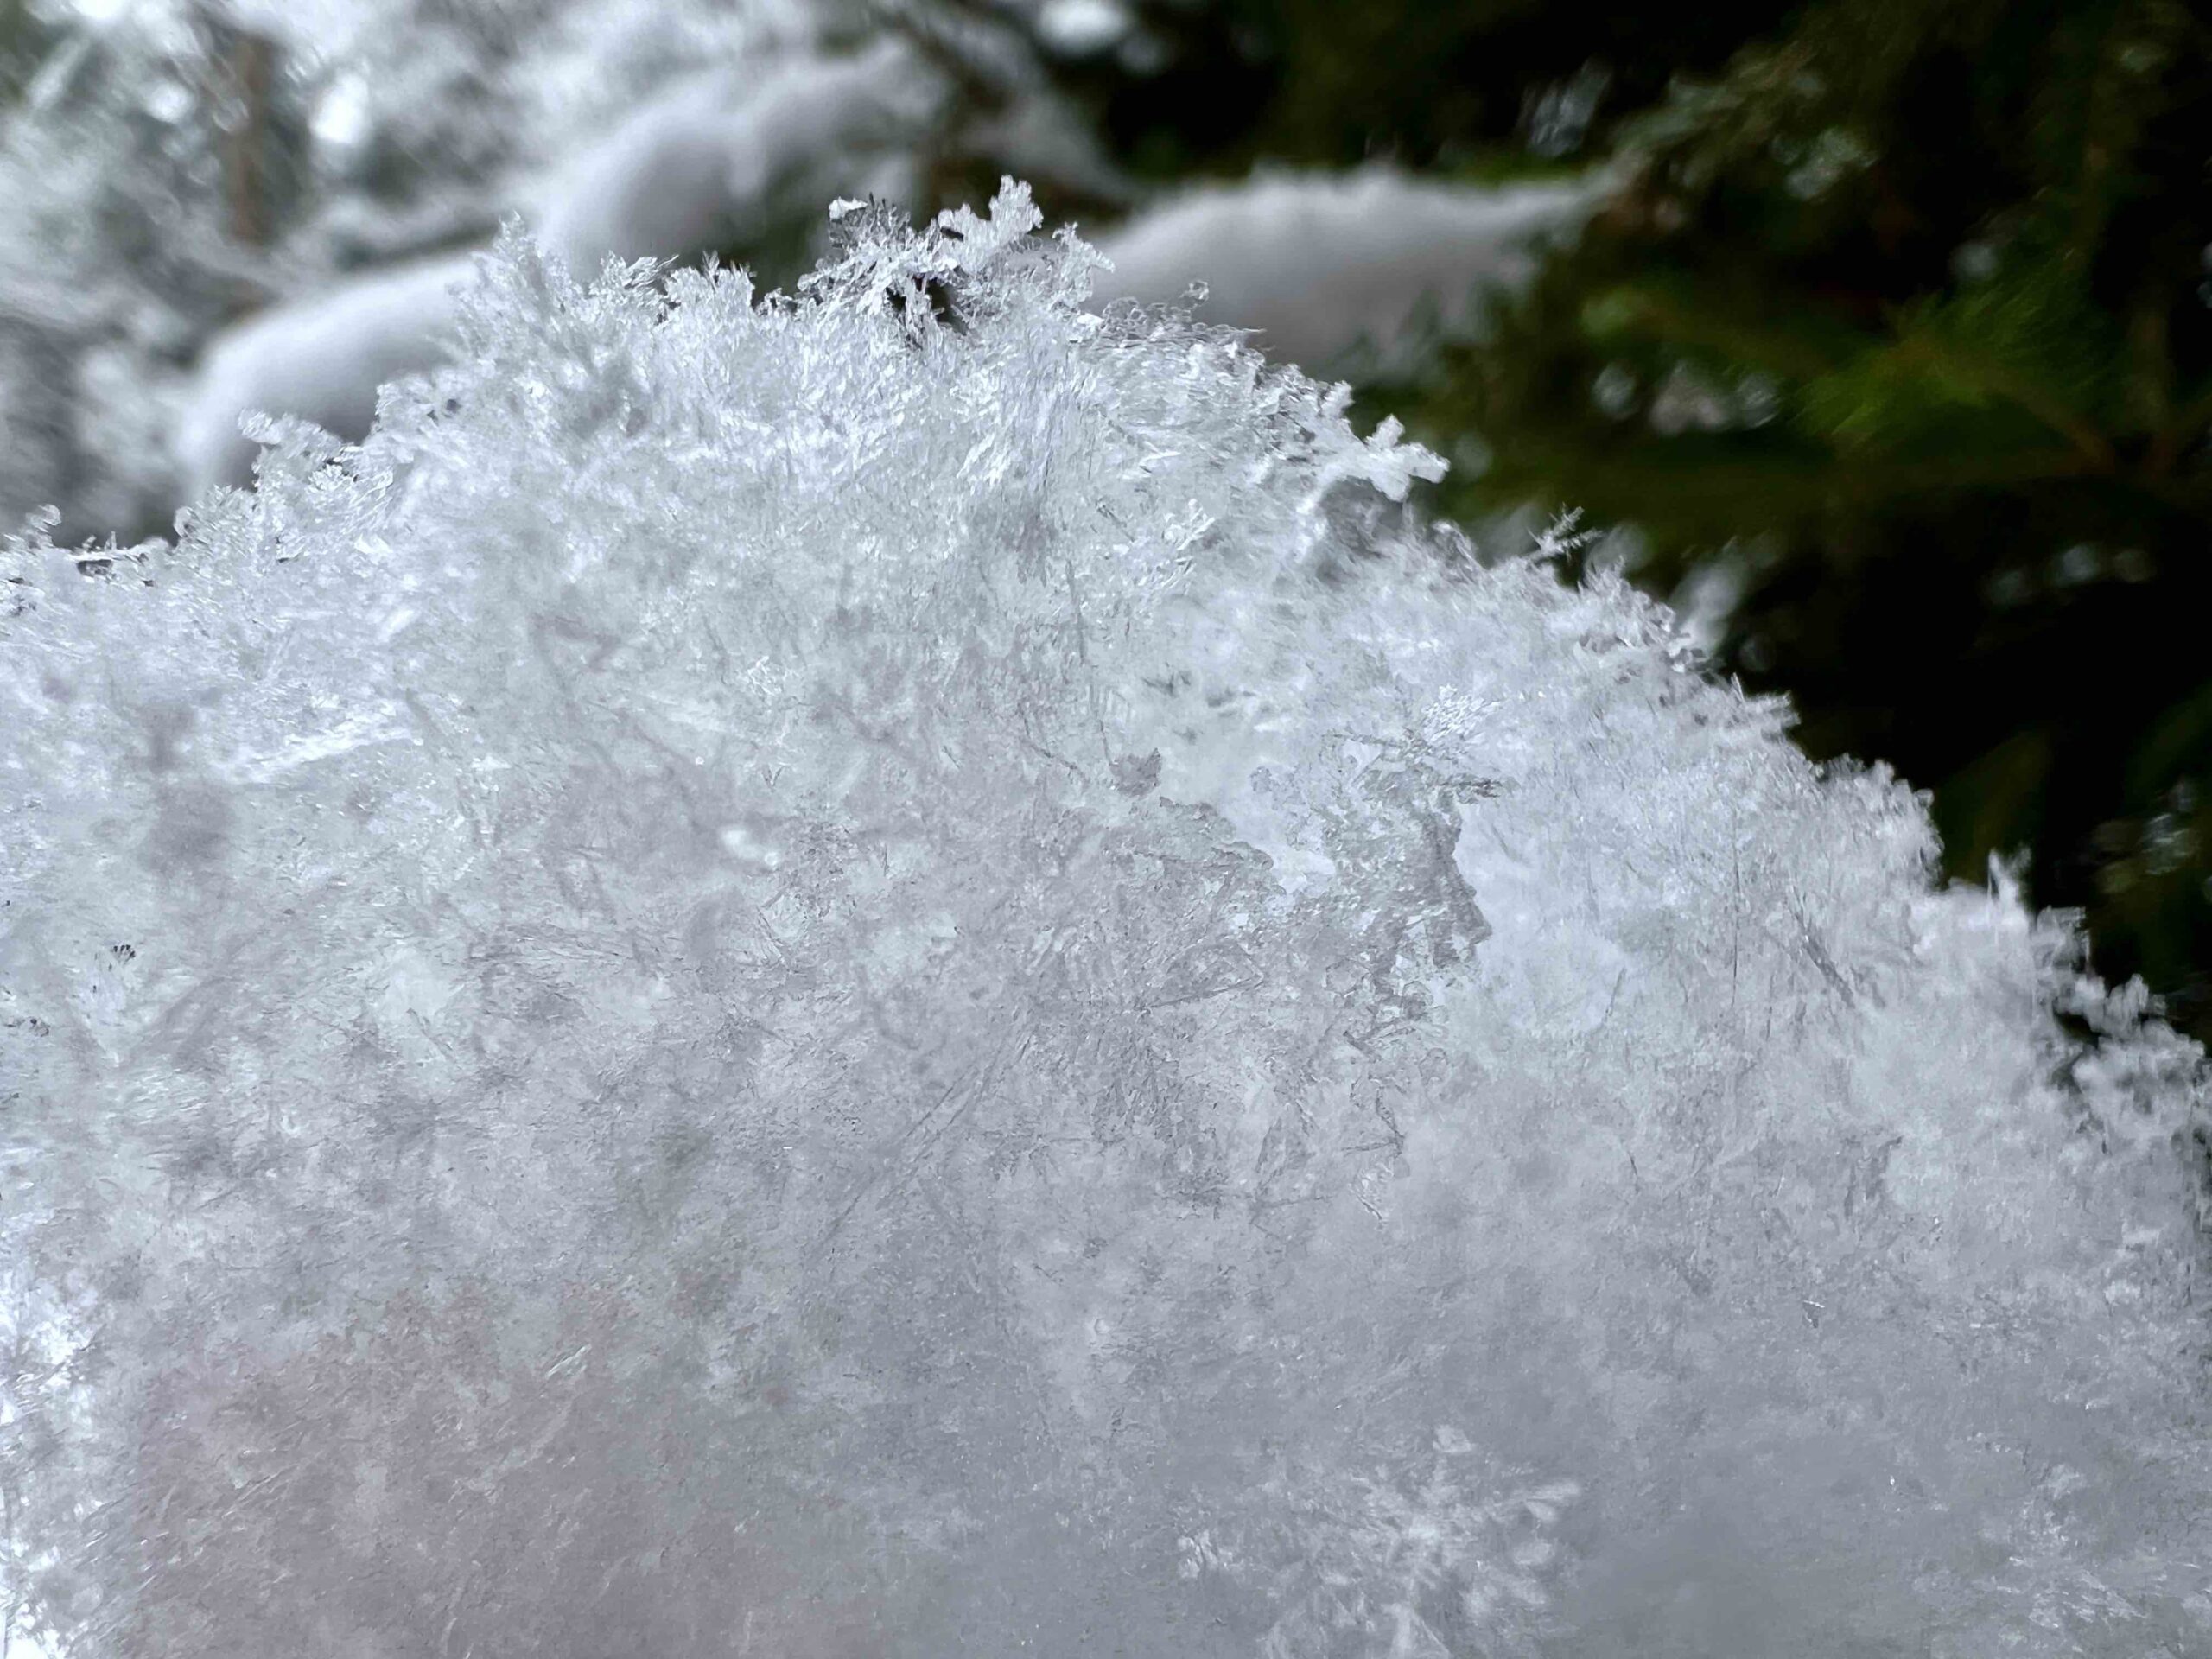
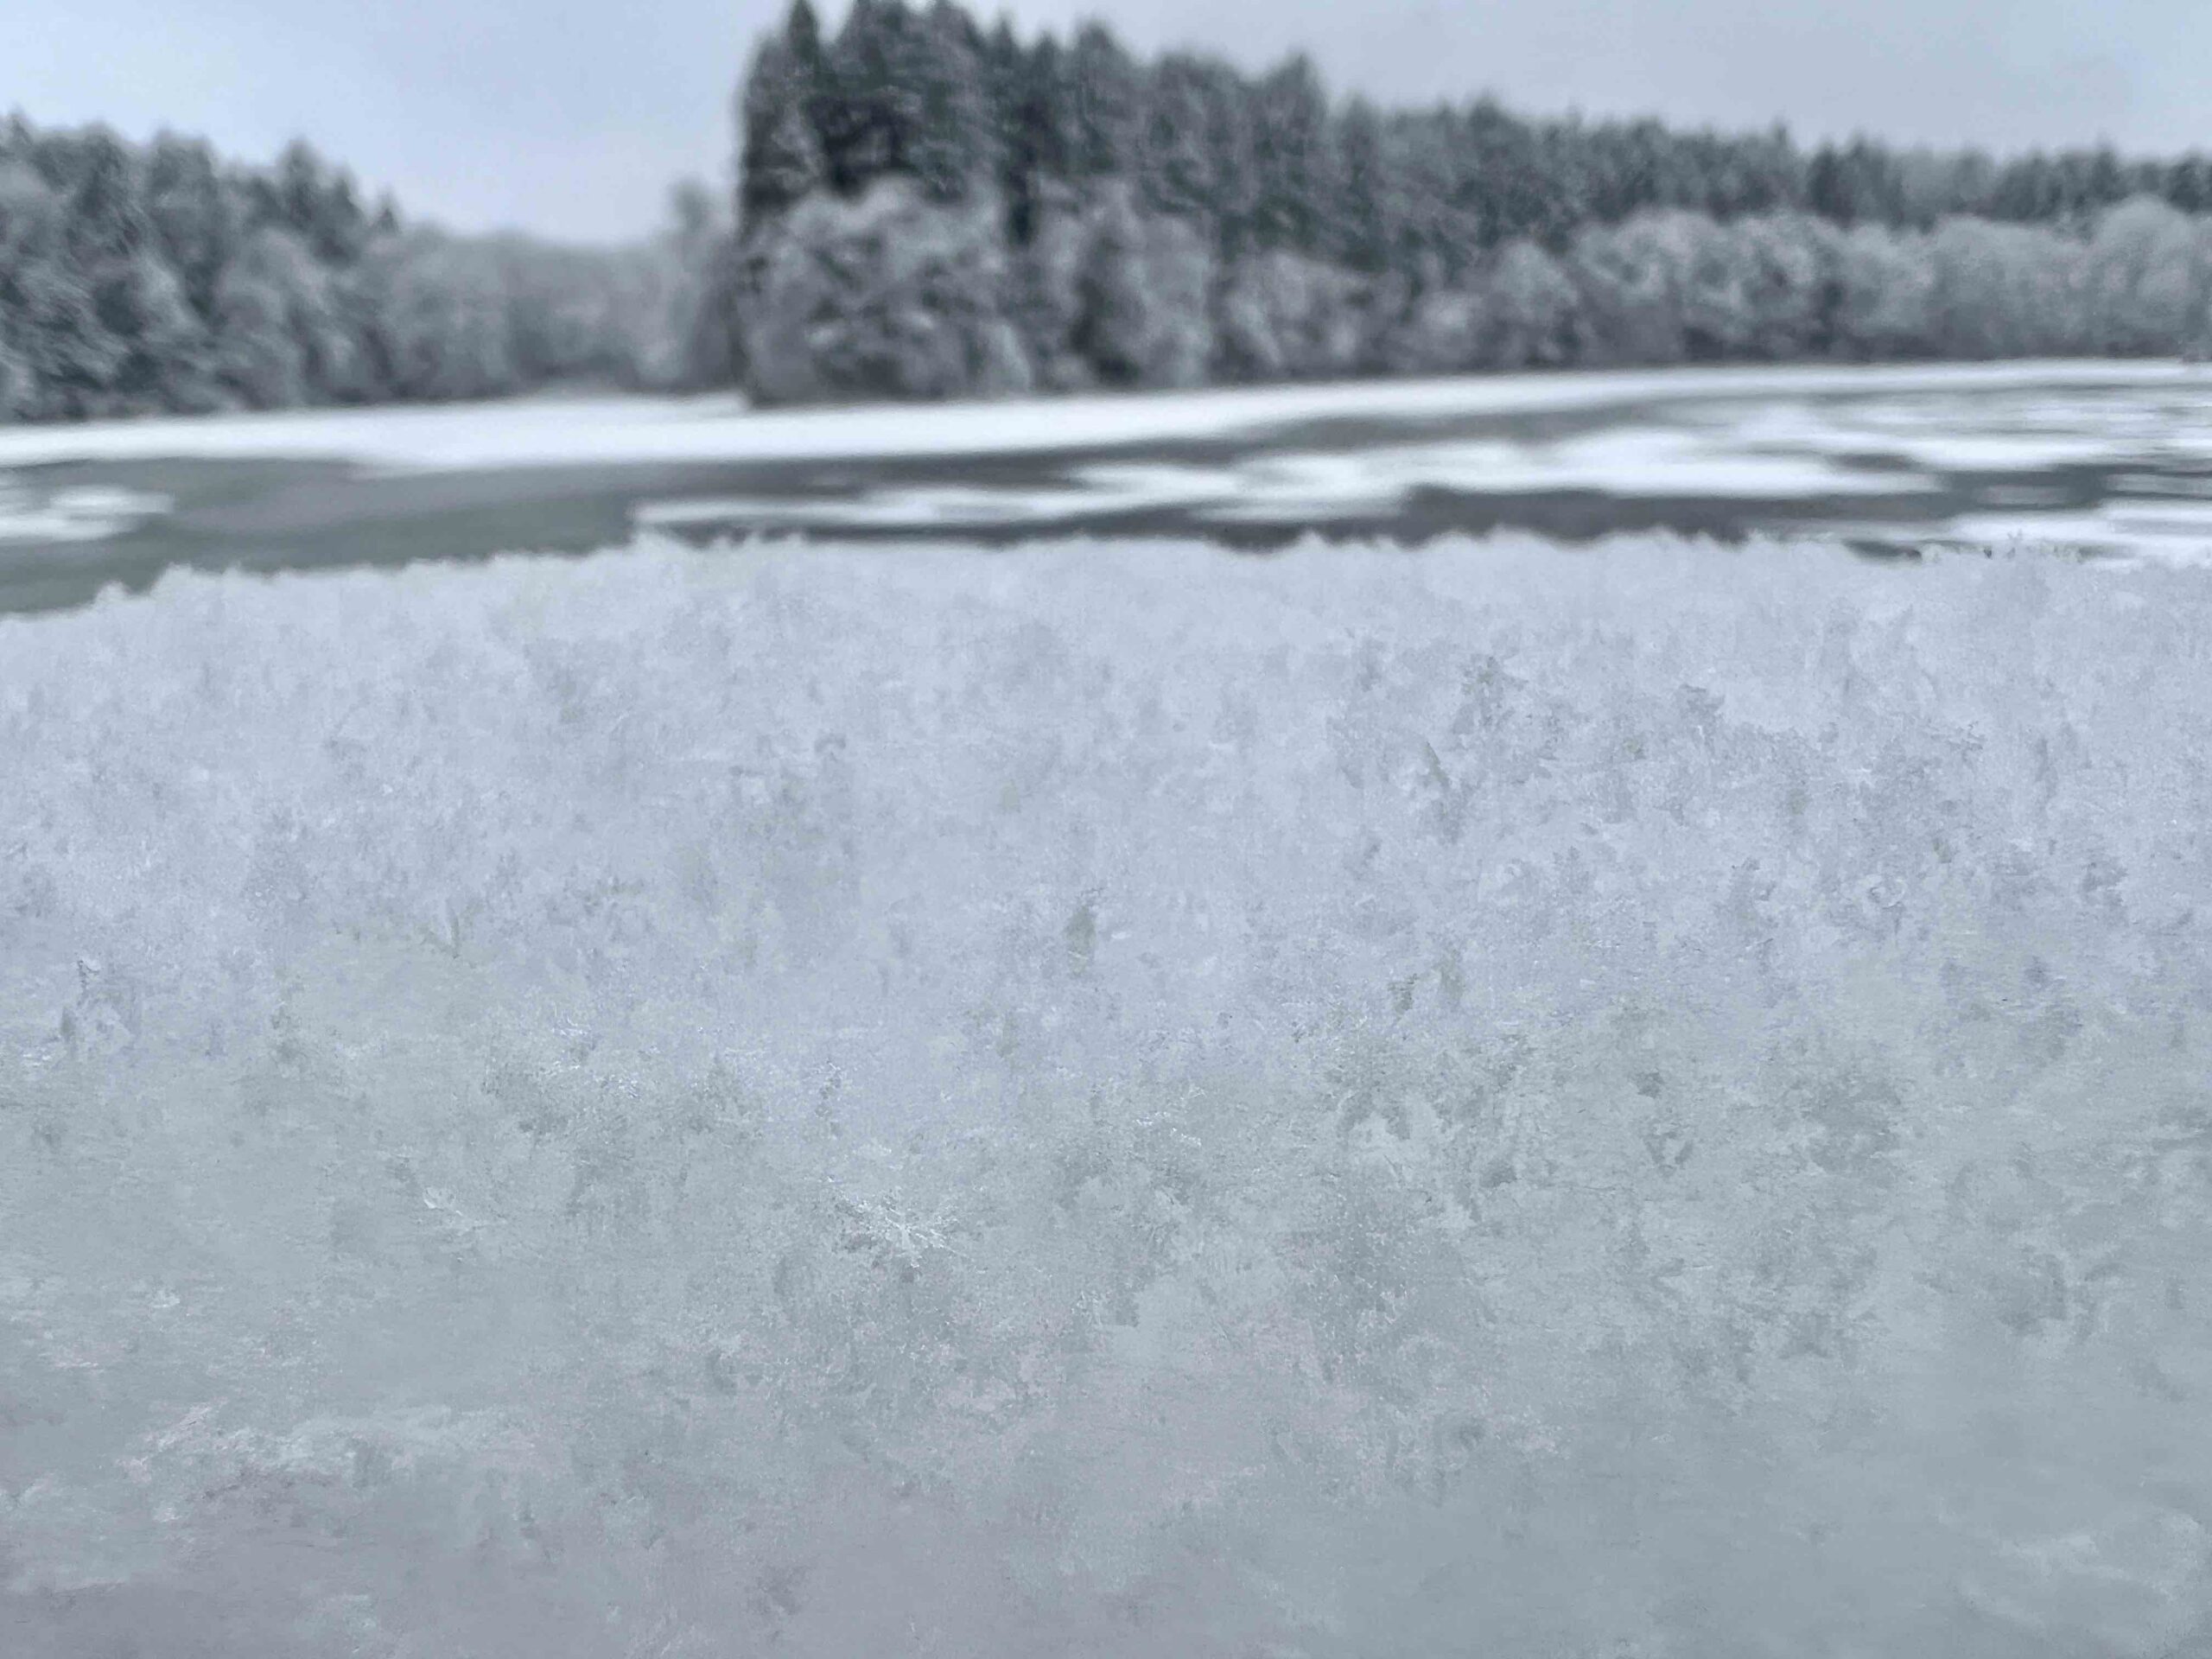
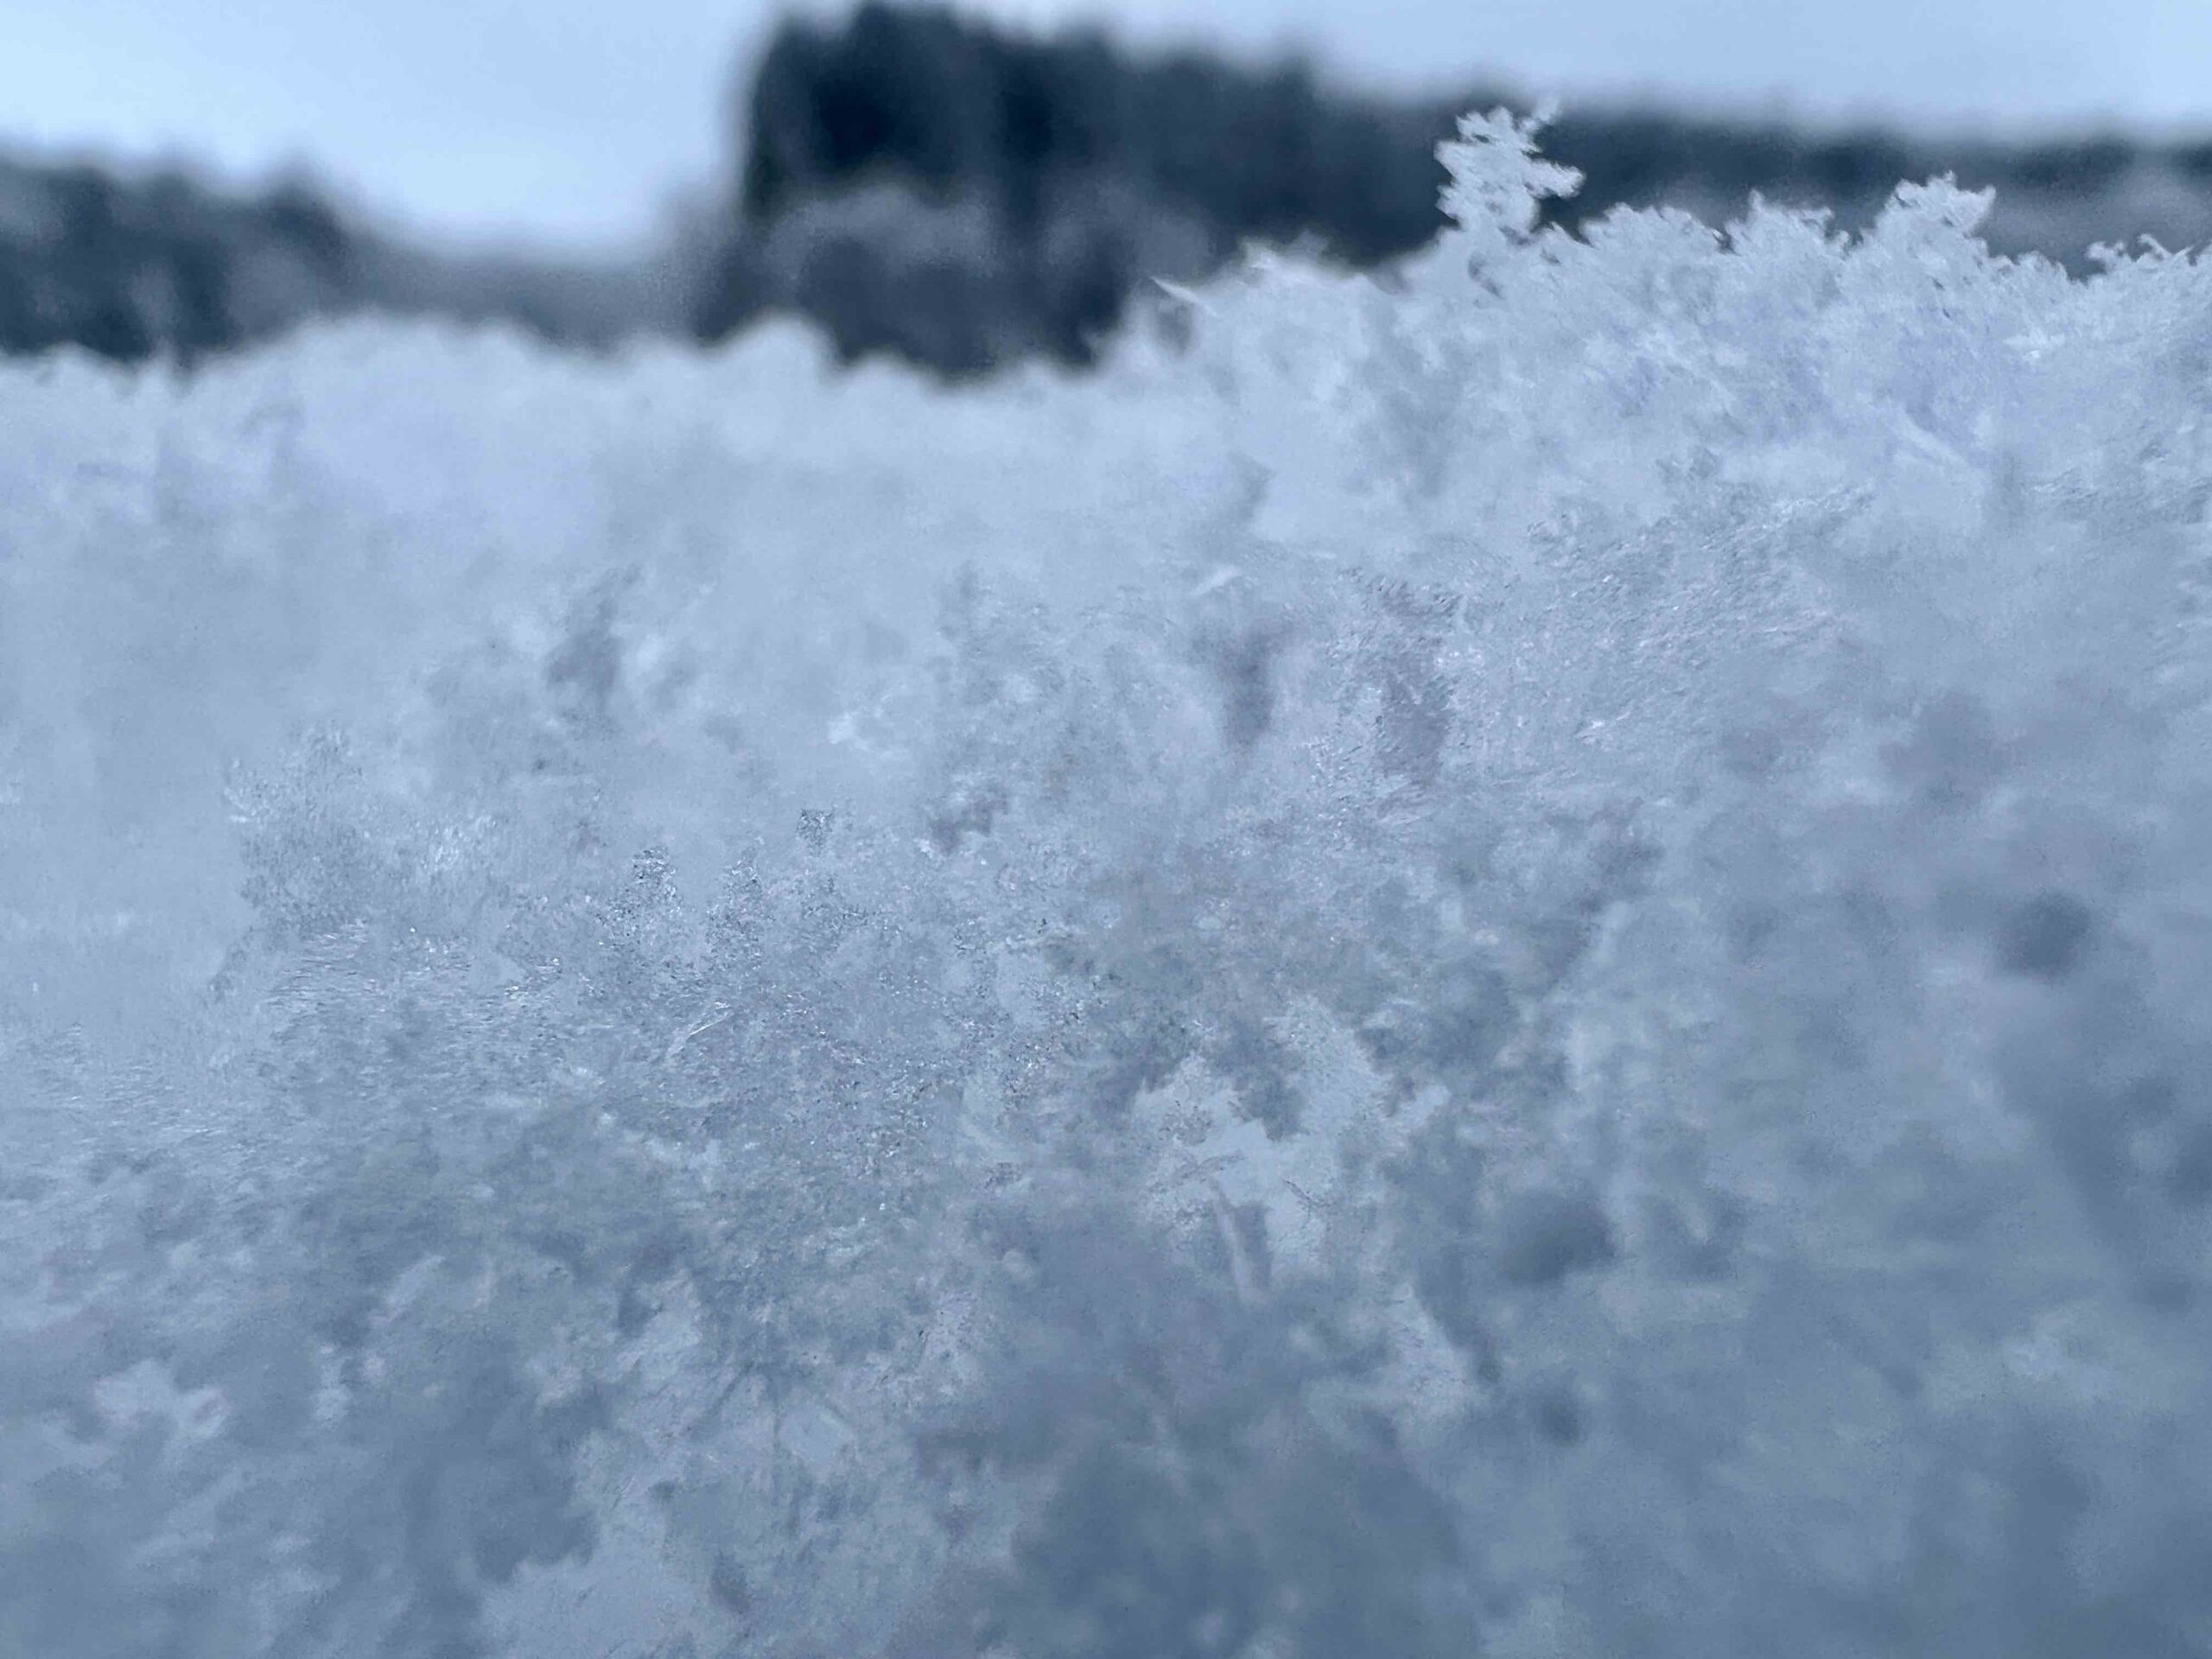
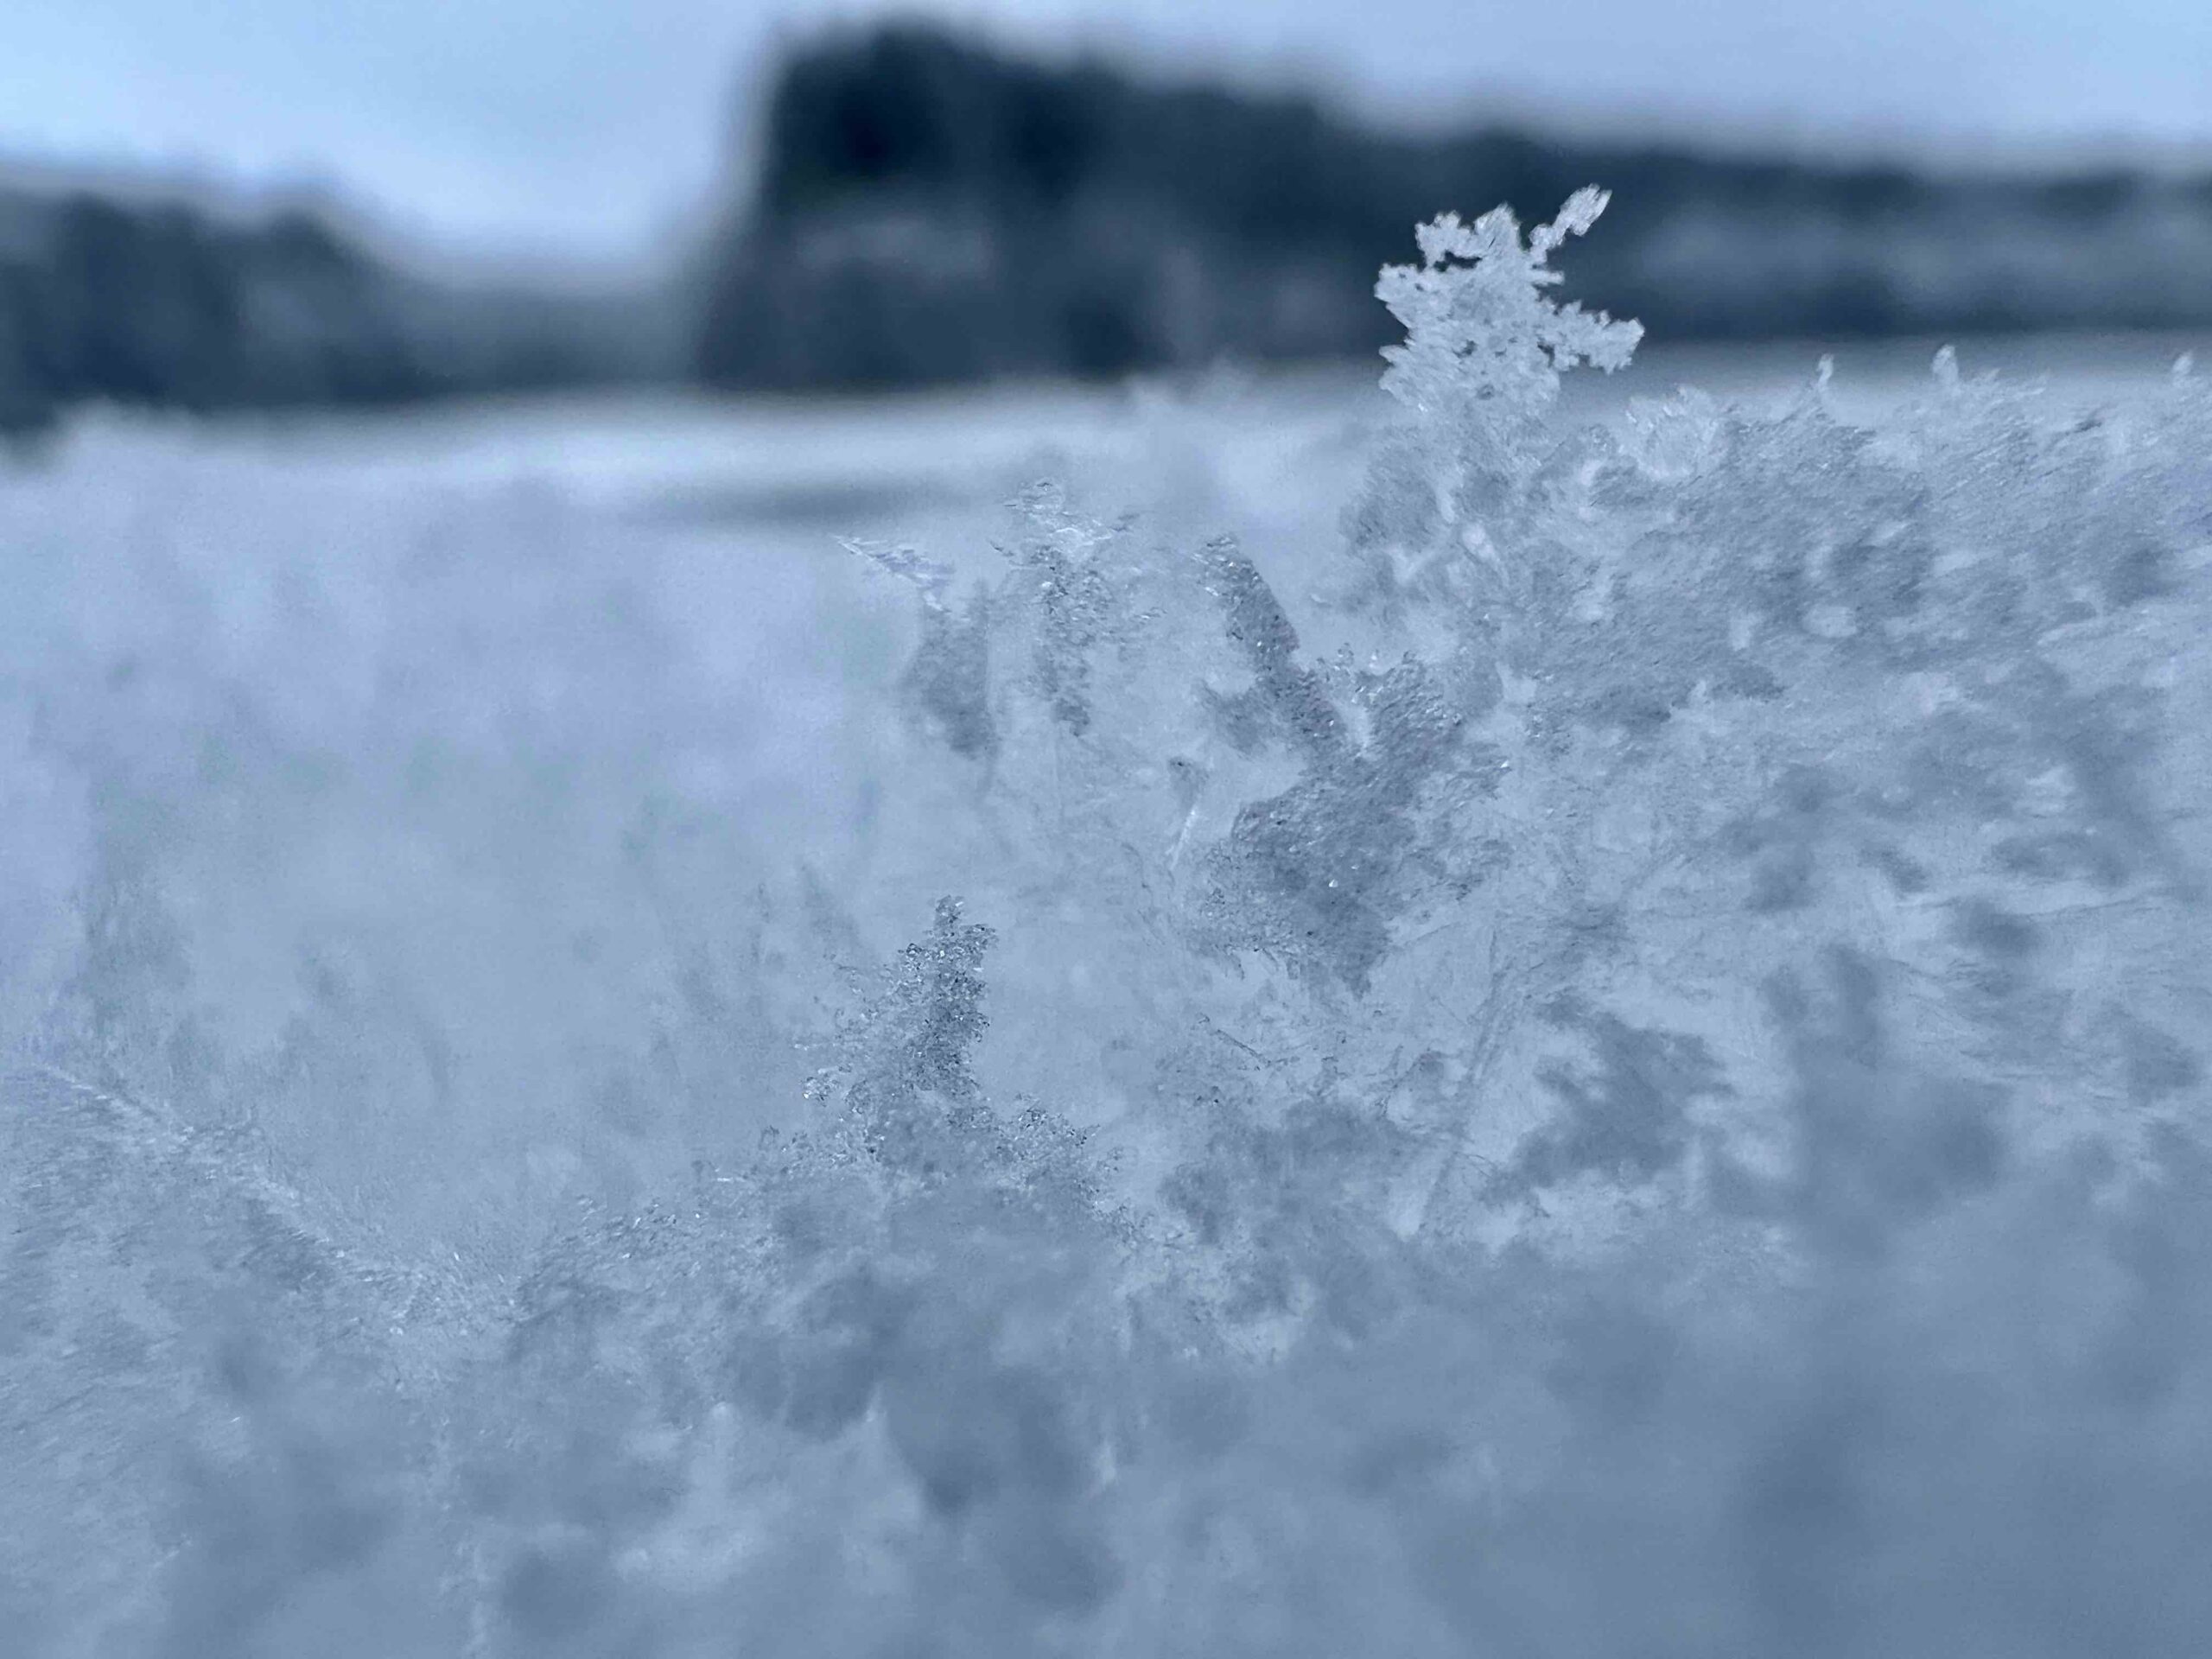
Are you an iPhone 13 Pro (Max) or 14 Pro (Max) owner? If so, then you probably know that your Apple phone can also take so-called macro pictures, which you can use, for example, to take pictures of snowflakes. Macro shooting works thanks ultra-wide-angle camera and unfortunately it is officially limited to the mentioned apple phones. But that doesn't mean at all that you can't take photos in macro mode on older models as well. Therefore, let's take a look together in this article on how to take the best possible photo of a snowflake on the iPhone, especially thanks to the macro mode.
Macro in iPhone 13 Pro and 13 Pro Max
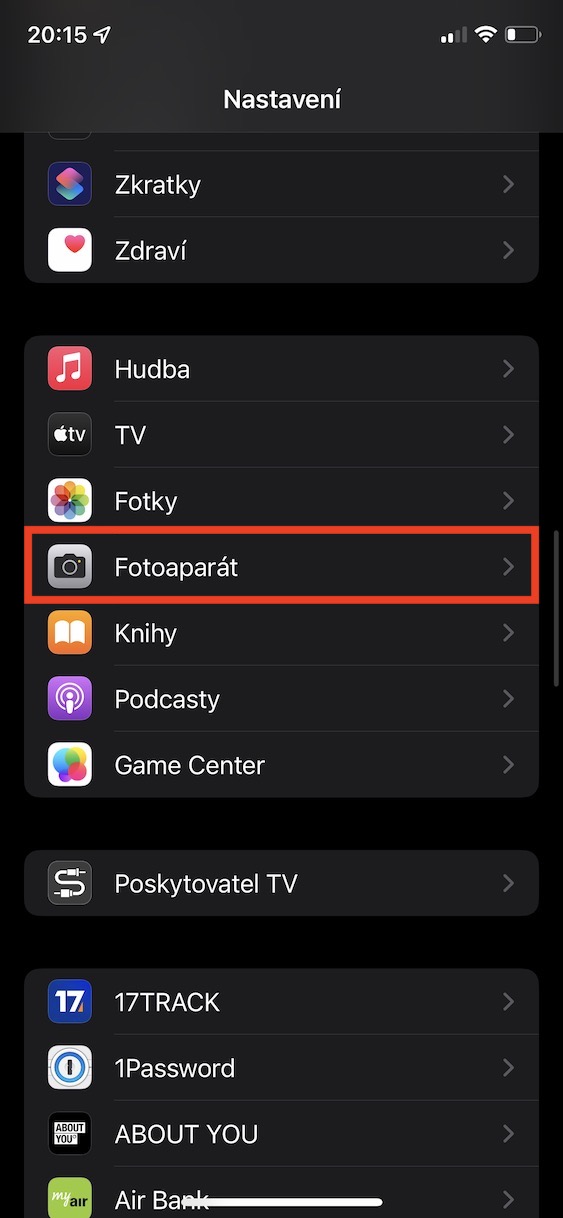
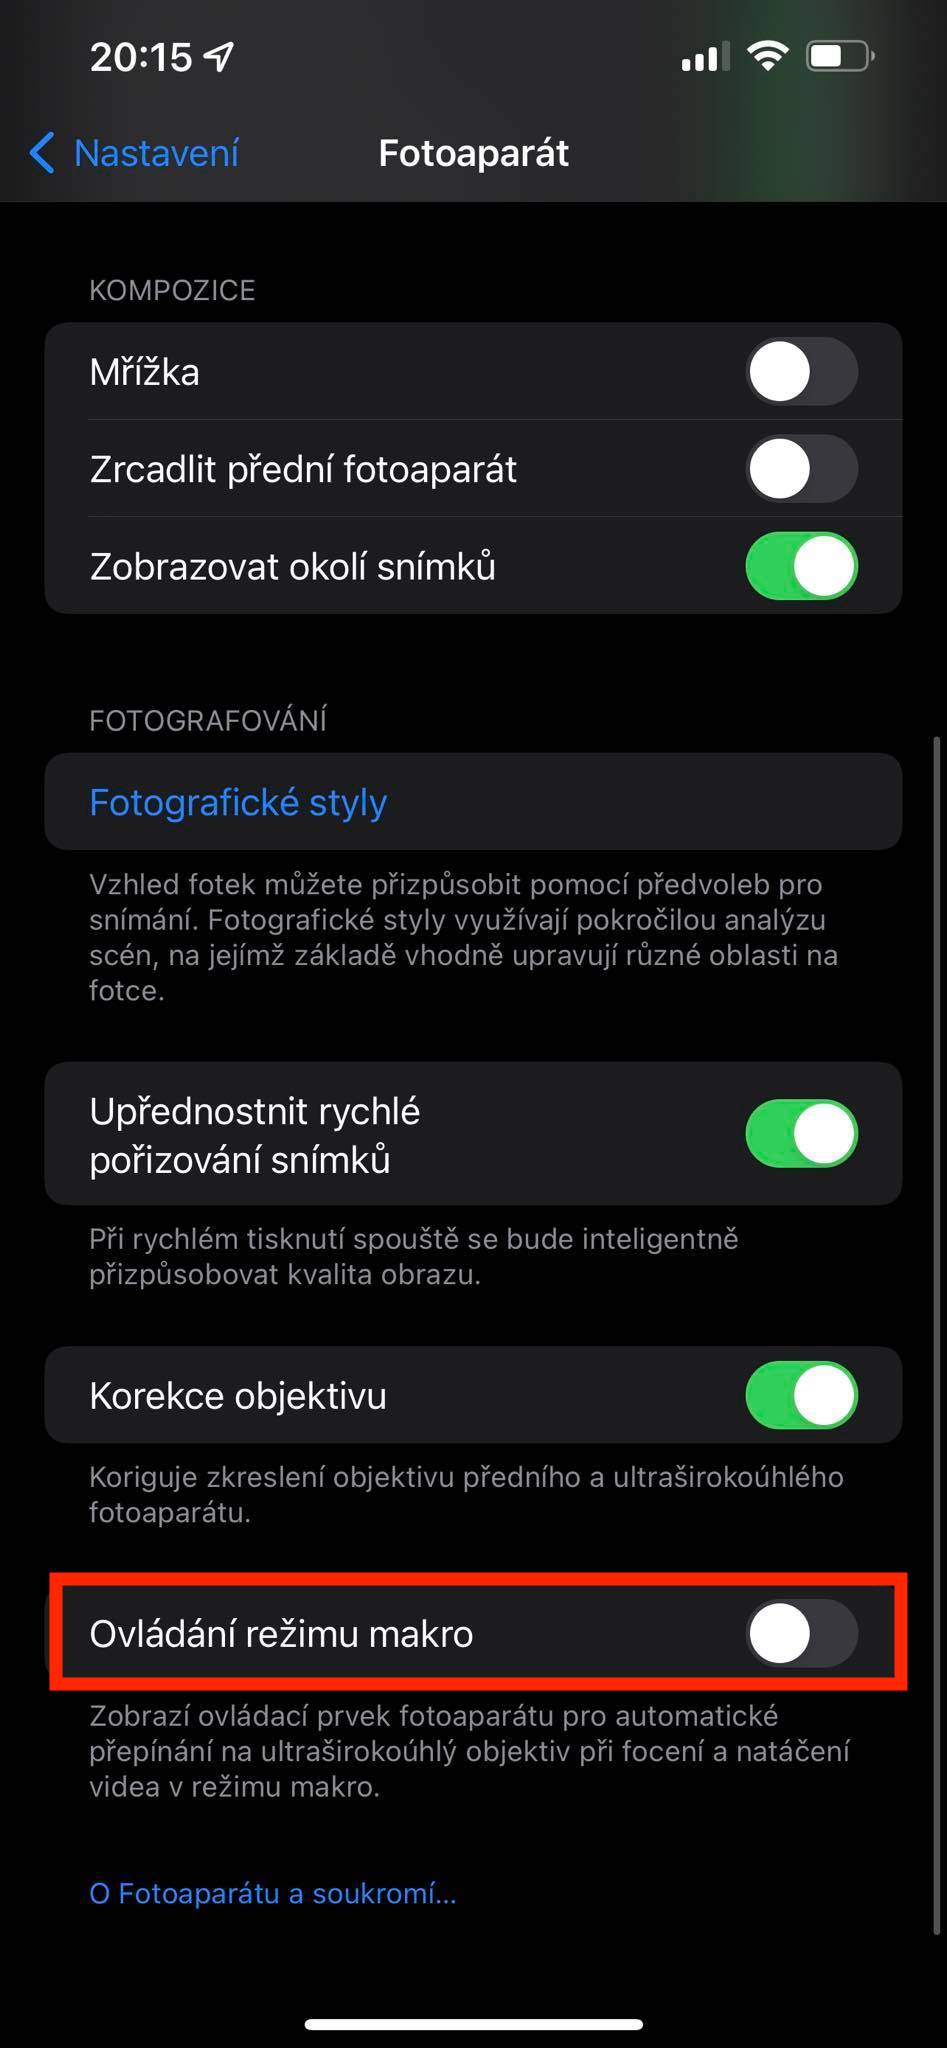
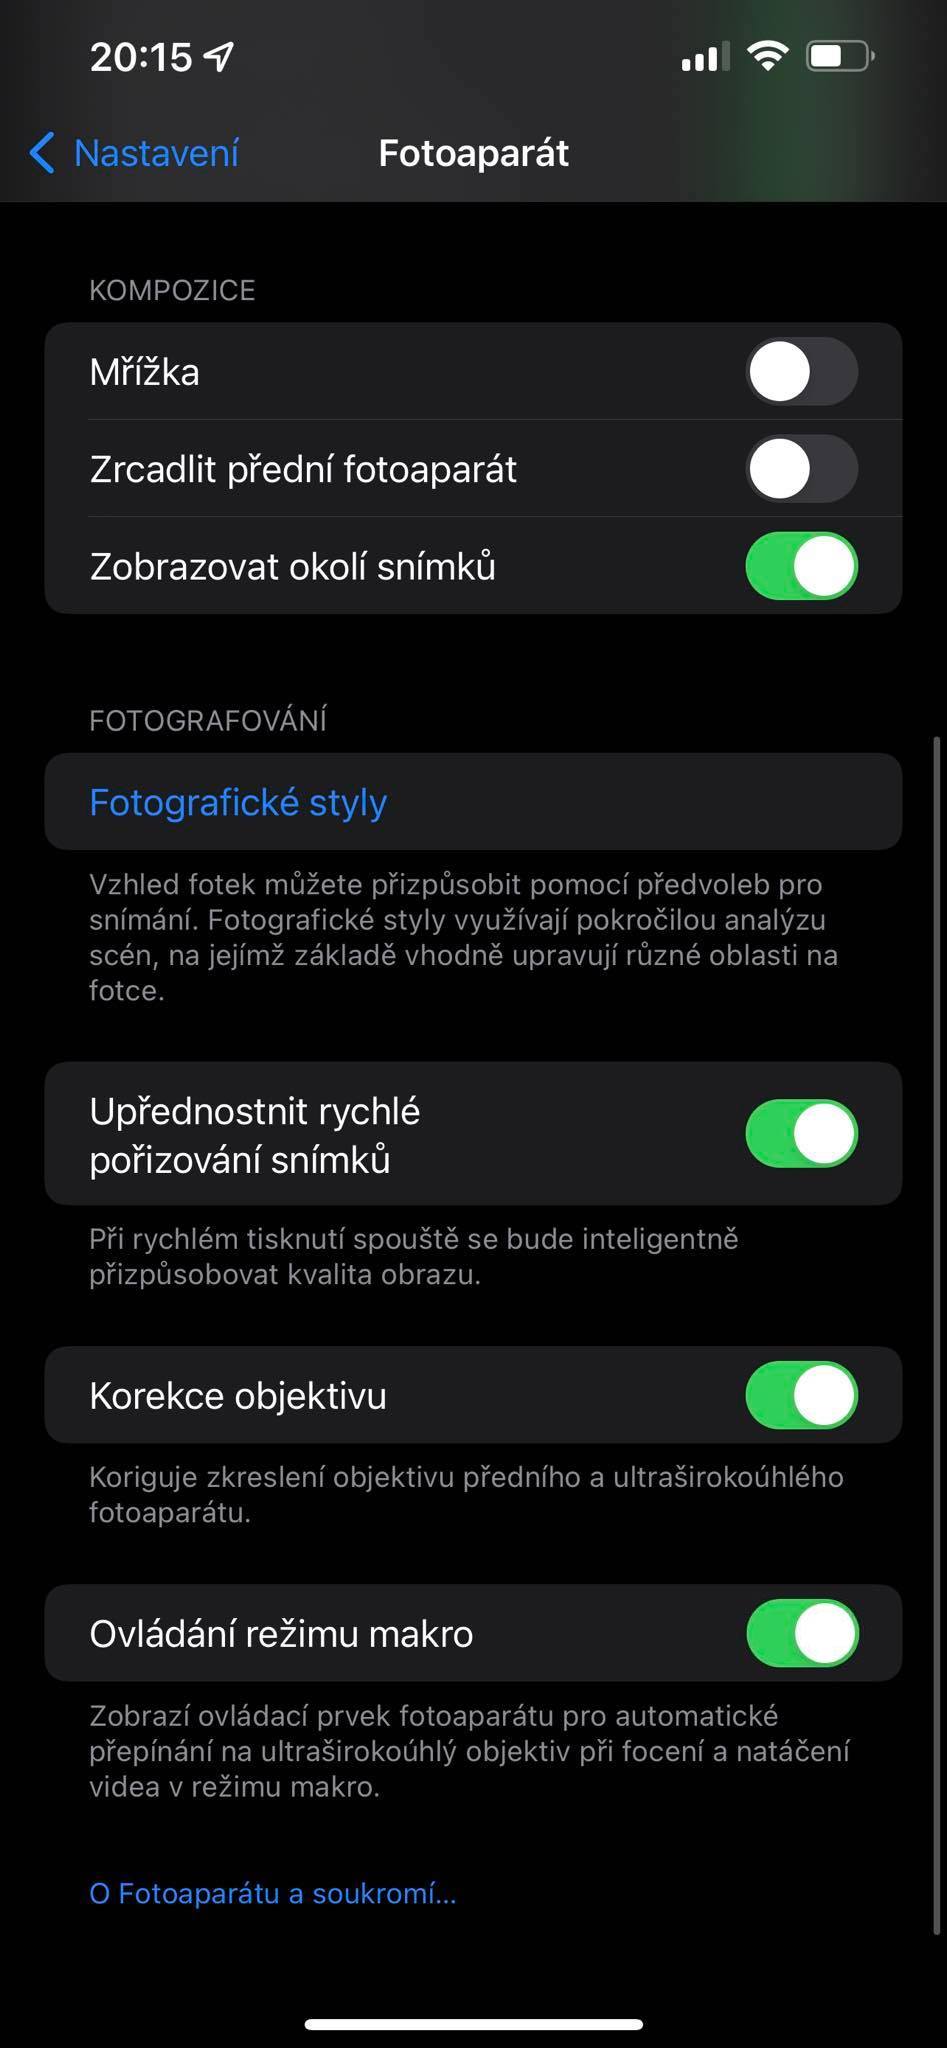
After activating the macro mode, the iPhone 13 Pro (Max) or 14 Pro (Max) can focus at a distance of 2 centimeter thanks to the automatic focus. The feature doesn't want to burden you with activation, so as soon as the camera system thinks you're close enough to the subject for the iPhone to start macro shooting, it automatically switches the lens to ultra-wide. If you are not satisfied with this behavior and would like to manually (de)activate the macro, you can do so in Settings → Camera, where you just need to switch Automatic macro.
Third-party applications
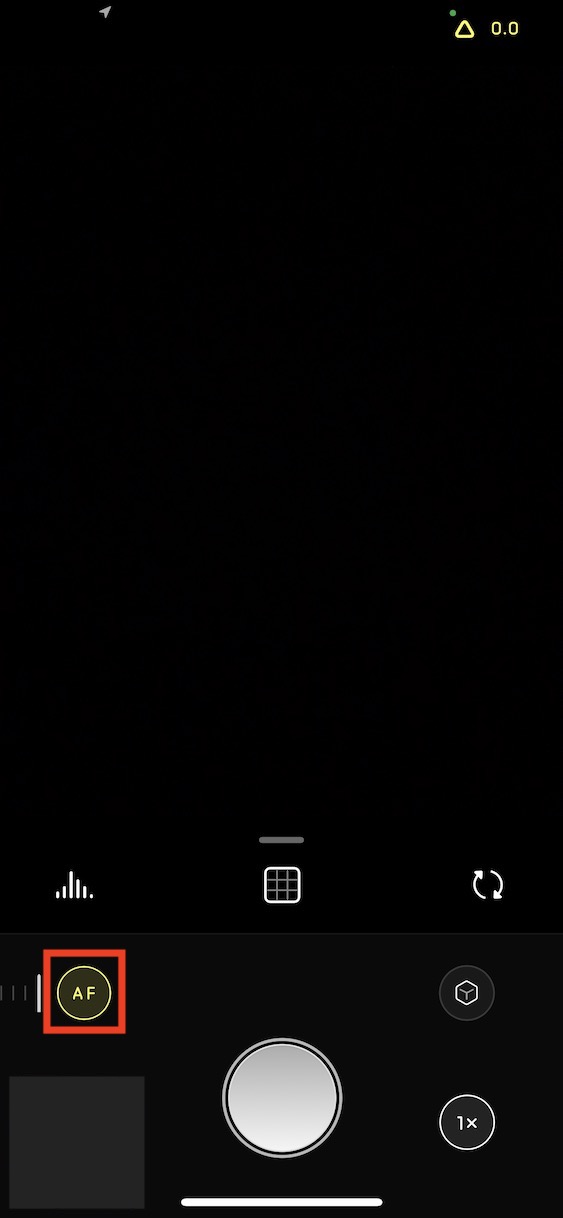
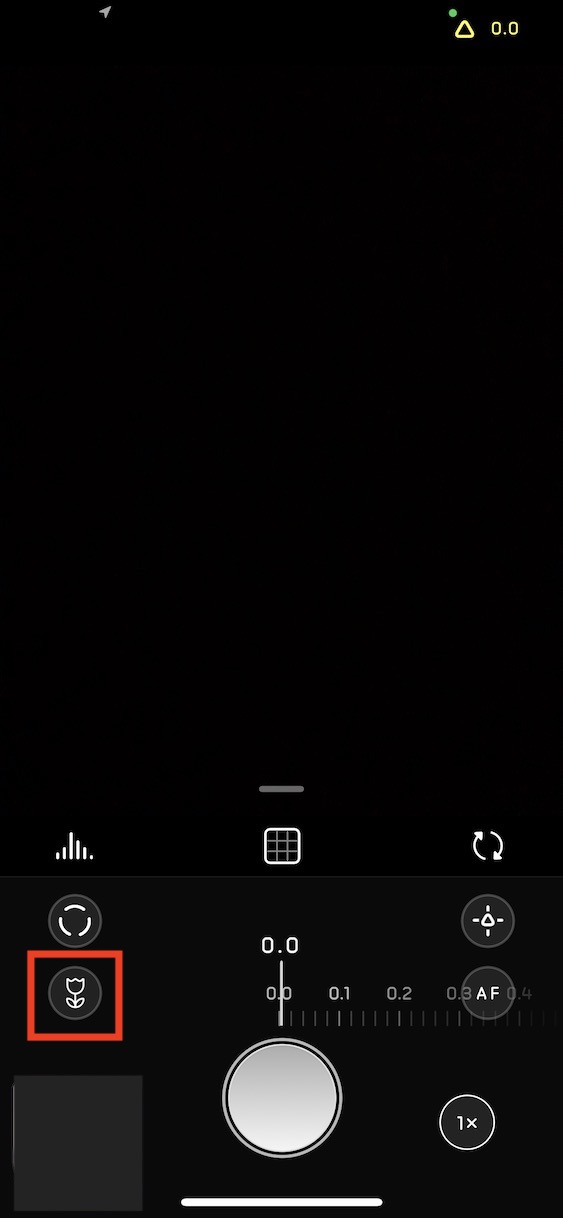
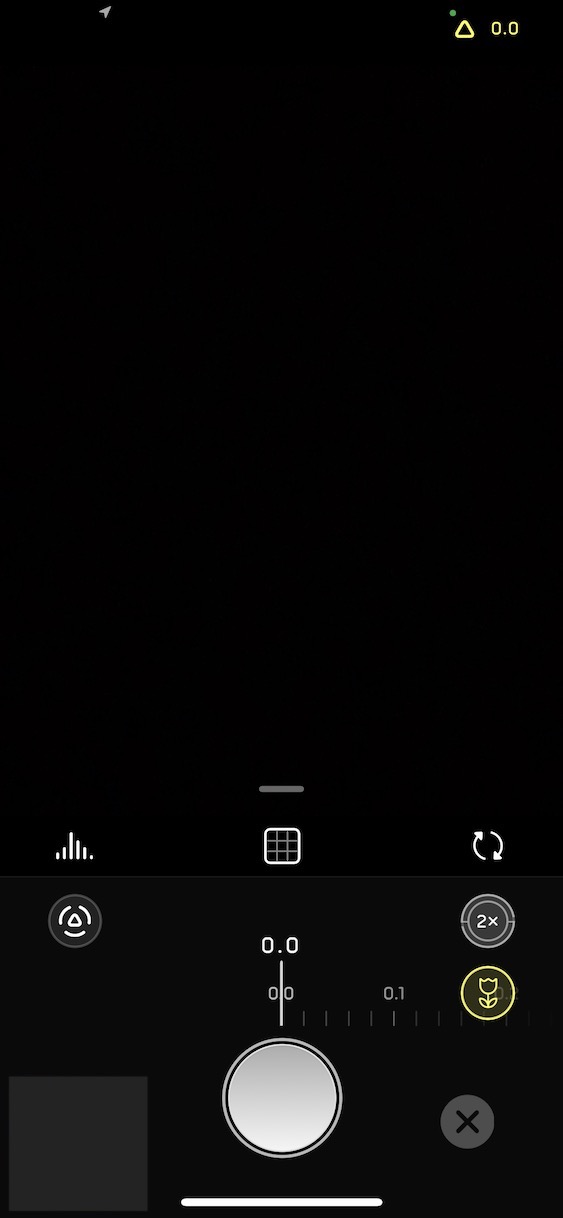
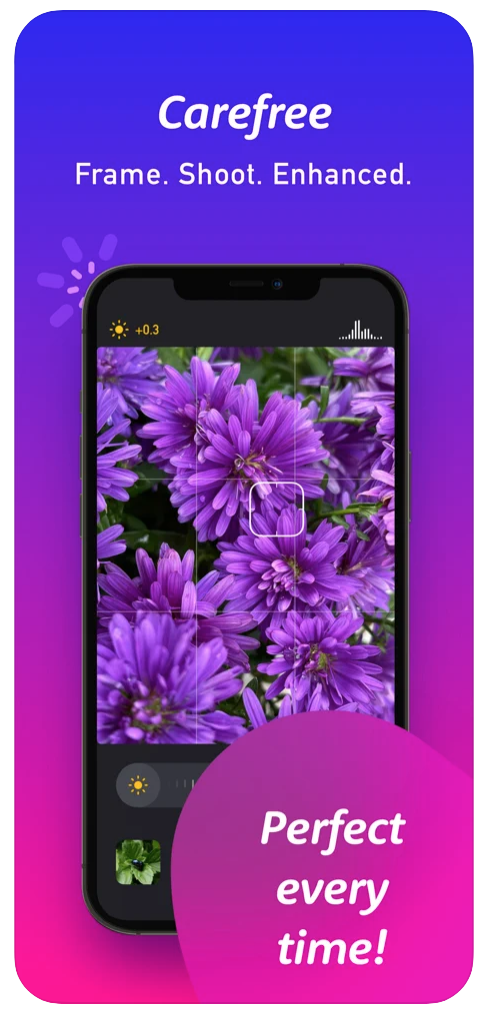
For a long time now, the optics of iPhone cameras have been high enough that even older models or those without the Pro moniker can handle macro. While the native Camera app won't let you do this, apps from the App Store already do. The application was the first to come with macro mode Halide Mark II, where you can use it with iPhone 8 and later. This is a professional application with full manual input. The macro here presents the flower icon. This mode can then automatically select the best lens to use for the best possible result. After the macro photo is captured, it is then specially edited and its quality is increased, thanks to the presence of artificial intelligence.
Halide Mark II on the App Store
Another application that might appeal to you if you need to take macro pictures is Macro by Camera+, which is behind the developers of the popular title Camera+. This one has the advantage of being focused solely on taking detailed photos and therefore does not contain unnecessary menus that would make it confusing. For subsequent editing, the captured photo can be sent directly to the parent title, if of course you have it installed.
Try a telephoto lens
If your iPhone has a telephoto lens, try experimenting with it when taking macro shots. Thanks to its longer focal length, you can get closer to the photographed object. It's not the real macro, but it can be bypassed quite interestingly. Just keep in mind that the telephoto lenses of the iPhones have poorer brightness, so you need to have enough light in the photographed scene, otherwise it will suffer from significant noise.
Falling snow
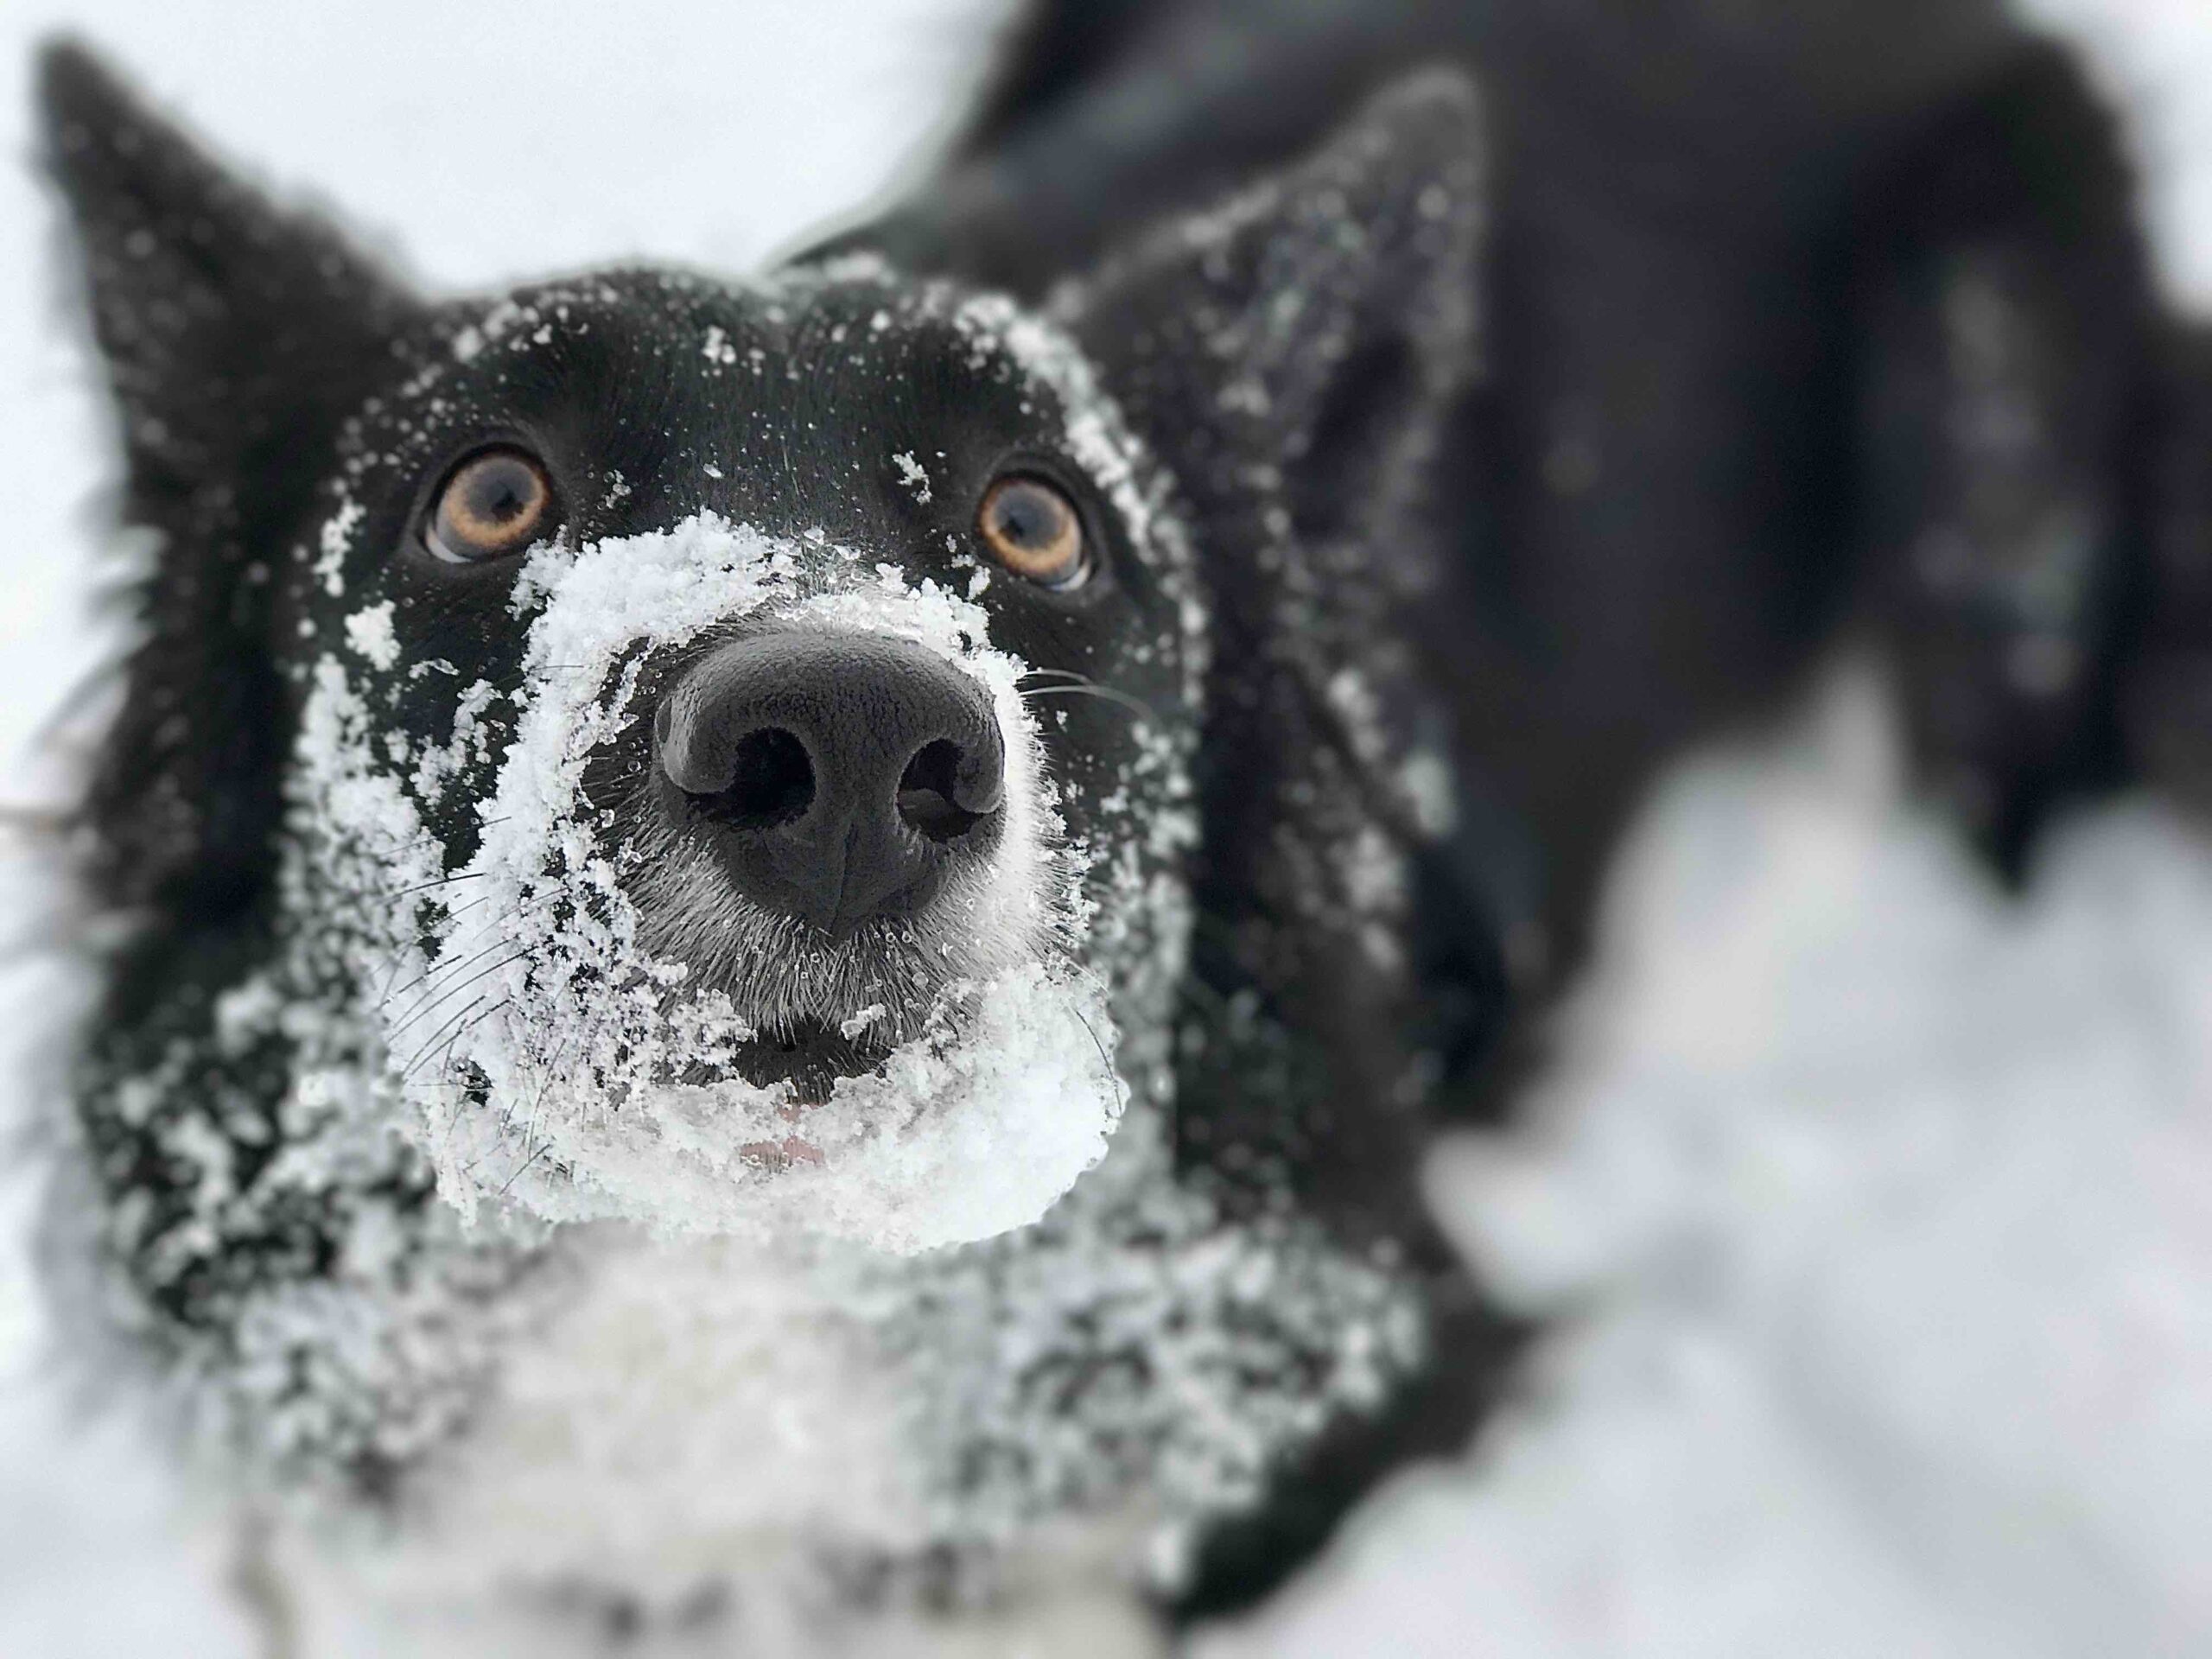
So far we have only focused on macro photography, but snow photography offers more possibilities. For example, try to photograph the falling one. Of course, it is quite demanding for ideal conditions, when it is necessary to be lucky in the light, the size of the flakes themselves and the speed of their fall. Don't count on details that will show you every flake, but try to use the flash in such conditions. The falling inserts will illuminate and they will give the resulting photo a completely different atmosphere. If you are taking photos with Live Photos turned on, and on the contrary you do not want the falling snow to be present in the resulting photo, simply use the long exposure effect on the photo in the Photos application. In most cases, it can completely eliminate falling liners.
It could be interest you
Photo editing
Especially if you are photographing snow and snowflakes, be careful about post-editing. Winter has the disadvantage that when the sun shines, the result is often burnt. Reduce the exposure here already when taking pictures. The other extreme is, of course, darkness. In this case, the snow may not be as white as you would like. You can solve this by setting the white balance appropriately, when you move from gray to a pleasant white, which, however, does not catch the eye in any way. Never edit photos with snow in warm colors, which result in yellowing of the snow, and you will surely understand how inappropriate it would look in such an edited image.
