How to scan documents on iPhone might be of interest to all of you. The time when you had to pull out a scanner or printer for every scan of a document is truly gone. Before your classic scanner is turned on and connected to the computer, with the help of the iPhone you can already have all the documents scanned and quite possibly already signed and sent. A long time ago, Apple added options to their operating systems to help you with simple scanning. The resulting scan from an iPhone or iPad, for example in PDF format, is in no way indistinguishable from the one you would create in the classic and older way, and you can also quickly share files.
It could be interest you
How to scan documents on iPhone
If you want to start scanning documents on your iPhone (or iPad), there are several ways. But the most ideal one is part of the native application Files, which can be used, among other things, to manage the local storage of your Apple device. You can scan documents in iOS or iPadOS as follows:
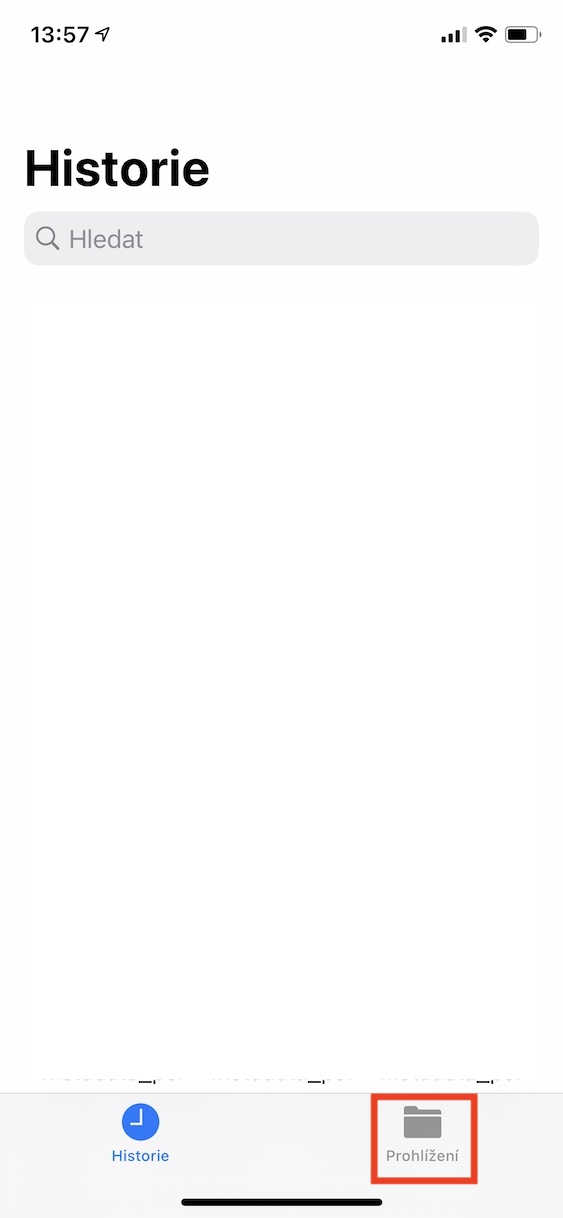
- First, of course, you need to move to a native application Files.
- Once you've done that, tap on the option in the bottom menu Browsing.
- This will bring you to the available locations screen.
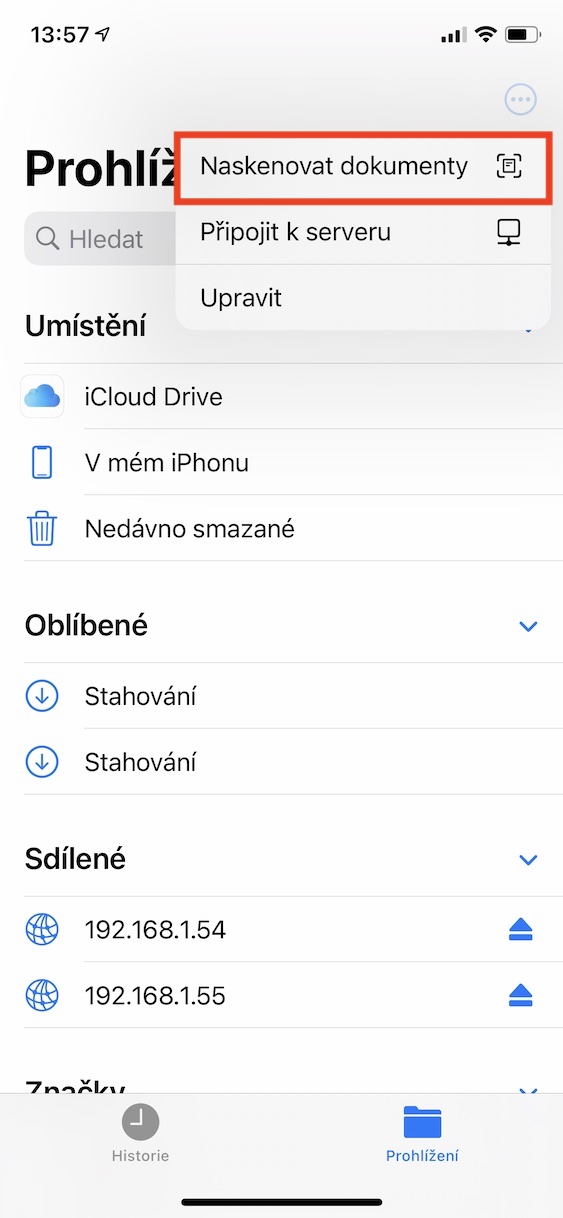
- In the upper right corner of this screen, now tap on icon of three dots in a circle.
- After that, a small menu will appear, click on the option Scan documents.
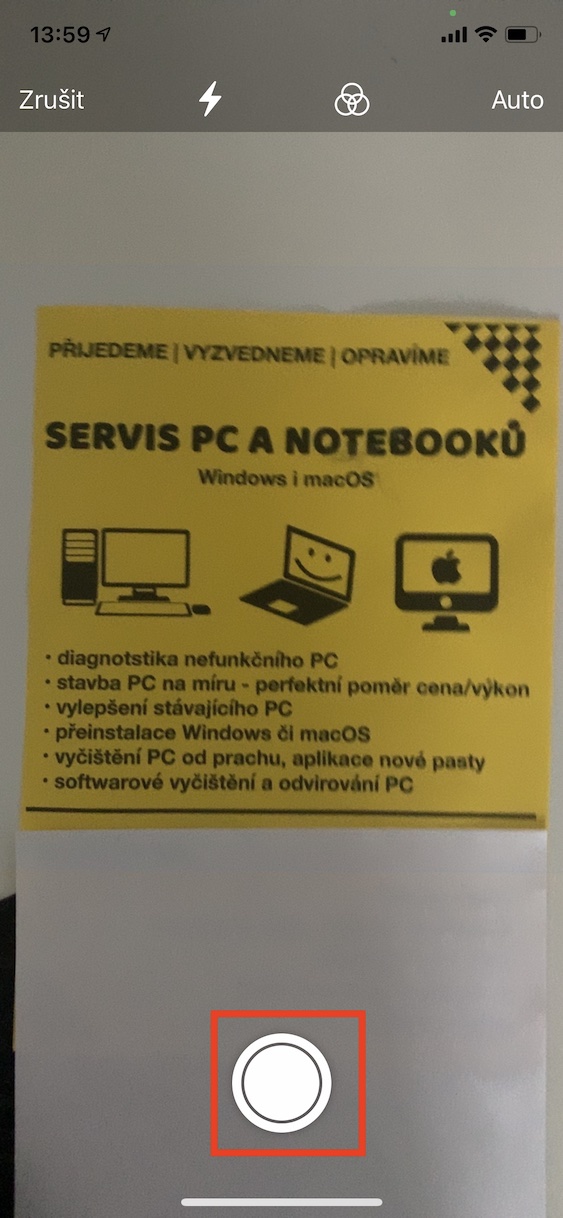
- An interface will now open in which you can start scanning.
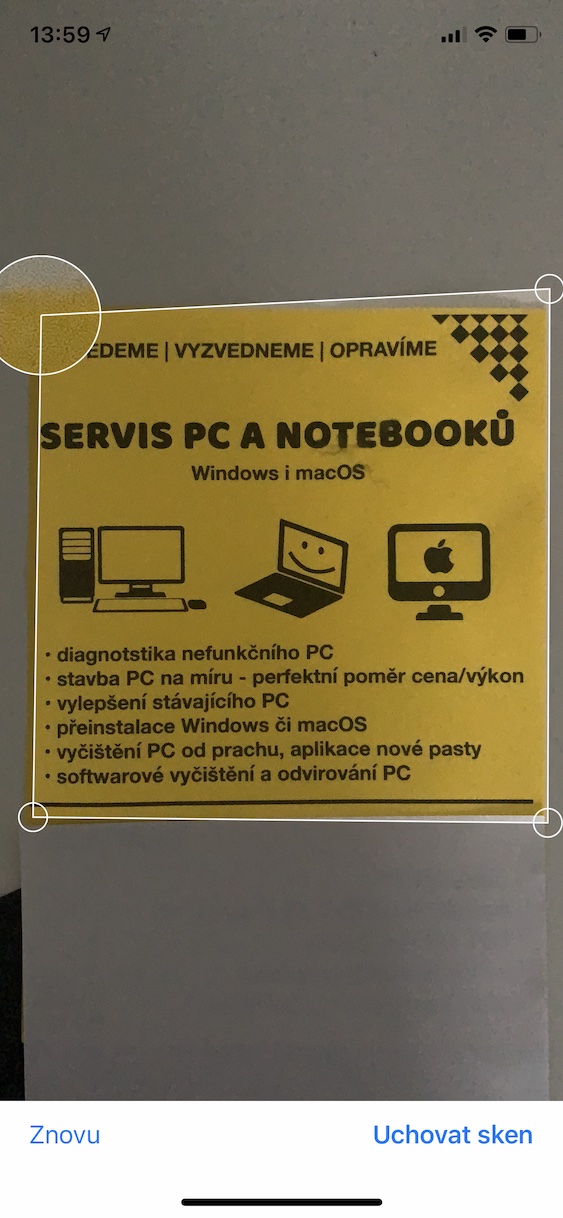
- So get your documents ready to scan and use your camera to scan it capture
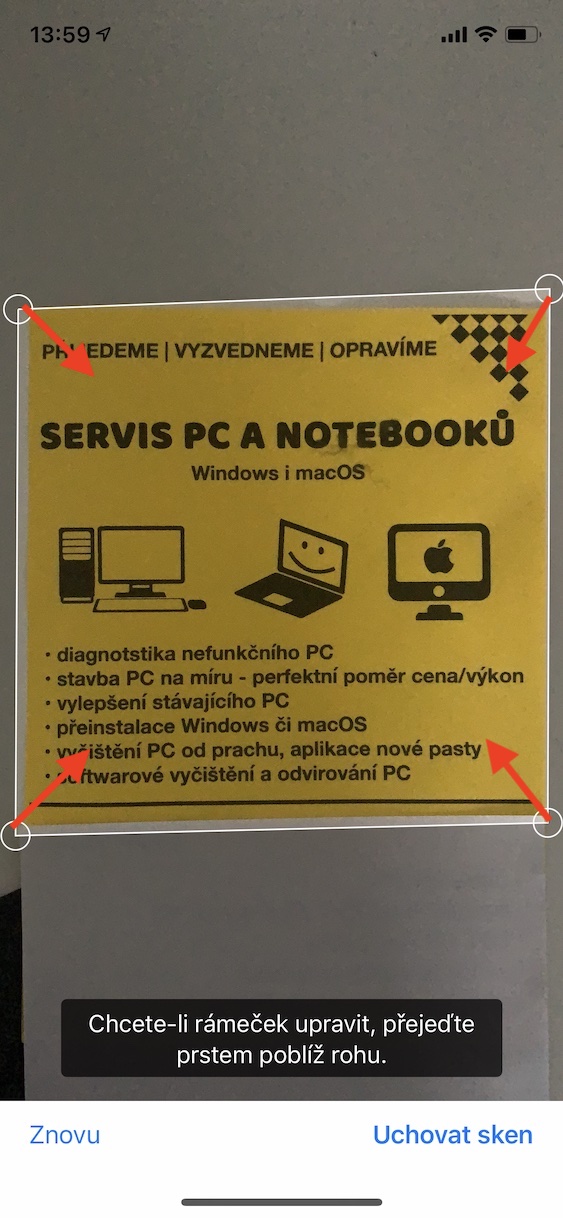
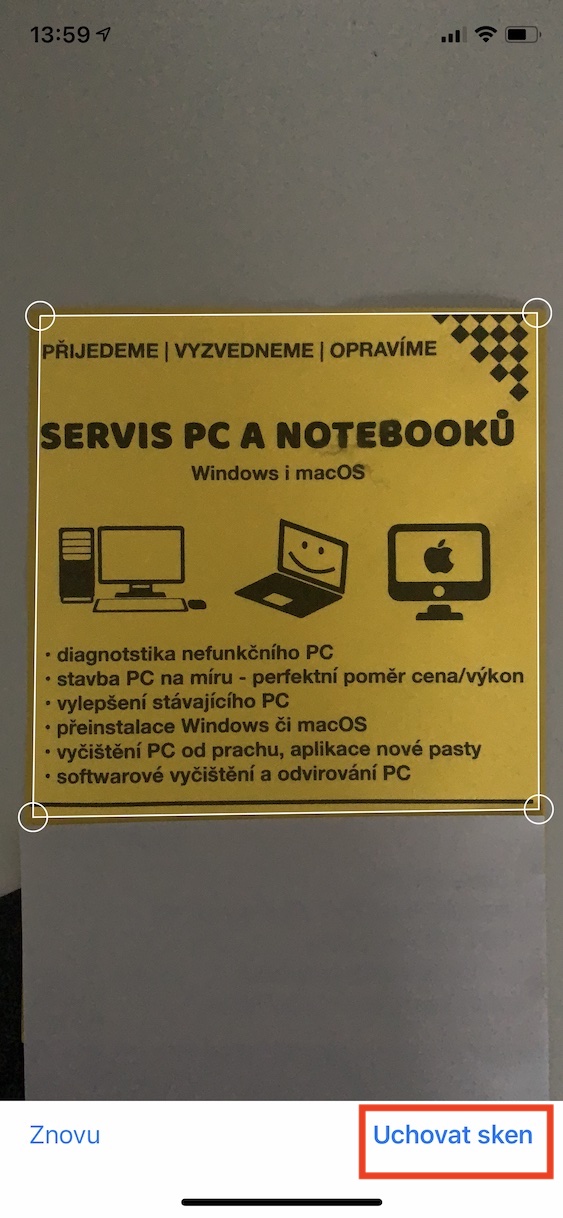
- After capture, you can still use four points in the corners to adjust the borders of the document.
- Once you have the boundaries set, tap on the bottom right Save the scan.
- If you want to scan now other pages, so continue in the classic way.
- After you have all pages scanned, then click on the bottom right Impose.
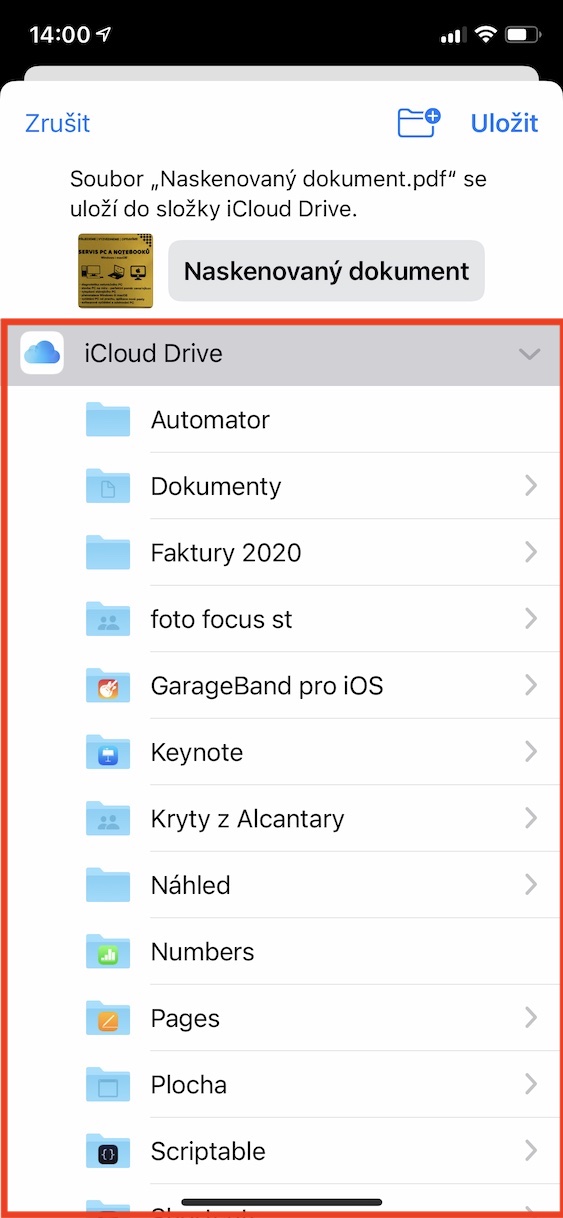
- On the next screen, then select where to save the scanned document.
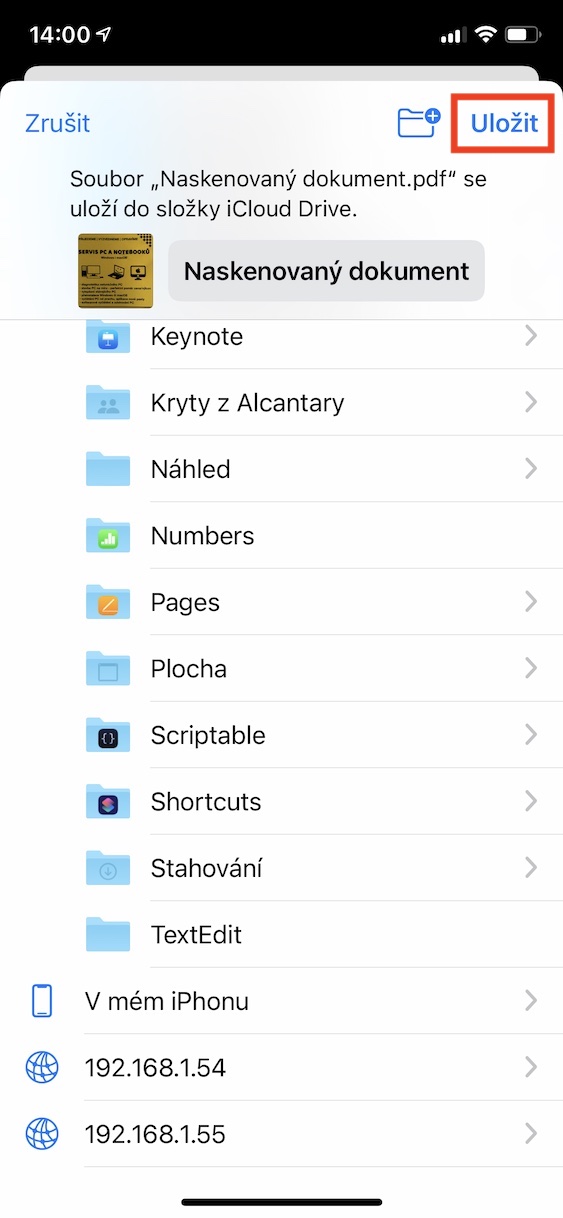
- After choosing a location, just tap on at the top right Impose.
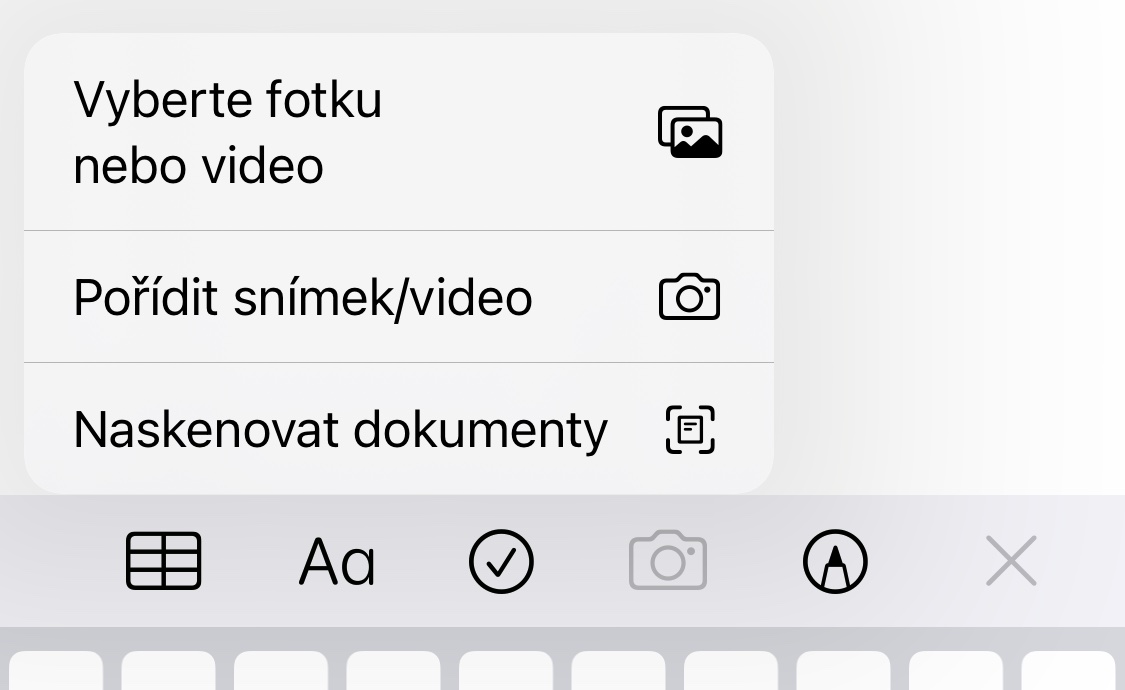
Using the above procedure, the document is saved in the selected location in PDF format. Of course, you can share it in a completely simple and classic way - just tap and press on it share icon. During the actual scanning, you can still use the options in the upper toolbar to turn on the flash, or to switch to scanning in color, grayscale, black and white, or photo mode. In the upper right corner you will also find the automatic trigger control, which will automatically scan the document if it recognizes it - without the need to press the trigger. You can also scan documents in the application Notes – just open the specific one, and then click on in the bottom toolbar camera icon, to select an option Scan documents. The scanning procedure is then exactly the same as above.
 Flying around the world with Apple