The power of cell phones is that once you unbox them and fire up the camera app, you can immediately take photos with them. Just aim at the scene and press the shutter, anytime and (almost) anywhere. But the result will also look like that. So it takes some thought to make your images as pleasing as possible. And from that, here is our series Taking photos with an iPhone, in which we show you everything you need. Now let's look at how to make a nice photo even better. Basic photo editing is next.
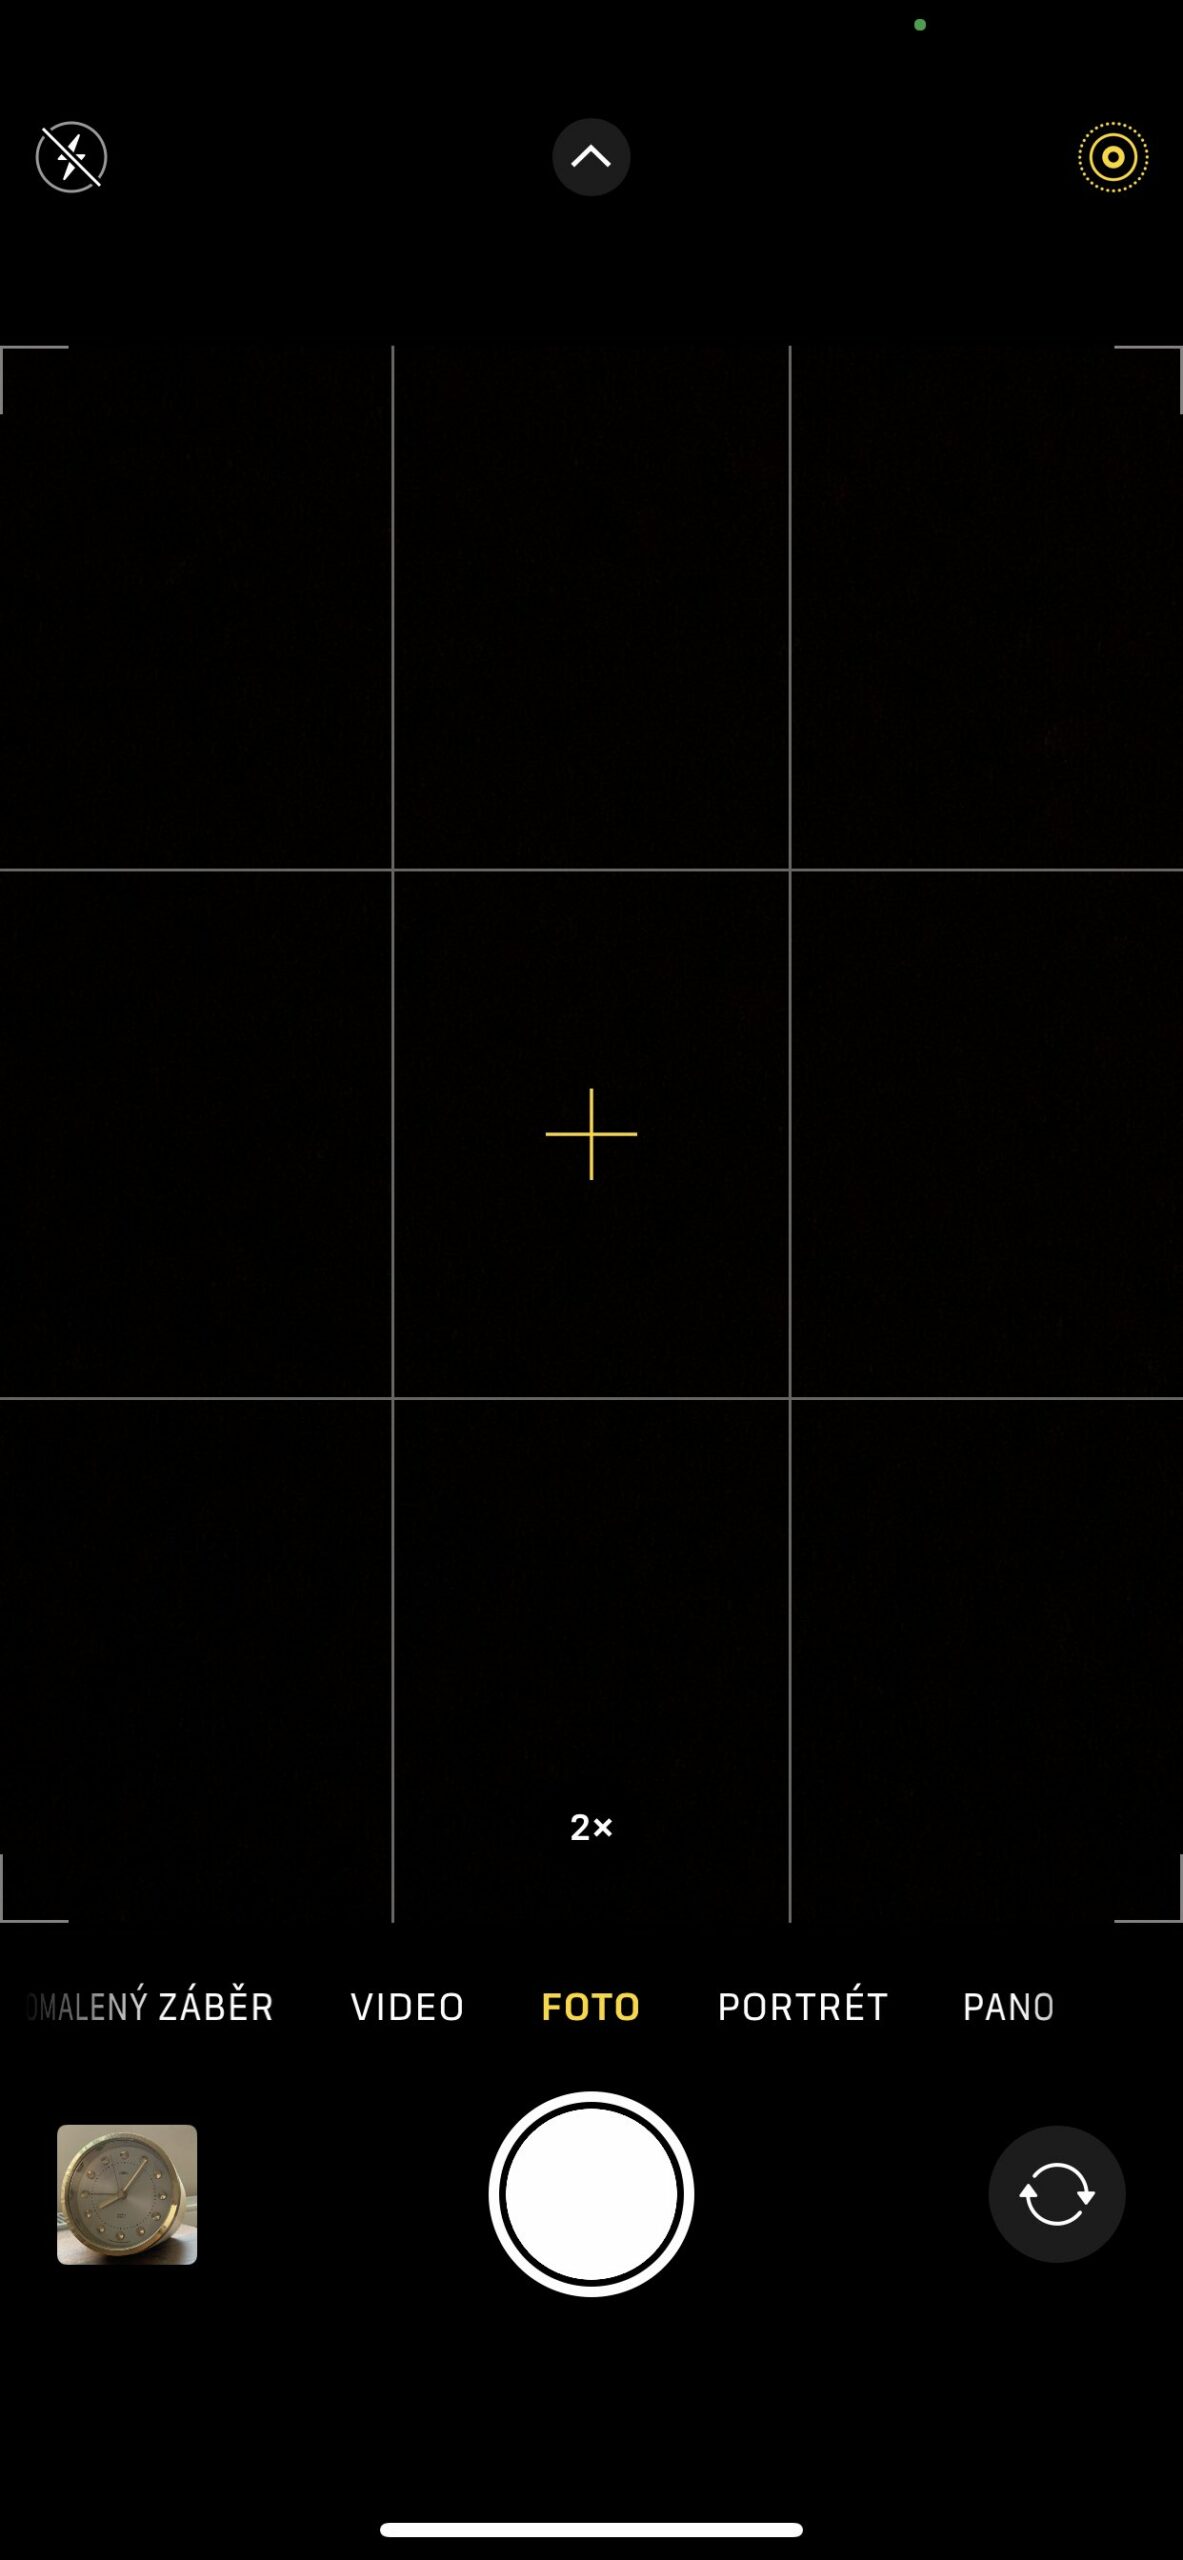
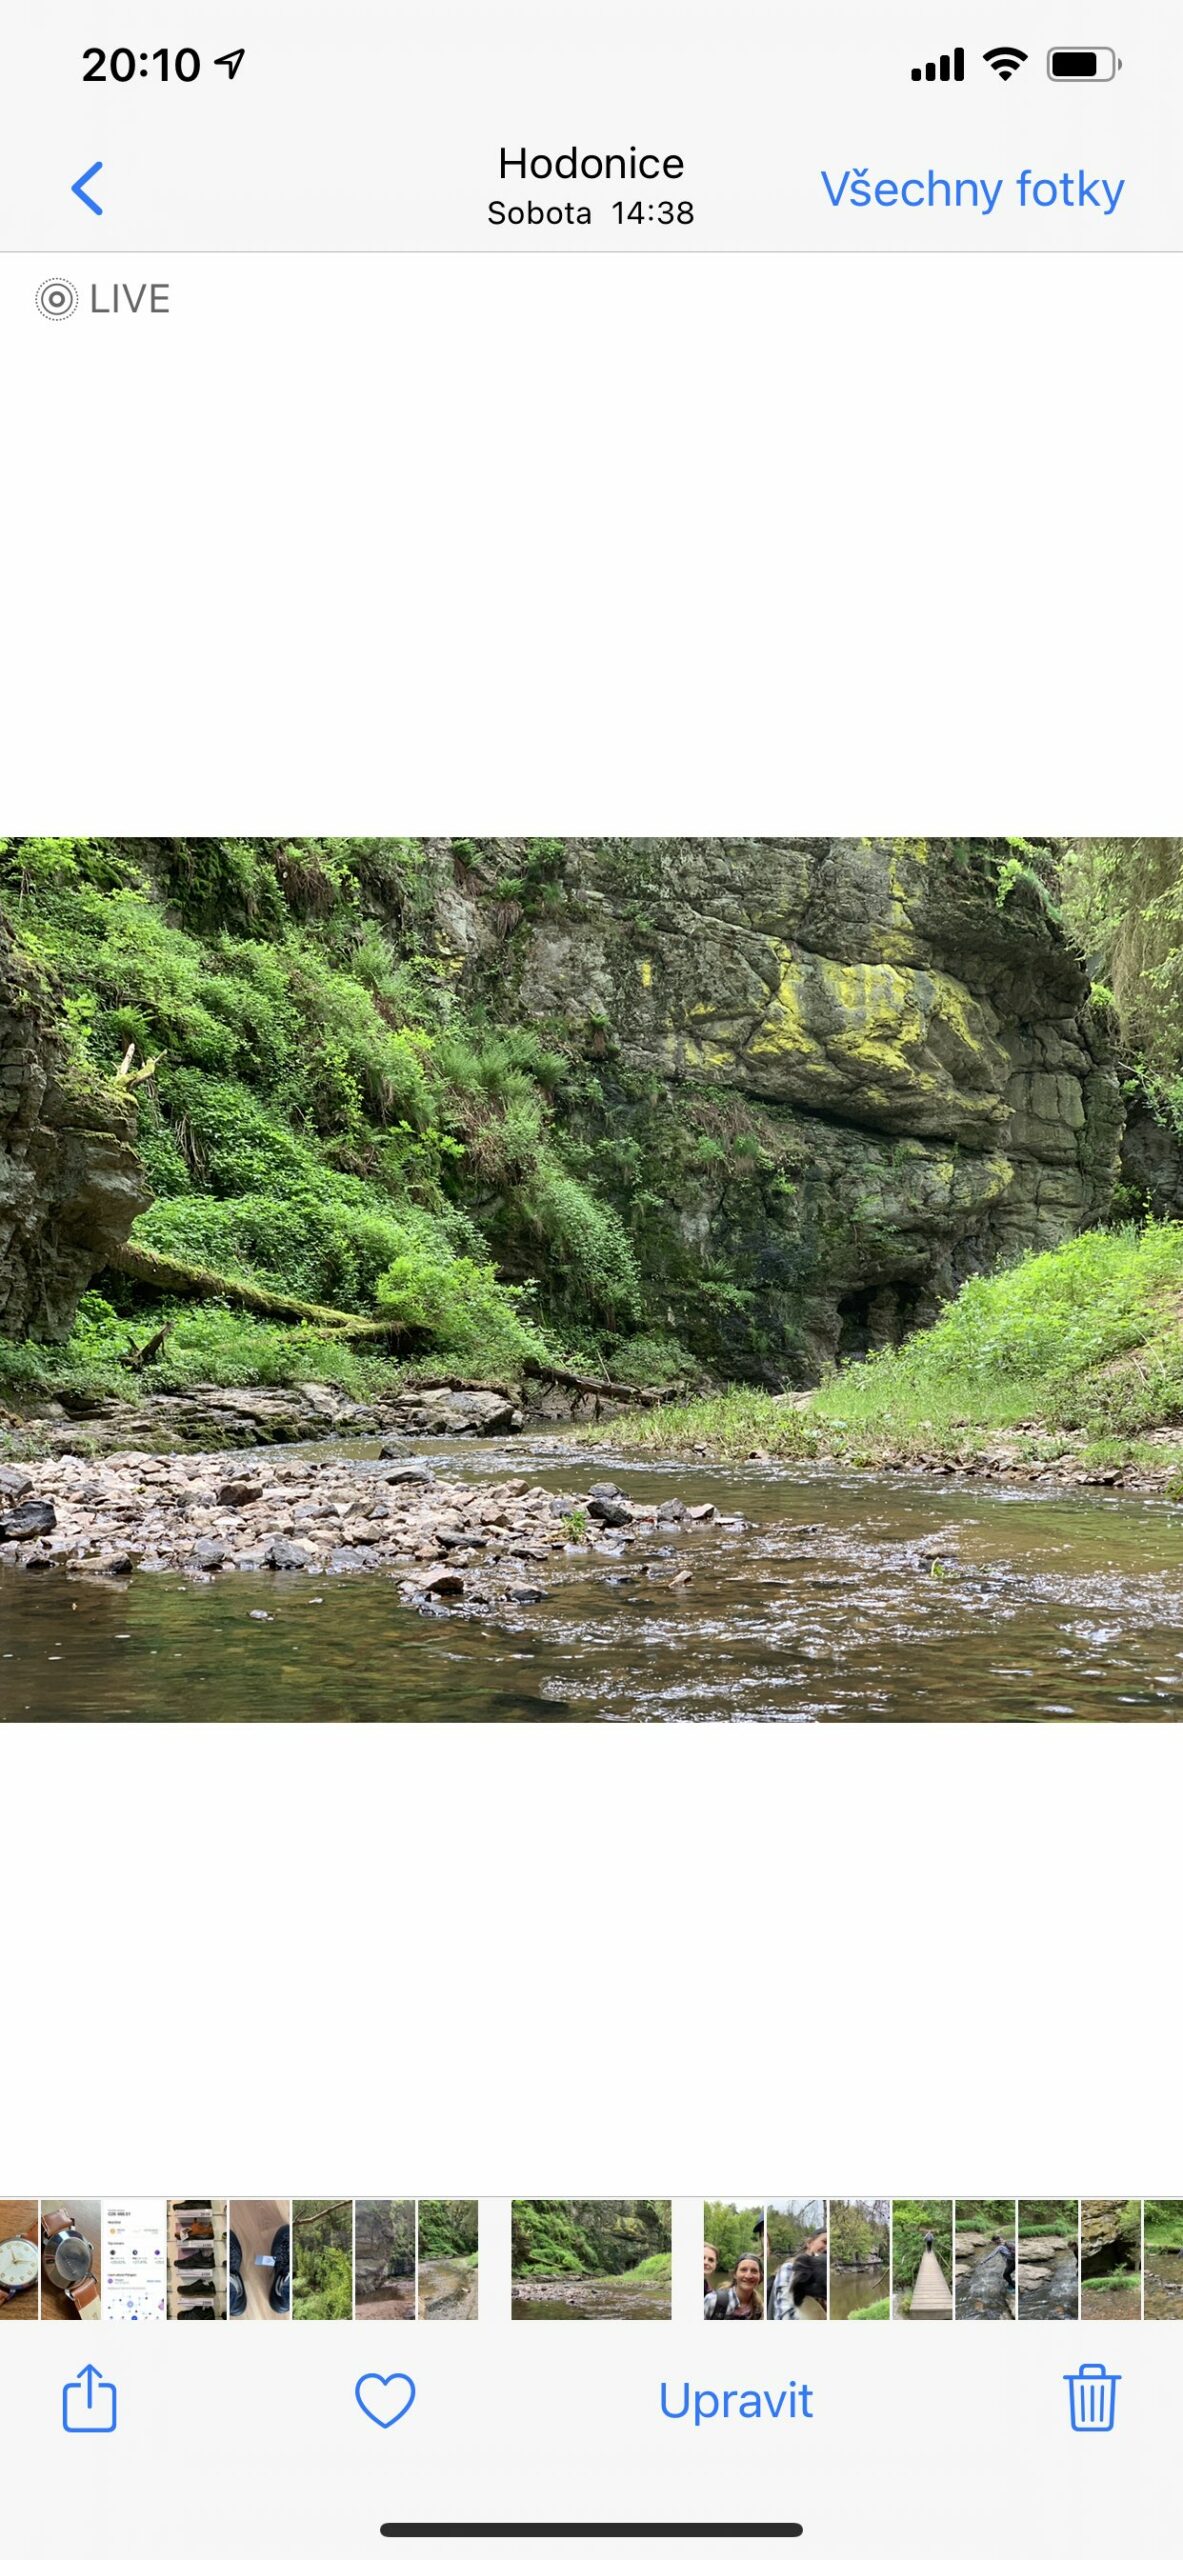
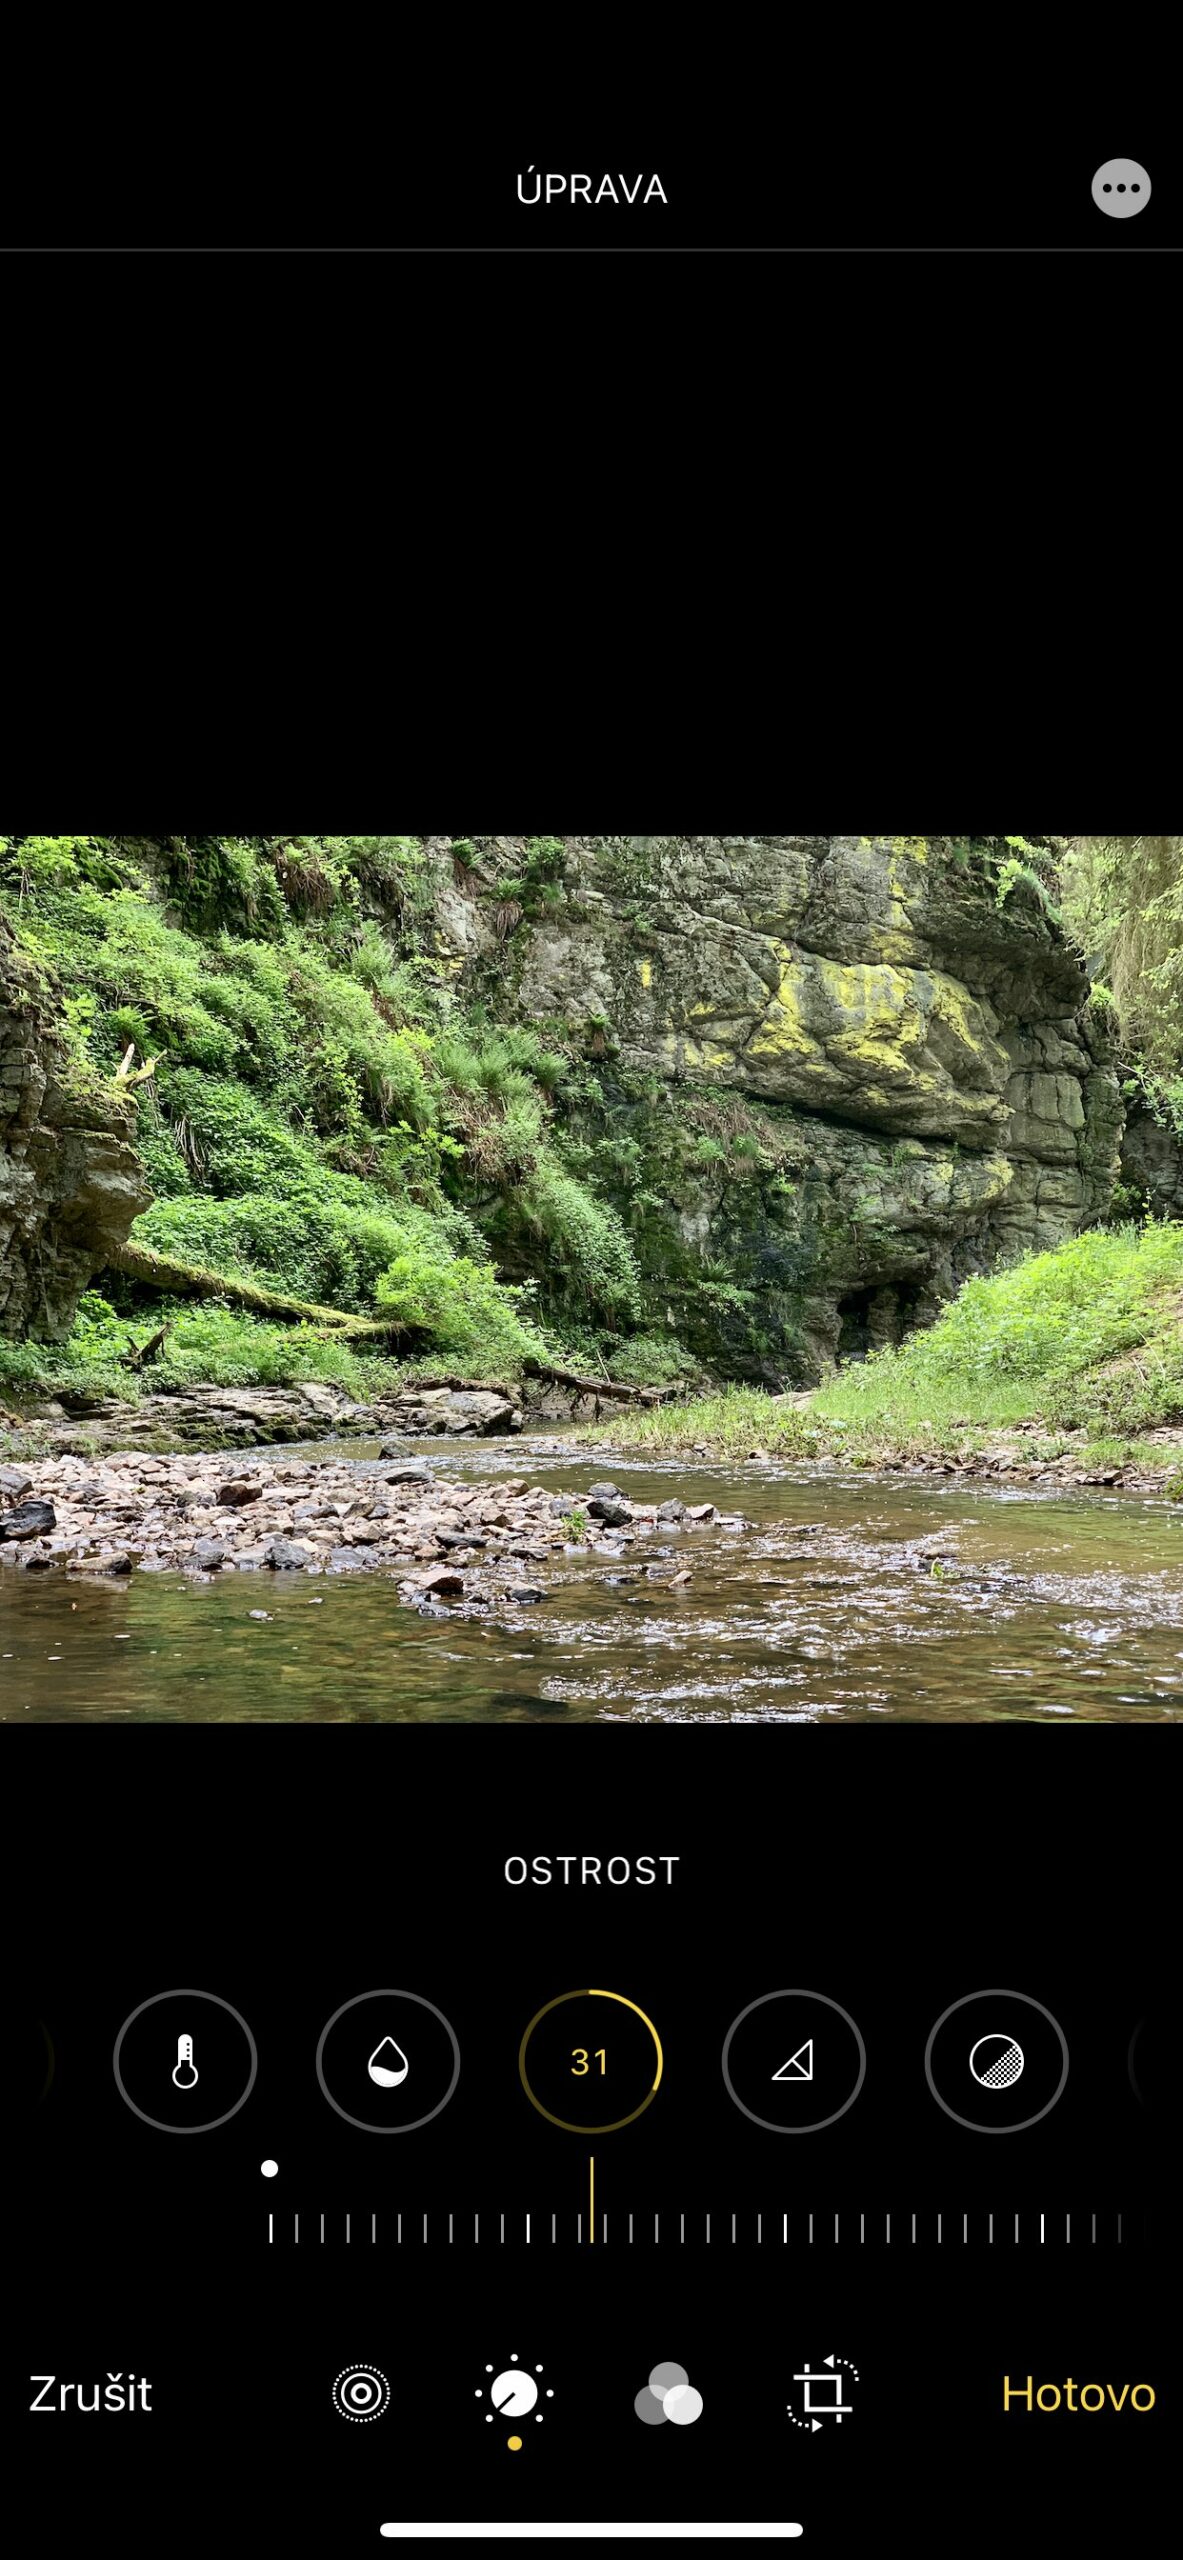
If you take a photo, you will see a preview of it in the corner of the interface right next to the shutter button. After selecting this preview, the photo will open for you in full screen. When you tap on it, you will see other offers, among which is i Adjust. After selecting this menu, you can already adjust the crop, angle, light, add a filter, etc.
It could be interest you

Adjustment
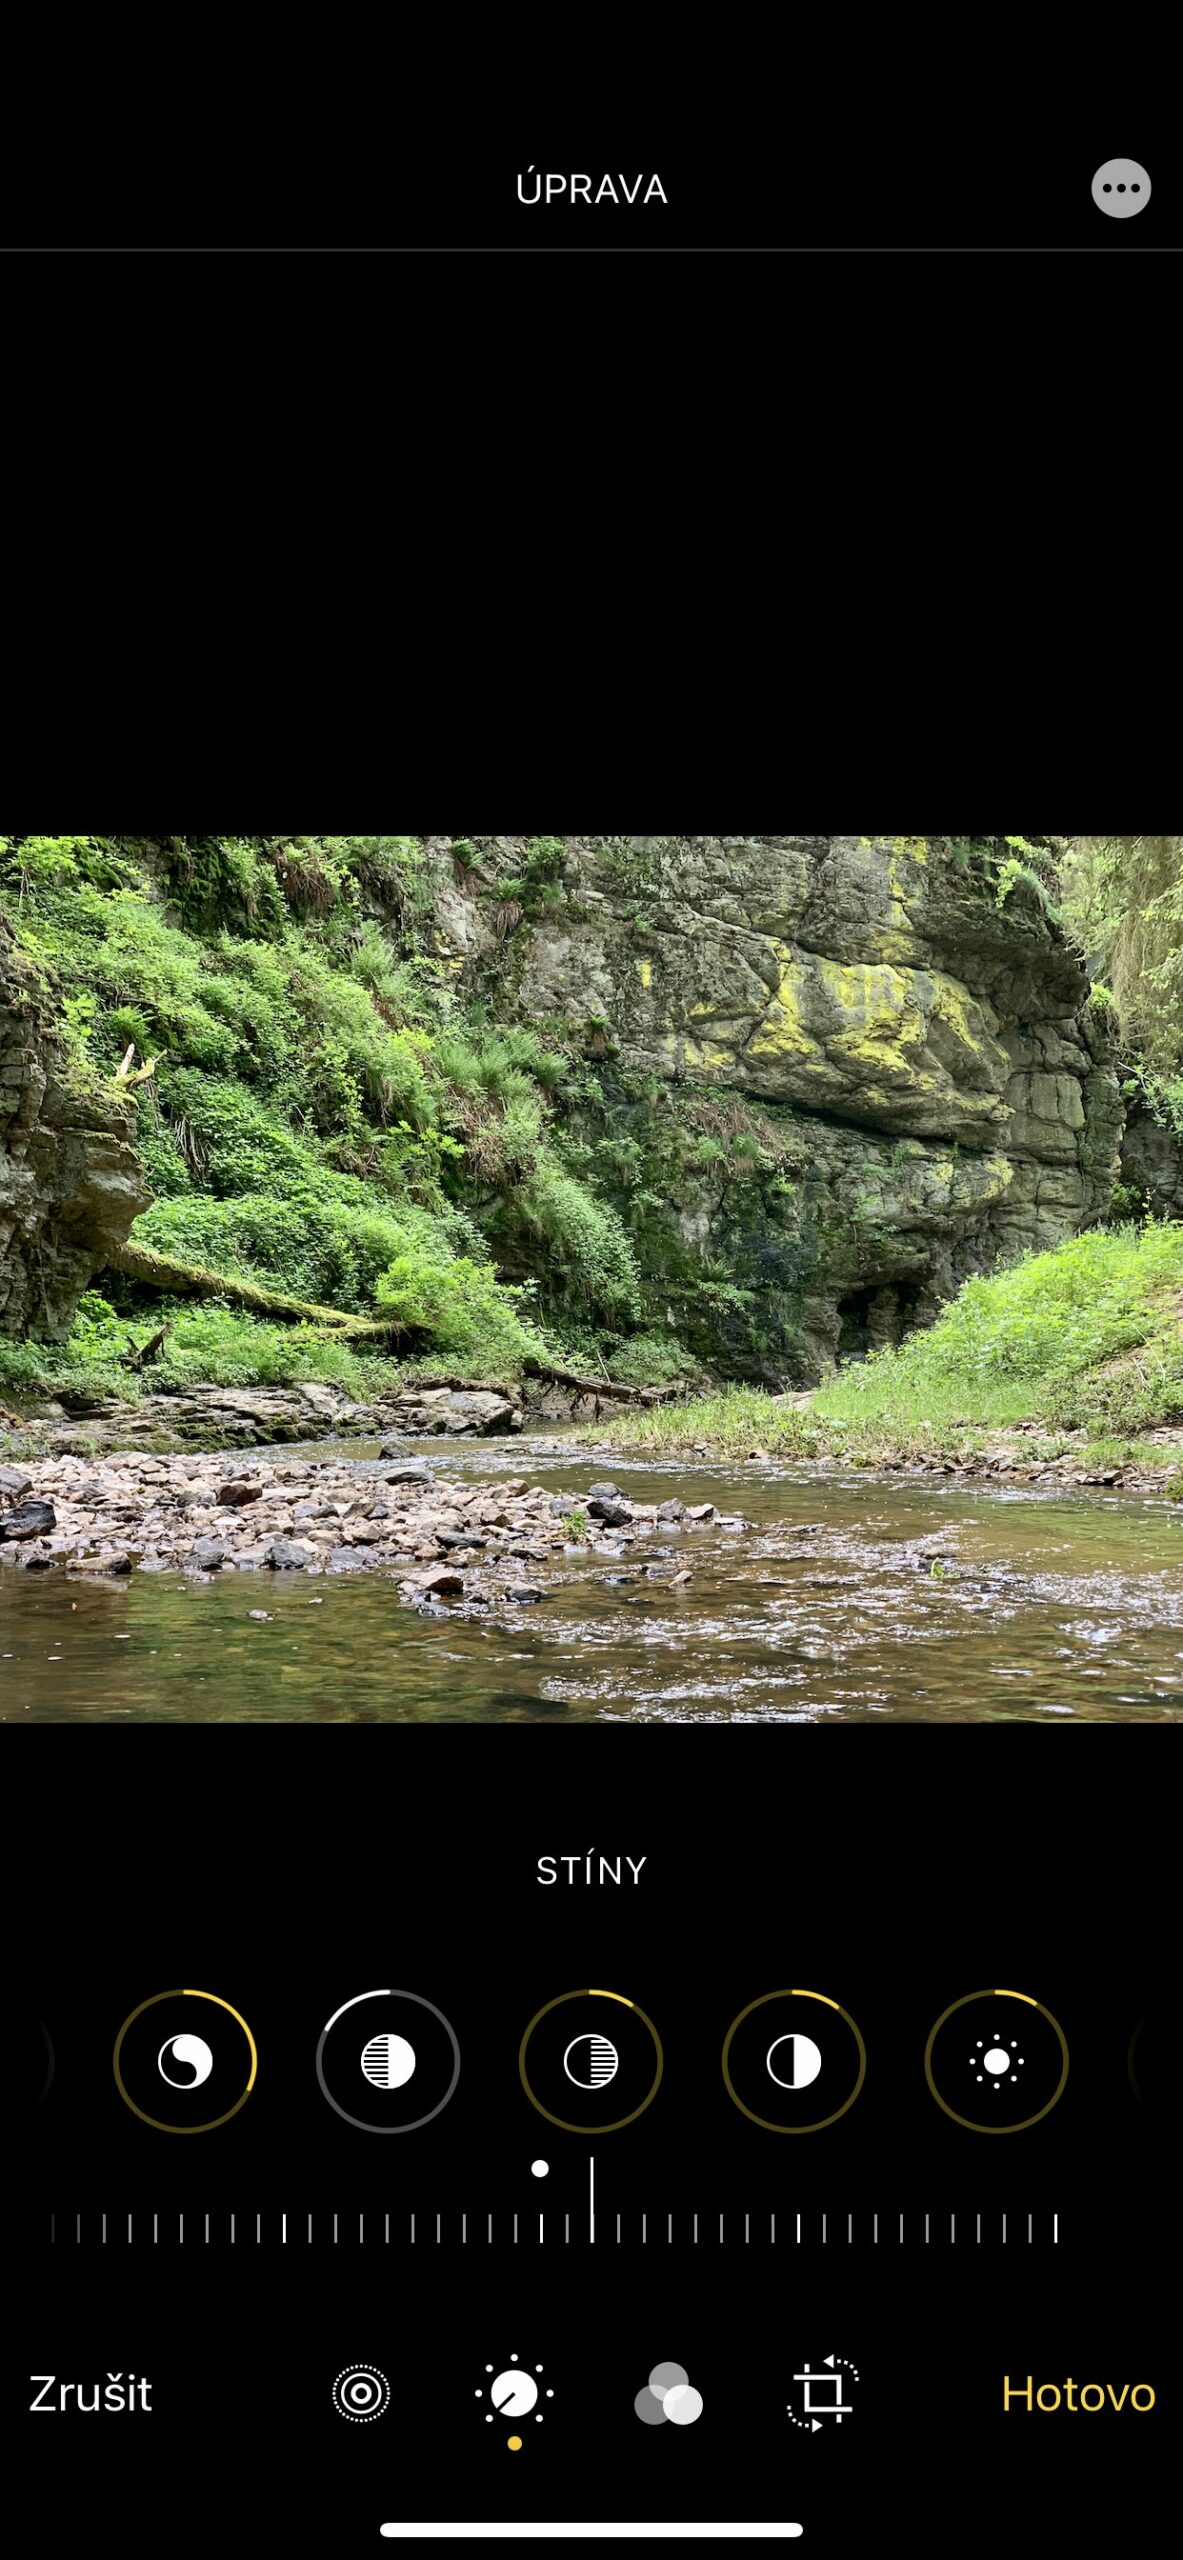
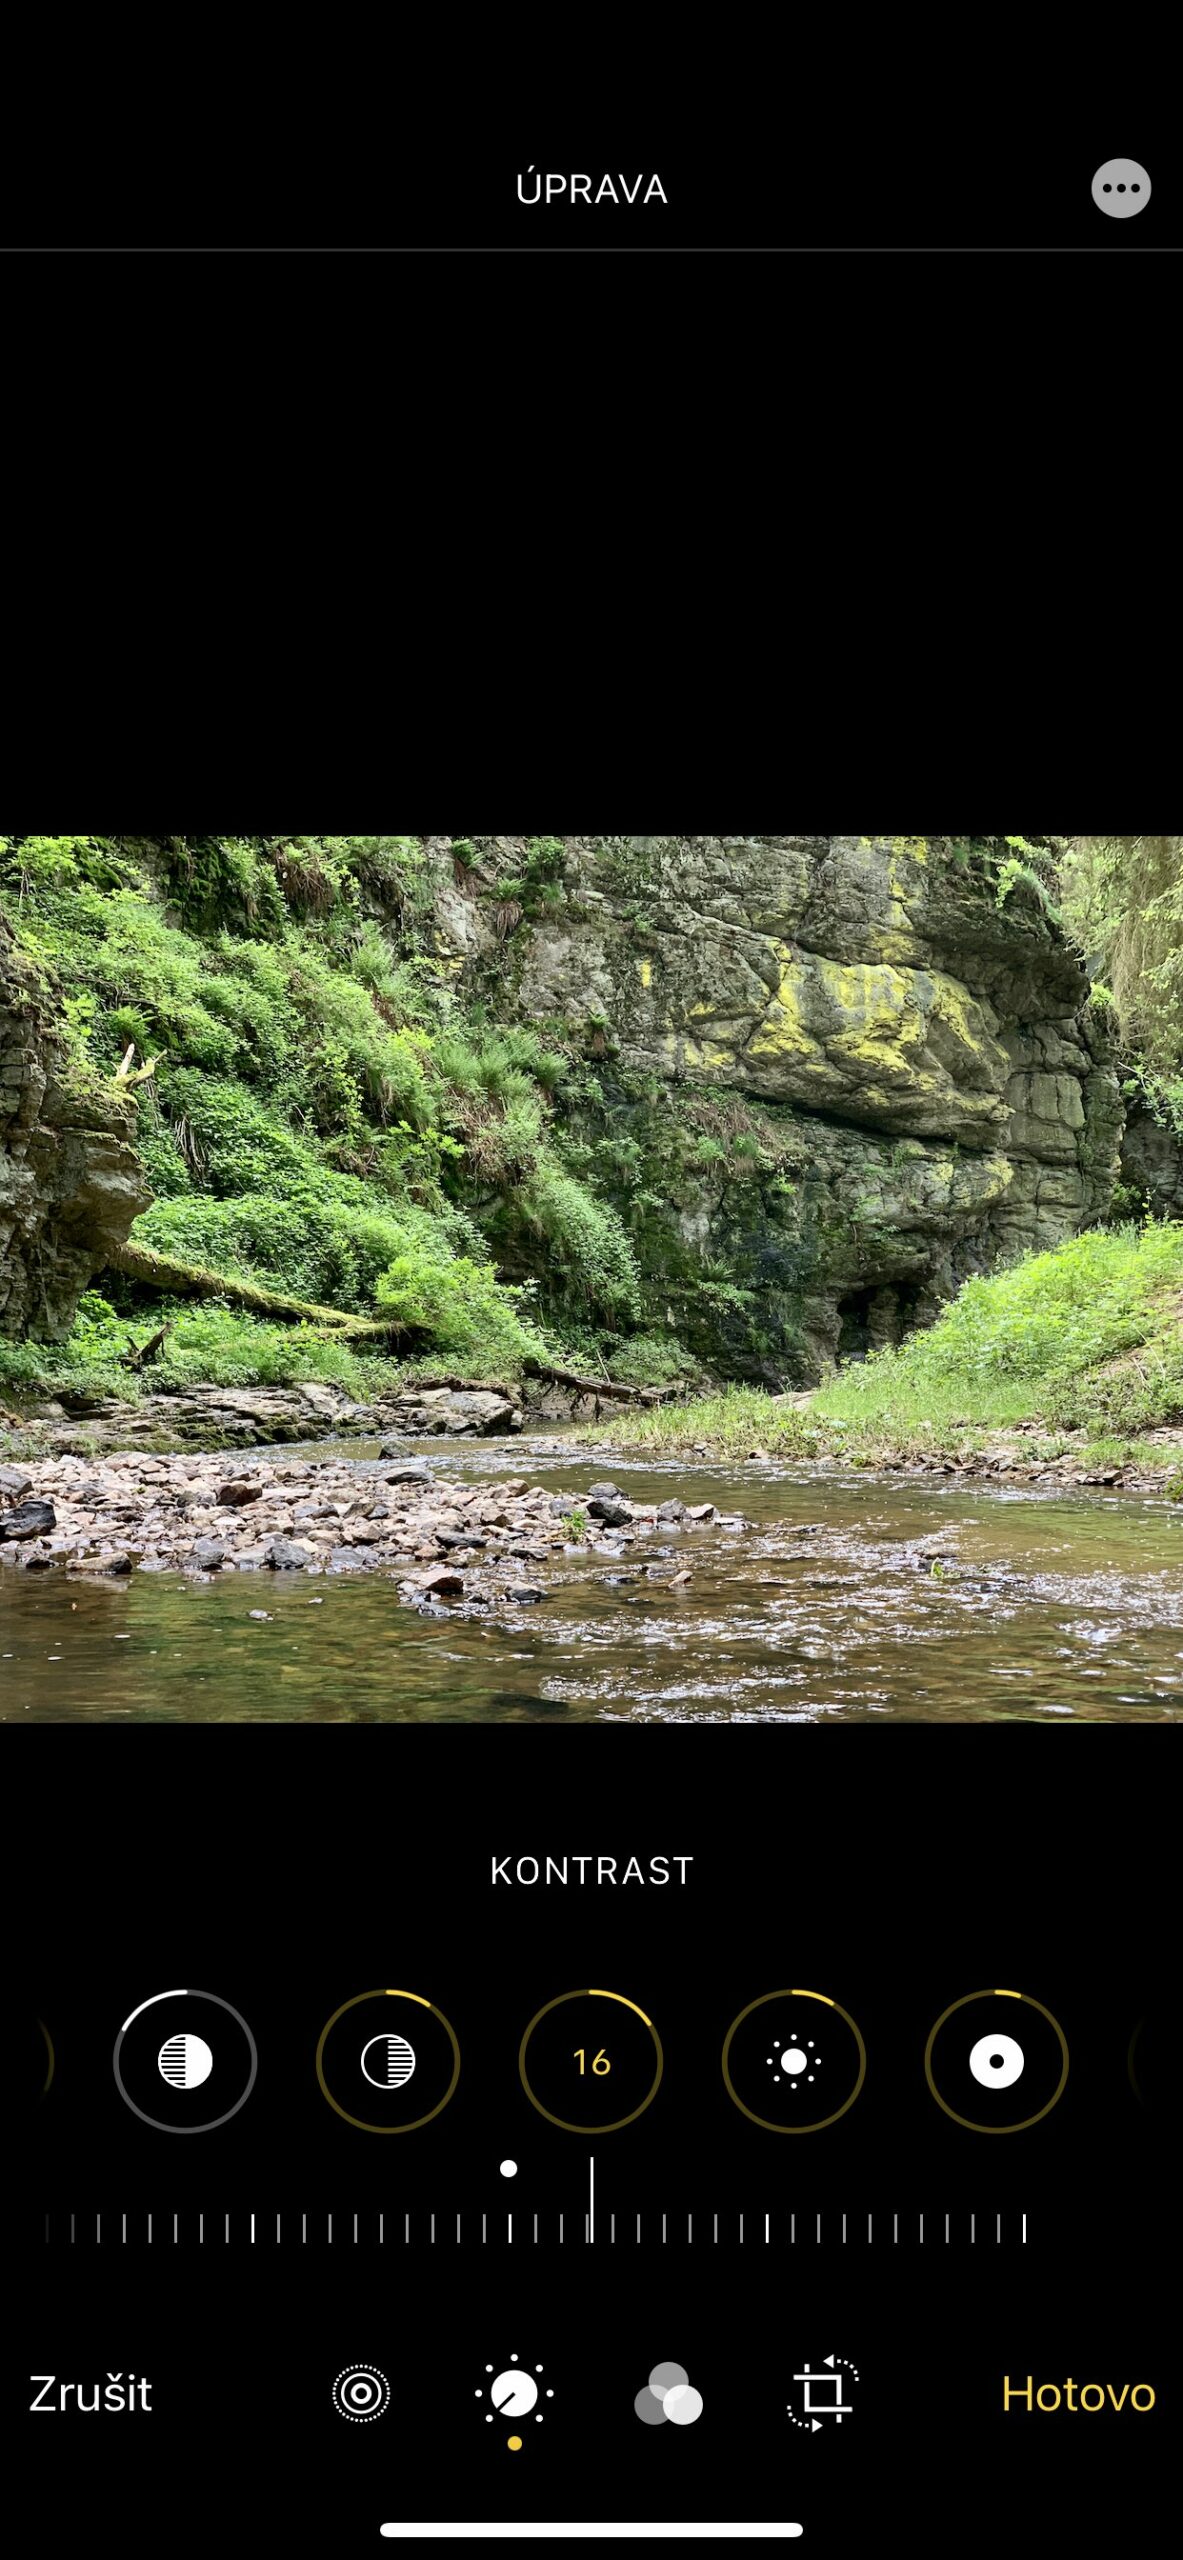
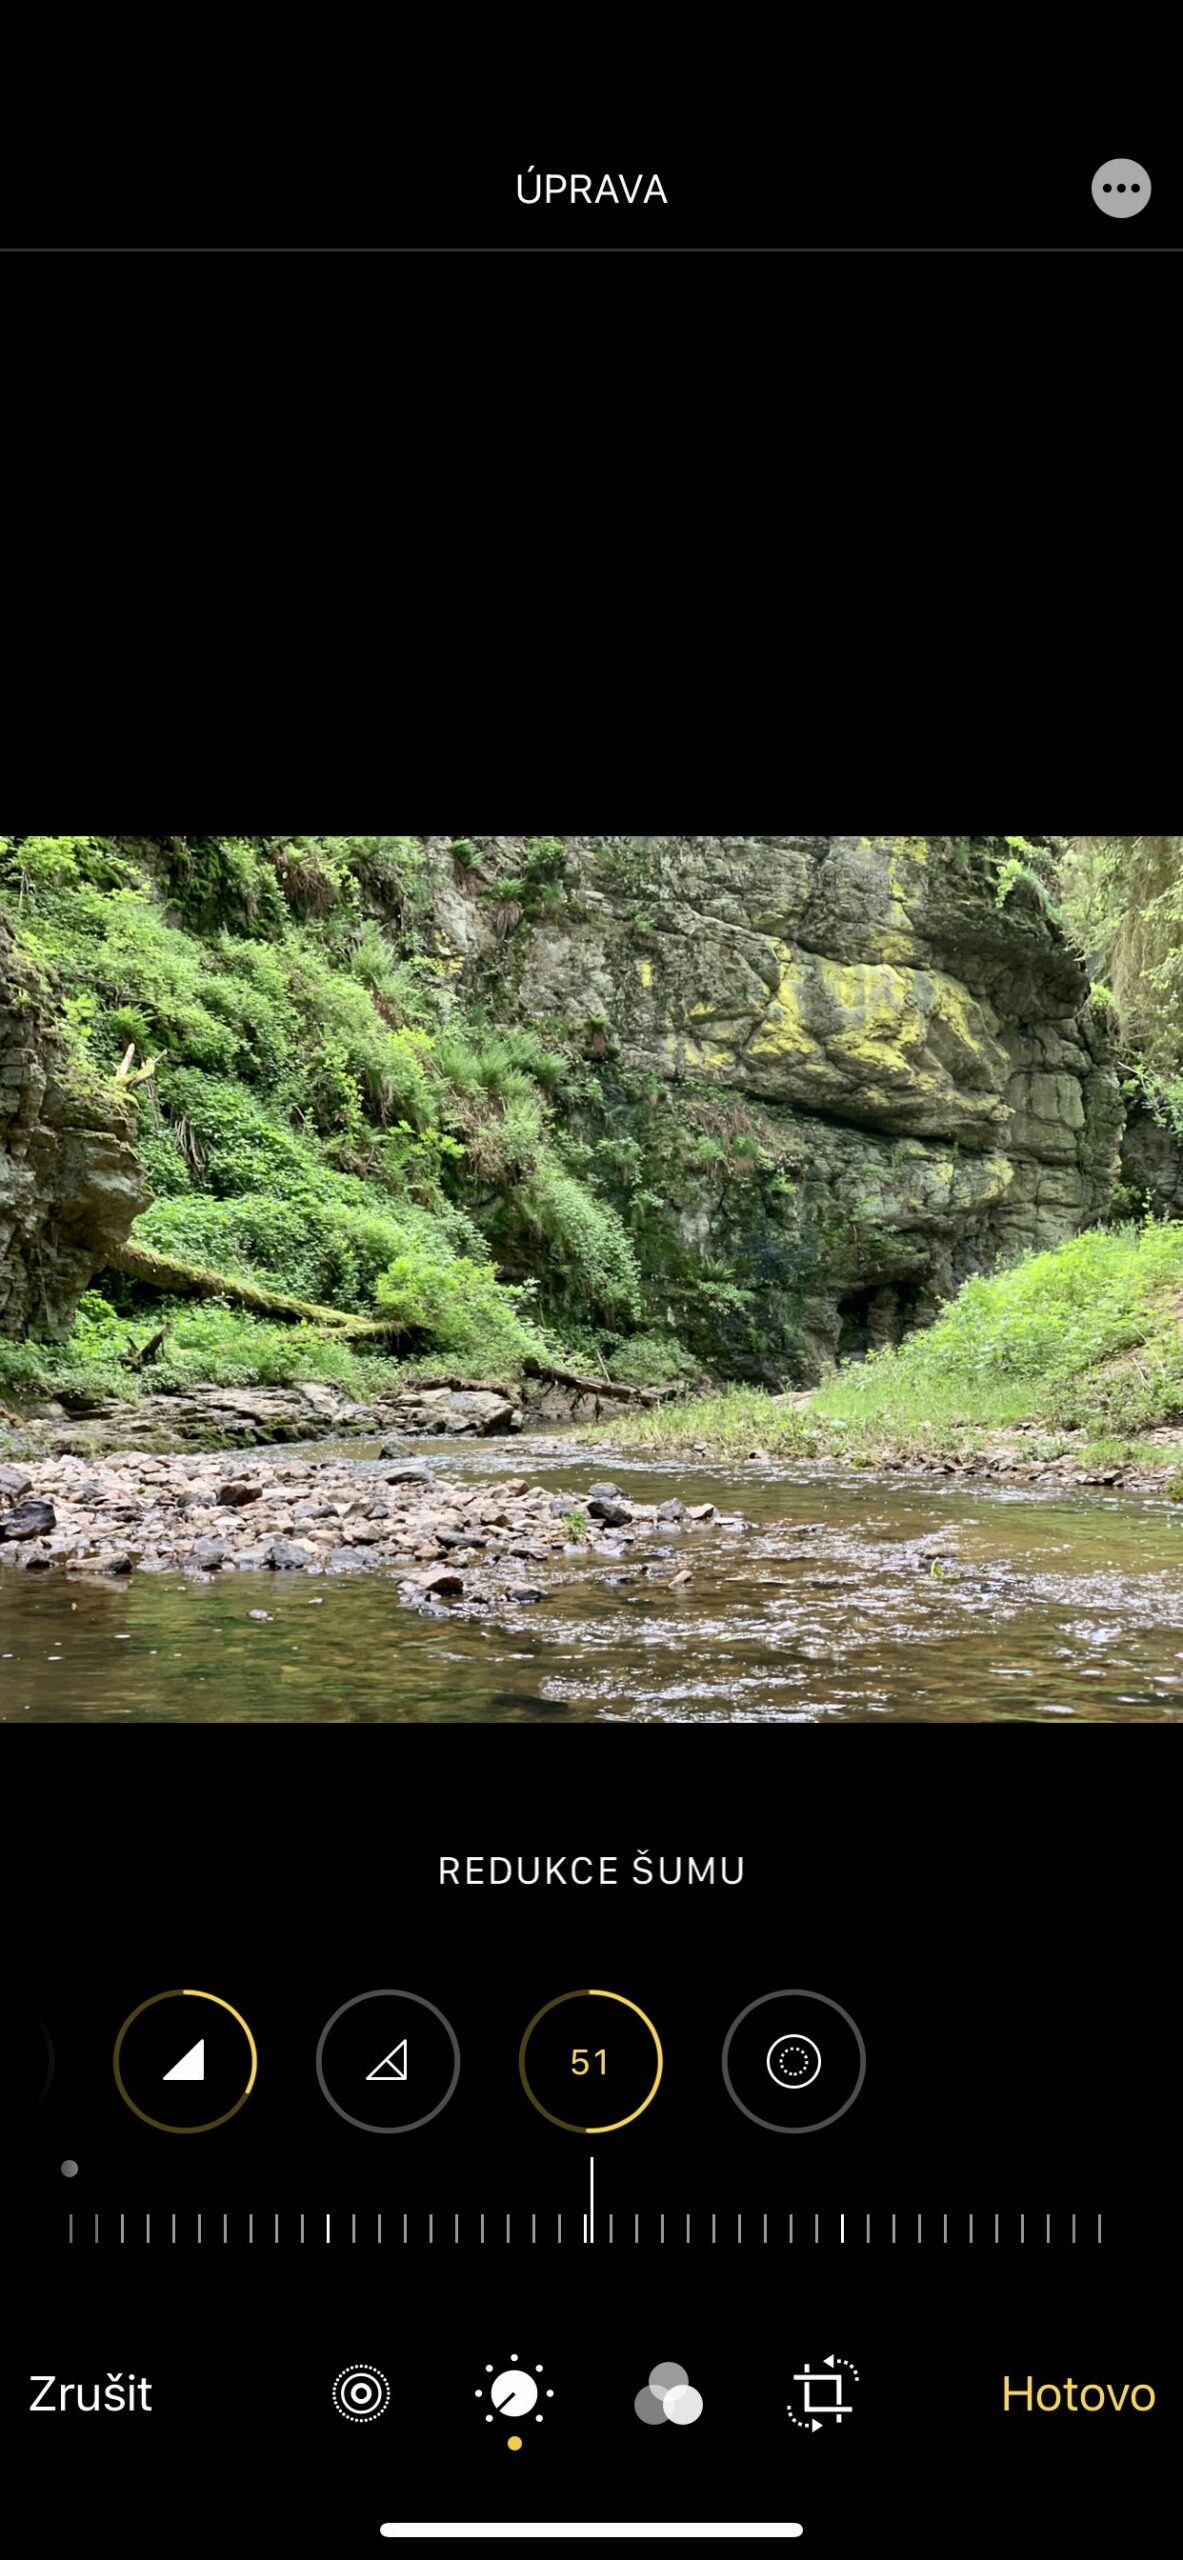
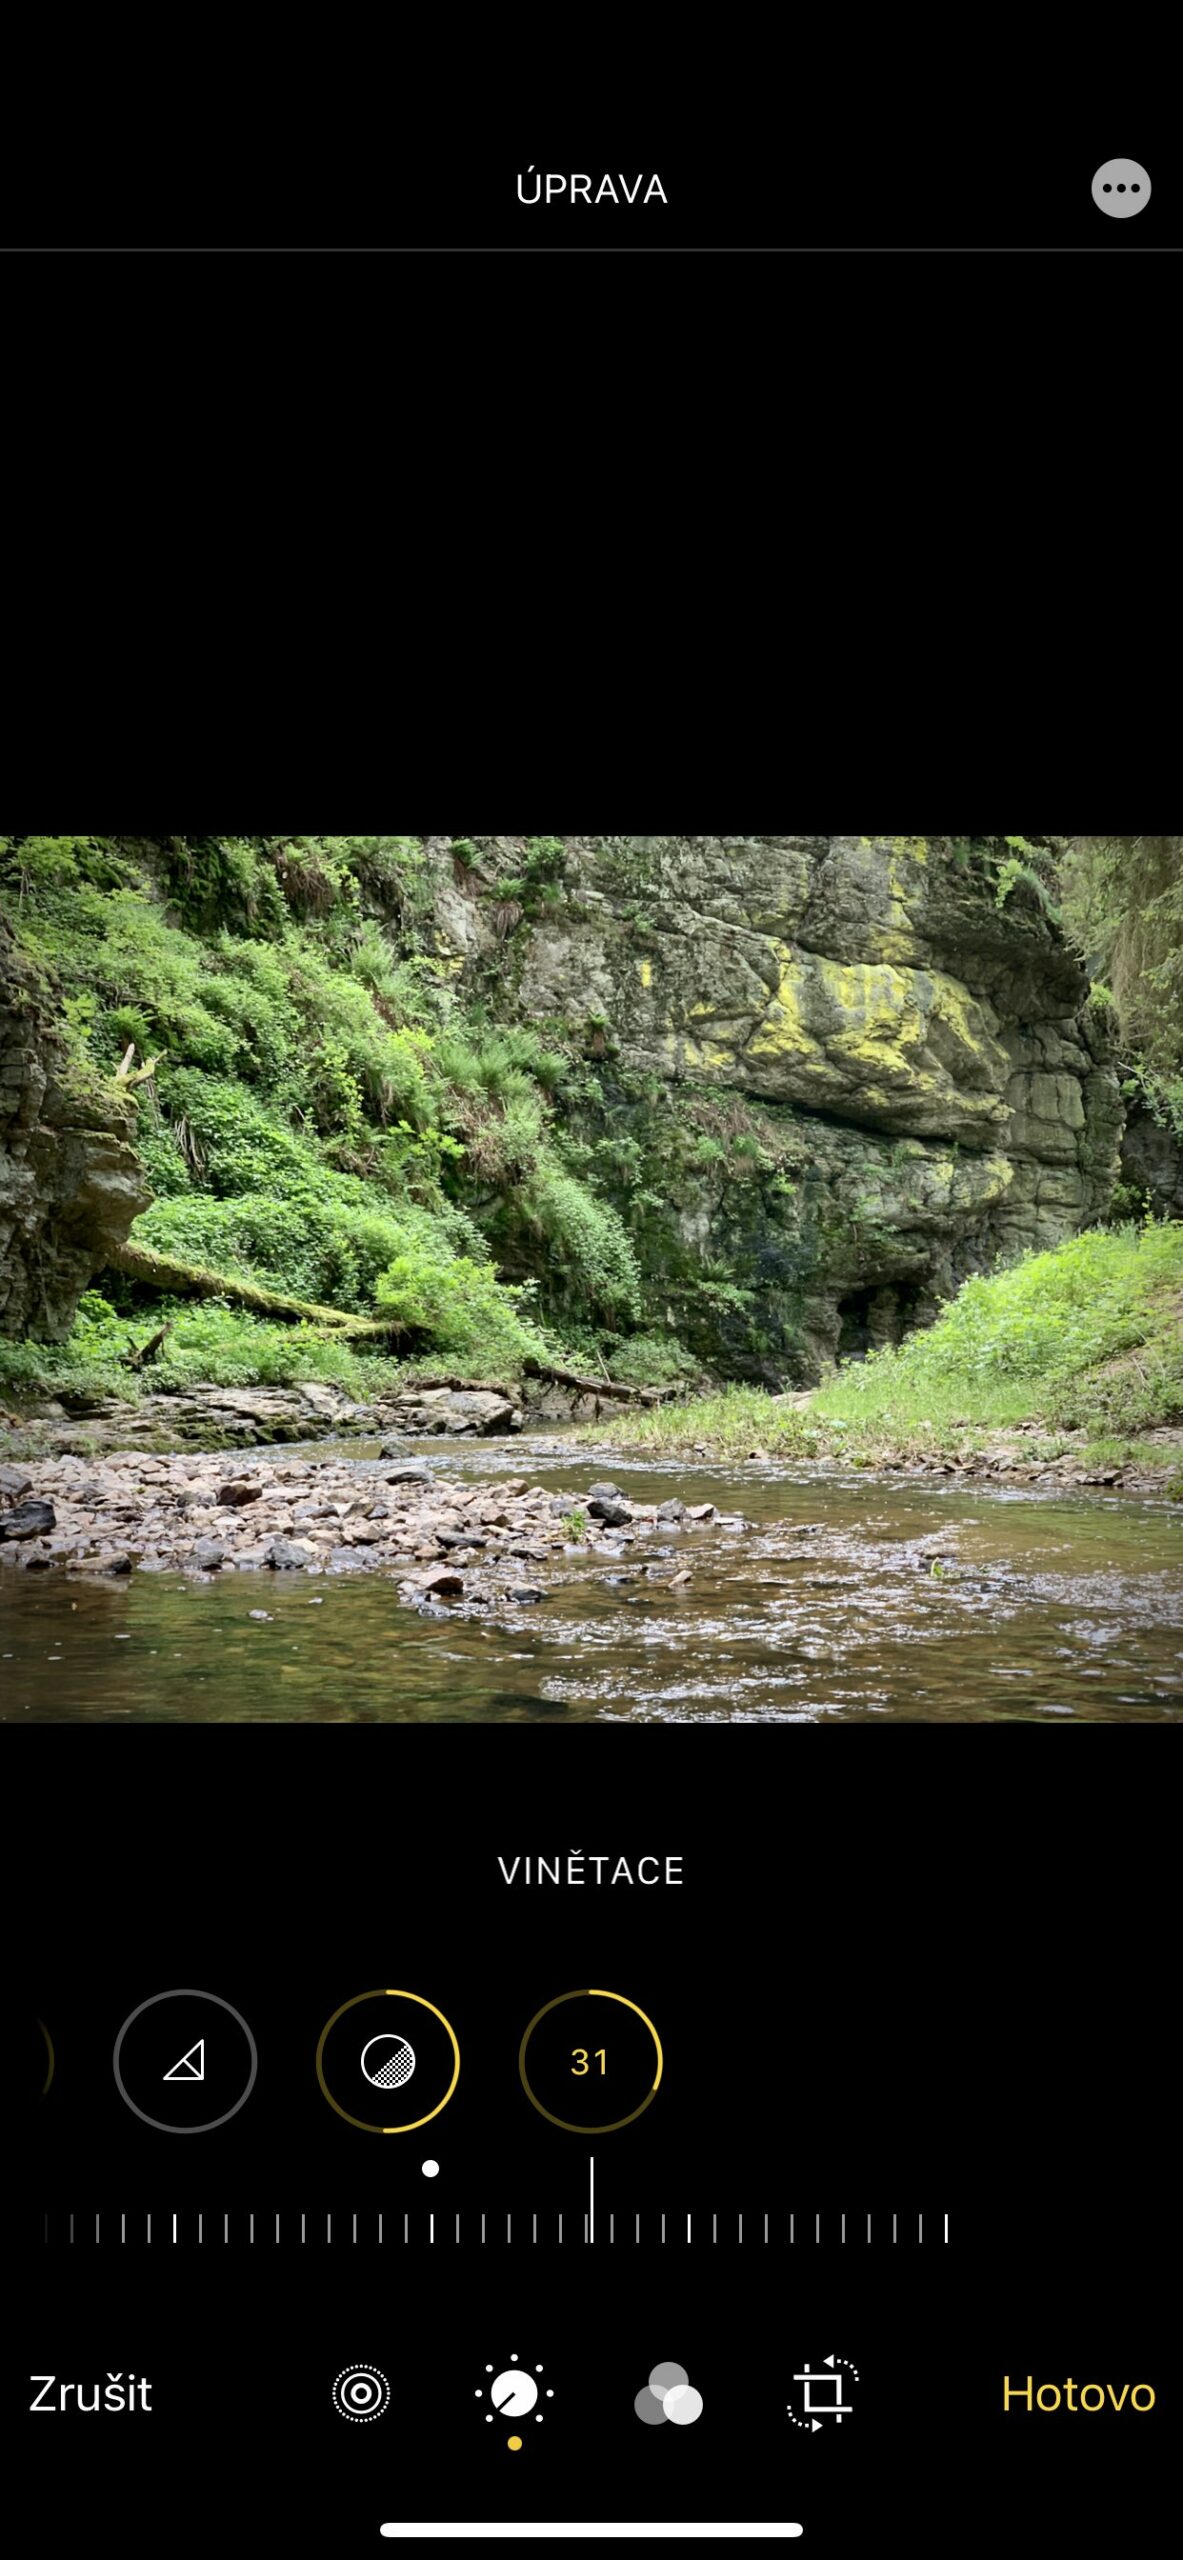
The interface will automatically open for you to edit the image. By dragging to the right or left here, you switch between individual edits, such as exposure, lights, contrast, etc. You determine the degree of adjustment on the slider below this symbol. If you don't like the changes made, you can tap on Zrušit return to original.
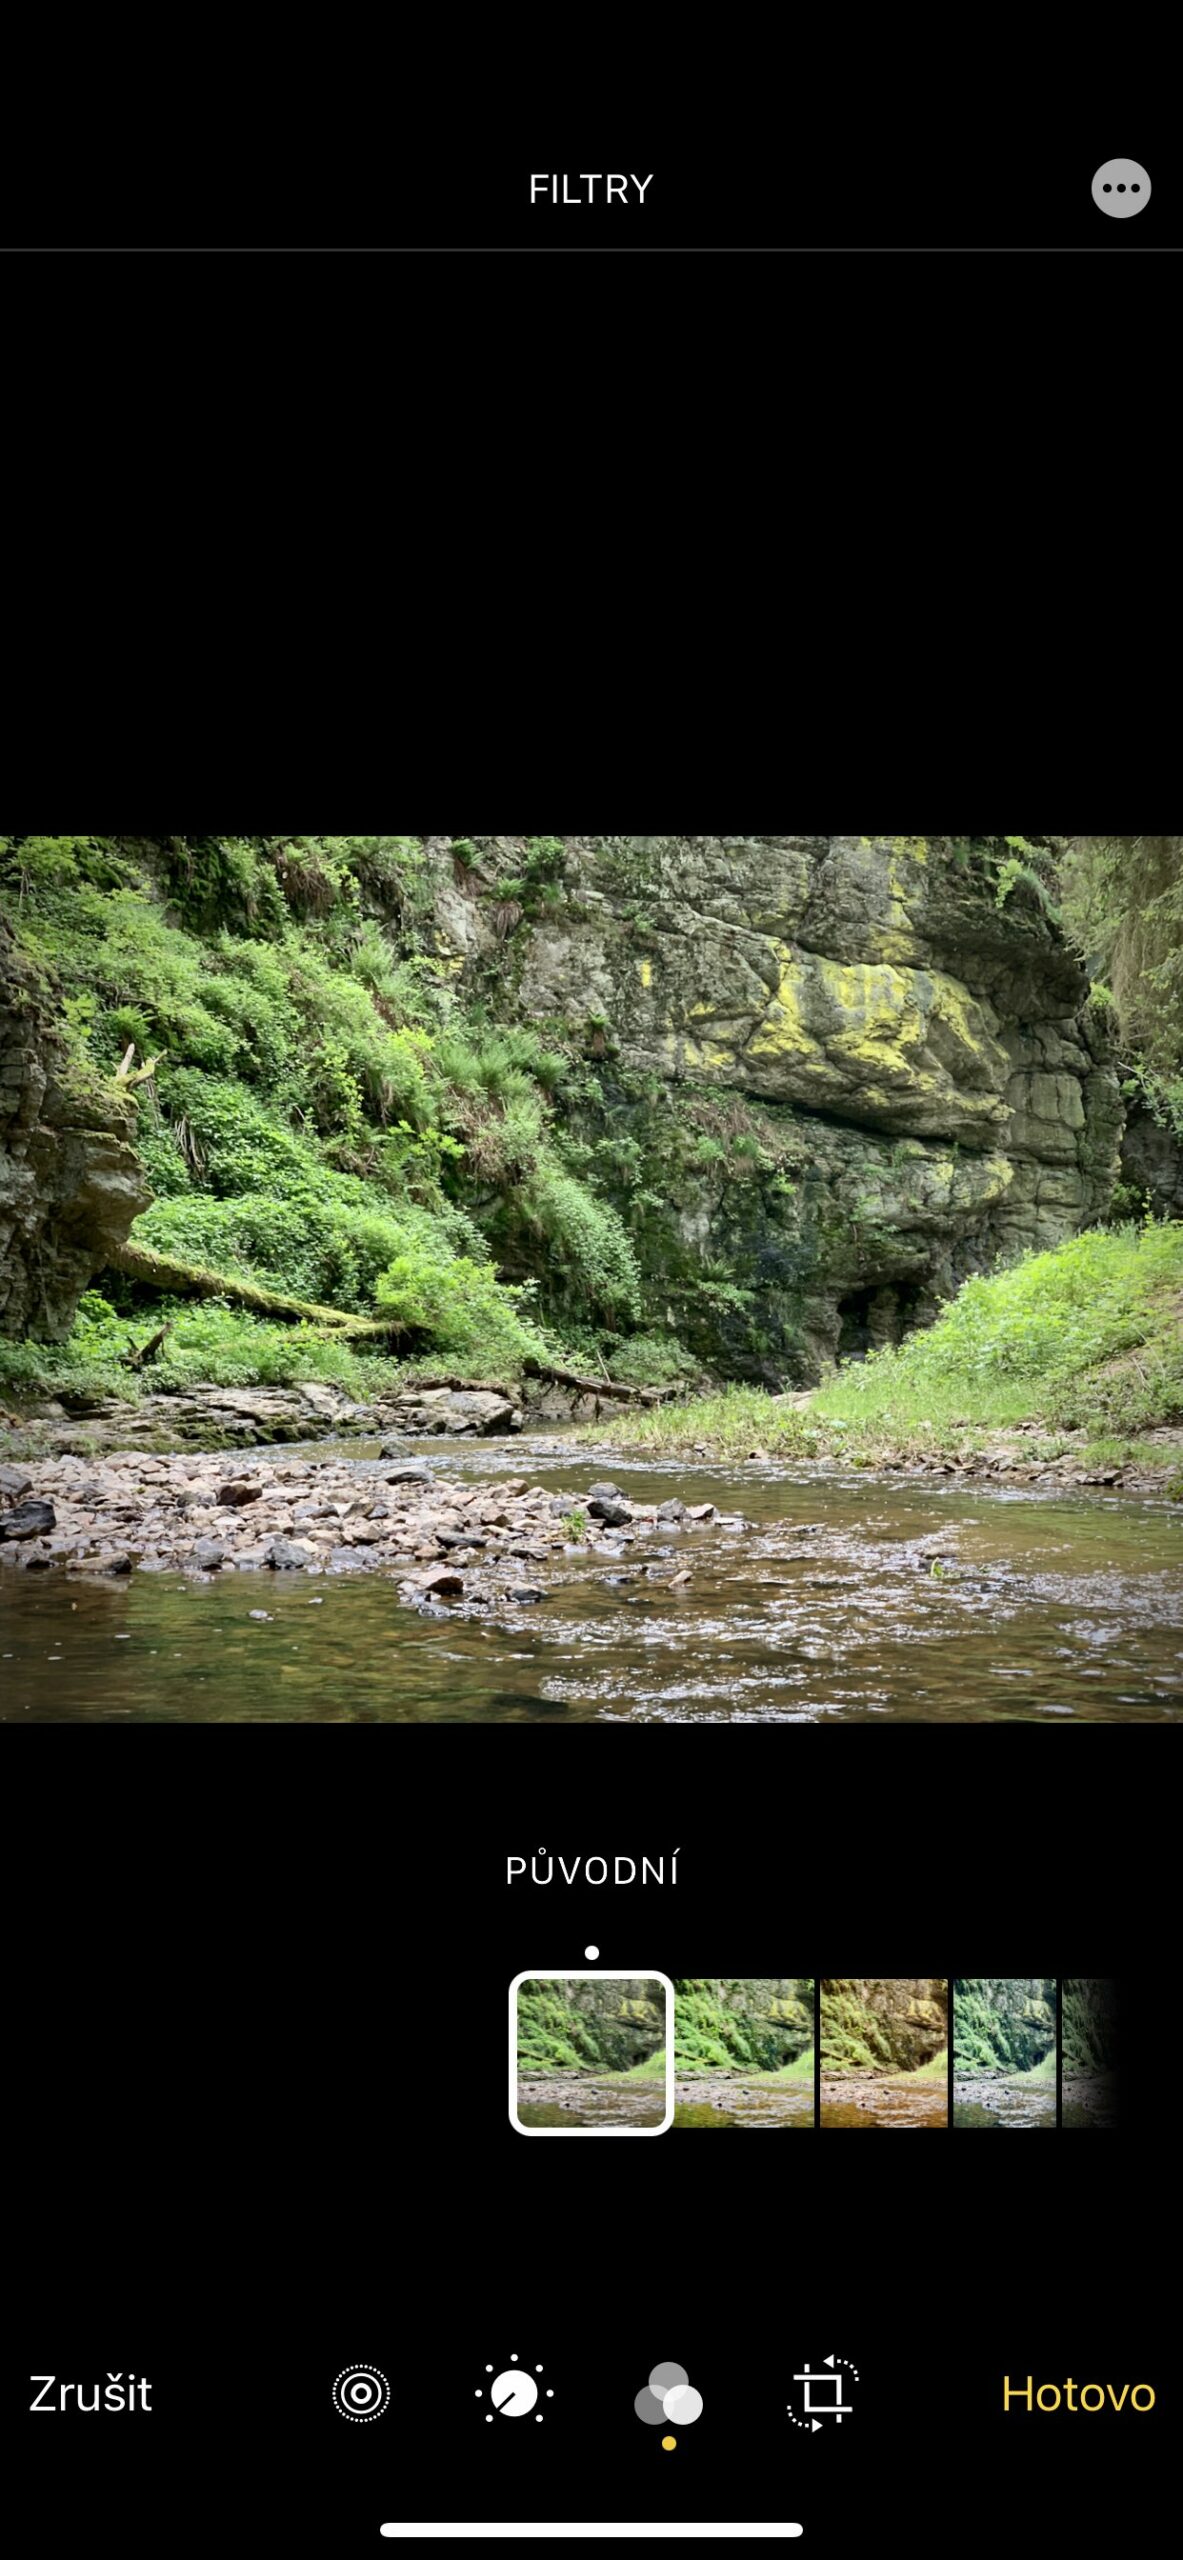
Using filters
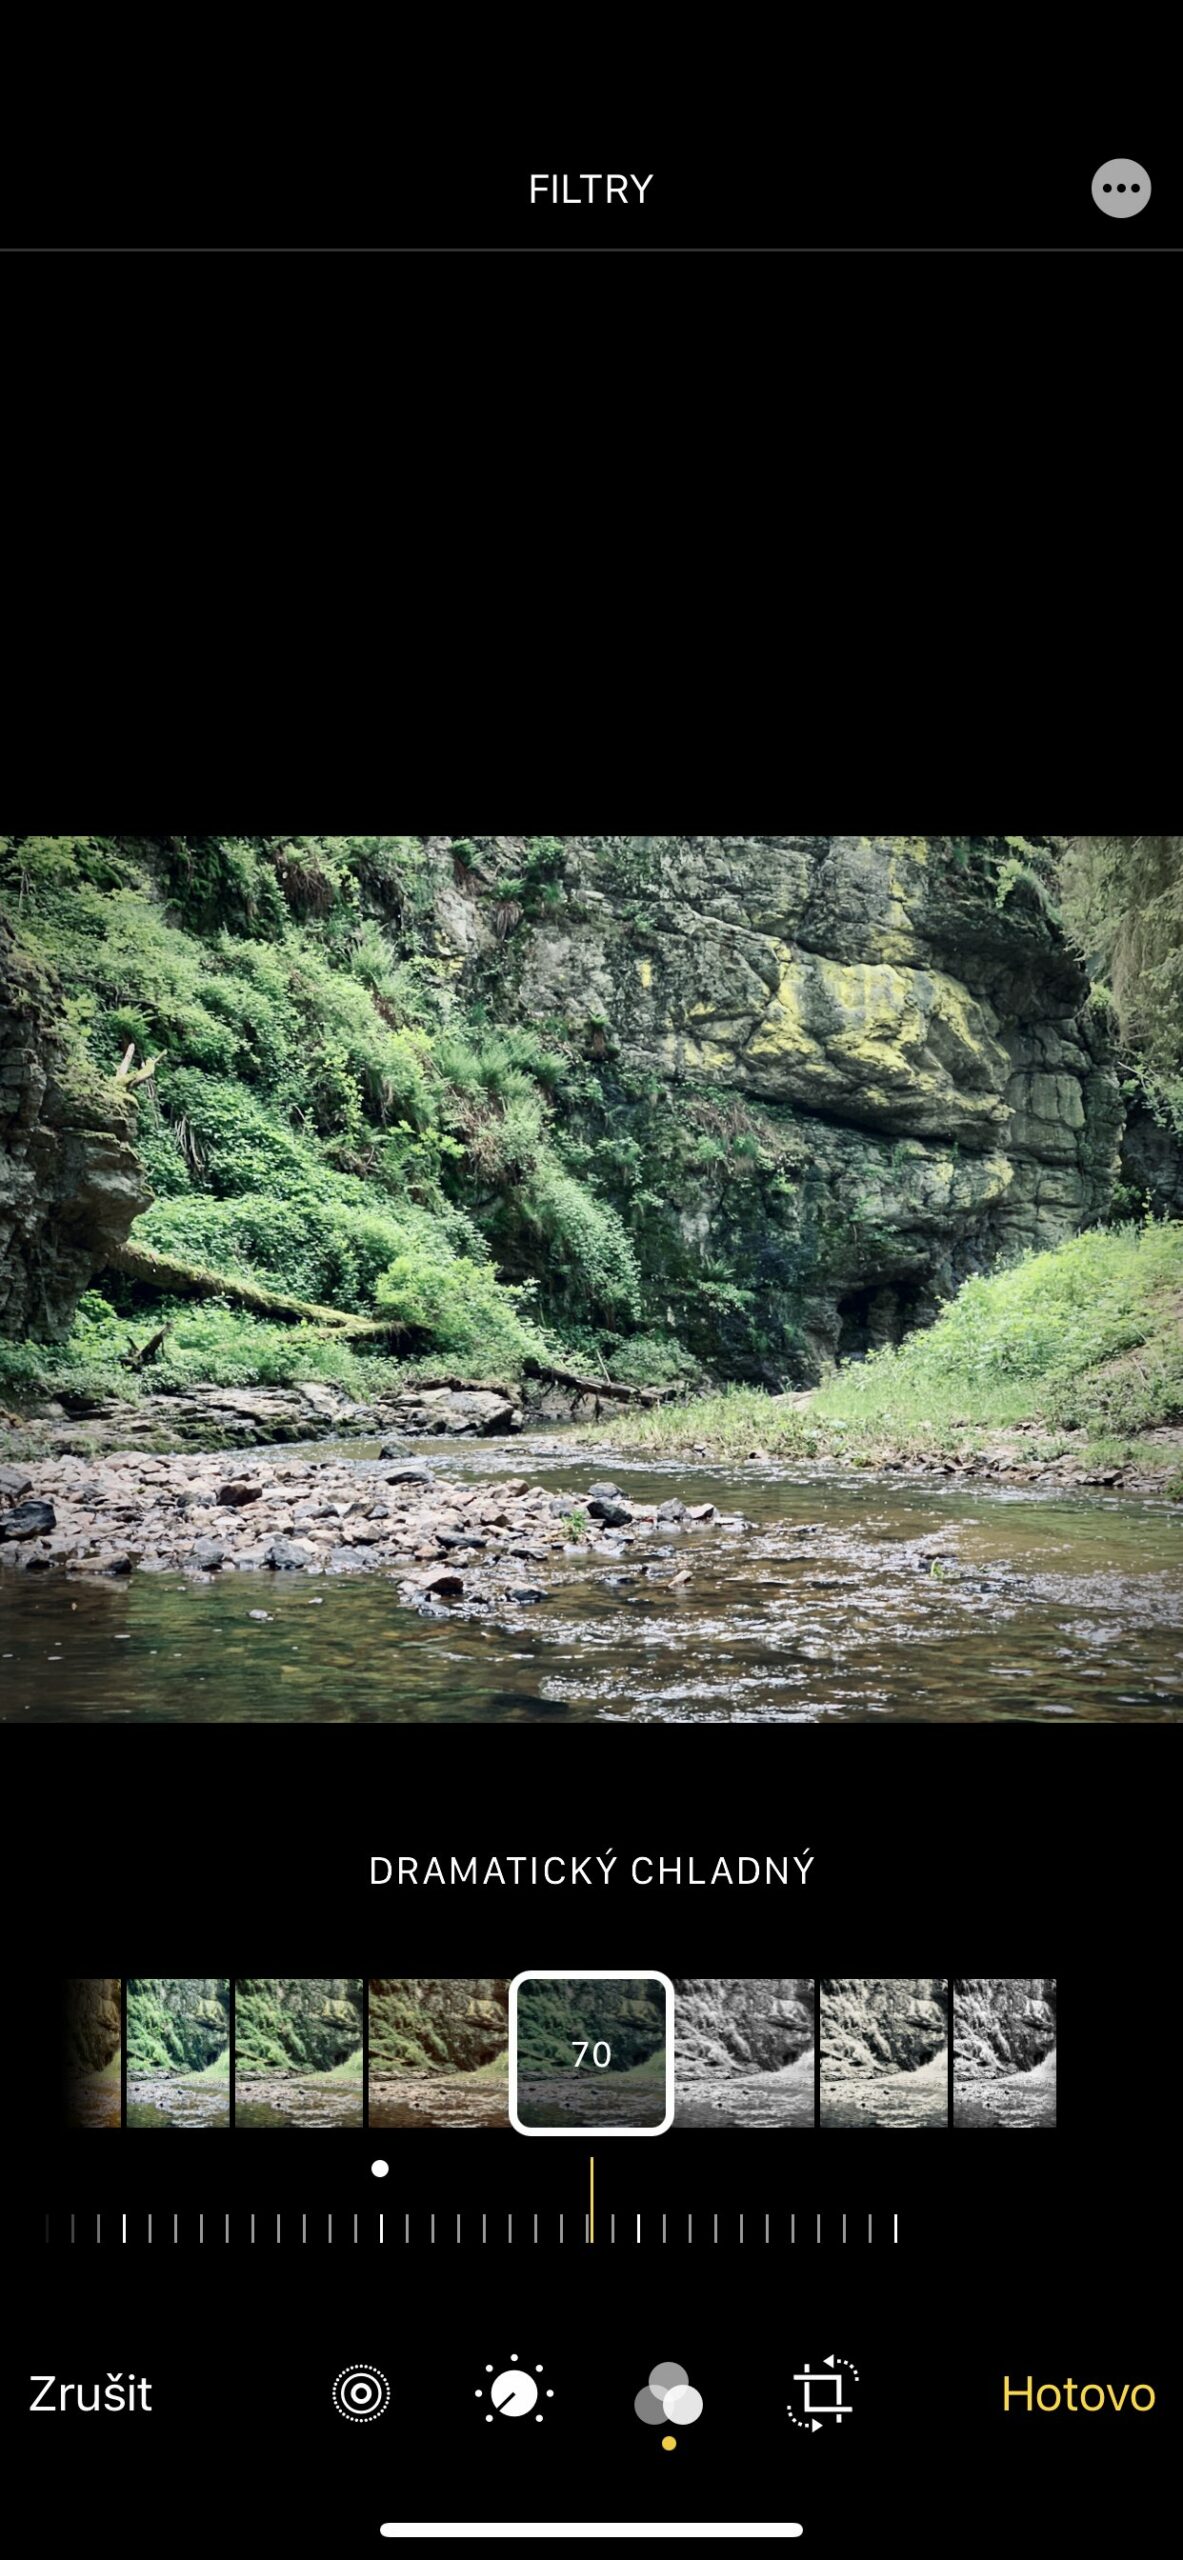
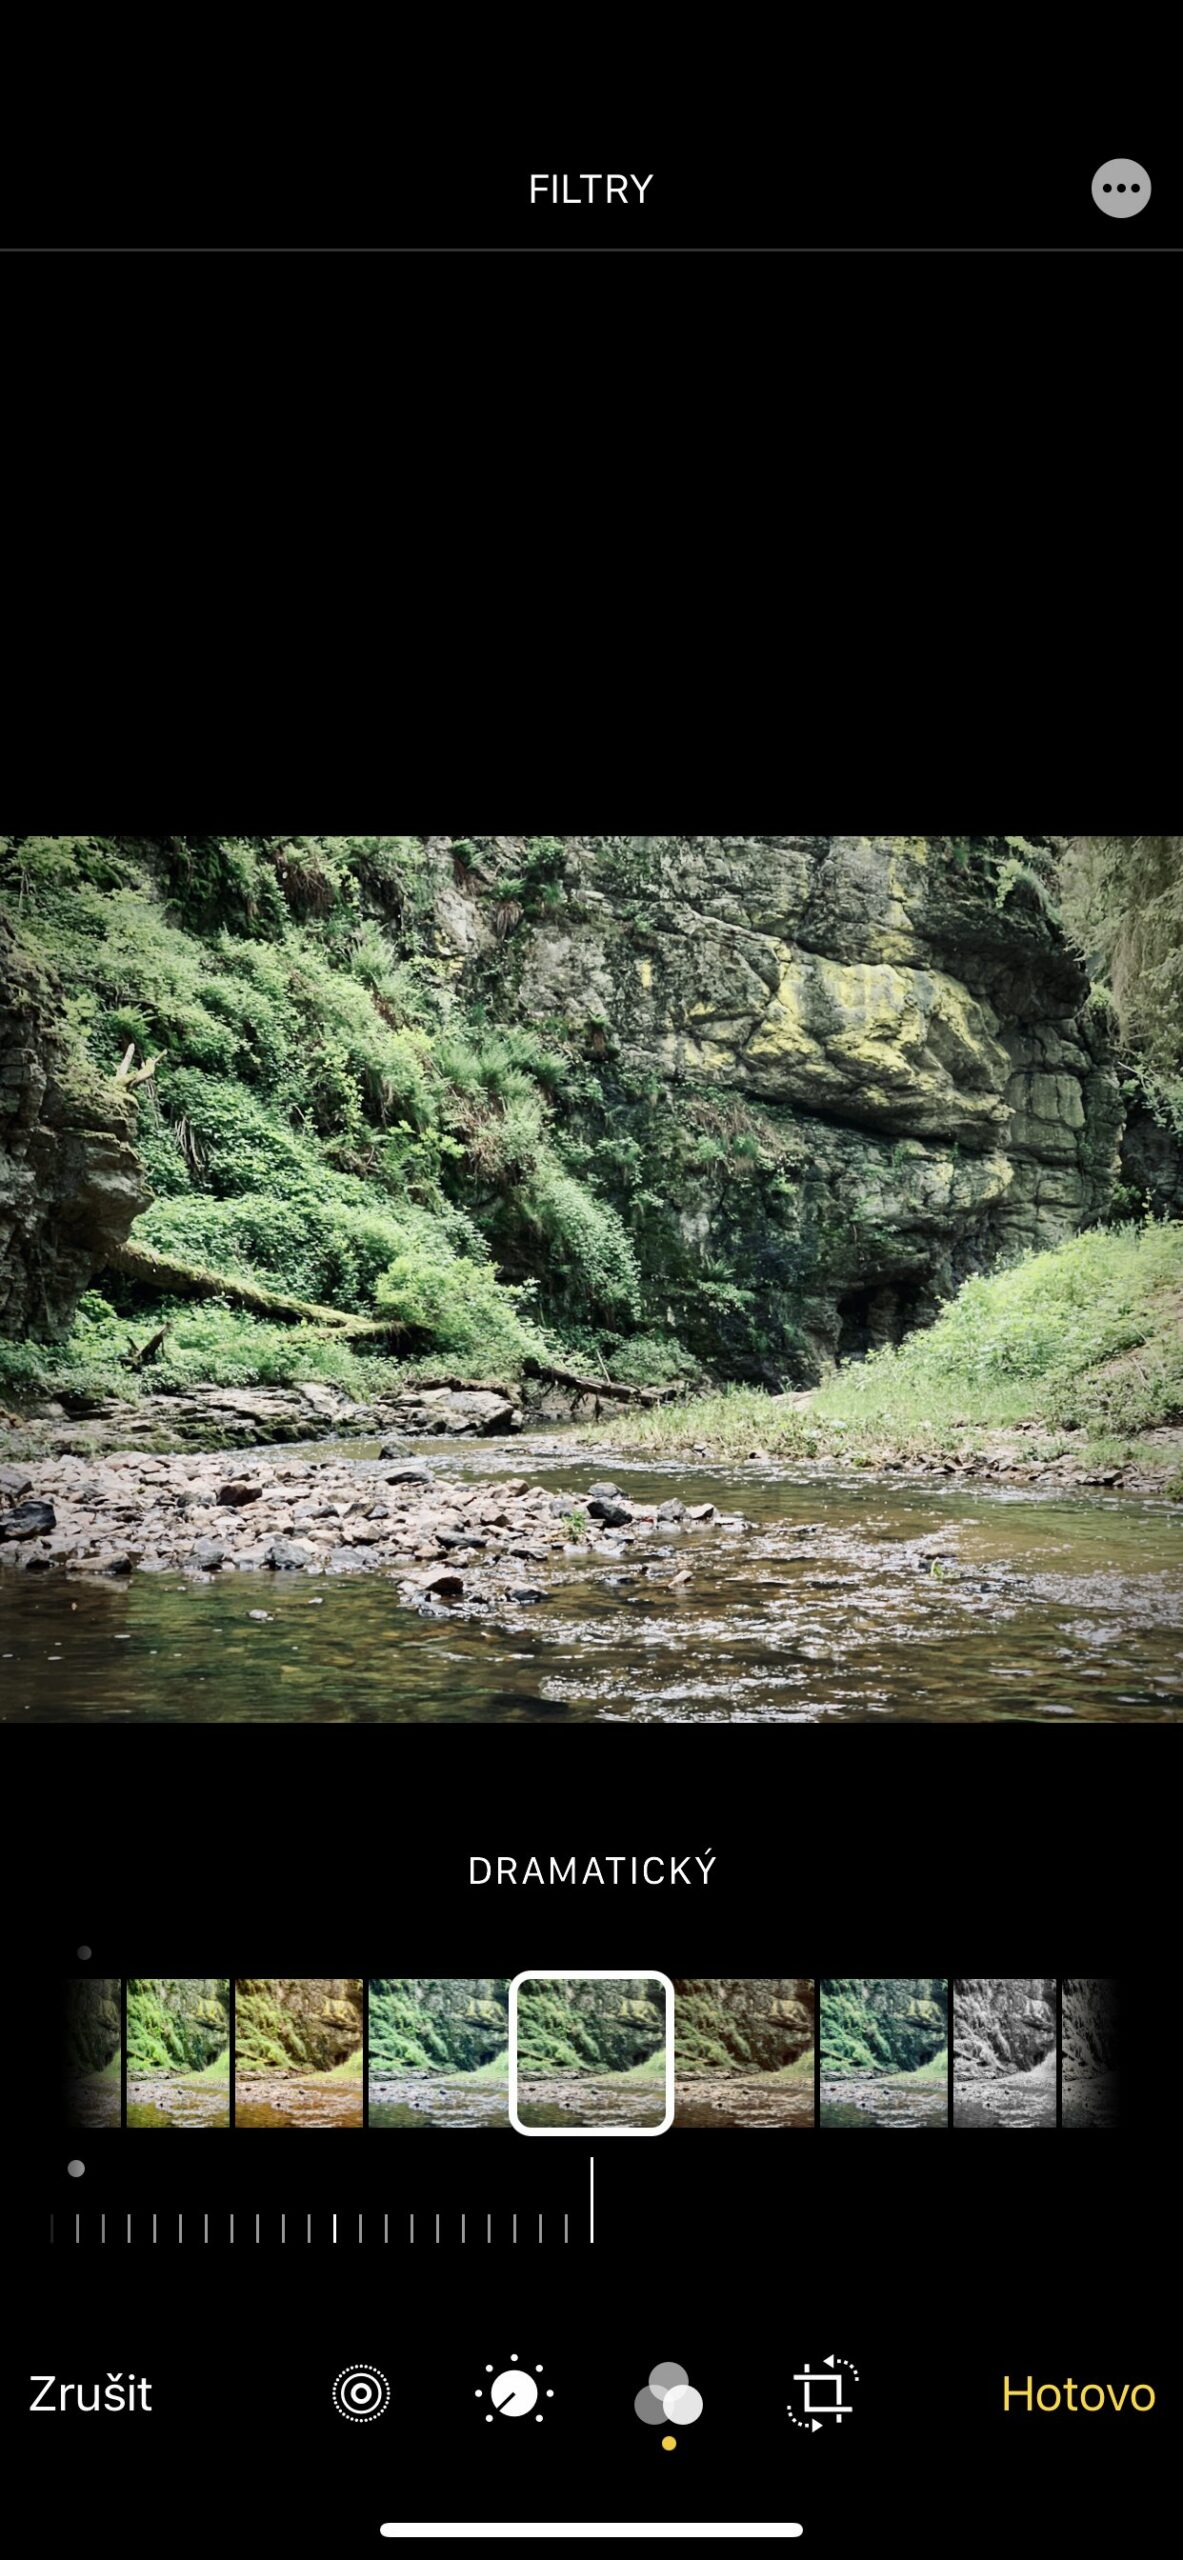
The three-wheel icon indicates the use of filters. Click on one of the photo filters, for example Live or Dramatic, you will add a different mood to the photo. You can also try a classic black and white look, for example with an effect Mono a Silver. Use the slider below the previews to determine the intensity of the filter.
Trimming and straightening
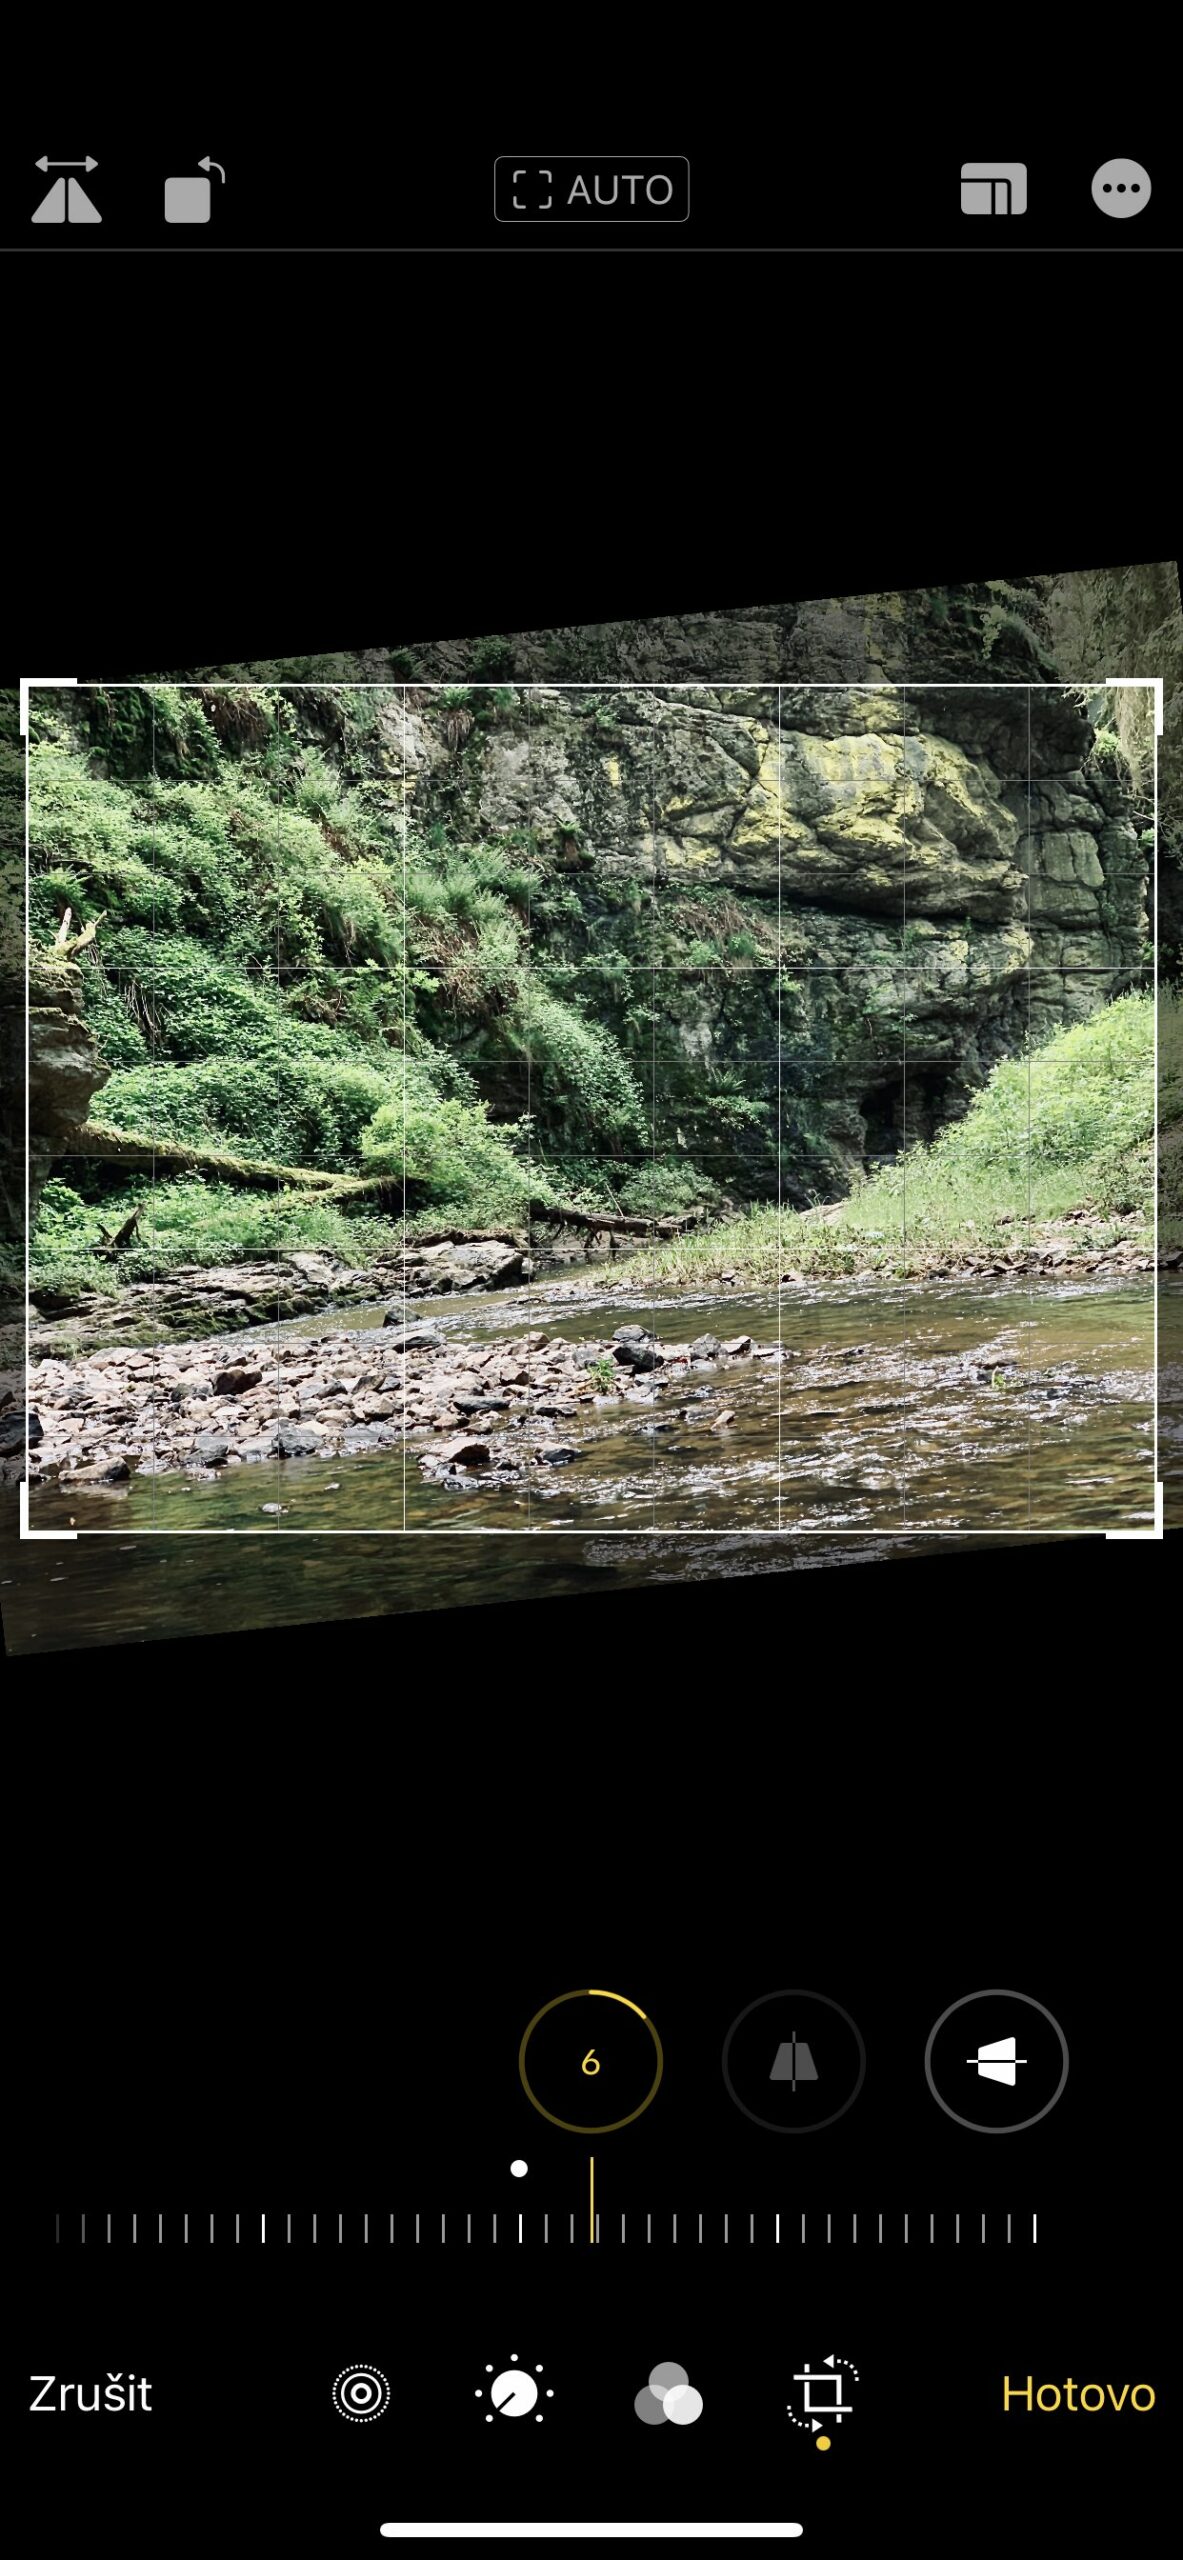
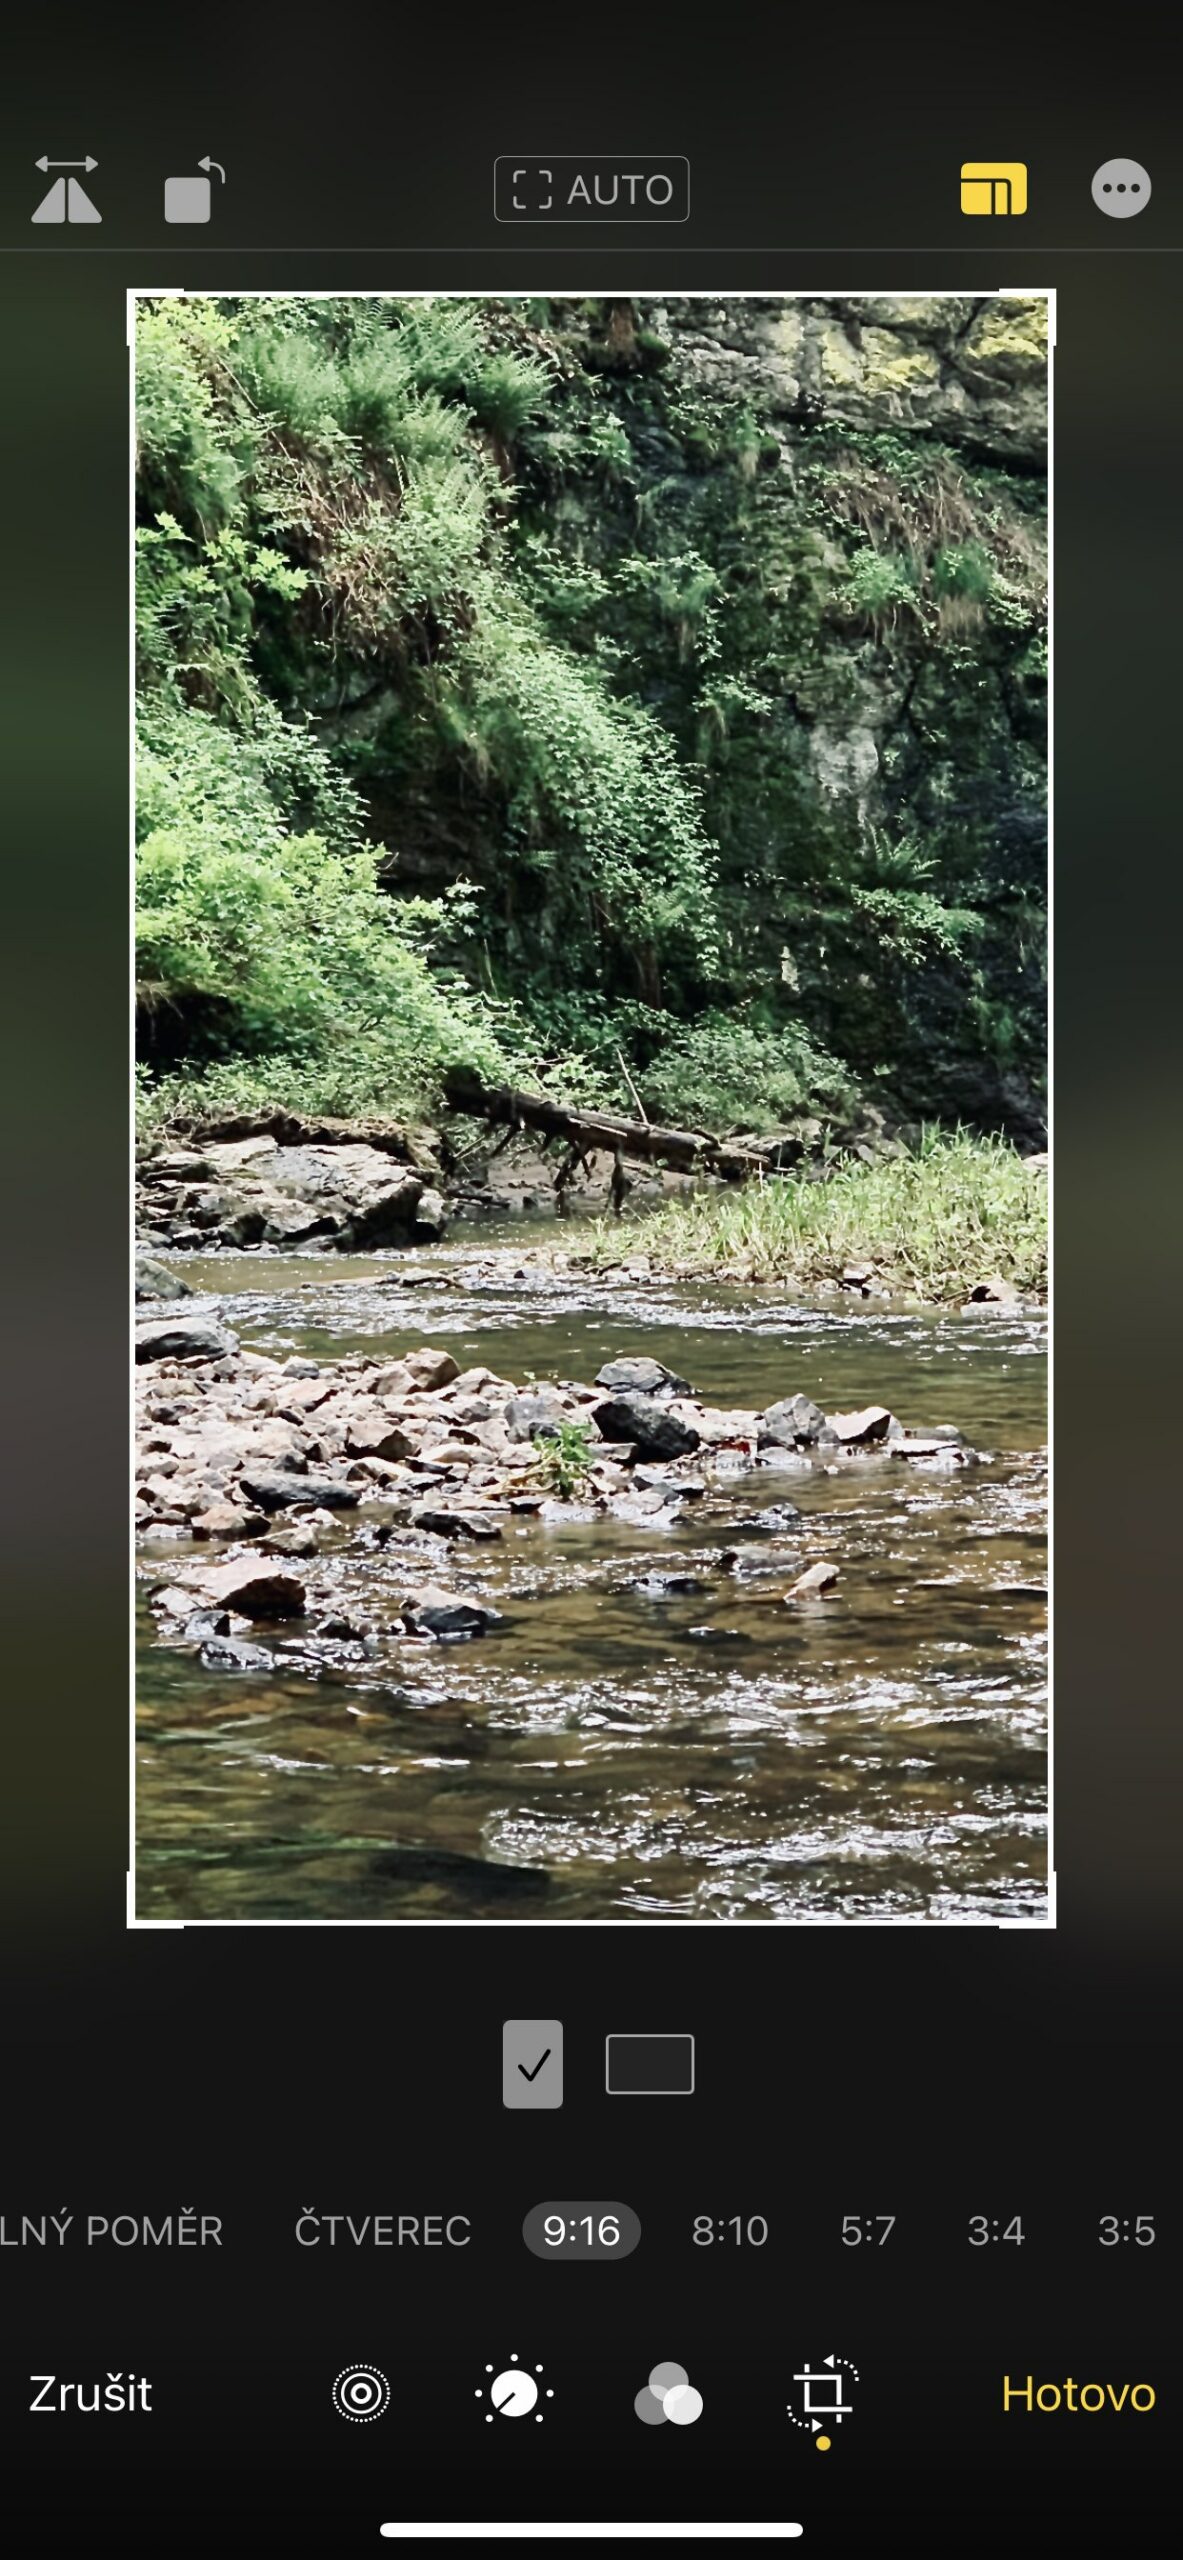
The last icon in the row is used to change the aspect ratio of the image, but also for free cropping. Drag the corners in the crop tool to determine how you want to crop the photo, and rotate the wheel to tilt or straighten it. You can also rotate or flip the photo and adjust the vertical and horizontal perspective.
It could be interest you
Live Photos
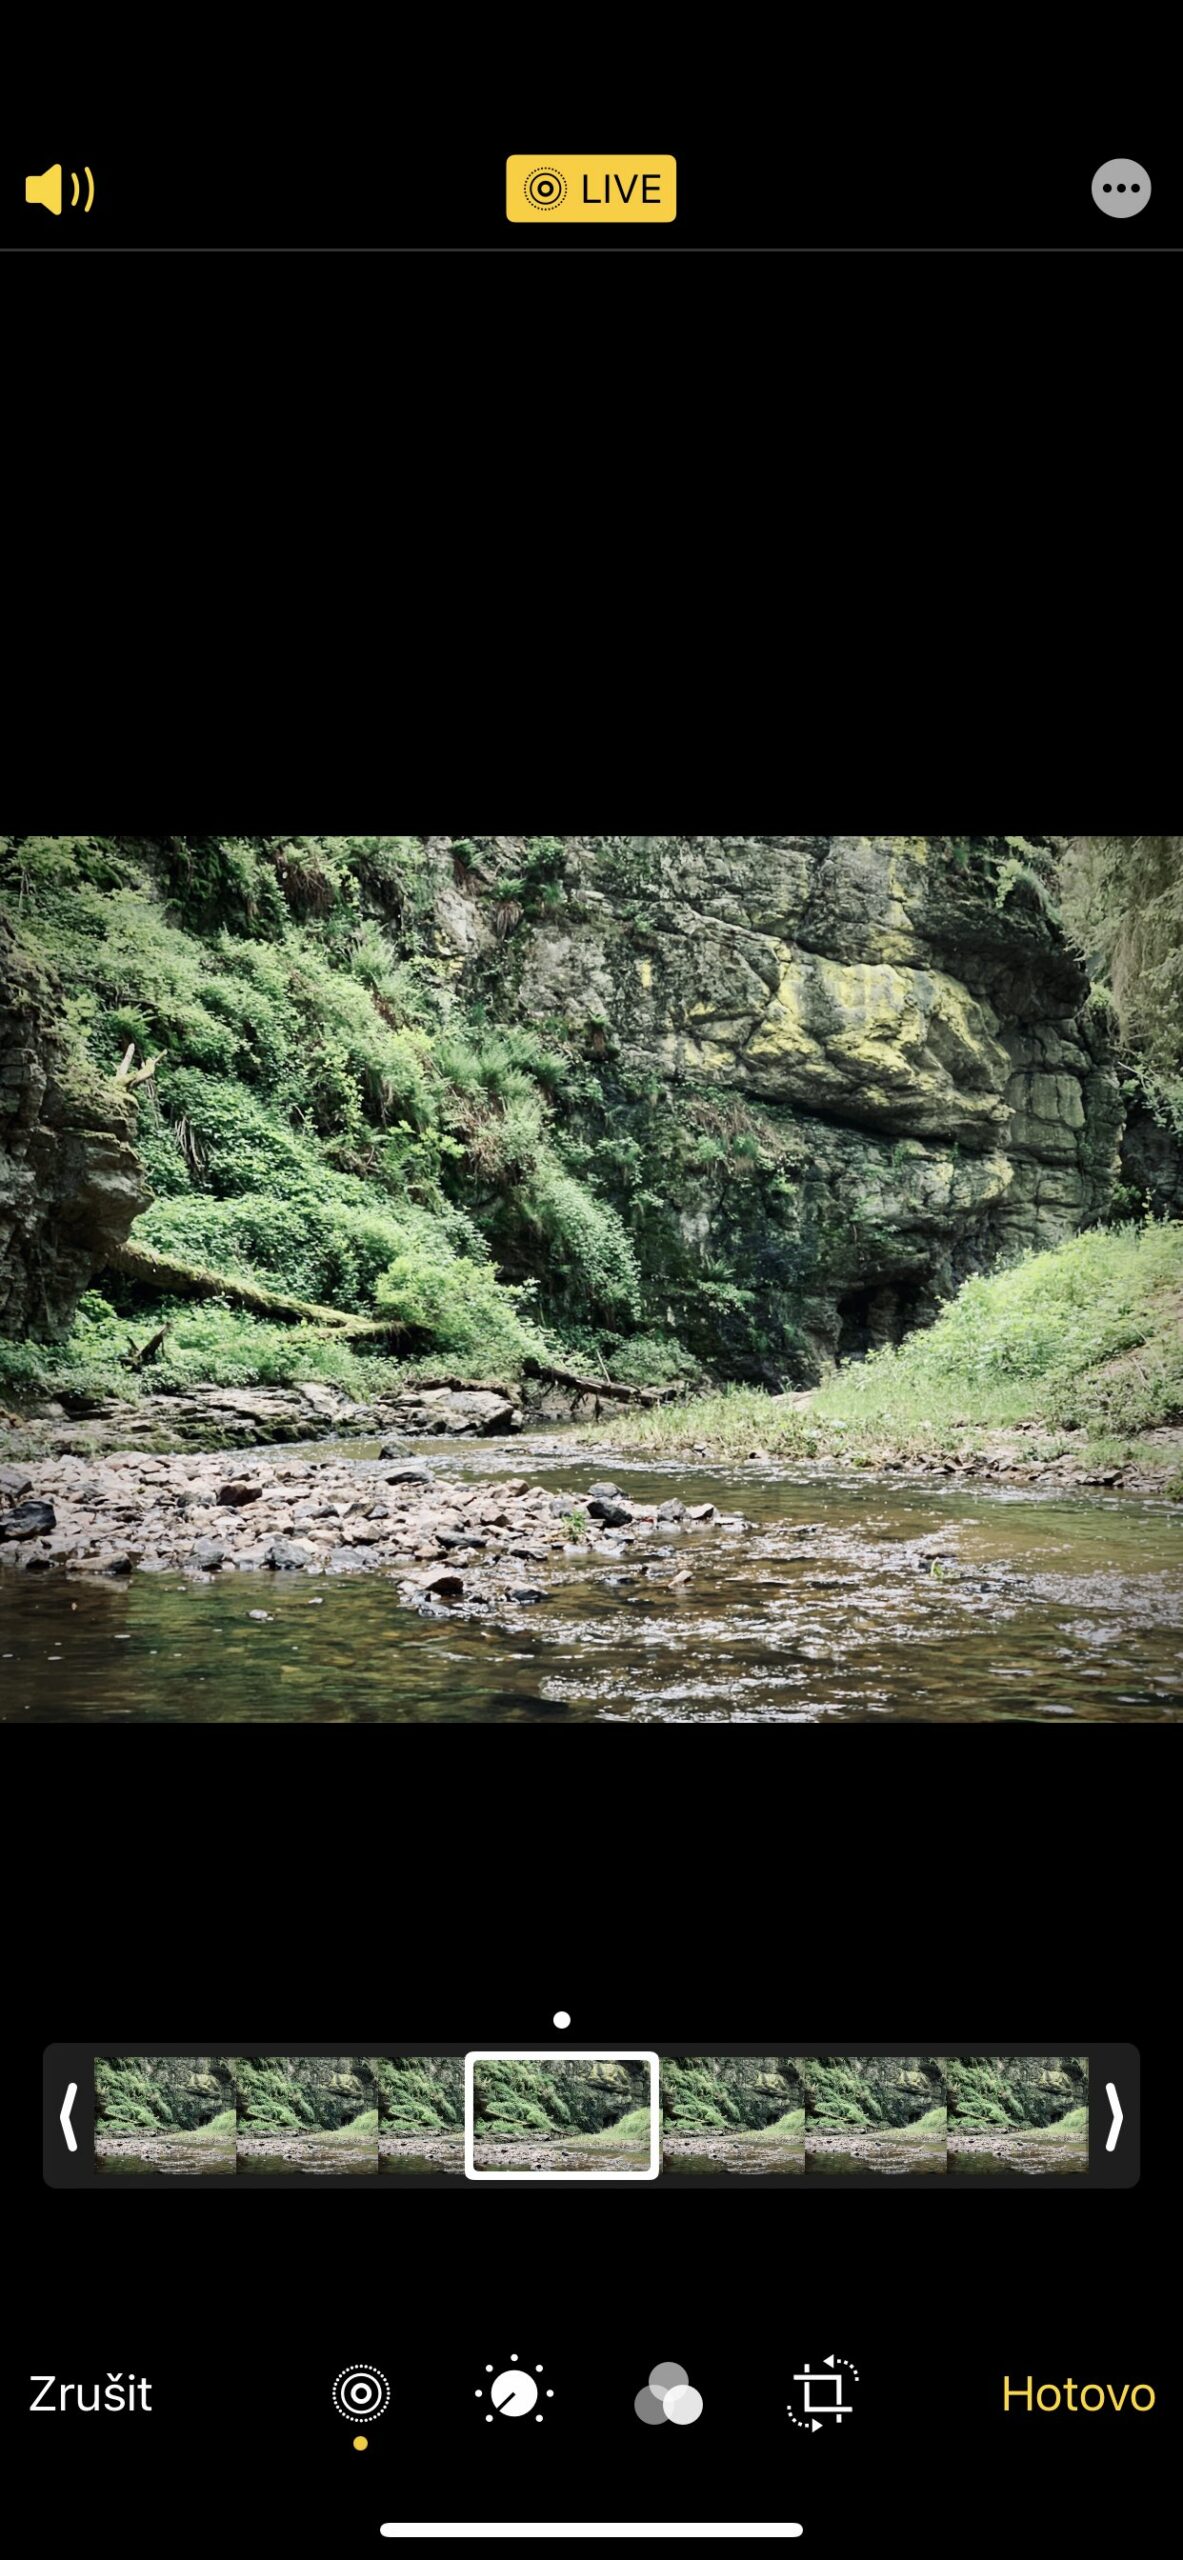
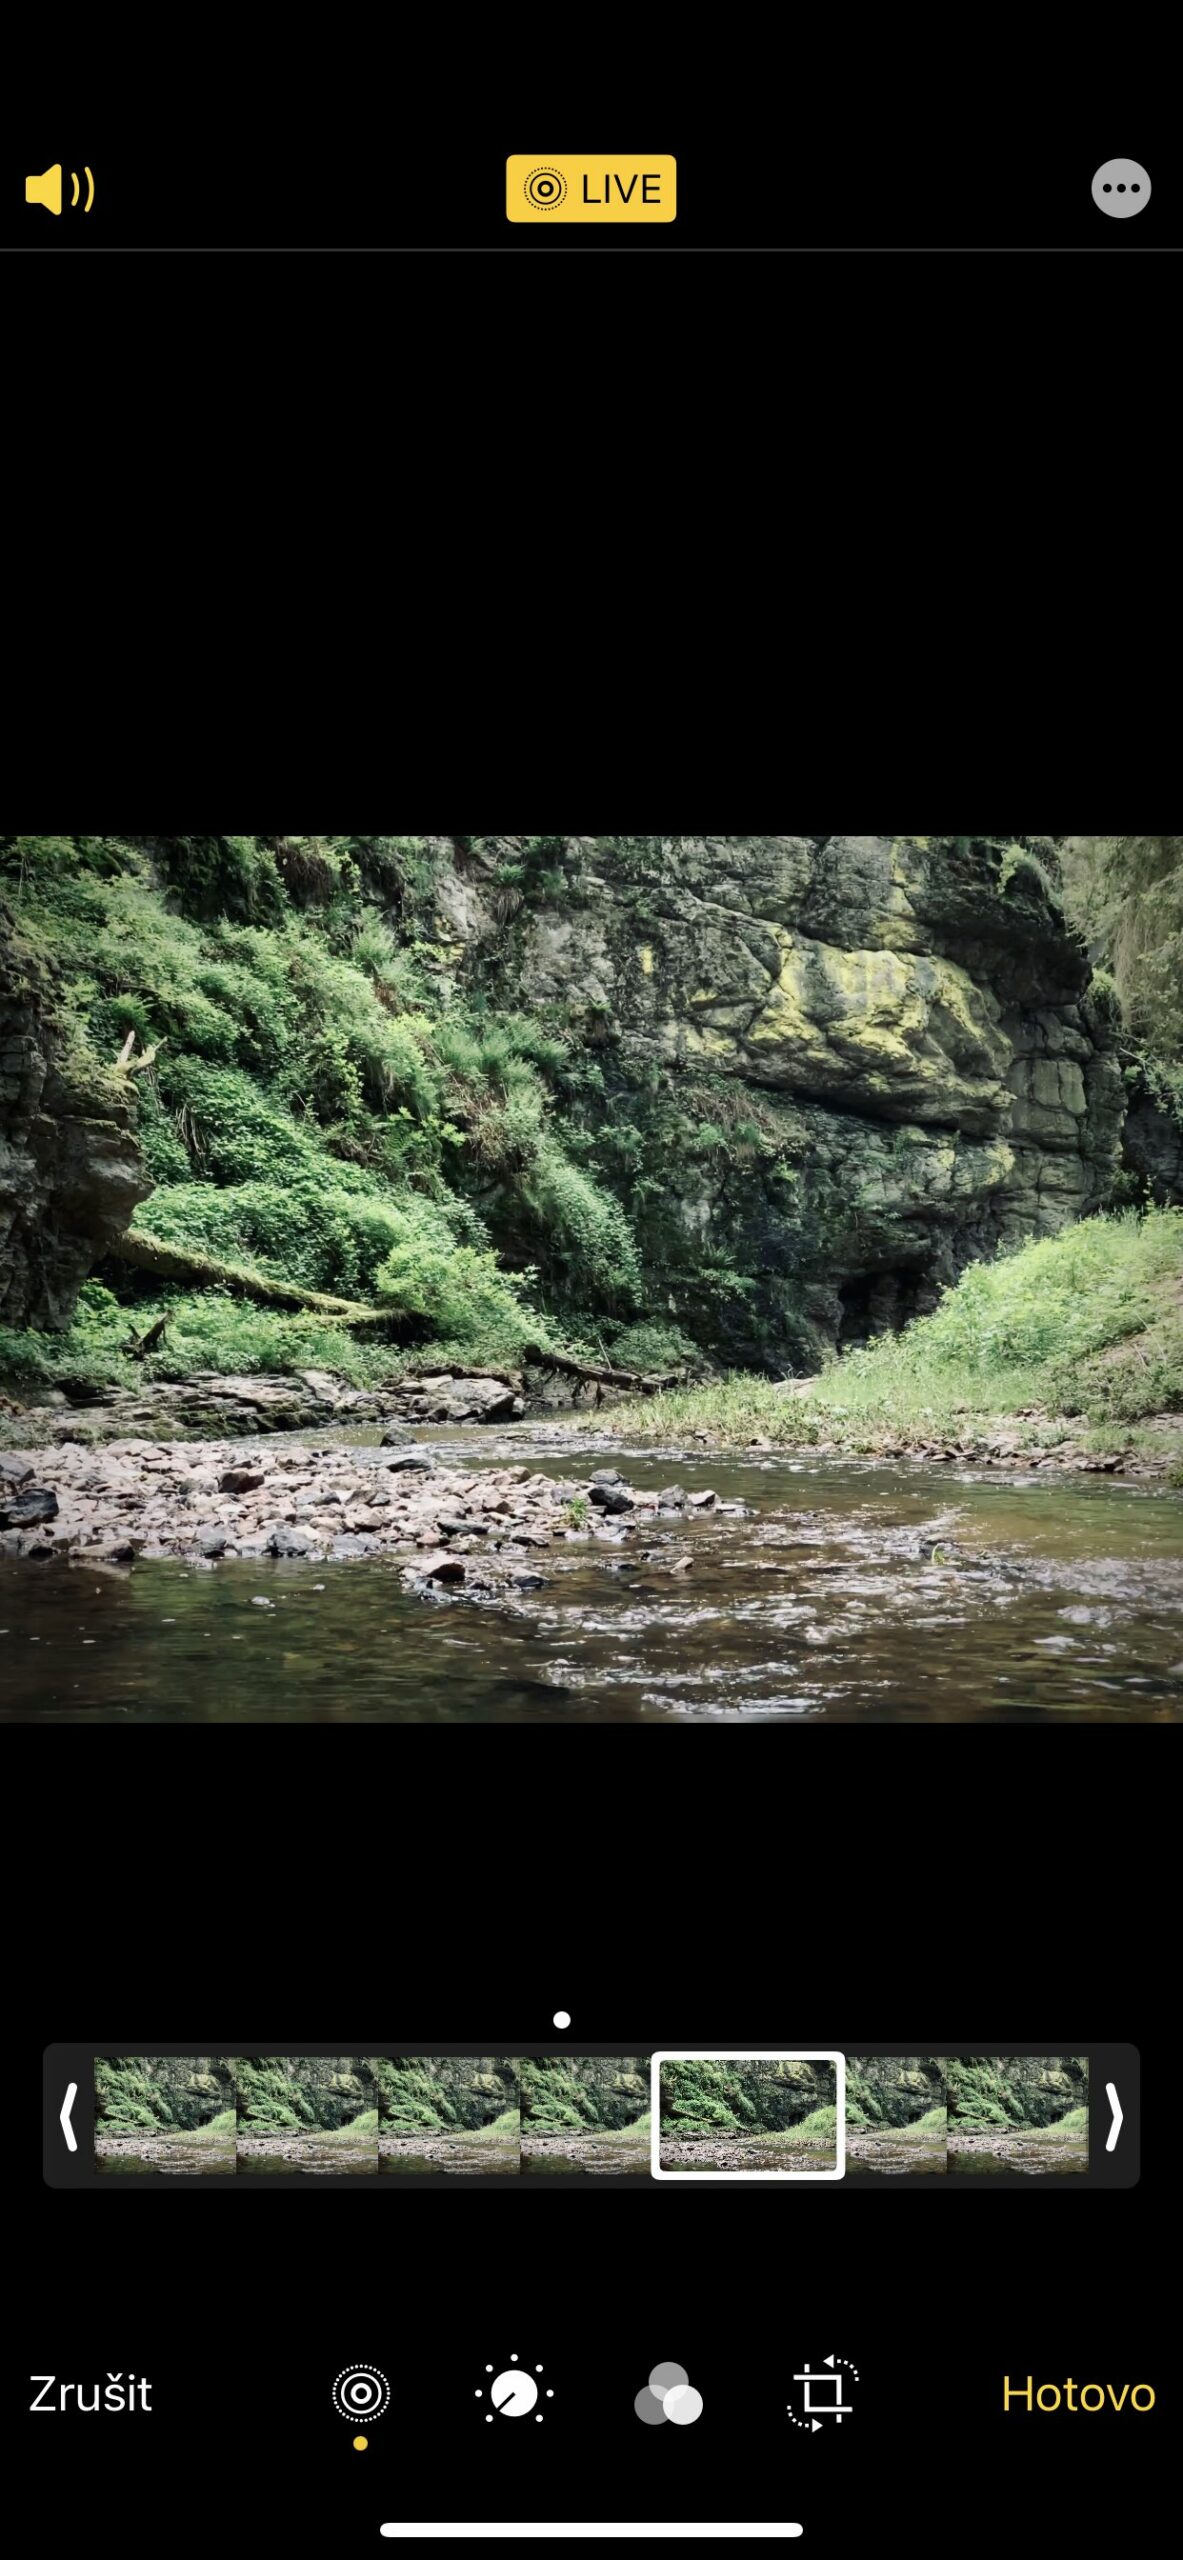
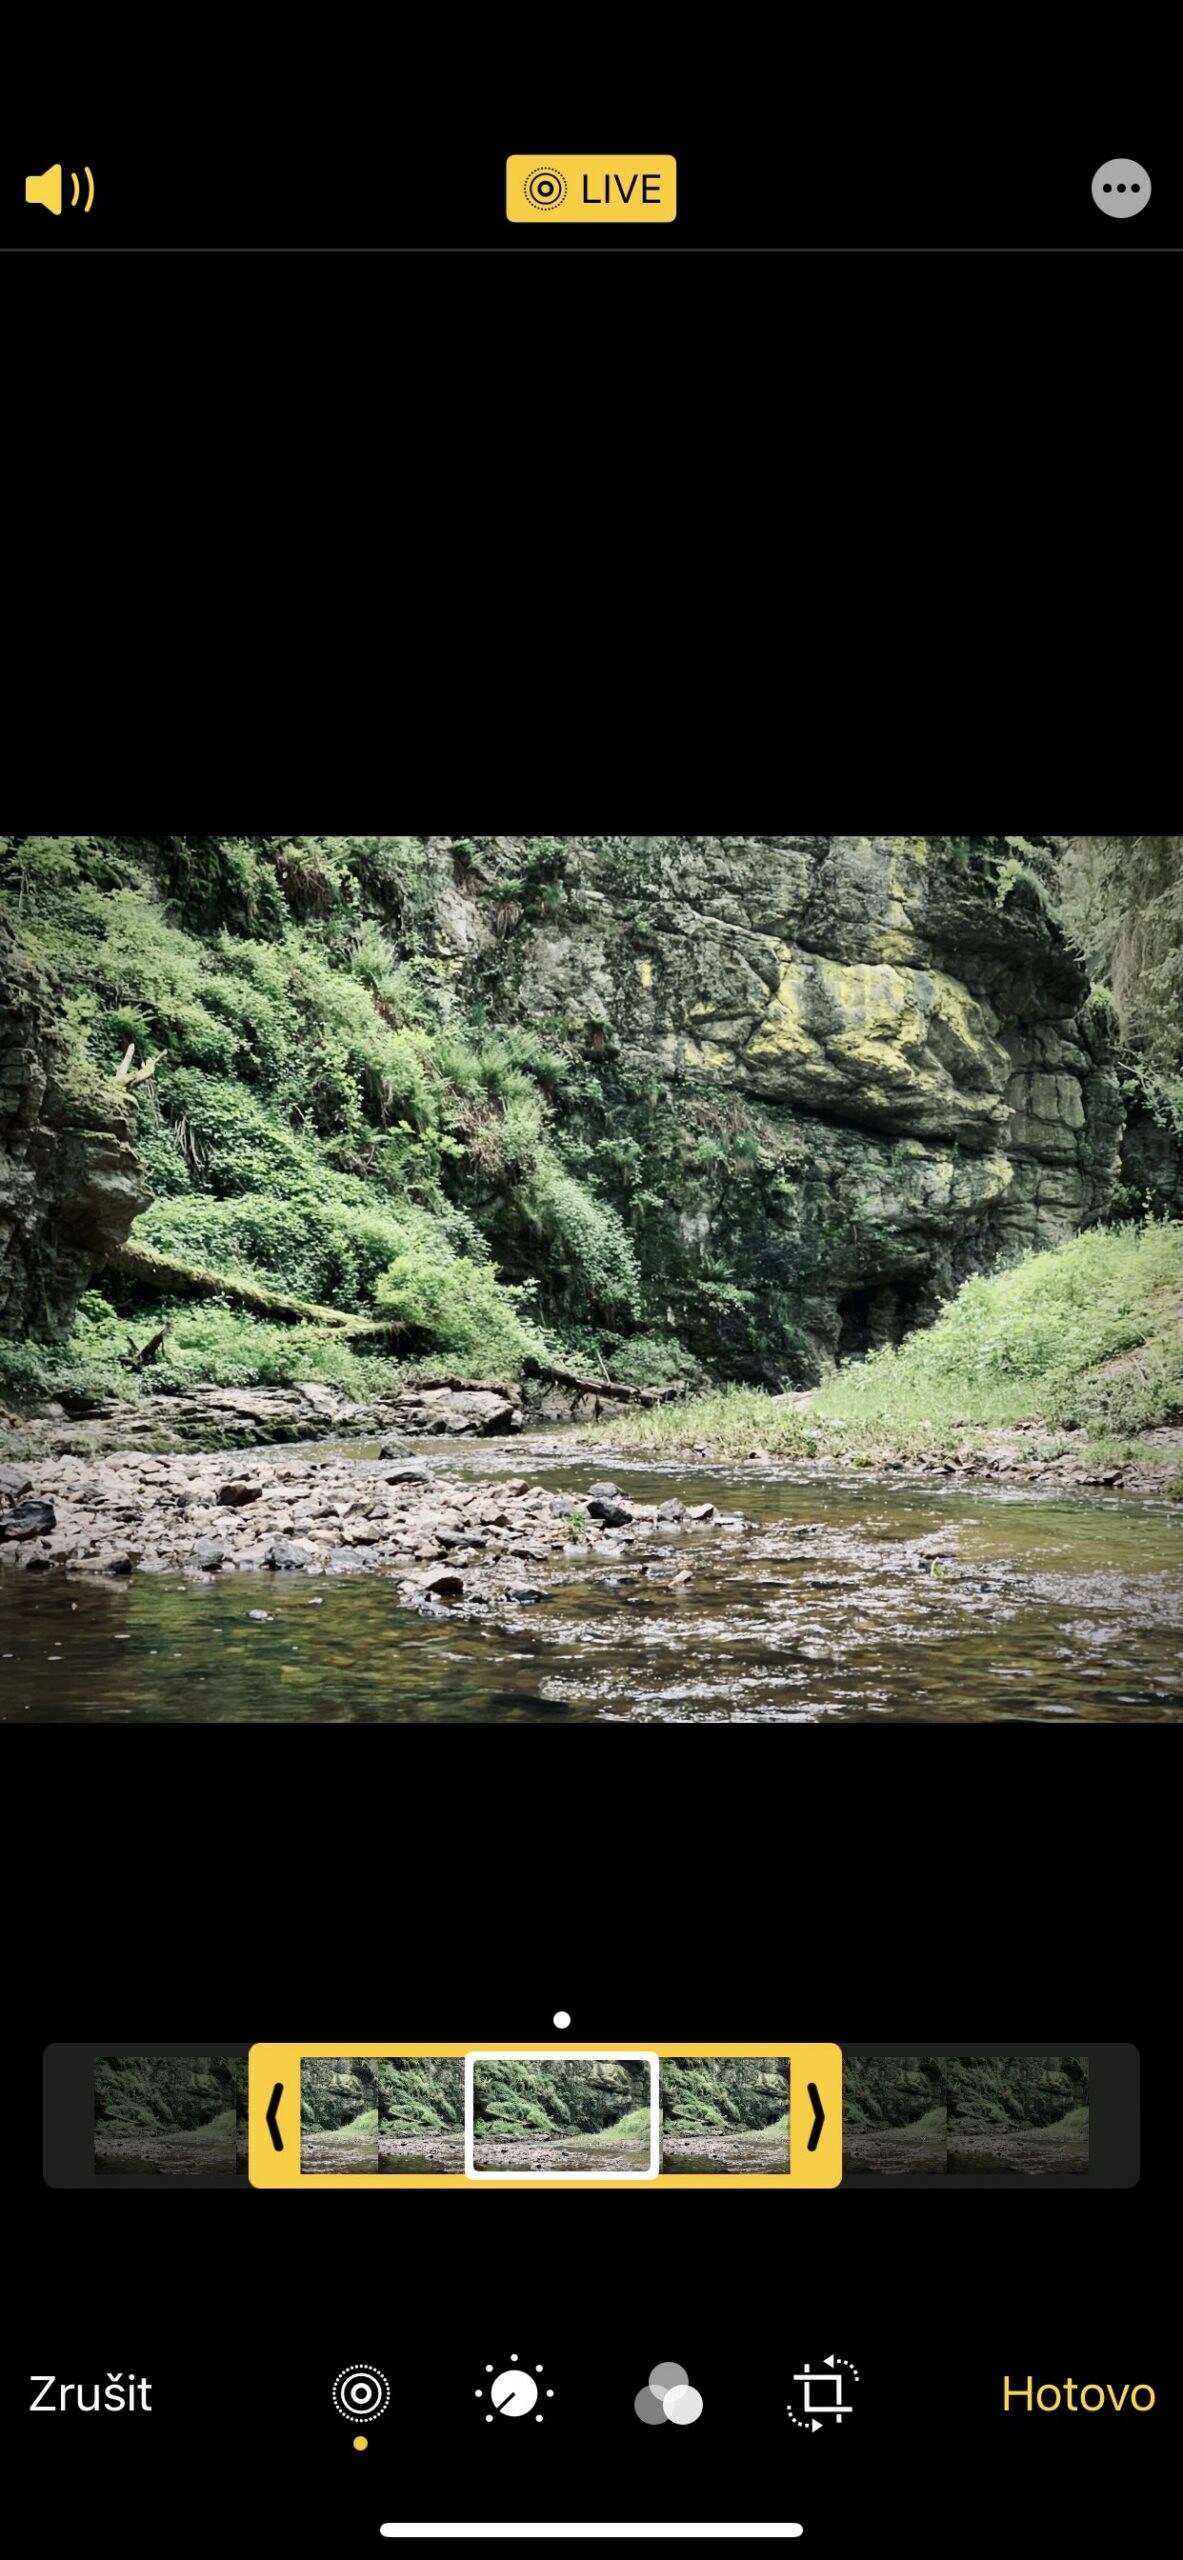
Then when you return to the first icon of concentric circles, you can edit Live Photos here. Use the speaker symbol to turn off the sound, use the Live symbol to cancel the entire sequence. You can then select a different image in the lower preview strip, which you will then see in the Photos gallery. You can also shorten the duration of the live photo by dragging the sides of the sequence.
After all your adjustments, you just have to choose Done and those are saved. However, the editing is non-destructive, so you can go back to the original appearance of the image at any time.
Note: The app interface may be slightly different depending on the iPhone model and iOS version you are using.
 Adam Kos