The power of mobile phones is that once you activate them and launch the camera app, you can immediately take photos and videos with them. Just aim at the scene and press the shutter, anytime and (almost) anywhere. If you already have a sufficiently comprehensive gallery in the Photos application, you will surely find it useful to search it faster. This is also what filtering is for.
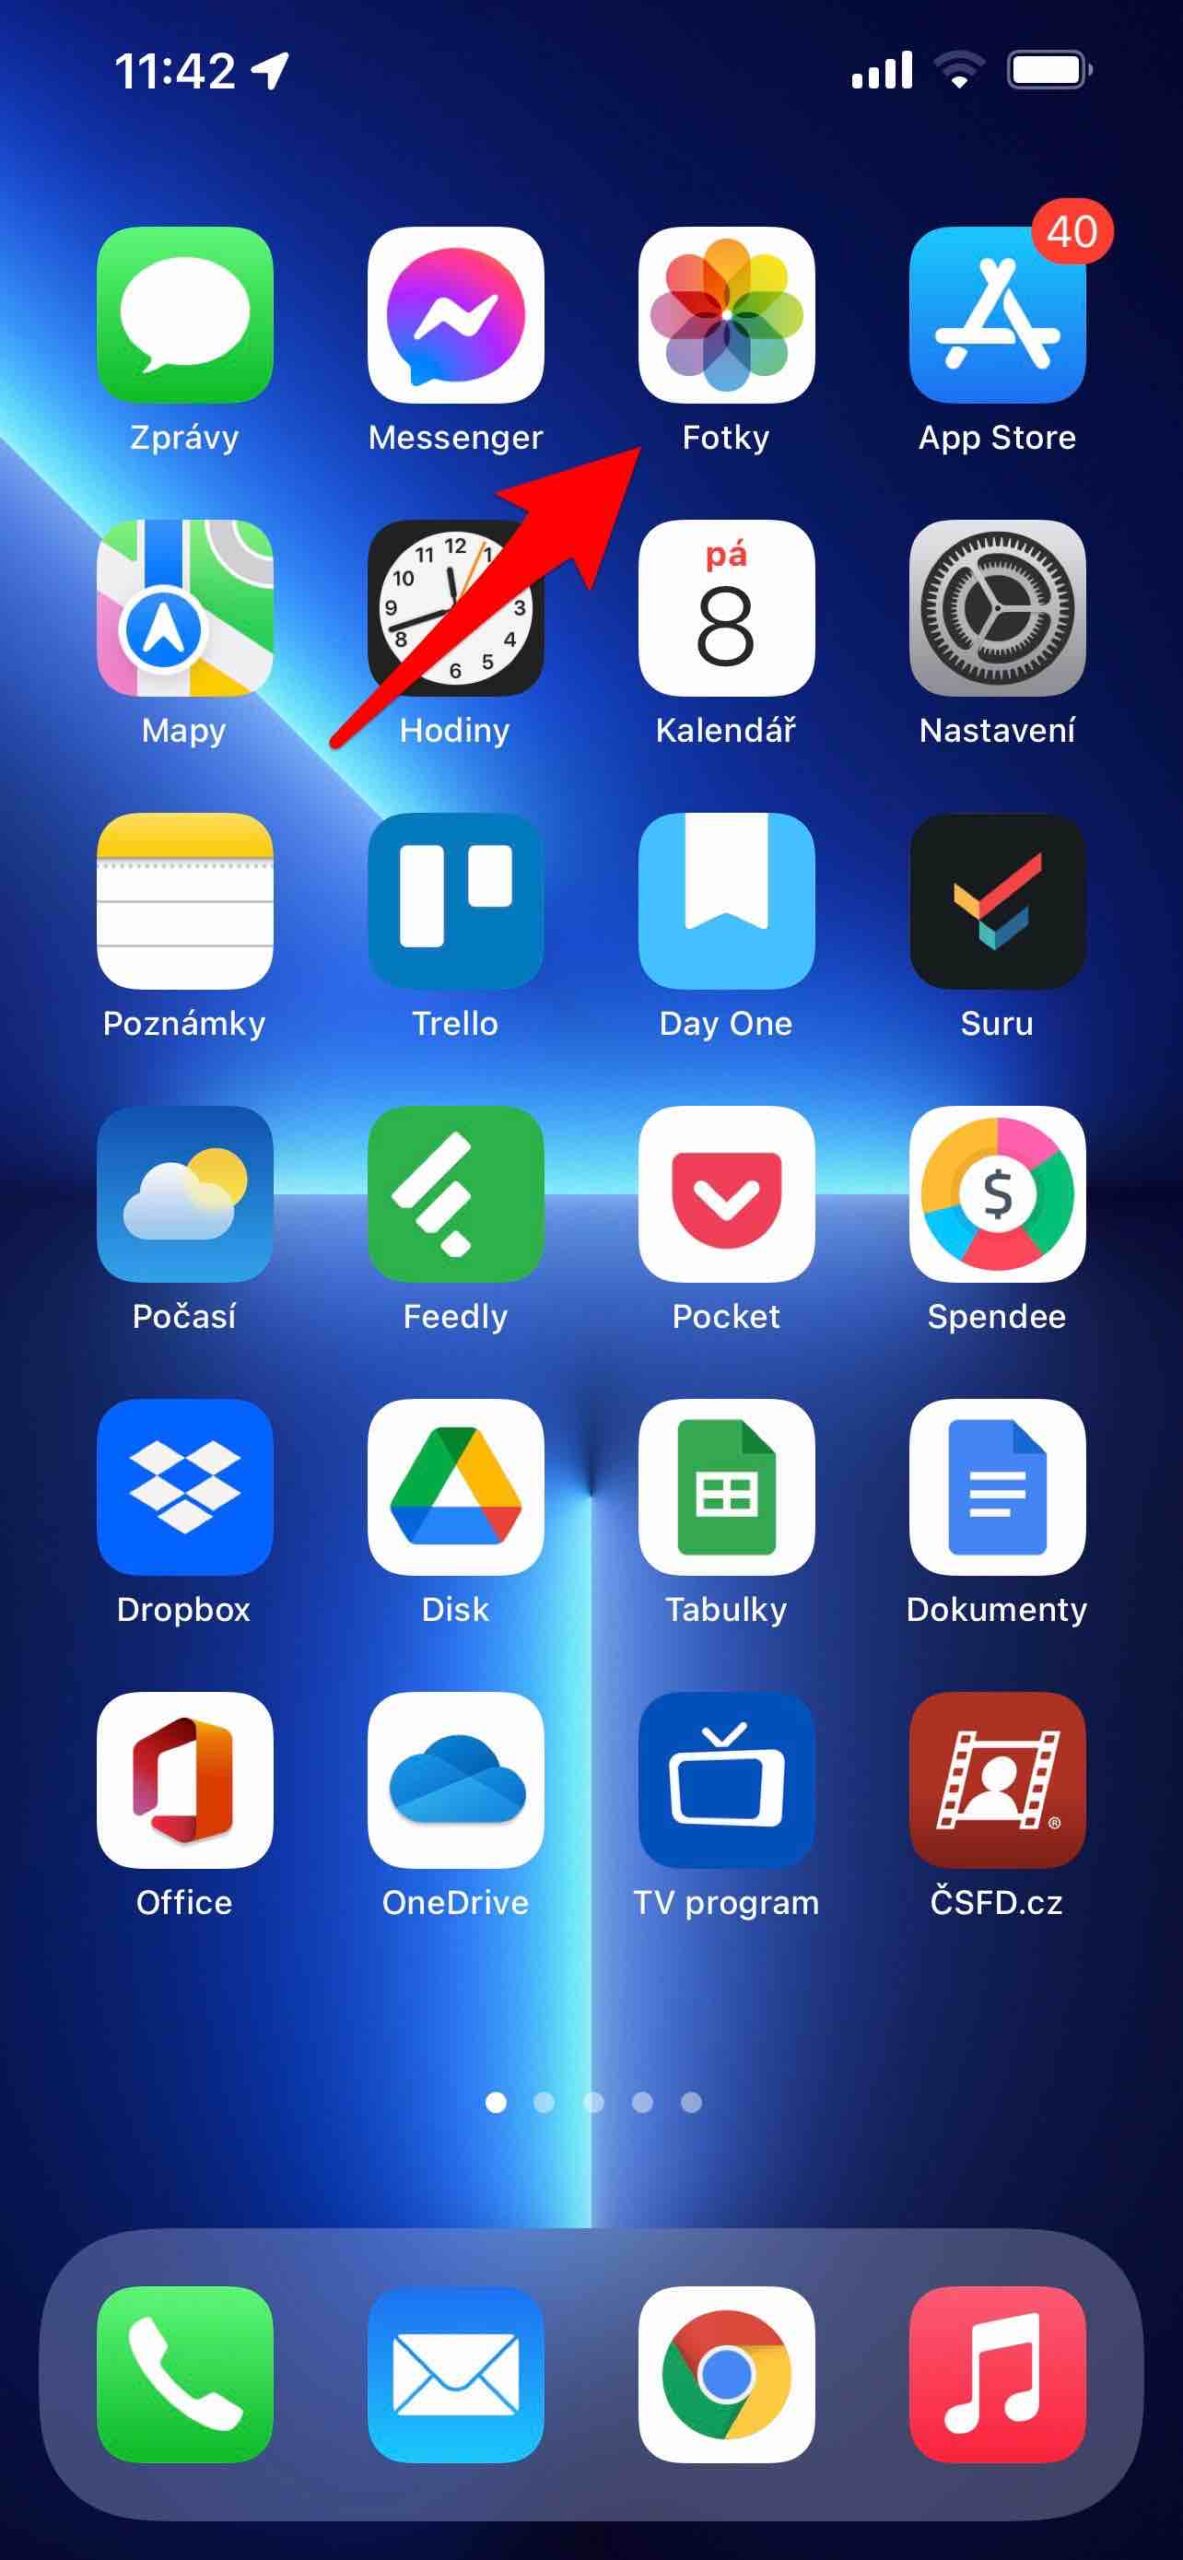
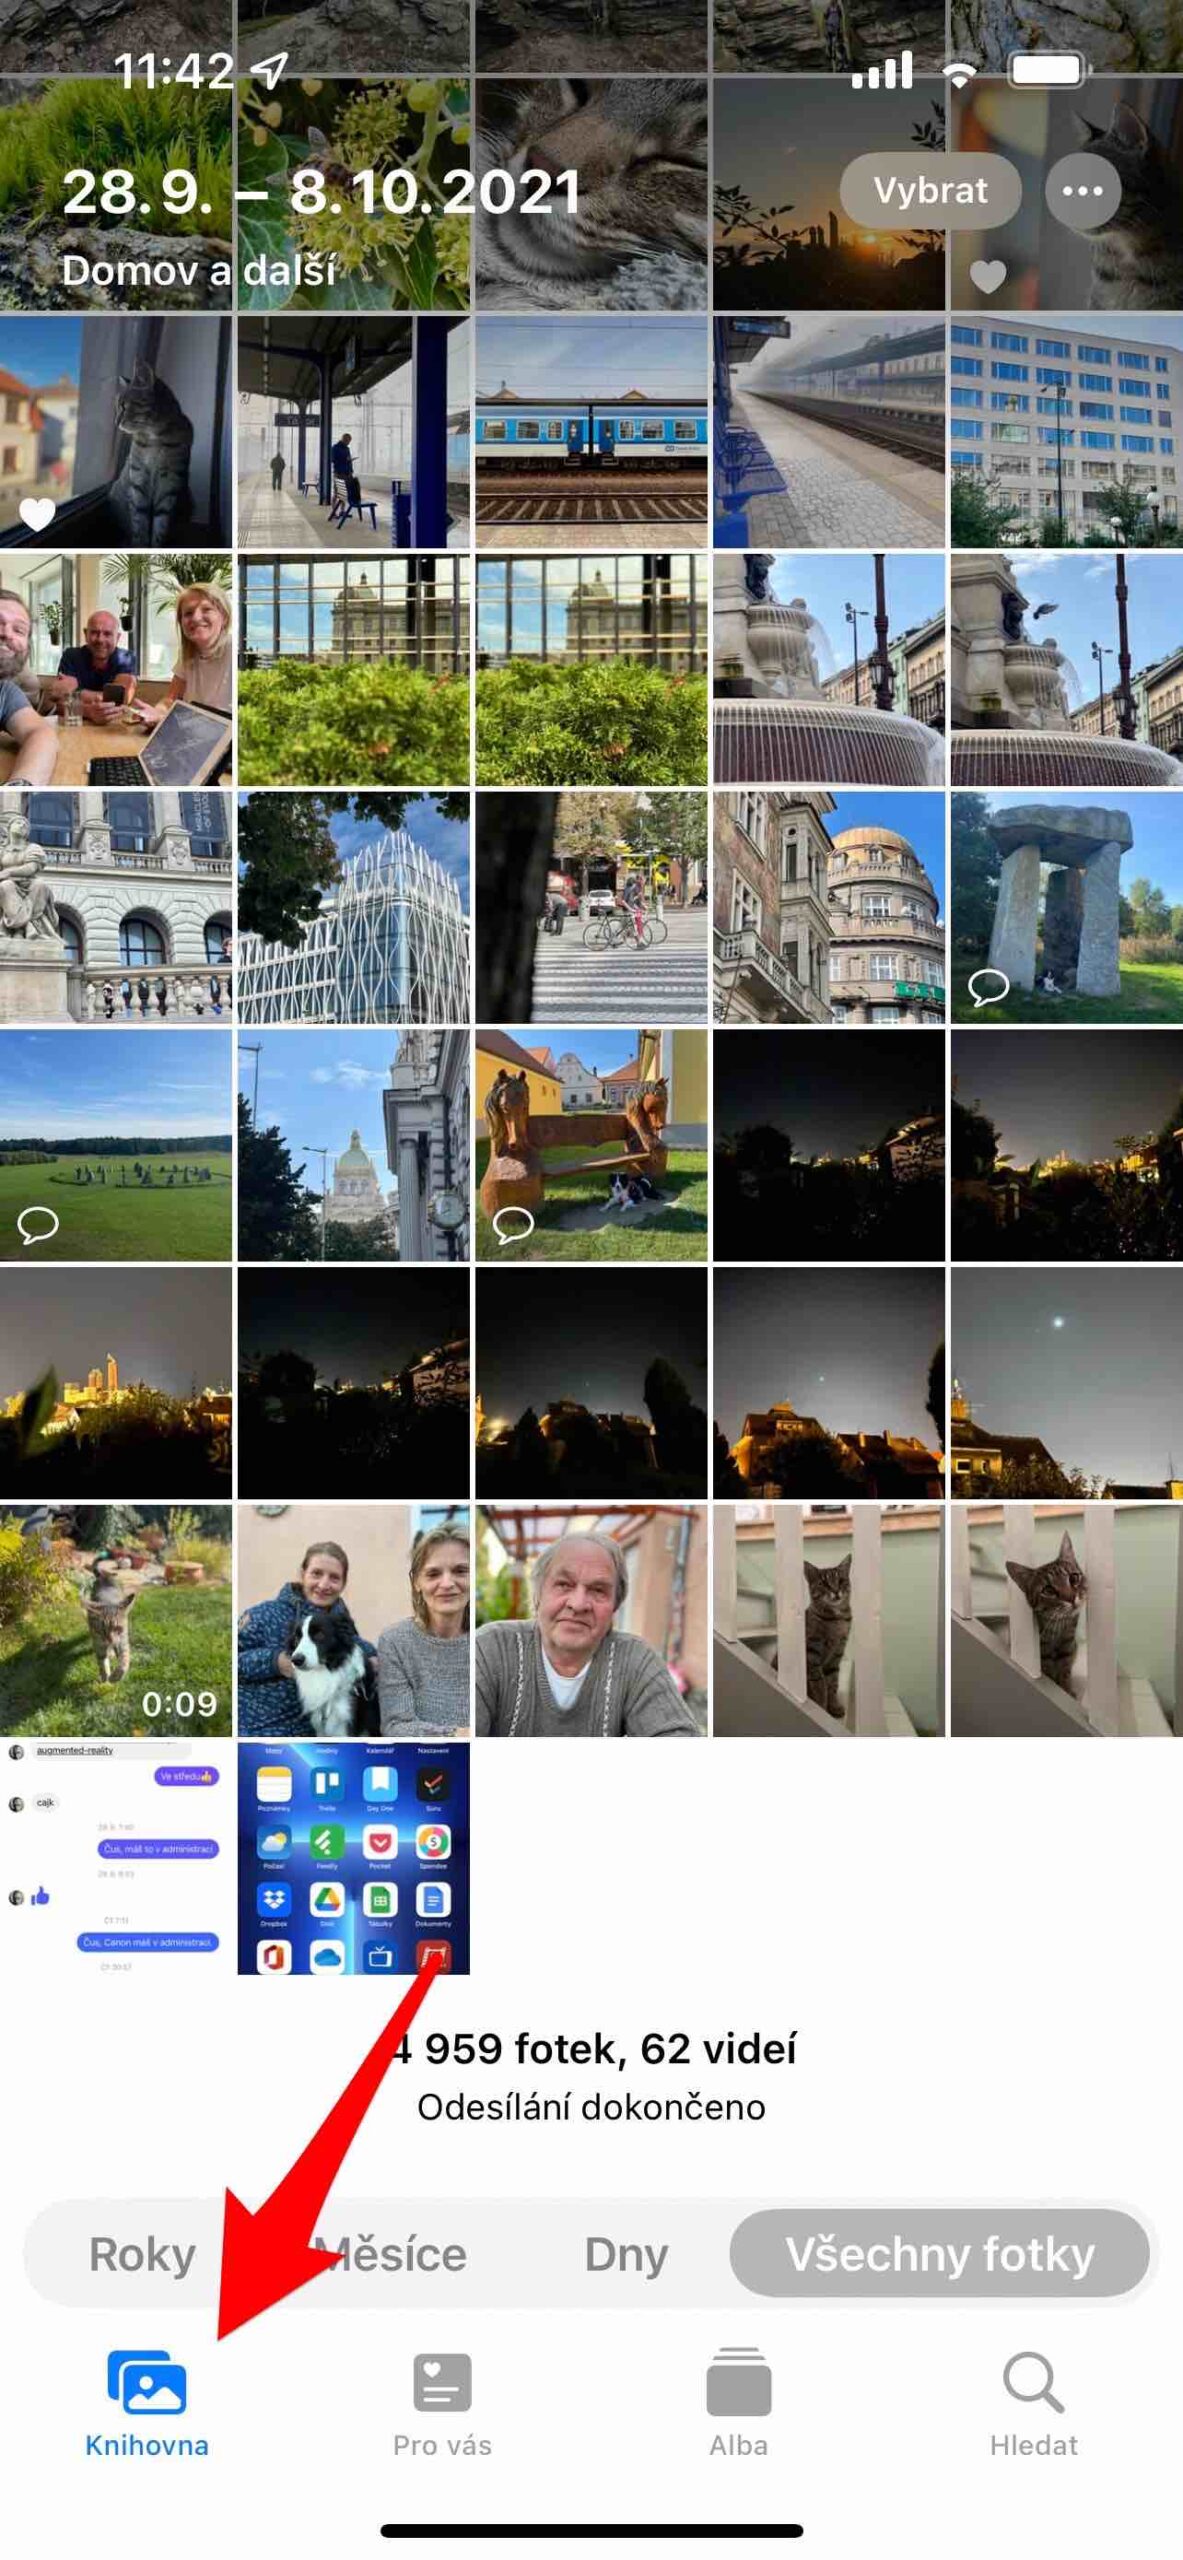
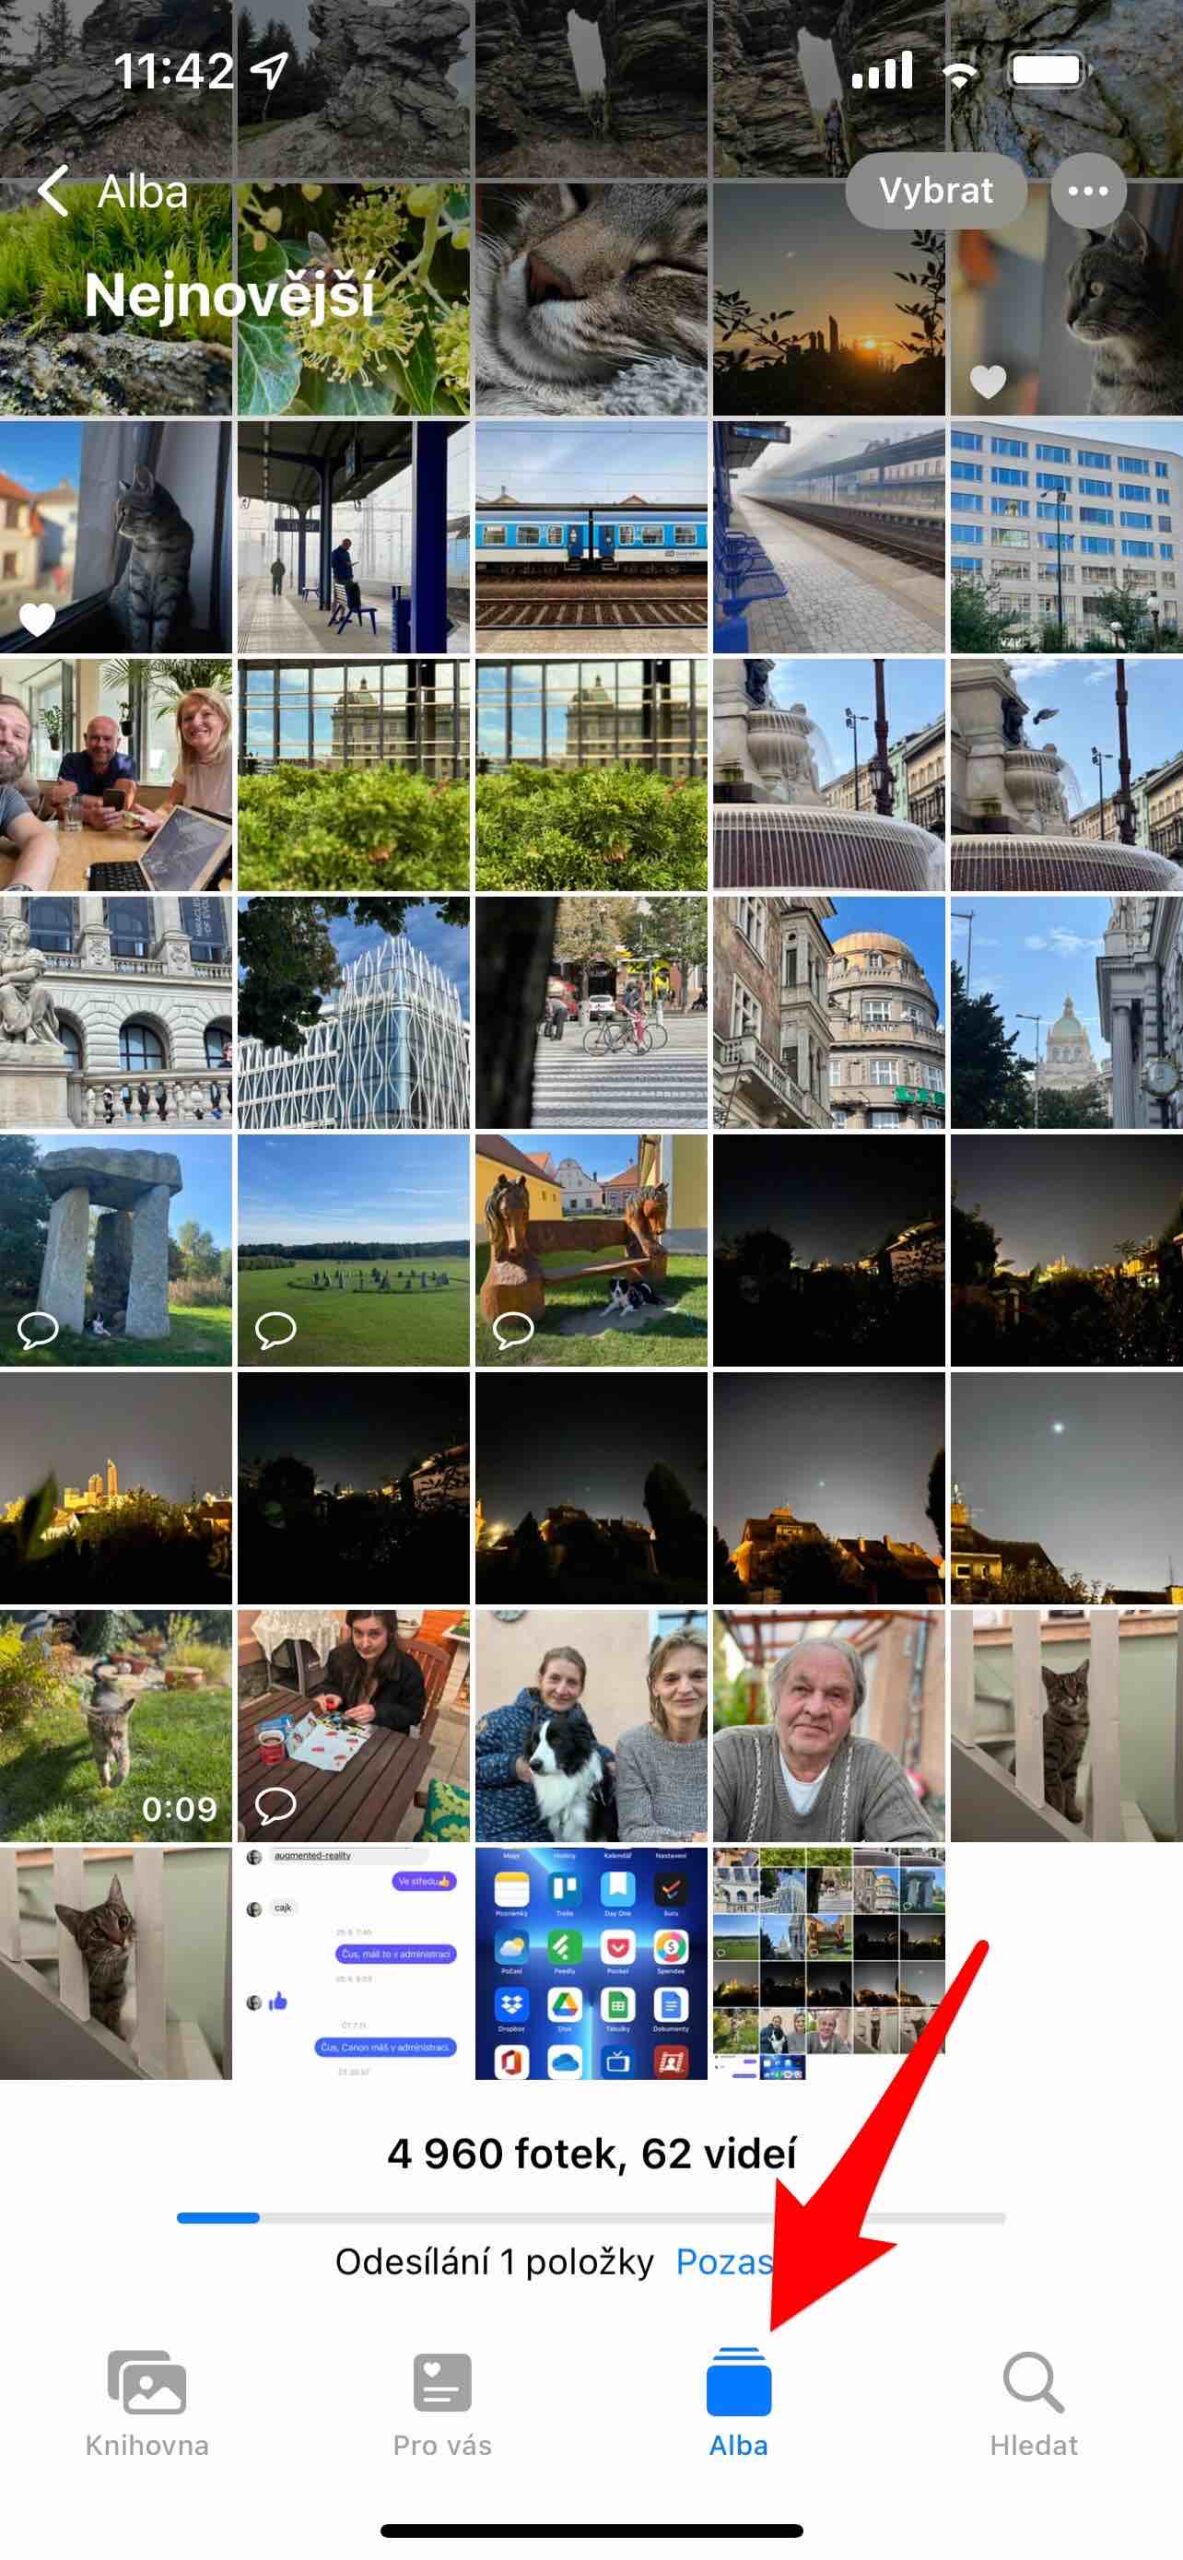
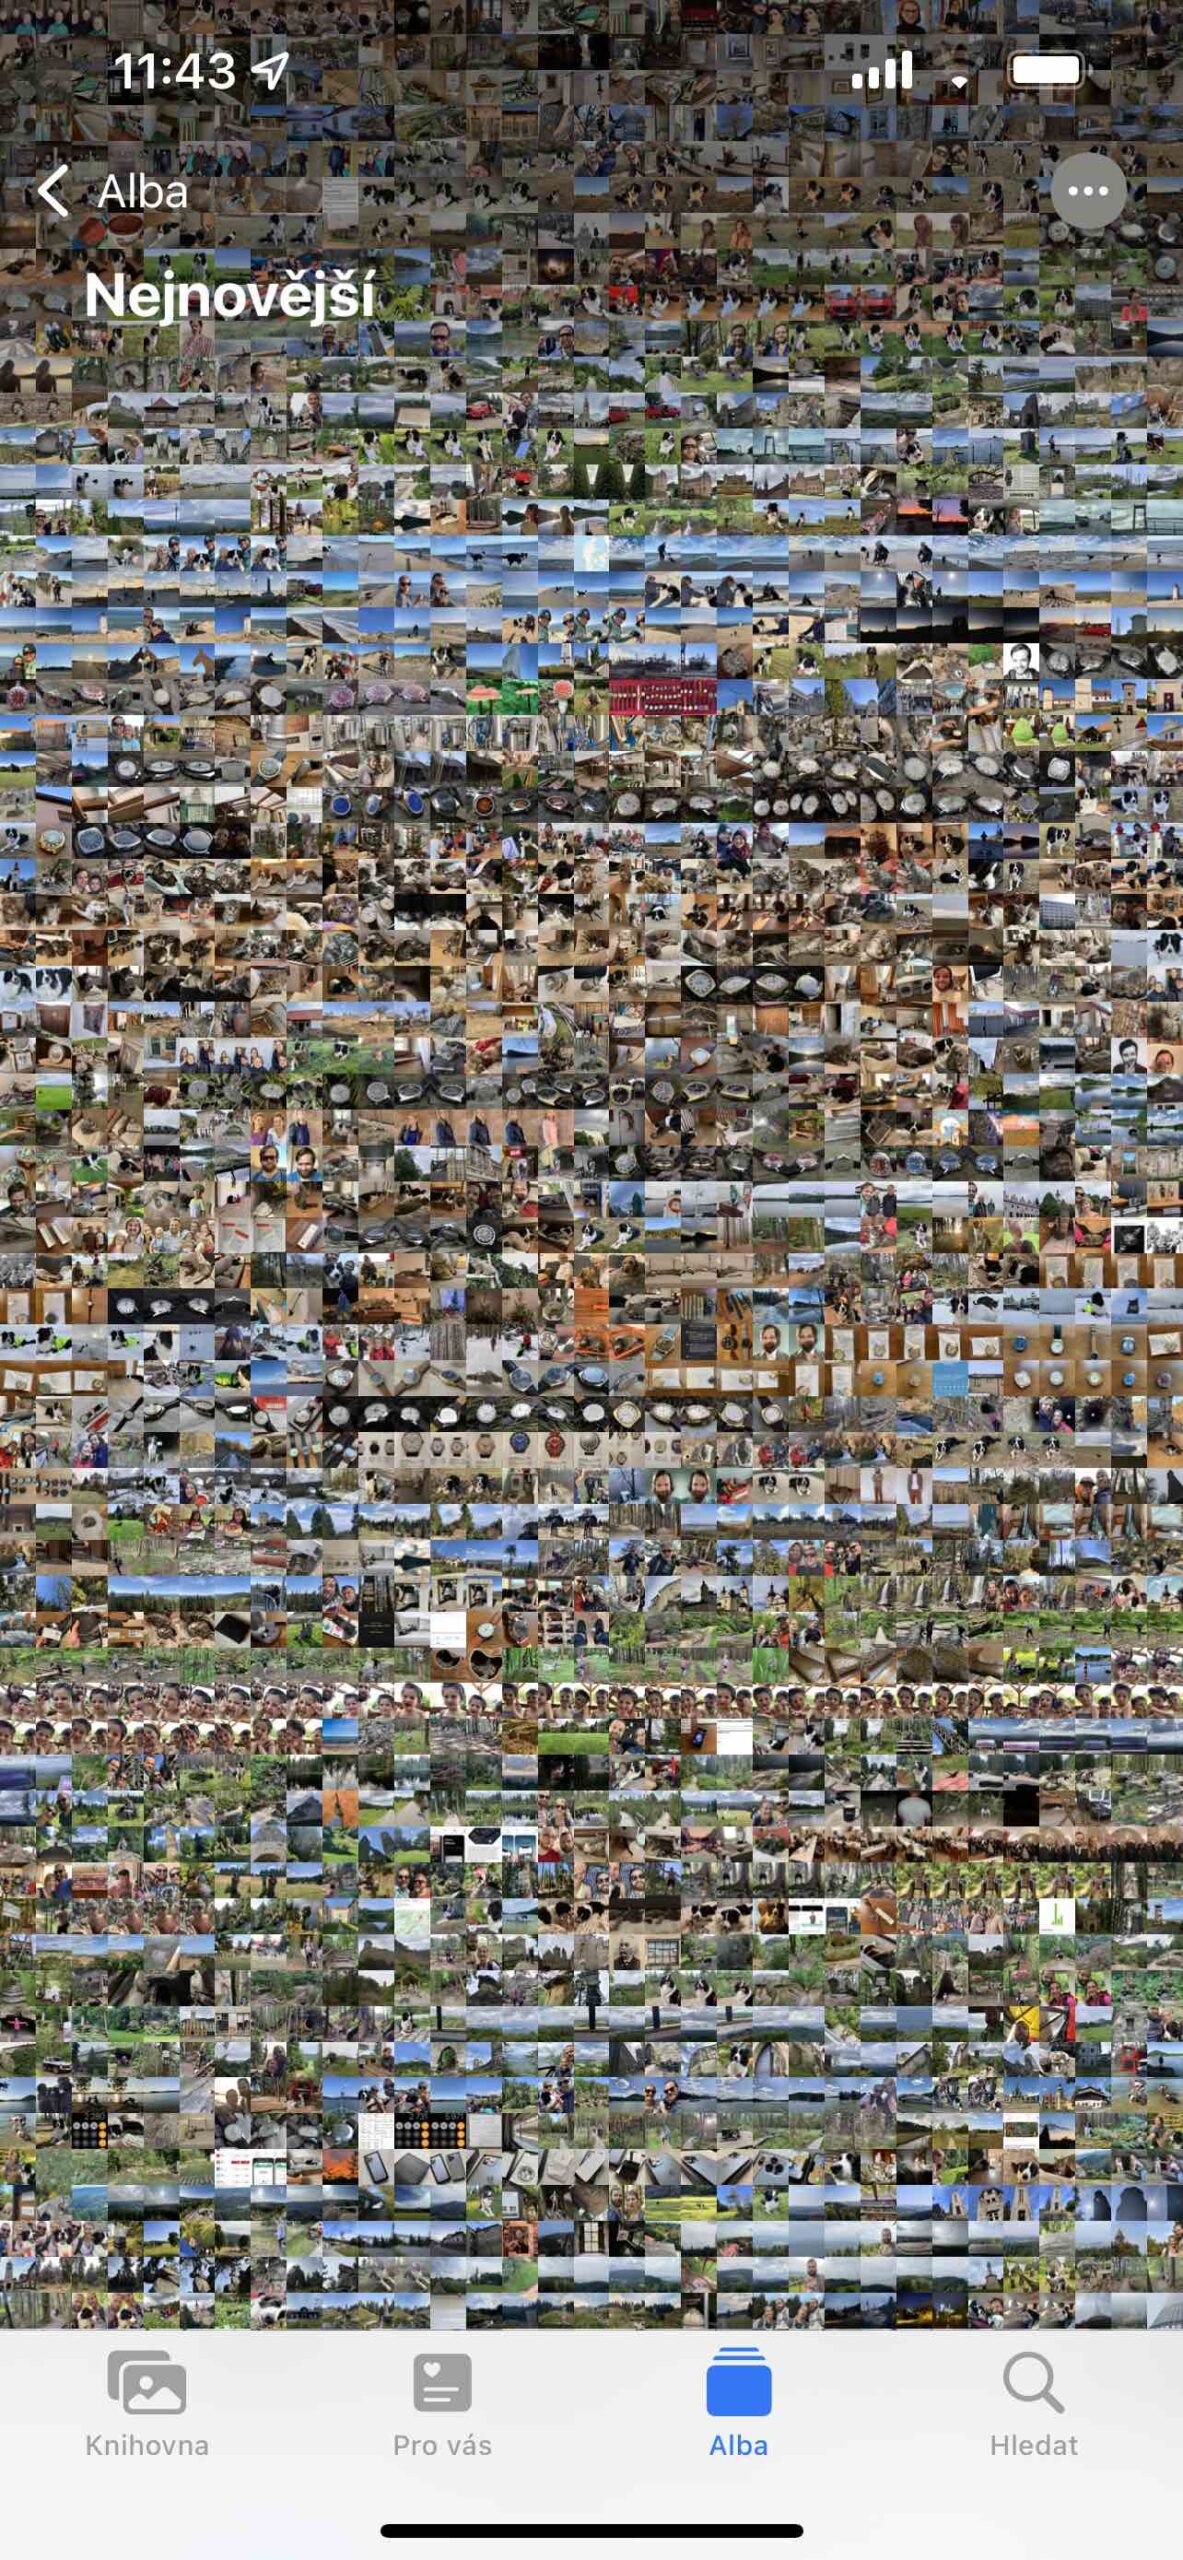
The Photos app is where you'll find all your content captured by the Camera app. You can browse the recording made over time here in the Library or Albums tab. According to the size of your display, and indeed according to the quality of your vision, you can comfortably adjust the display matrix to suit you as much as possible.
It could be interest you
Nut size
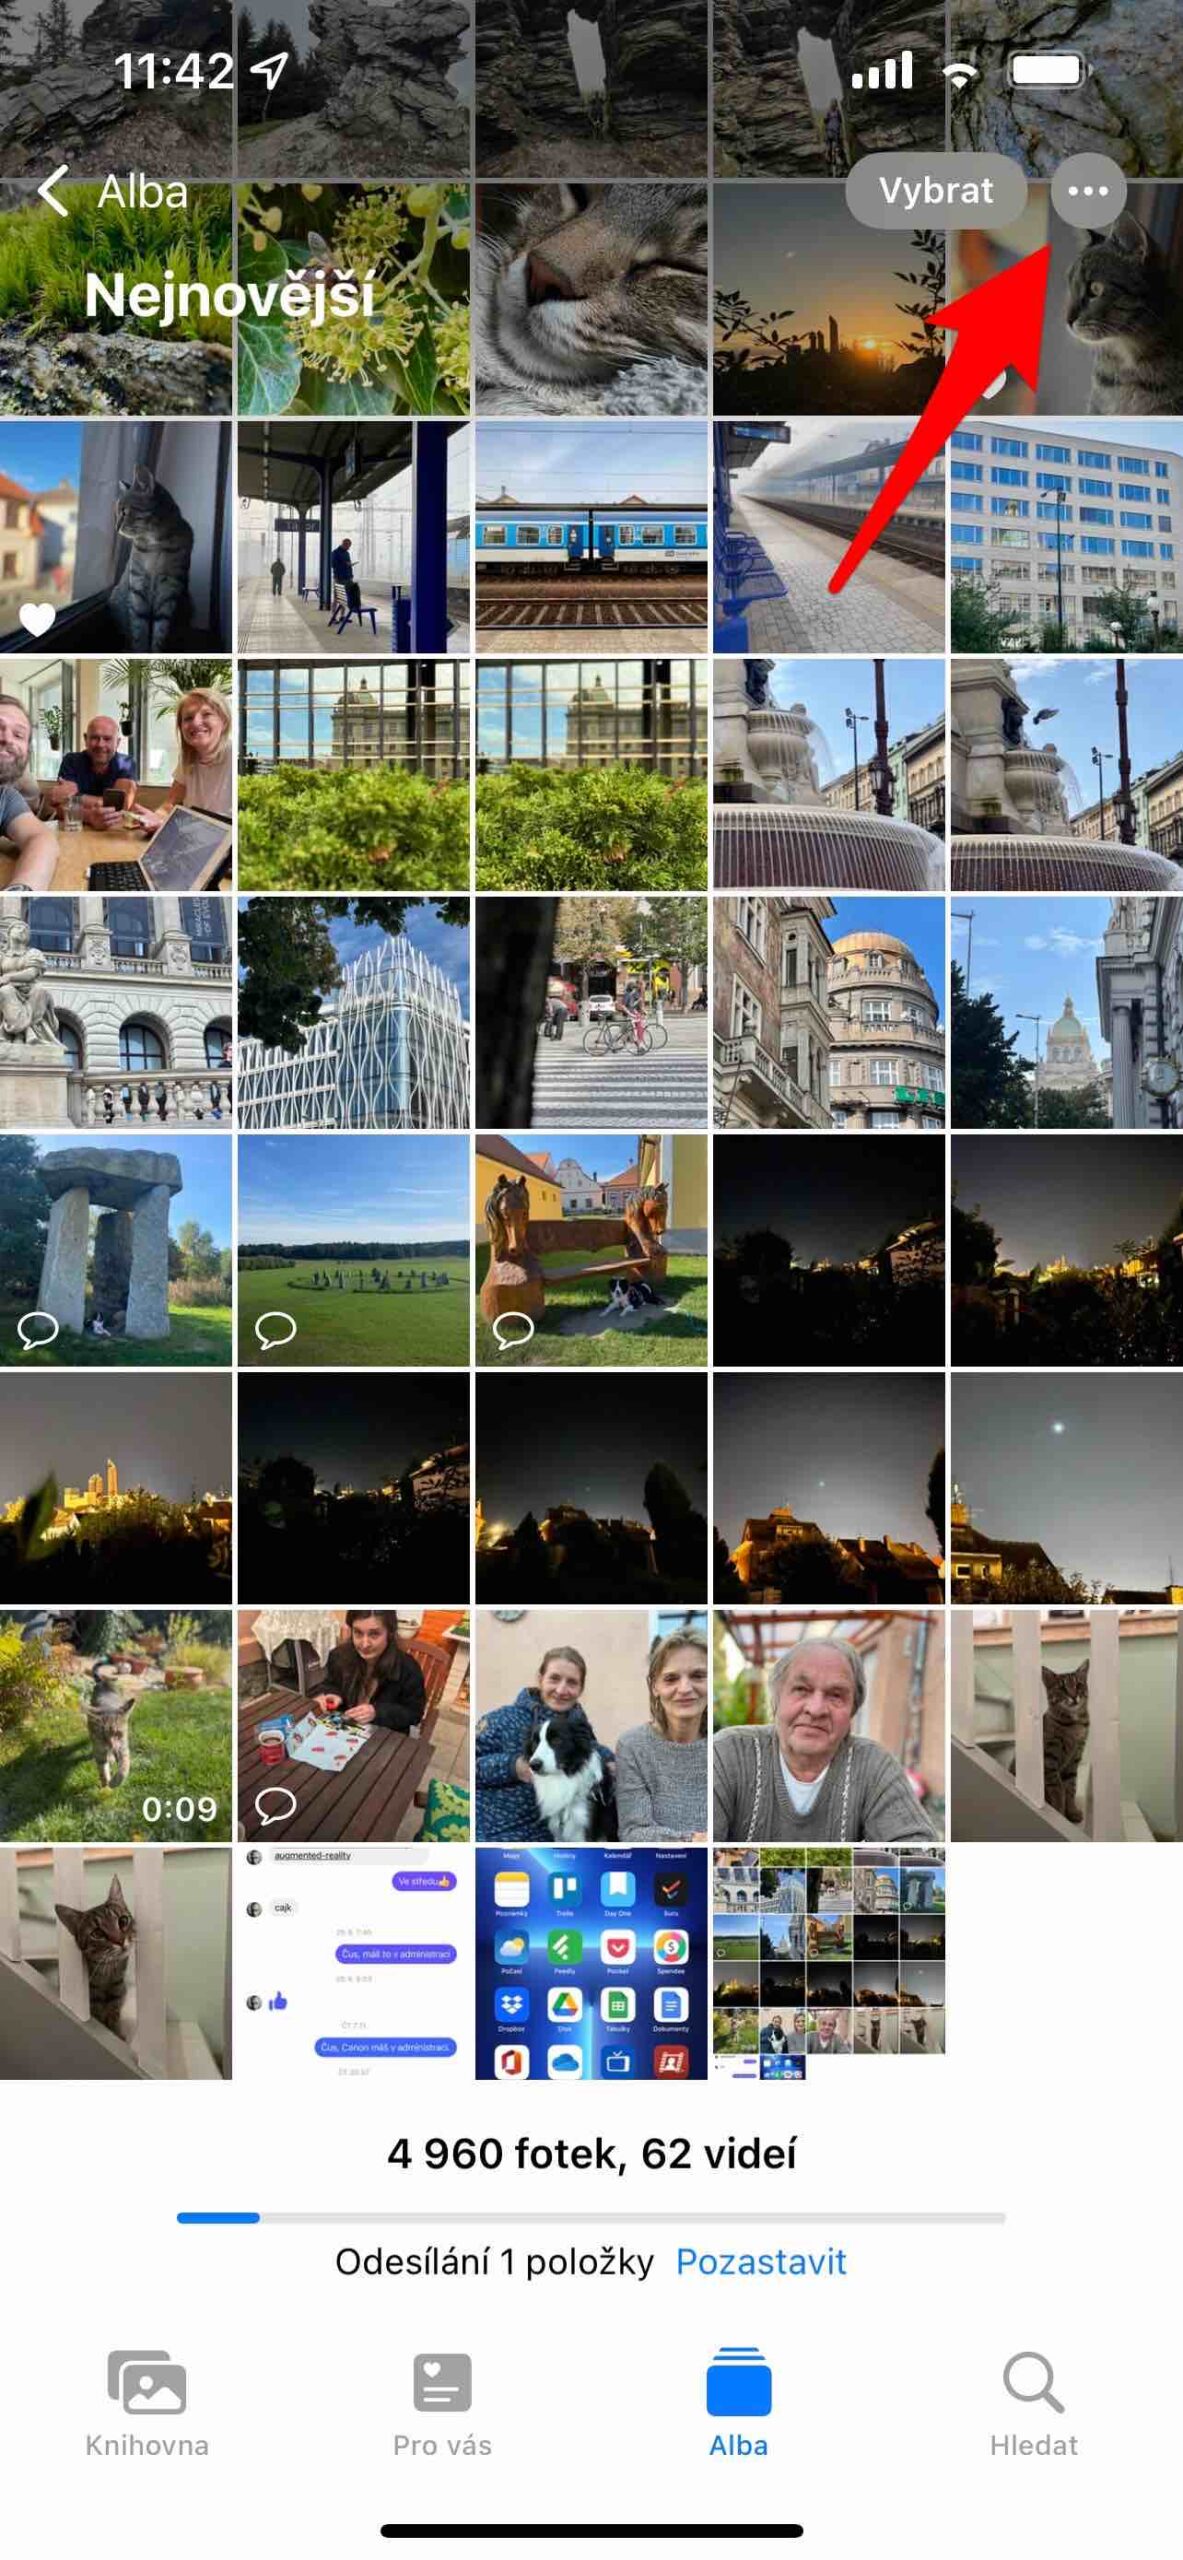
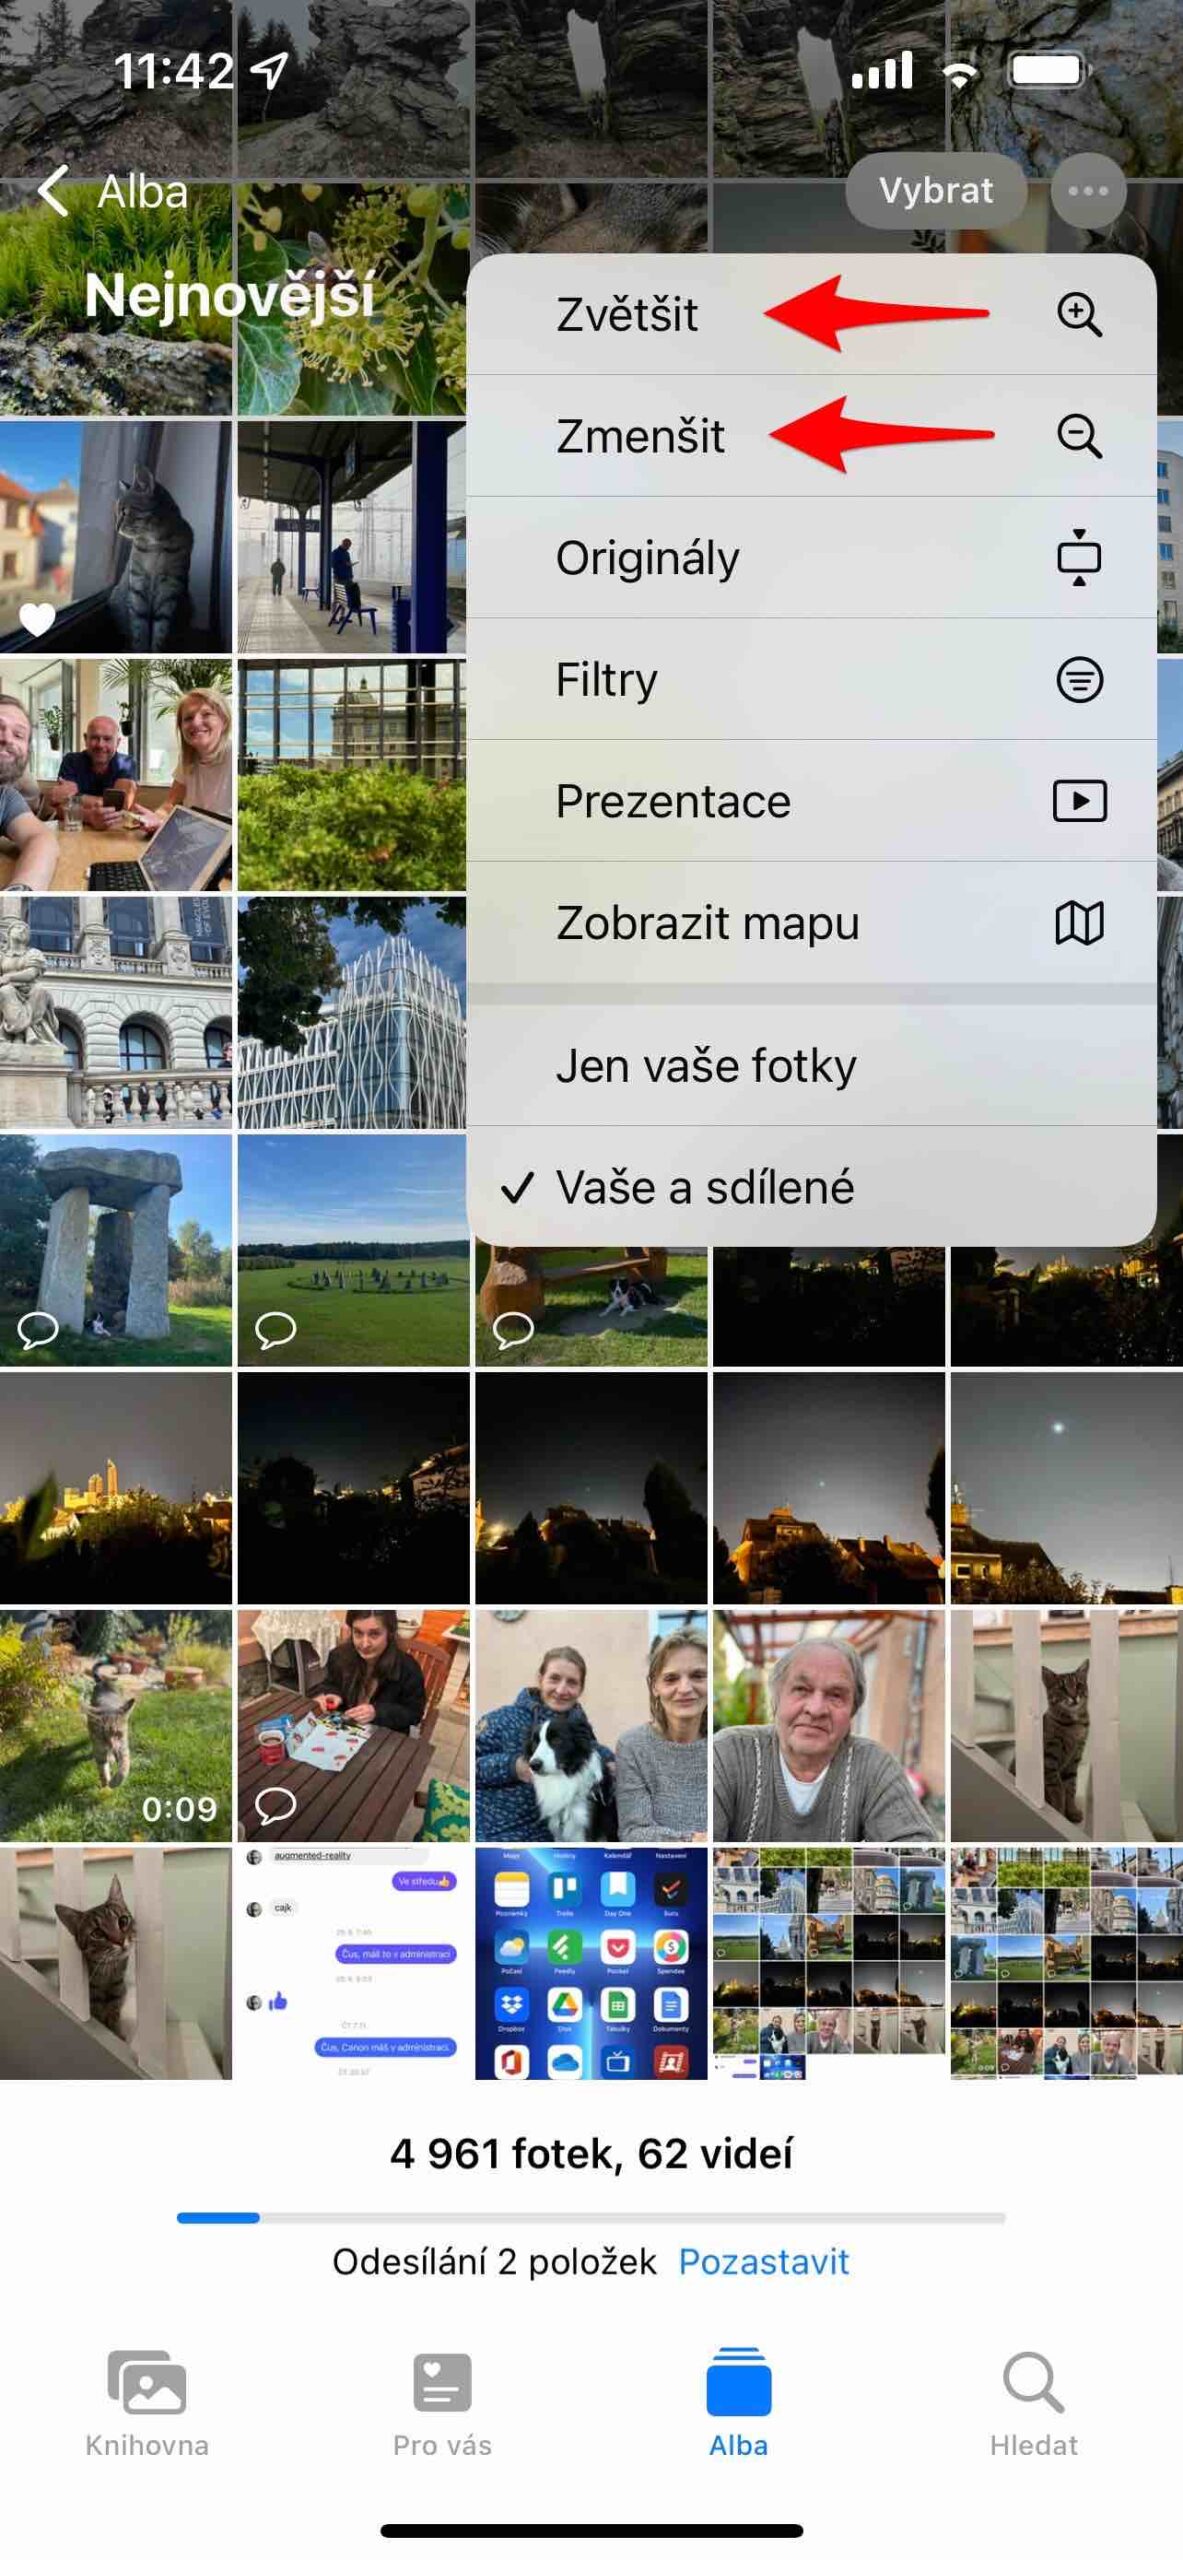
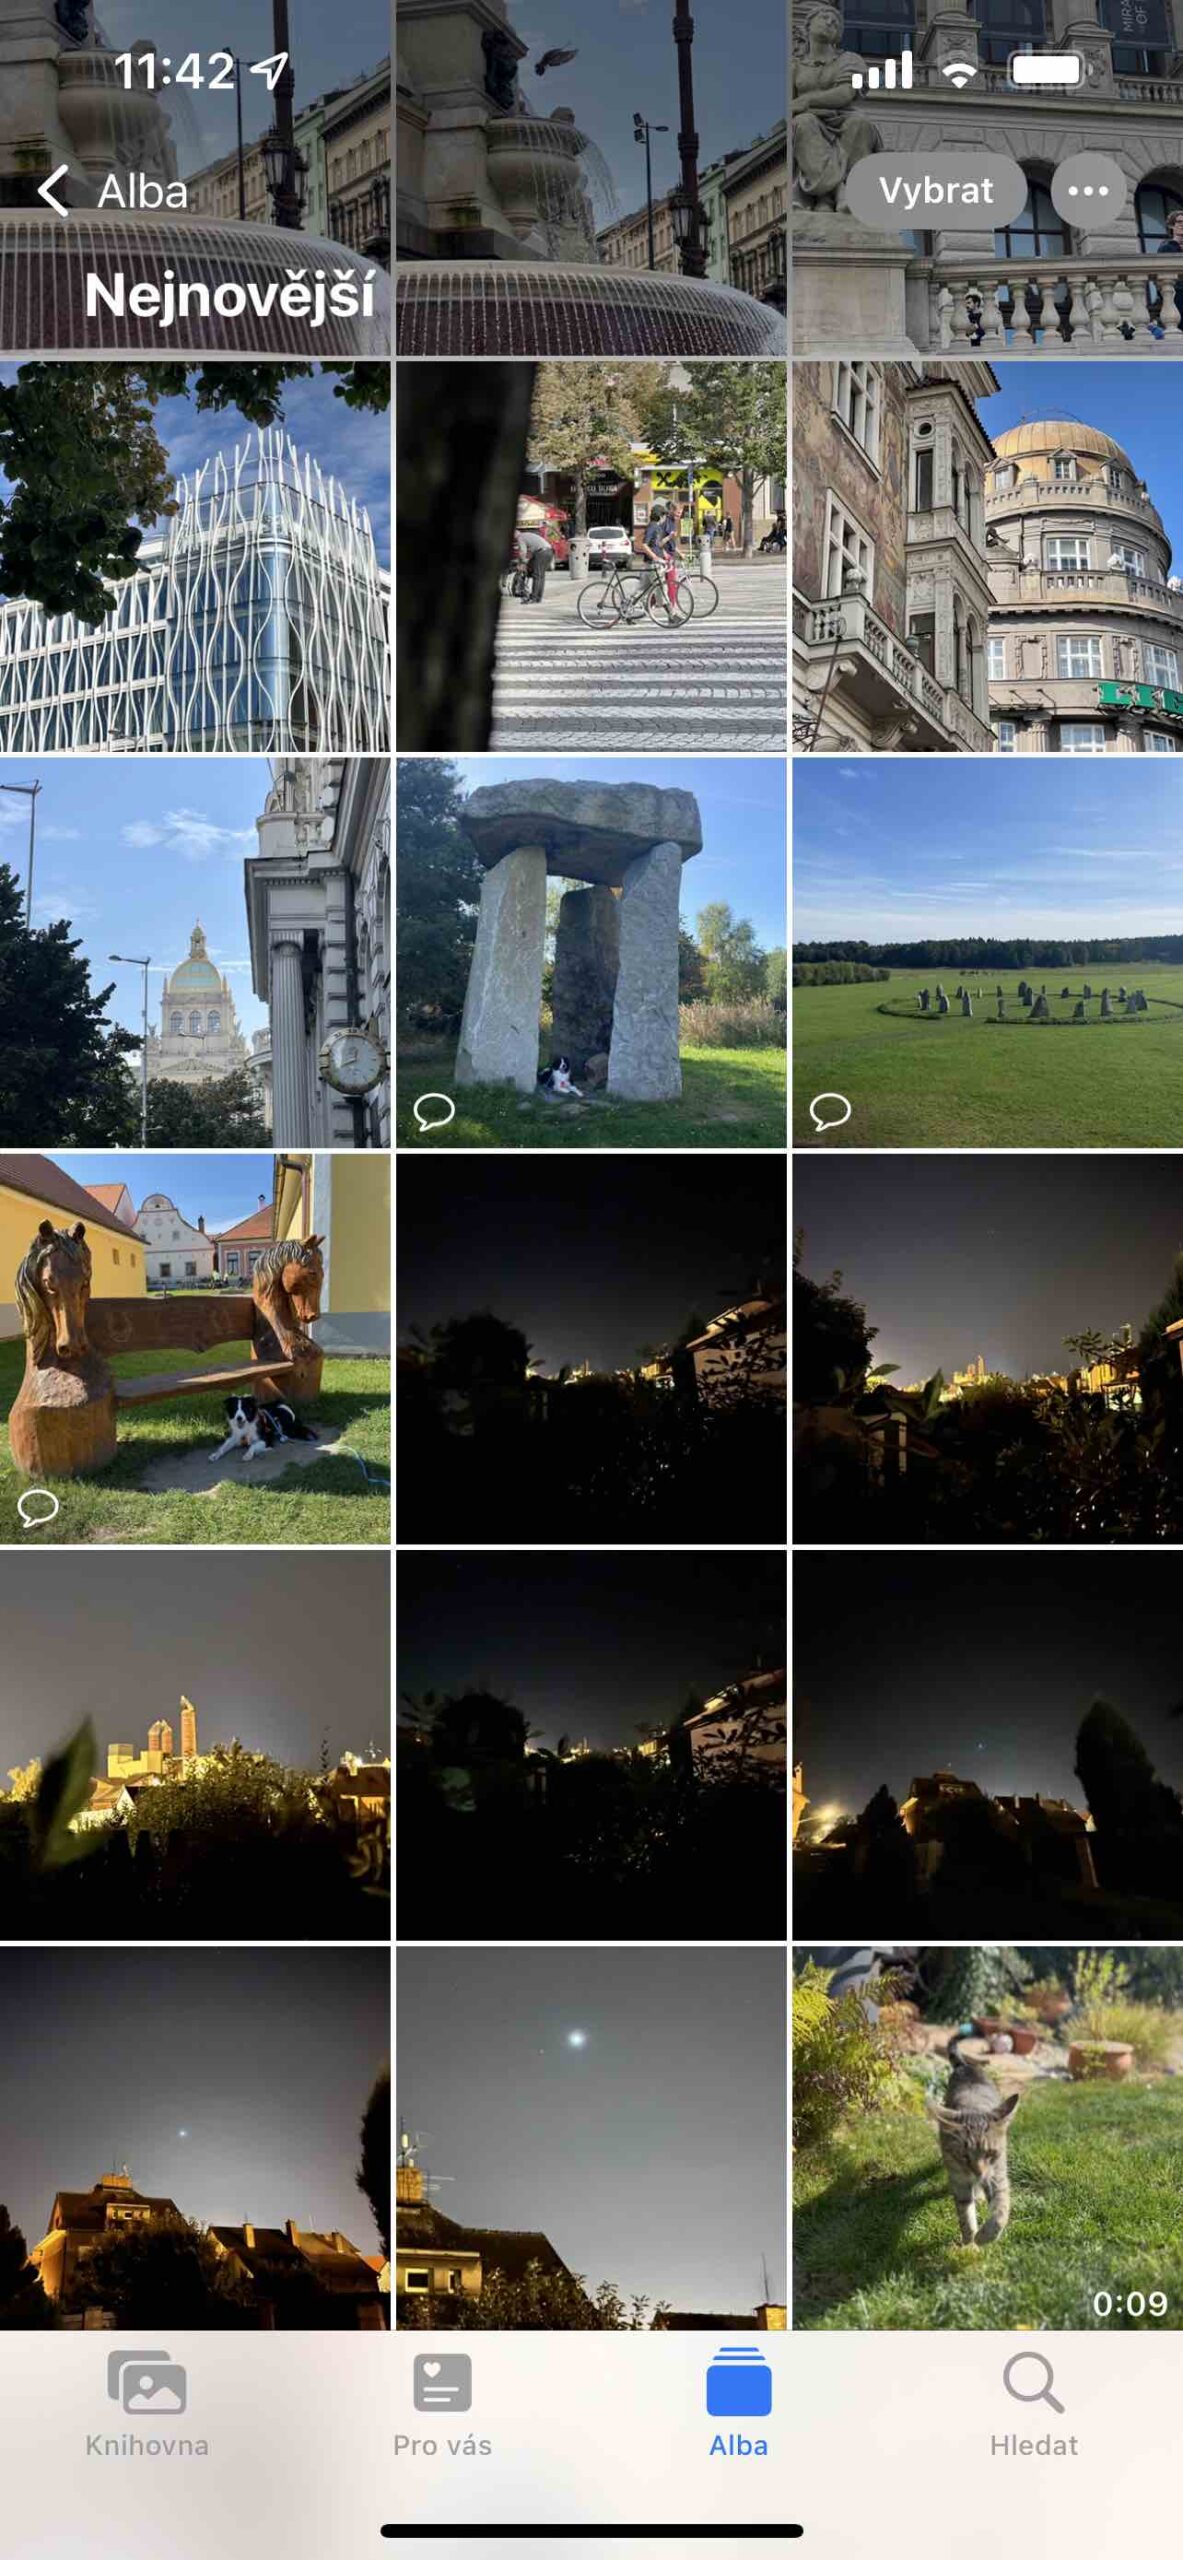
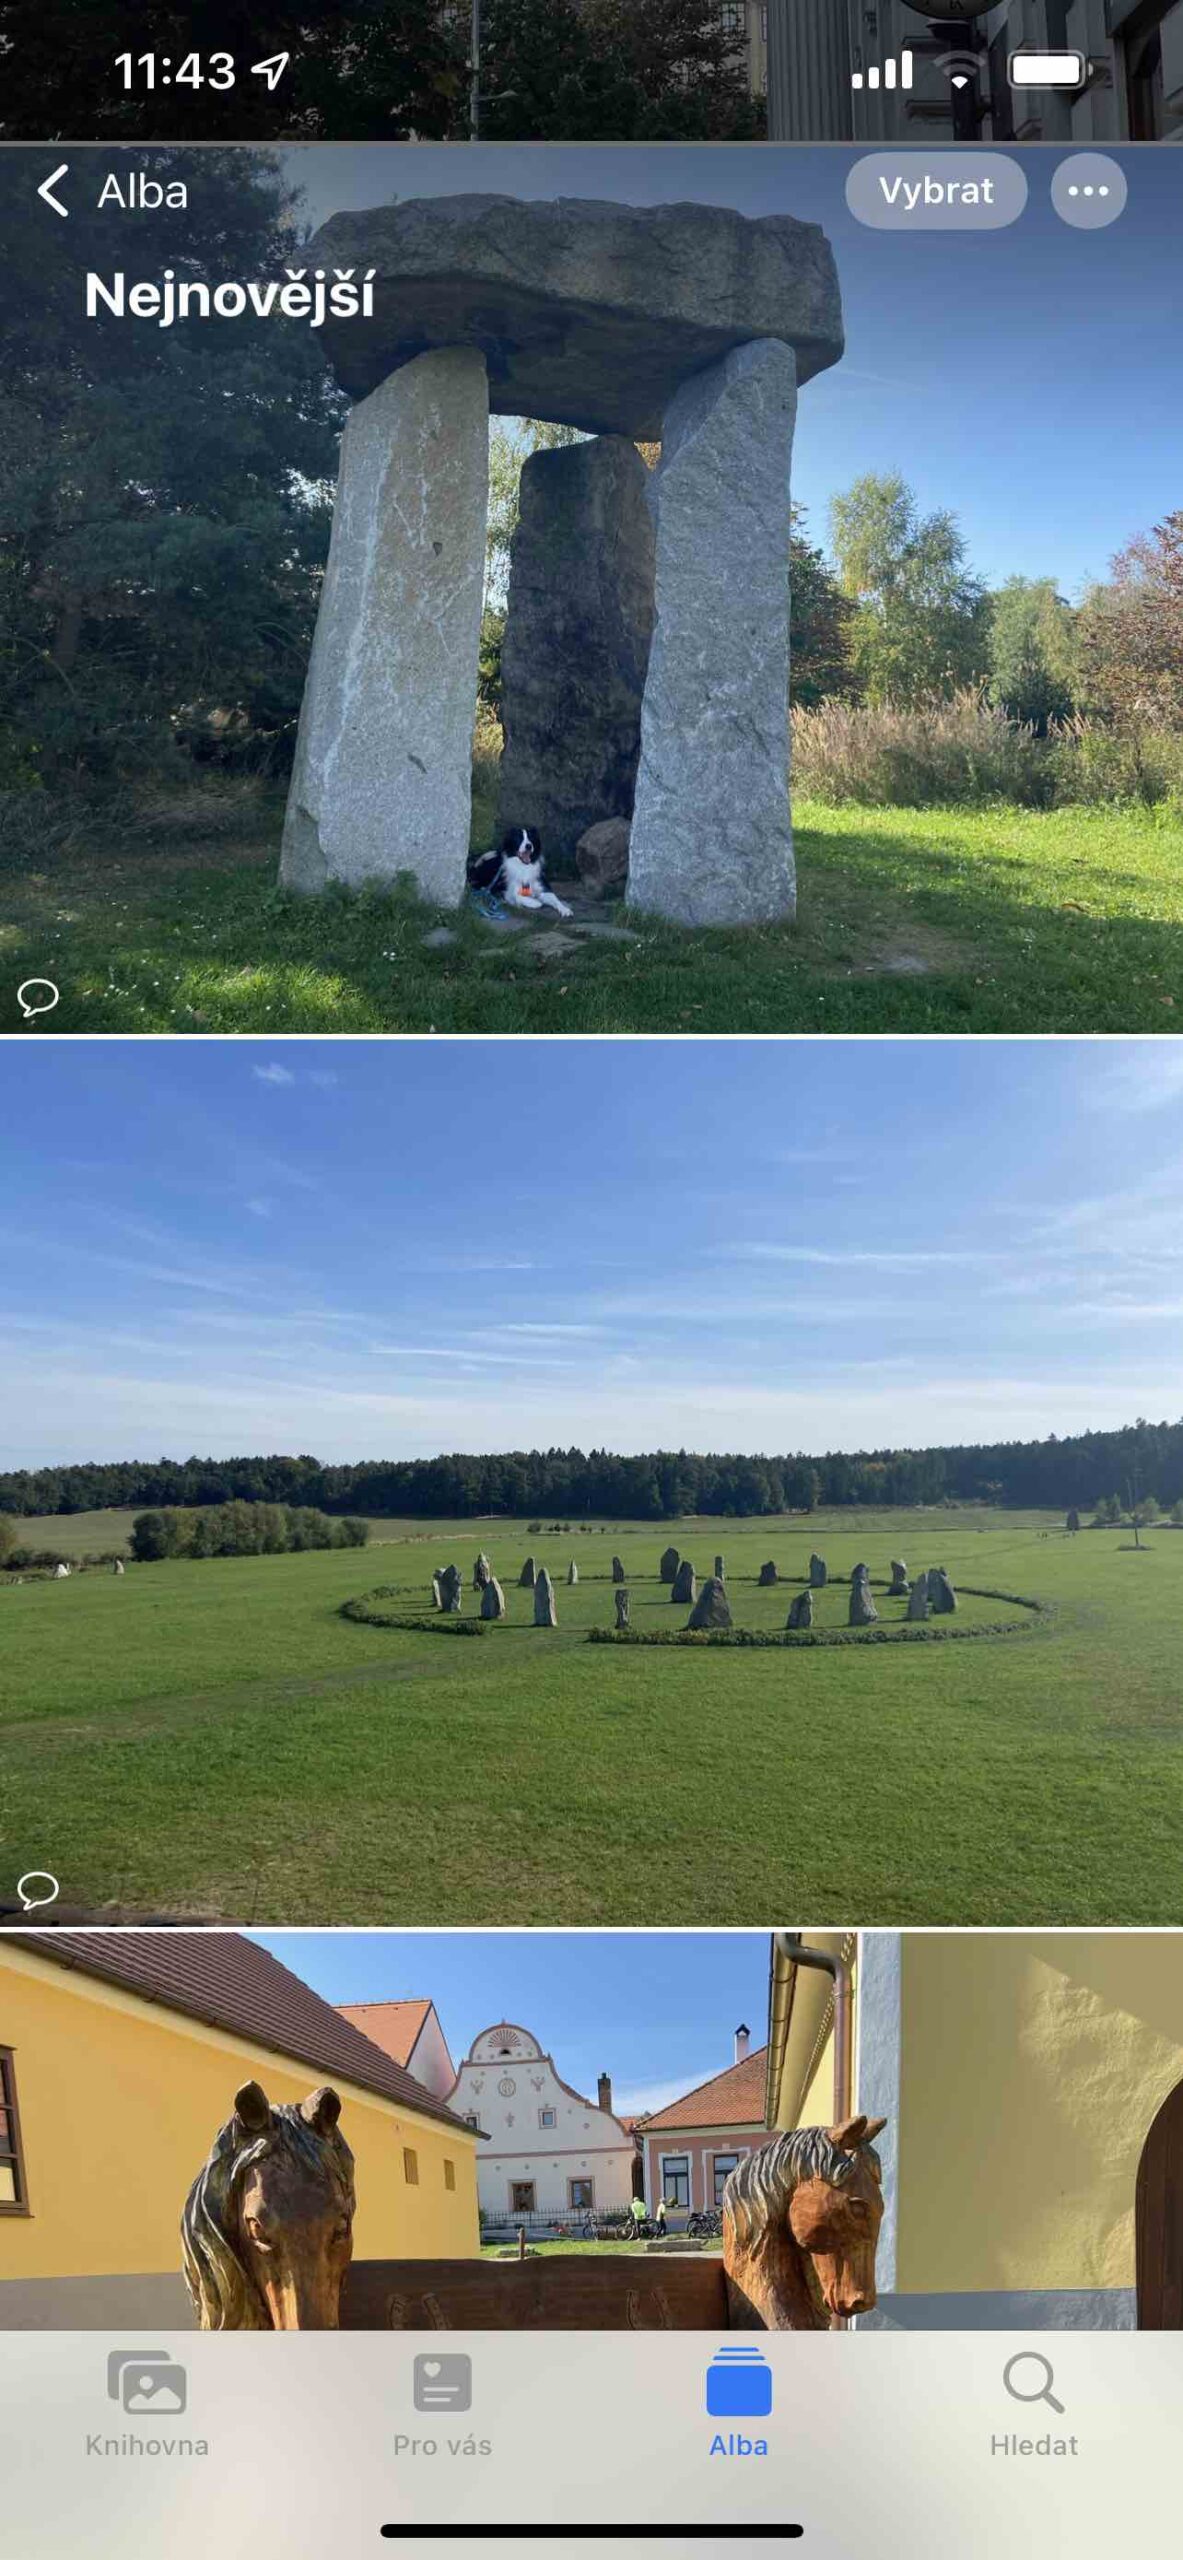
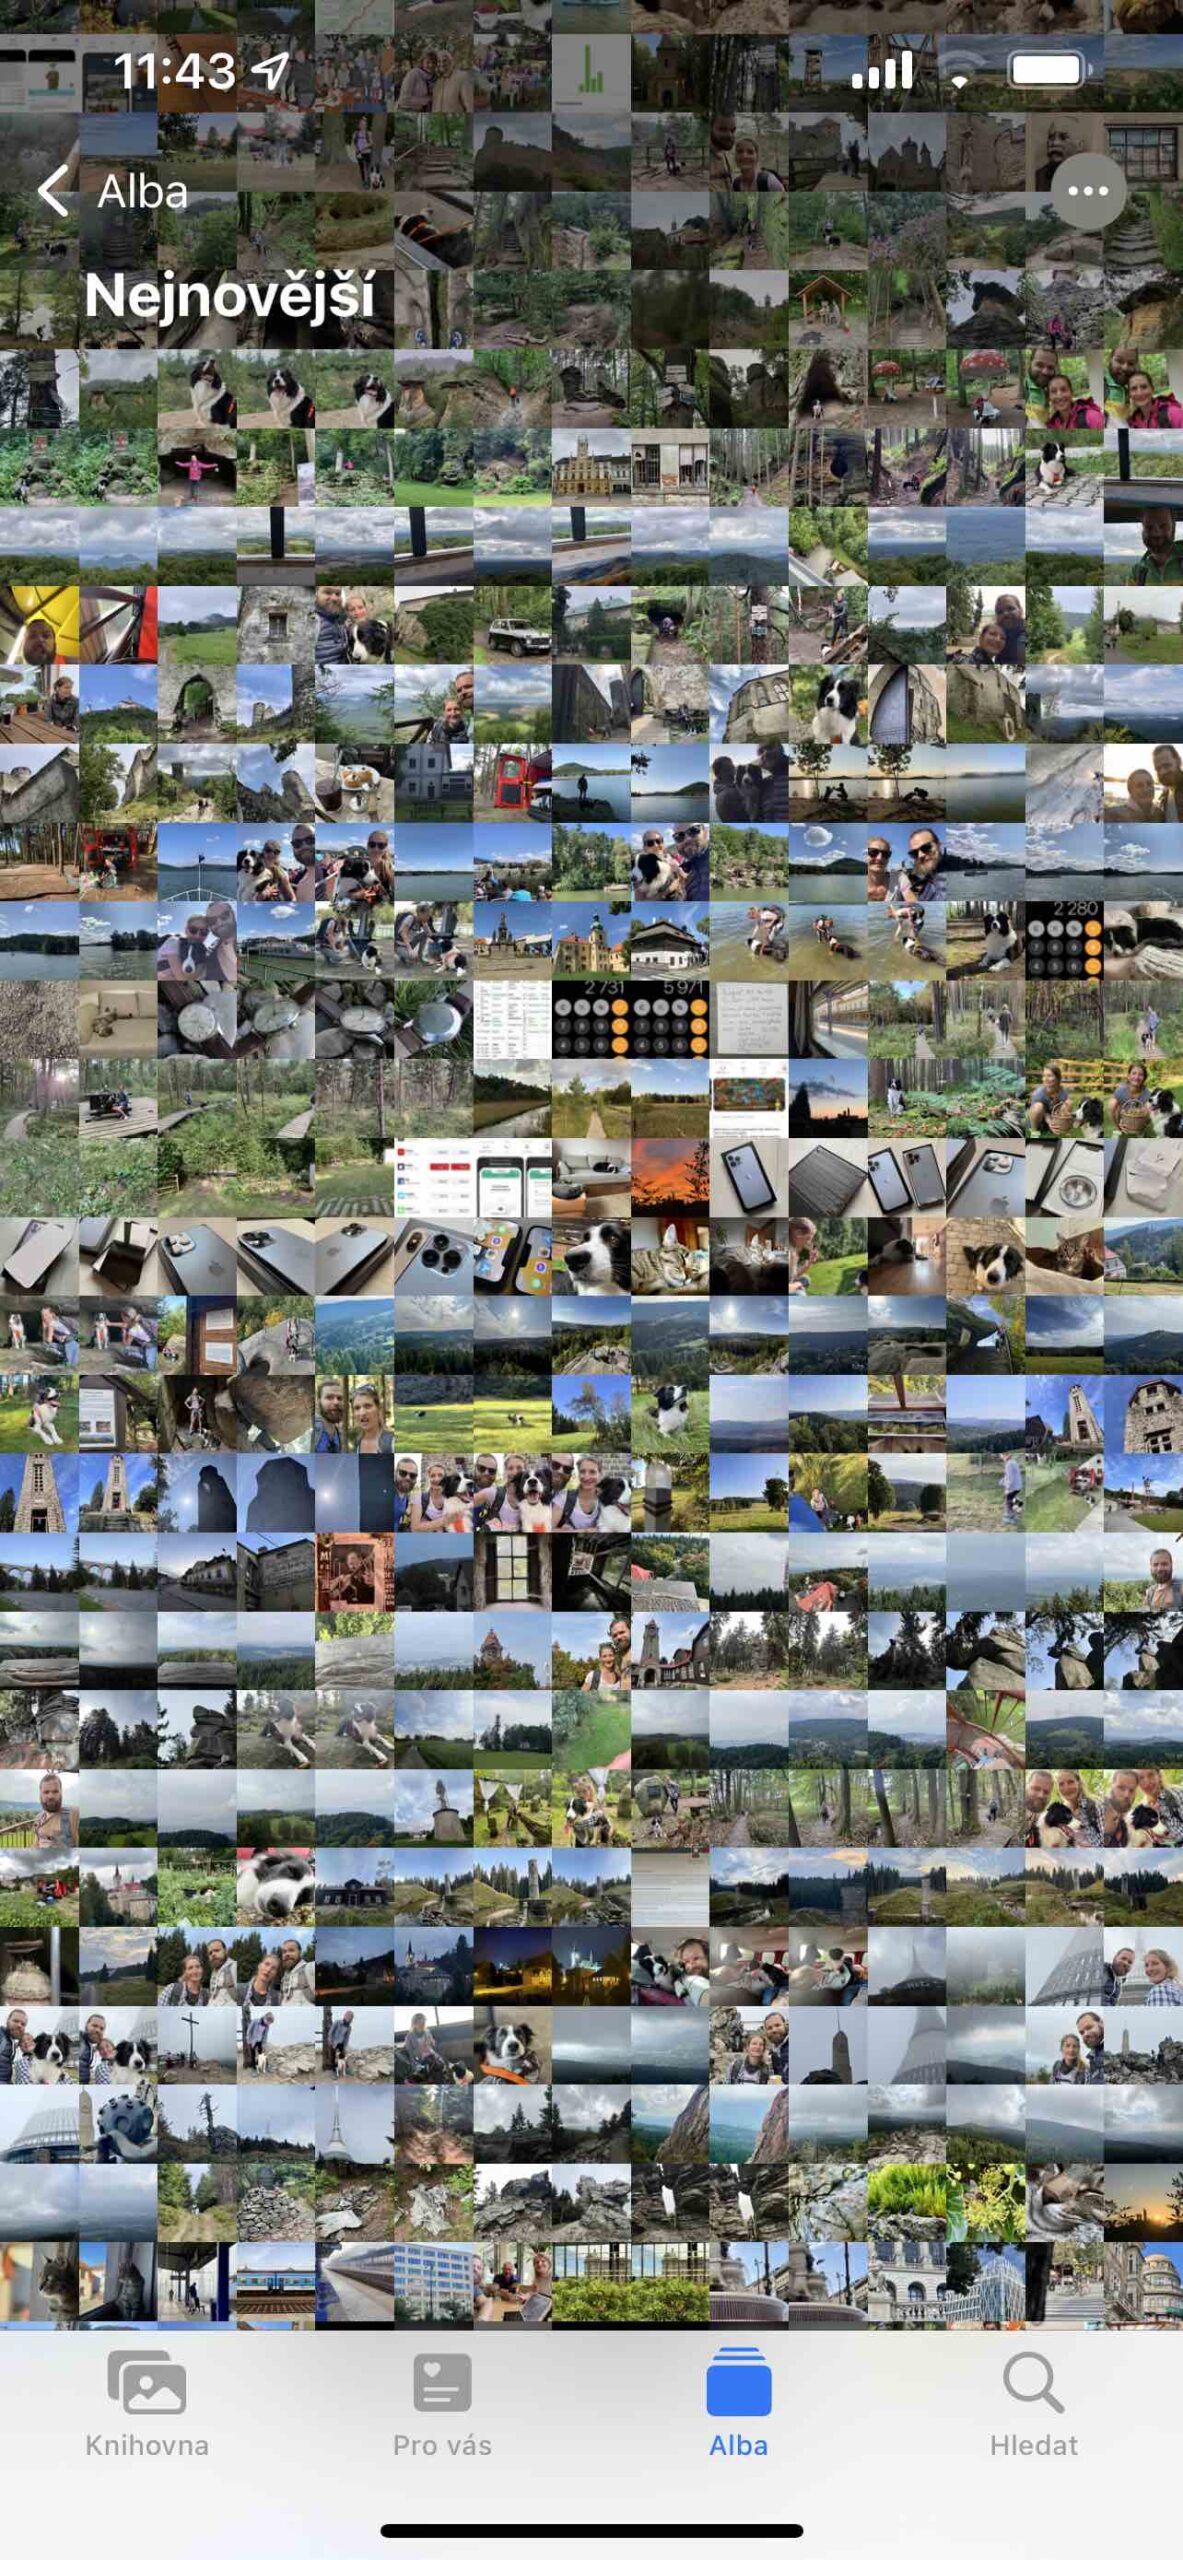
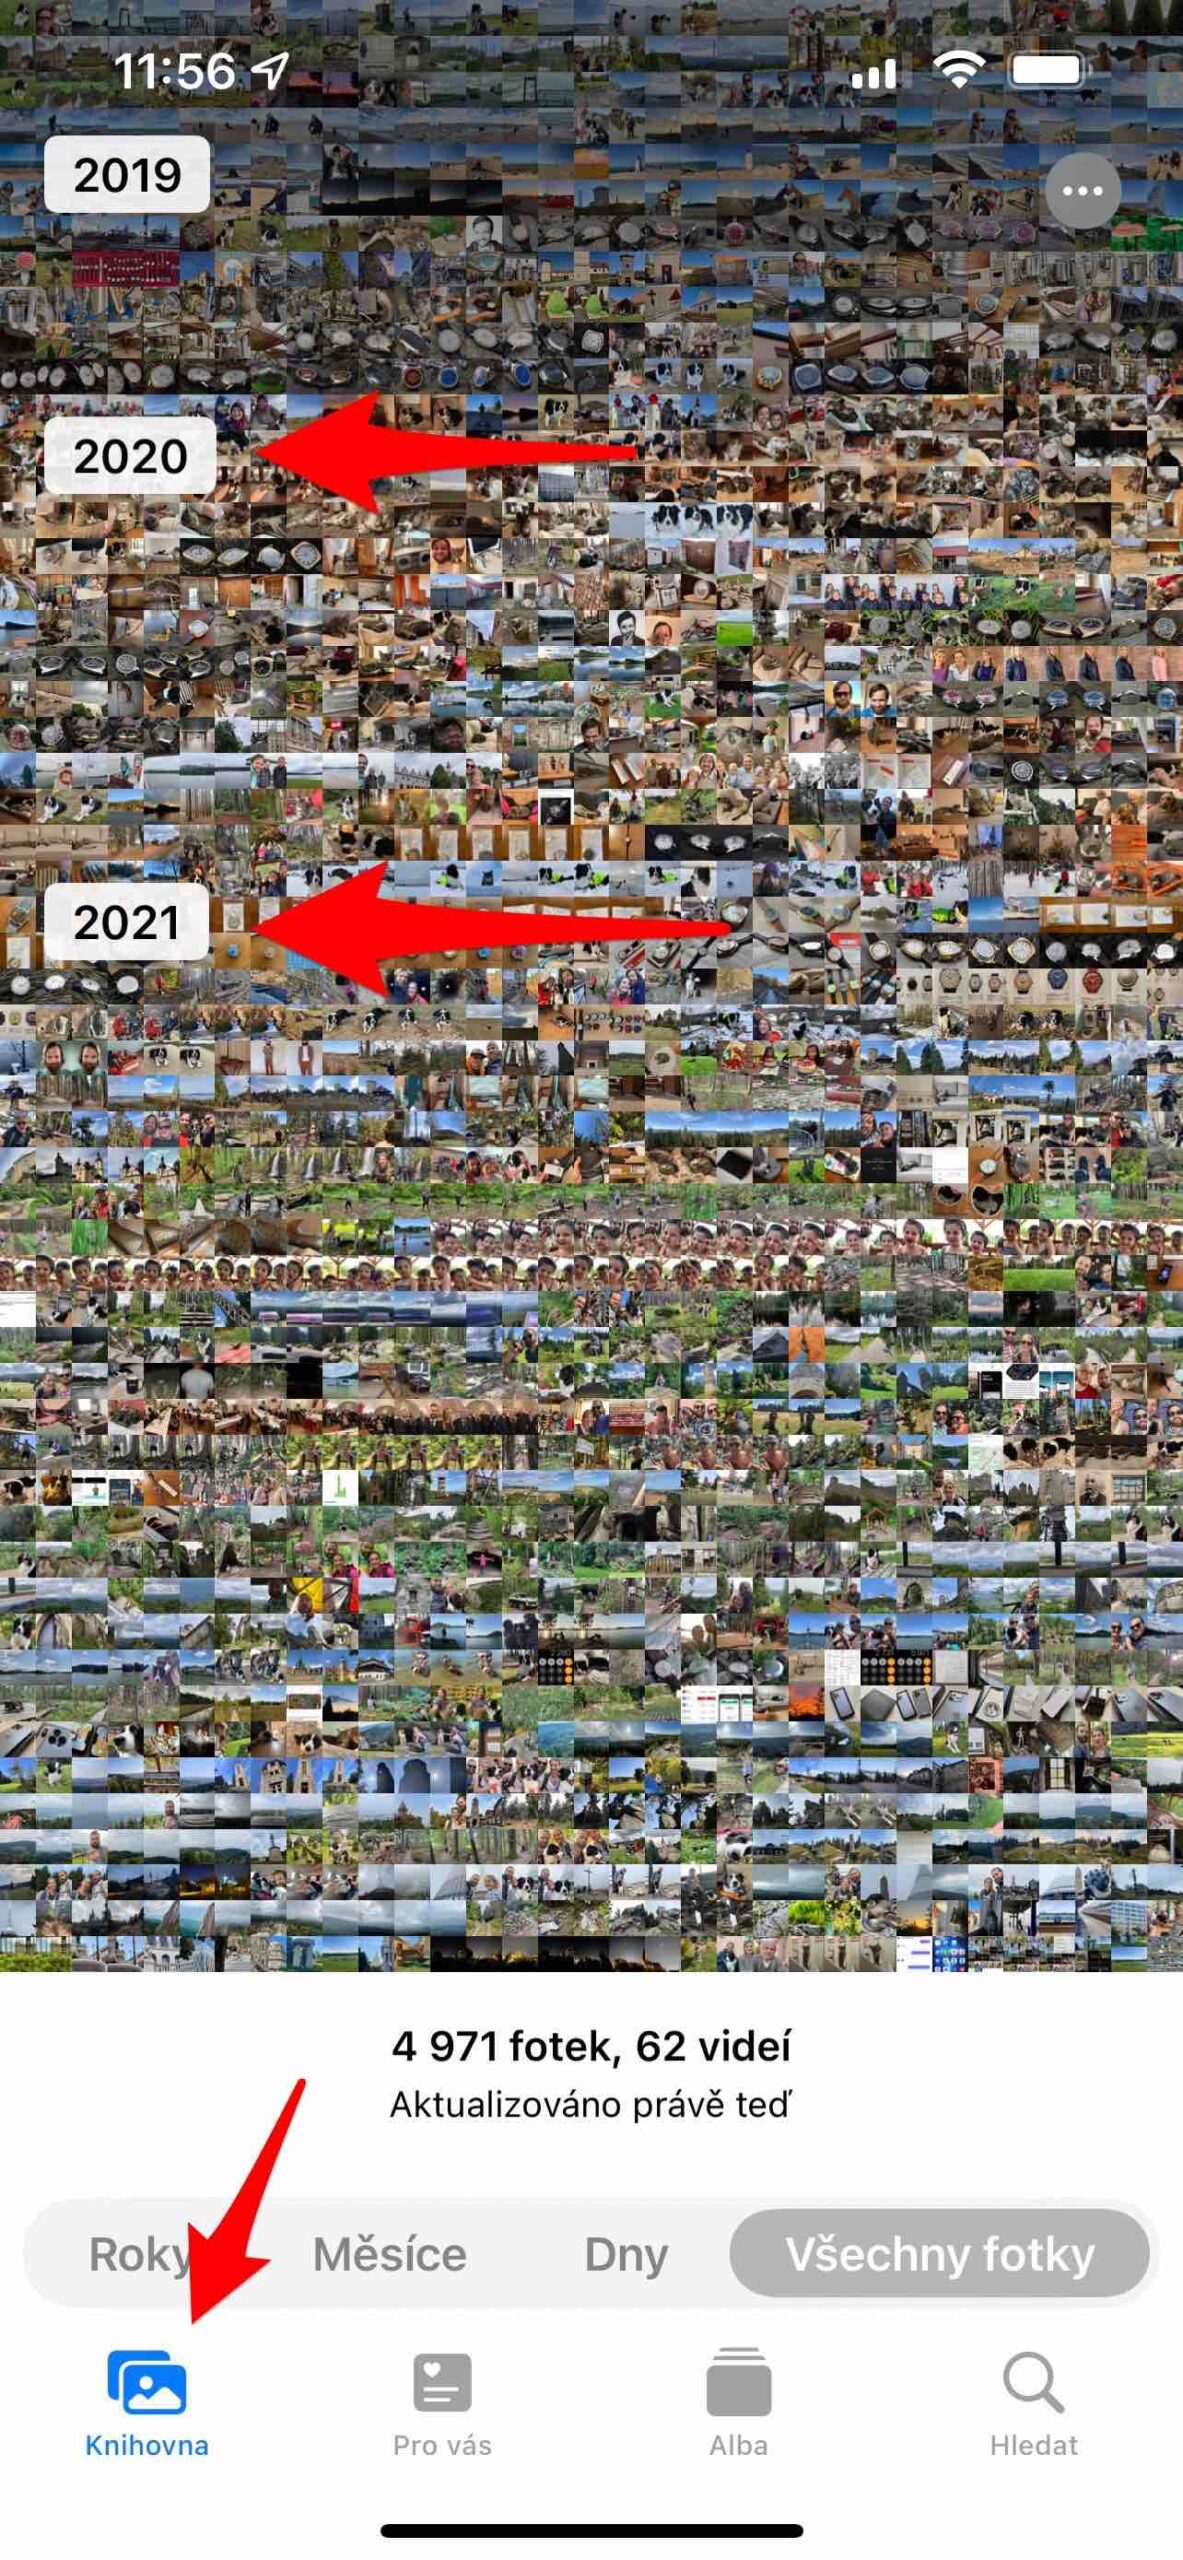
Right in the tab Library a Alba see three dots menu at the top right. When you click on it, you can step by step matrix magnify, so the displayed content will be larger, or vice versa shrink. In The library then you can also see the year markings, thanks to which you can orientate yourself better. However, you can also increase or decrease the size of the matrix by pinching and spreading your fingers.
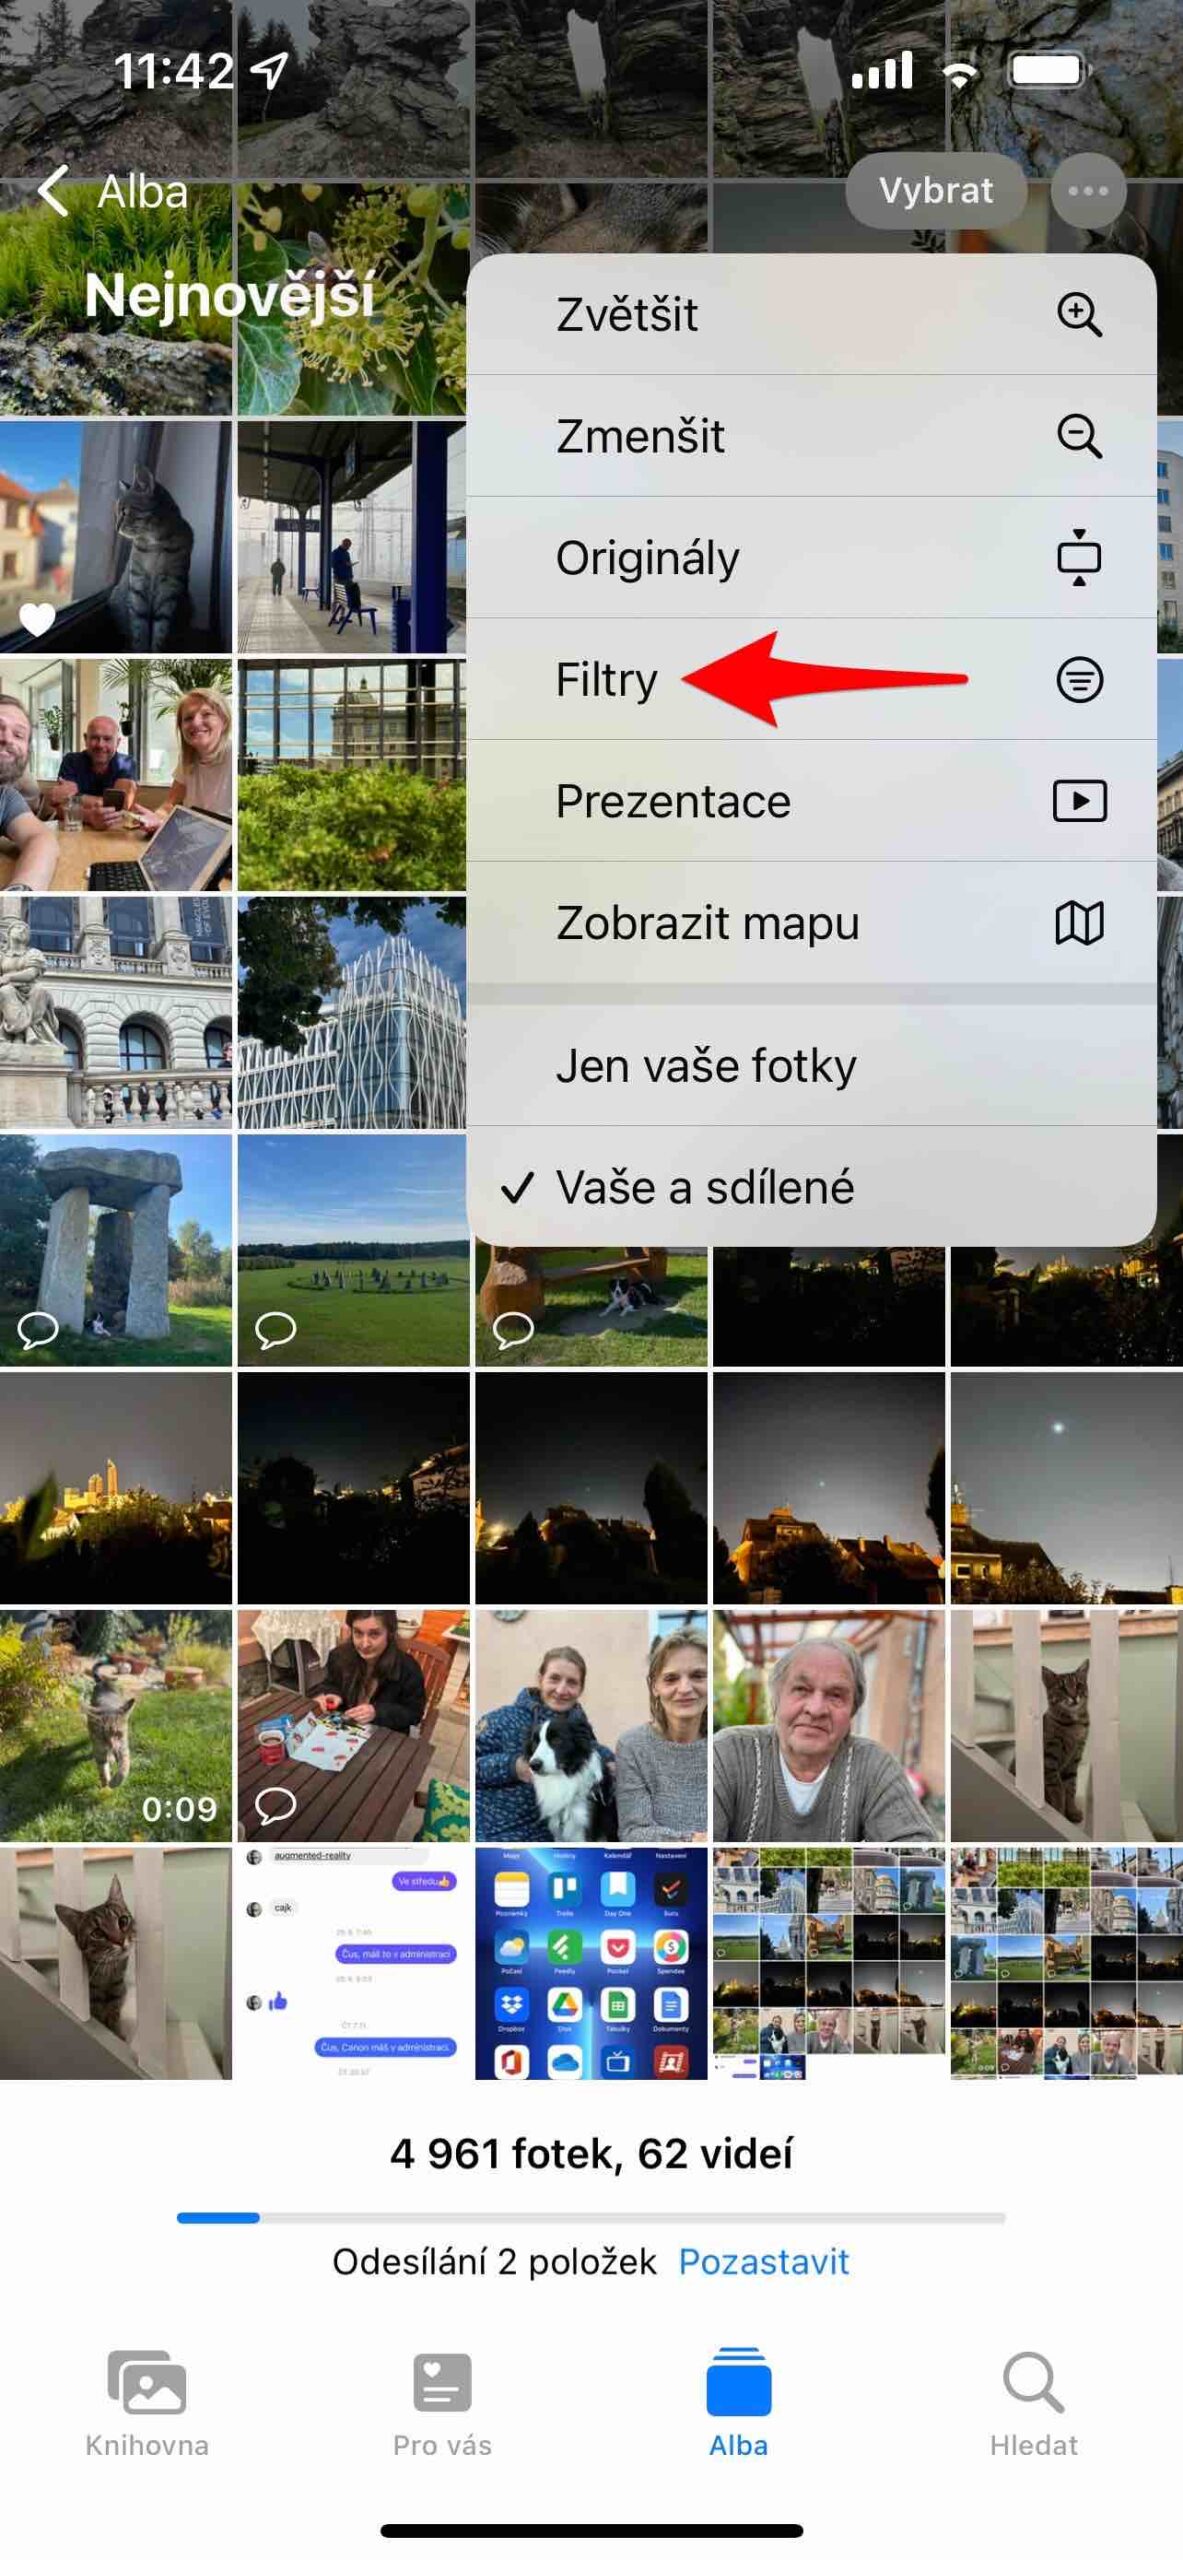
But the three-dot icon hides more. If you click on the menu The originals, the images will be displayed in the aspect ratio in which you captured them. If you want to return to the original view, you can find the menu here Squares.
filters
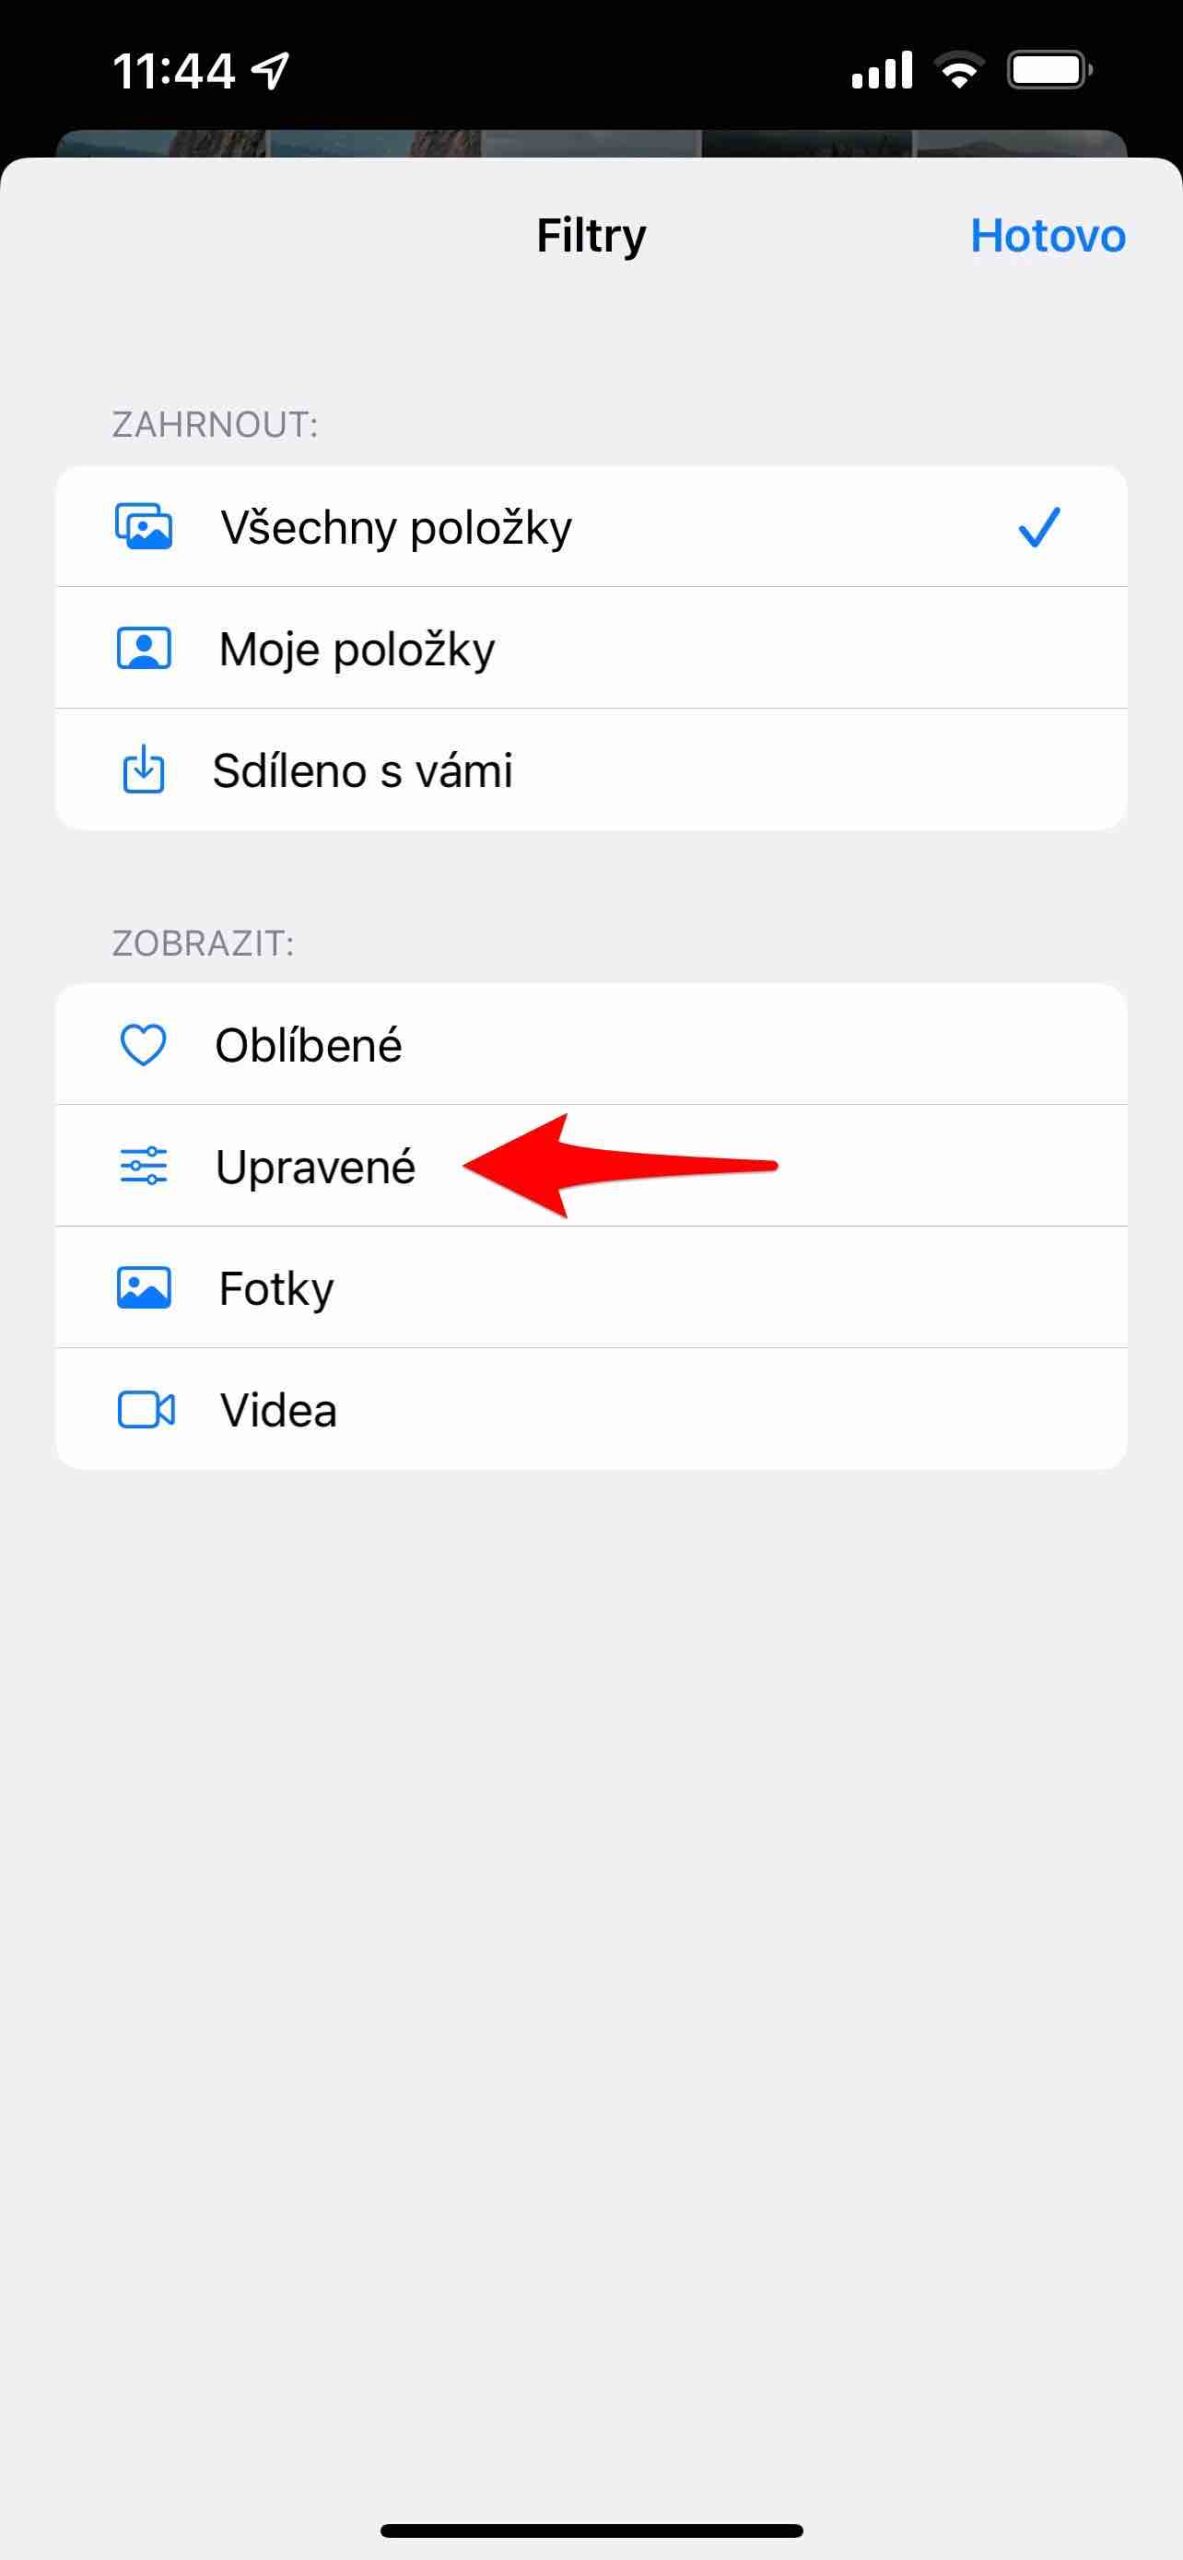
These are not photo filters that you can apply to your images, but selection filters that will show you the appropriate content according to your choice. Here you can switch to view all present items, your items or those shared with you. But the more interesting part is the section Display.
It could be interest you

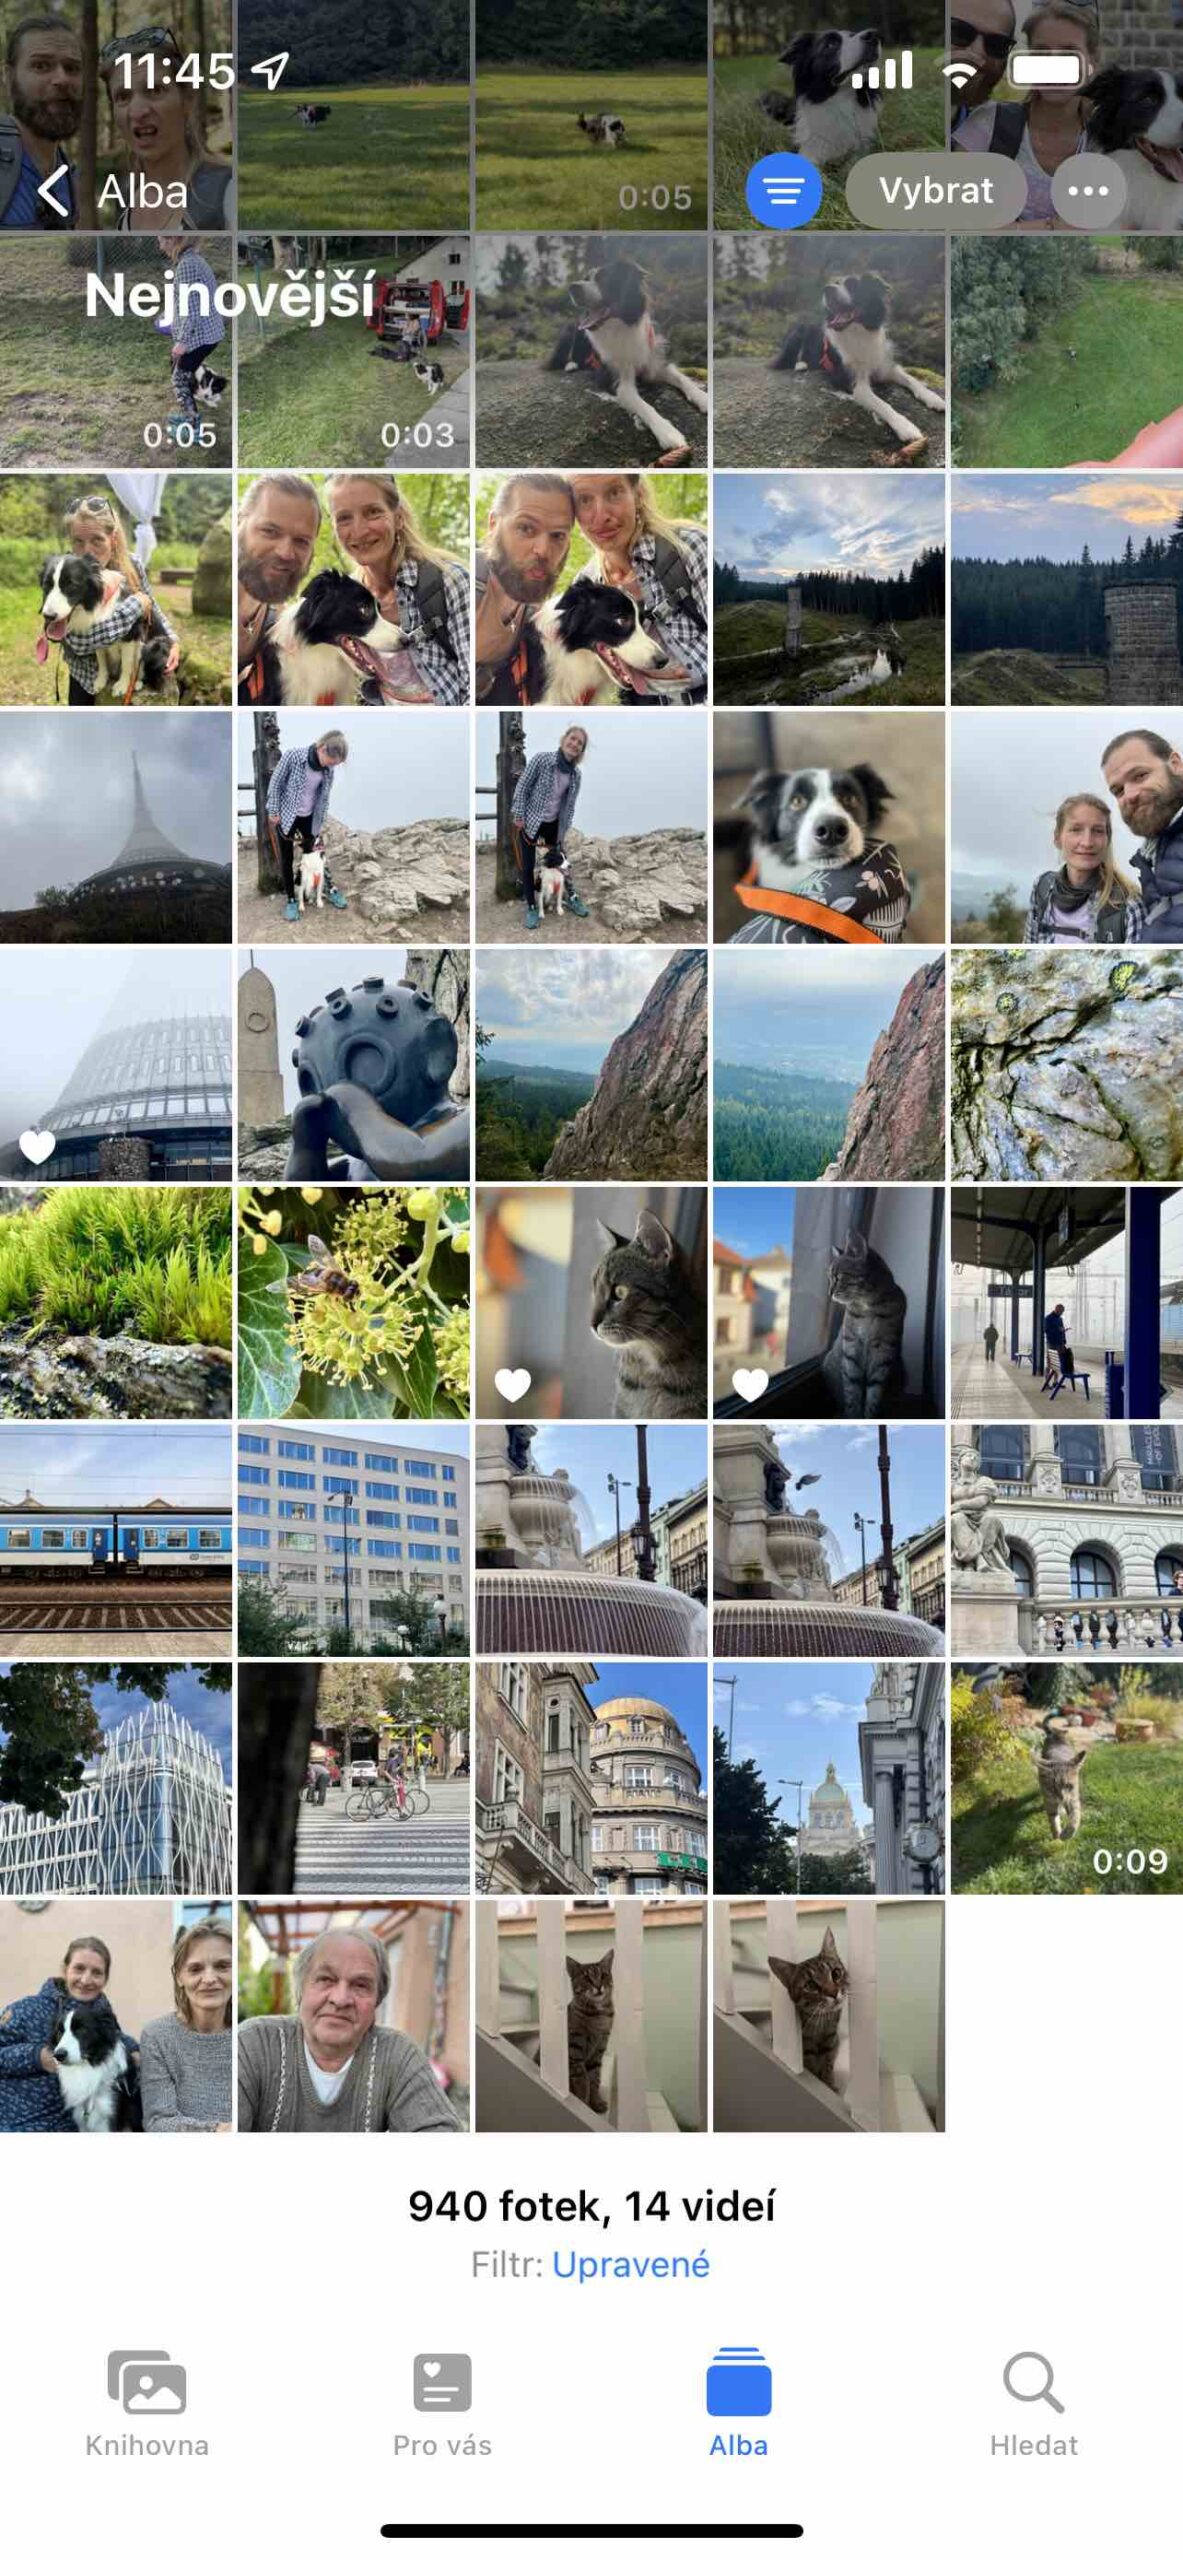
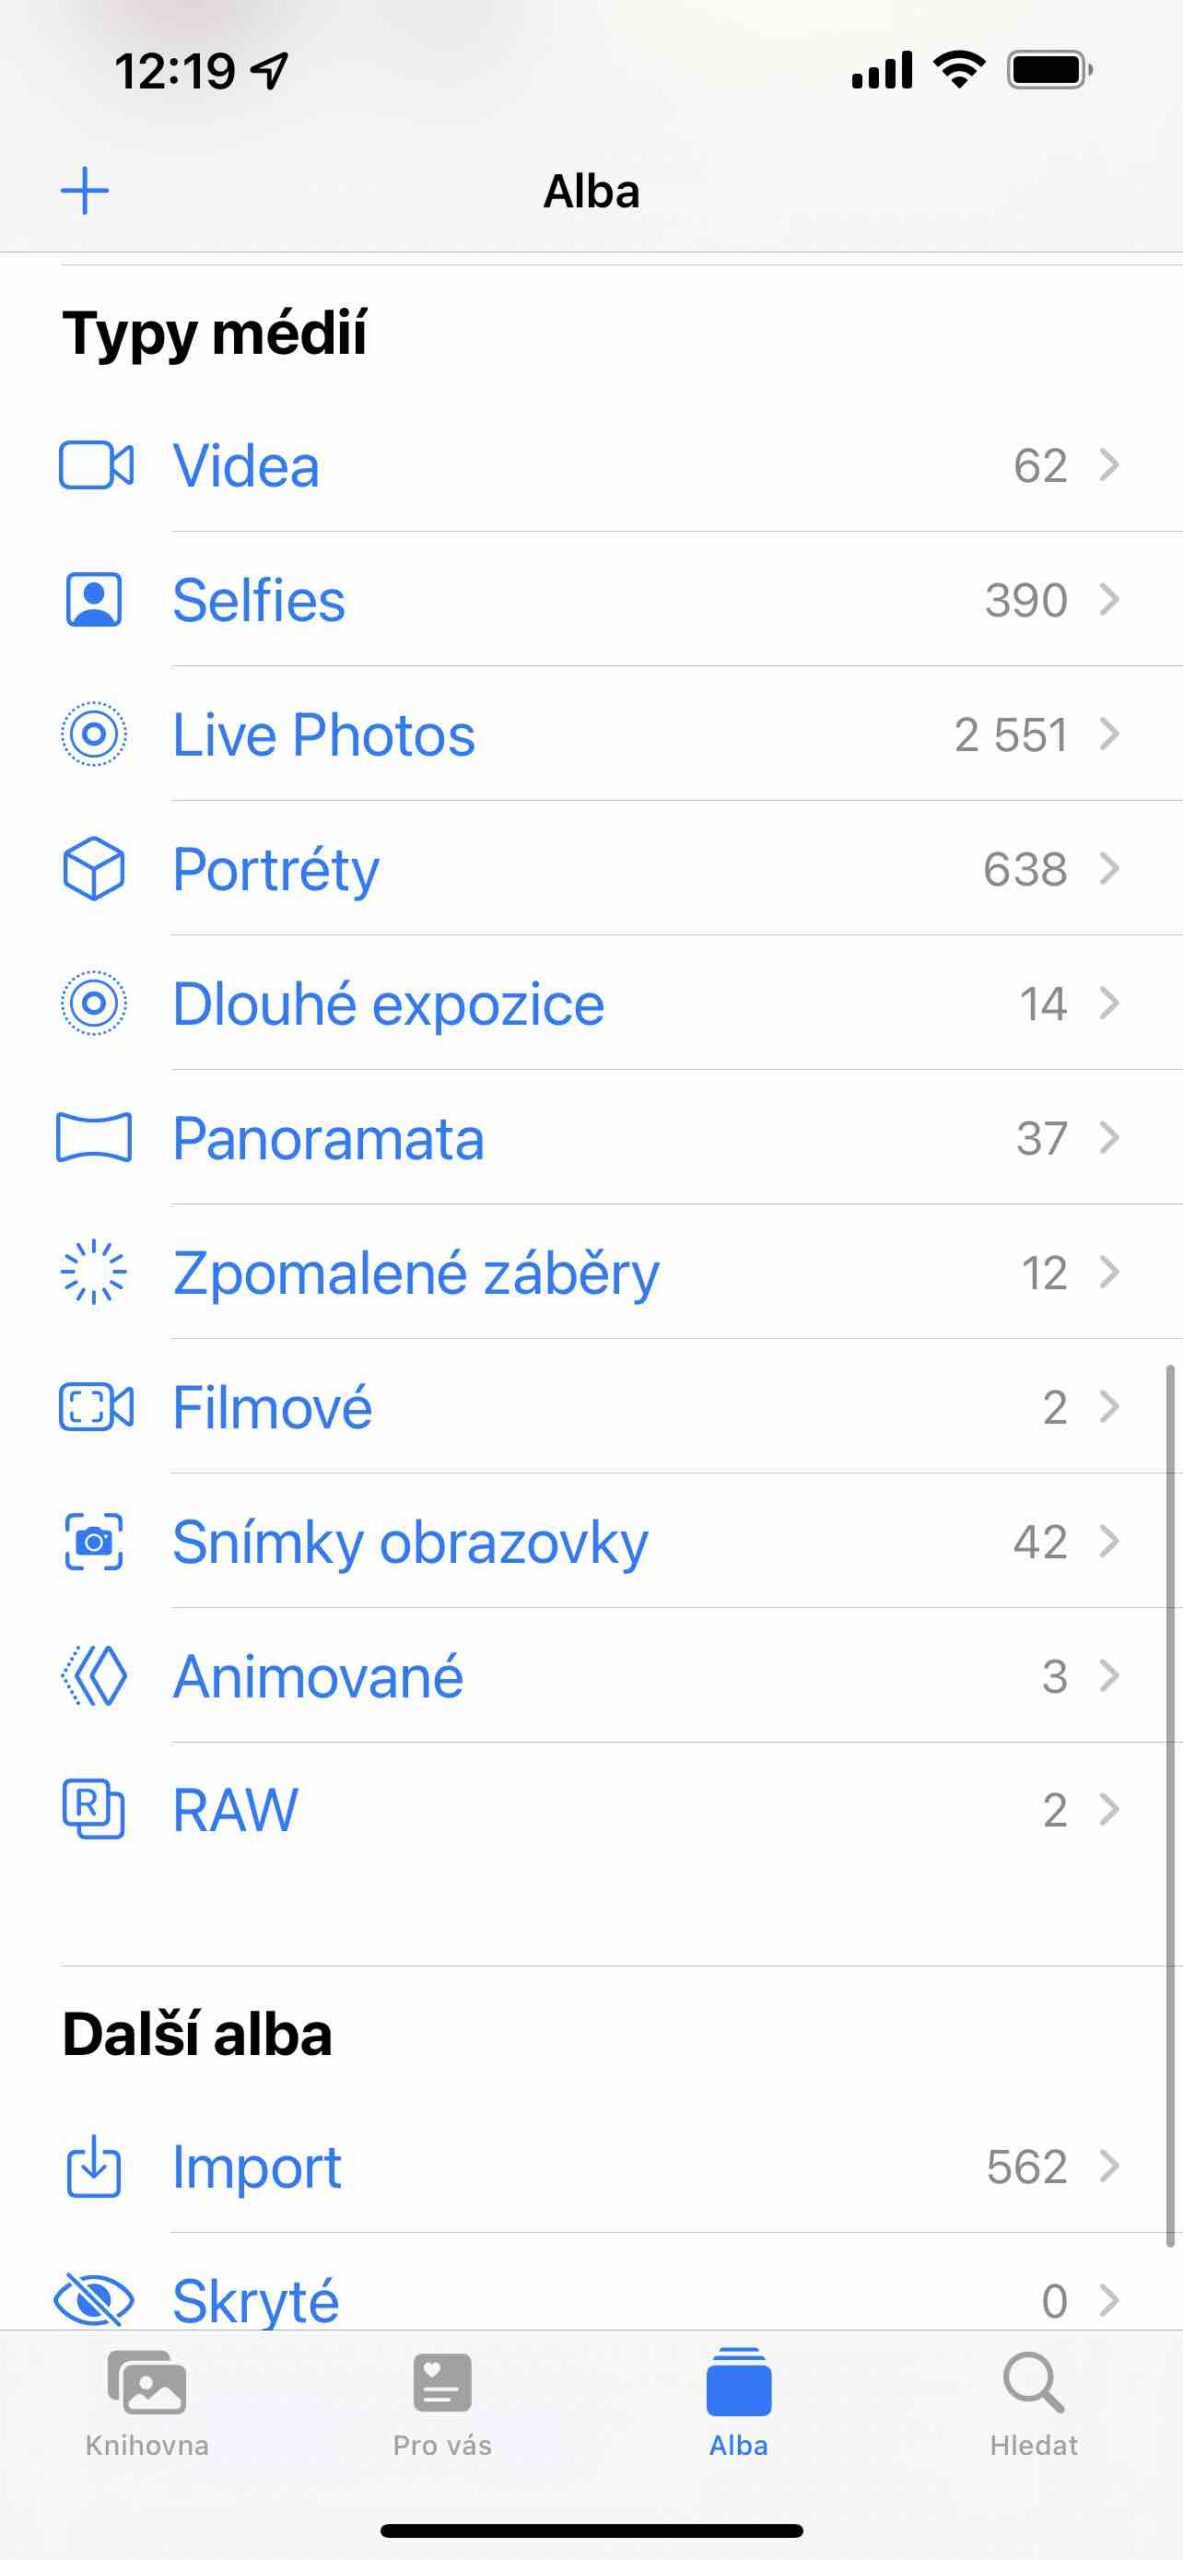
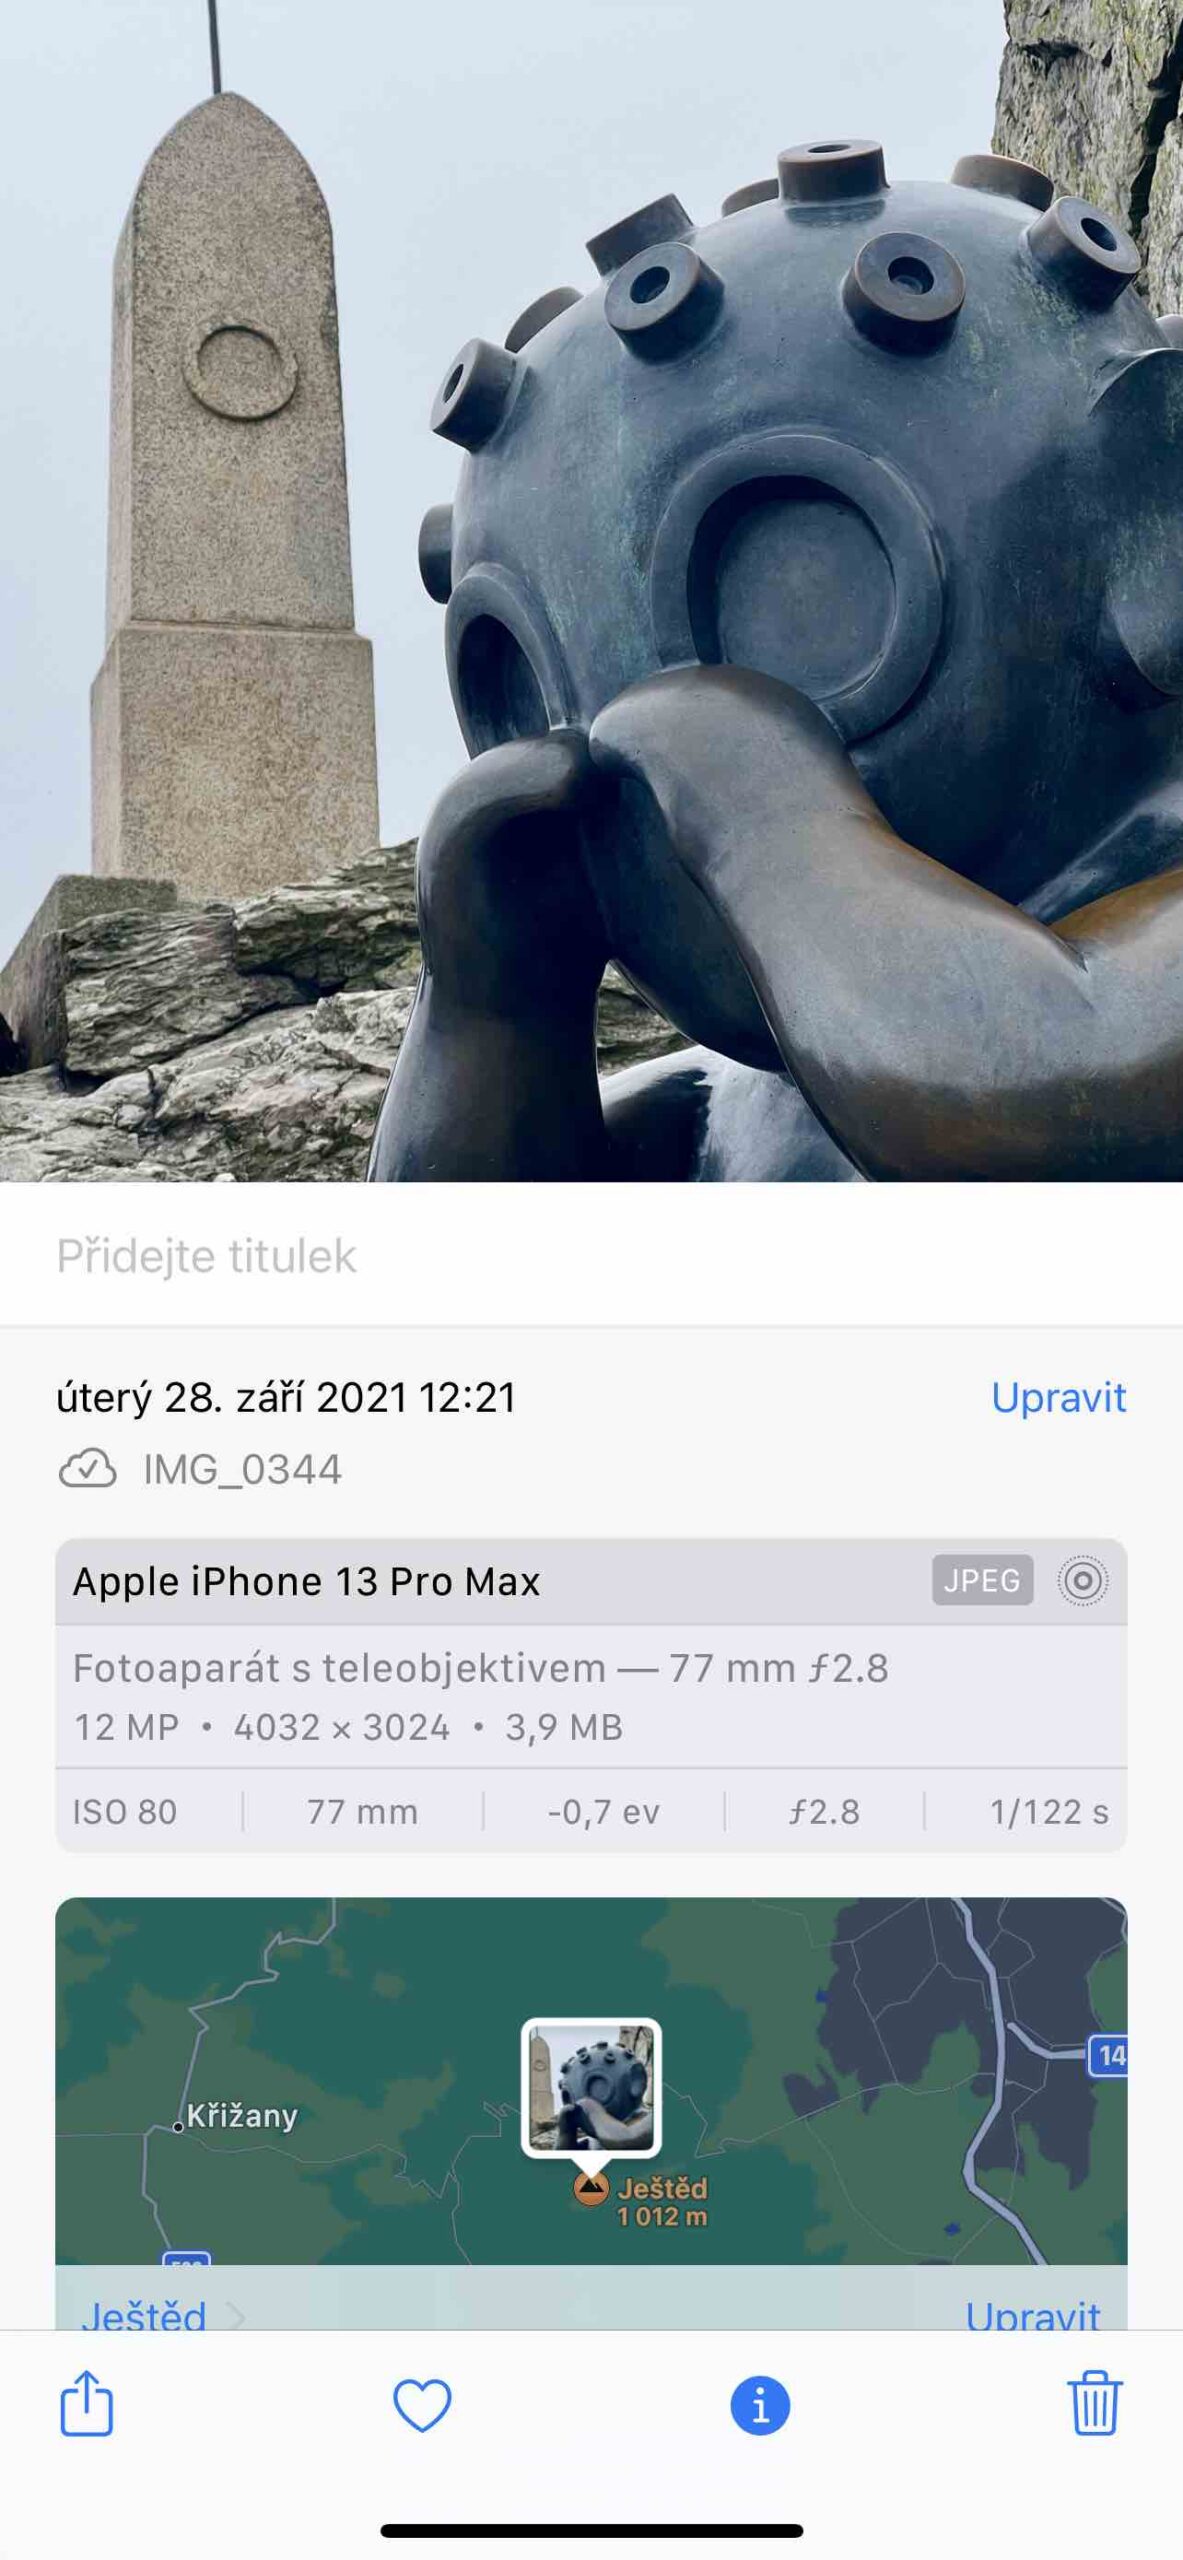
Without going to the album Favourite, you can quickly view here only those images that you have marked in this way. But the most important thing here is the choice Adjusted. Although the Albums tab allows you to open content that falls under Selfies, Live Photos, Long exposures, Panoramas, etc., you will not find your edited images anywhere, which is exactly what this filter solves, because the editing is not even apparent in the metadata of the image.
Once you select it, you only see those images in the Library or Albums that are edited in some way. Portrait photos automatically fall here, but you can also find here those for which you have set a long exposure or edited them in any way in the application. There are also photos that you have saved to the gallery from third-party developer applications. They automatically mark Photos as edited. To cancel the selected filter, just select it again. The interface shows that you have it active with a blue icon in the upper right corner.
Multiple selection
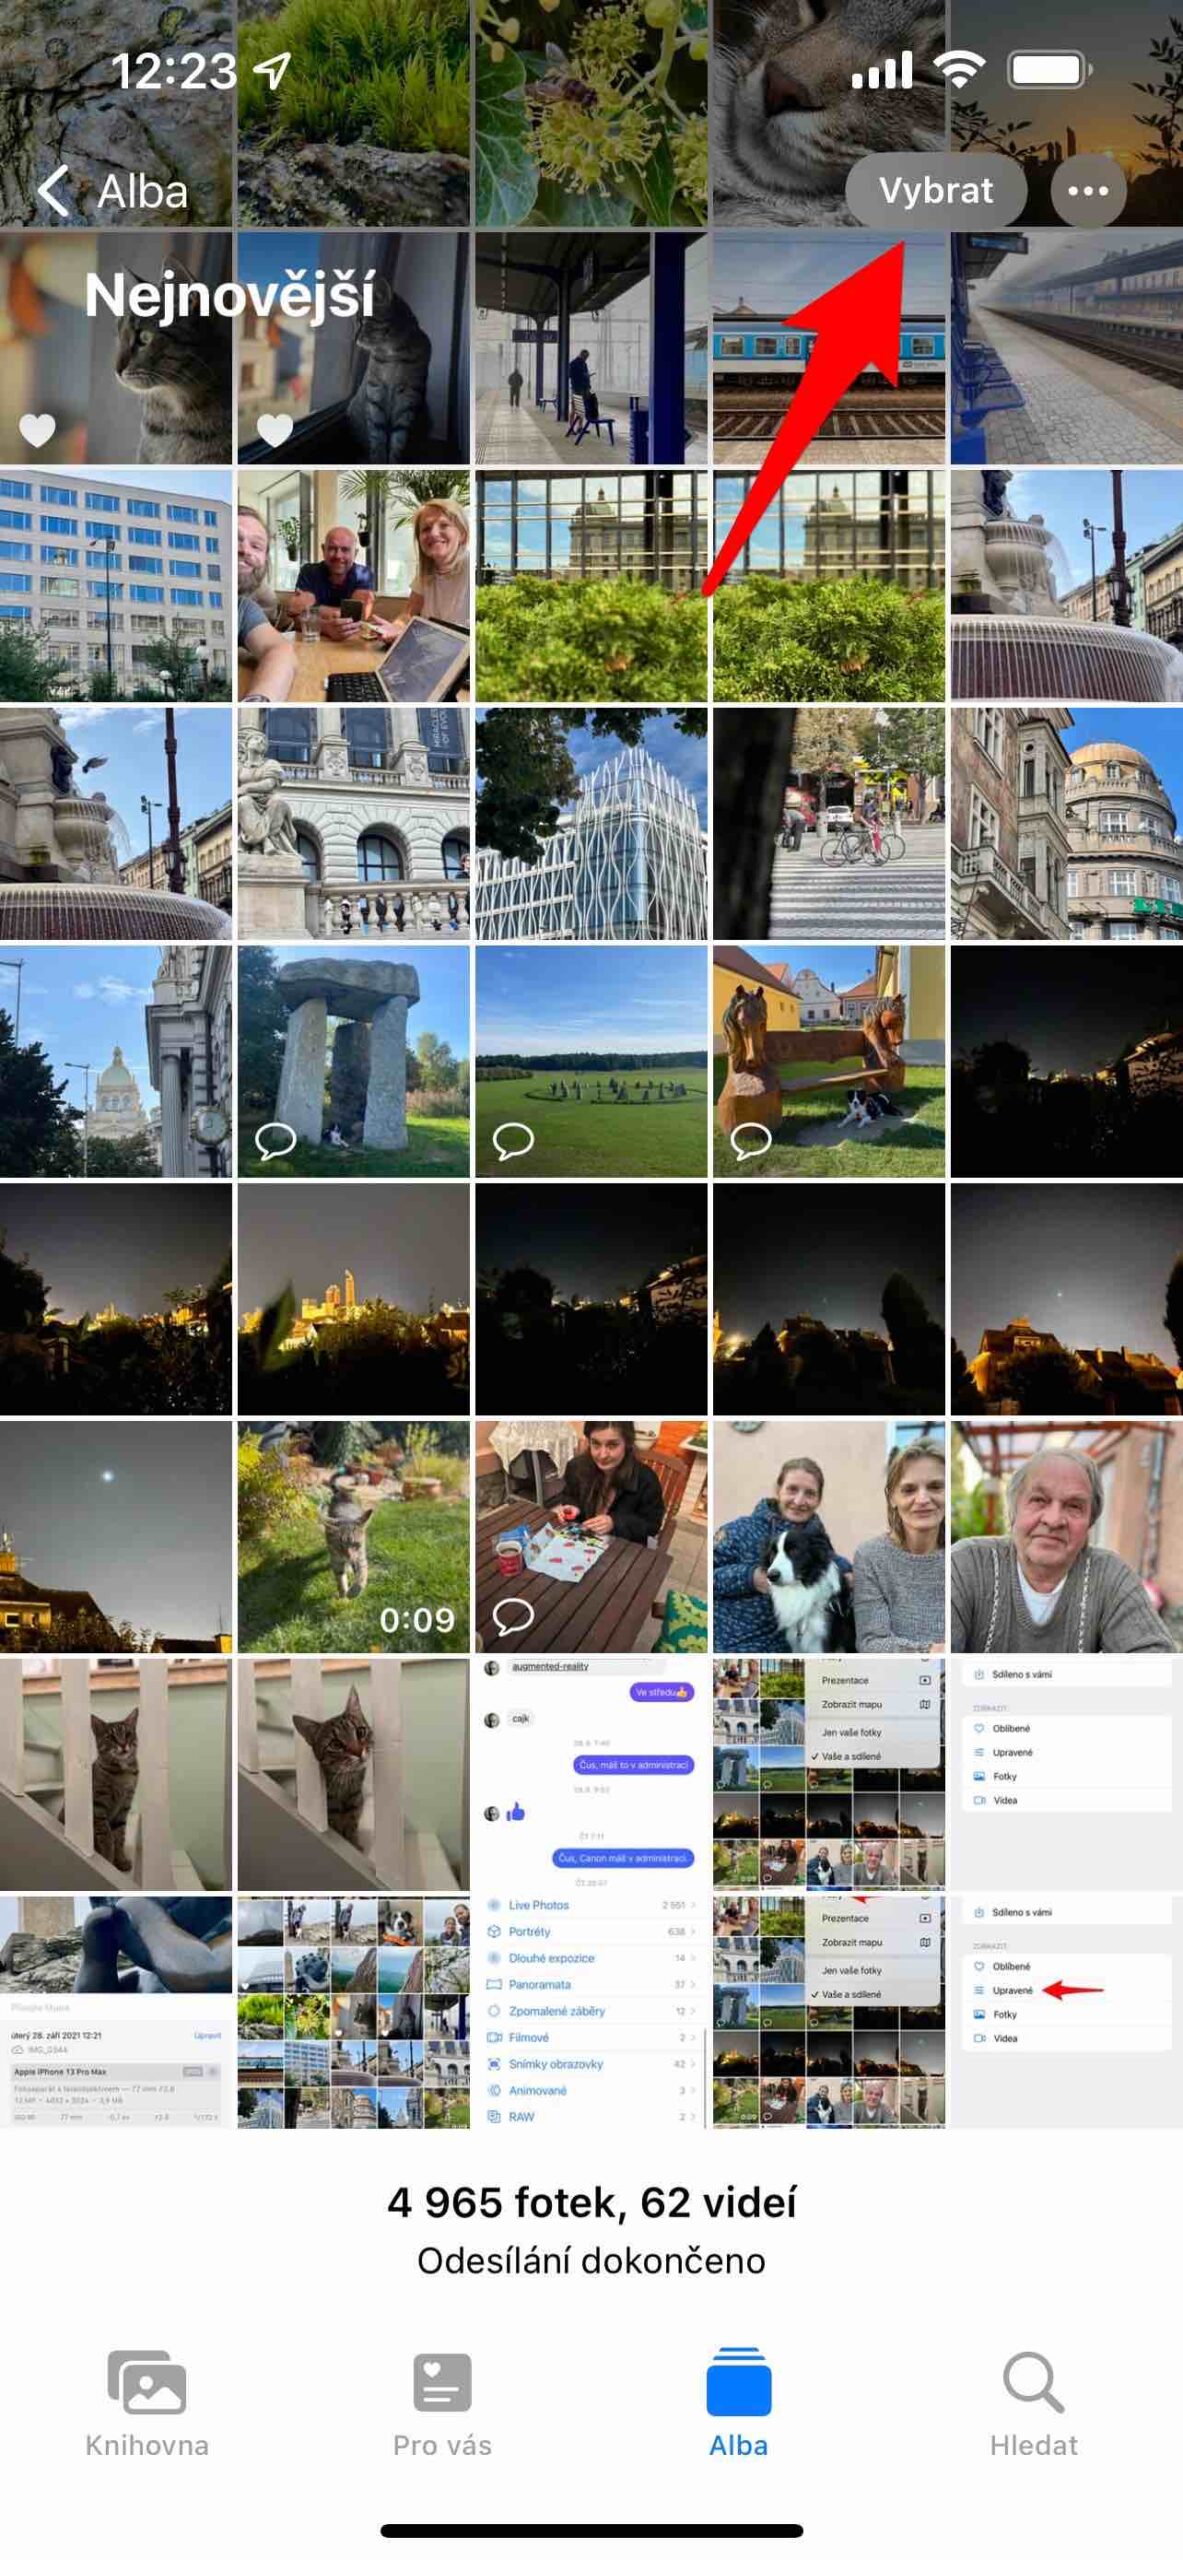
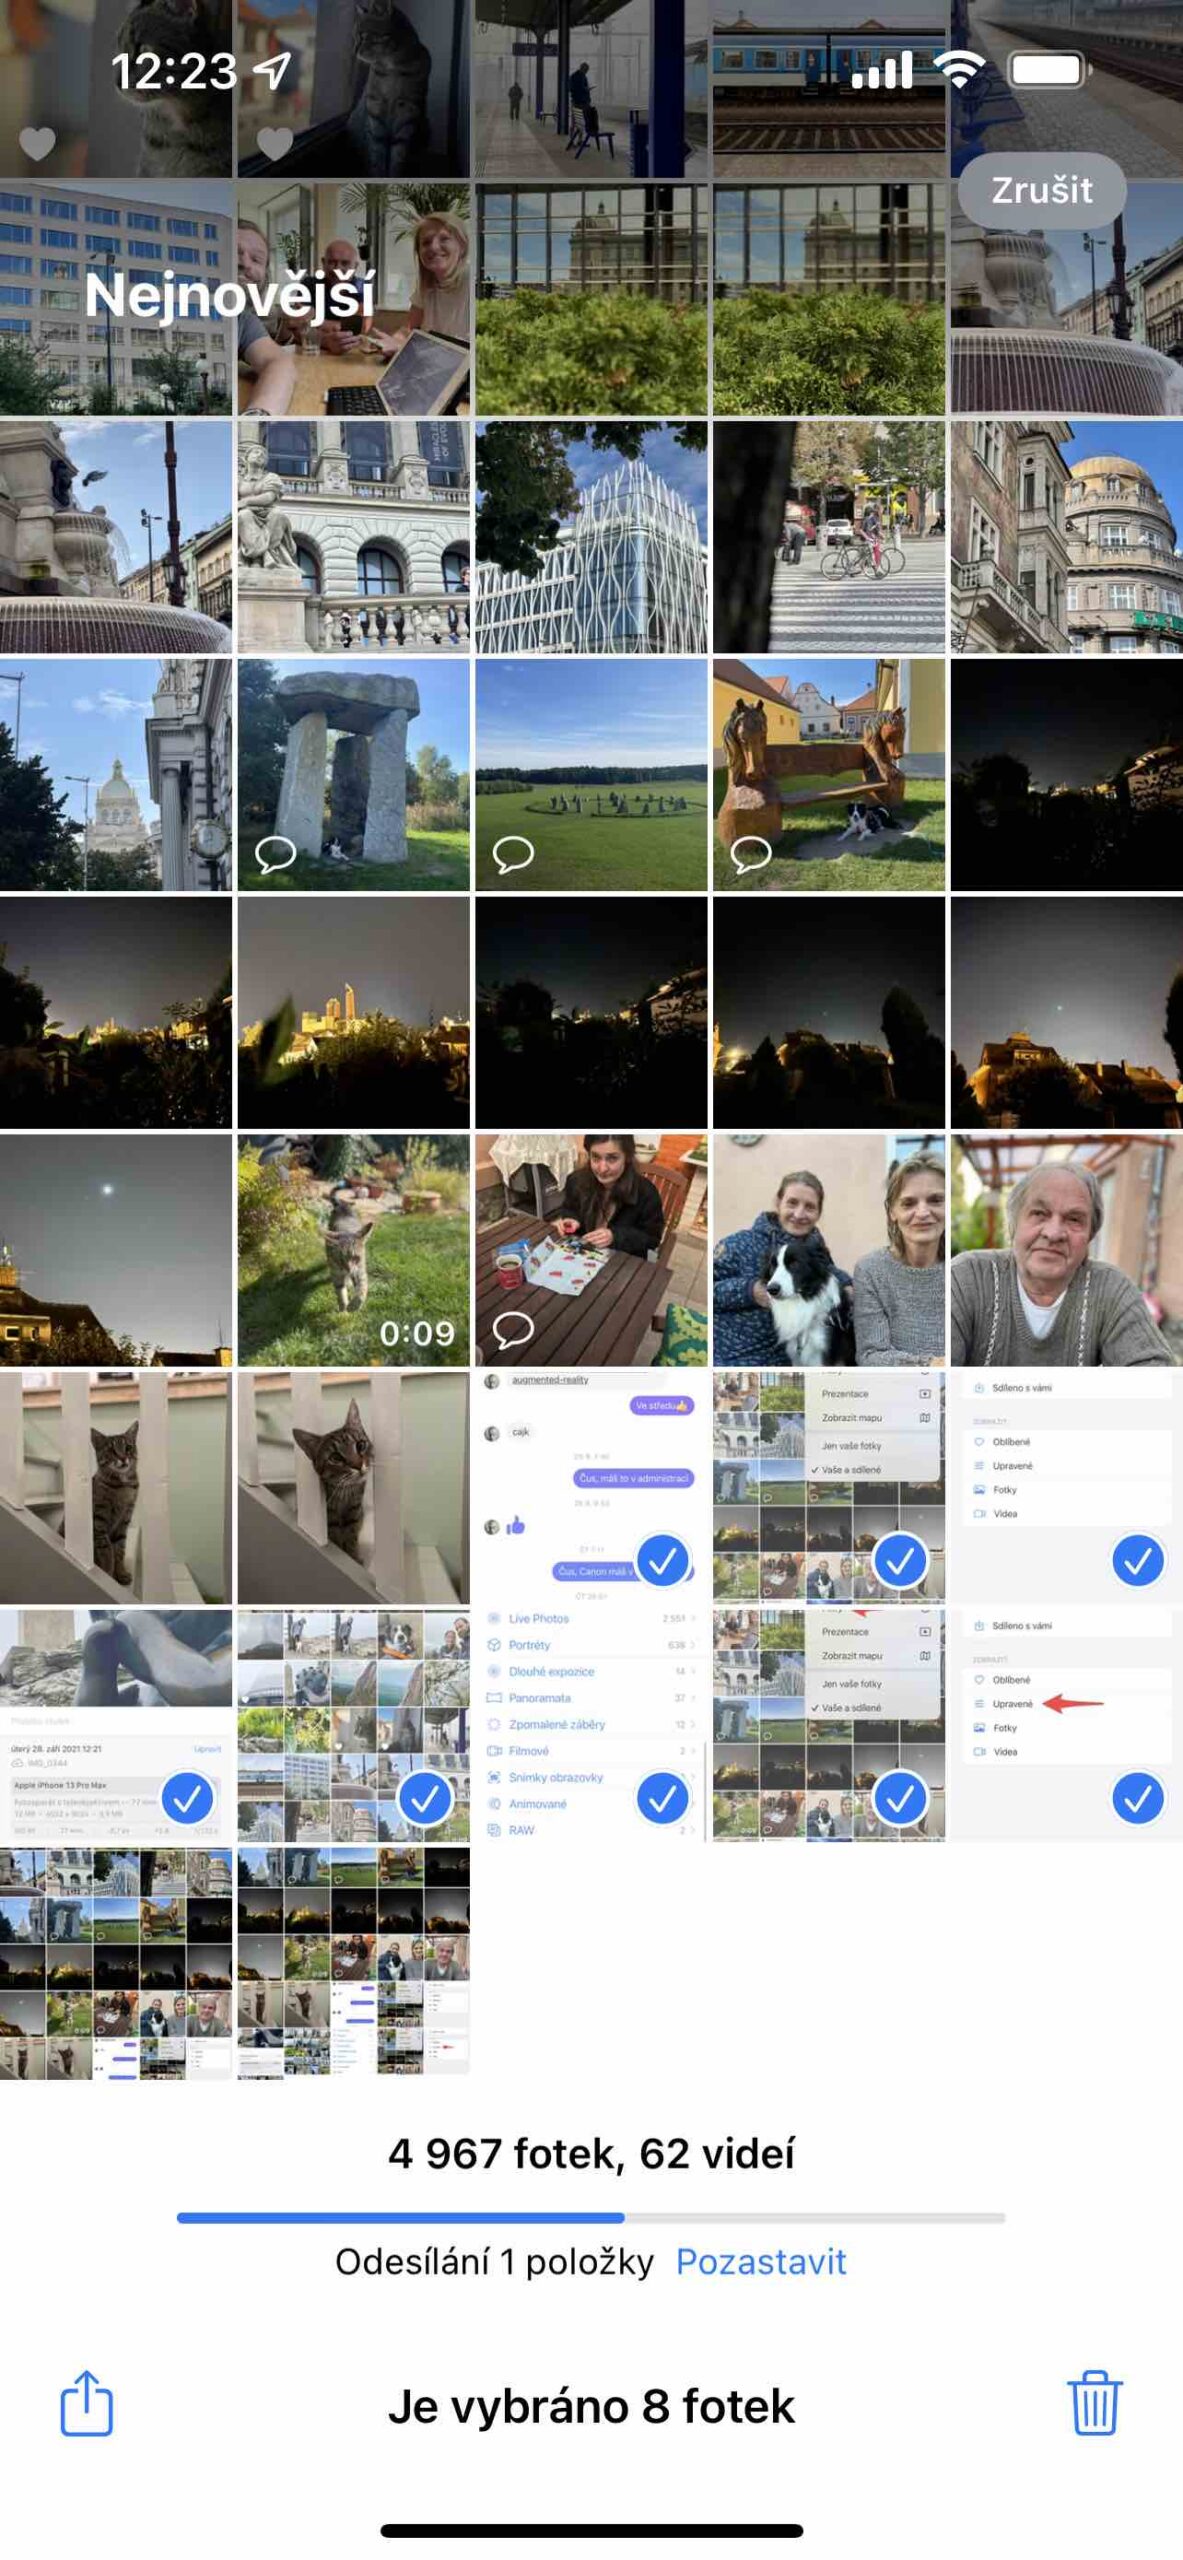
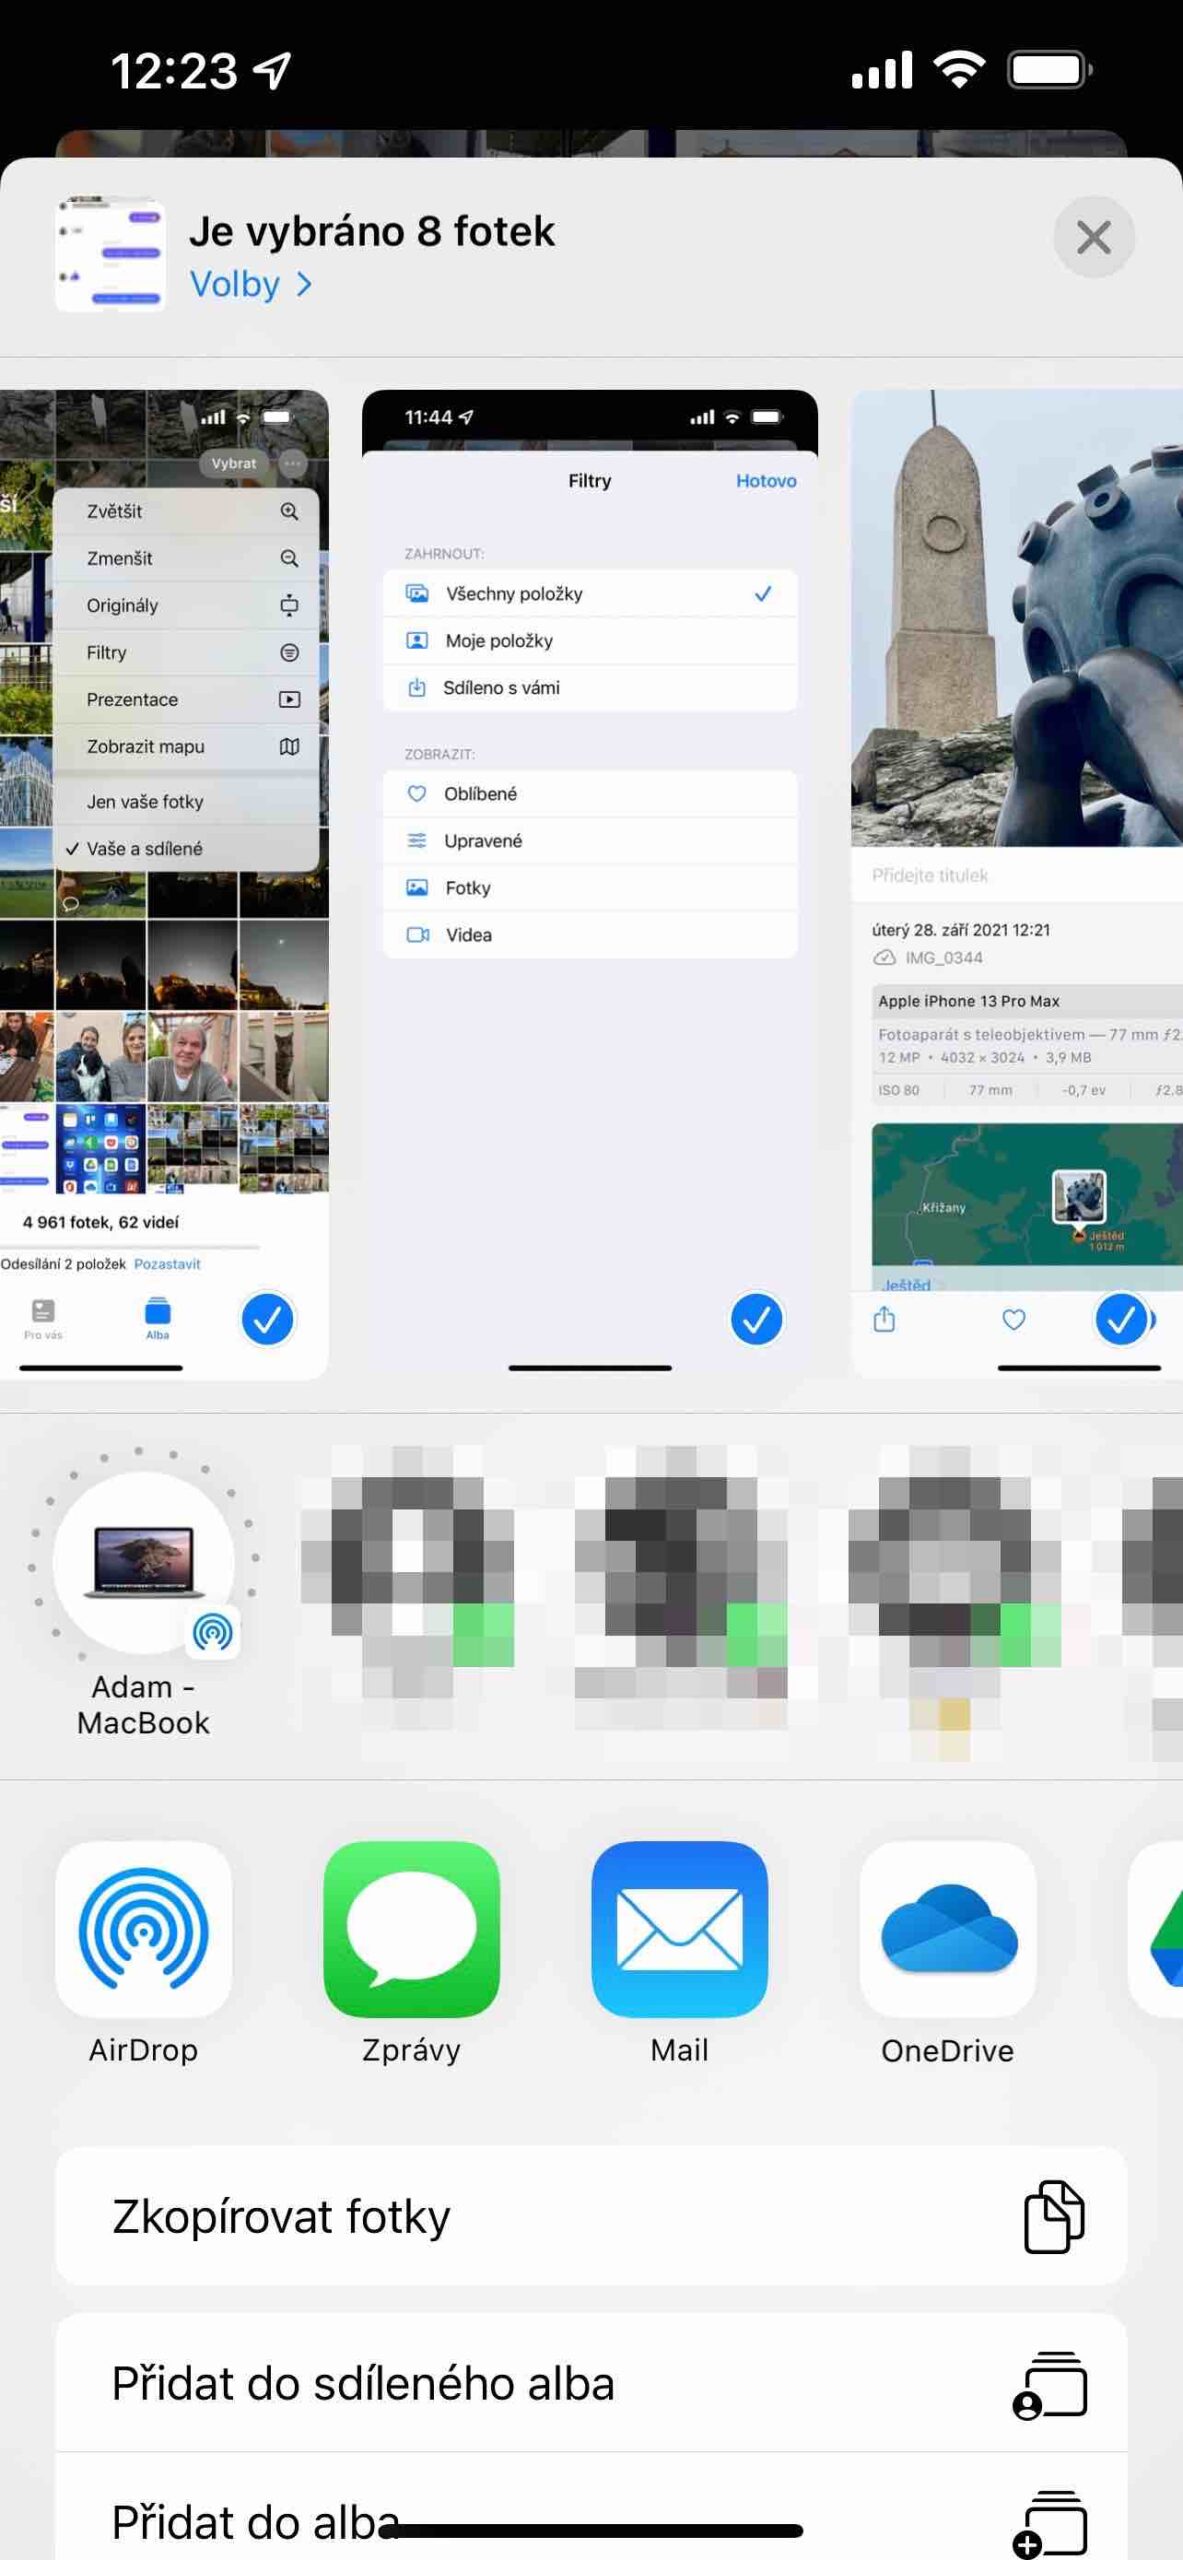
If you need to share more pictures, move more of them to an album, or delete more of them at once, you can do so via the Select menu. You can select items by marking them one by one, but it is faster if you hold your finger on one and then move it in the required direction - along the row or columns. That way, you don't have to keep tapping on the display and you can define your request faster. Then all you have to do is select the sharing icon or, conversely, the trash can for deletion.
 Adam Kos