Did your wish come true and you found a charming box with an apple computer under the tree? If you answered yes to this question, then you are definitely in the right place. In this article, we will go through the very beginnings together and thus introduce you to the use of the macOS operating system. It does not matter whether it is a MacBook, iMac or Mac mini. Let's get down to it.
It could be interest you
First steps
Unboxing your Mac is literally an unforgettable experience that you will undoubtedly enjoy. However, I would still like to warn you not to throw away the box under any circumstances. Boxes from Apple products, especially Macs and iPhones, add added value to the device itself. In addition, when in a few years you decide to sell your current partner, believe that together with the original box, you will have a much easier time, or it will bring you a few crowns on top.

But let's move on to the first launch itself. Your laptops will turn on automatically after you open the display lid. For other Macs, just plug them in and click the appropriate button. When you turn it on for the first time, of course, you will encounter a kind of wizard that is necessary for the basic settings. Here you will come across location services settings, giving consent to send error messages to Apple, connecting to a wireless Wi-Fi network and then signing in/registering for an Apple ID. After that, you'll be able to activate features like FileVault to encrypt your storage, iCloud Keychain, and Find My Mac. In the case of the mentioned FileVault, I have to warn you that you definitely do not forget the disk key and pay extra attention to this step. If you lose your password, you will lose all your data.
After the wizard completes, your Mac is ready to use—or so it seems. At this point, of course, you can use it without restrictions, but we still recommend that you dive into certain settings beforehand, which we will describe in more detail. Believe me, you definitely won't regret it.
Customization
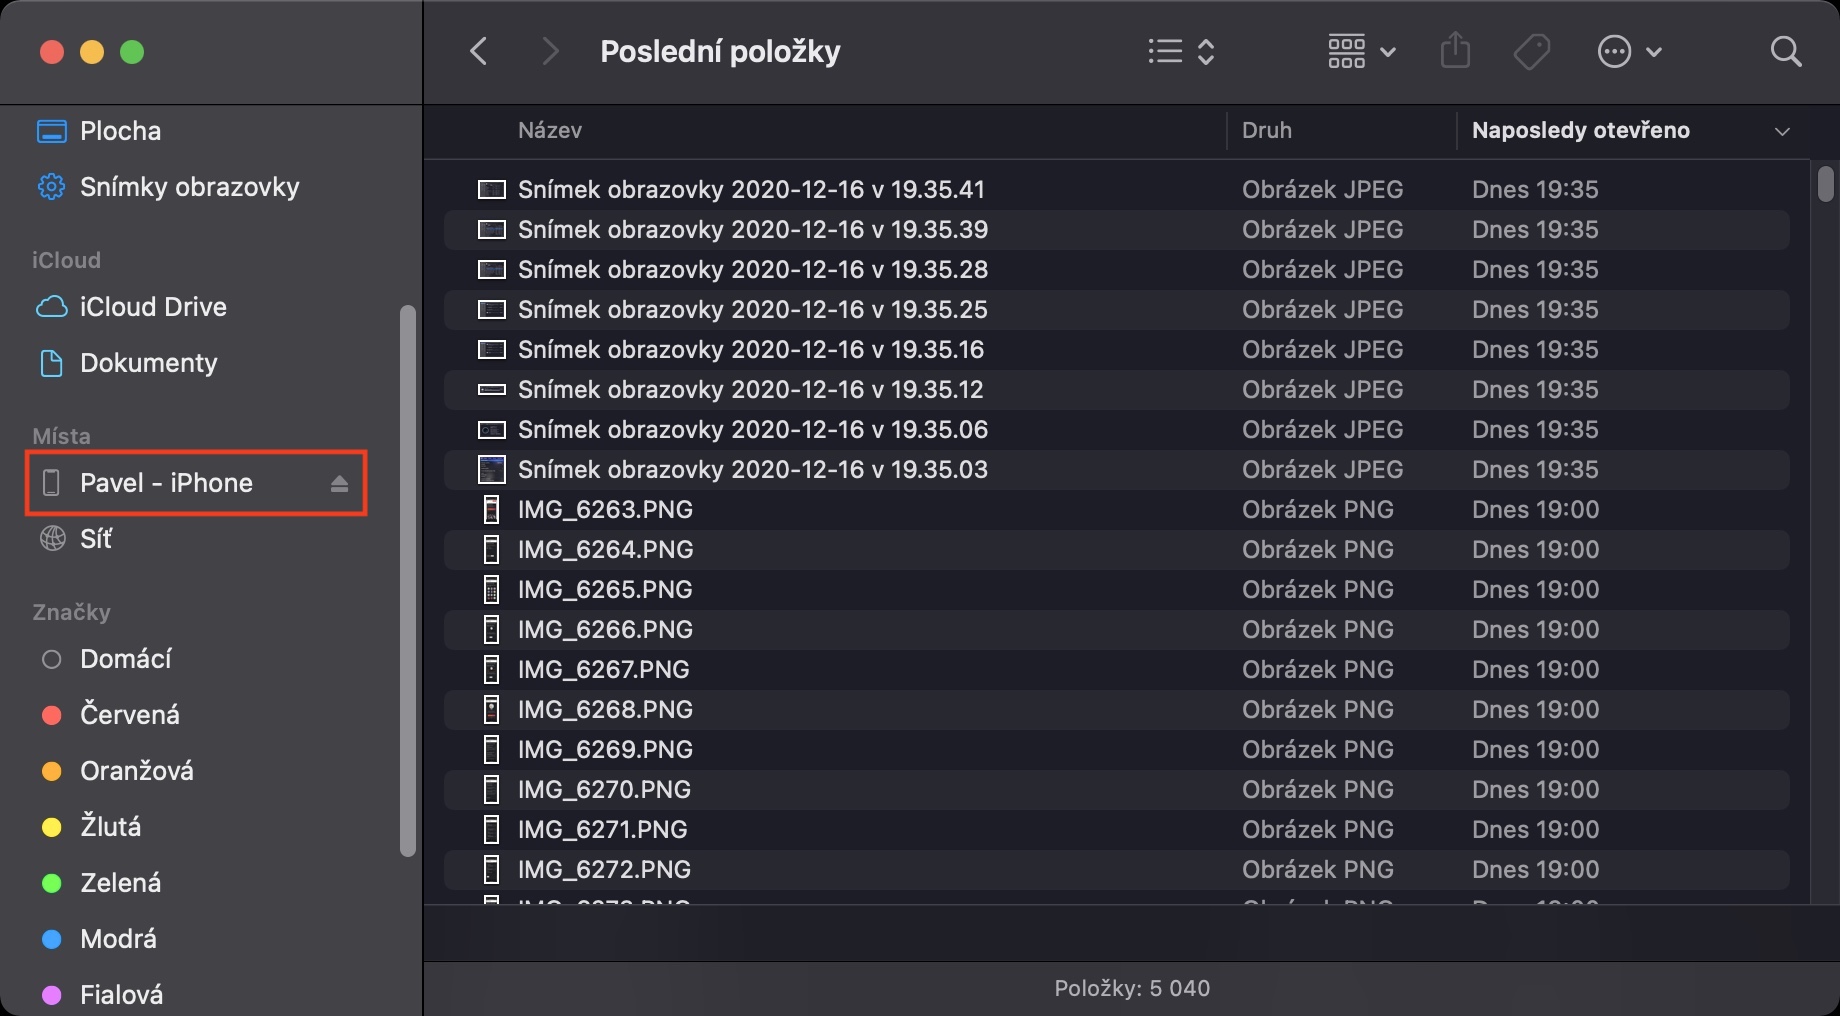
That is exactly why we first get to know the so-called Before the elections system, where all the setup and customization of your Mac takes place. You can get to Preferences literally immediately, when you just need to click on the corresponding icon with a gear wheel in the Dock, or on the far left in the top menu bar, click on logo and then select an option System Preferences…
Dock
We already took a bite out of the Dock in the previous paragraph. As you may already know, the Dock is a bottom bar with the appropriate icons, with the help of which you can switch on and control individual programs in various ways, i.e. access them as quickly as possible. If you are among the lovers of design and various effects, you should definitely not overlook this tip. In the system preferences, you just need to go to the category of the same name, where you can activate the Magnification mode and many others - believe me, it's worth it.

Set up your trackpad
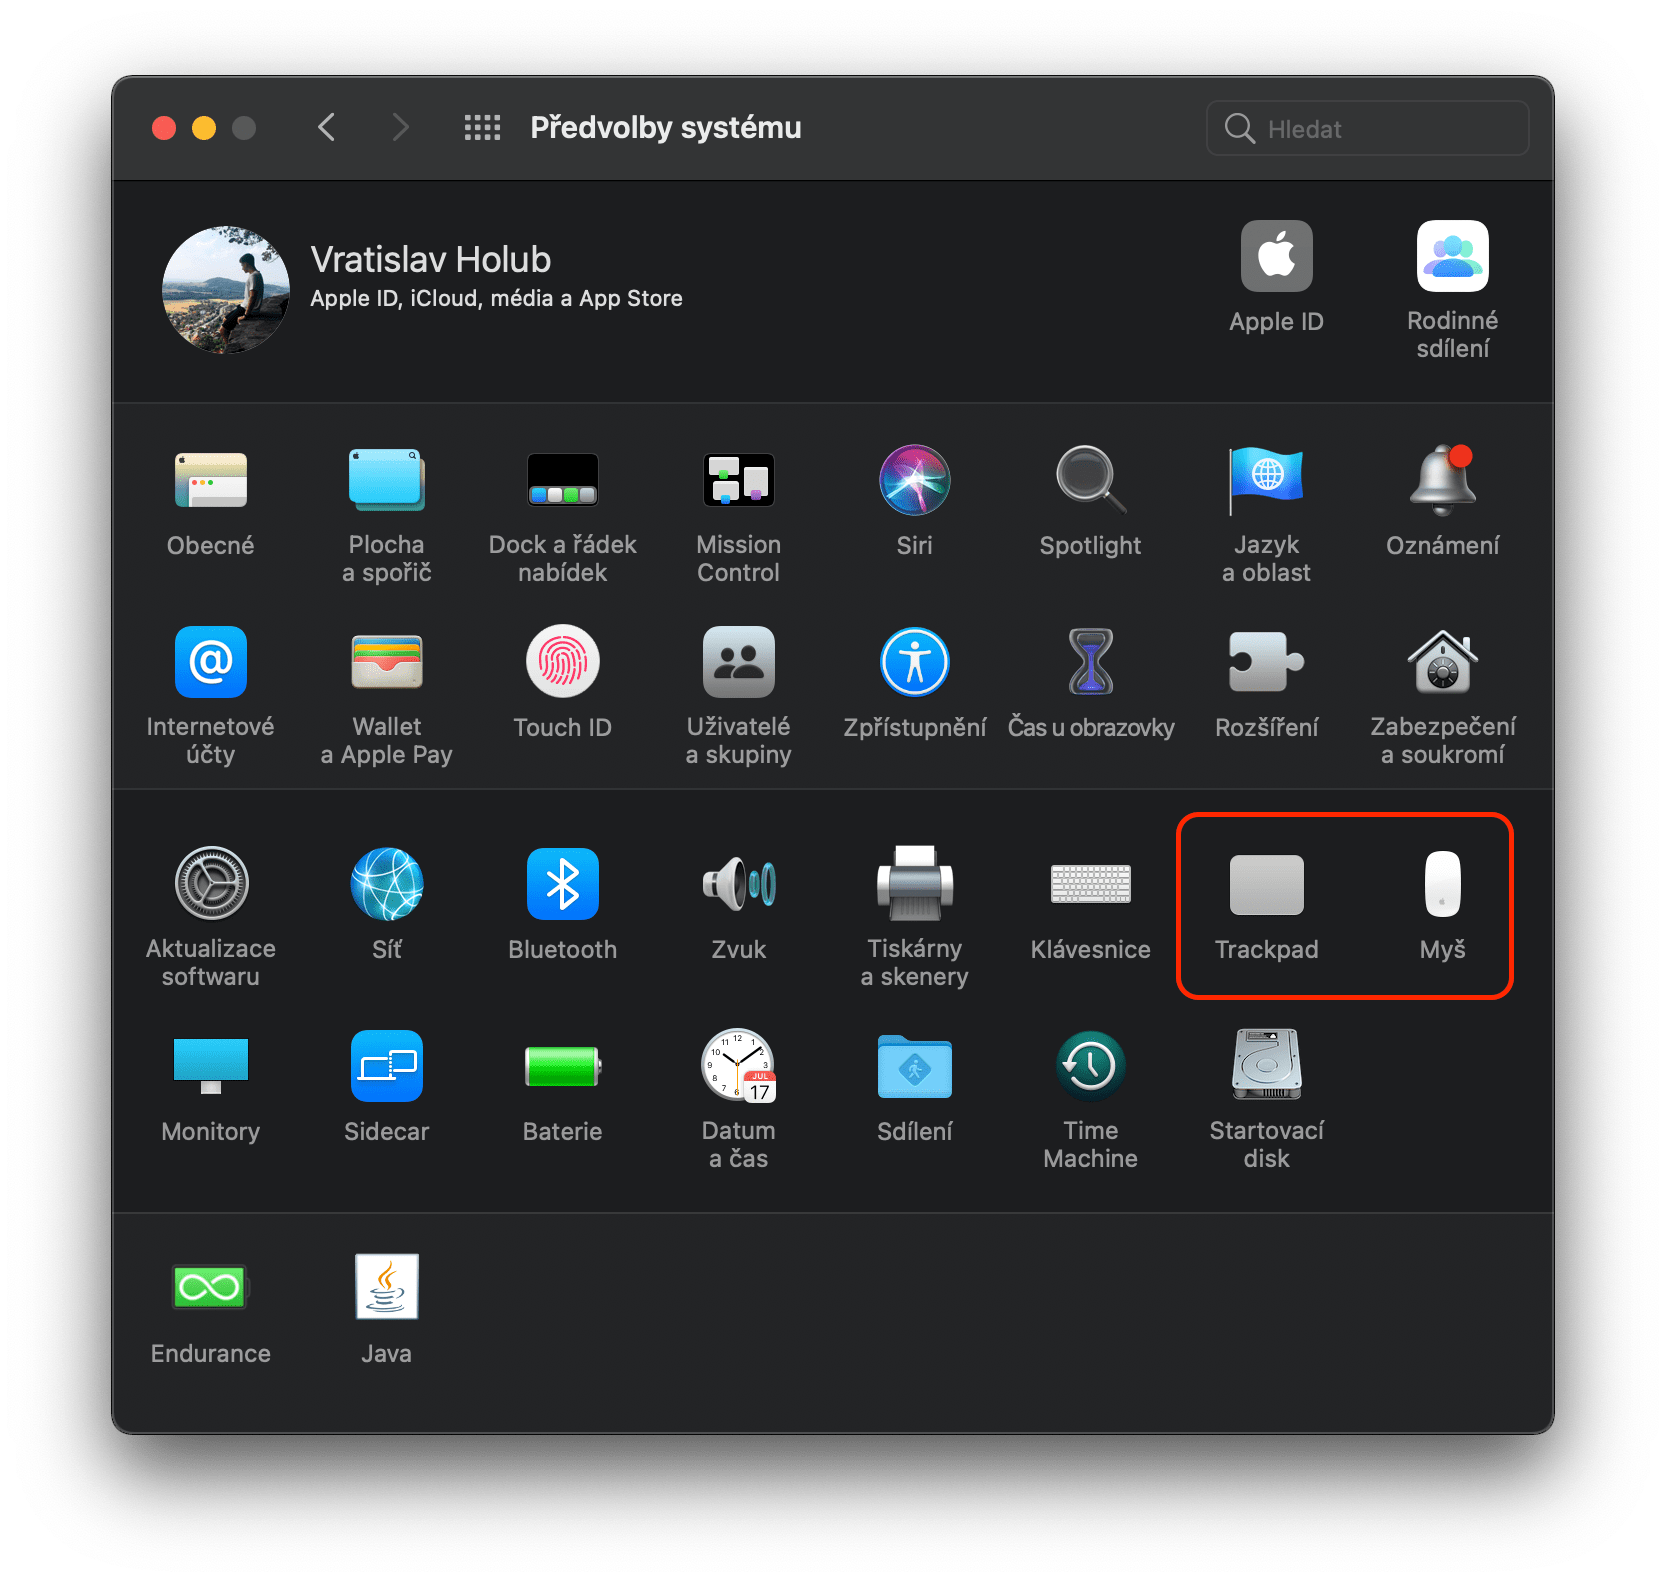
If you're using a trackpad (built-in/external) or Magic Mouse to control your Mac and you've encountered certain problems with sensitivity, control, etc., pay close attention to this step. You can of course find all the settings in the preferences, where you just have to choose a category Mouseor Trackpad. You can also set individual gestures, scrolling direction and form.
Let the system update
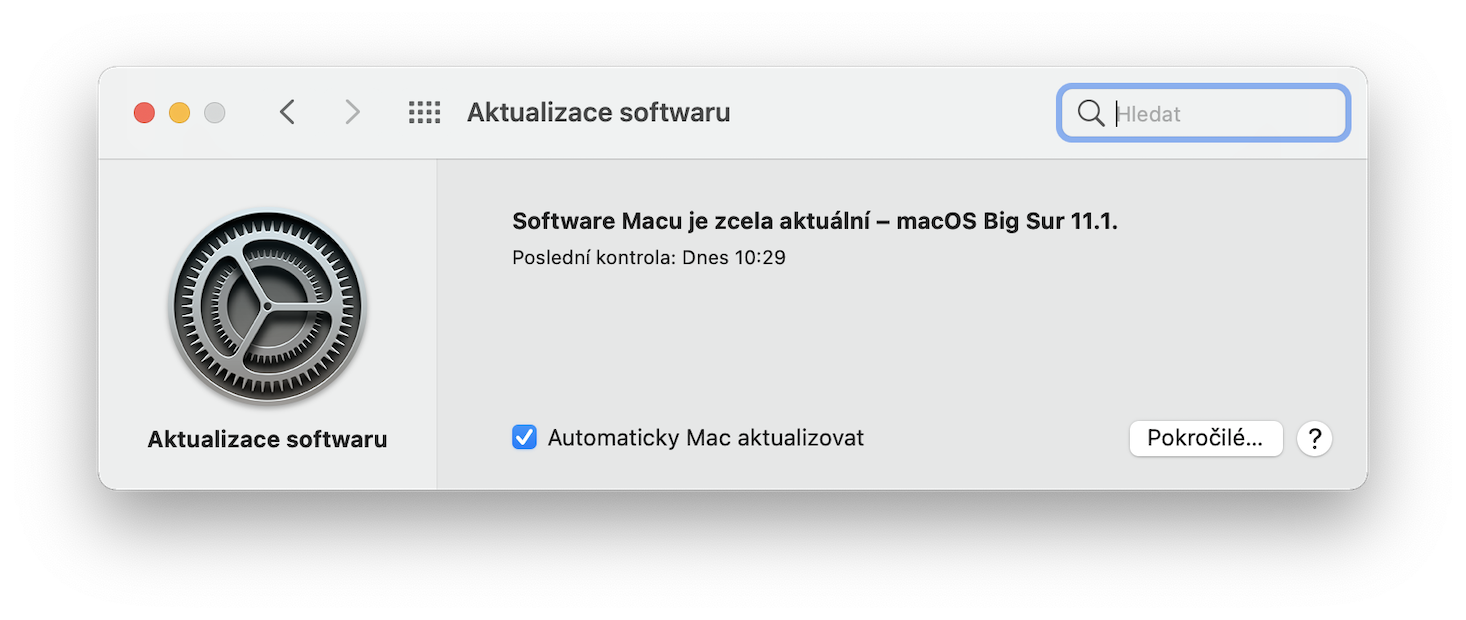
I have often met Apple users who unfortunately did not have an updated operating system because they did not want to waste time with it. This approach is obviously wrong, and you should always make sure you have the most up-to-date version of macOS. Instead of news, new versions also often bring fixes for all kinds of errors, thanks to which you also take care of your own security. For these reasons, you should make sure you have automatic updates enabled. Again, you just need to turn on System Preferences, select System update and check the option below Automatically update your Mac.
Do not disturb mode
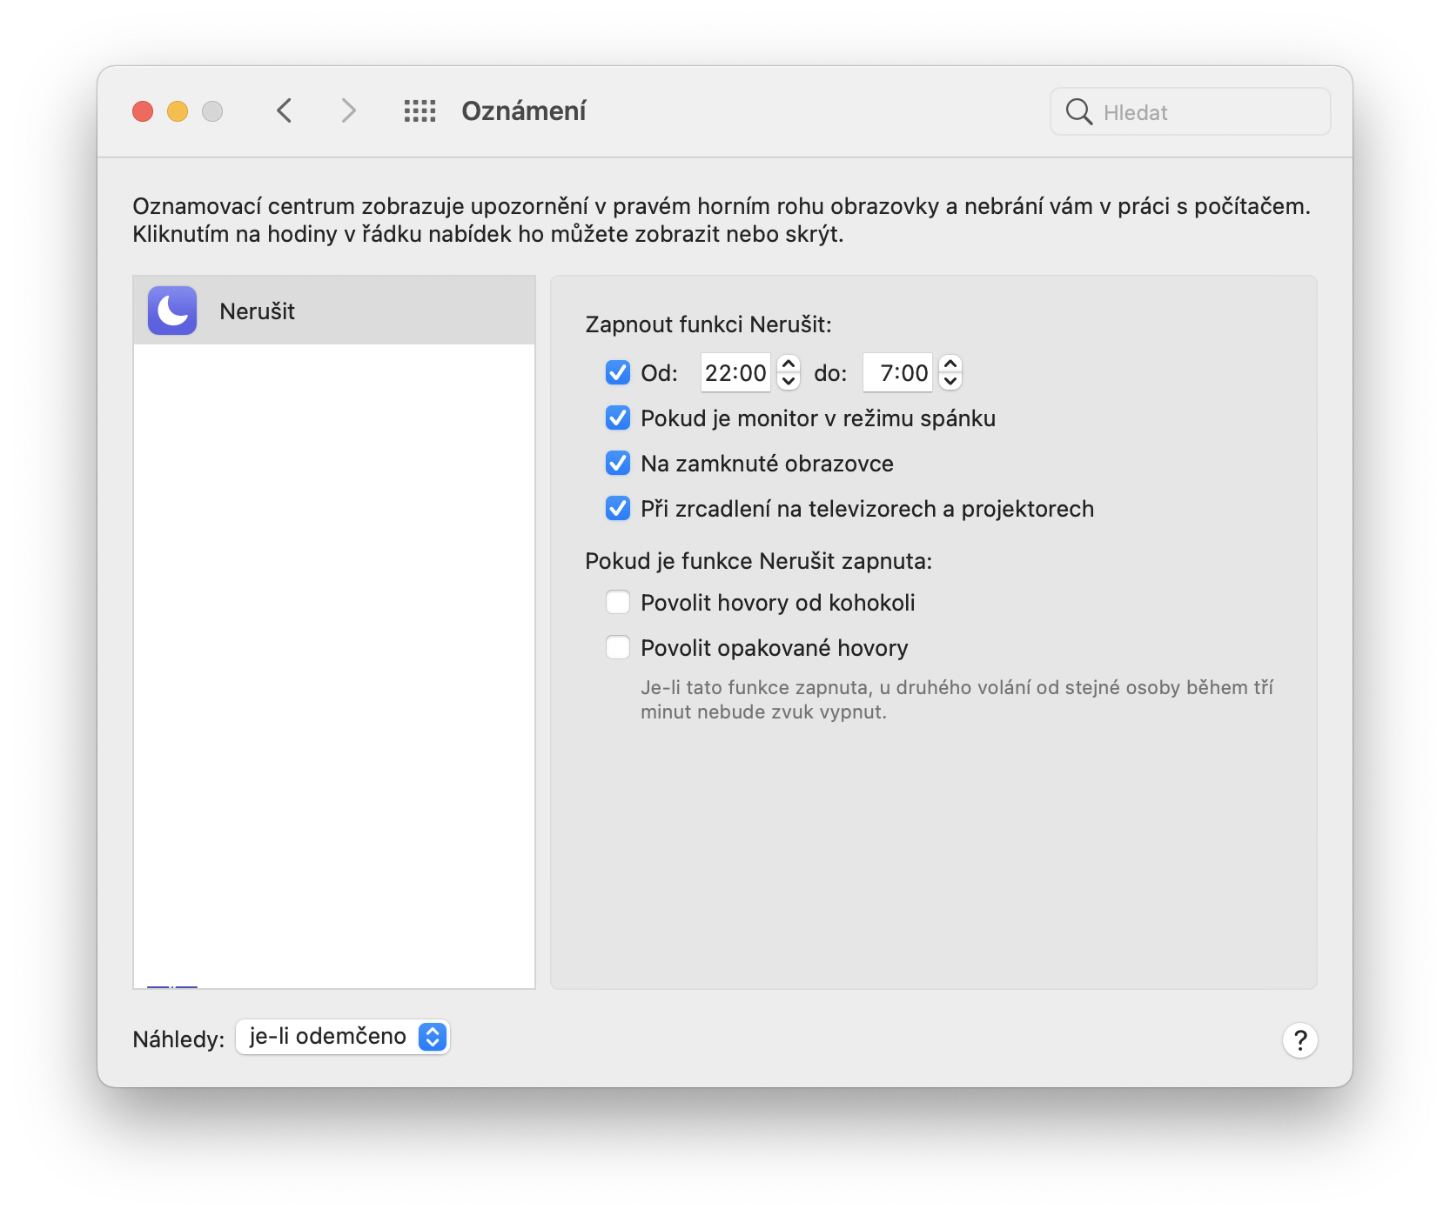
You may know the Do Not Disturb mode mainly from Apple phones, where it can make sure, for example, that you are not disturbed by incoming calls and notifications during important meetings or at night. This gadget works in exactly the same way within the macOS operating system. Thanks to the perfect apple ecosystem, all kinds of notifications will "blink" on your Mac, including the aforementioned calls, messages and many others. Undoubtedly, this is an excellent thing, but especially at night it can turn into a handicap. That's exactly why it's worth setting up an automatic schedule for Do Not Disturb mode, which is then automatically activated for you within a certain time frame. Just select the option in Preferences Notification and select from the left Do not disturb. Here you can already make the settings to your liking.
Night Shift
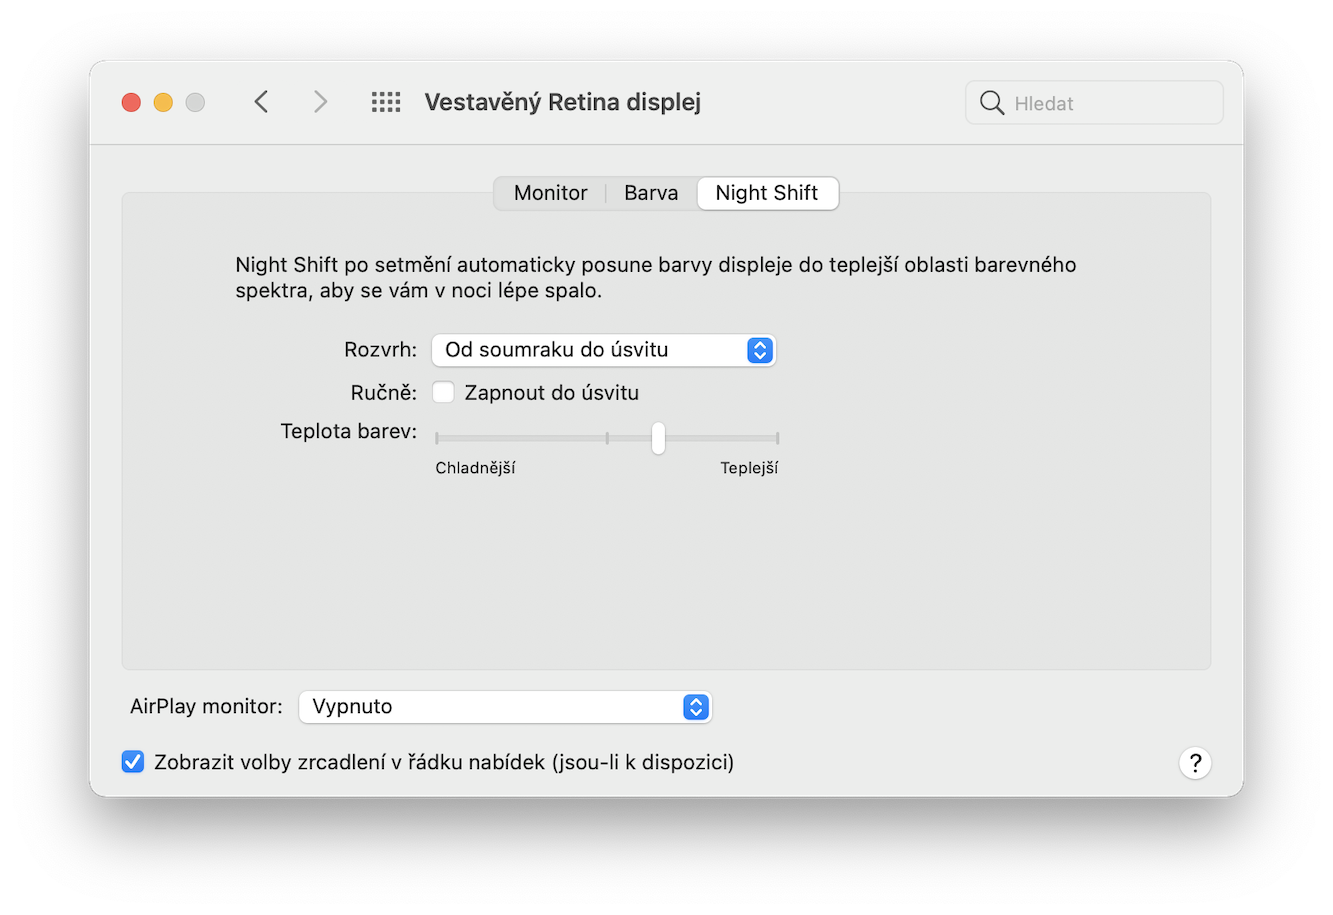
Just like the Do Not Disturb mode, you may also know the Night Shift function from your iPhone or iPad. The displays suffer from one unpleasant ailment, which is the emission of blue light. This can have a negative effect on the quality of your sleep, as it reduces the production of melatonin, the sleep hormone. Fortunately, they also thought about this when creating the macOS system, and therefore implemented the Night Shift function. It can partially reduce the mentioned blue light and transfer the colors to a warmer spectrum. You can set everything yourself in the Preferences, specifically in the tab Monitors, where just click on at the top Night Shift.
Backup via iCloud
If you've used, for example, an iPhone or an iPad, iCloud is nothing new to you. Specifically, it is cloud storage directly from Apple, which is an integral part of Apple operating systems. On Mac, this storage allows you to automatically back up, for example, Documents and Desktop, which has personally saved a number of files for me several times. At the same time, you can save settings for applications, other files and the like here. Just go to System Preferences, select at the top Apple ID, click on the left iCloud and if possible iCloud Drive tap on Elections… Now you can tick off everything you want to be stored on iCloud one by one.
Backup in general
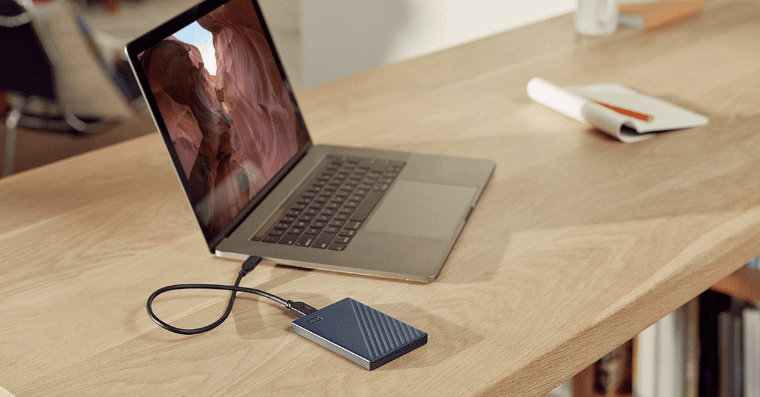
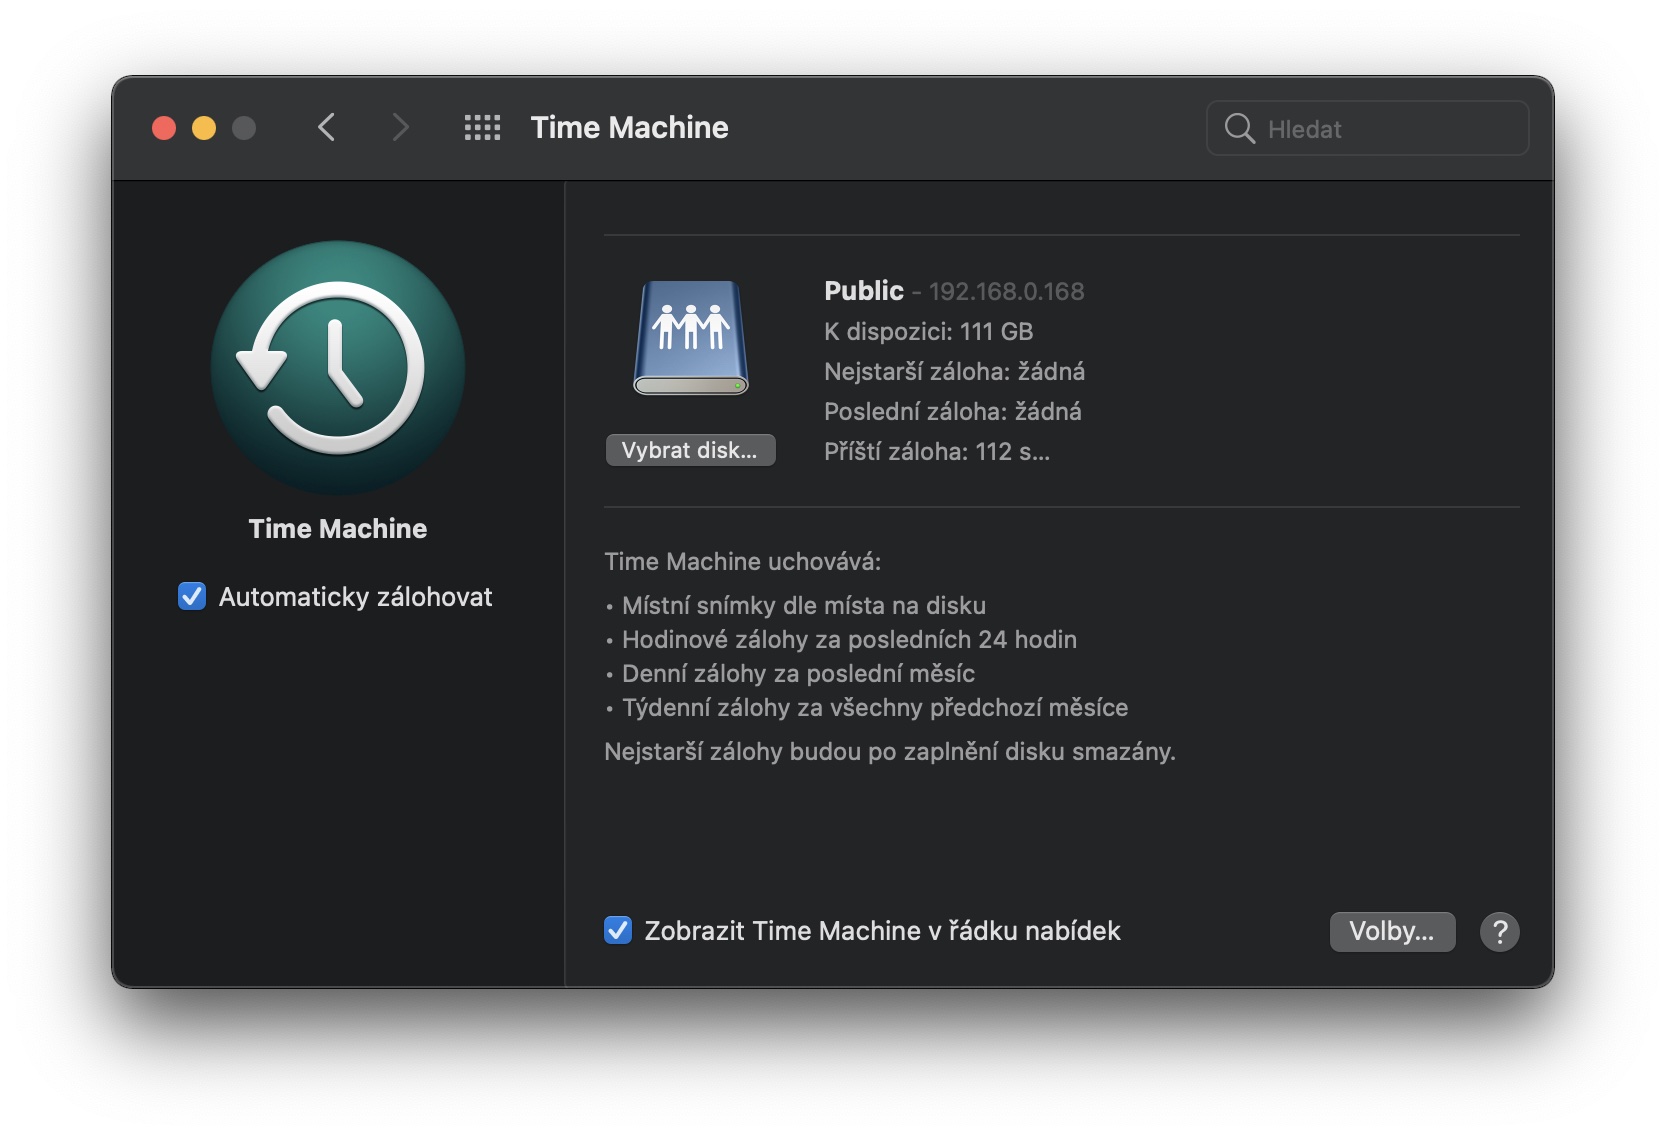
Especially in this day and age, digital data has enormous value and losing it can often be painful. It's definitely not worth losing years of memories in the form of a family album, or losing several weeks of work just because you didn't create a backup. Fortunately, within the macOS operating system there is a great native function called Time Machine, which can take care of automatic backup of the entire apple computer. The way this trick works is that you simply need to select the target drive to which the backup should be made and Time Machine will do the rest completely for you. In addition, the function makes backup after backup, thanks to which you will not lose a single file. You can use, for example, an ordinary external disk or NAS network storage.
Learn to use multiple surfaces
The macOS operating system itself is extremely simple and everything works beautifully crisp and fluid. In addition, the use of several surfaces can make your work easier to a certain extent. You may have already encountered a similar function on a classic Windows computer, but believe me, it works much better on macOS. When you activate Mission Control, which you can start via Spotlight or by swiping up with three (four) fingers on the trackpad. At the top, you can then notice the Areas label, when you can change them and add more.

You can then move between them again using the trackpad. All you have to do is swipe from left to right or from right to left with three (four) fingers, thanks to which you will immediately move to the next screen. This way, you can have different programs on each desktop and you won't get lost in the multitude of several open windows on one desktop.
It could be interest you
