Apple Pencil is a great tool that allows you to work and create even better on iPad. Its use is very easy, intuitive, and you can easily learn it without having to read any manuals. Nevertheless, we believe that you will appreciate our five tips and tricks not only for beginners, which will make using the Apple Pencil even more convenient and efficient.
It could be interest you

Tracing
Do you remember when you were in kindergarten or school, when you had fun tracing pictures on paper pressed on glass? You can easily repeat this pastime with your iPad and Apple Pencil. If you place a piece of paper with the original drawing on the iPad's display and start tracing it with the help of the Apple Pencil, the iPad will recognize the strokes even through the attached paper. But definitely do not forget to be careful and apply adequate pressure so as not to damage the display of your tablet.
It could be interest you
According to the ruler
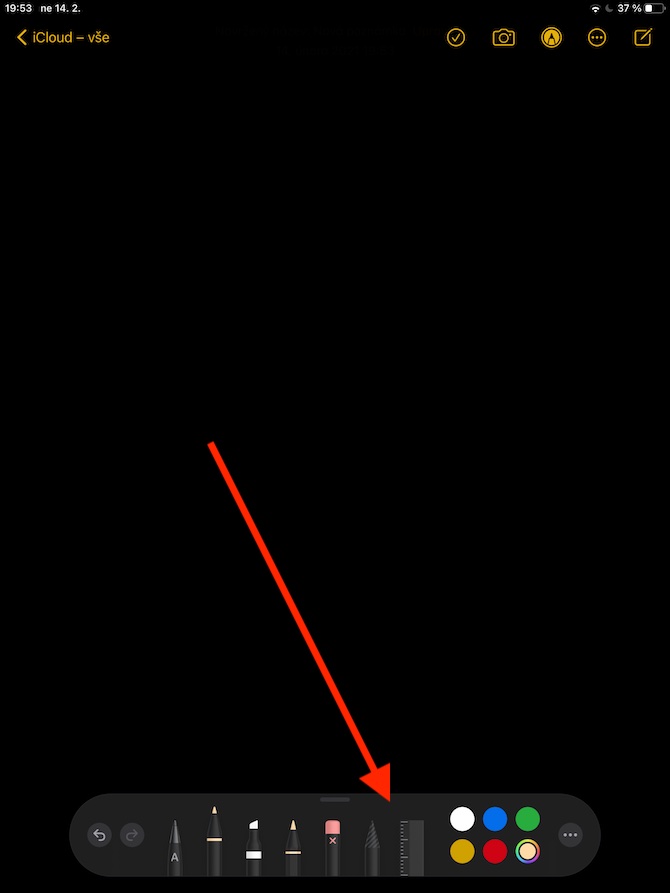
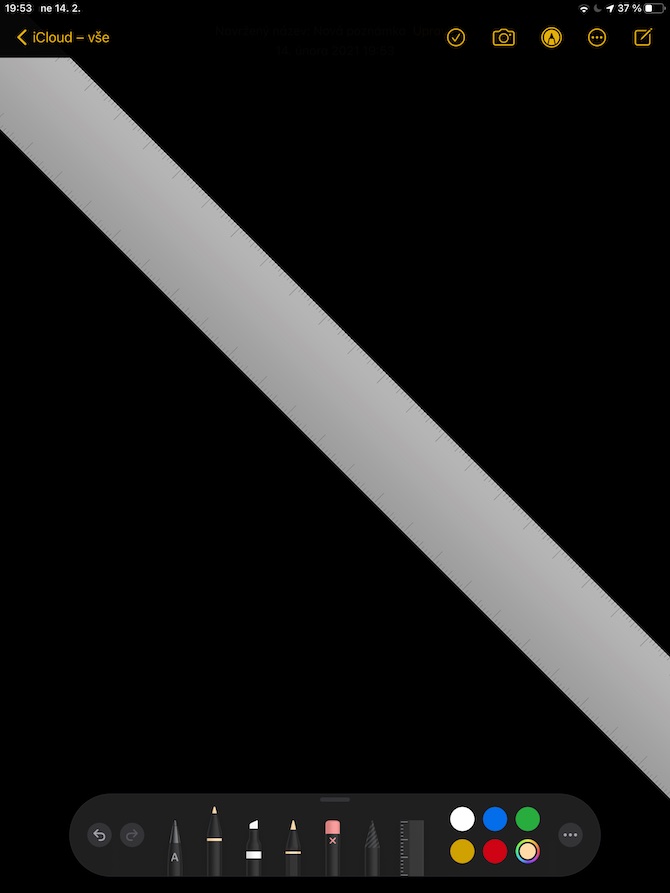
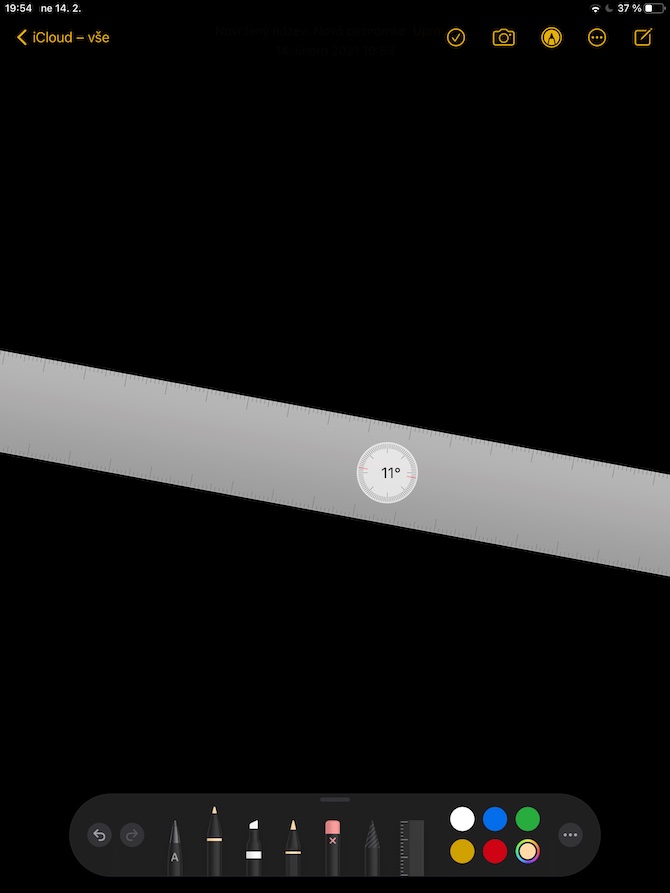
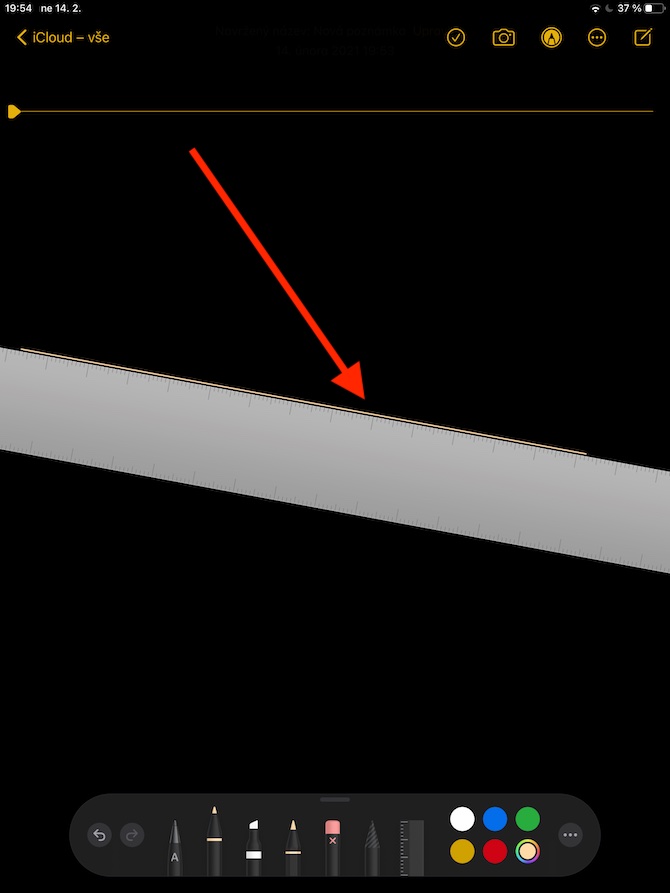
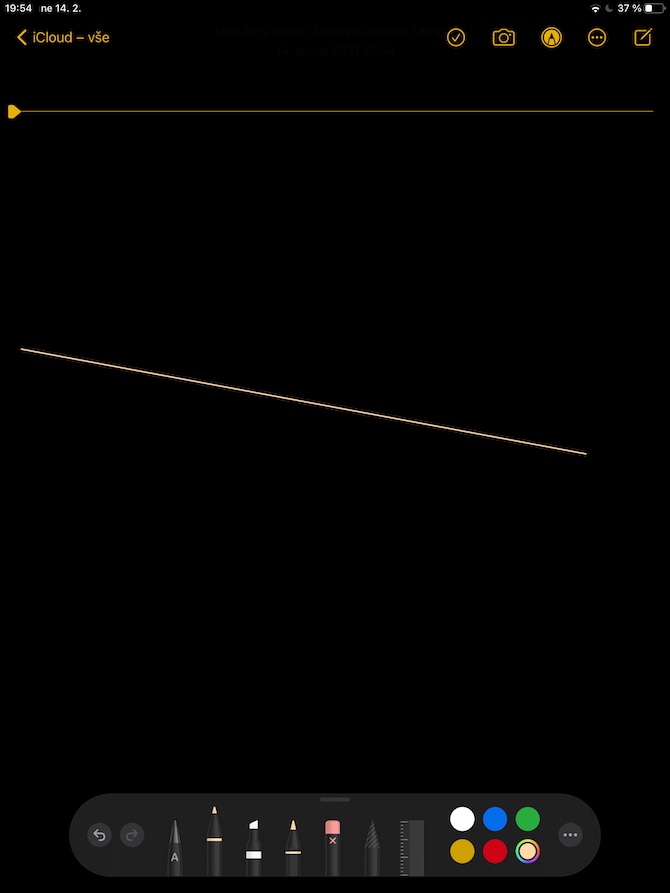
With the help of Apple Pencil, you can also draw perfect straight lines and lines on your iPad, even if you are not good at this activity "freehand". In the menu of tools for working with Apple Pencil, you will also find a ruler, among other things. Select them by tapping them, then adjust them to the desired position on the iPad display. After that, all you have to do is place the tip of your Apple Pencil over the edge of the ruler and you can get to work.
Changed double tap functionality
One of the great advantages of Apple products is the rich possibilities of customizing their functions. This also applies to the iPad and Apple Pencil, where you can choose the double-tap function yourself. On your iPad, go to Settings -> Apple Pencil. Here you will find options for functions that you can assign to a double tap on the pencil, such as the ability to switch between the current drawing tool and the eraser, to display a color palette, or perhaps to switch between the current and last used drawing tool.
It could be interest you
Shading
The Apple Pencil is a tool that offers a wide range of drawing options and can be customized by changing pressure or tilt. If you often draw on your iPad, you'll certainly welcome the ability to shade - this is achieved simply by tilting the Apple Pencil in the same way as you would tilt a classic pencil for shading purposes when drawing on paper. By tilting, you will also achieve the fact that you will be able to color a larger area.
Perfect shapes
With the arrival of the iPadOS 14 operating system, the Apple Pencil gained more great options. They also include the ability to convert a hand-drawn shape into a "perfect" shape, as if you had selected this shape from a pre-prepared gallery. The procedure is simple - first draw one of the classic shapes (circle, square, rectangle, or perhaps a star). After drawing the given shape, do not lift the tip of the Apple Pencil from the surface of your iPad's display - in a moment you will see that the shape has been automatically converted to a "perfect" form.

