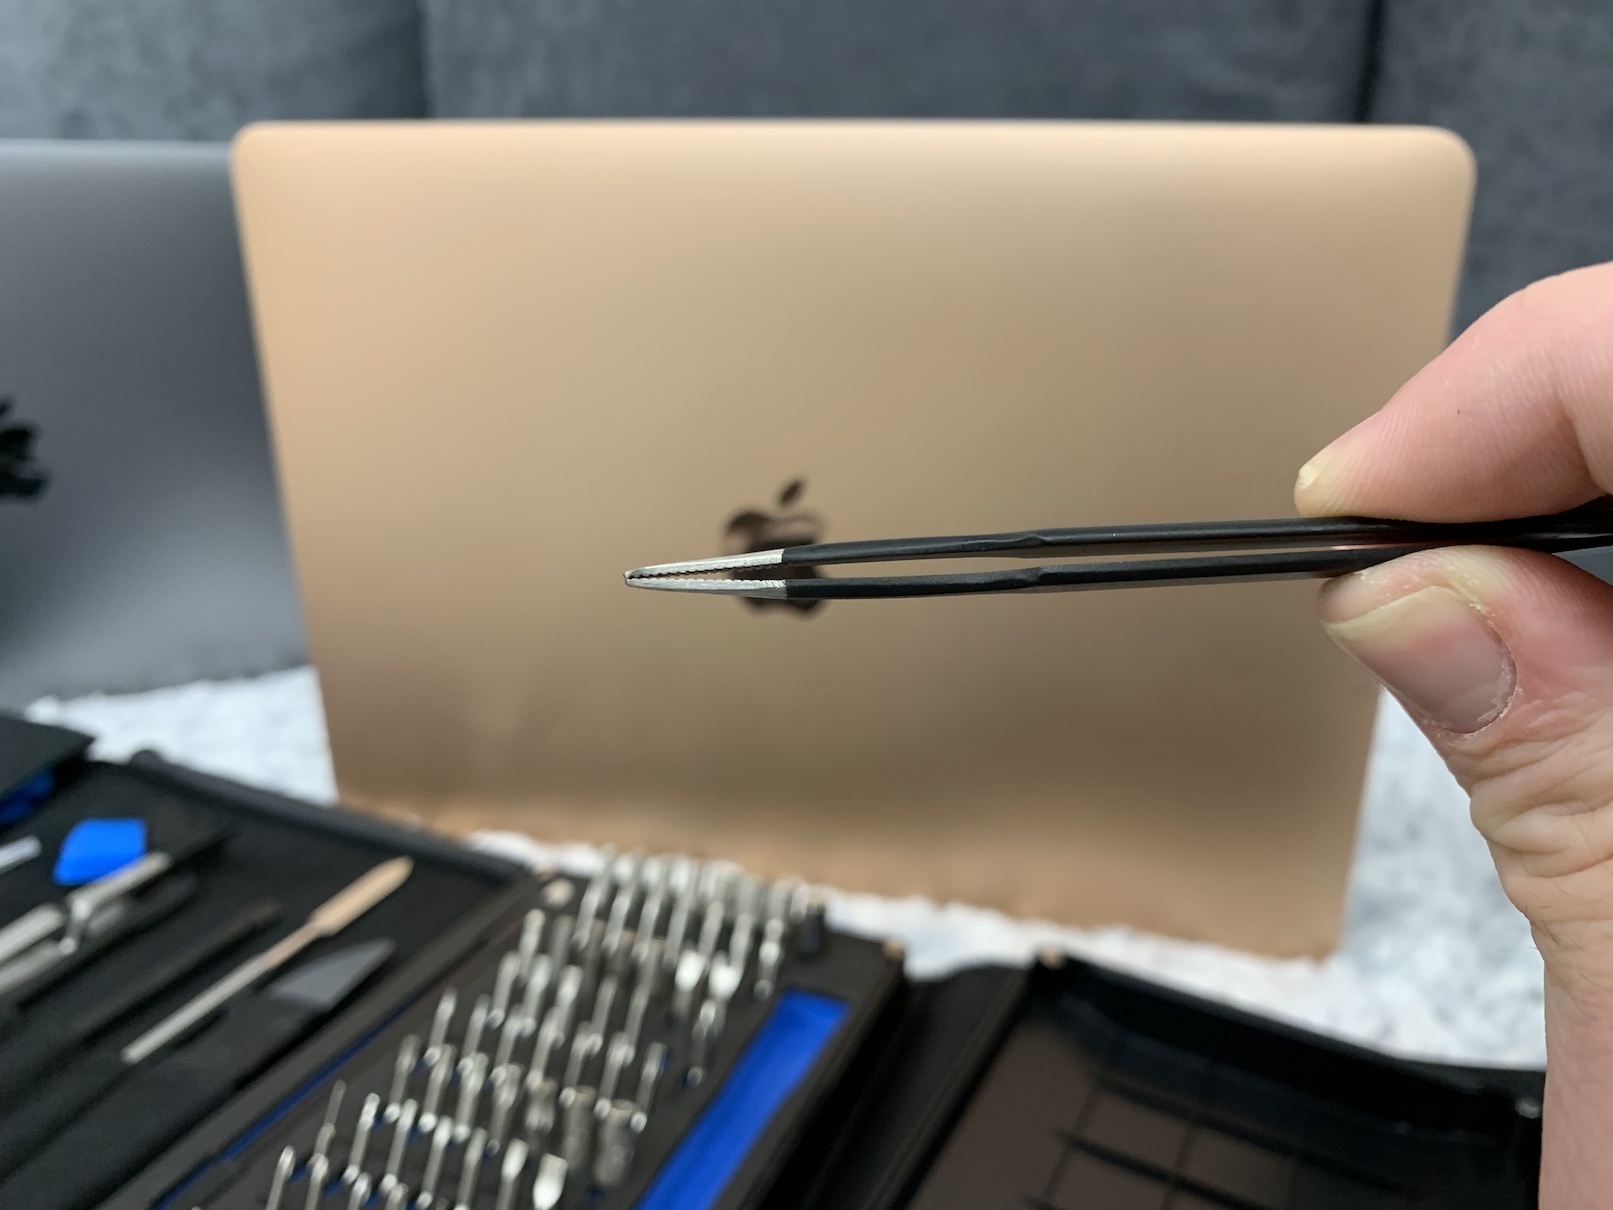
If you are among the regular readers of our magazine, you will certainly not miss articles from time to time in which we jointly deal with home repairs of iPhones and other Apple devices. In one of the last articles, we showed together 5 basic things that no home iPhone repairman should miss. The truth is that these 5 things mentioned are quite basic and of course there are more. You cannot do without some in specific situations, while others can simplify and speed up repairs as much as possible. Let's look together in this article at 5 more things that a home iPhone repairman should not miss.
It could be interest you
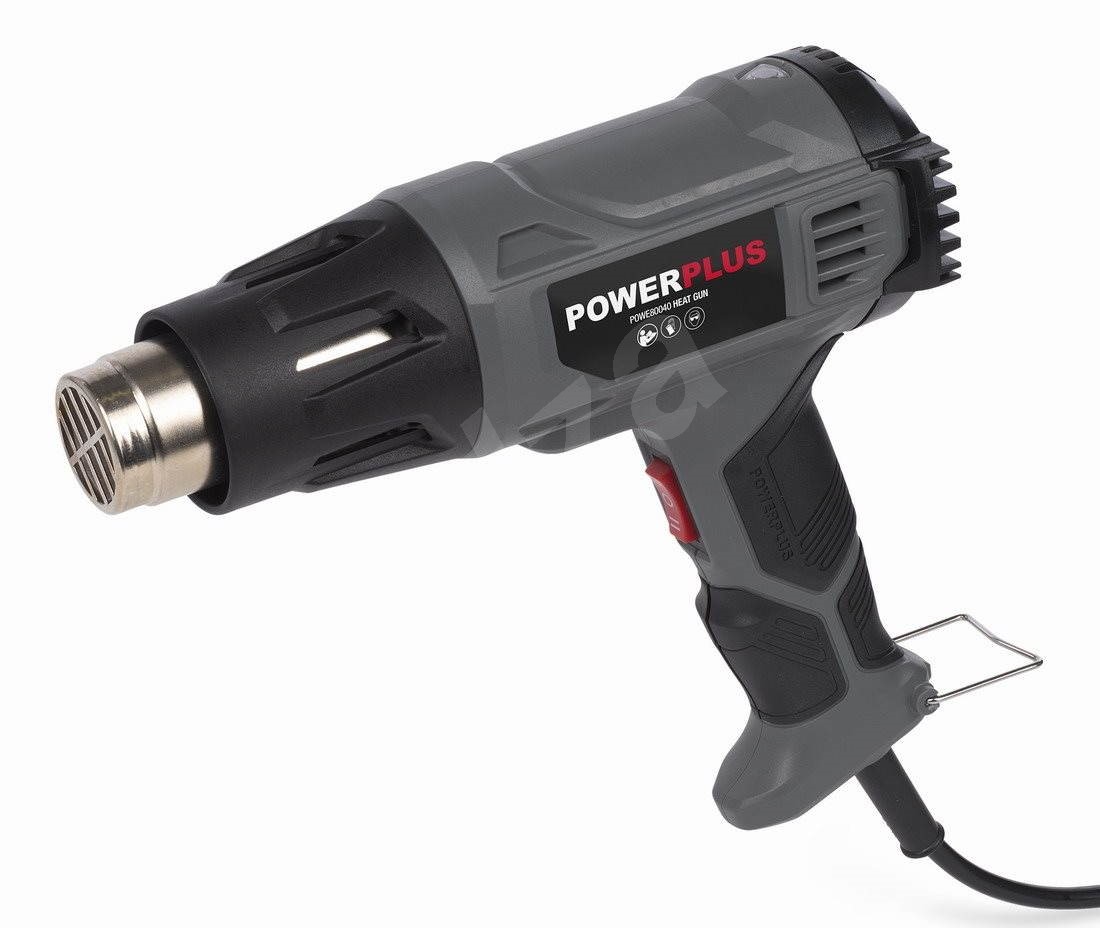
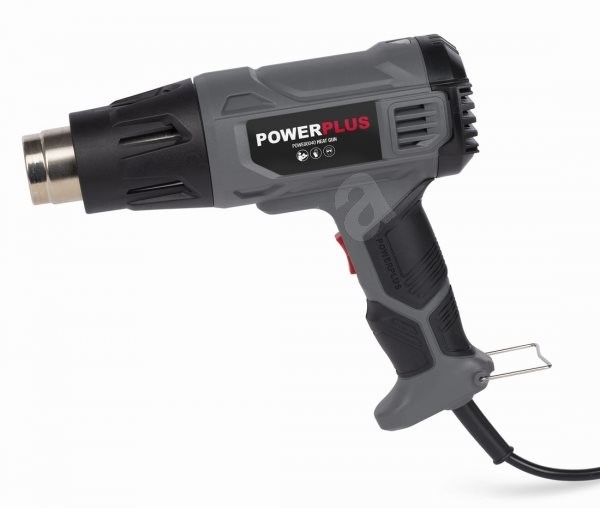
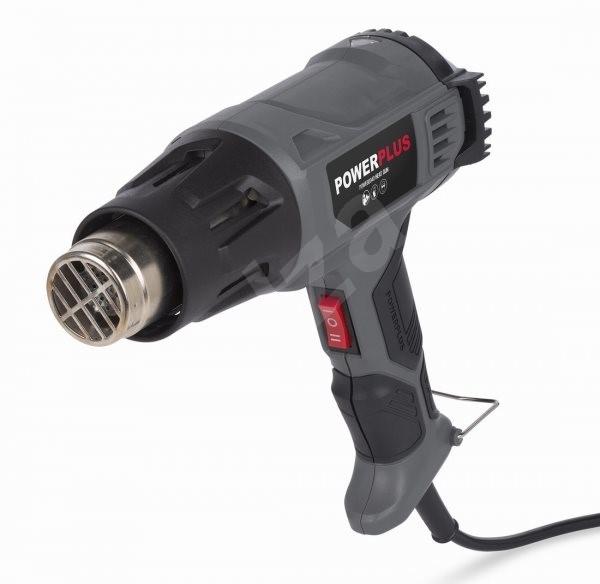
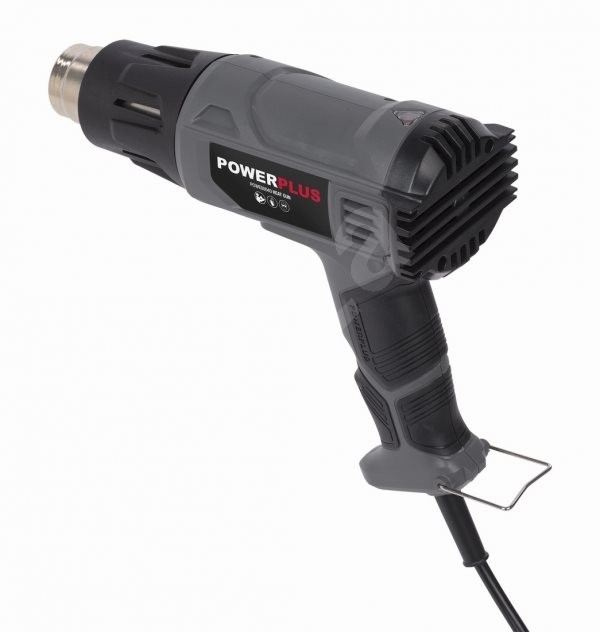
Heat gun
Especially newer iPhones use glue in many places. For the iPhone 8 and later, we find glue, for example, on the frame under the display - this serves to seal and provide waterproofing. There are special adhesive strips under the battery, with the help of which the battery can be easily pulled out. Last but not least, for example, the upper device on the display is partially glued, or the flex cable that leads from the motherboard downwards and provides a Lightning connector for charging, a speaker and microphones. It is definitely worth investing in a hot air gun to soften the gluing and make it easier to remove. It should be mentioned that, for example, when replacing the Lightning flex cable, you simply cannot do without a "heat vent", because without it you risk damage. In addition, a heat gun can also come in handy when the adhesive strips under the battery break when you pull it out.
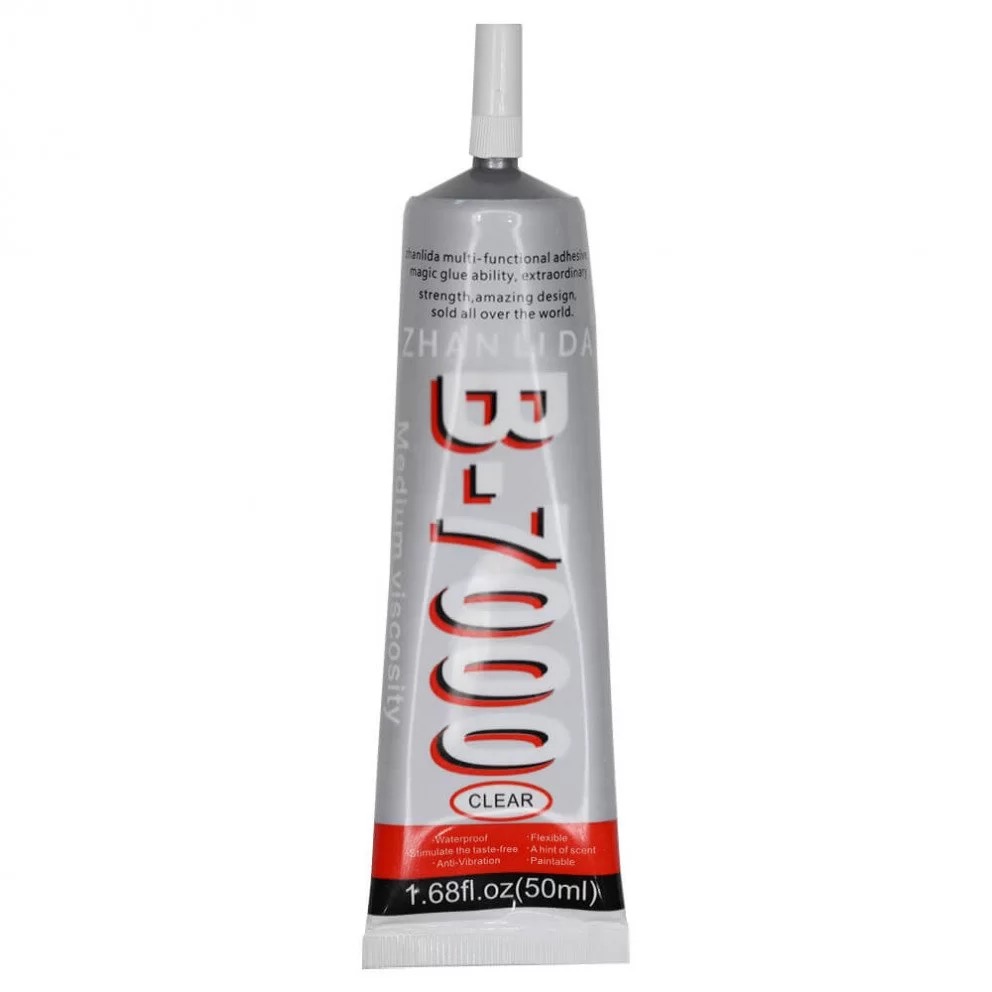
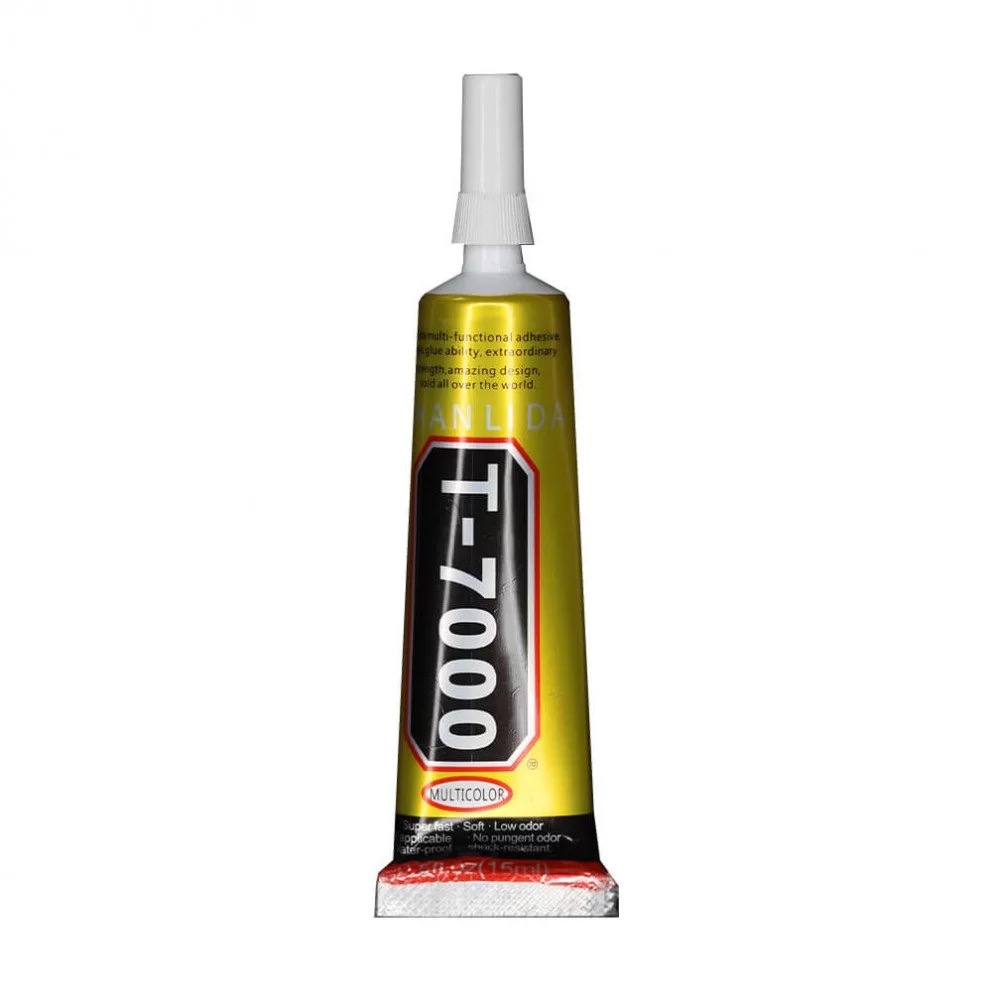
Glue
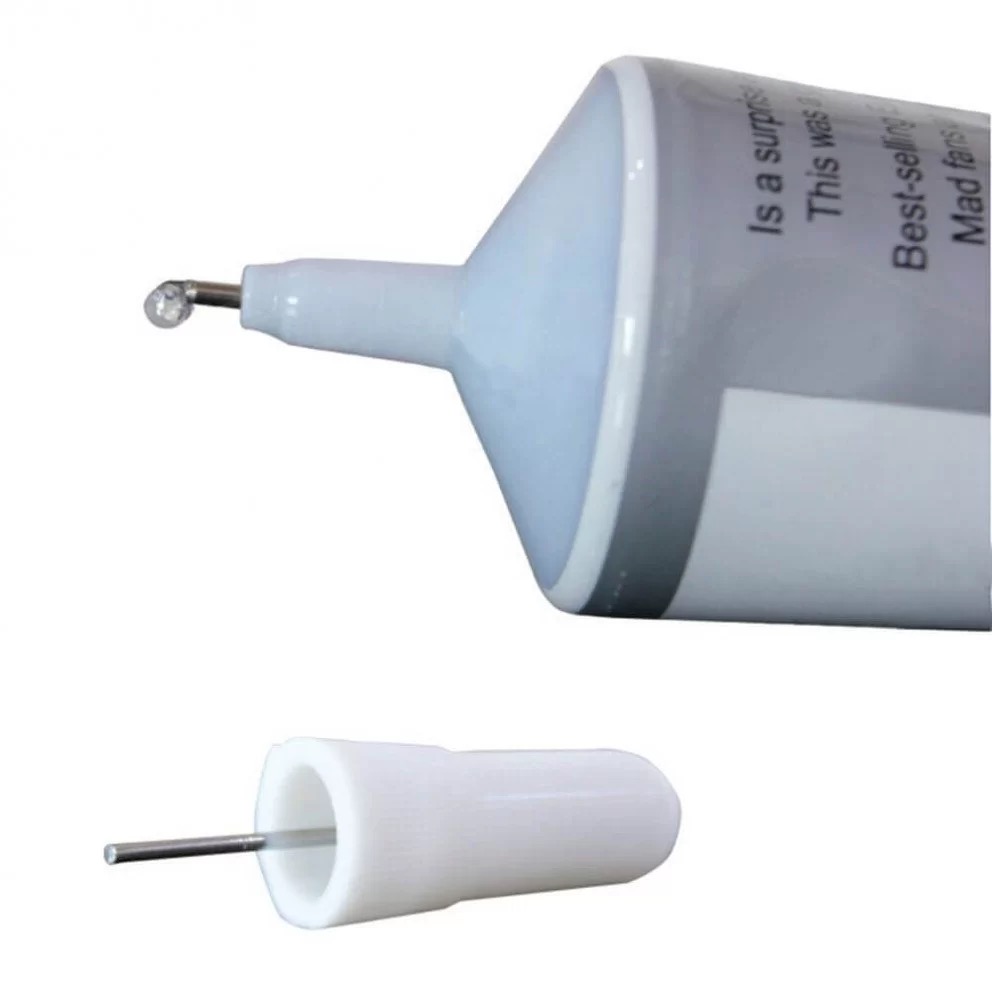
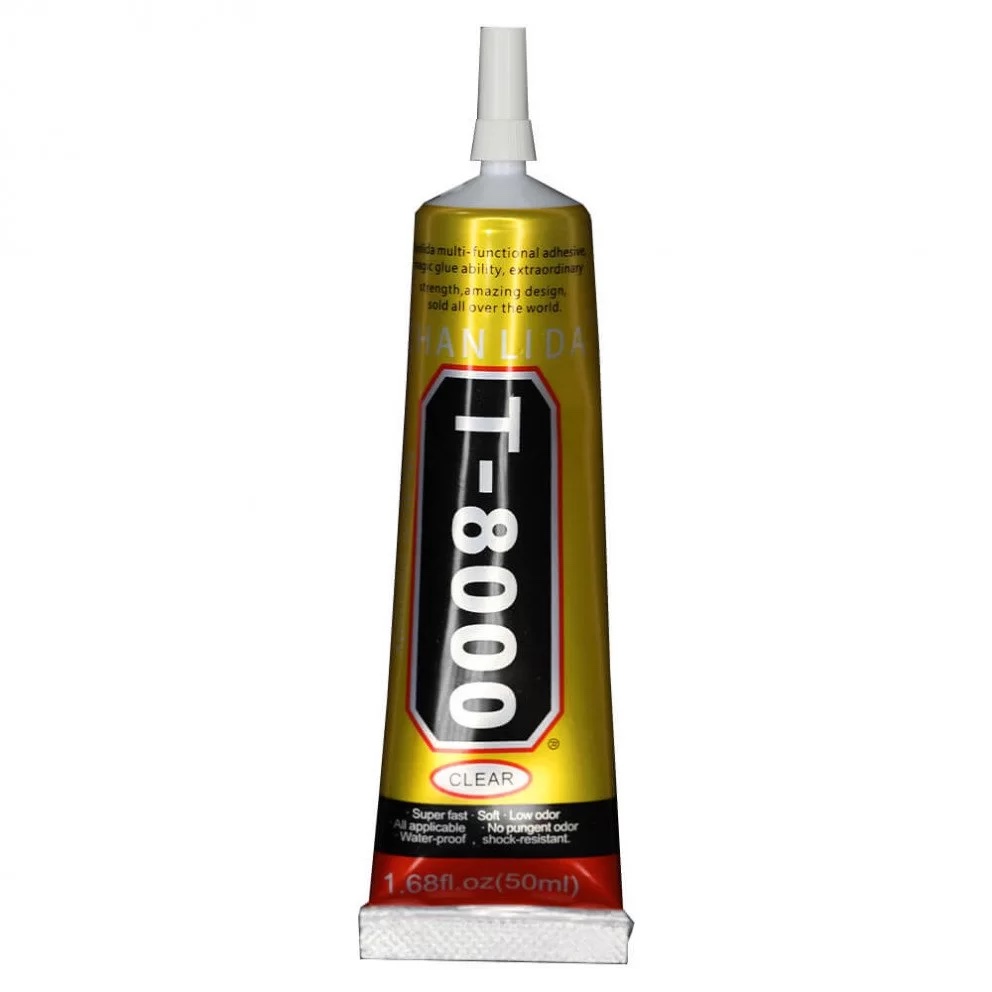
In the last part, we showed you several high-quality adhesive tapes that must be used in certain situations. You already know that tape is definitely not like tape, and that it is definitely worth paying extra - especially for iPads. From time to time, however, a situation may arise when you simply cannot use the adhesive tape, for example due to a cramped space. It is precisely in such cases that a special adhesive designed for iPhone repairmen and other similar technicians can come in handy. Of course, there are more such glues, but the most popular and high-quality glues are from the Zhanlida brand, namely B-7000, or T-7000 and T-8000. The first mentioned glue is directly for gluing LCD displays (in any case, it is still necessary to use Tesa tape for the iPad), the last two mentioned glues are generally waterproof, with the first being black and the second transparent. The good news is that these glues are not expensive and thanks to the quality cap, they are both easy to apply and last without any problems.
Antistatic bracelet
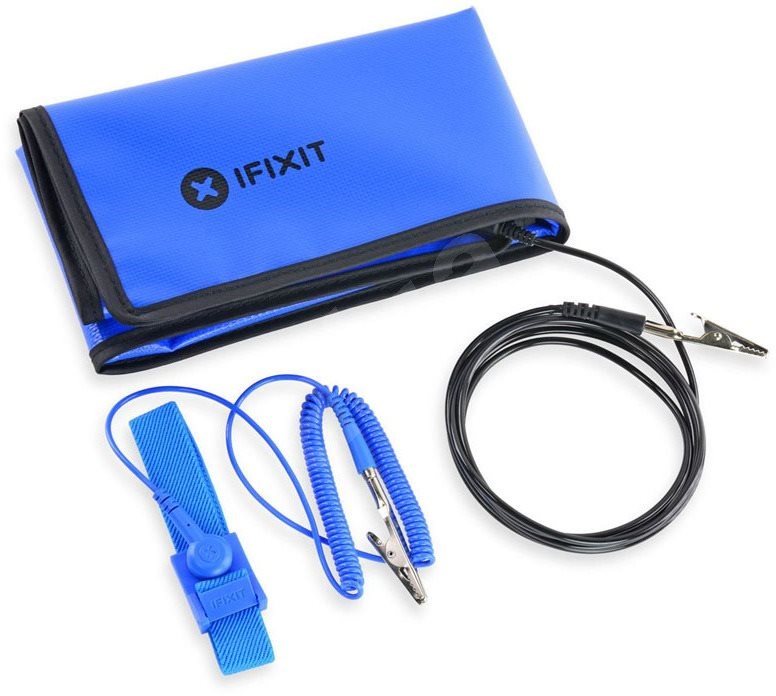
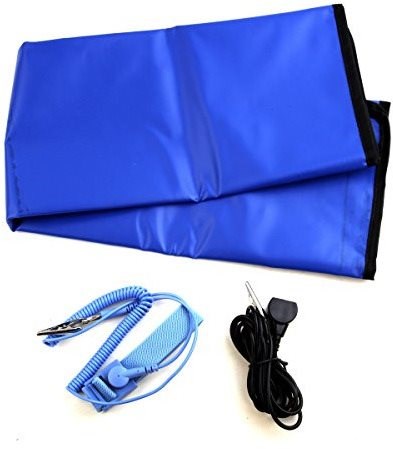
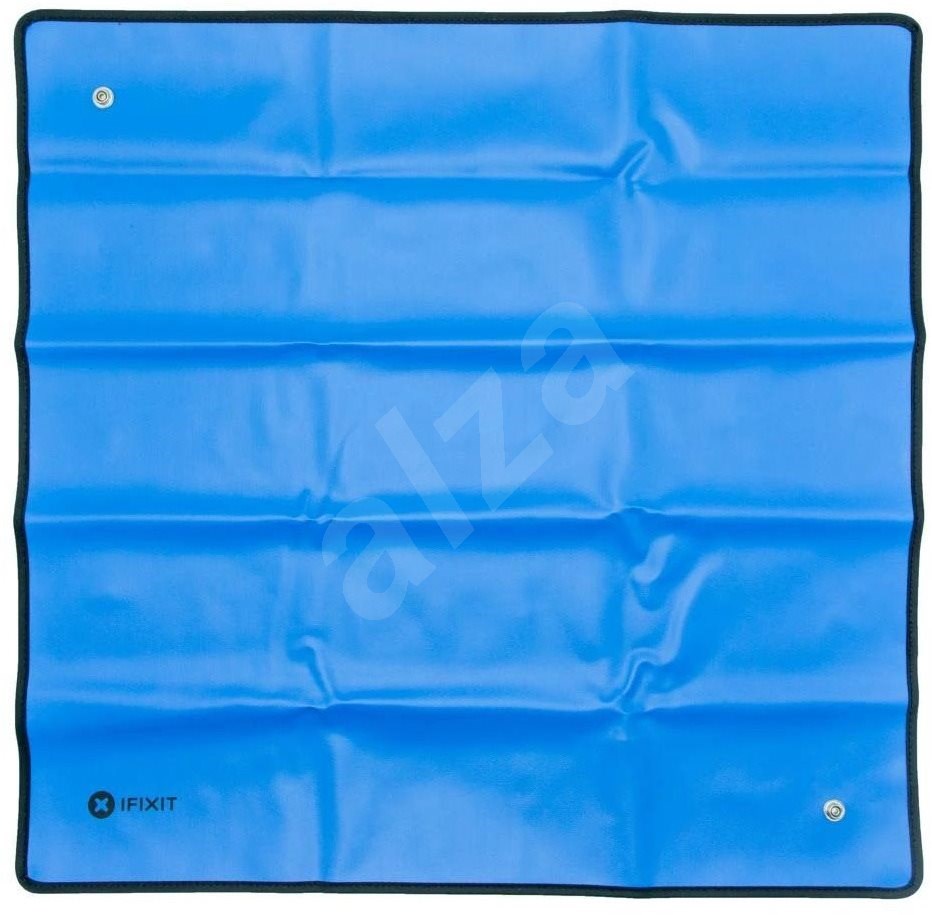
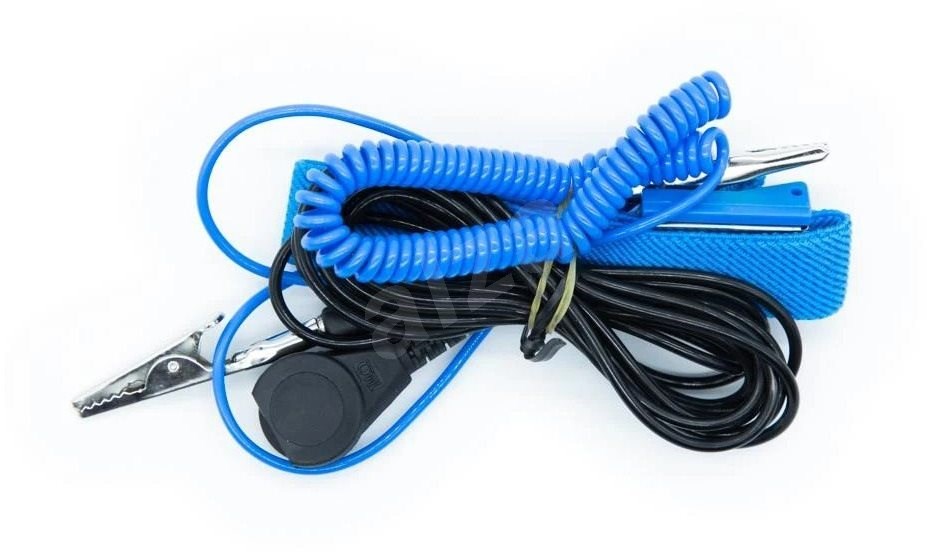
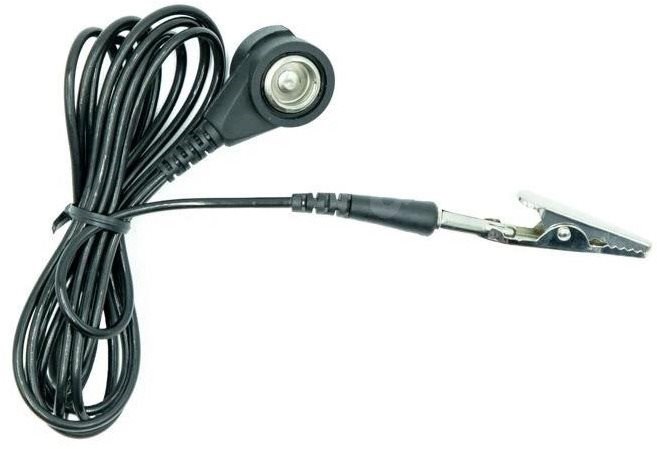
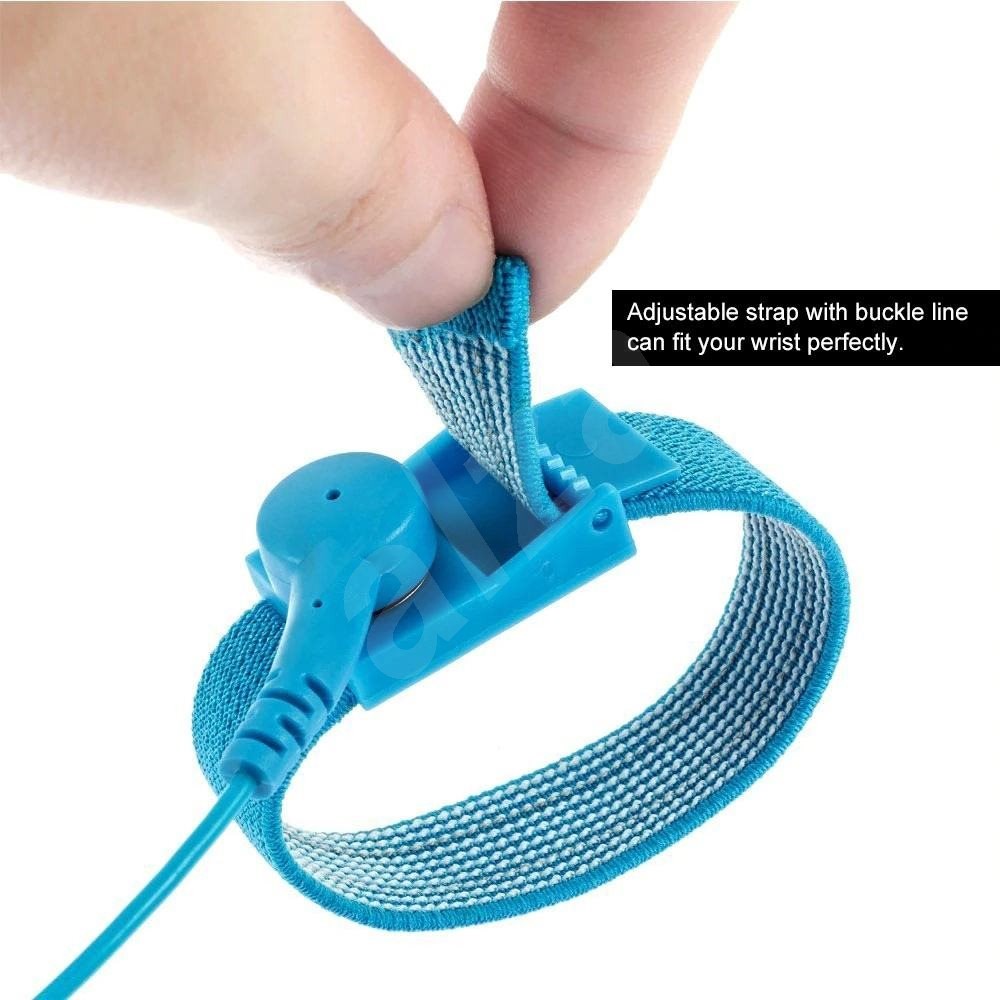
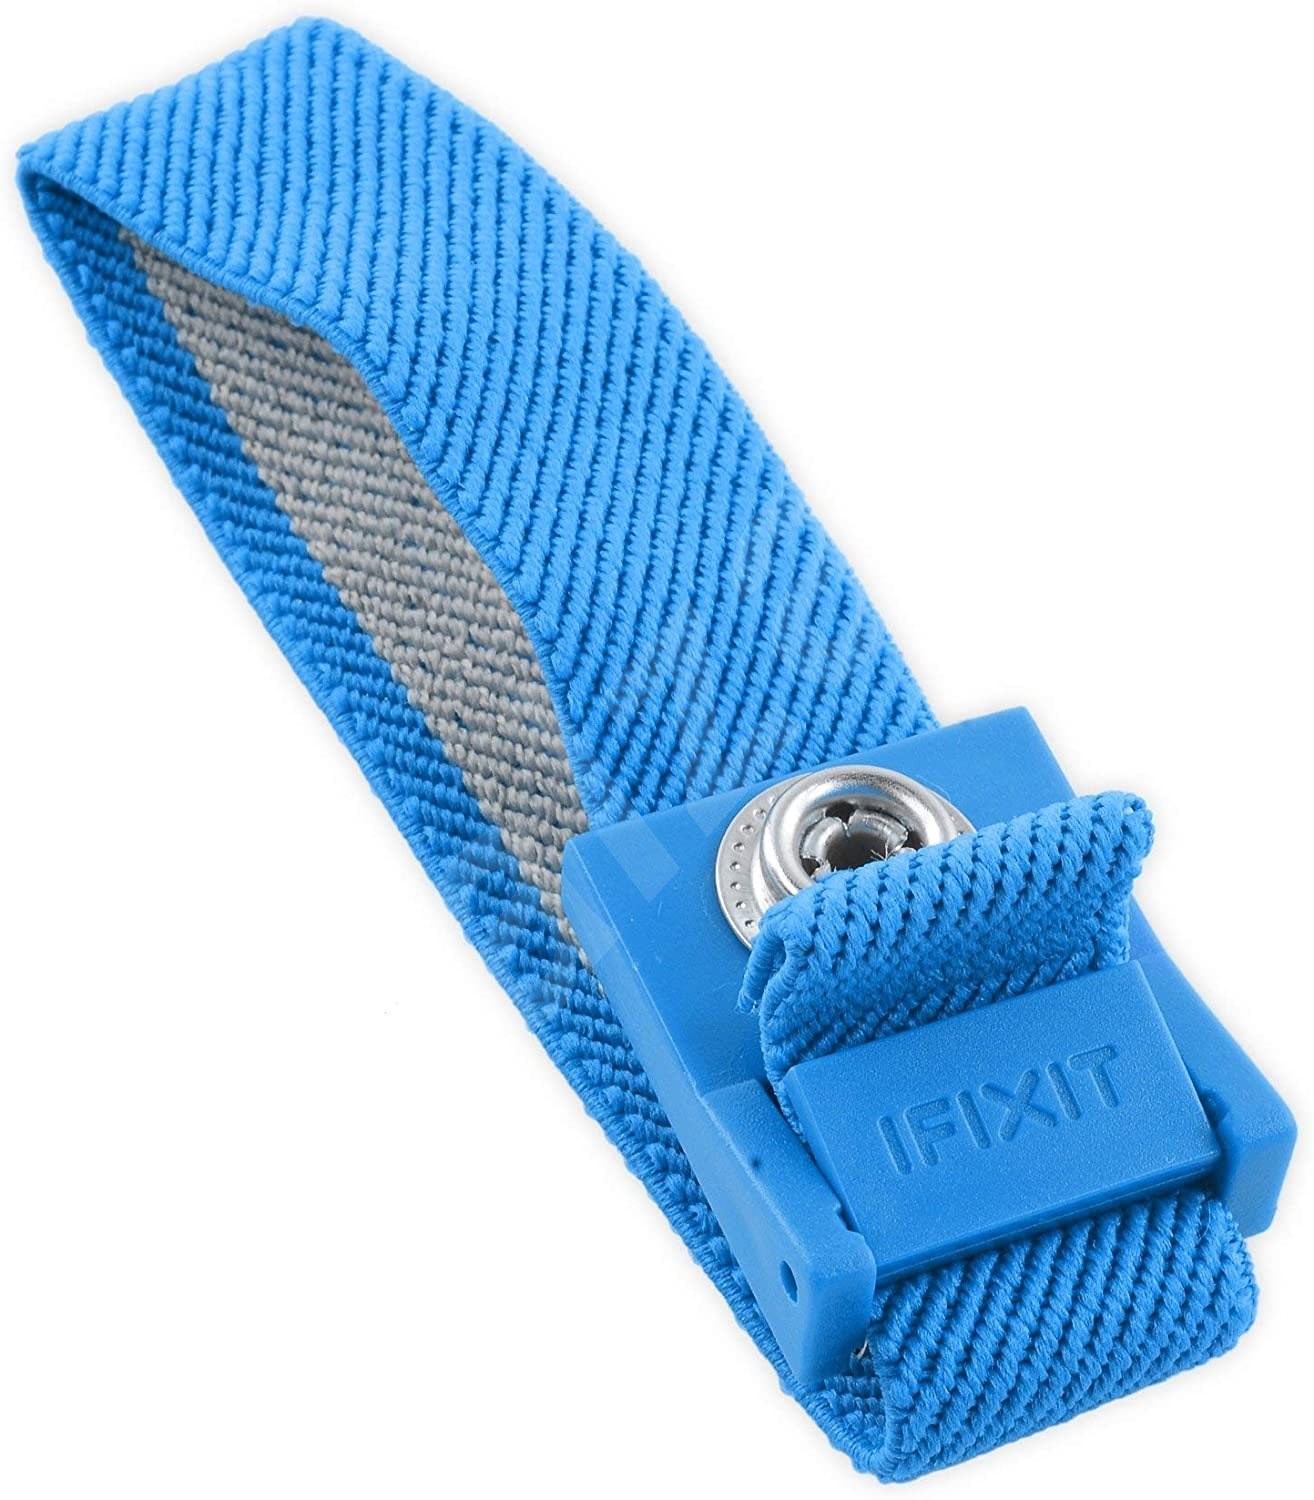
I have personally been repairing Apple smartphones for several long years - I started with the iPhone 6. During that time, I have managed to collect a lot of experience, both negative and positive. For example, I discovered some time ago that it is definitely not advisable to play with static electricity. For that reason, I use both a rubber mat and a special antistatic bracelet that can "ground" you. Even without the bracelet, it happened to me a few times that I transferred the minimal discharge to the body of the iPhone. He then reacted in such a way that, for example, he misrepresented the display, which "jumped" and touch did not work on it. In some cases, the display managed to recover by itself, but there was also a situation where I simply removed the display. While we are on the subject of leveling, I would like to point out in this paragraph that when working with an iPhone or any other phone, you must first disconnect the battery - do not do anything before this step (except for unscrewing the covers), because otherwise you risk damaging parts.
You can buy the iFixit Portable Anti-Static Mat special anti-static kit here
Brush, cotton swab and cloth
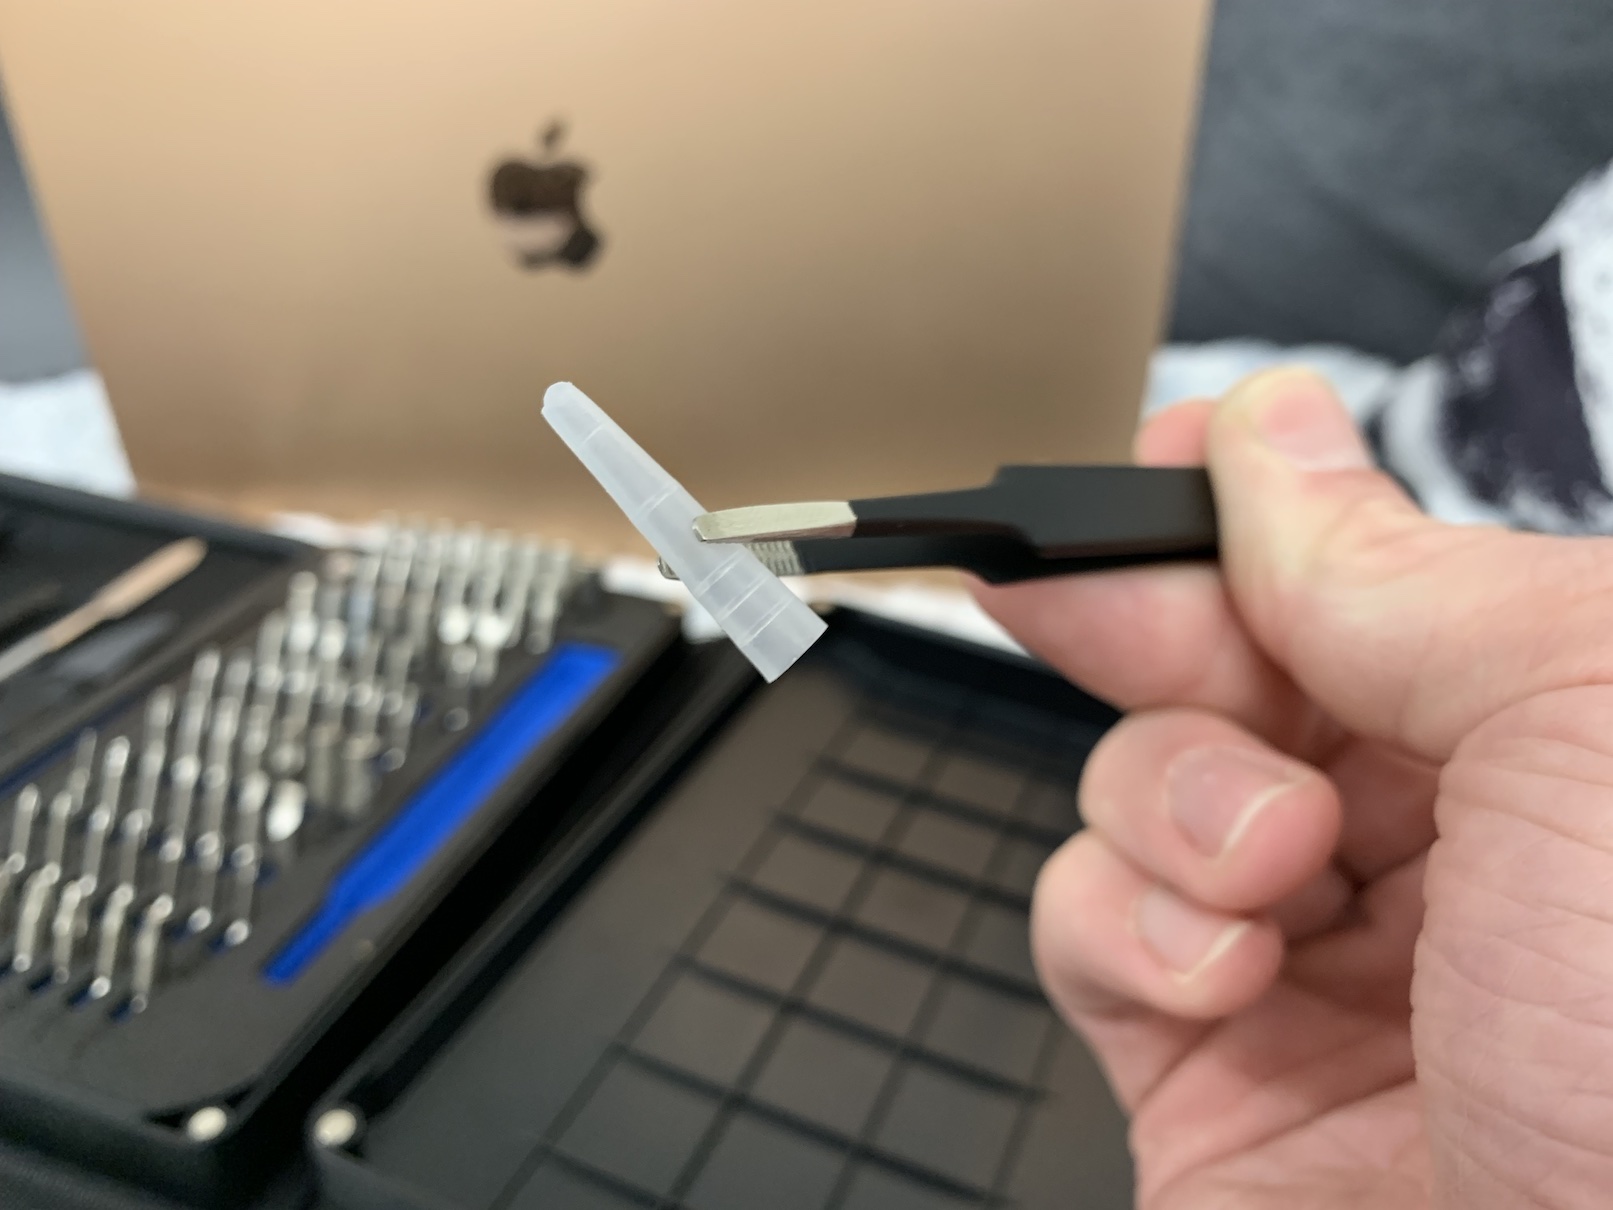
When repairing, it is necessary that you maintain order and that you have all the tools and other things well organized. At the same time, you must also take care of the cleanliness inside the device. For example, when replacing the front or rear camera, it is unacceptable that you get a speck of dust between the module itself and the protective glass. If this were to happen, it could be seen in the resulting images, in some cases the camera may not even be able to focus, etc. In addition, after completing the repair, I always try to clean all kinds of surfaces where my fingerprints remained before closing the device. If another repairman were to open the iPhone after you, at least he will know that you took care. To clean practically anything, I use isopropyl alcohol (IPA), together with some smooth cloth and possibly a cotton swab in the ears. Sometimes I also use a brush, to clean a component from dust, or to clean contacts and connectors.
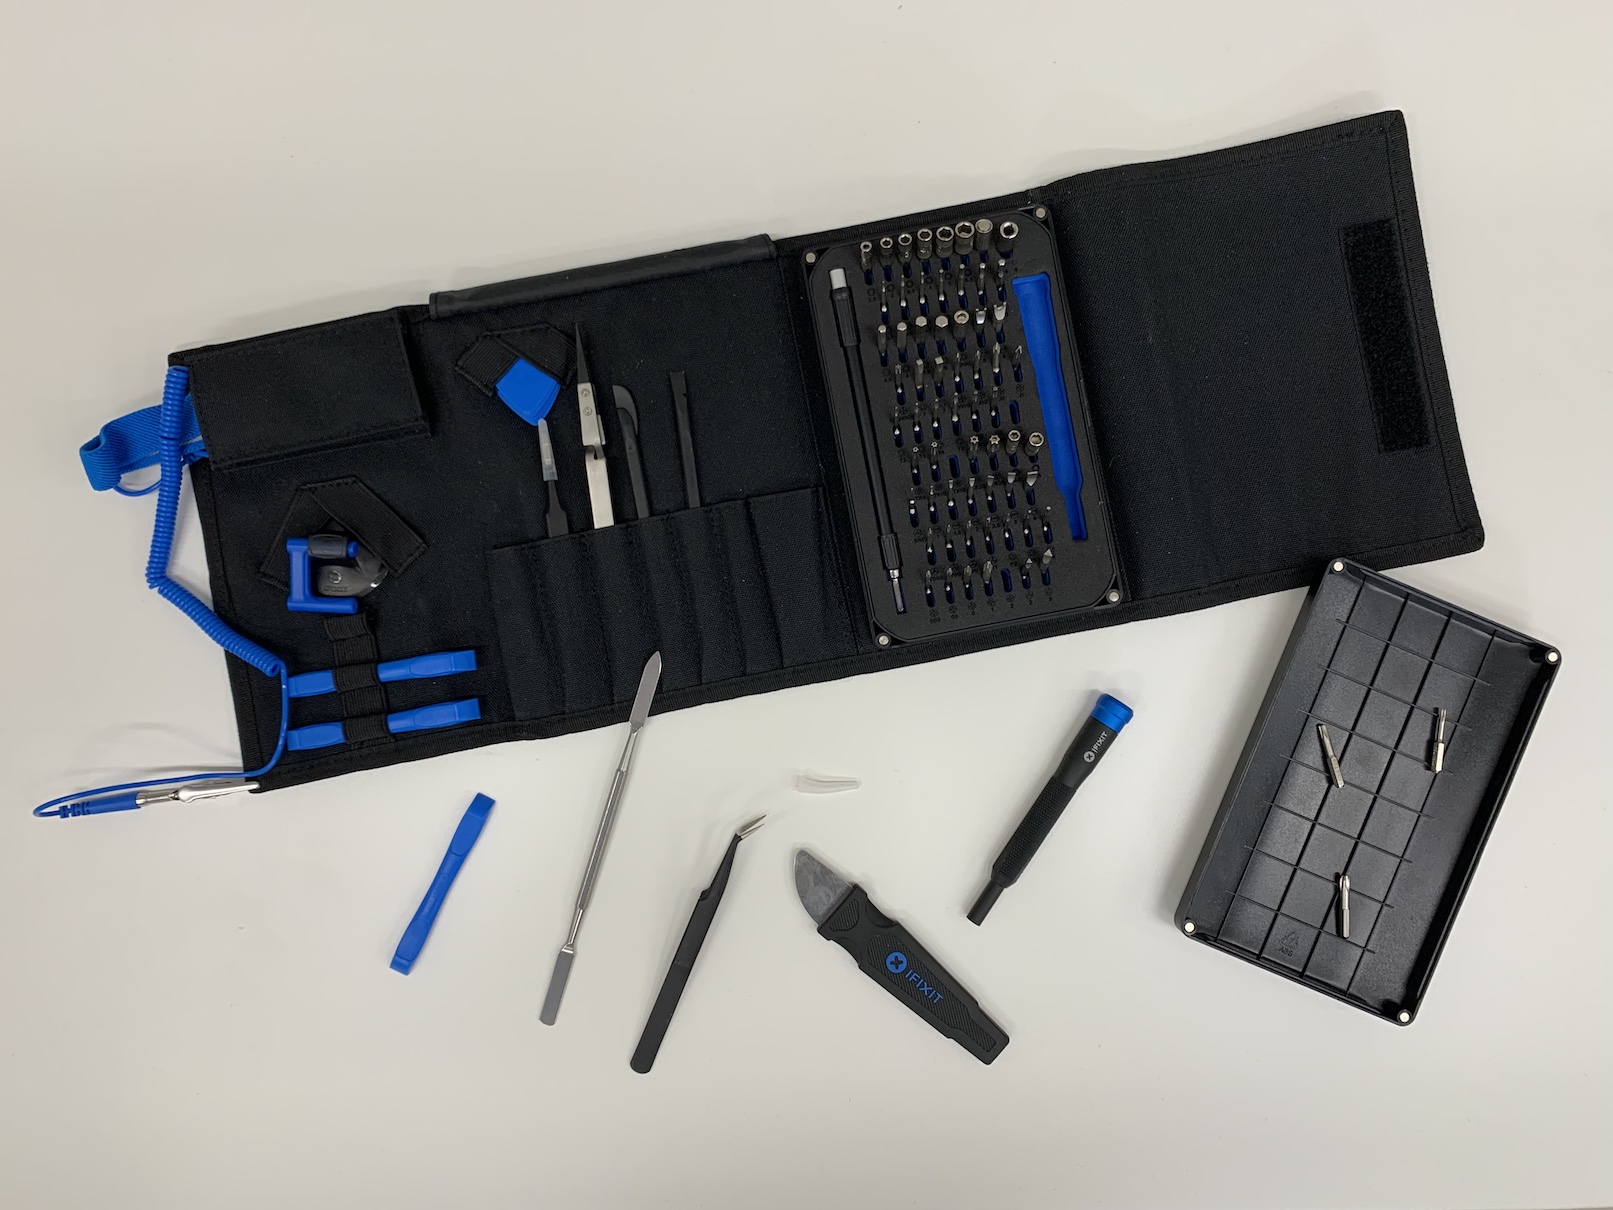
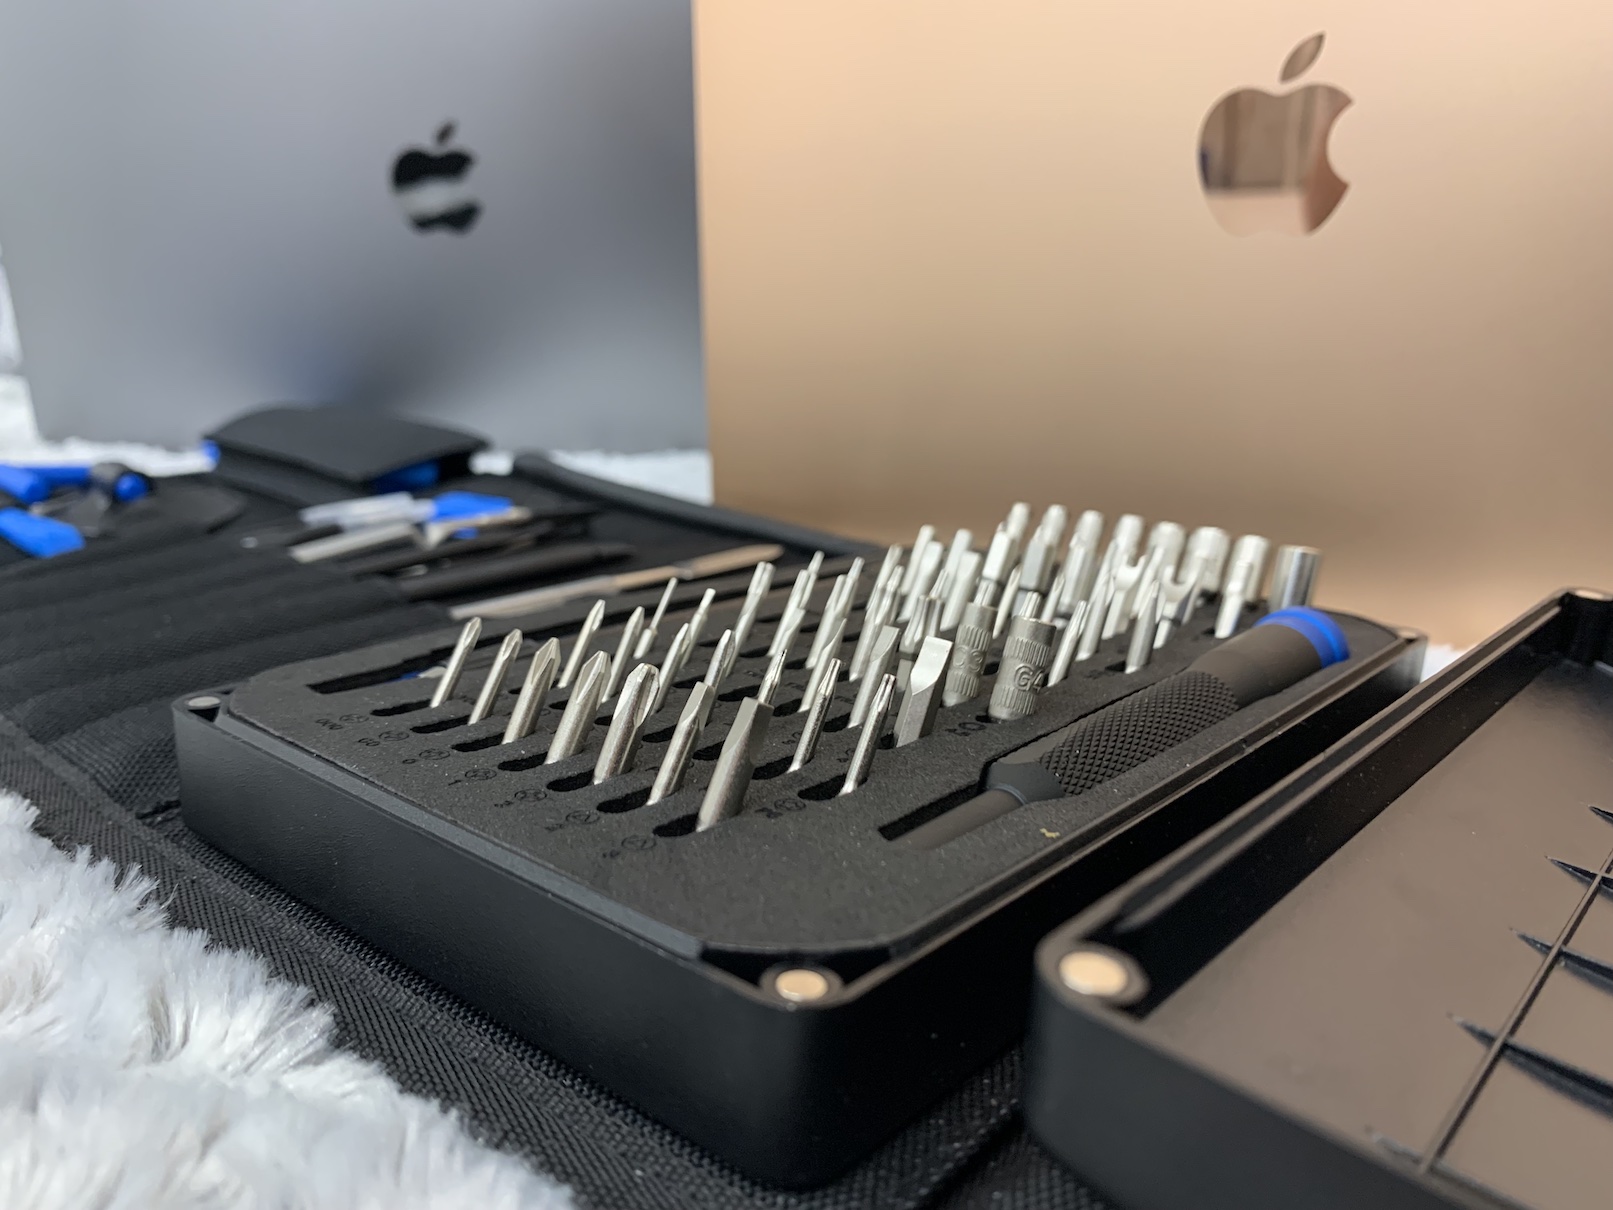
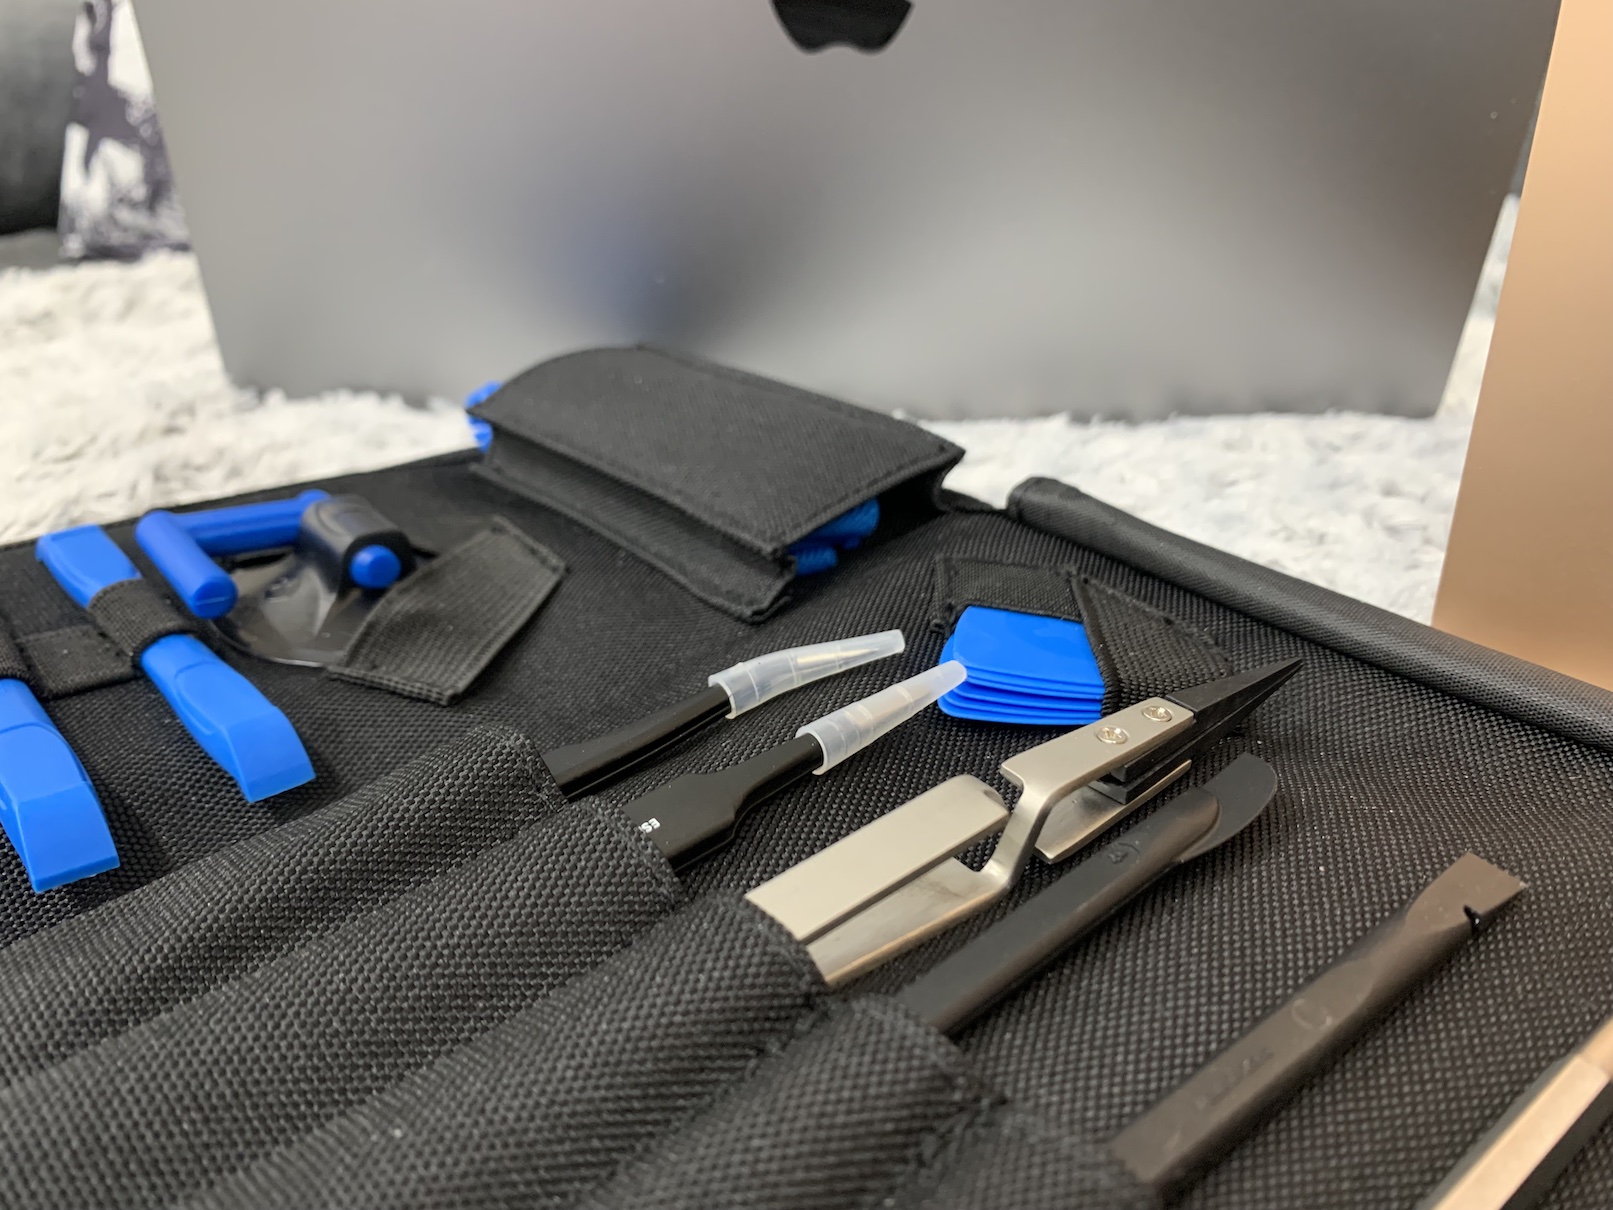
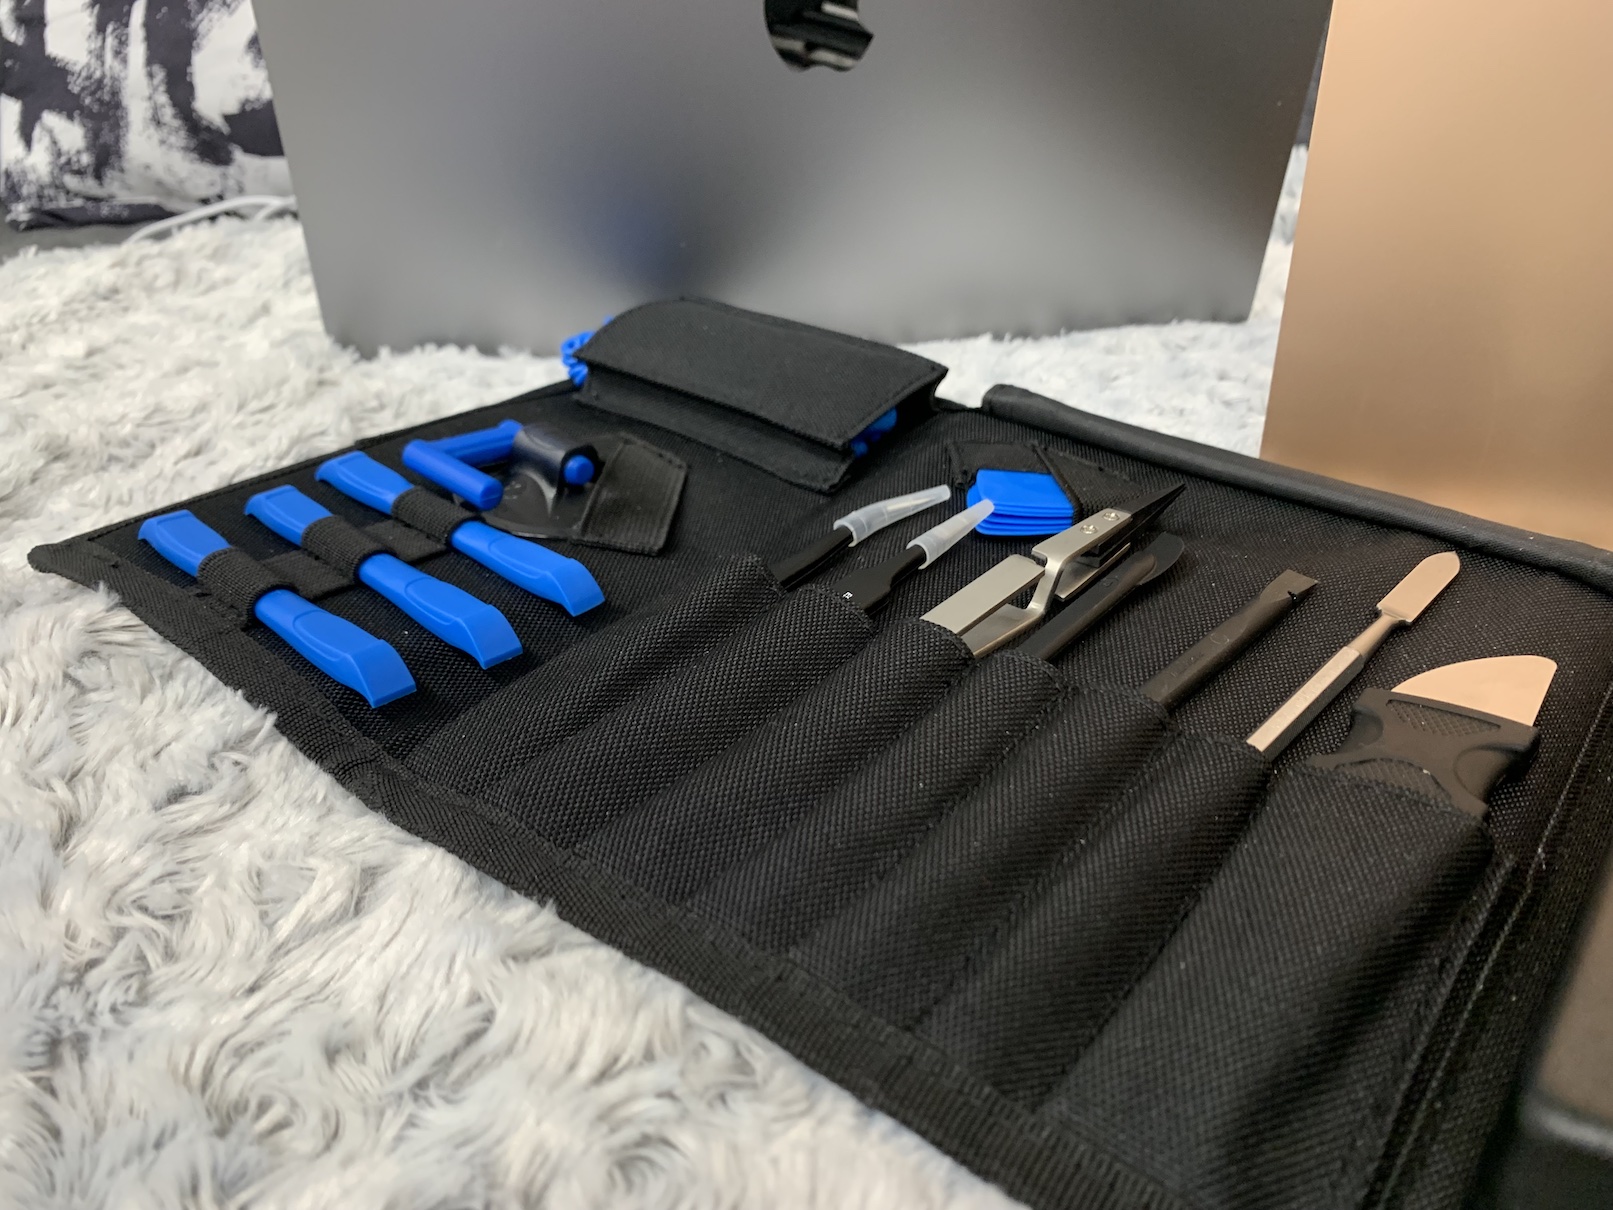
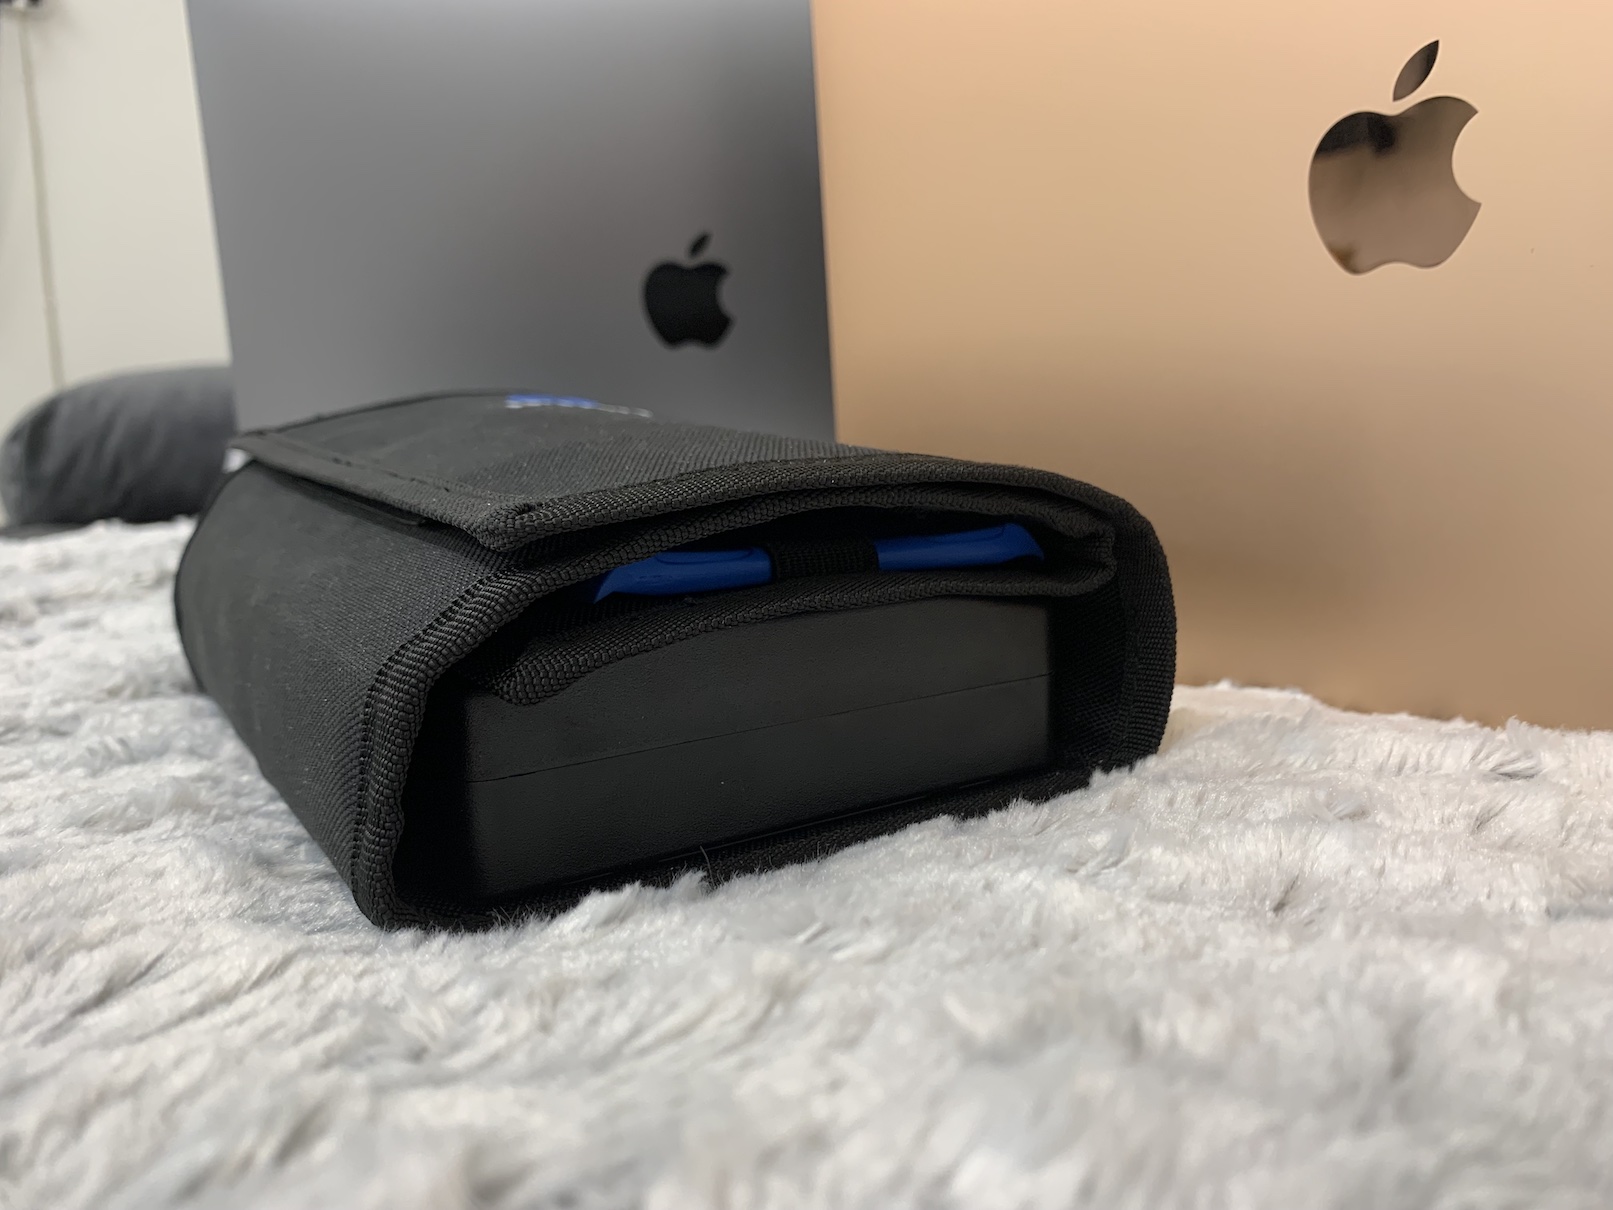
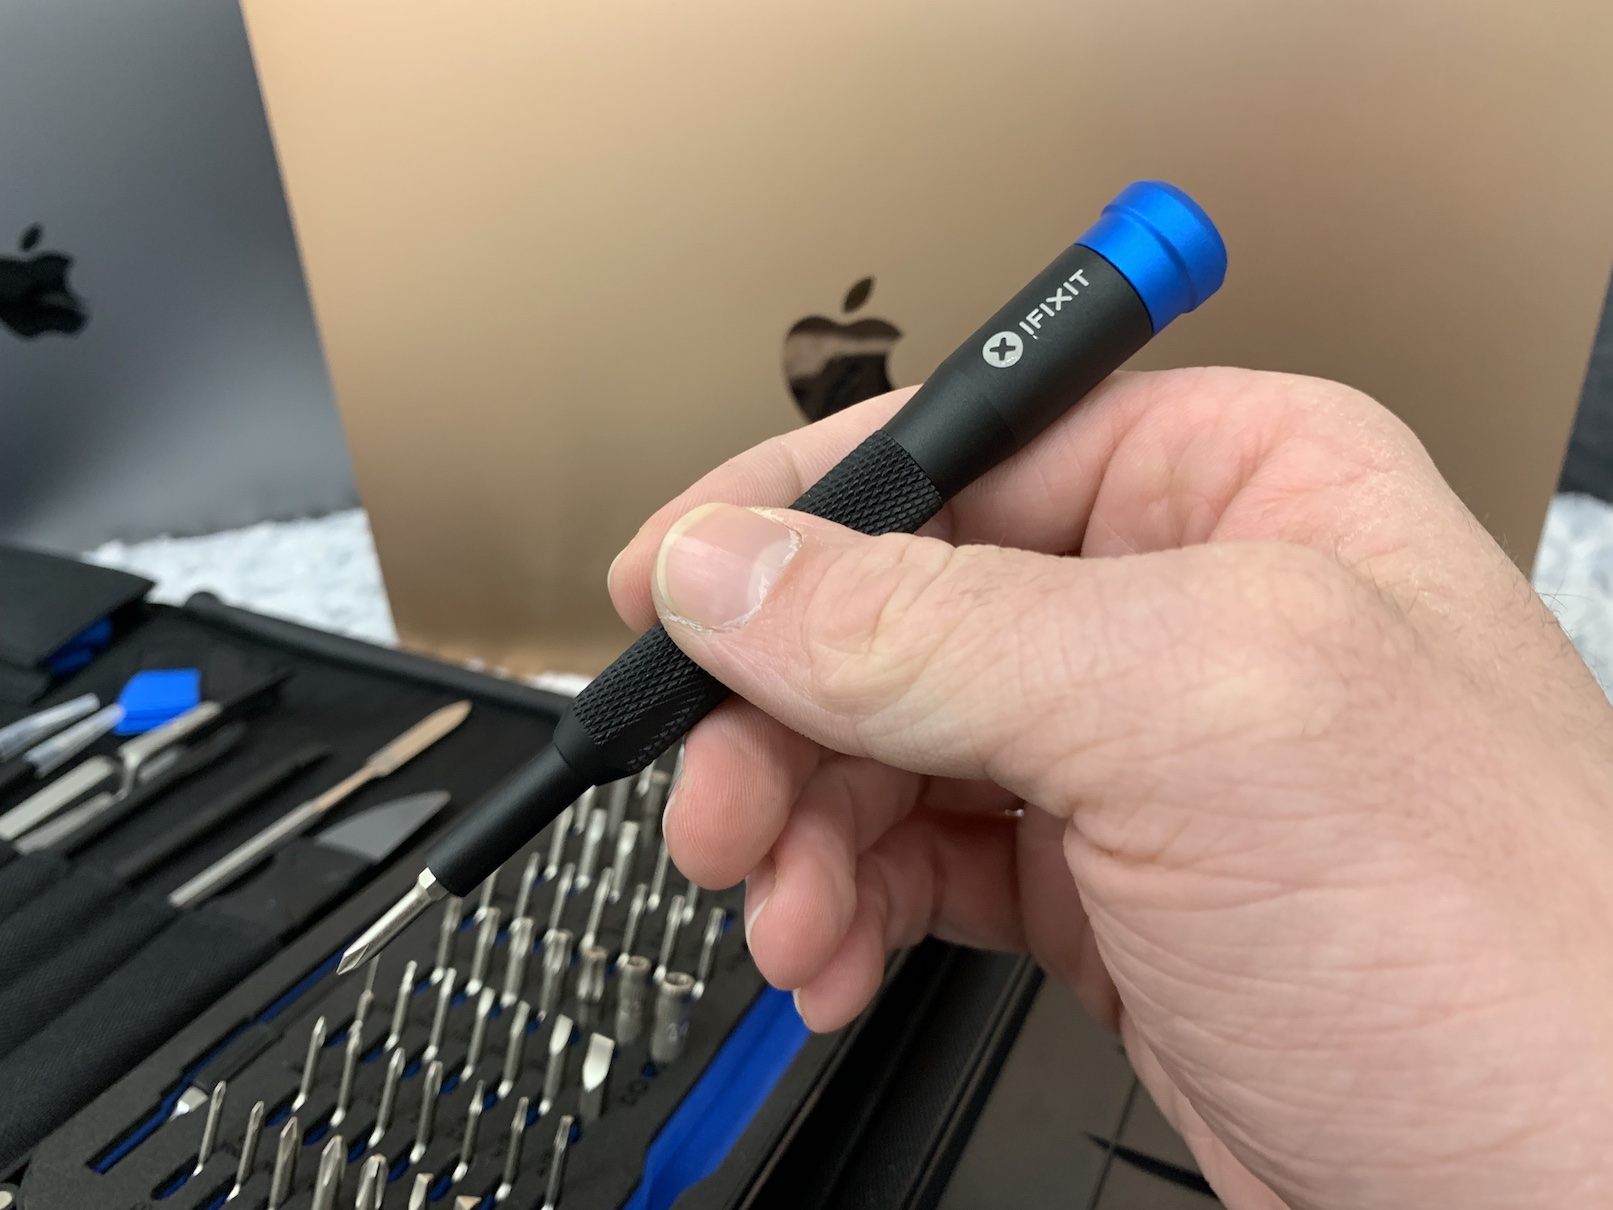
You can buy the iFixit Pro Tech Toolkit here
Quality manual
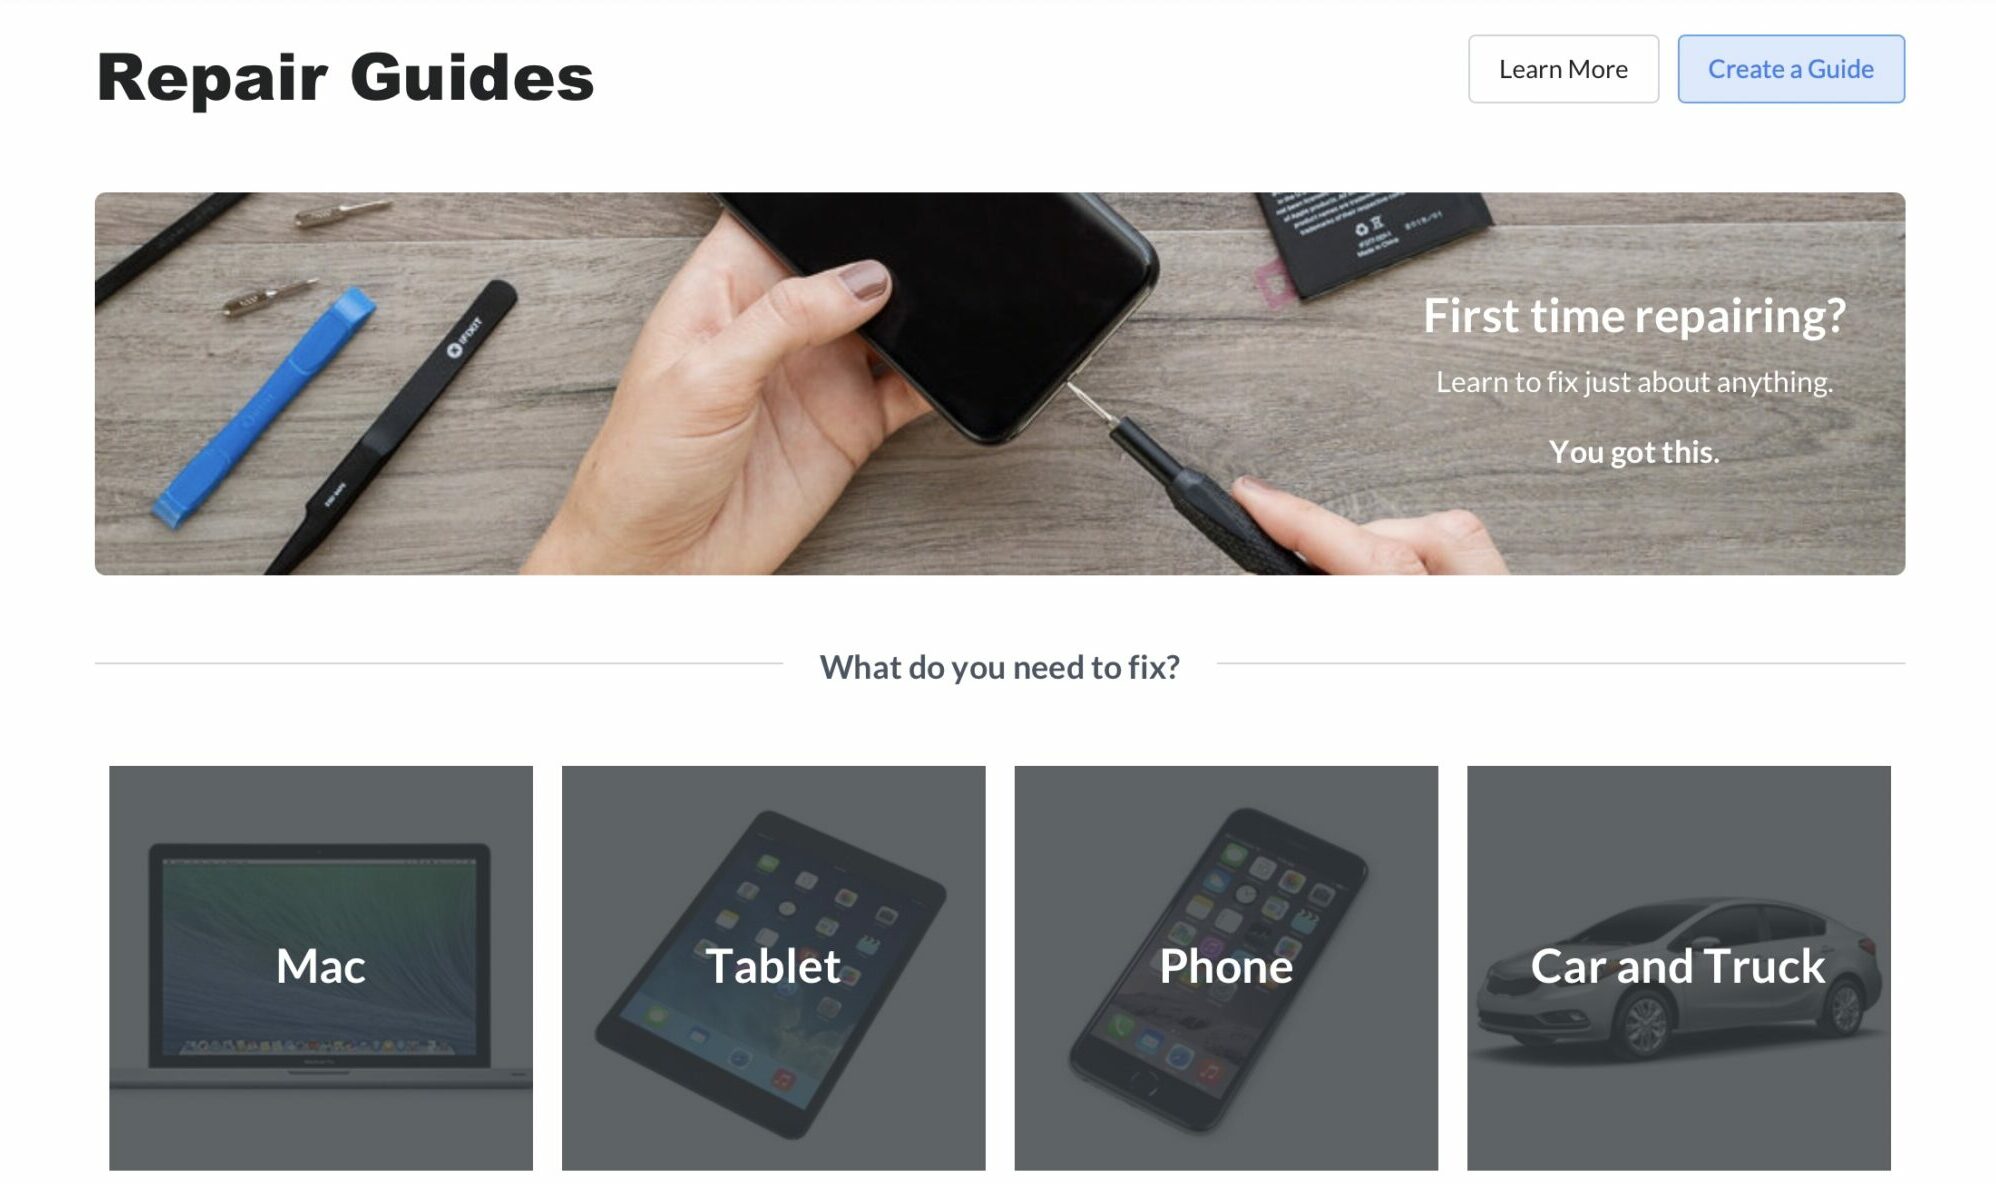
We're not going to lie, if you're a beginner right now, it's probably hard to just start repairing Apple phones without any problems. At least in the beginning, you will need a video or a manual for this - and quite frankly, I use a video or a manual for some unusual tasks. No scholar has fallen from heaven. Gradually, of course, you will learn the classic actions in the form of changing the battery or display by heart, but at the beginning some guidance is extremely important. As for videos, I personally always go to YouTube to find the action I need to perform. Of course, not every video is necessarily good, so it's best to go through the videos one at a time. Thanks to this, you will find out if all the procedures are clear, or you can make sure if you will be able to perform the action at all. Absolutely perfect manuals with pictures and text descriptions can be found on the website iFixit.com.
