In newer versions of the macOS operating system, users can also extract text from photos, among other things. For this purpose, you can also use a special shortcut, thanks to which you can extract text from photos easily and quickly. We will advise you how to do it.
It could be interest you
Creating a shortcut for extracting text from a photo in macOS is nothing extra complicated, just a few simple steps are all you need, which we will describe in the following tutorial. The shortcut works by capturing a selected portion of your Mac's screen content by taking a screenshot.
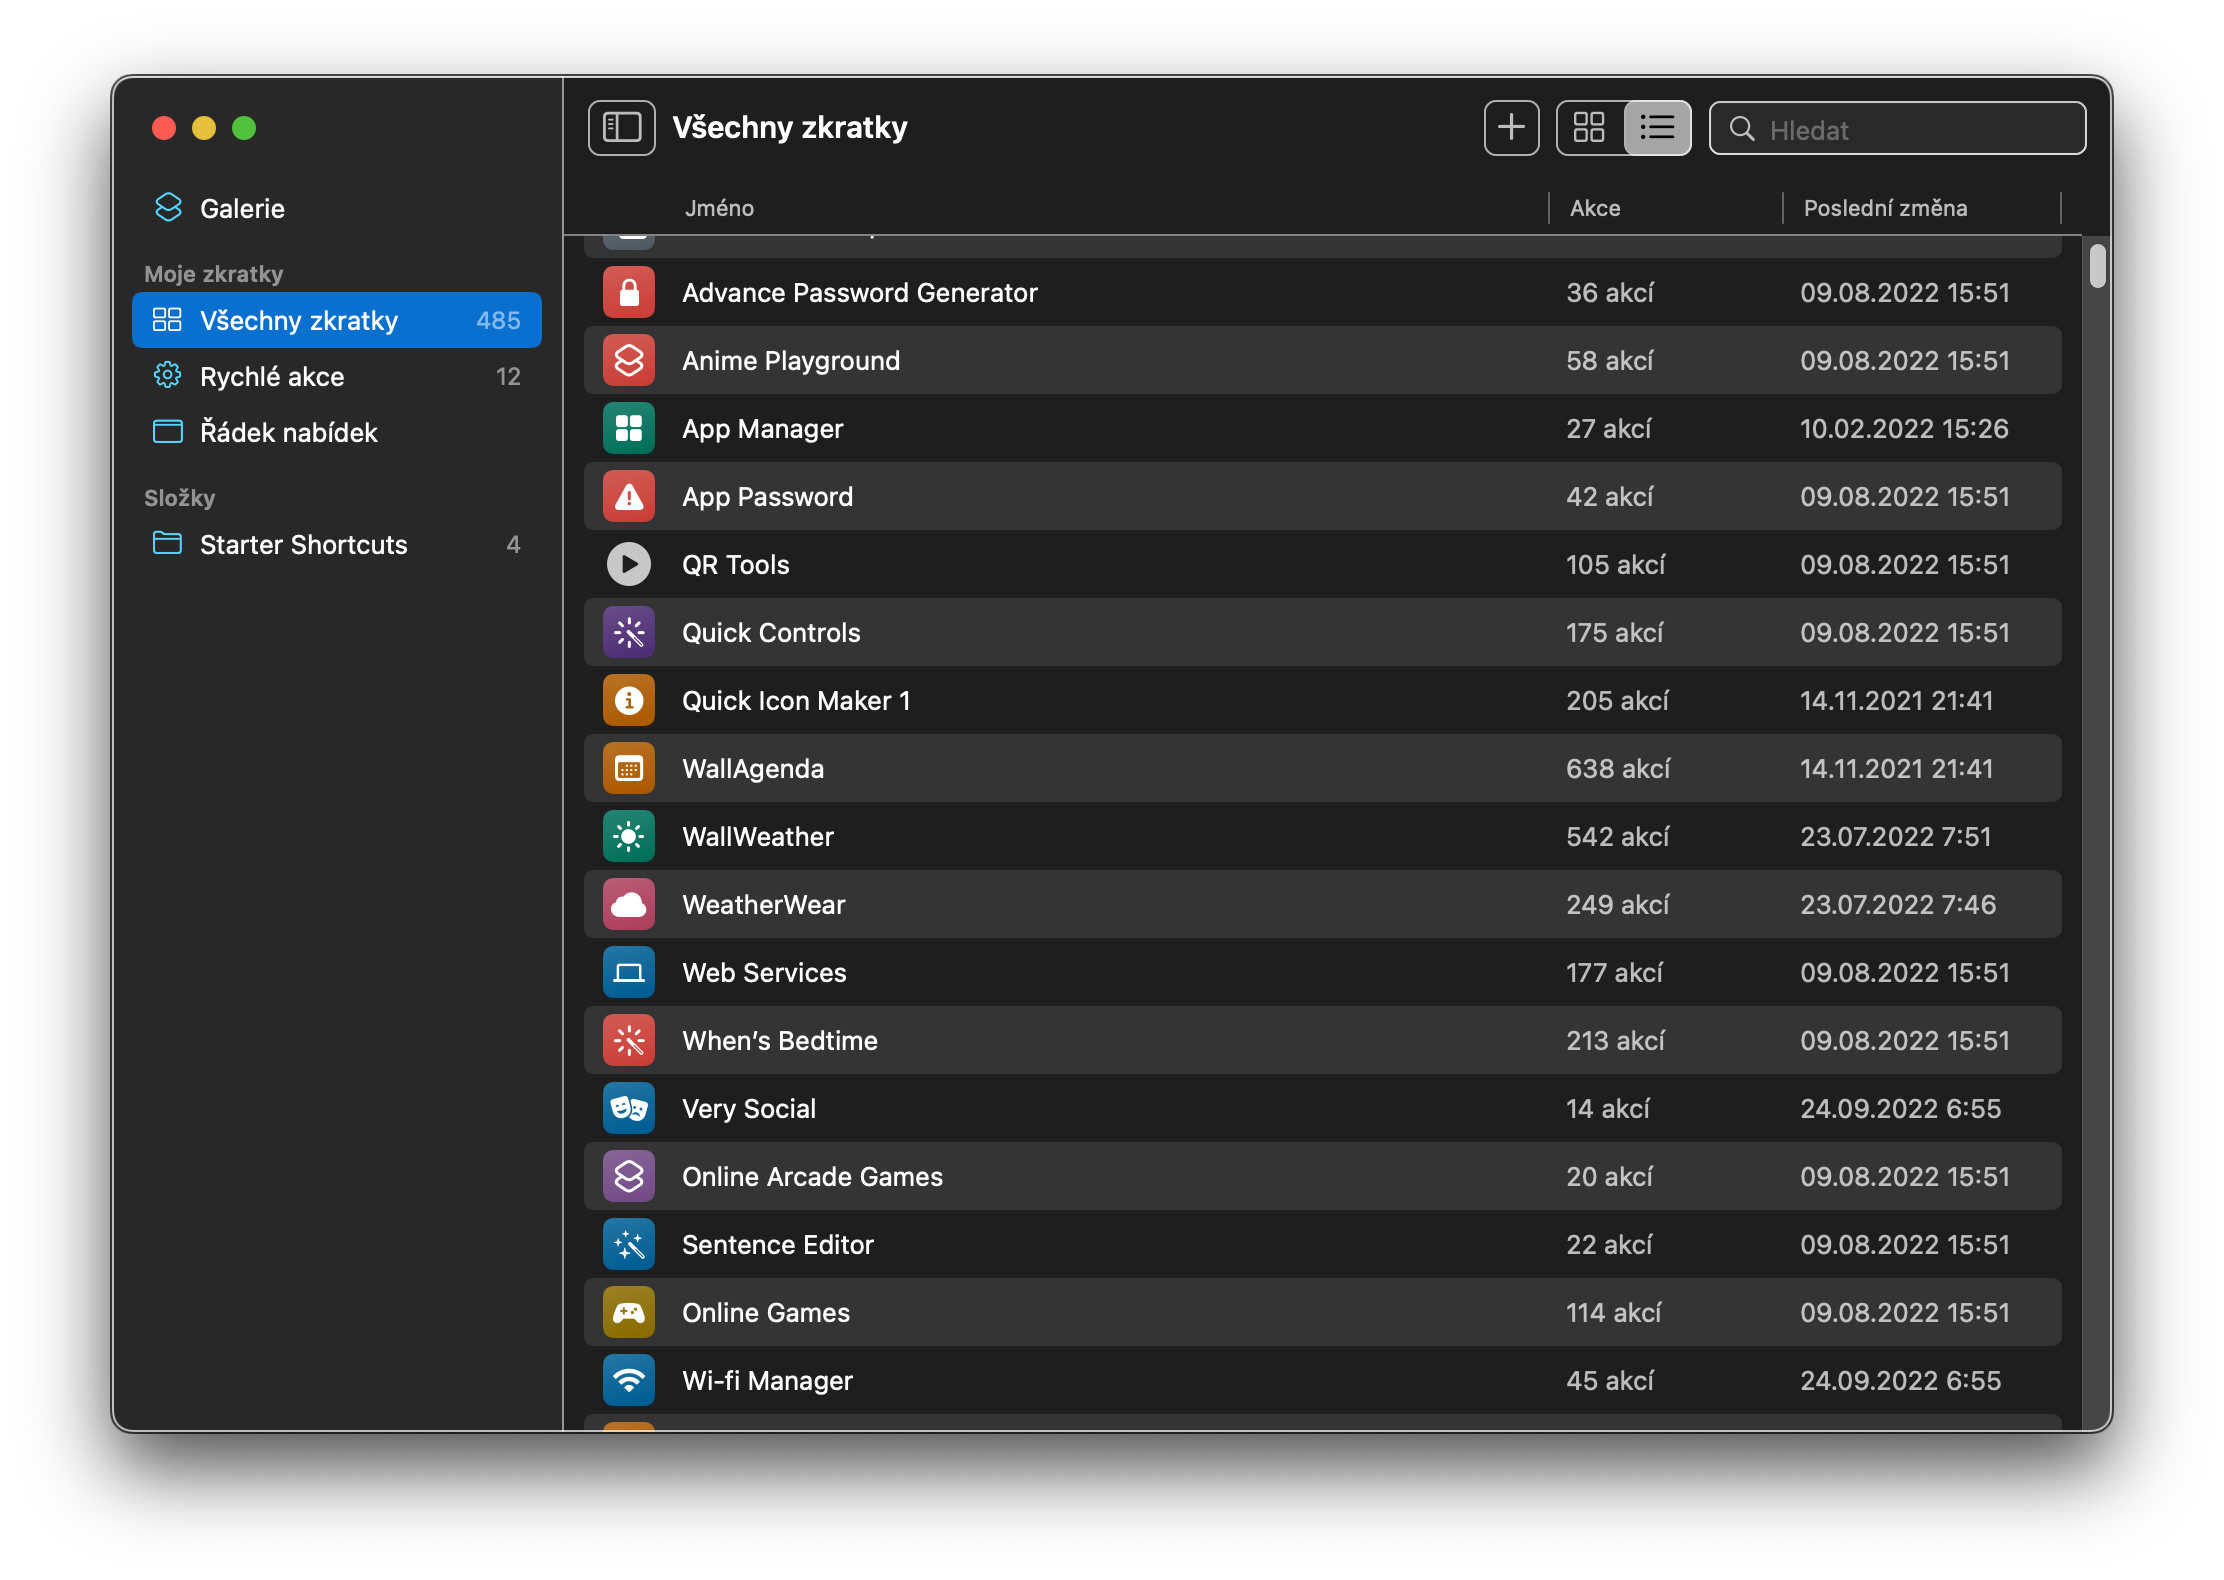
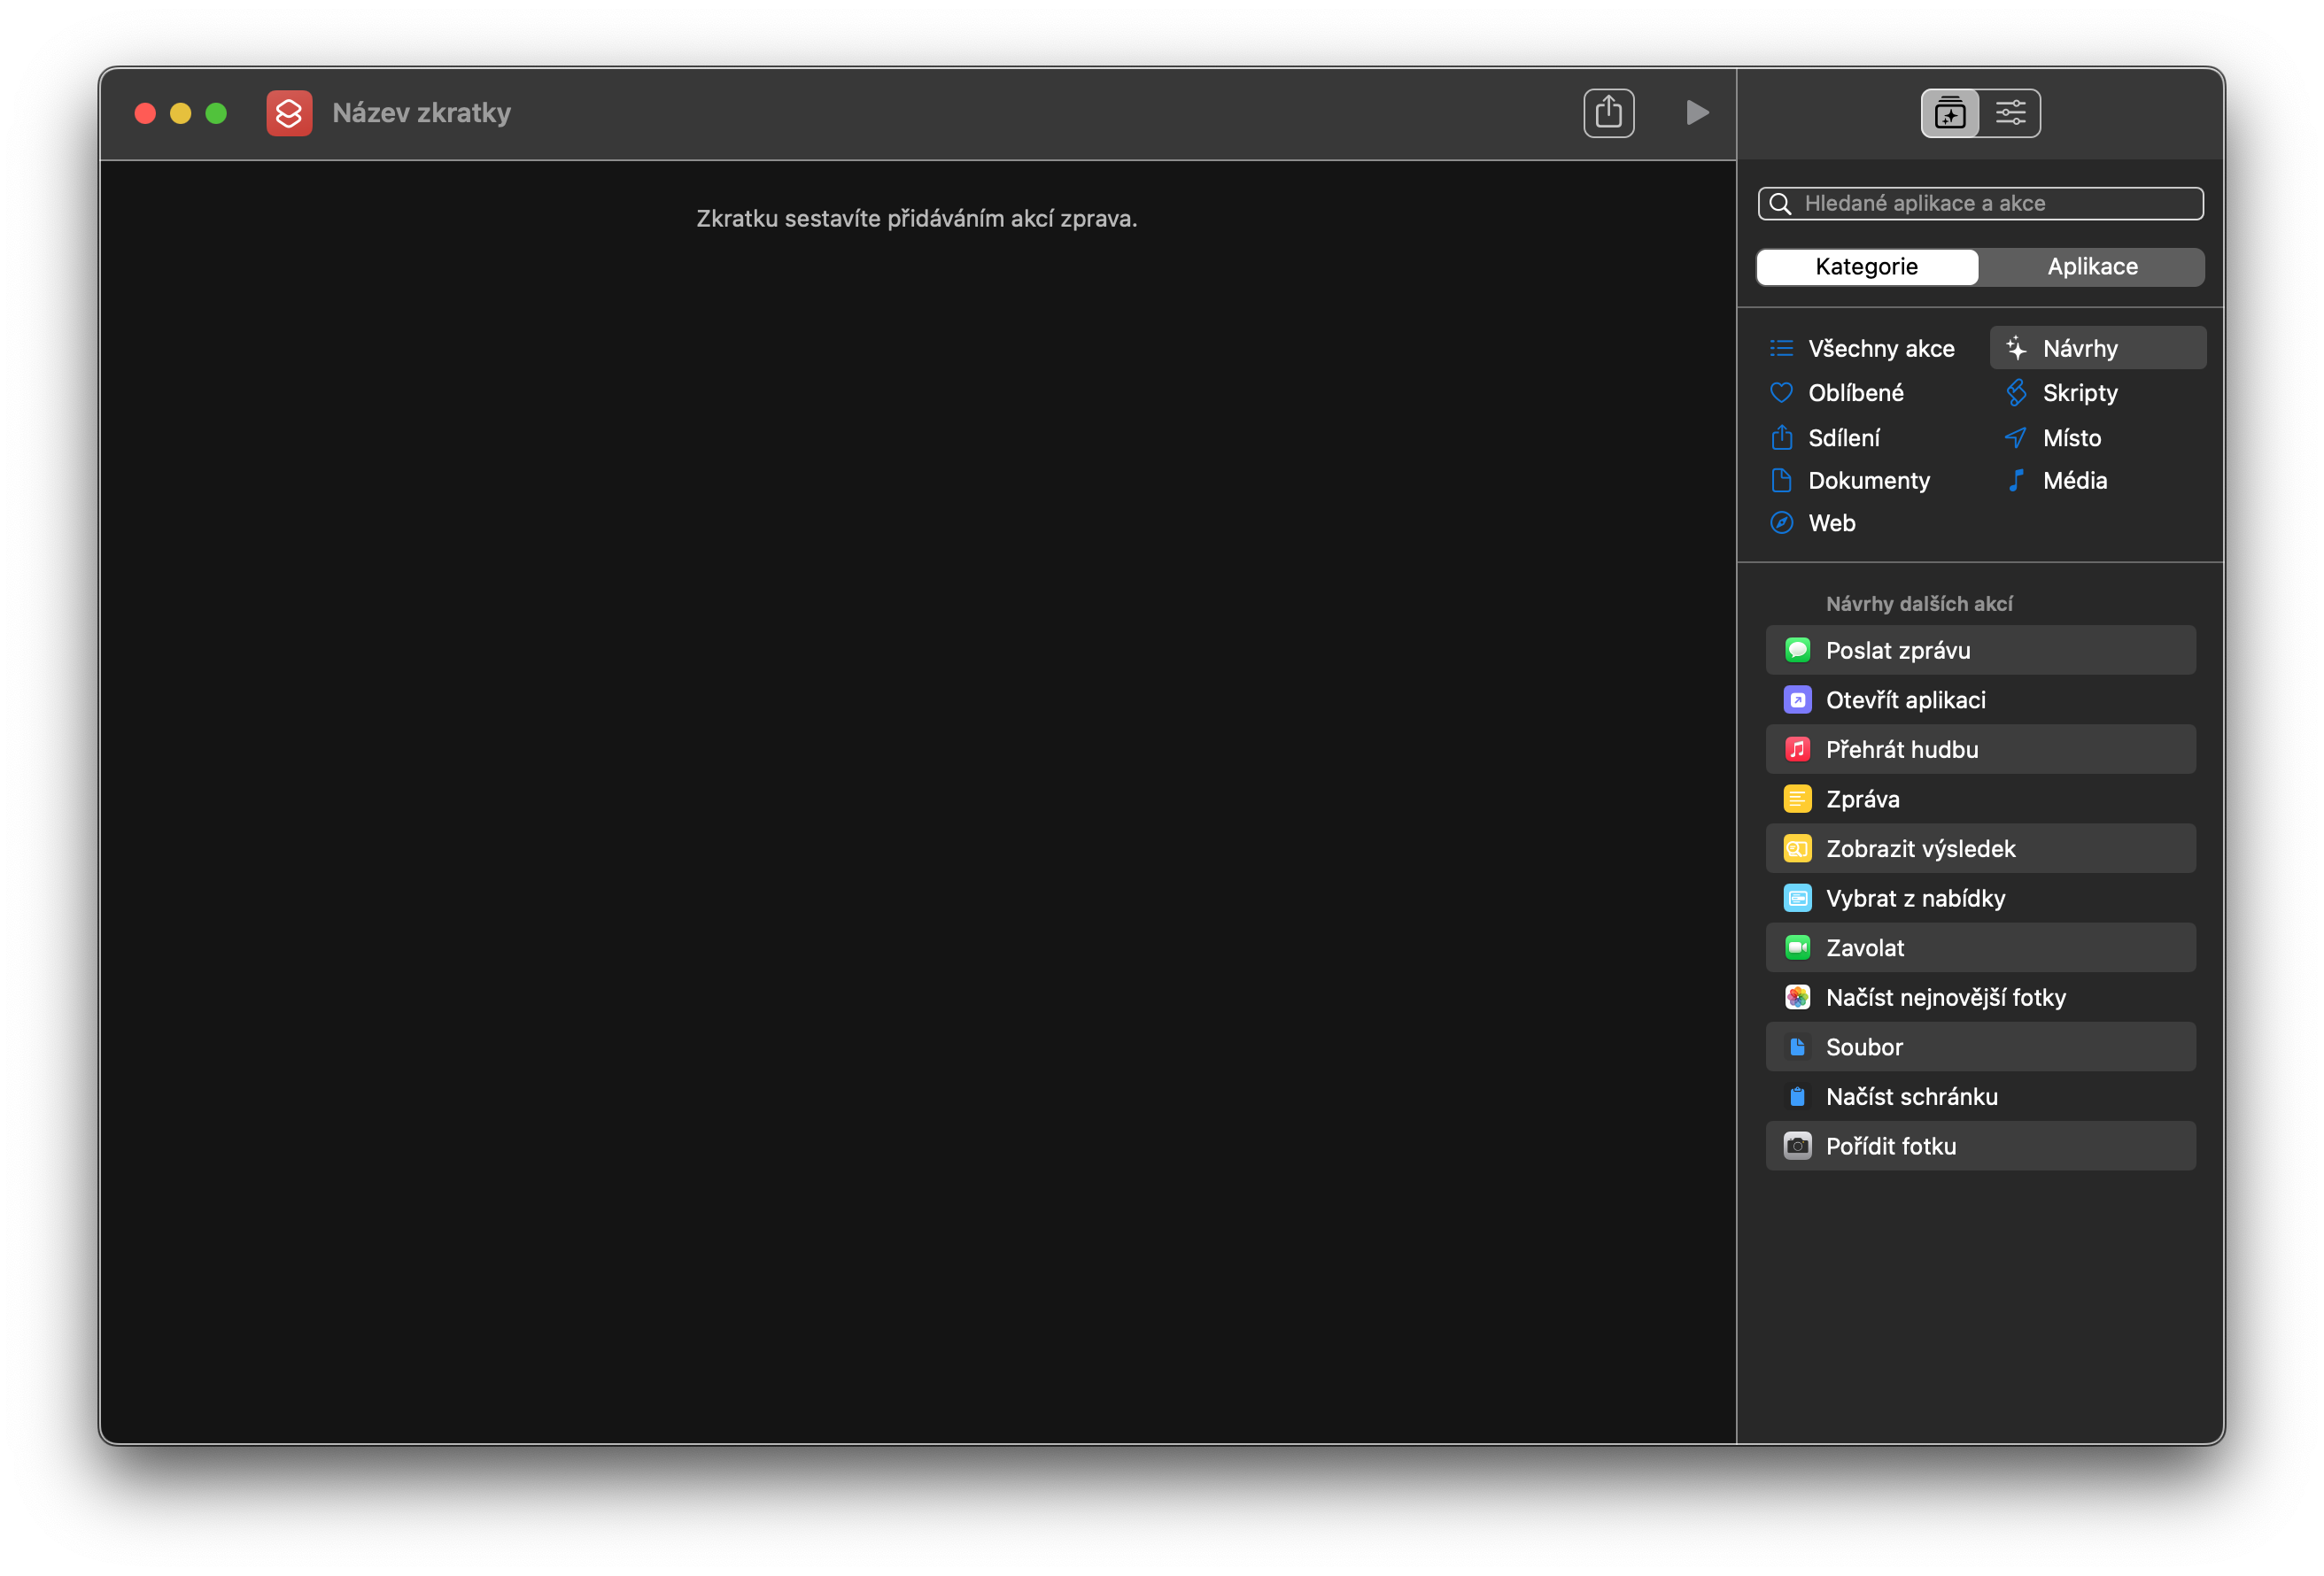
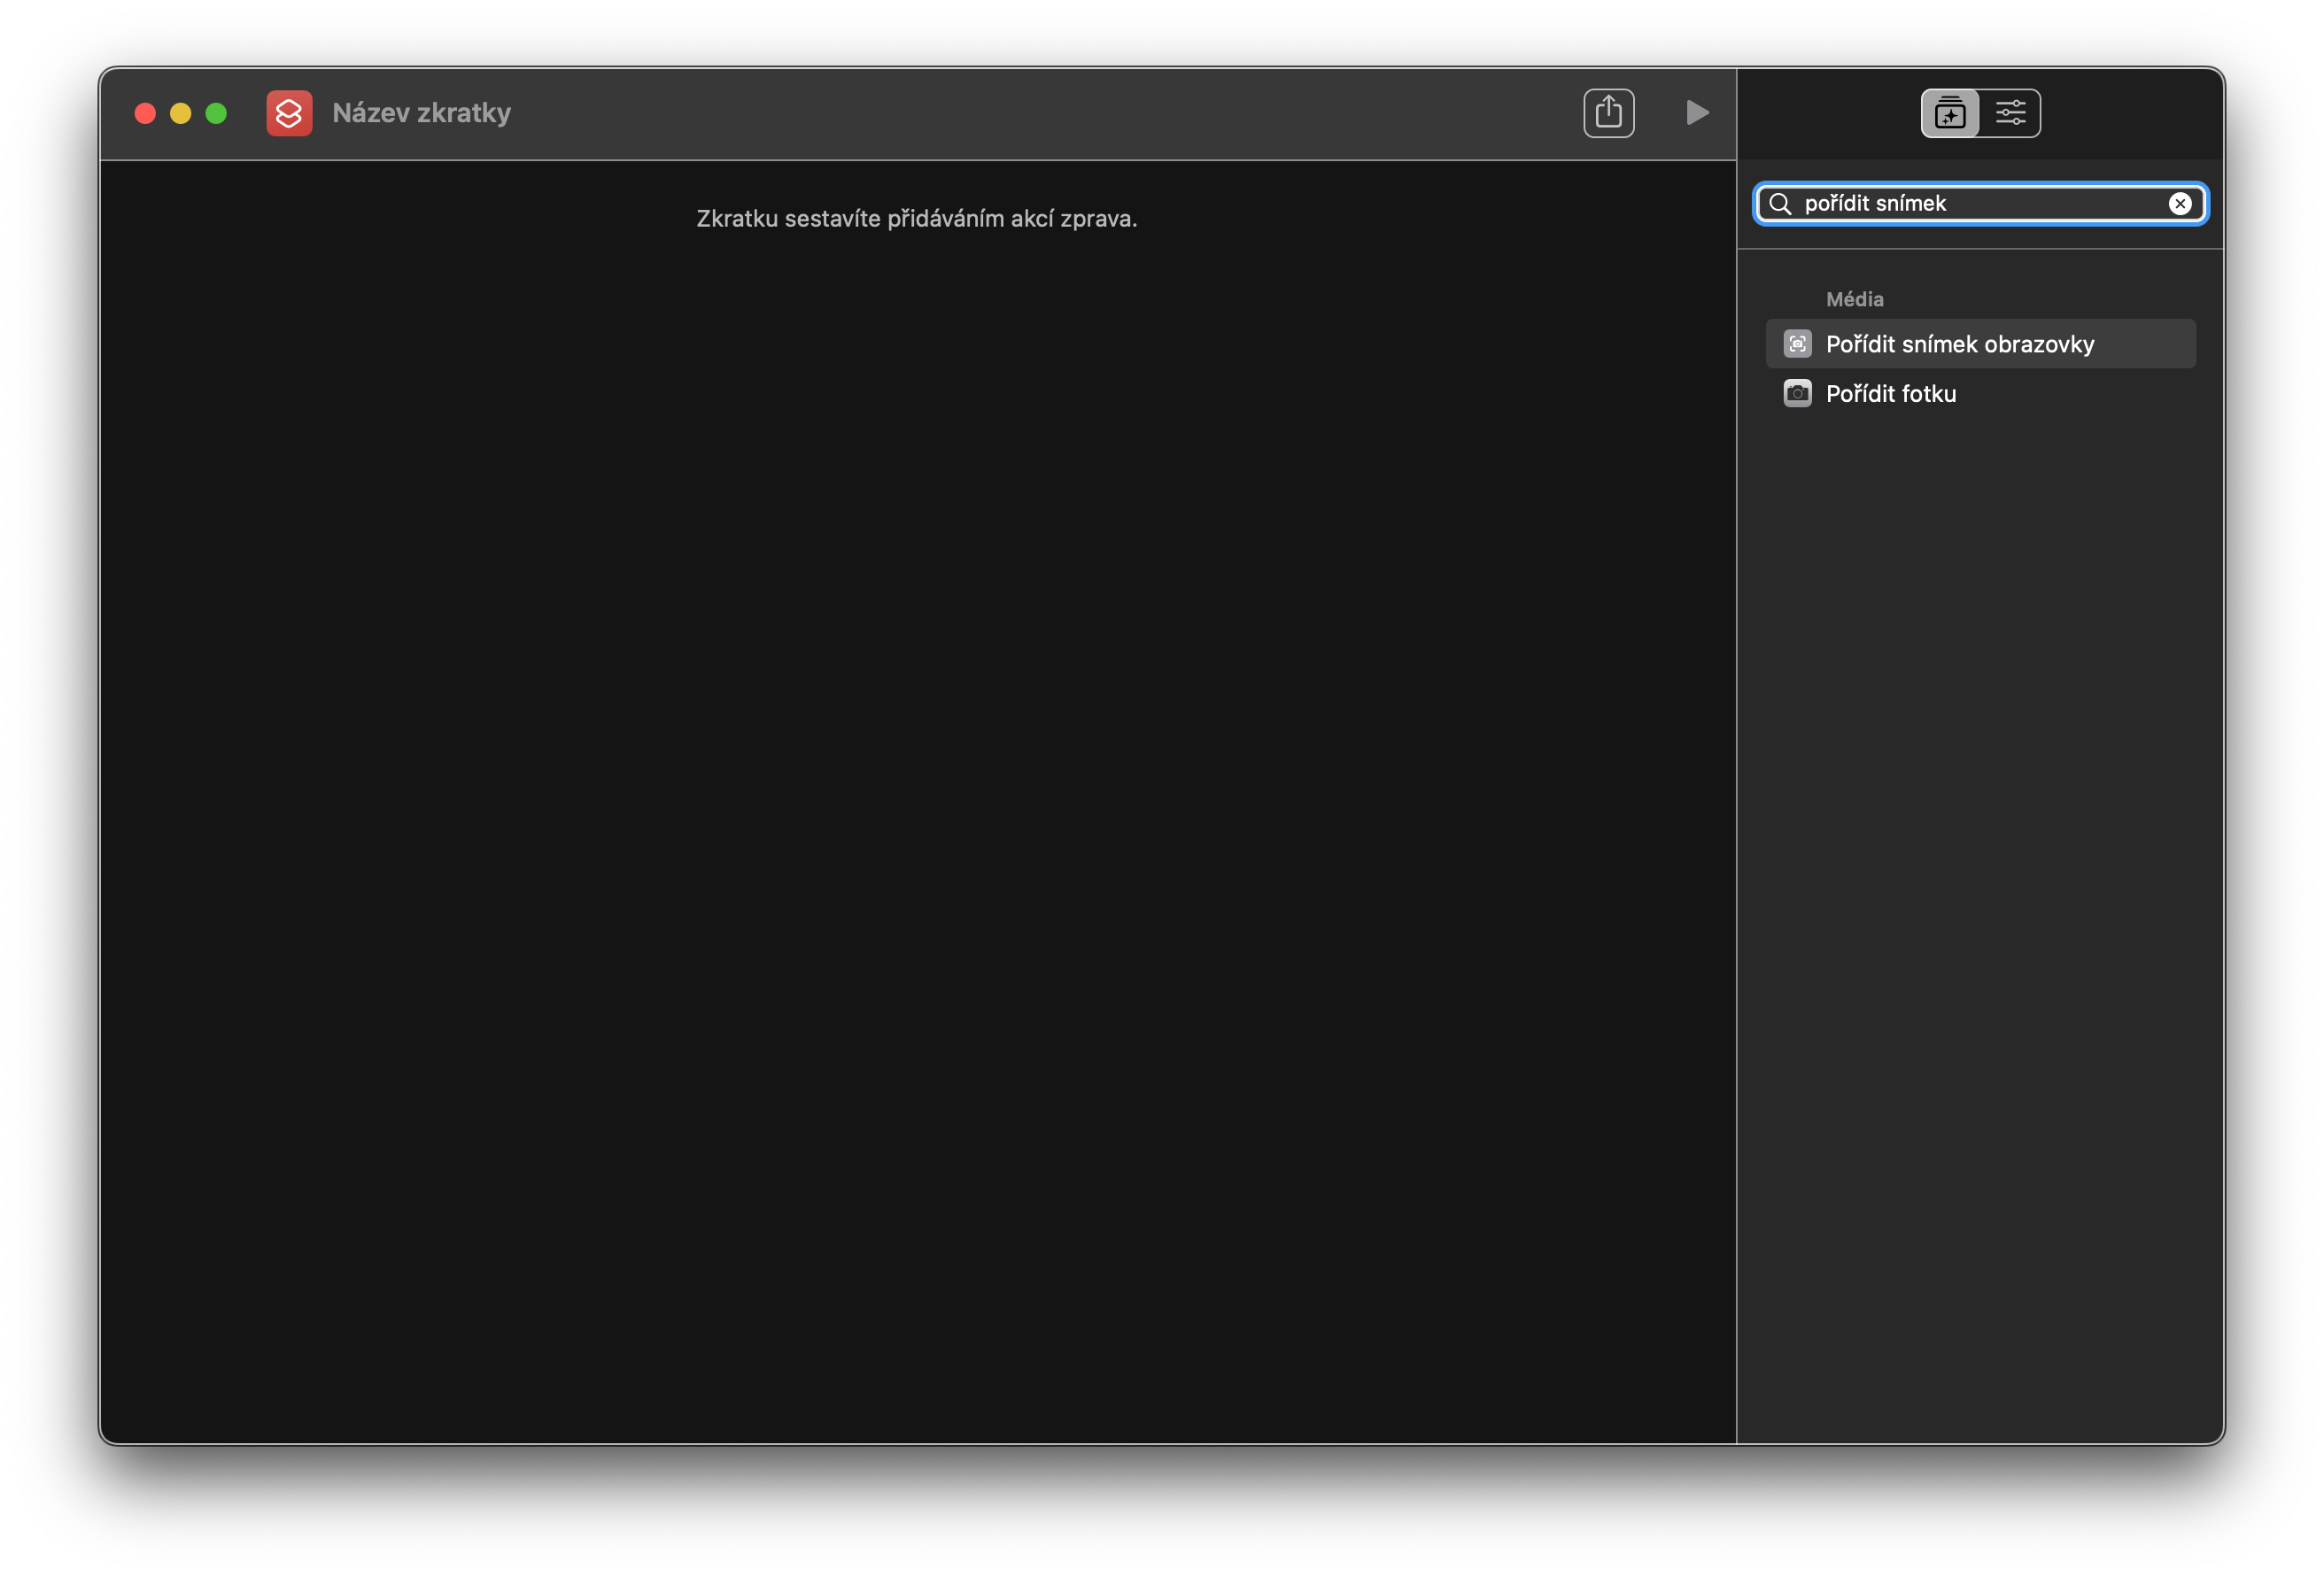
- On a Mac, launch native Shortcuts and click the "+" button on the right side of the top bar in the application window to create a new shortcut.
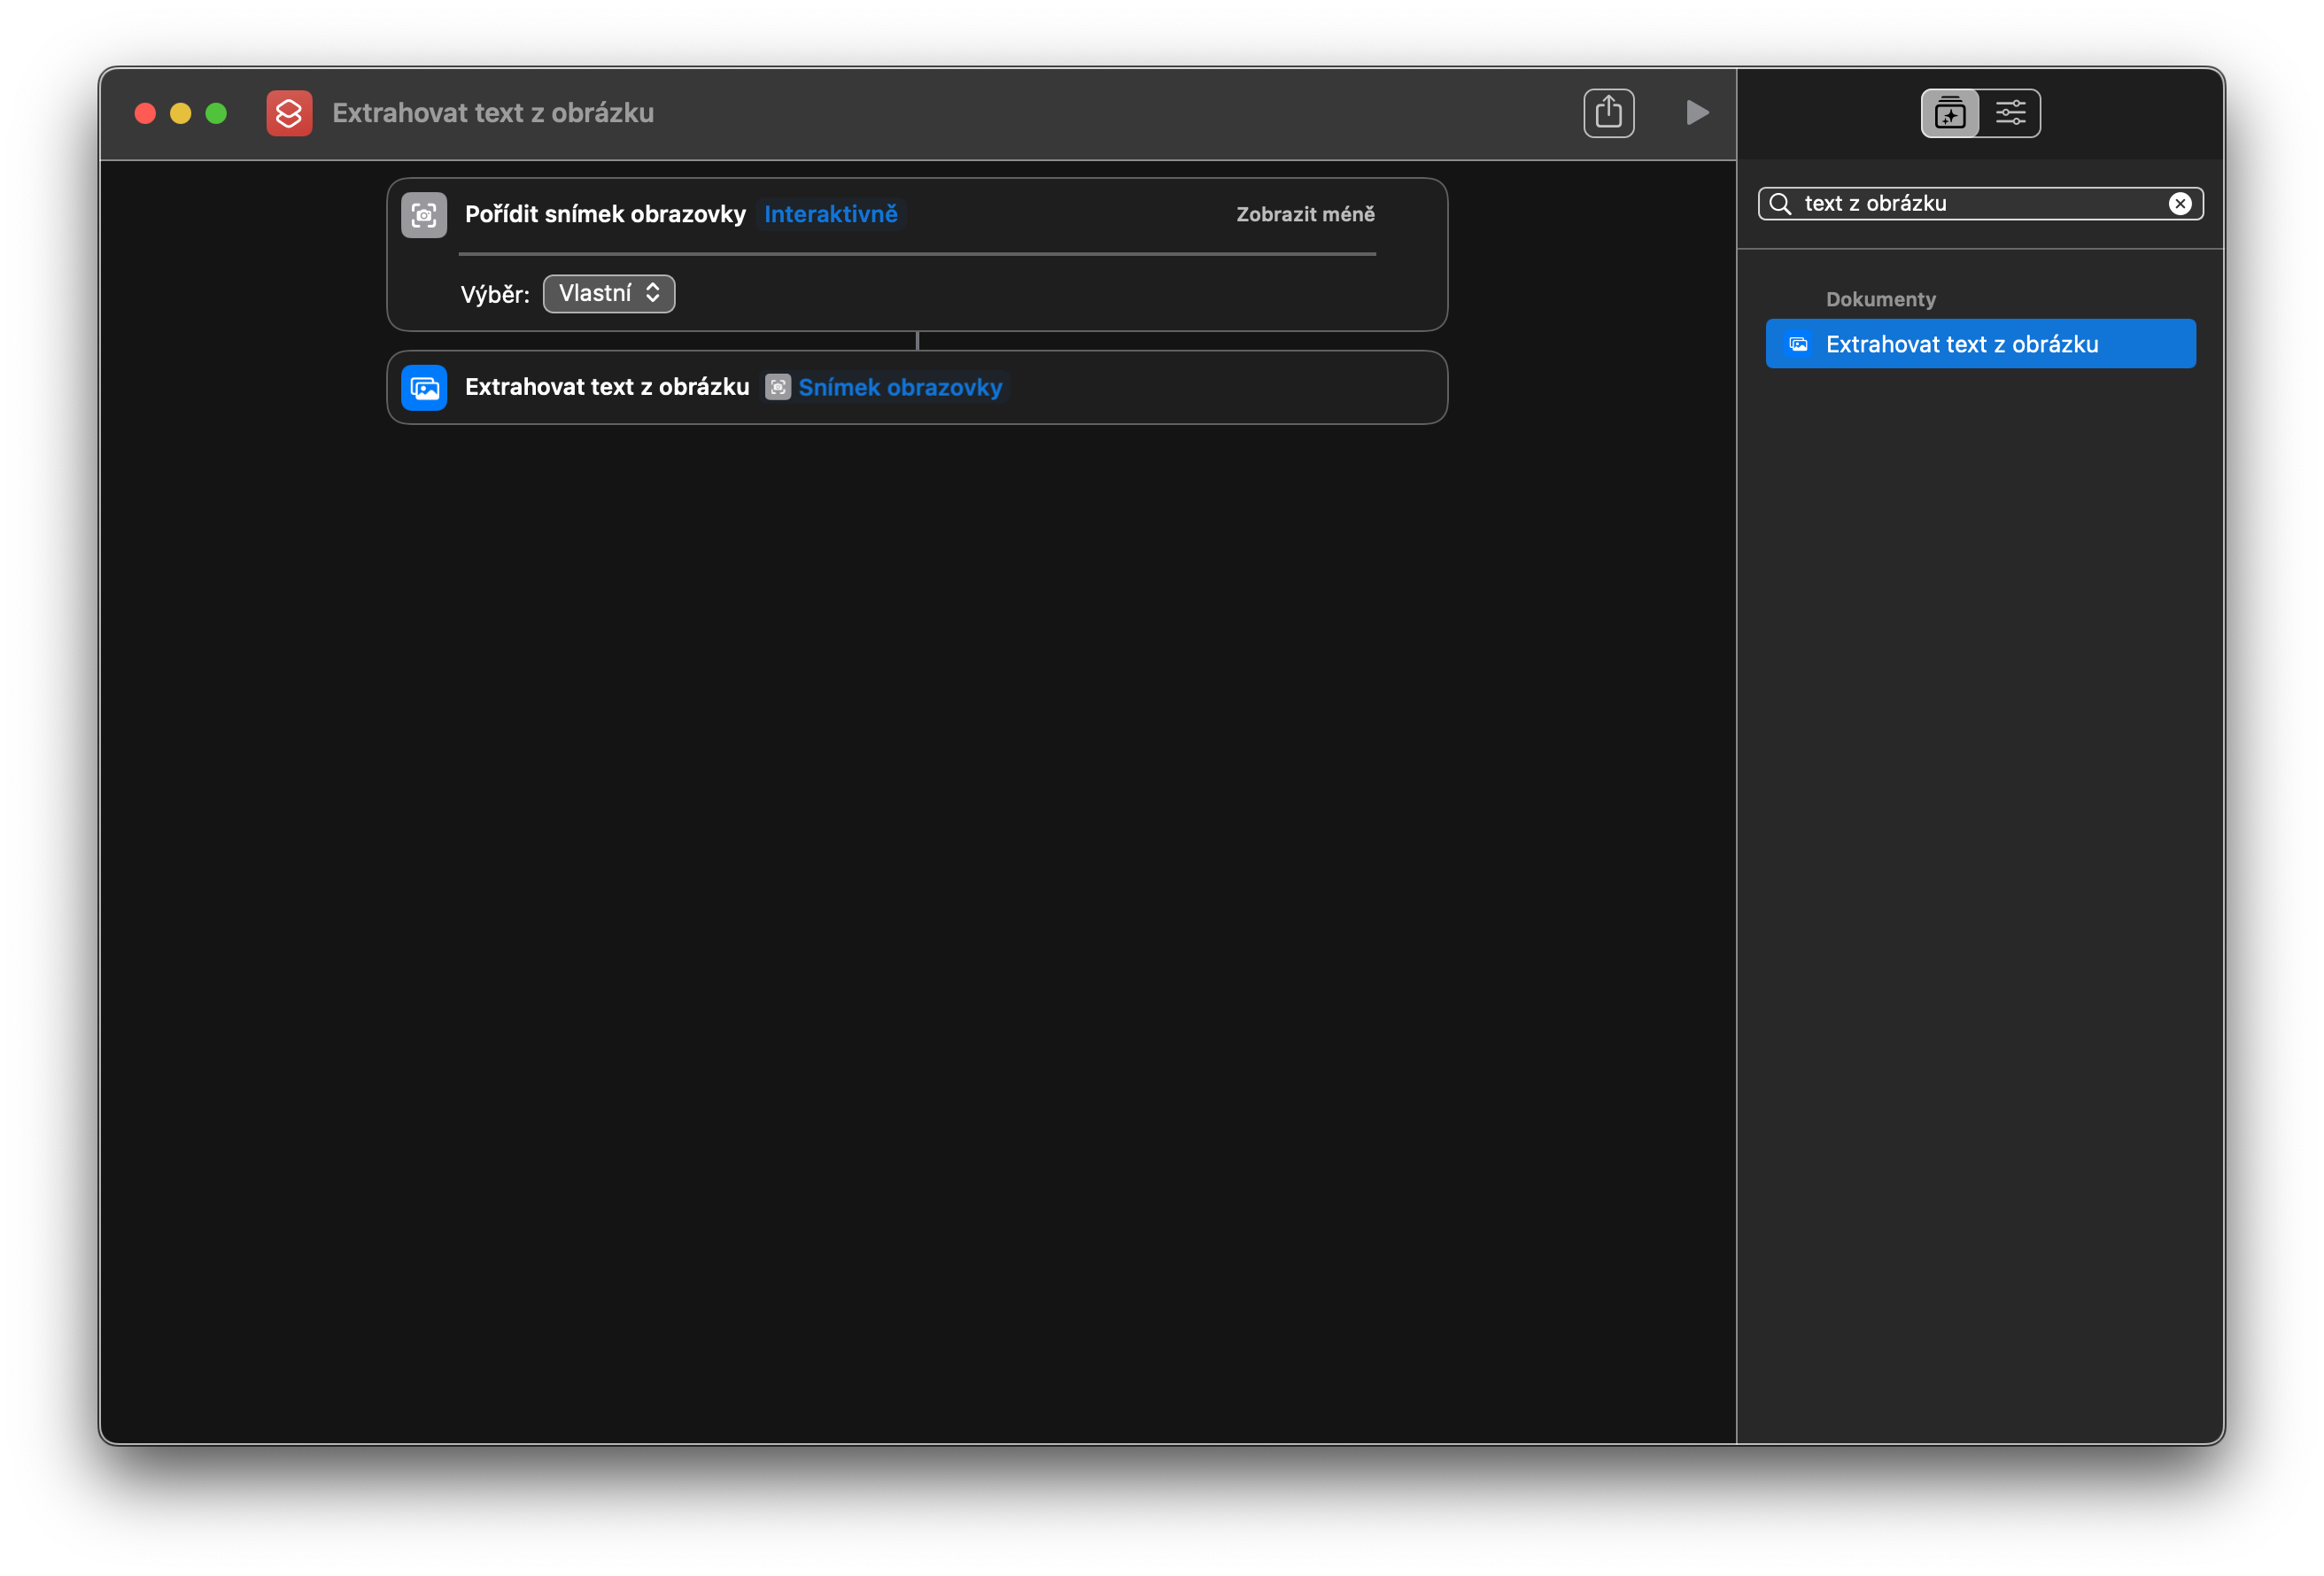
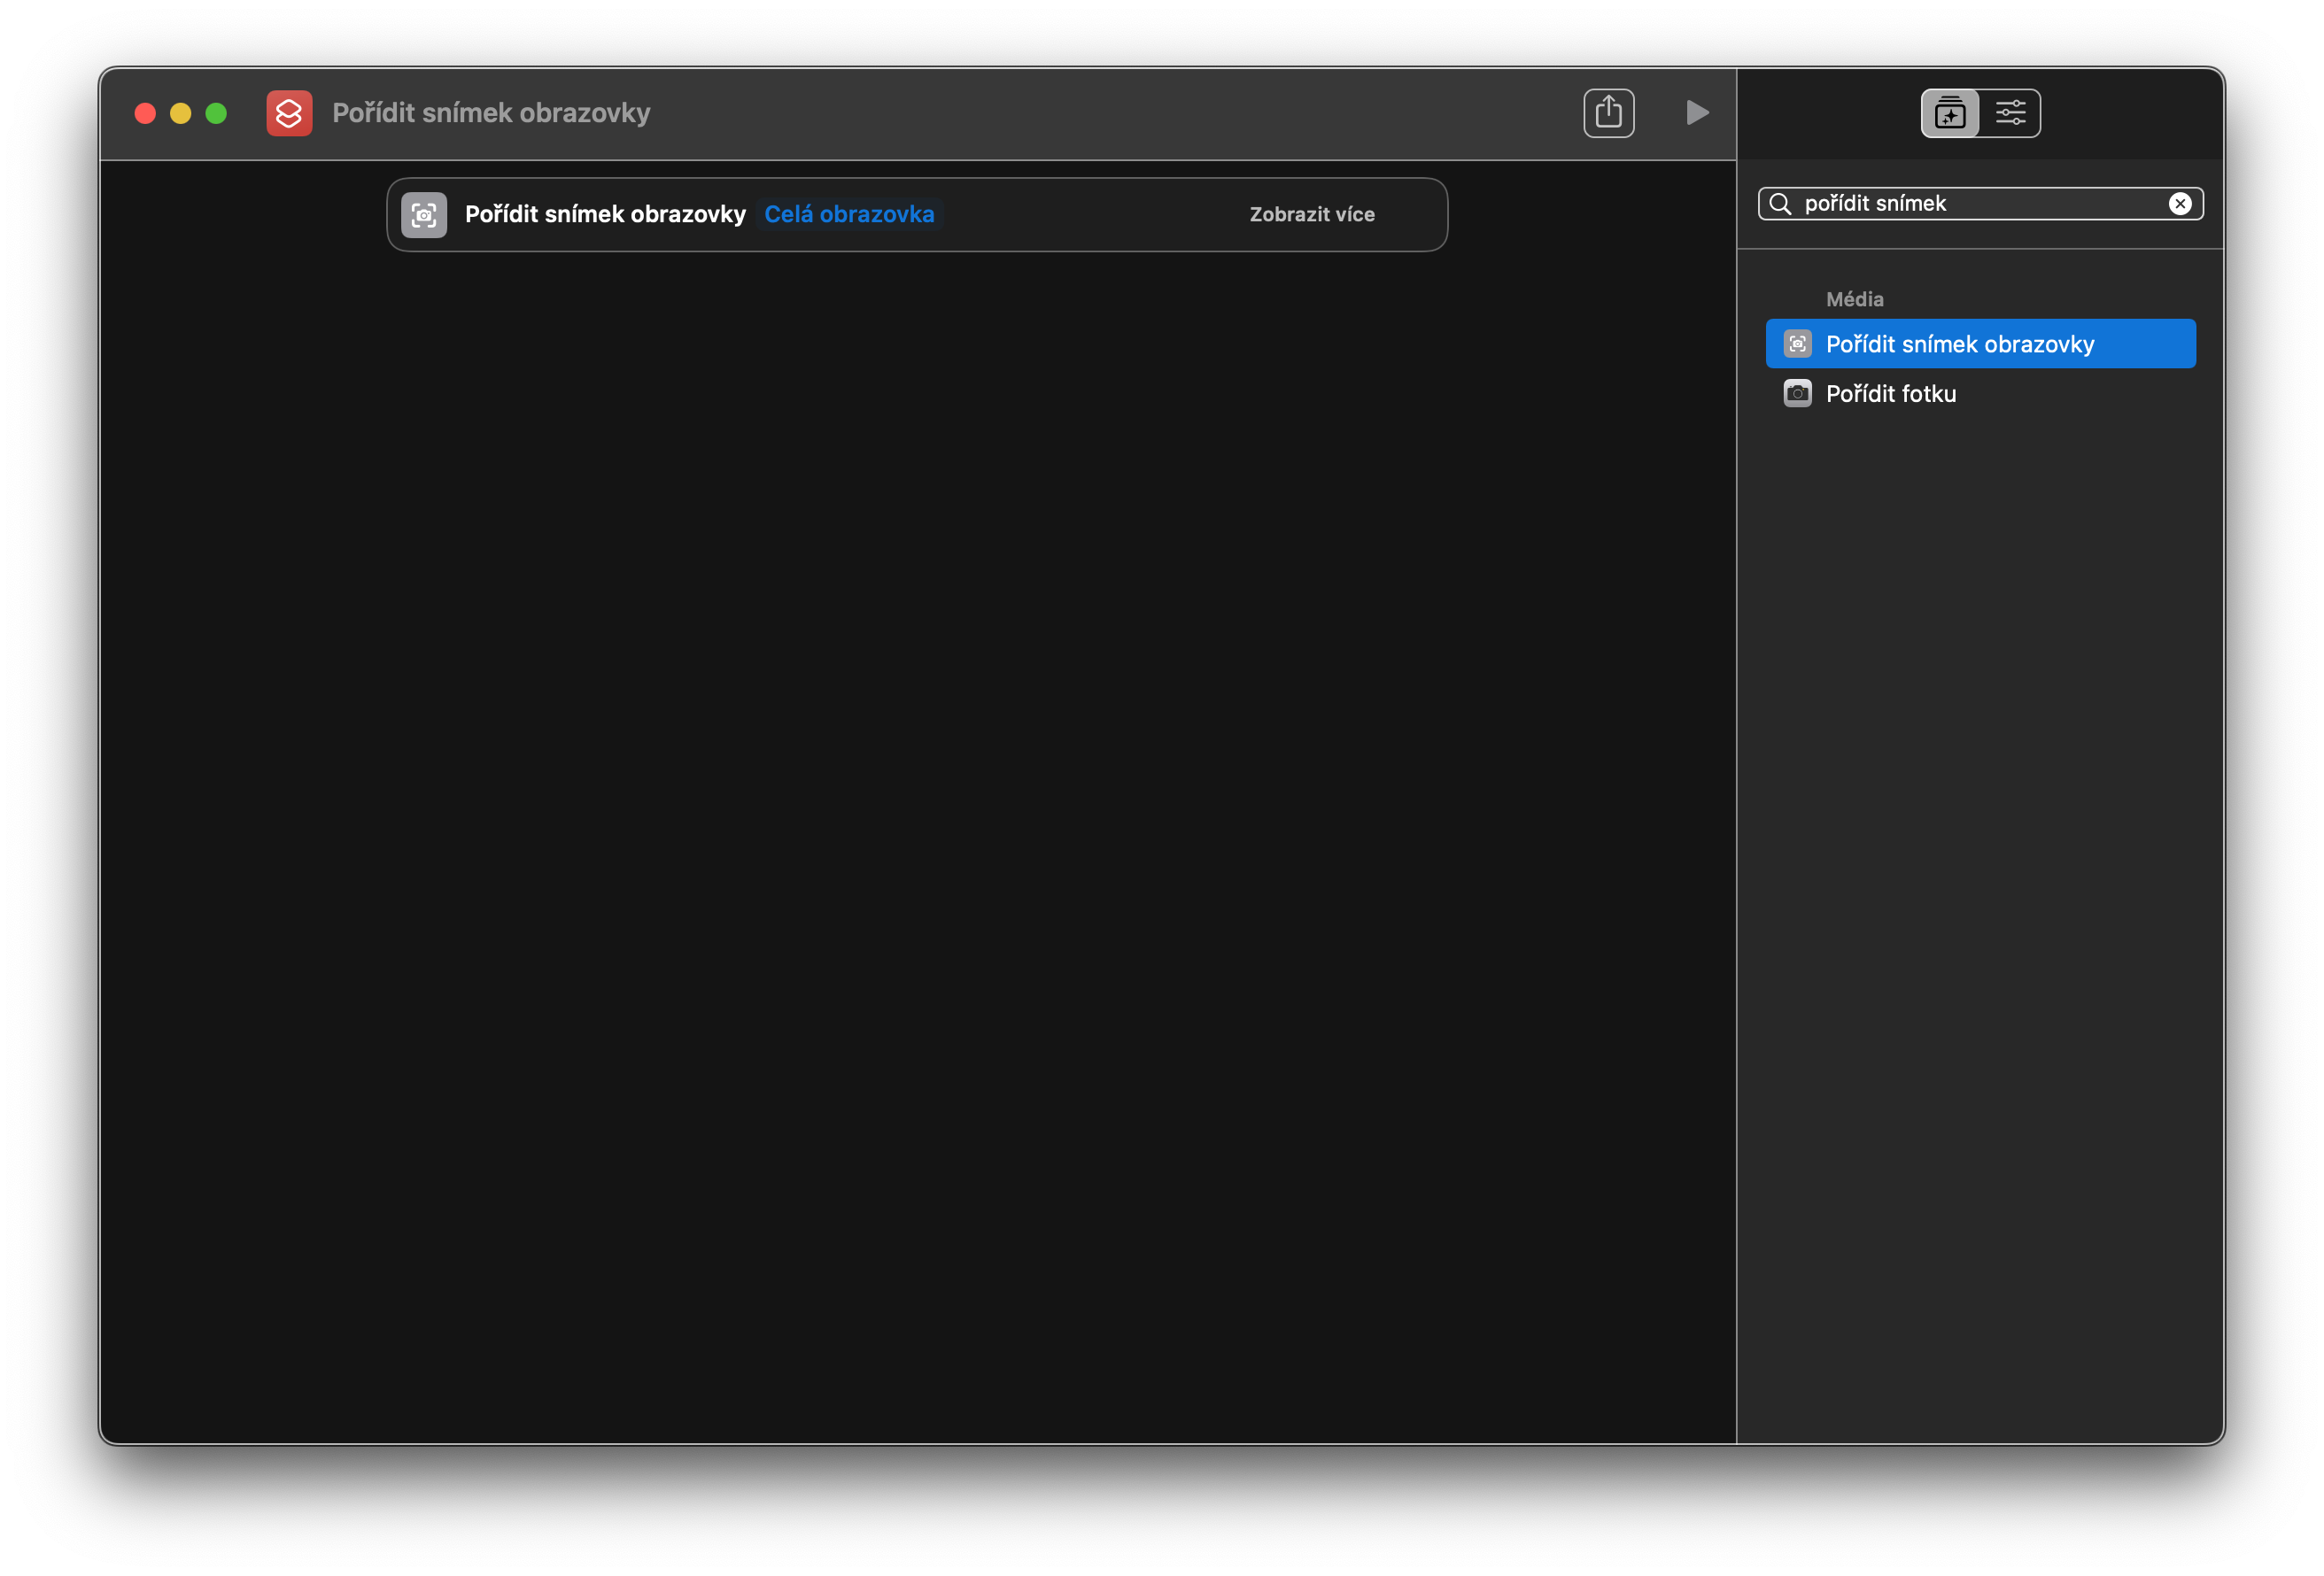
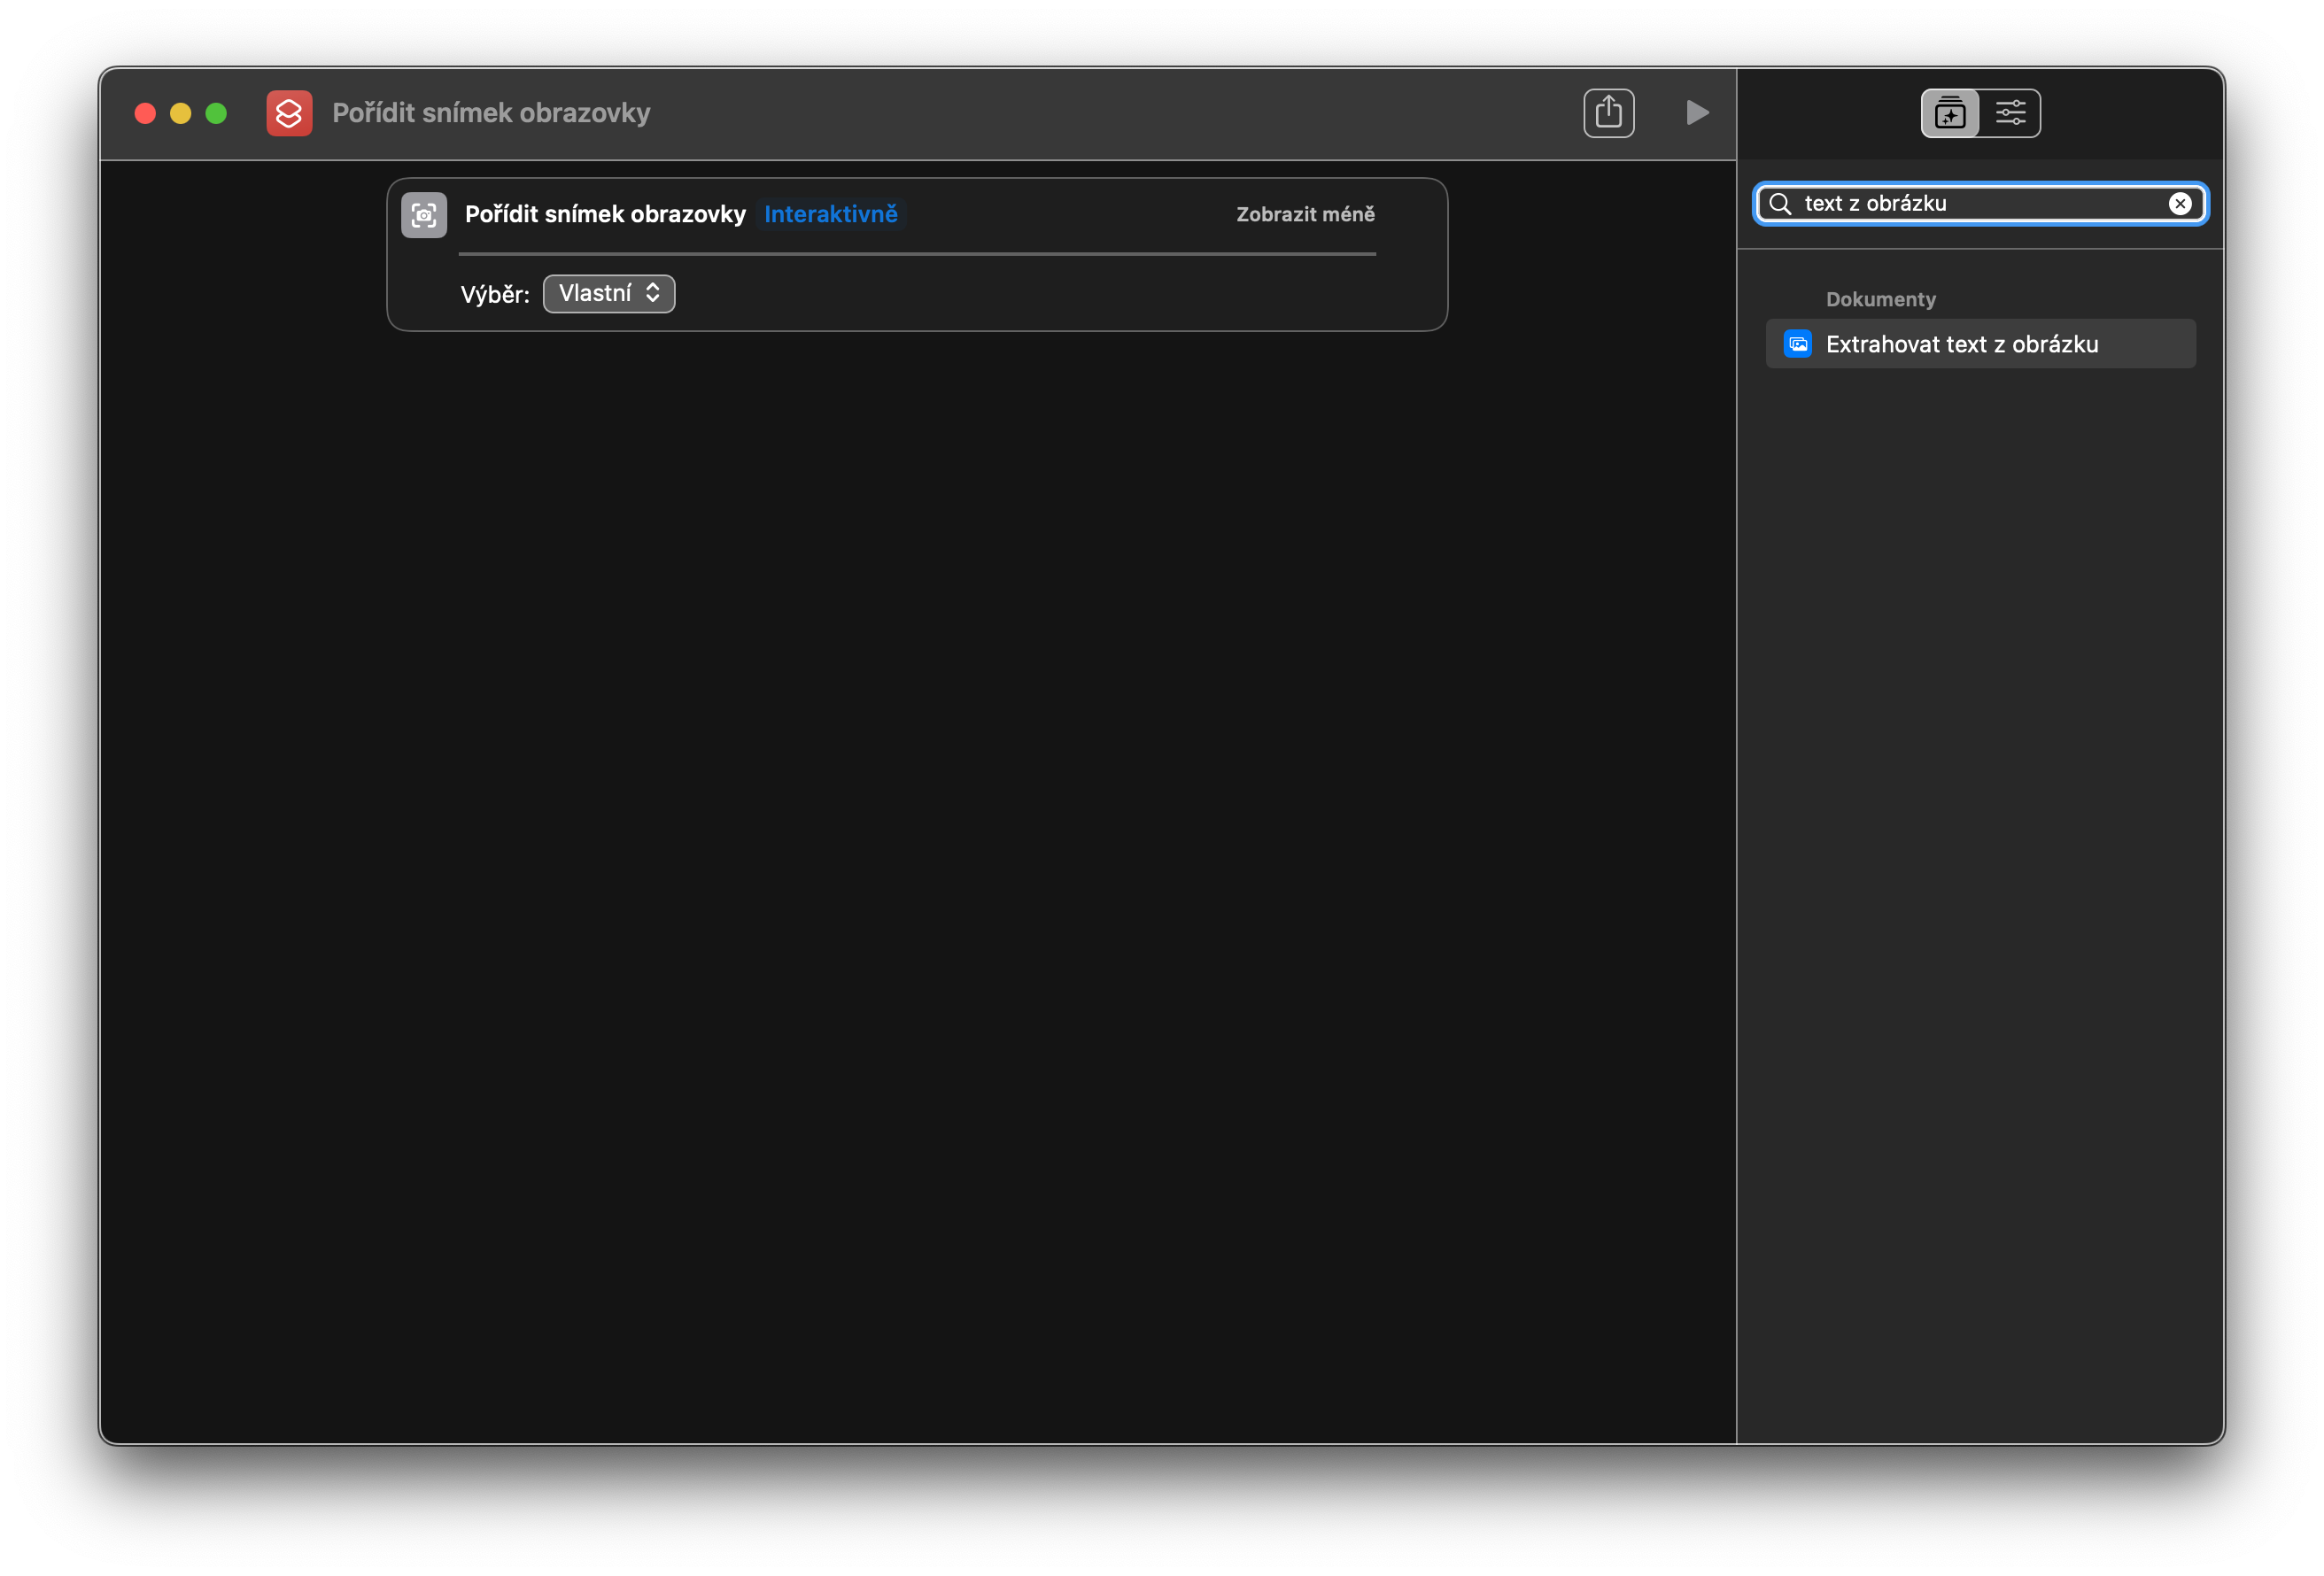
- In the text field in the panel on the right side of the Shortcut window, enter Take a screenshot and double-click on the inscription - a panel with the corresponding step should now appear in the main window in which you are building the shortcut.
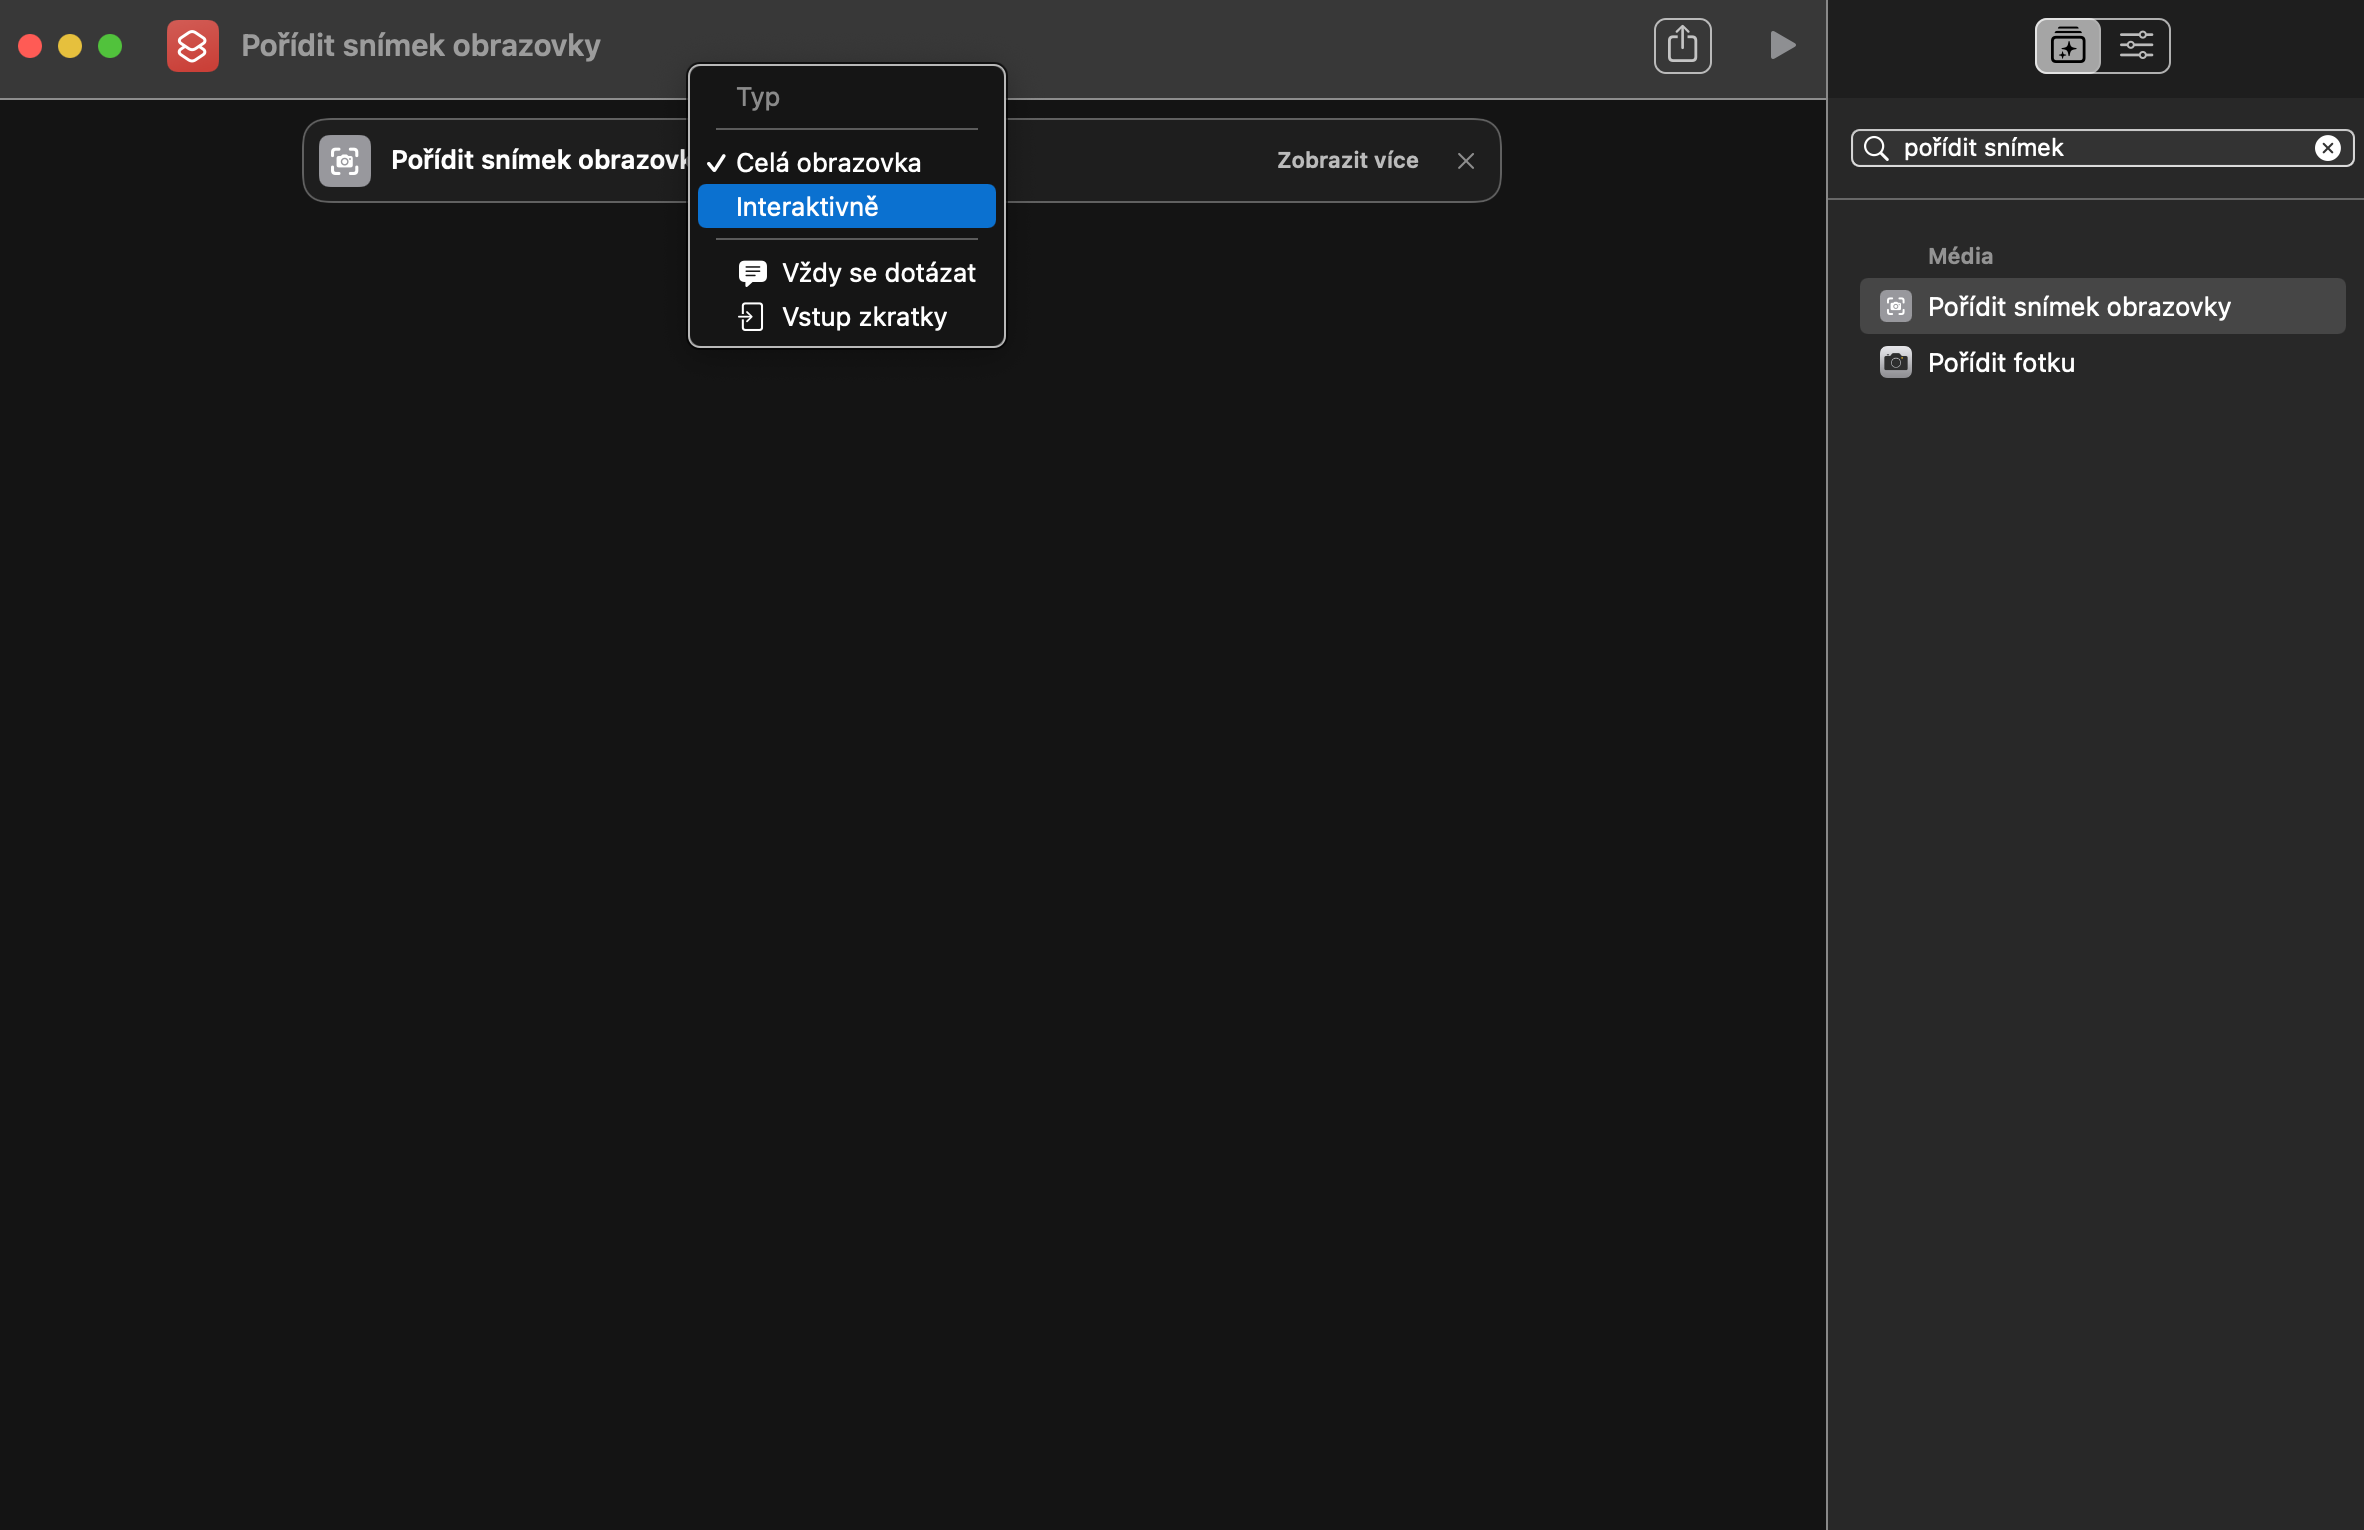
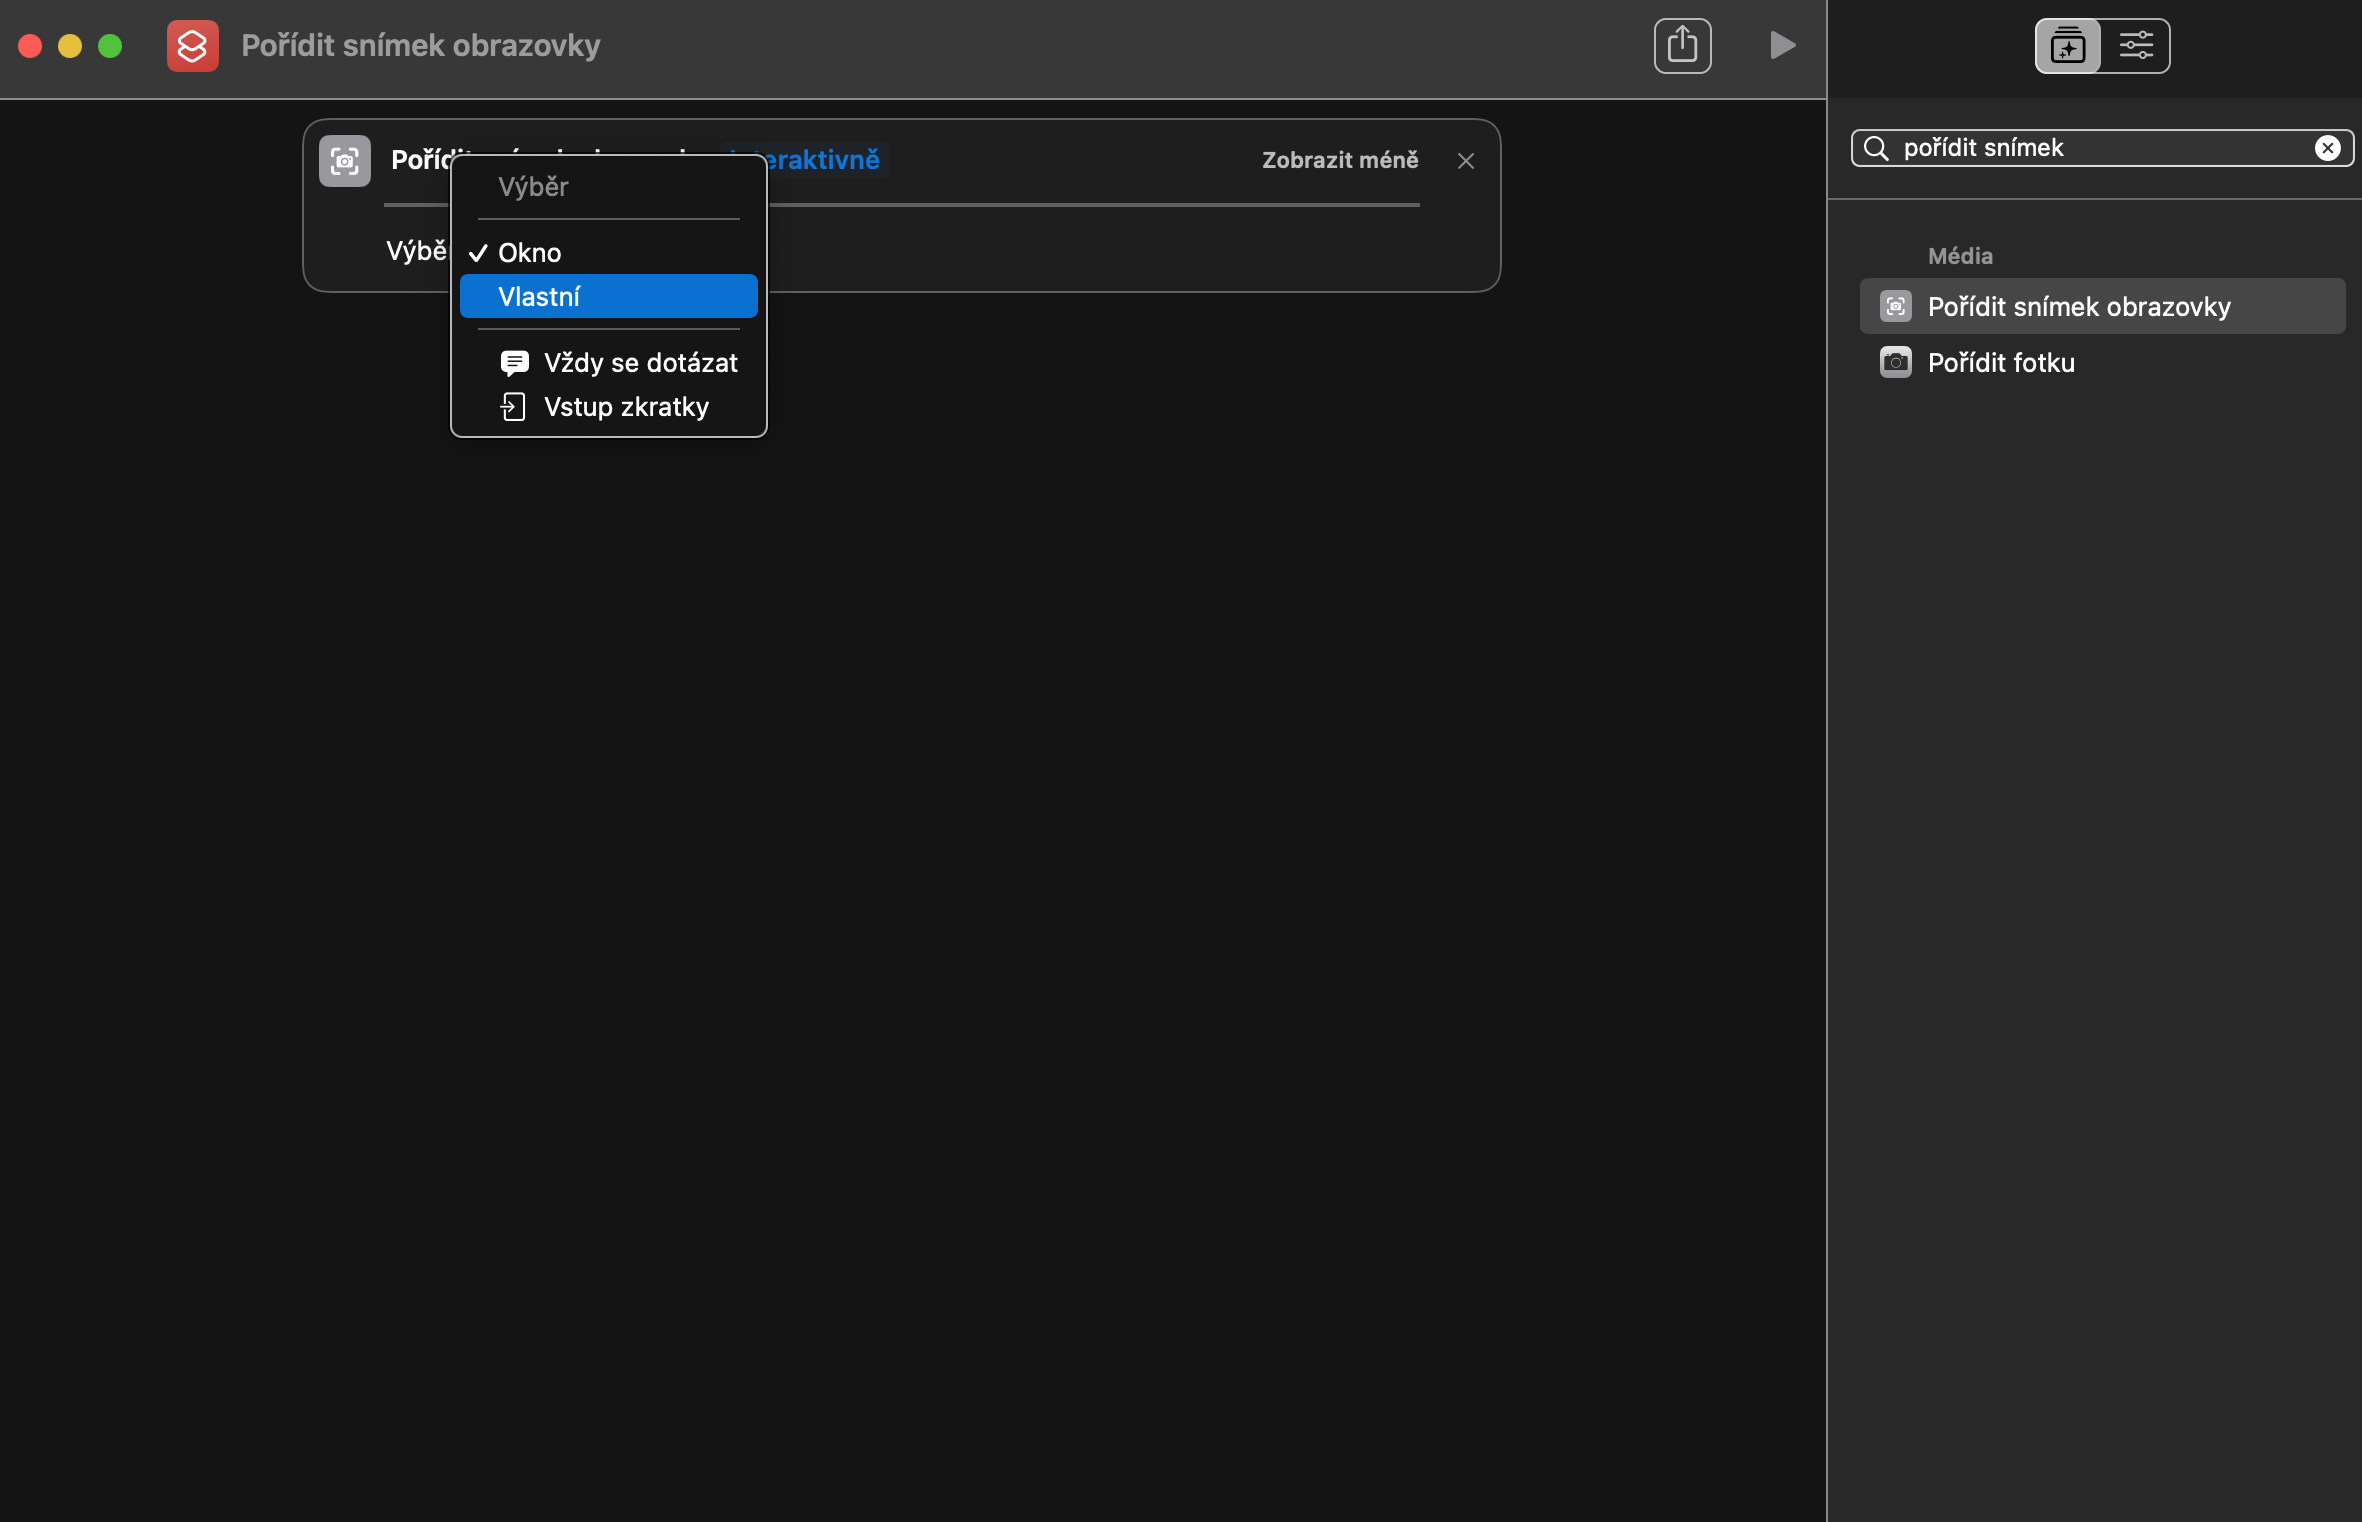
- Now, on this panel, click on the blue inscription Full Screen and switch to the Interactive option. In the right part of the mentioned panel, click on Show more and in the drop-down window next to the Selection section, choose Custom. So we have a way to capture the screen content, and it's time to choose the procedure for loading the text.
- Move to the text field in the panel on the right side of the window and type "Extract text from image". Double-click again to move the item to the main window.
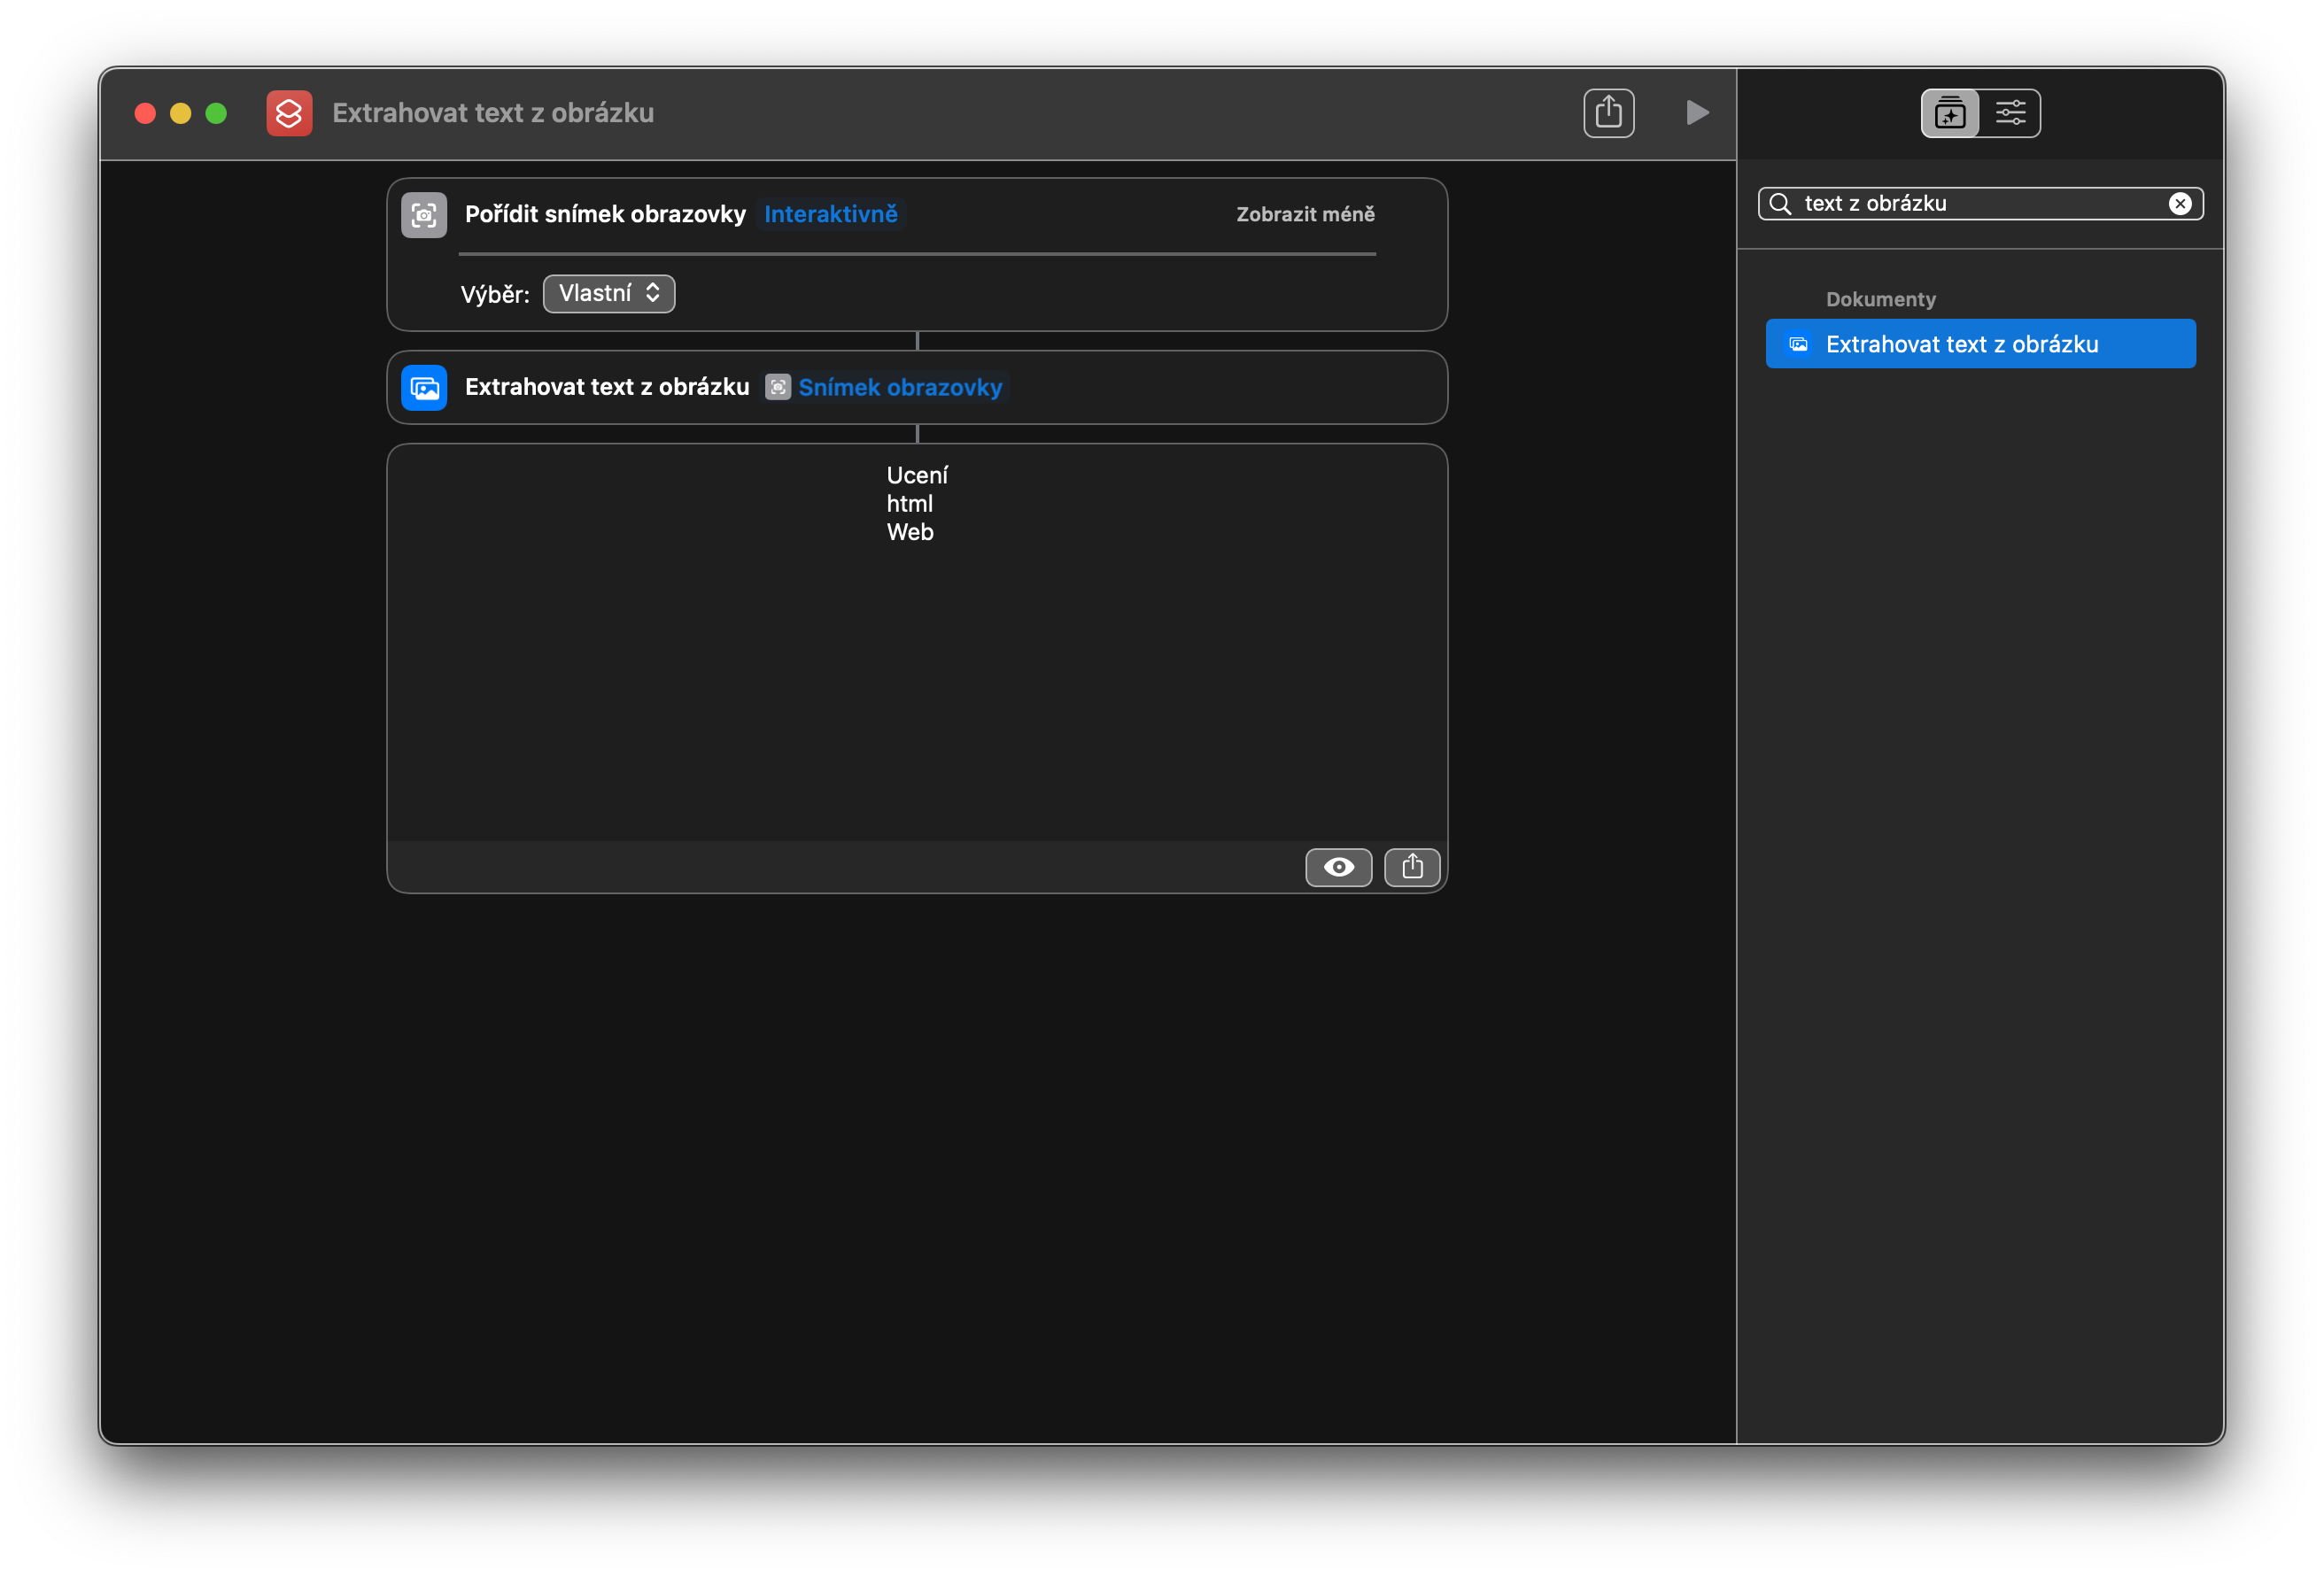
- You should be done at this point, and it's time to try out the shortcut. In the left part of the upper panel, click on the icon with the playback symbol. The cursor on your Mac's monitor should turn into a cross. Drag to make a selection from which you want to extract text and wait a moment.
If you created the shortcut correctly, the extracted text should appear as output in the main Shortcuts window. You can see screenshots of each step in the photo gallery in this article.
