Have you ever dreamed of getting a 3D printer, engraver, or any other similar machine at home? Many do-it-yourselfers may be, but a few things may have deterred most of them. Just a few years ago, the price of these devices was really high and you could say that you simply couldn't get below tens of thousands. So if you wanted your own 3D printer or engraver for less money, you had to buy it "unassembled" and assemble and program it at home.
It could be interest you
But these problems occurred a few years ago. As it happens in the field of technology, over time, inaccessible things become available, and so it is in the case of the aforementioned 3D printers and engravers. At the moment, you can buy various machines on various markets (especially Chinese ones, of course), which, although they come to you disassembled, are not at all difficult to assemble - as if you were assembling furniture from an unnamed Swedish department store. Considering that I am also one of these "do-it-yourselfers" and technology in the form of these home machines is of great interest to me and is not foreign to me, I personally decided to purchase an engraving machine, twice.
A few years ago, I had the idea to create my own luxury material covers. However, selling covers only made of luxury material is not very interesting. It occurred to me that it might be nice to "spice up" this material in a way - with customer personalization. The thought of burning formed in my head. So I decided to look up some information and that's how I got to the engraving machine. It didn't take long at all and I decided to order my first own engraving machine, from NEJE. It cost me about four thousand two years ago, even with customs duties. As far as the specifications are concerned, I was able to engrave an area of approx. 4 x 4 cm, which was sufficient in the days of the iPhone 7 or 8 without any problems. Controlling my first engraver was very simple – I set the laser power in the program, put an image in it and started engraving.
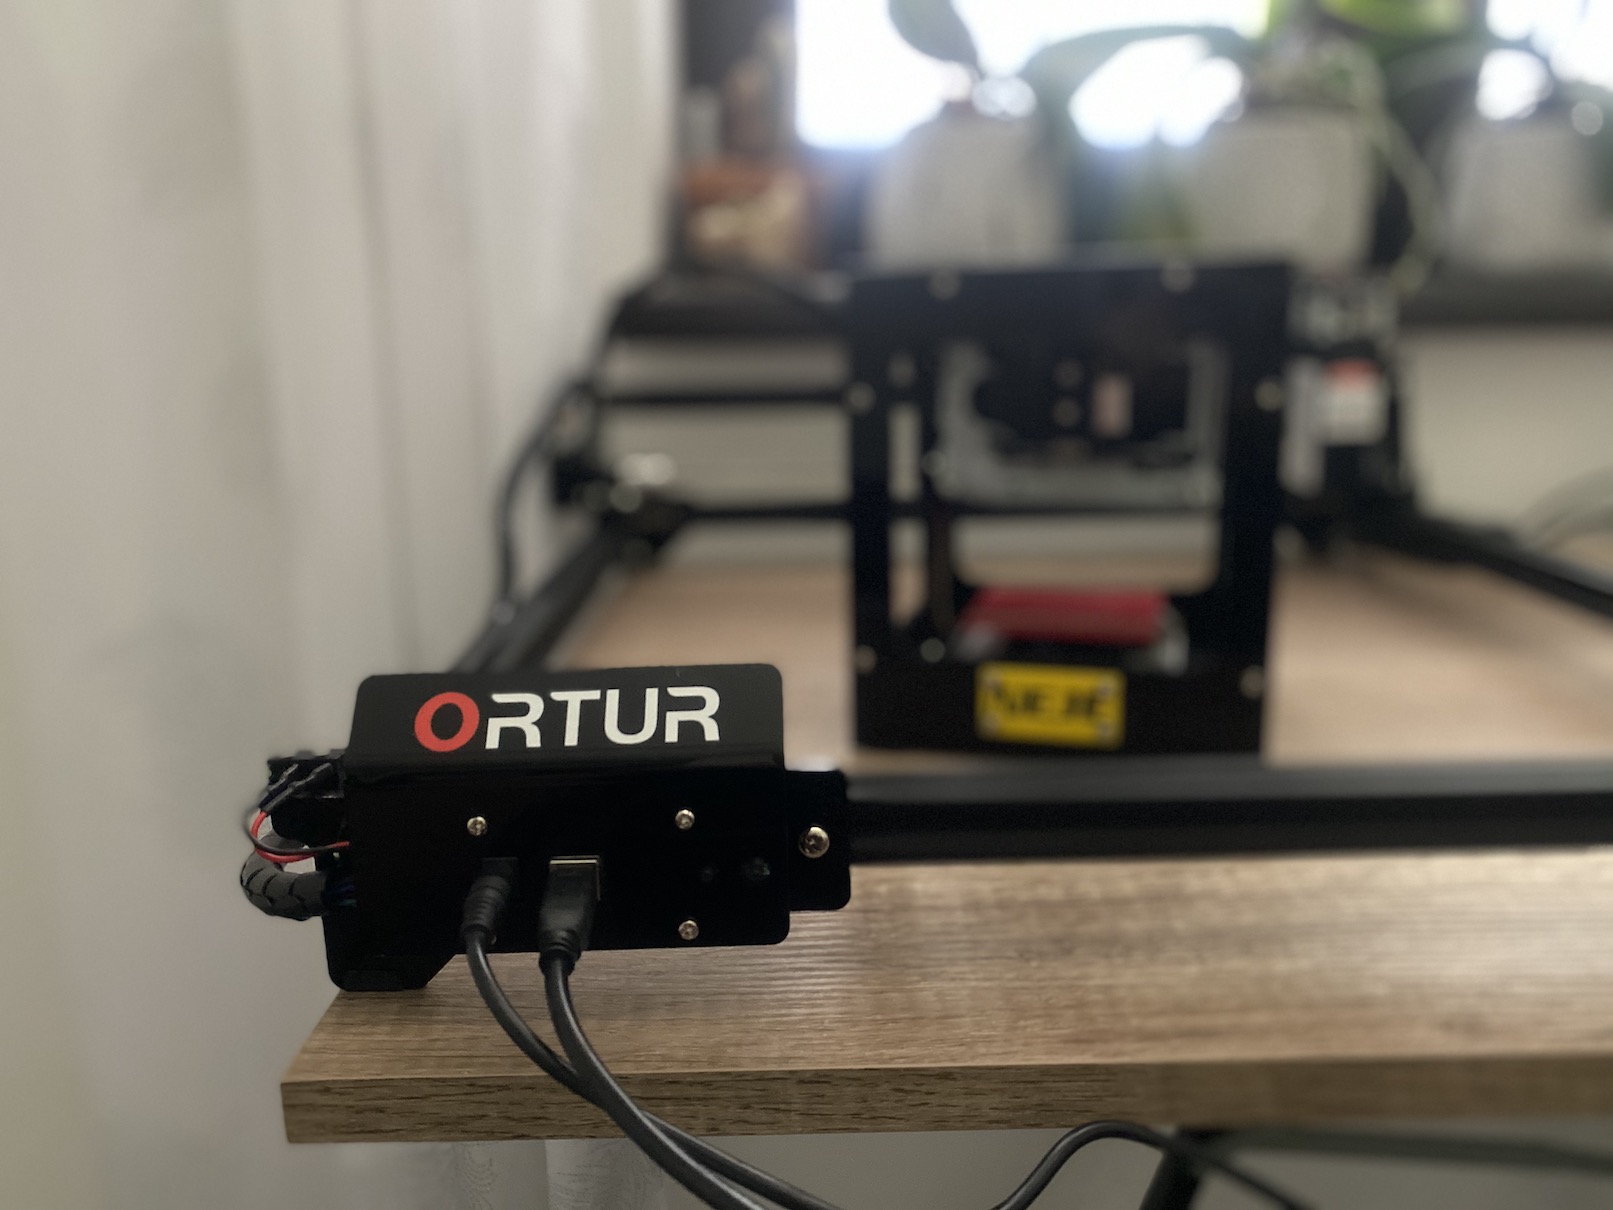
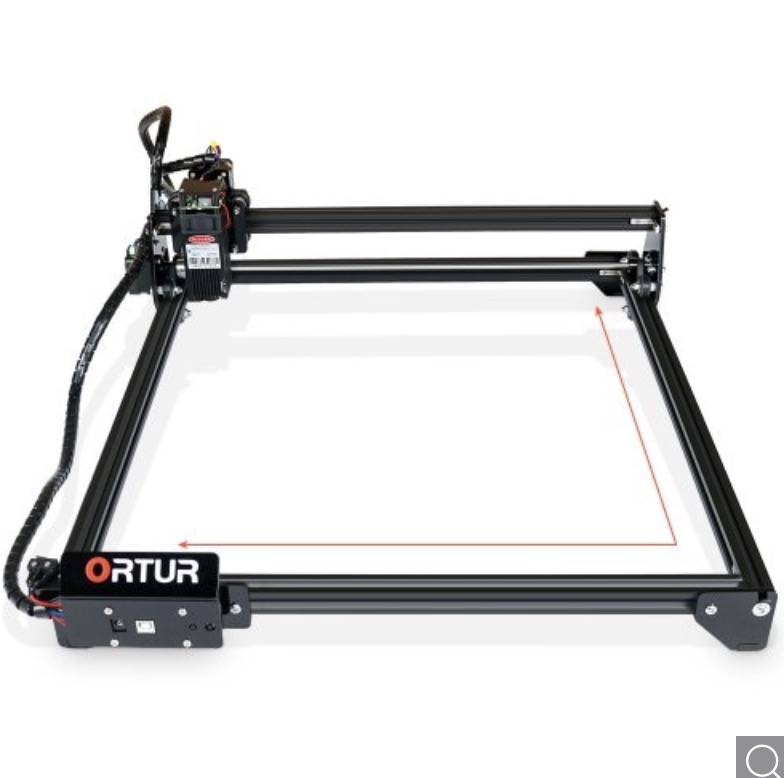
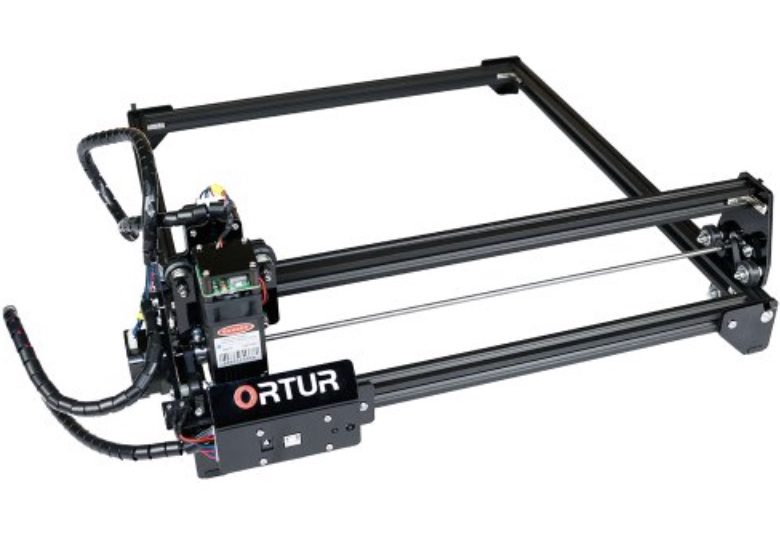
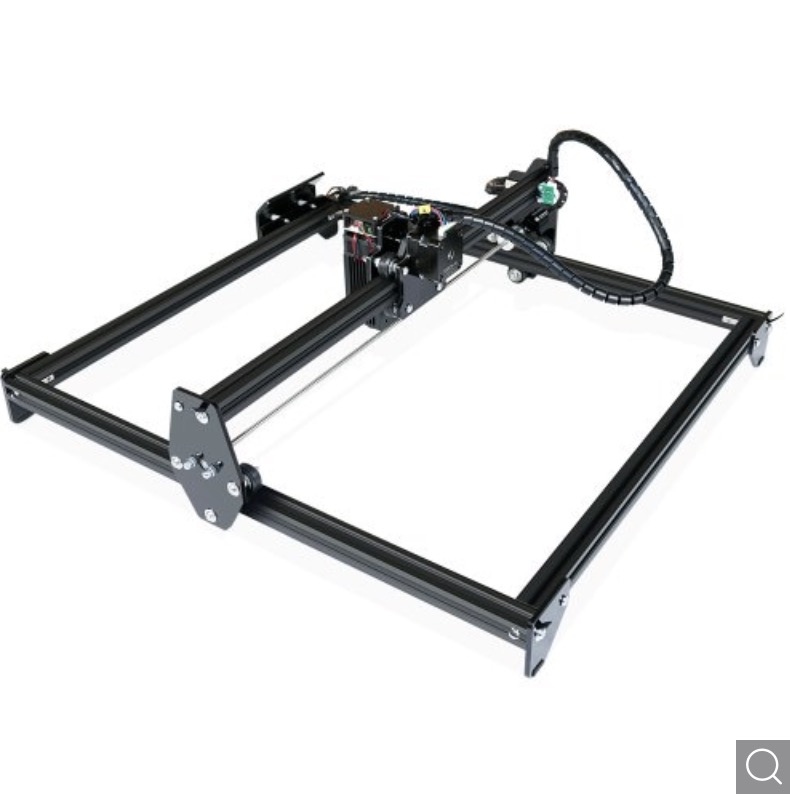
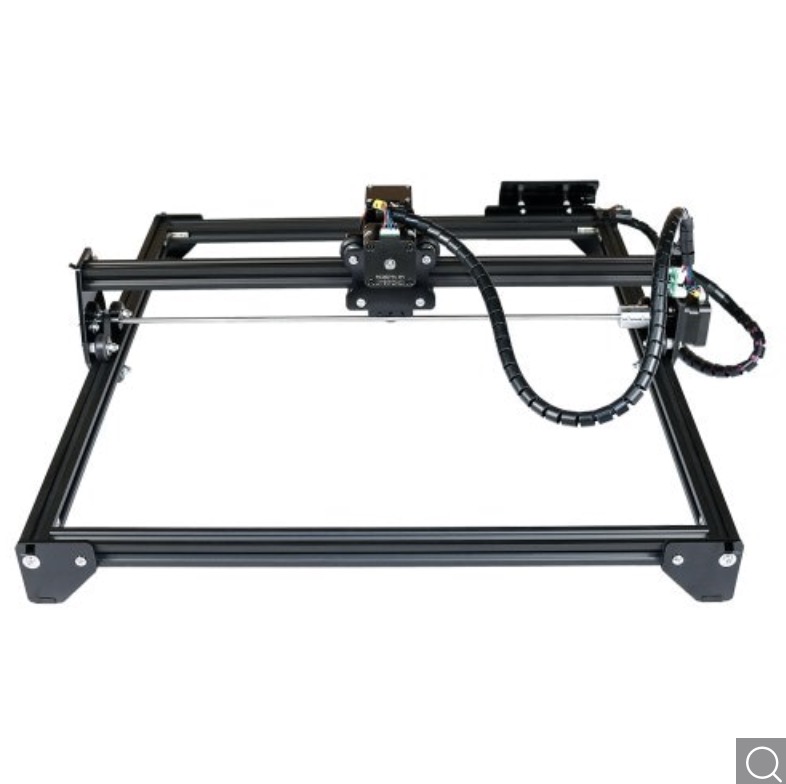
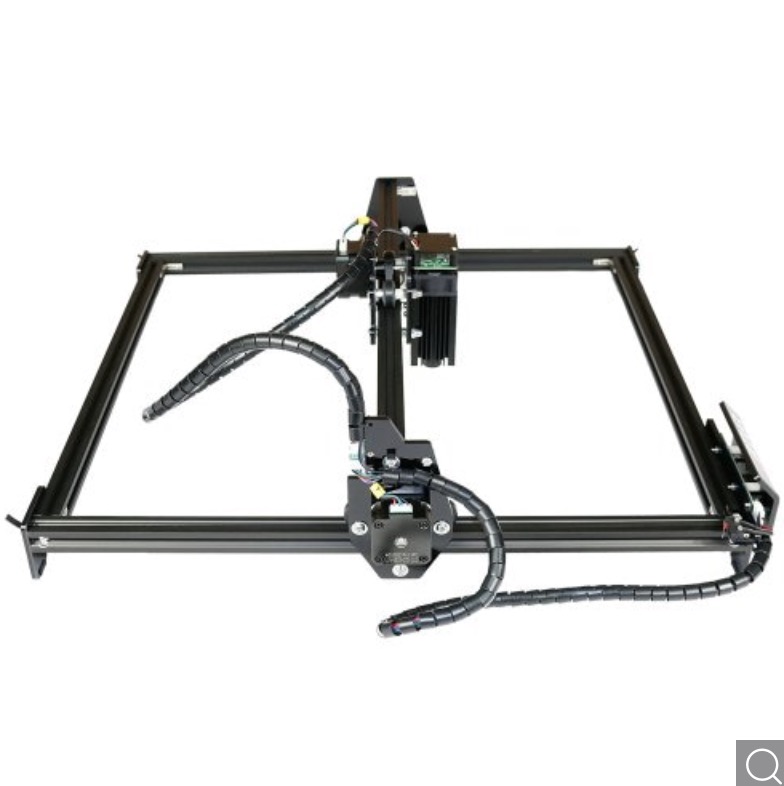
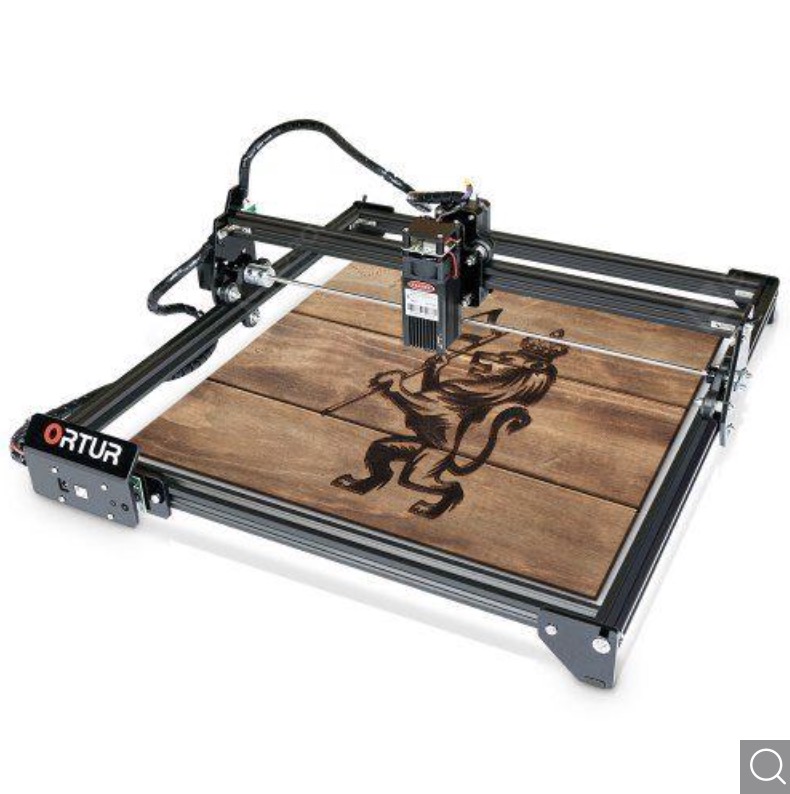
As you probably know, in recent years Apple decided to enlarge its "annual" model with the designation X - and thus the XS Max model was created, this year it was supplemented by a new series in the form of the 11 Pro Max. And in this particular case, the 4 x 4 cm engraving was no longer sufficient. So I decided to order a new engraver - and after those two years I looked at the new types with open mouth. The progress in this case was really incredible, and for the same money I could have bought an engraving machine that could engrave an area almost ten times larger. In the case of these things, I do not try to be modest and I am happy to pay extra for quality or verified products. So I decided on the ORTUR Laser Master 2 engraver, which I liked both because of its price, because of its appearance, and because of its popularity.
Ortur Laser Master 2:
After ordering, the engraver arrived from Hong Kong after about four working days, which I definitely did not expect. In any case, as is the case with these more expensive items from abroad, it is necessary to pay VAT (and possibly customs duties). That cost me about 1 crowns, so the engraver cost me a little around seven thousand in total. Solving surcharges is very simple for transport companies these days. The company contacts you, you create some kind of identifier at the customs office, which you then enter into the web application with your data, and it's done. After that, all you have to do is describe exactly what is in the package and wait for the pricing. The surcharge can then be paid by credit card. You can blow through the entire process of dealing with these surcharges in one day, in about fifteen minutes.
It could be interest you
I, as a big impatient person, of course had to assemble the engraver immediately after the package arrived at home. The engraver comes packaged in an oblong box that is lined with polystyrene to prevent damage. In my case, in addition to the engraver, the package contained assembly and use instructions and materials with which I could test the engraving machine. As for the assembly itself, it took me about two hours. This is not to say that the instructions were completely inaccurate, but it is true that not all the steps in it were explained exactly. After construction, it was enough to connect the engraver to the computer and the network, install the drivers with the program and it was done.
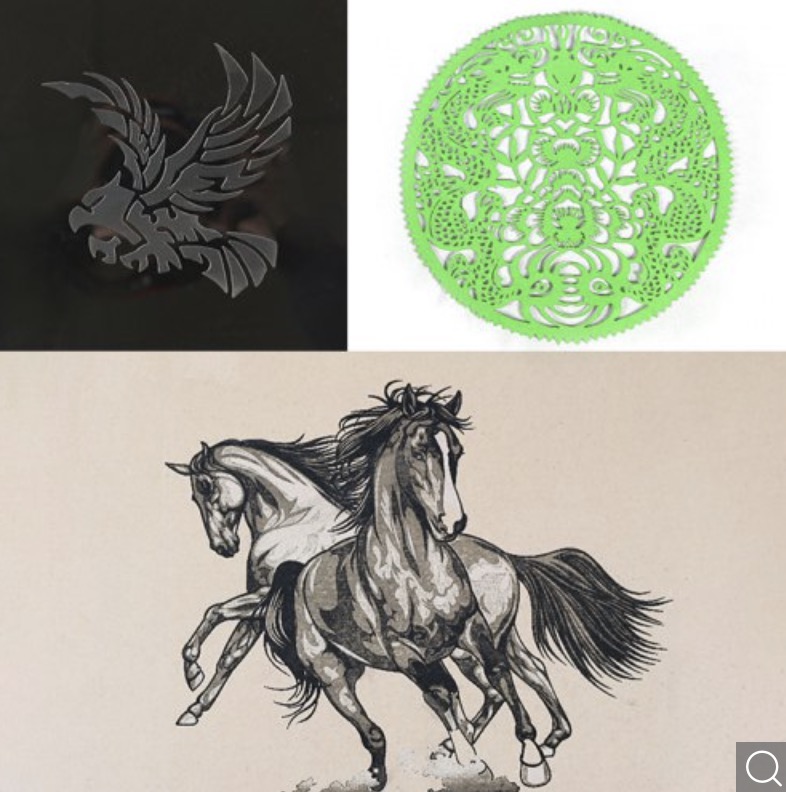
This is also how the final products made with the engraving machine can look like:
And what do I even want to say with this article? To all people who for some reason are afraid to order from China (e.g. from AliExpress), I would like to say that it is definitely not complicated, and most importantly, the whole process is safe. Most people are afraid to order an item from Chinese online markets for a few tens of crowns, and that for absolutely no reason. Even the smallest shipments can usually be tracked using a tracking application, and if the package somehow gets lost, just report it to support, who will immediately refund your money. If this article was a success and you liked it, I would love to turn it into a mini-series in which we could take a closer look at the selection, construction and use of the engraver itself. If you would appreciate such articles, be sure to let me know in the comments!
It definitely needs to be continued, I am very interested in the topic! :) Isn't there an unpleasant smell when engraving, etc.?
I am very glad that you are interested in this, so I will write more parts :-)
It depends on what you are engraving into. As for the fabric, of course you can feel it quite a bit, just like when you engrave wood (as if something were burning). However, it's nothing that can't be aired out in a few tens of minutes, but if you stay in that room longer, you might get a headache. It is not a particularly aggressive smell, it can be endured.
Thanks for the reply and I look forward to the next parts!
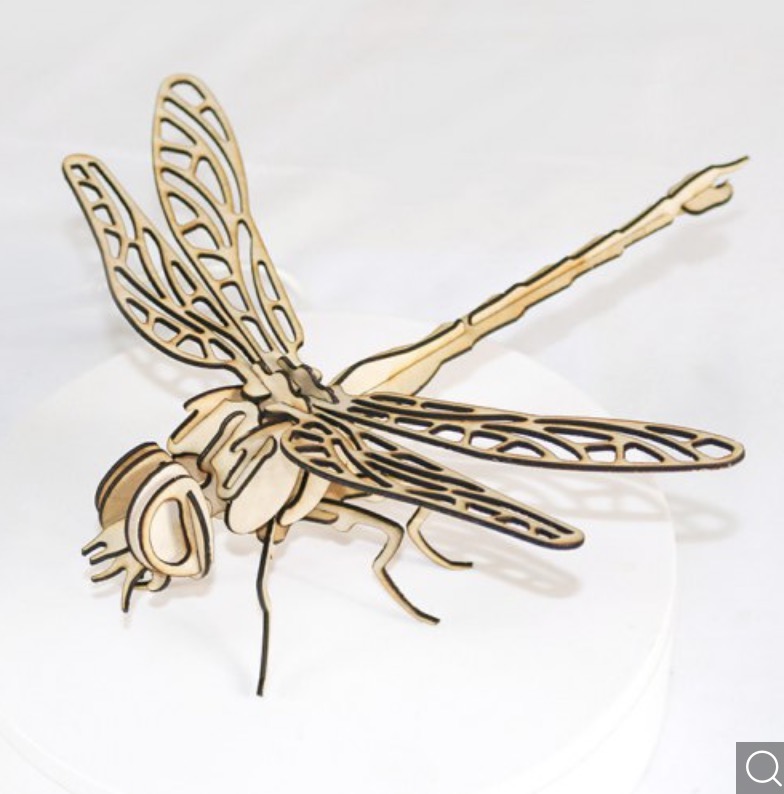
You can also bake with the engraver, plywood puzzles, see that wooden dragonfly? Is that laser so powerful it burns through plywood? Thanks for the info
Yes, 3D models can also be burned with it
Definitely a good topic. This was more about the purchases from China, but now it would really be more about the actual engraving on the Mac. It is compatible with MacOS X, what image format is used, how the images must be adjusted before burning, how to check that the result will be burned onto the object exactly and in the required size. Just practical experience. Thanks?
I will definitely go for it, I just wanted to find out with this article if the other parts will be of interest to readers... :) thank you for the feedback.
Definitely interesting, thanks. Would it be worth writing what materials can be worked with and how (to "burn through" plywood to strength X....) glass? what does it do on the mirror? I look forward to the next parts
Classically, the laser beam would be reflected away from glass and it would not do anything, in any case, you can also engrave on glass with the figle :)
Can you tell me the trick to engraving glass? :-) I bought a cheap "China" one, so I'm trying it. (3W laser)
Where did you order it from please? That you had it at home within 4 days?
If you are lucky, you will have it at home in this short time via DHL. Maximum around 10 days.
What about a possible complaint? Can it also be handled through support? 5000 – 6000 is not enough.
Can you post a link to where exactly you bought it? What shop.? Alternatively, please email it to me. Riharo1@gmail.com. Thank you
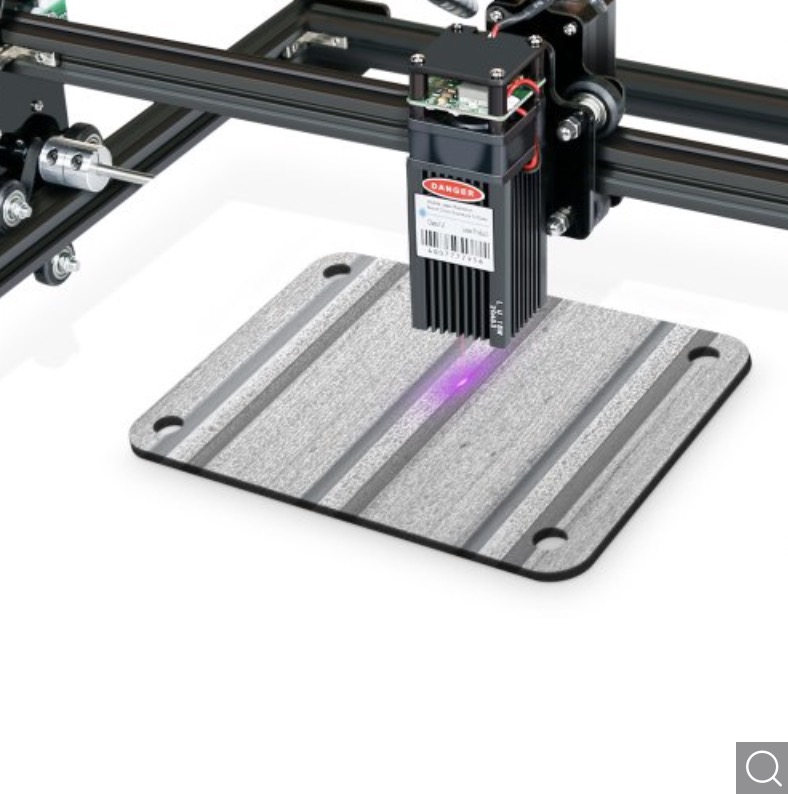
What kind of strong engraver should I buy so that it can also engrave inscriptions on sheet metal or aluminium. Thank you