In the previous, i.e. the sixth, part of our series We start with engraving, we finally got down to engraving itself. We explained how to focus the laser, aim the object and start the engraving itself. Anyway, some of you have complained in the comments that the entire procedure is for Windows. Despite the fact that installing Windows via Boot Camp or Parallels Desktop is not complicated at all, I understand that some of you do not want to do this. Therefore, in this and the following parts, we will show how you can engrave using the LightBurn application also on macOS.
It could be interest you
LightBurn as the only application for macOS
About the program light burn I already mentioned it in one of the first parts of our series - specifically, when we imagined the most popular and best programs for engraving, which include LightBurn and LaserGRBL. We focused on the LaserGRBL program mainly because it is suitable for beginners who just want to learn engraving. Unfortunately, I could not find any such simple program for beginners on macOS. So, if you only have macOS at your disposal, you will have to jump straight into the LightBurn application, which offers many more different functions and is generally more complex and complicated.
But definitely don't worry - in this and the following installments, I'll do my best to explain LightBurn engraving on Mac in a way that you can understand. In this piece, we'll look at where to download LightBurn, how to install it, and how to identify your engraver so you can work with it. At the outset, it is worth noting that the LightBurn application is paid. Fortunately, you can try it for free for the first month with all the features. Once this period has passed, you will need to purchase a license, the price of which varies according to the type of engraver you have. My engraver, which we work with all the time, the ORTUR Laser Master 2, uses GCode - this license costs $40.
You can download LightBurn or purchase it later here.
You can buy ORTUR engravings here
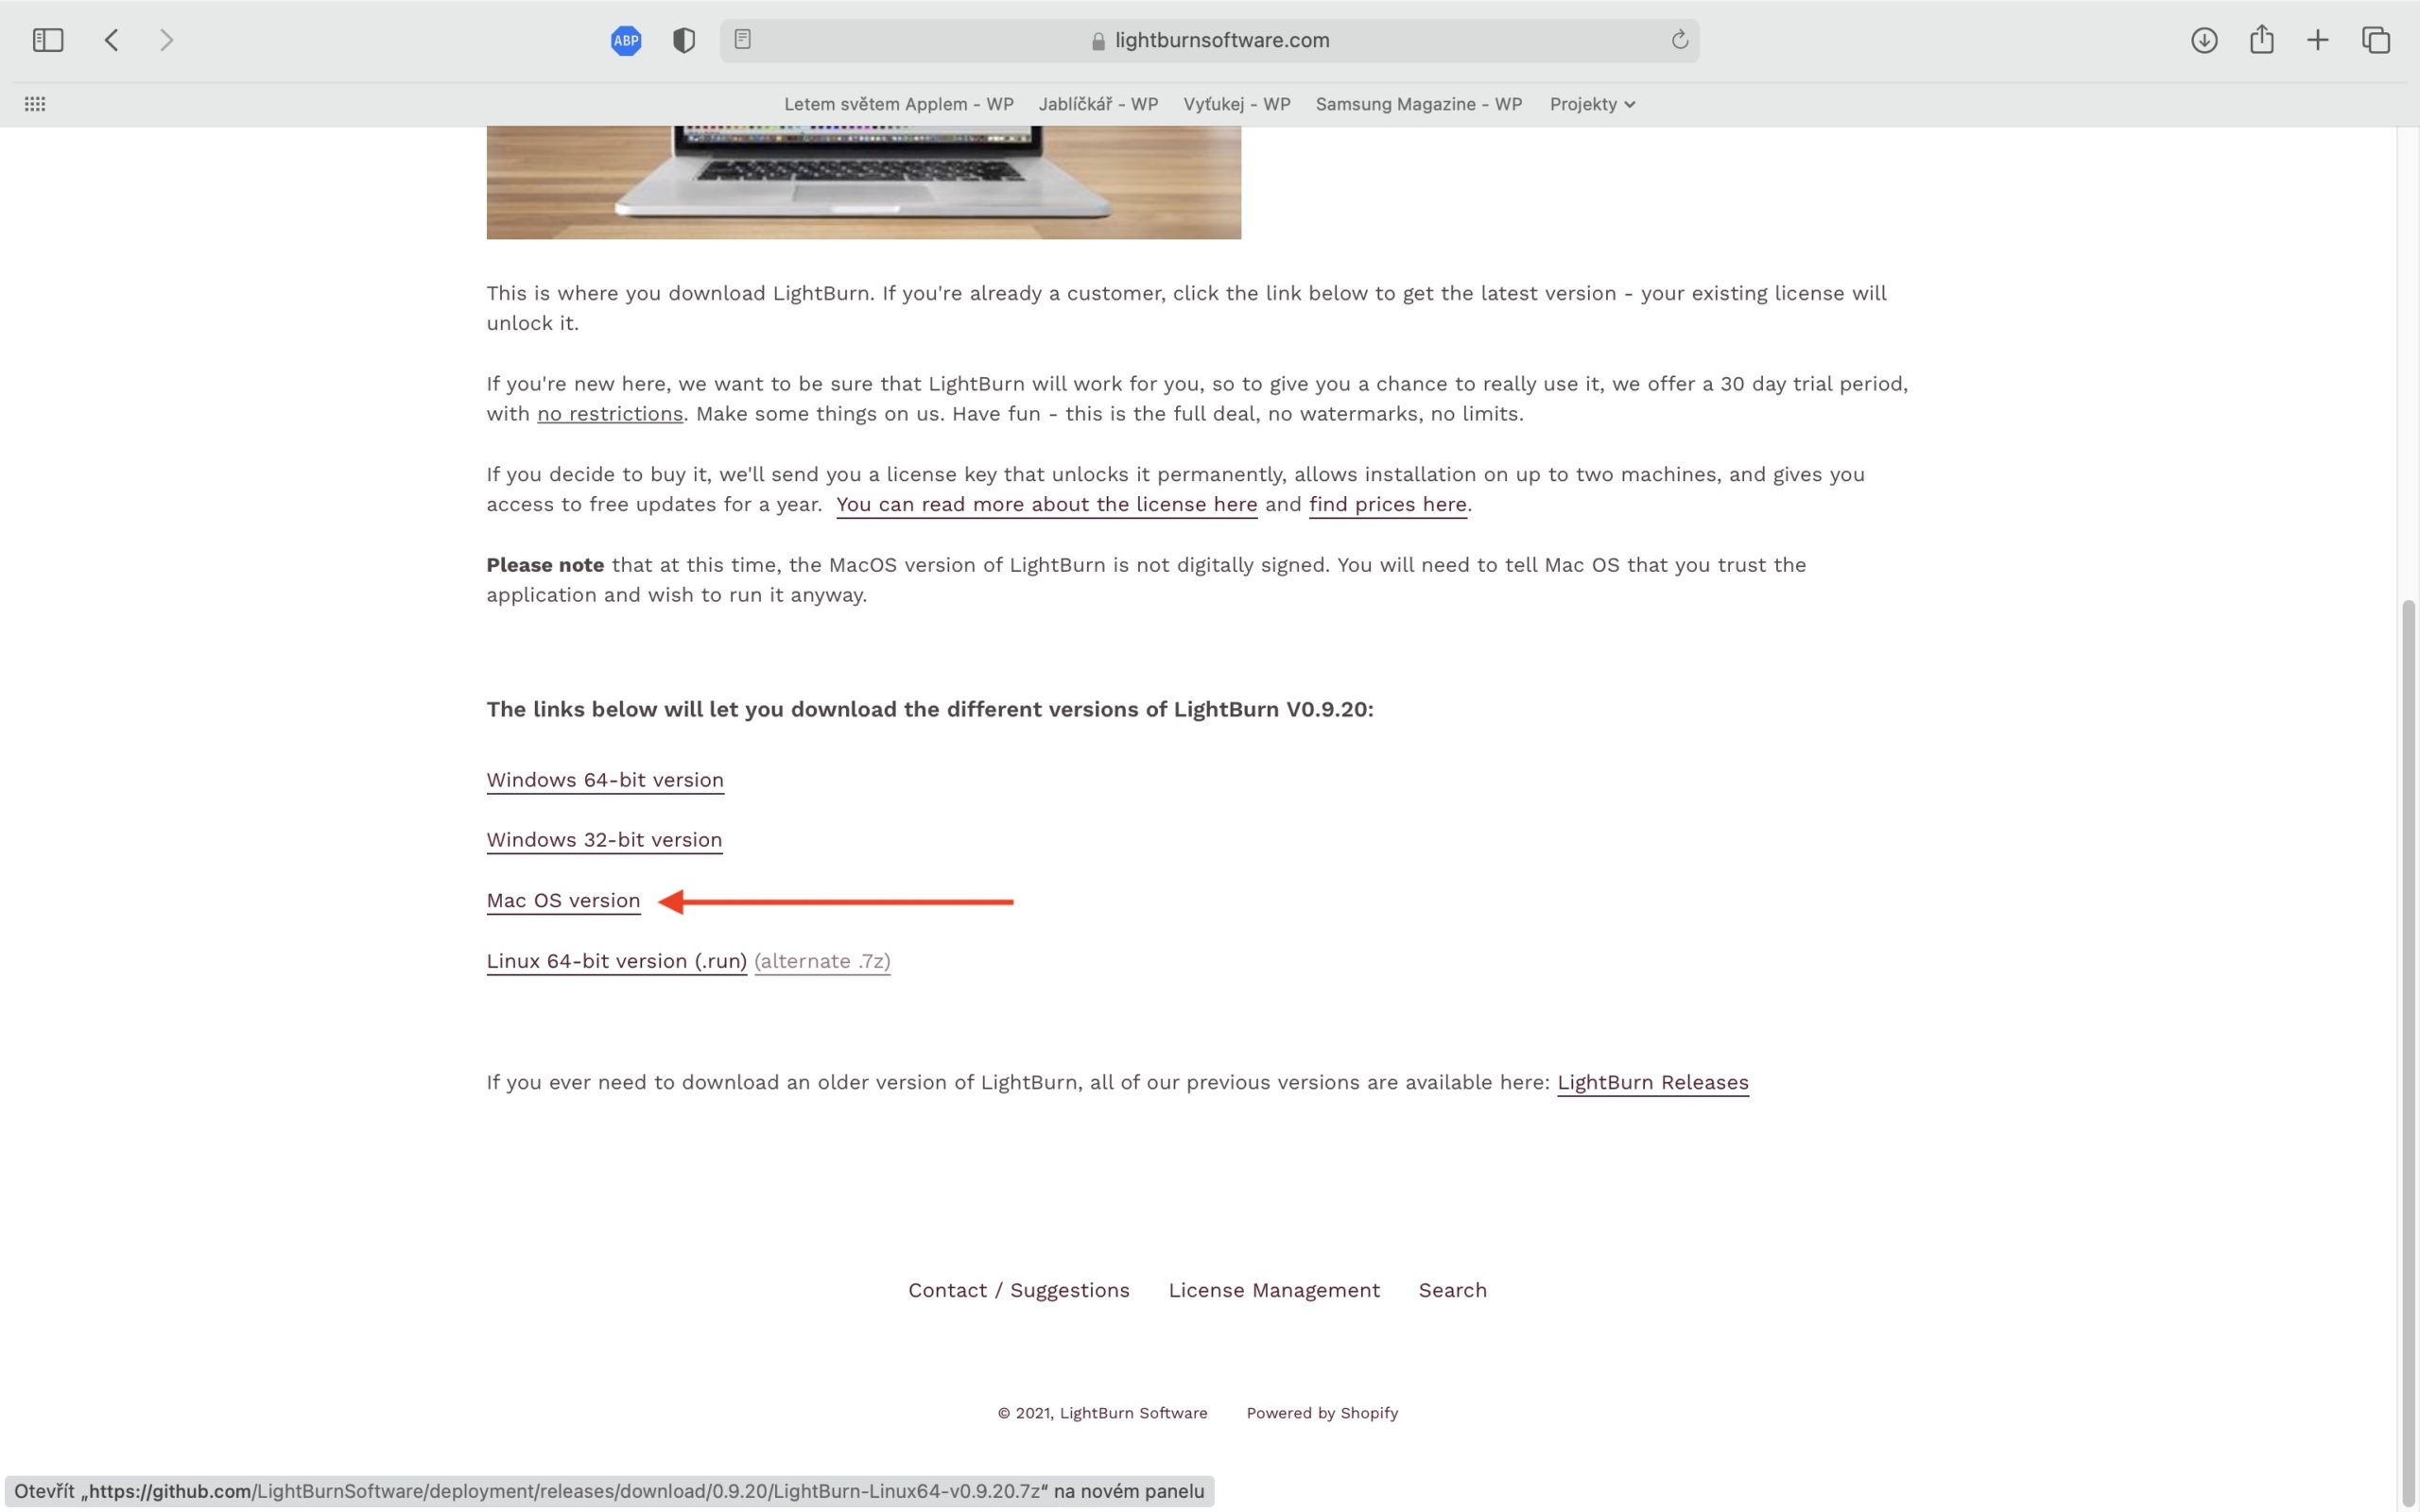
Download, install and trial version
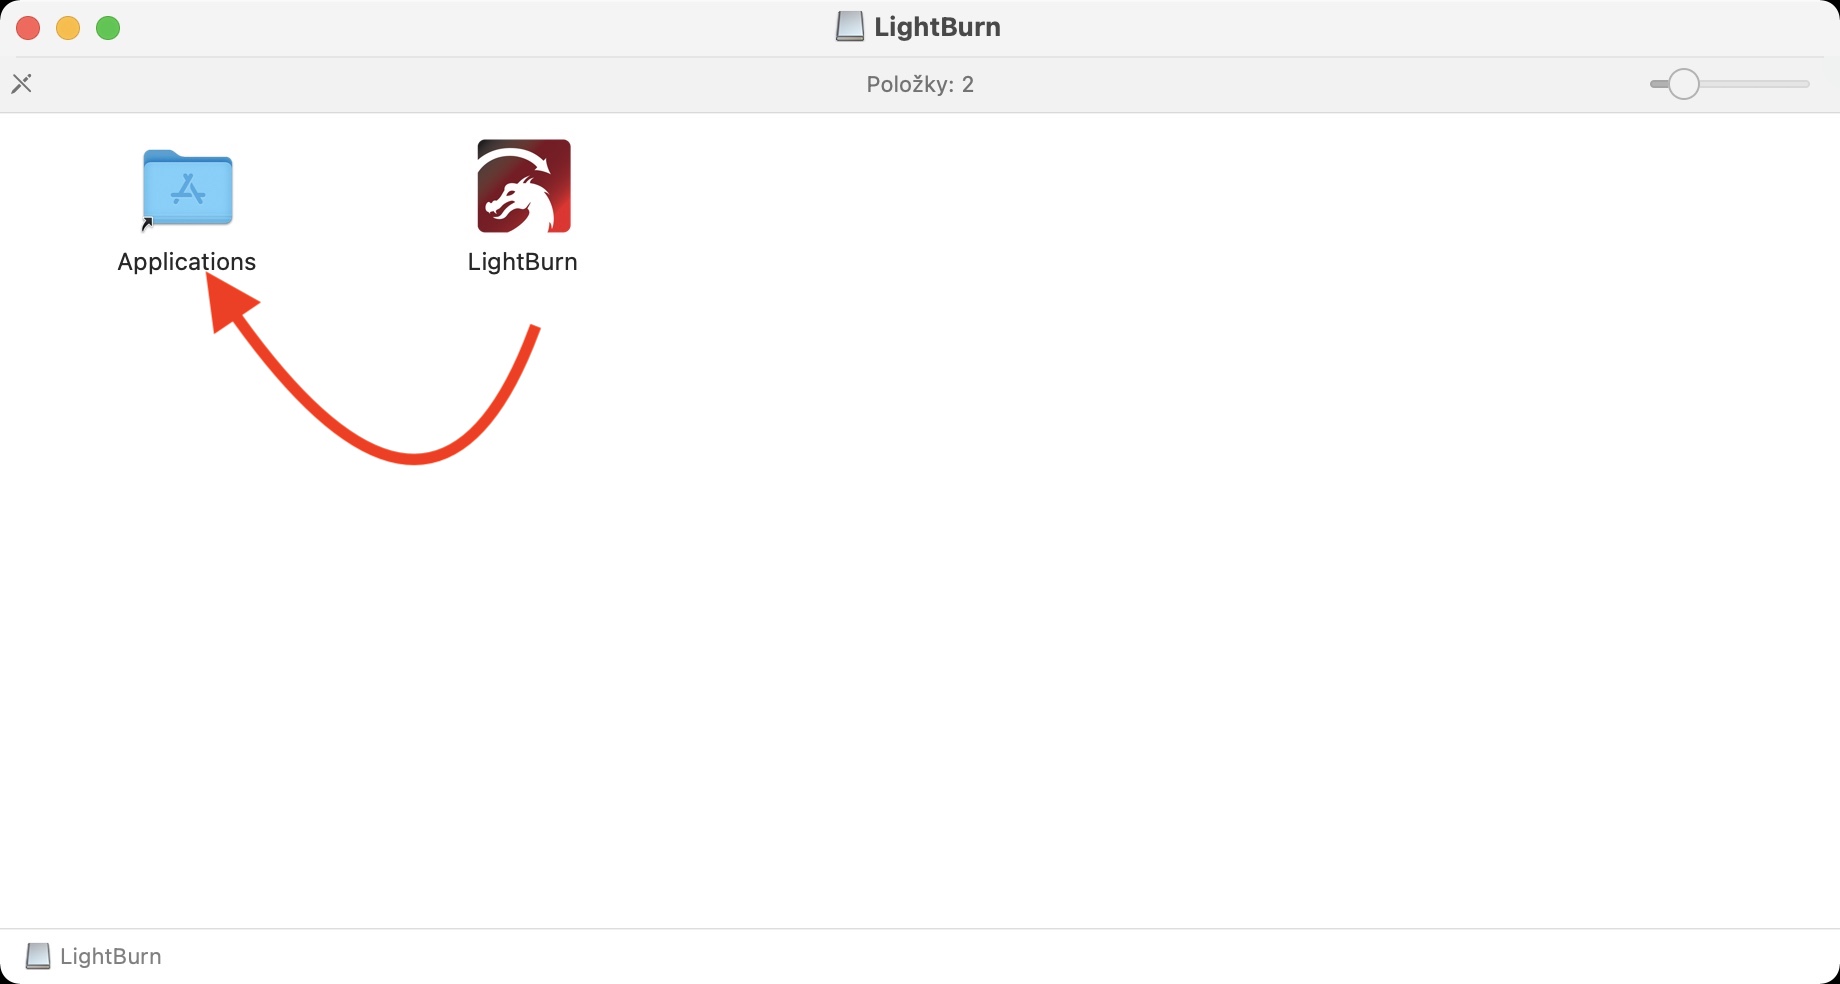
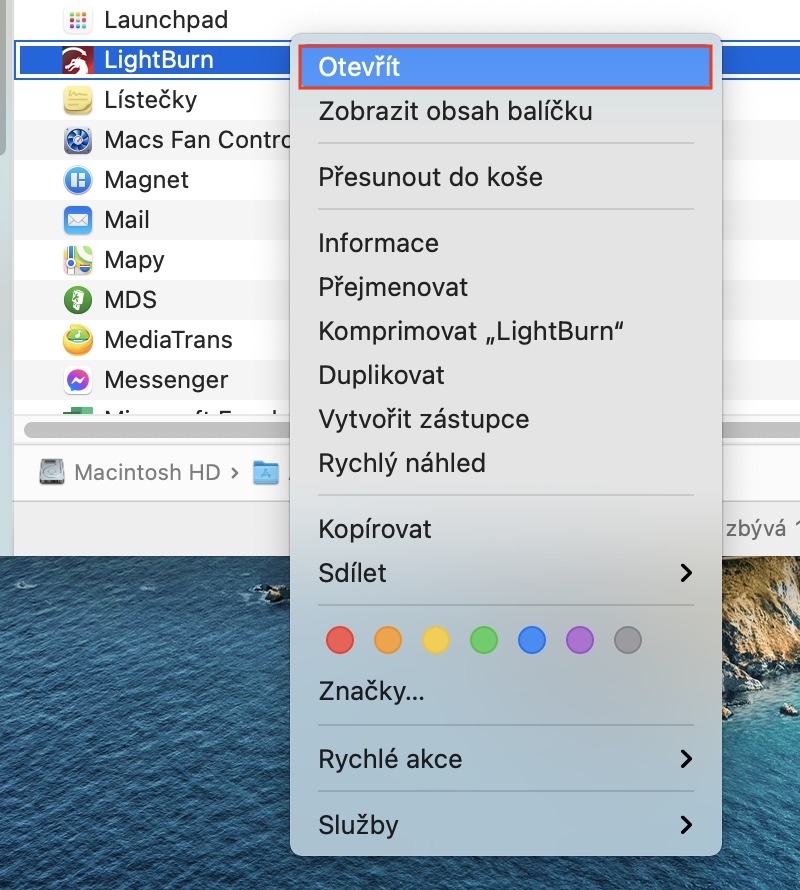
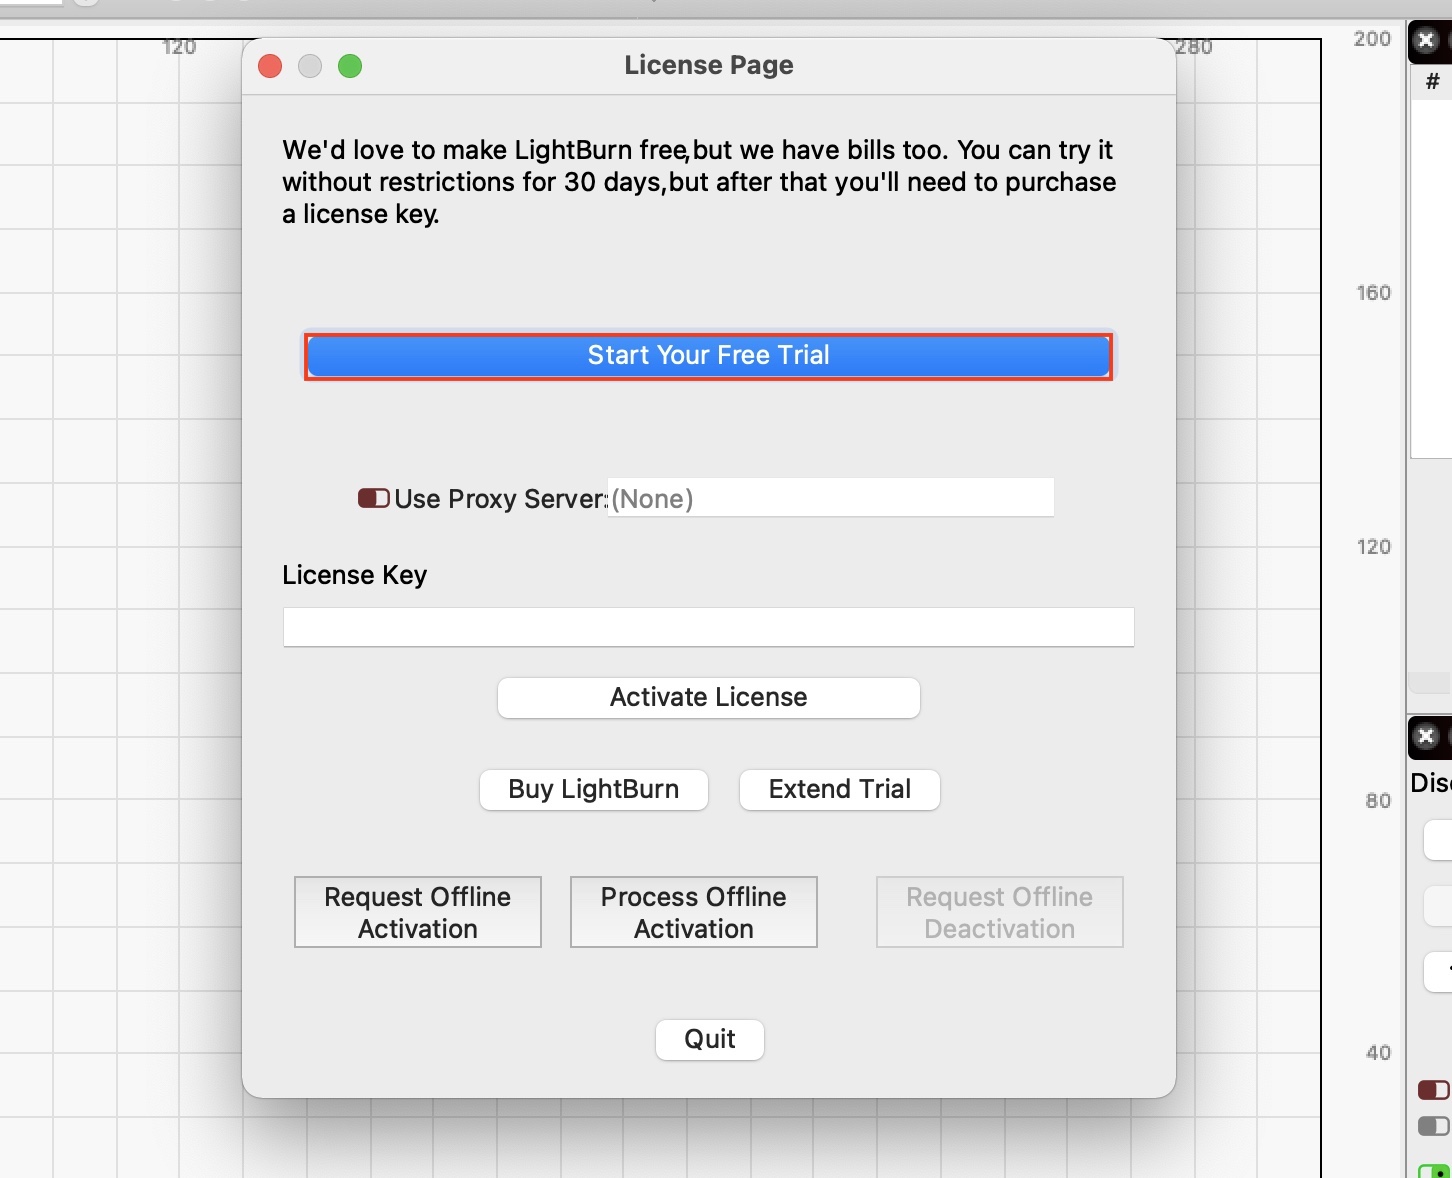
Once you've done the download, that's enough for the file tap. Then the classic "installation" window will open, in which it is enough Move LightBurn to the Applications folder. Immediately after that, you can rush to start the program. If you cannot open LightBurn normally, you need to click on the application icon right click, then they chose the option Open and confirmed this option in the dialog box. After the first launch, it is necessary to confirm the trial version - so click the button Start Your Free Trial. Immediately after that, another window will appear, which confirms the start of the trial version.
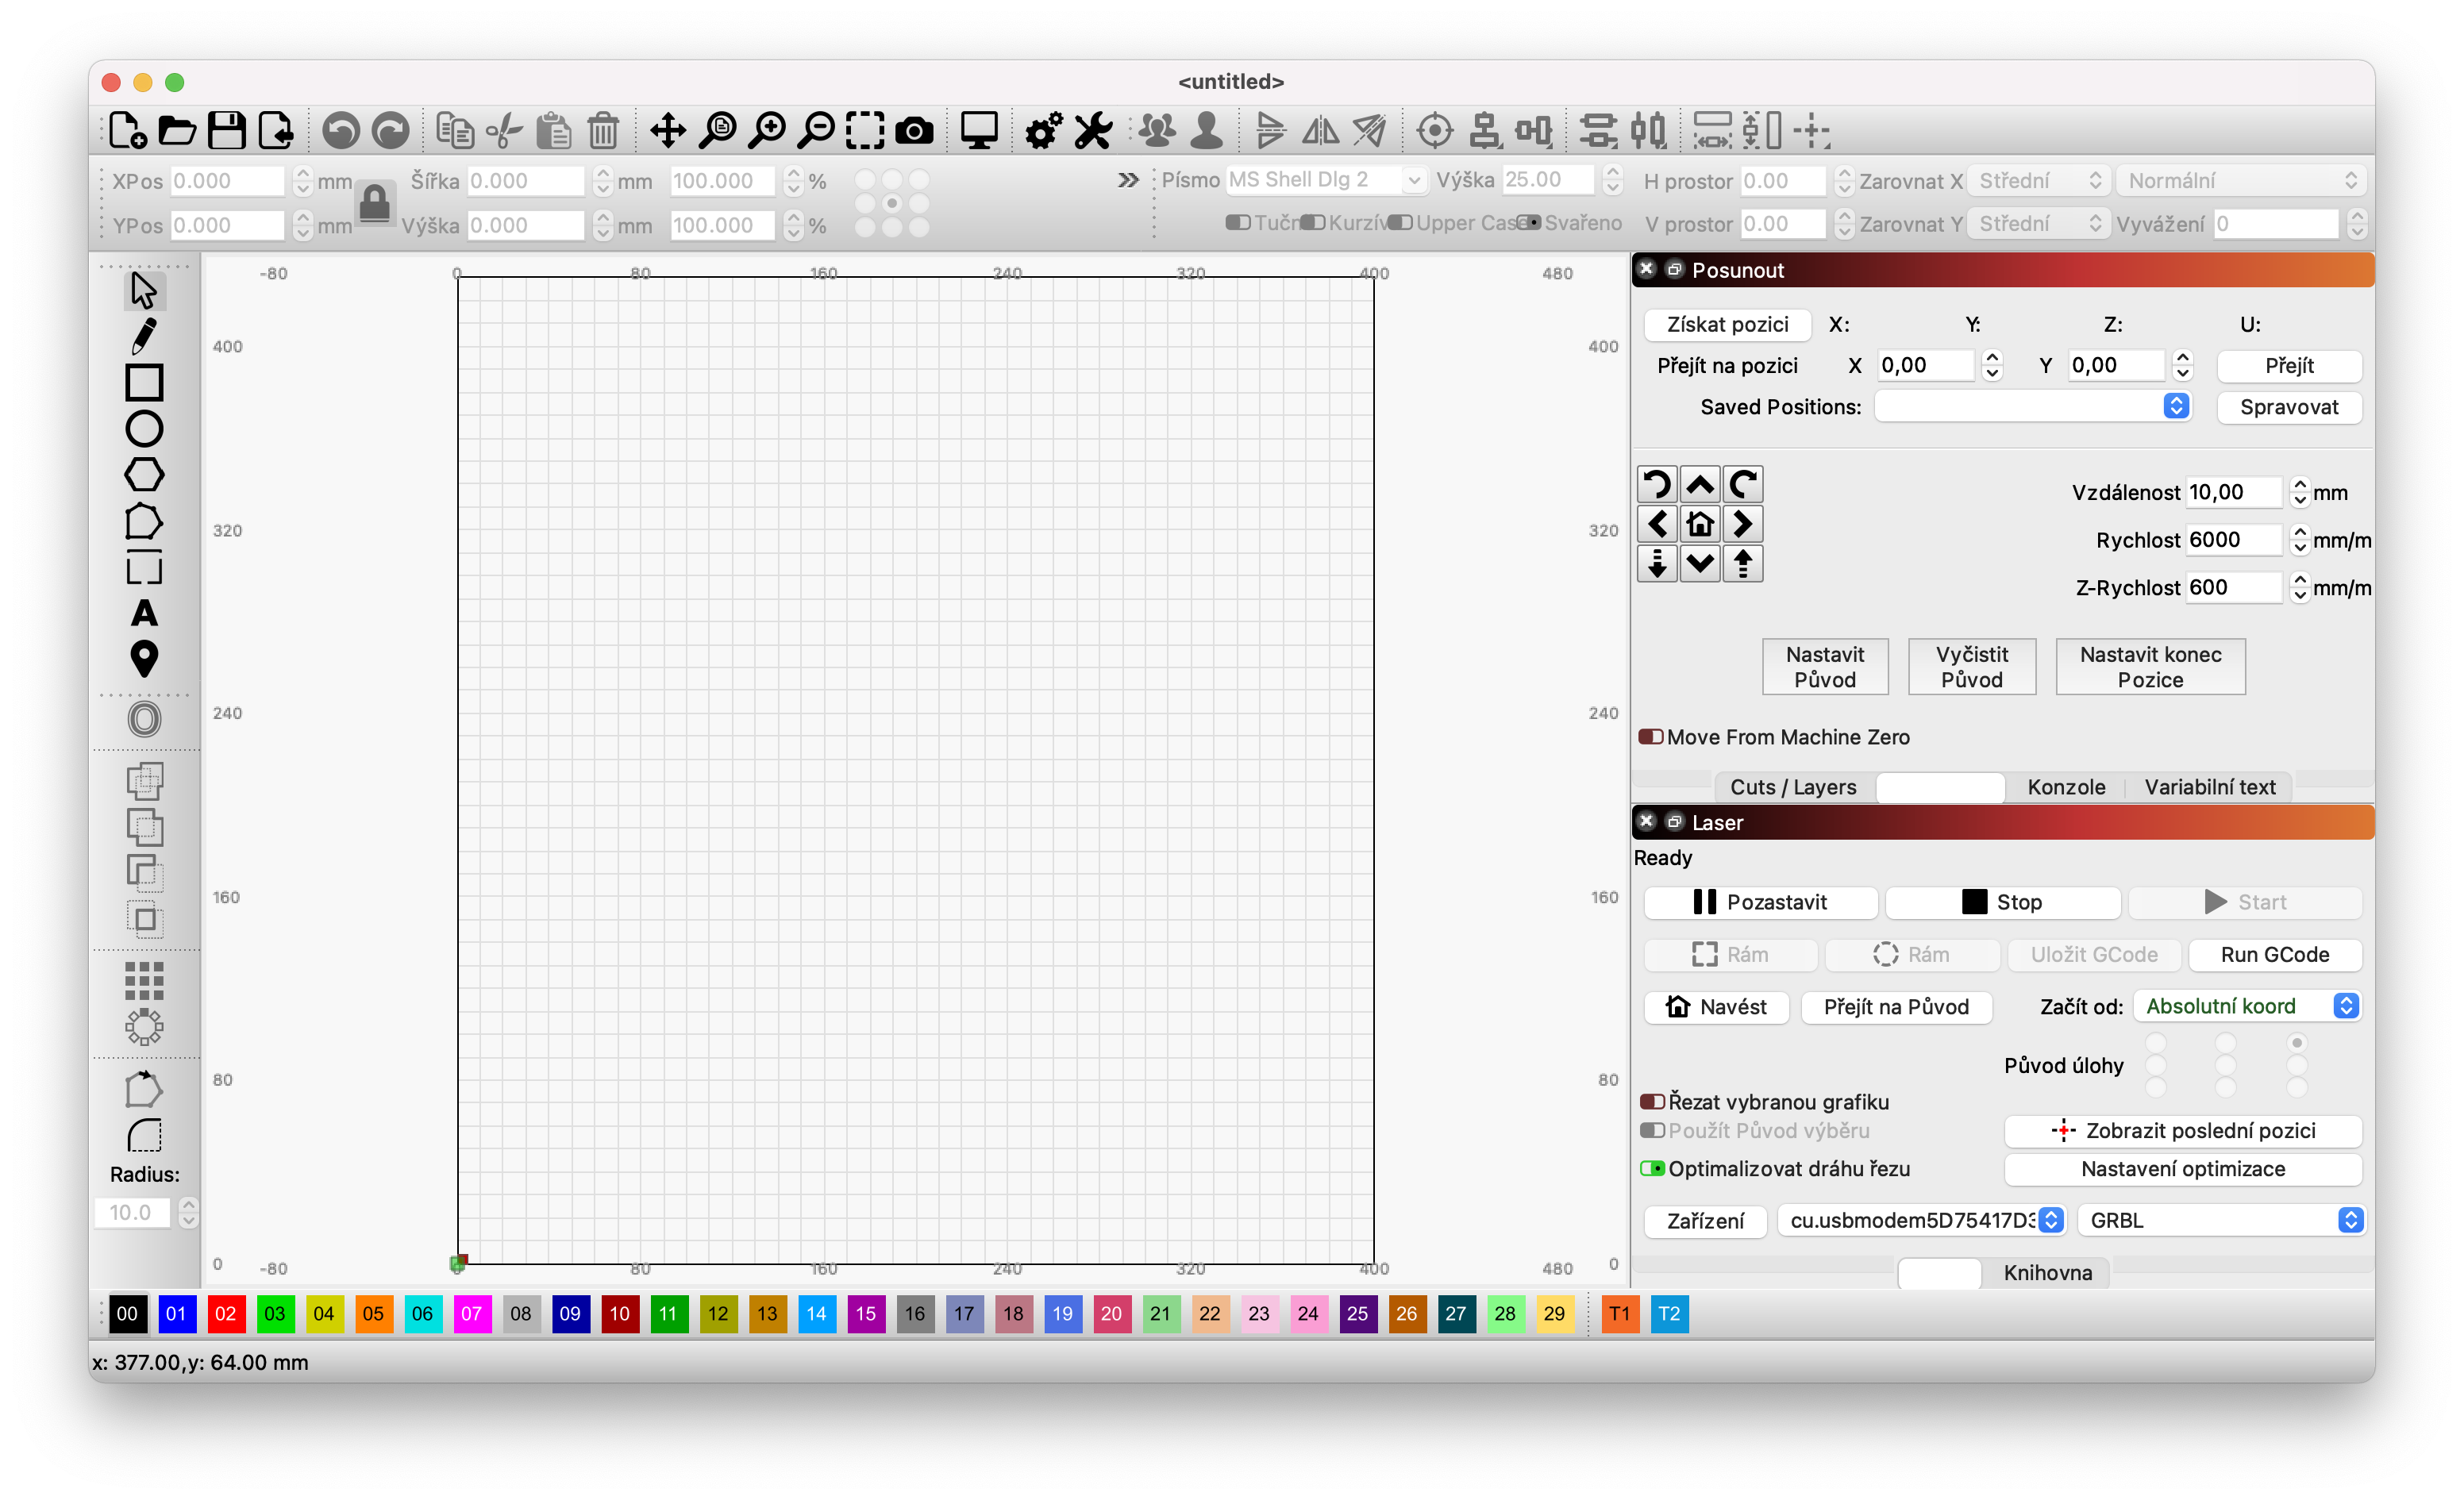
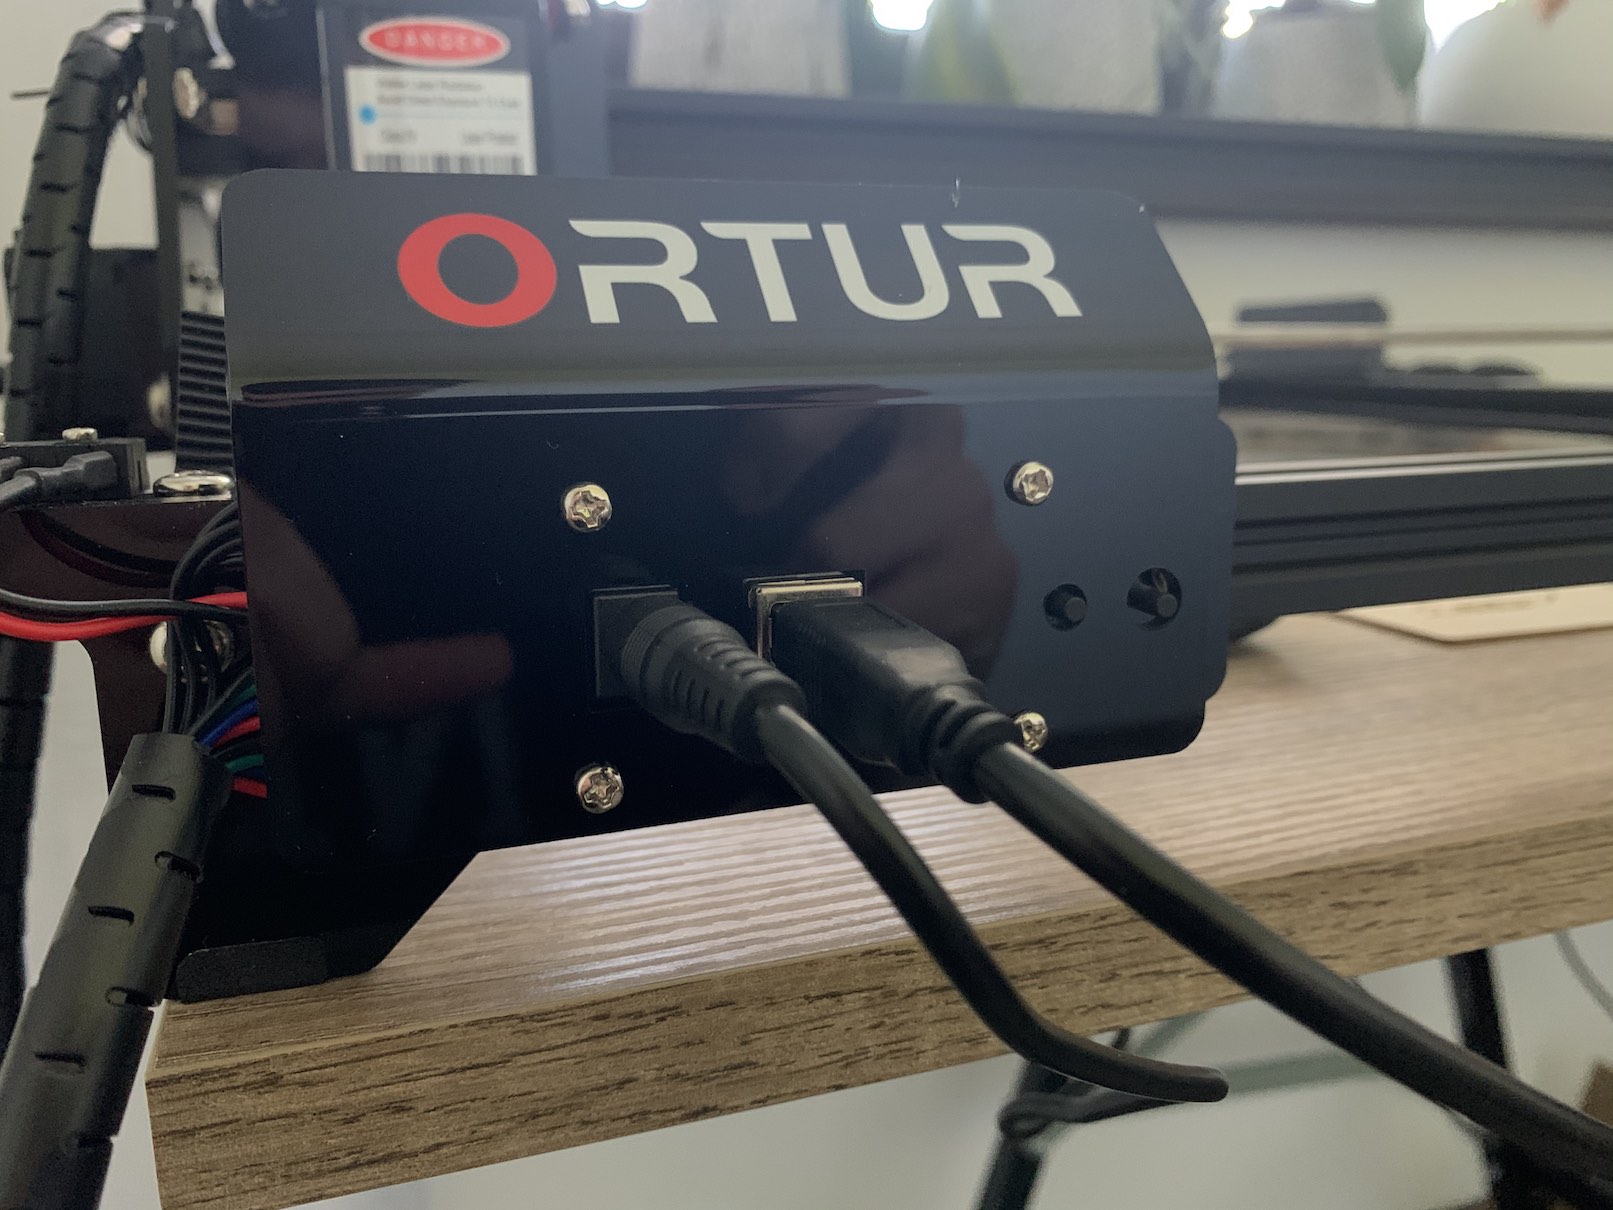
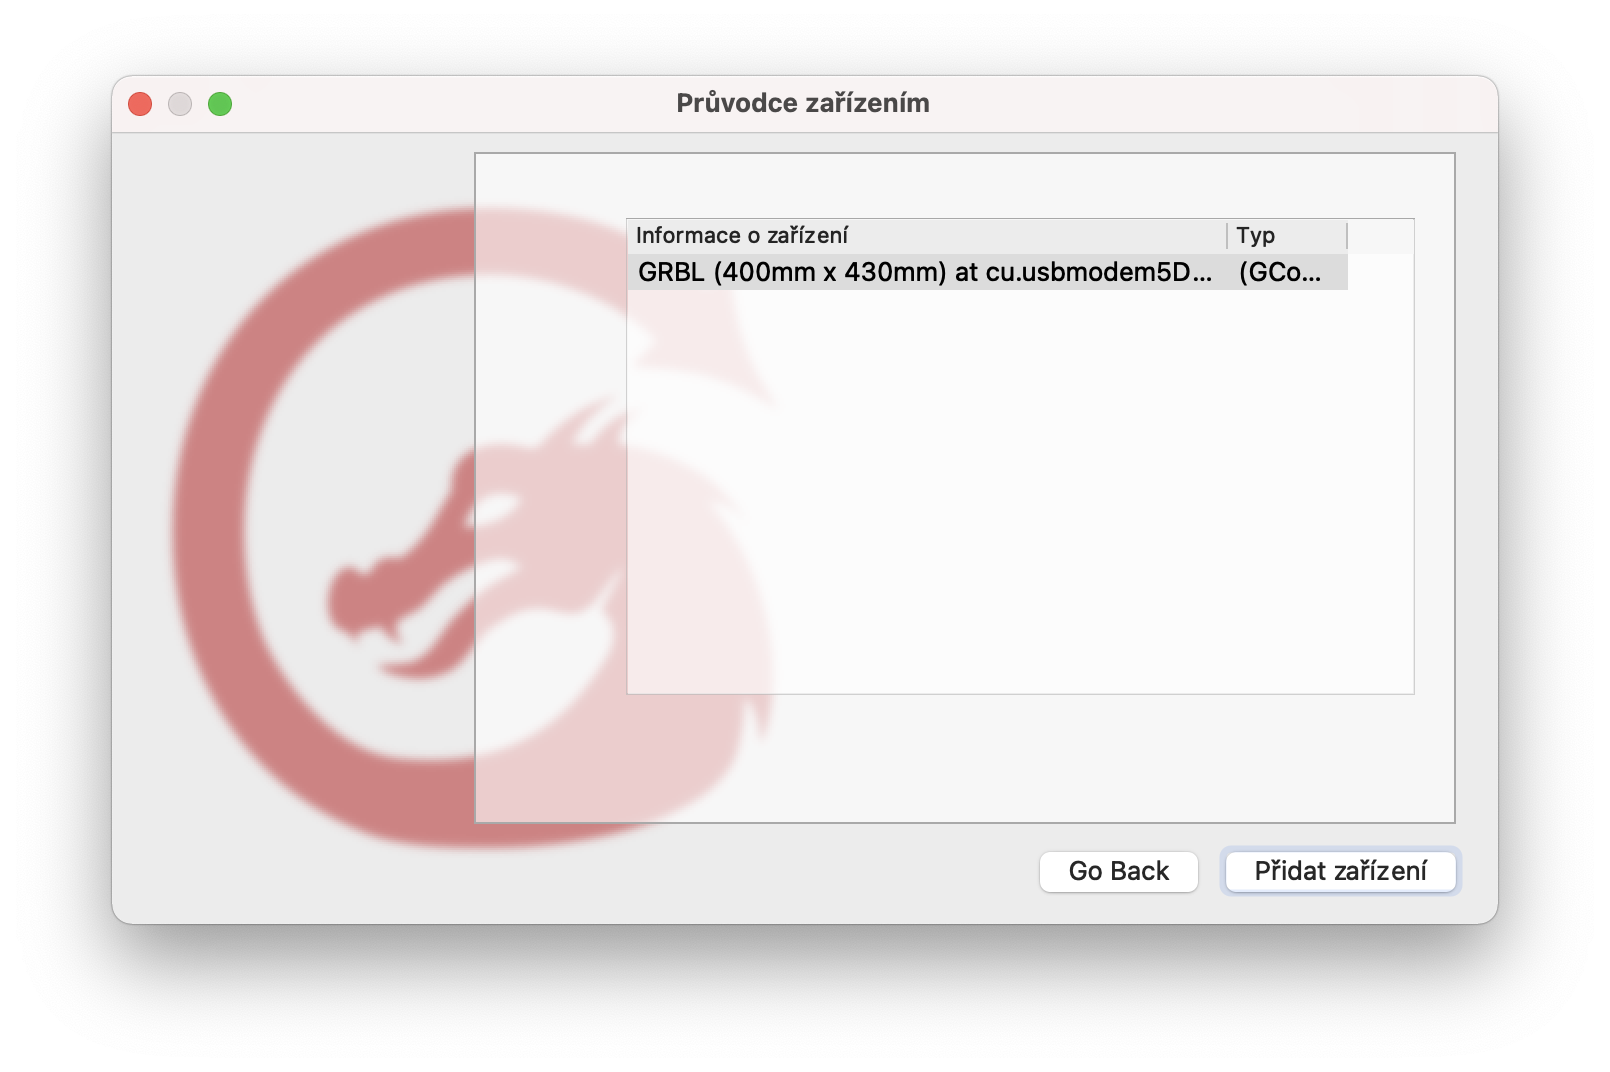
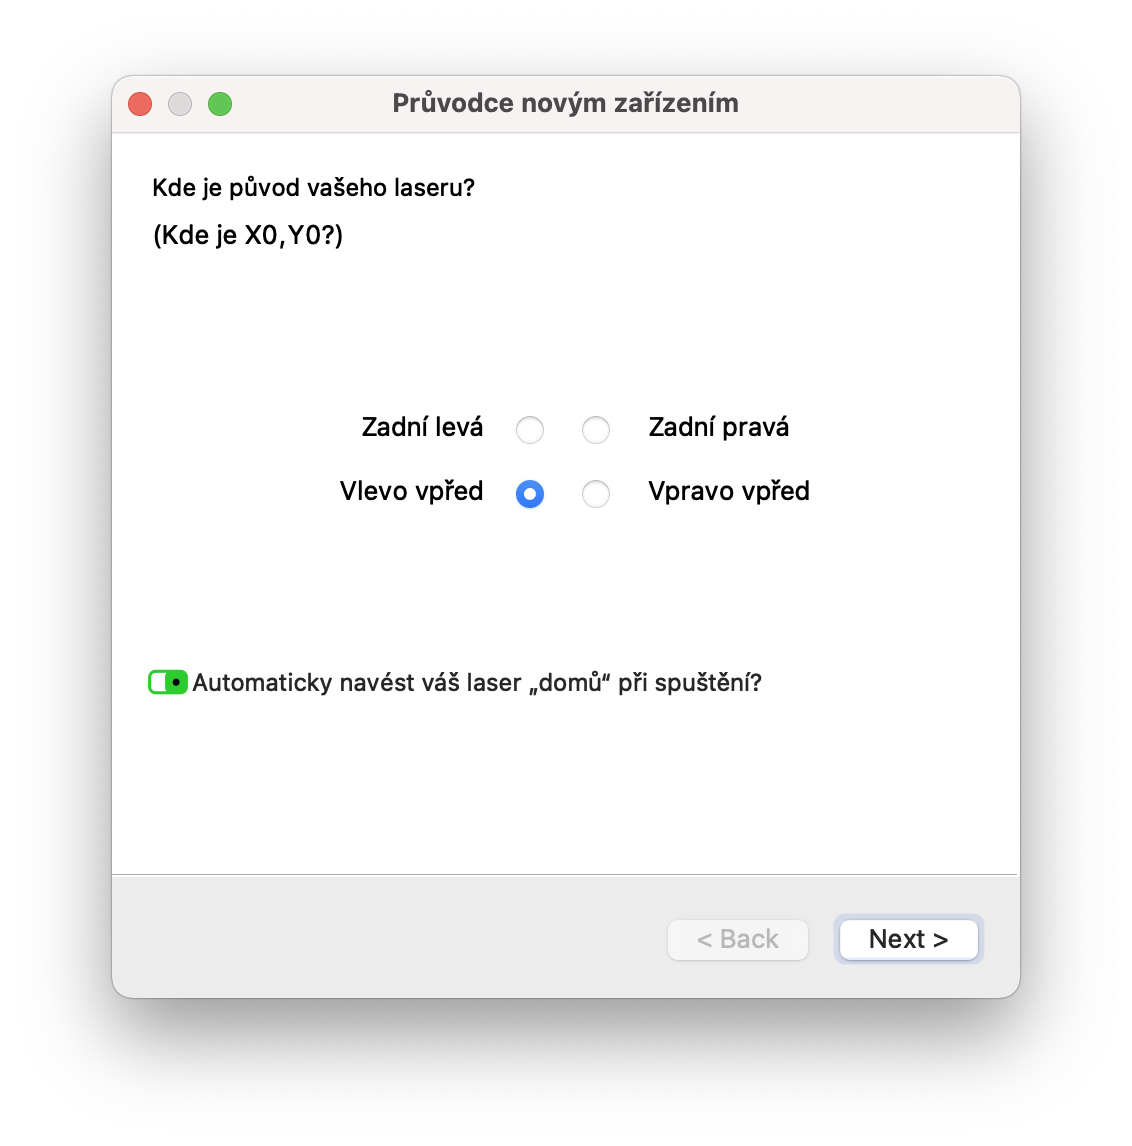
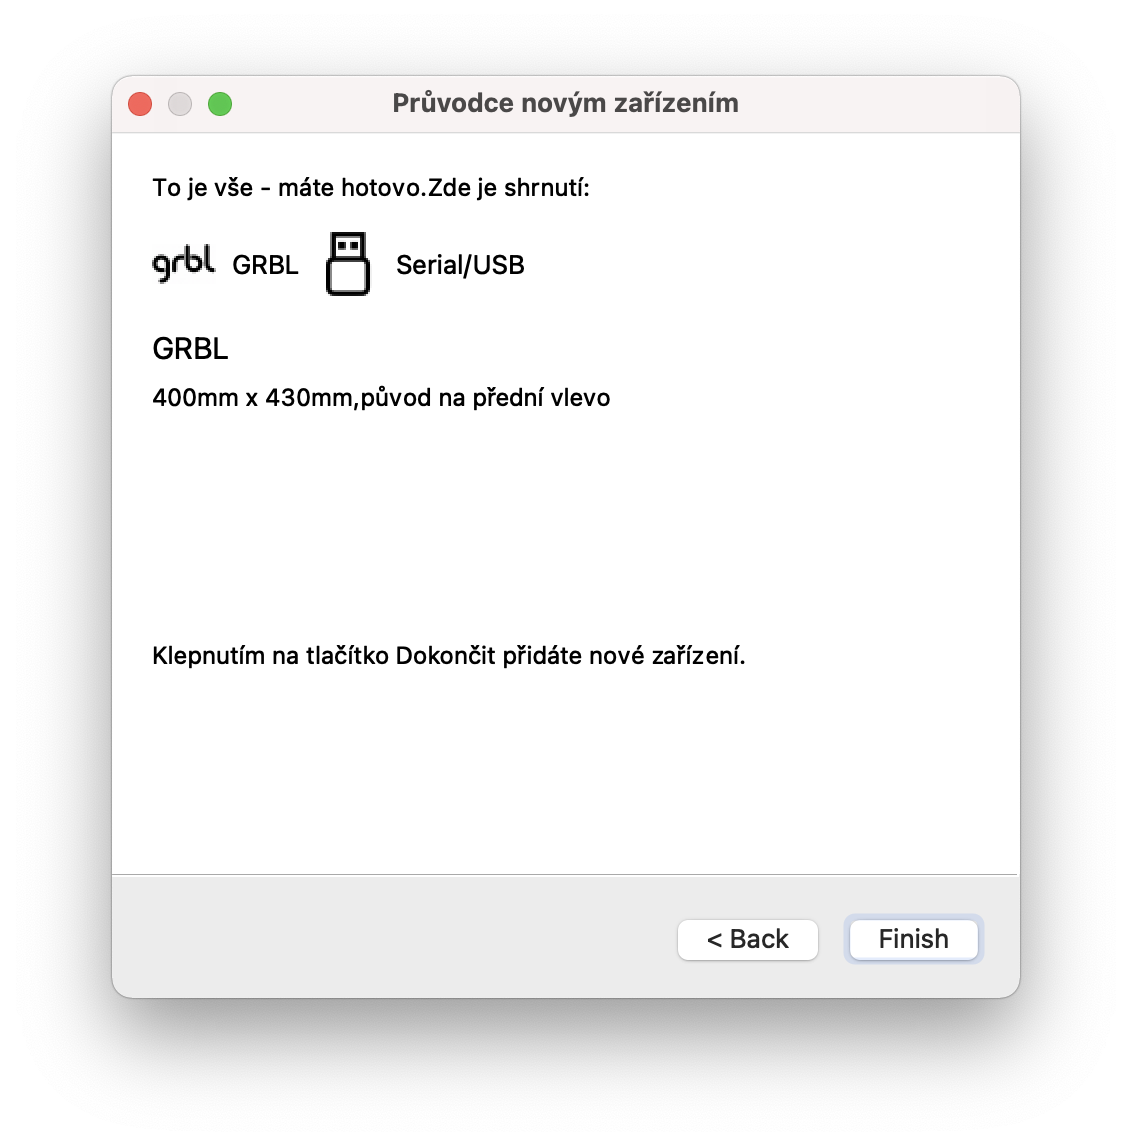
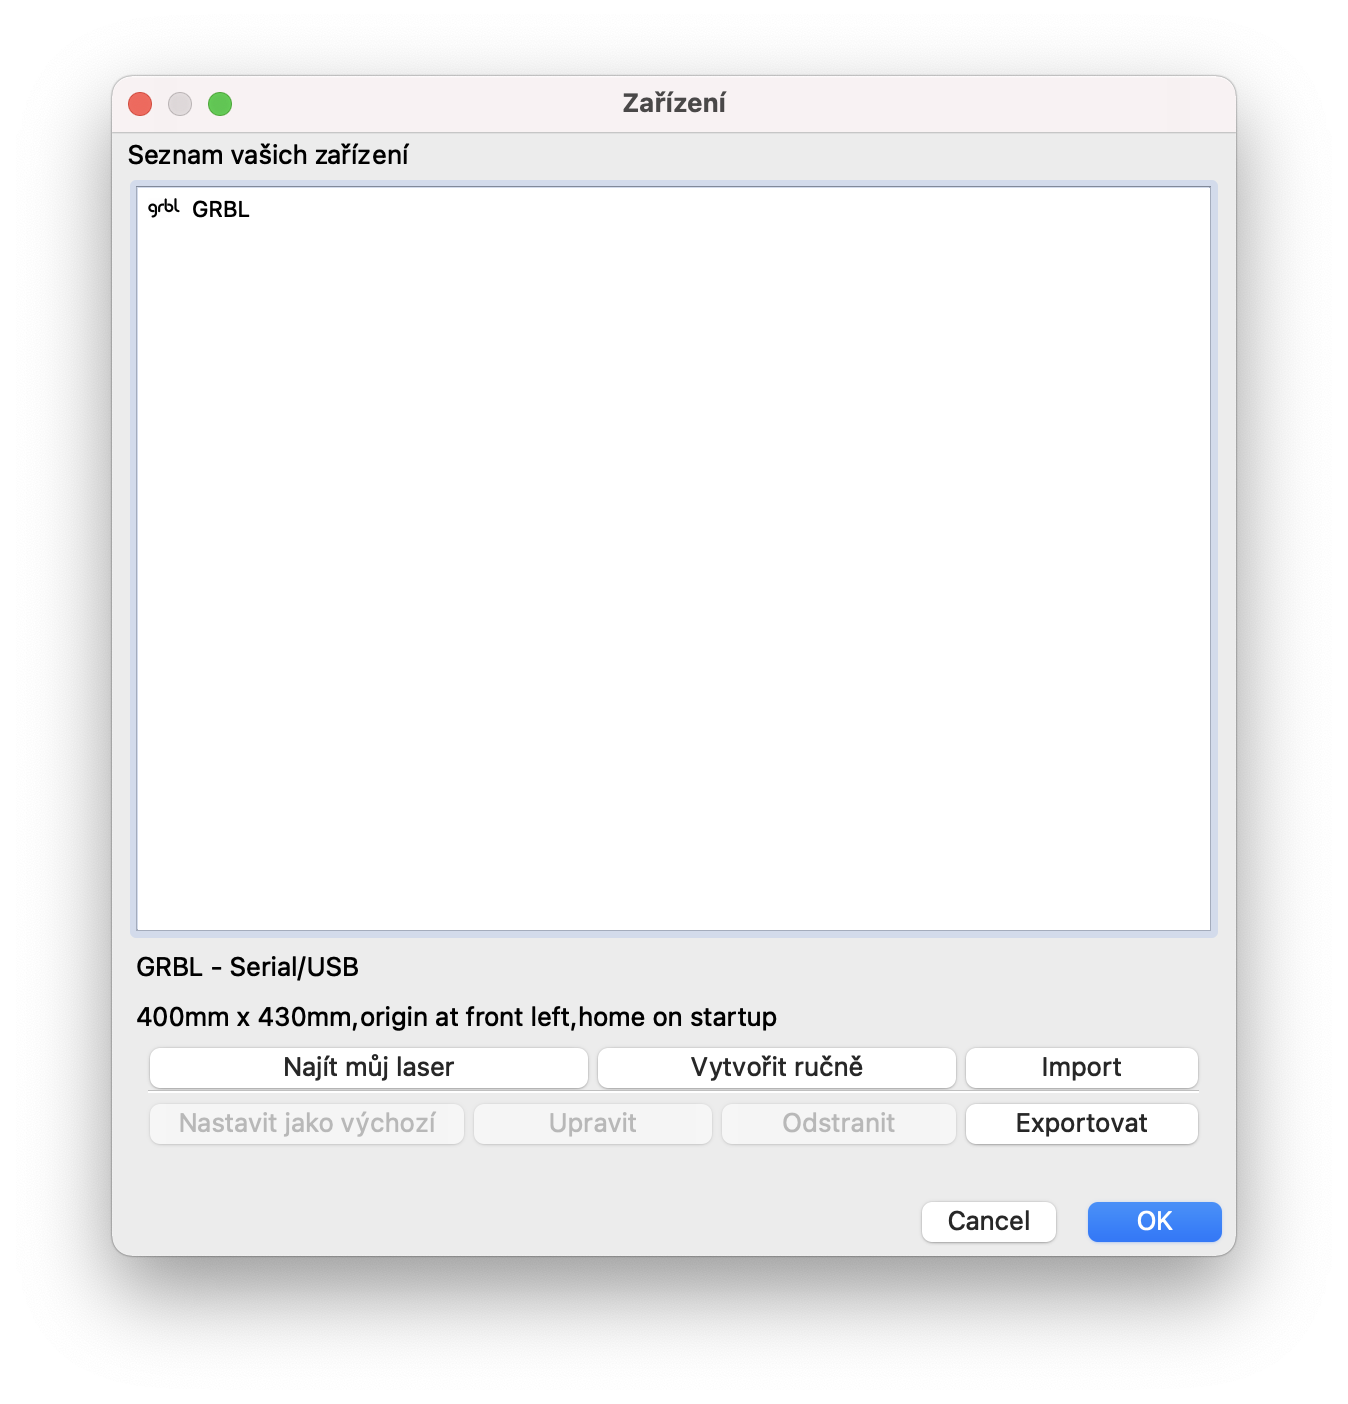
After you install LightBurn, run it and activate the trial version, there's nothing left to do but connect the engraver itself. The window in which the engraver can be added appears automatically after the first start. All you have to do is connect the engraver via USB and then click the button Find My Laser. The program will then search for the engraving - that's all it takes tap a confirm connection finally, choose where the home position of the laser is located - in our case, on the bottom left. If the window for adding a laser does not appear, just click on Devices in the lower right part. LightBurn has a big advantage over LaserGRBL for many of you, as it is also available in in Czech. All you have to do is turn off the application and turn it on again after connecting the engraver, the Czech language will start automatically. If not, click on Language in the top bar and select Czech.
záver
So you can connect your engraver to the LightBurn application in the above way. Now you can gradually look around in the application. The truth is that from the beginning it looks very complex, complicated and unclear. But once you find out where everything is, you'll get an overview and it won't be anything you won't learn over time. In the following parts of this series, we will look together at how LightBurn applications can be controlled - we will describe all the necessary tools and controls. In this case, users who have already worked with Photoshop or another similar graphic program have an advantage - the layout of the control elements is very similar here.




Hello,
I would like to ask if your engraver can handle transparent or partially transparent acrylic or Plexiglas?
When will the 8th episode be please? I have ordered the Ortur Master 2 Pro engraver, but I am an amateur, so I would like to study it with you :-) Thank you
after connecting the engraver (atomstack) and after entering ind My Laser - the program does not find it (of course even after repeated restarts of both devices) - do you change any type, what about it?
Thanks