It's been a few weeks since we published the first part of the new series Getting Started with 3D Printing on our magazine. In this pilot, we looked together at a selection of 3D printers from the PRUSA brand, as we work with this brand and will use it in our series. For the brand PRUSSIA we decided for several reasons - see the already mentioned pilot article, in which we put everything into perspective.
It could be interest you
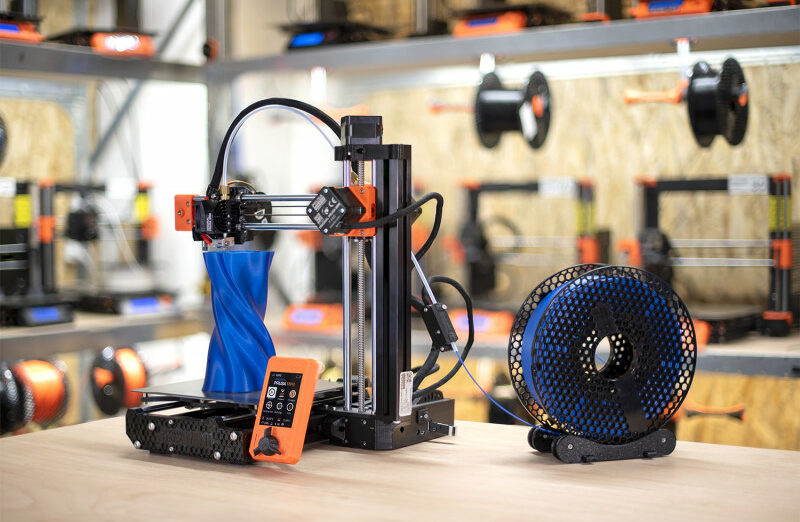
PRUSA currently offers two main 3D printers for ordinary users, which can be purchased disassembled as a jigsaw puzzle, or you can pay extra and the printer will come to you already assembled. On my behalf, I personally recommend that, at least in the case of your first printer, you order a jigsaw, as it is important that you understand at least a little bit how the printer actually works. If you bought your first printer already assembled, you will most likely have problems with the subsequent management of the printer. Once you own a 3D printer, don't think that it's enough to assemble it once and then you don't have to deal with anything else. It's the exact opposite - before you completely adjust the printer, it is very likely that you will have to partially disassemble it. It is still necessary to be able to partially disassemble the printer in the event that a problem occurs, or for classic maintenance.
Tips for setting up your printer
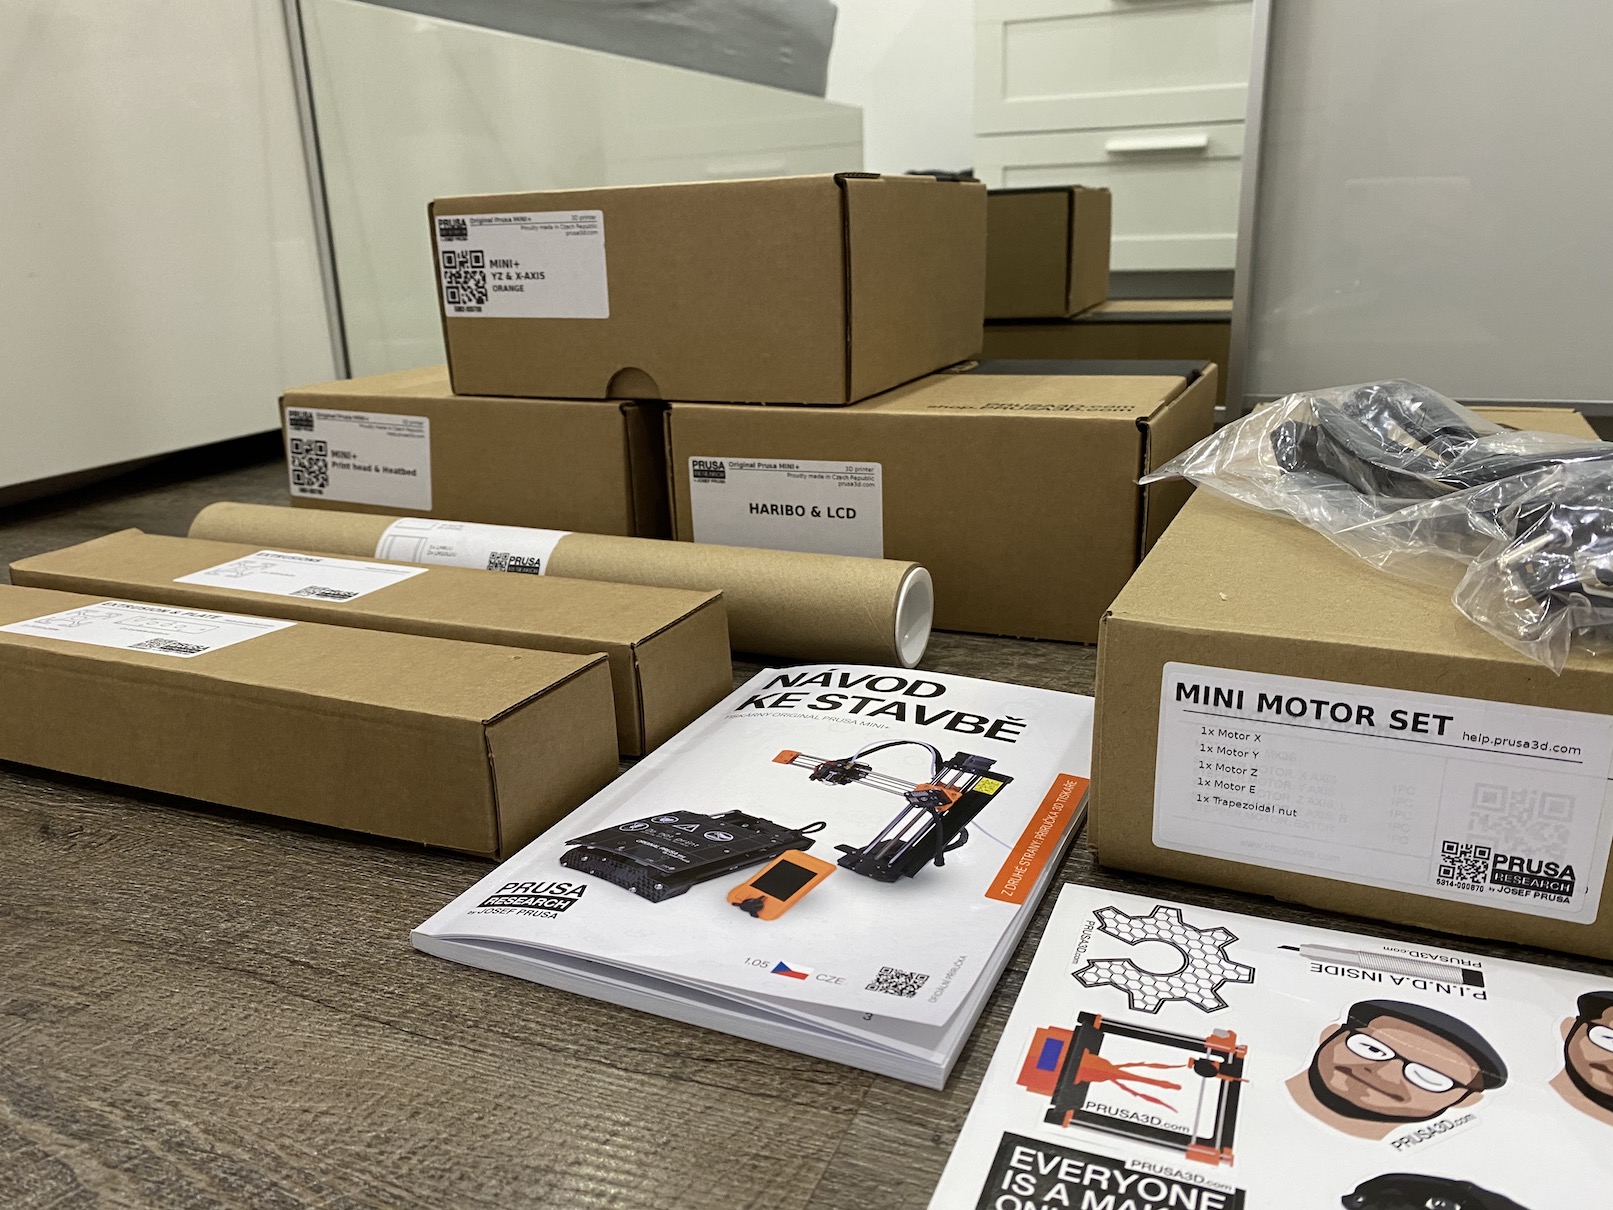
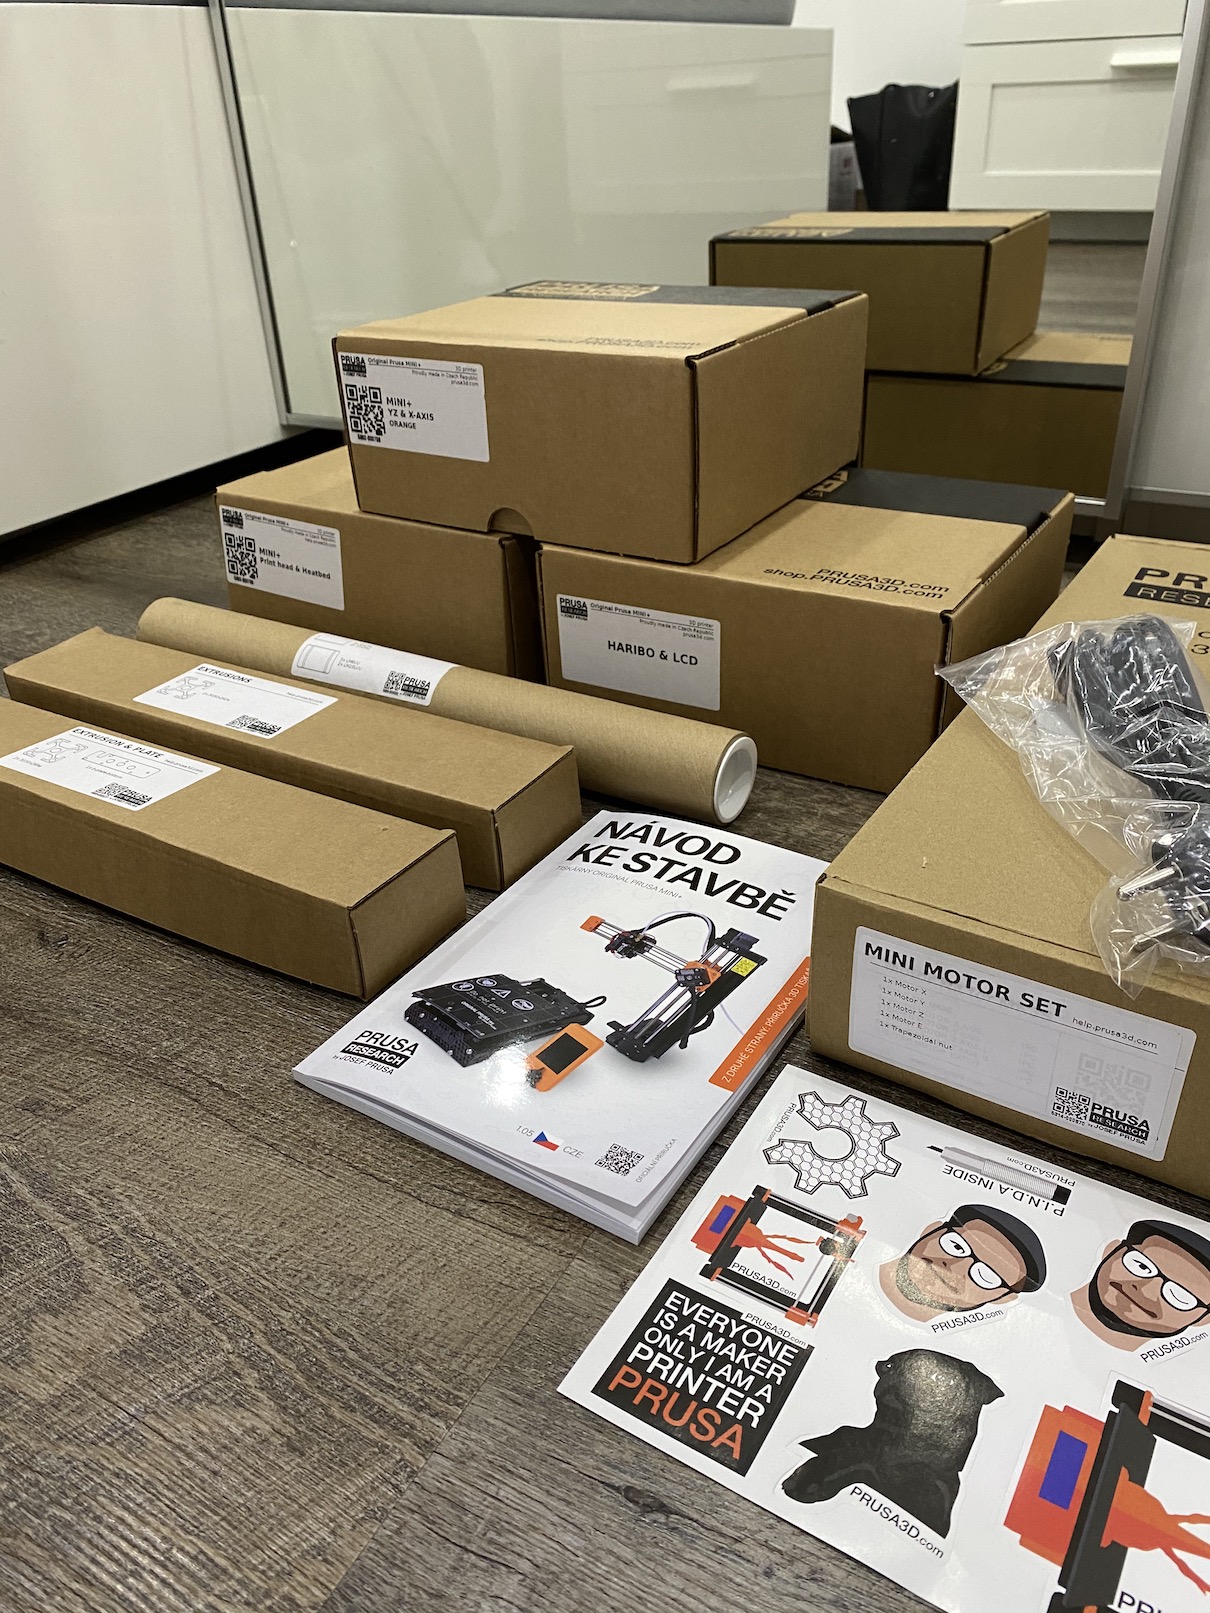
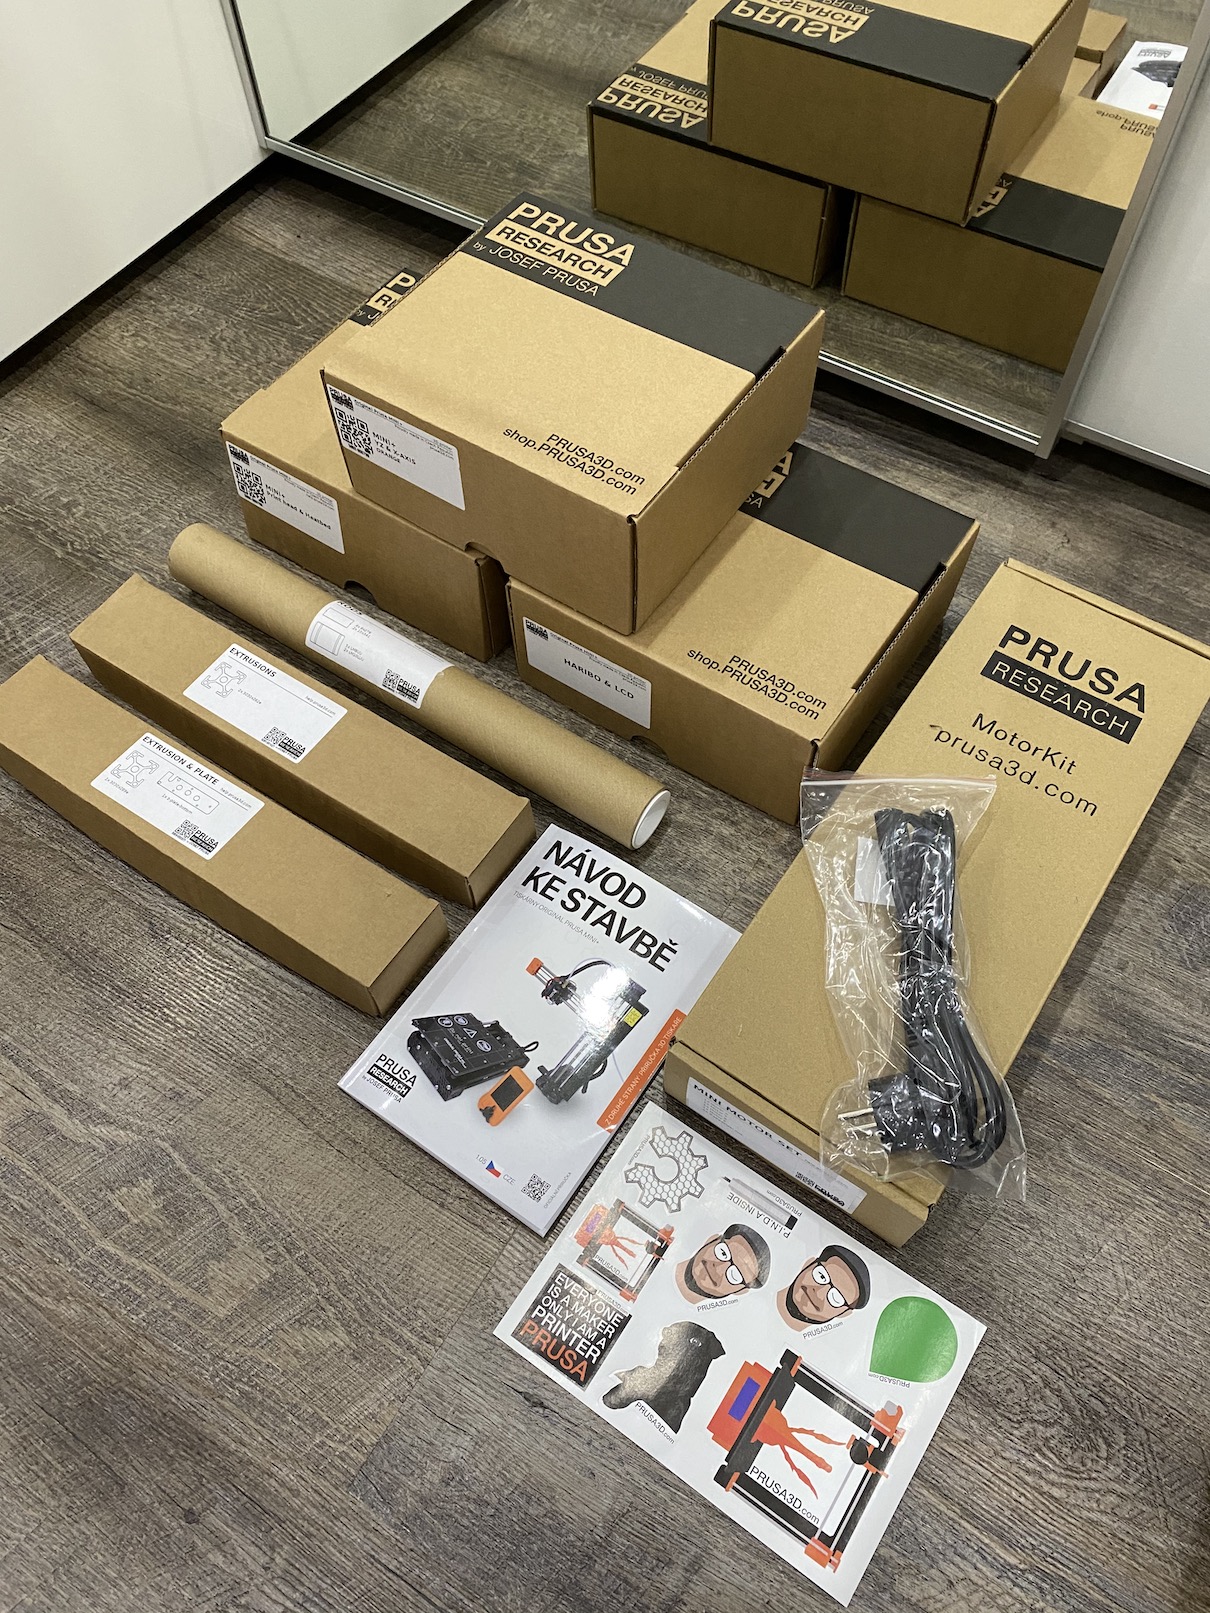
This second part of the series Getting started with 3D printing will mainly deal with how to assemble a 3D printer, i.e. various tips for assembly - listing the complete procedure here would be unnecessary. This means that if you don't plan on possibly buying a jigsaw and despite the warning you want to buy a folded printer, you can more or less skip this part, as it won't apply to you. So if you have decided to buy a 3D printer and reach for a jigsaw, the courier will bring you a relatively large box, which is also quite heavy - definitely be prepared for that. While with other packages that come to us, in most cases we rush into immediate unpacking, with the PRUSA 3D printer, think about unpacking.
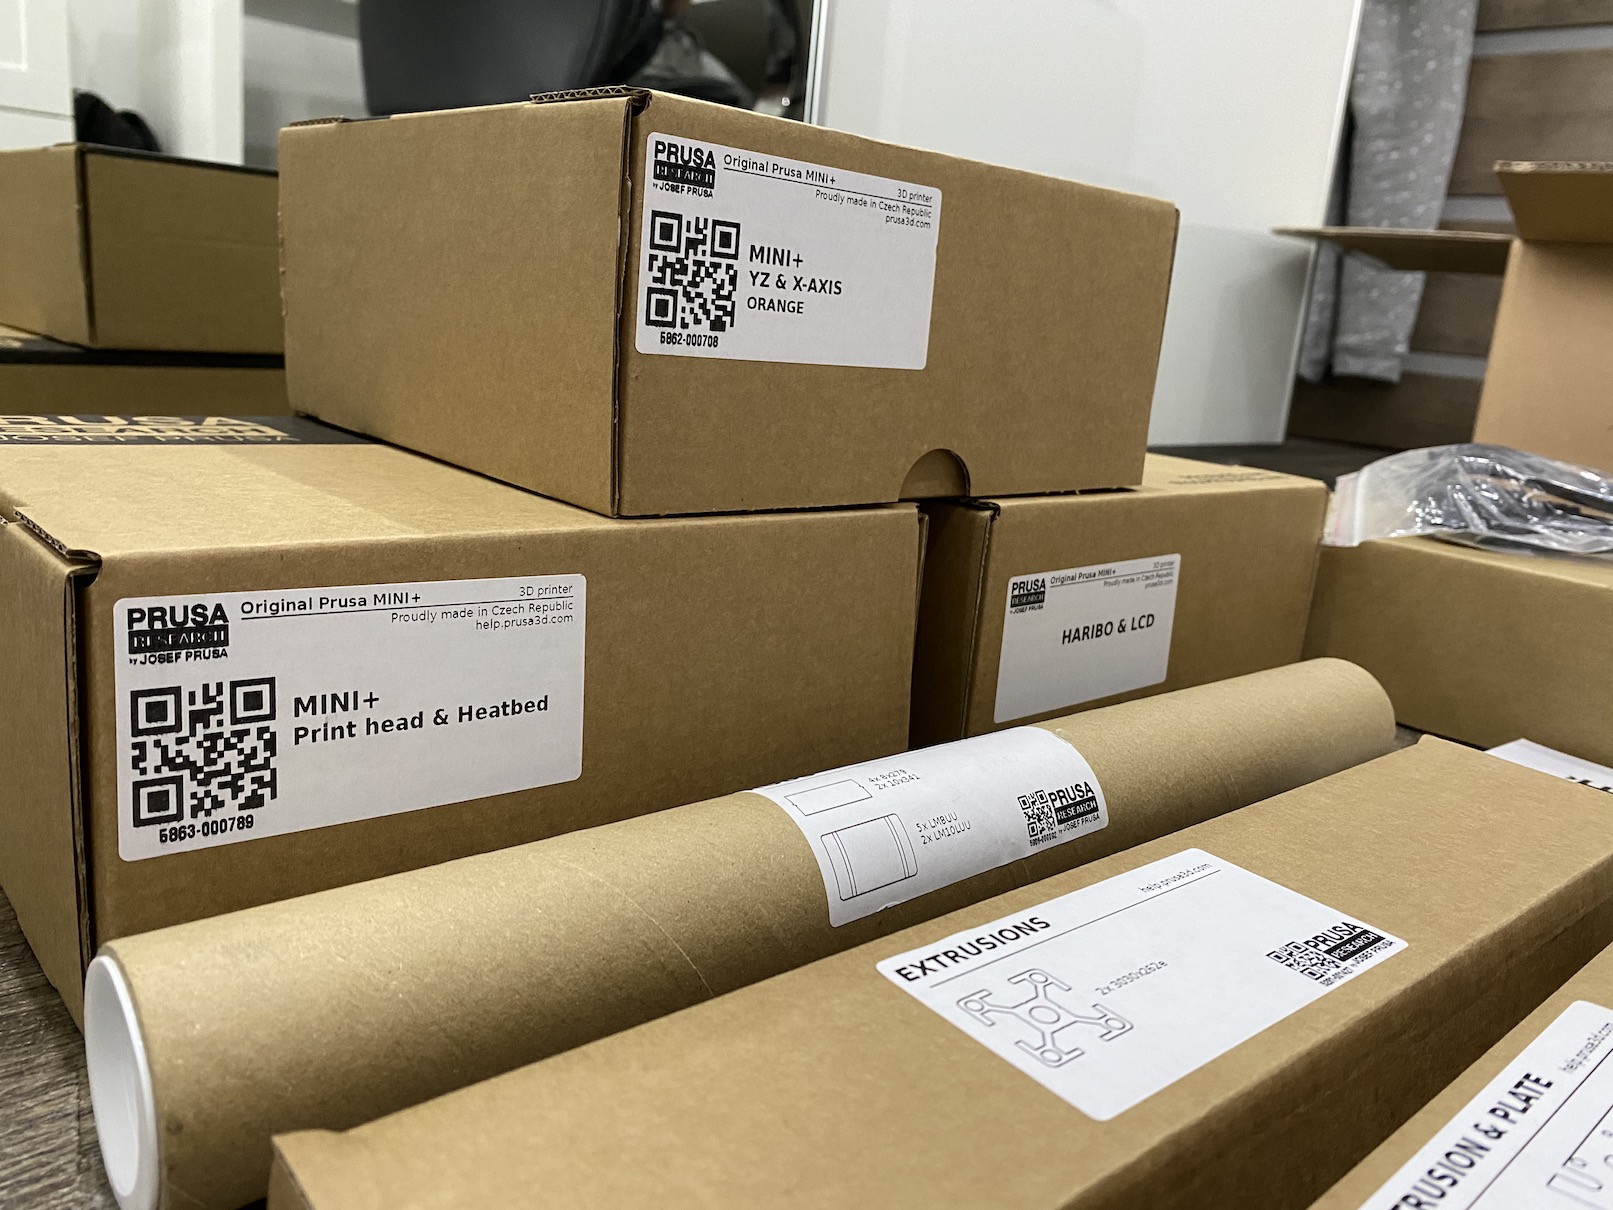
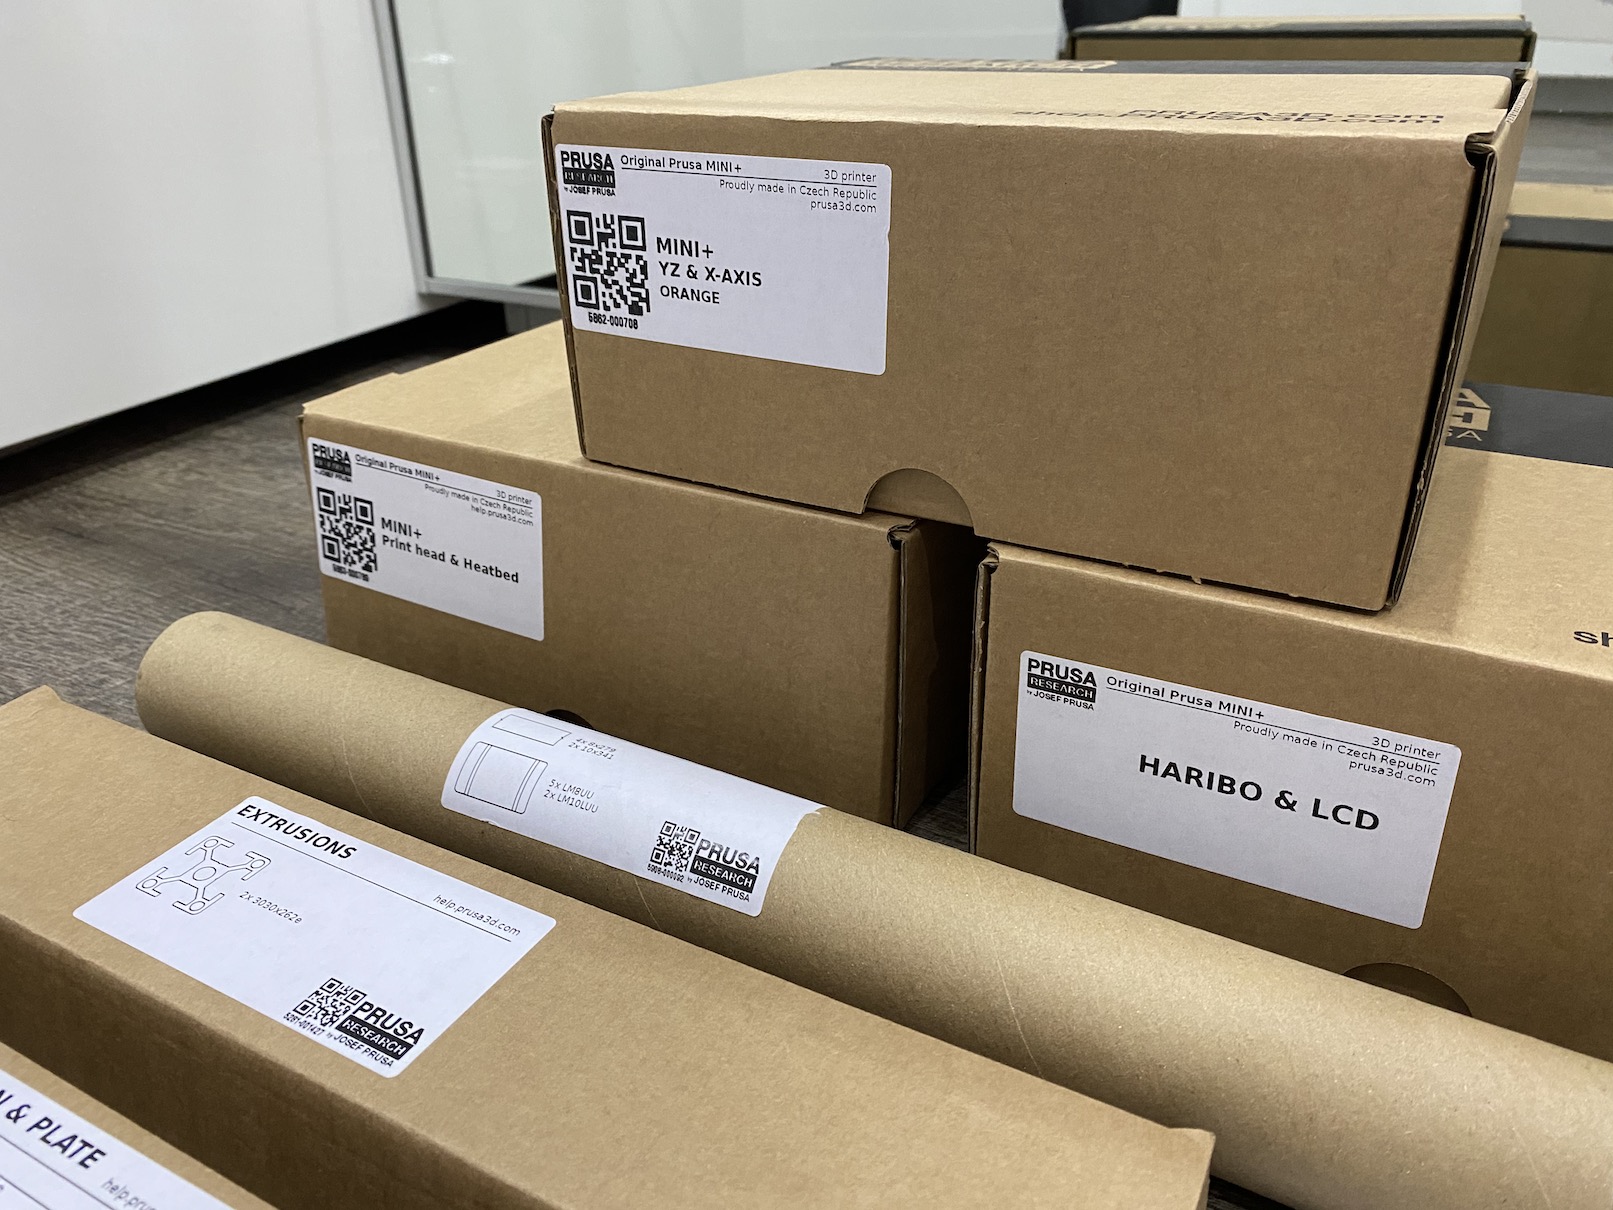
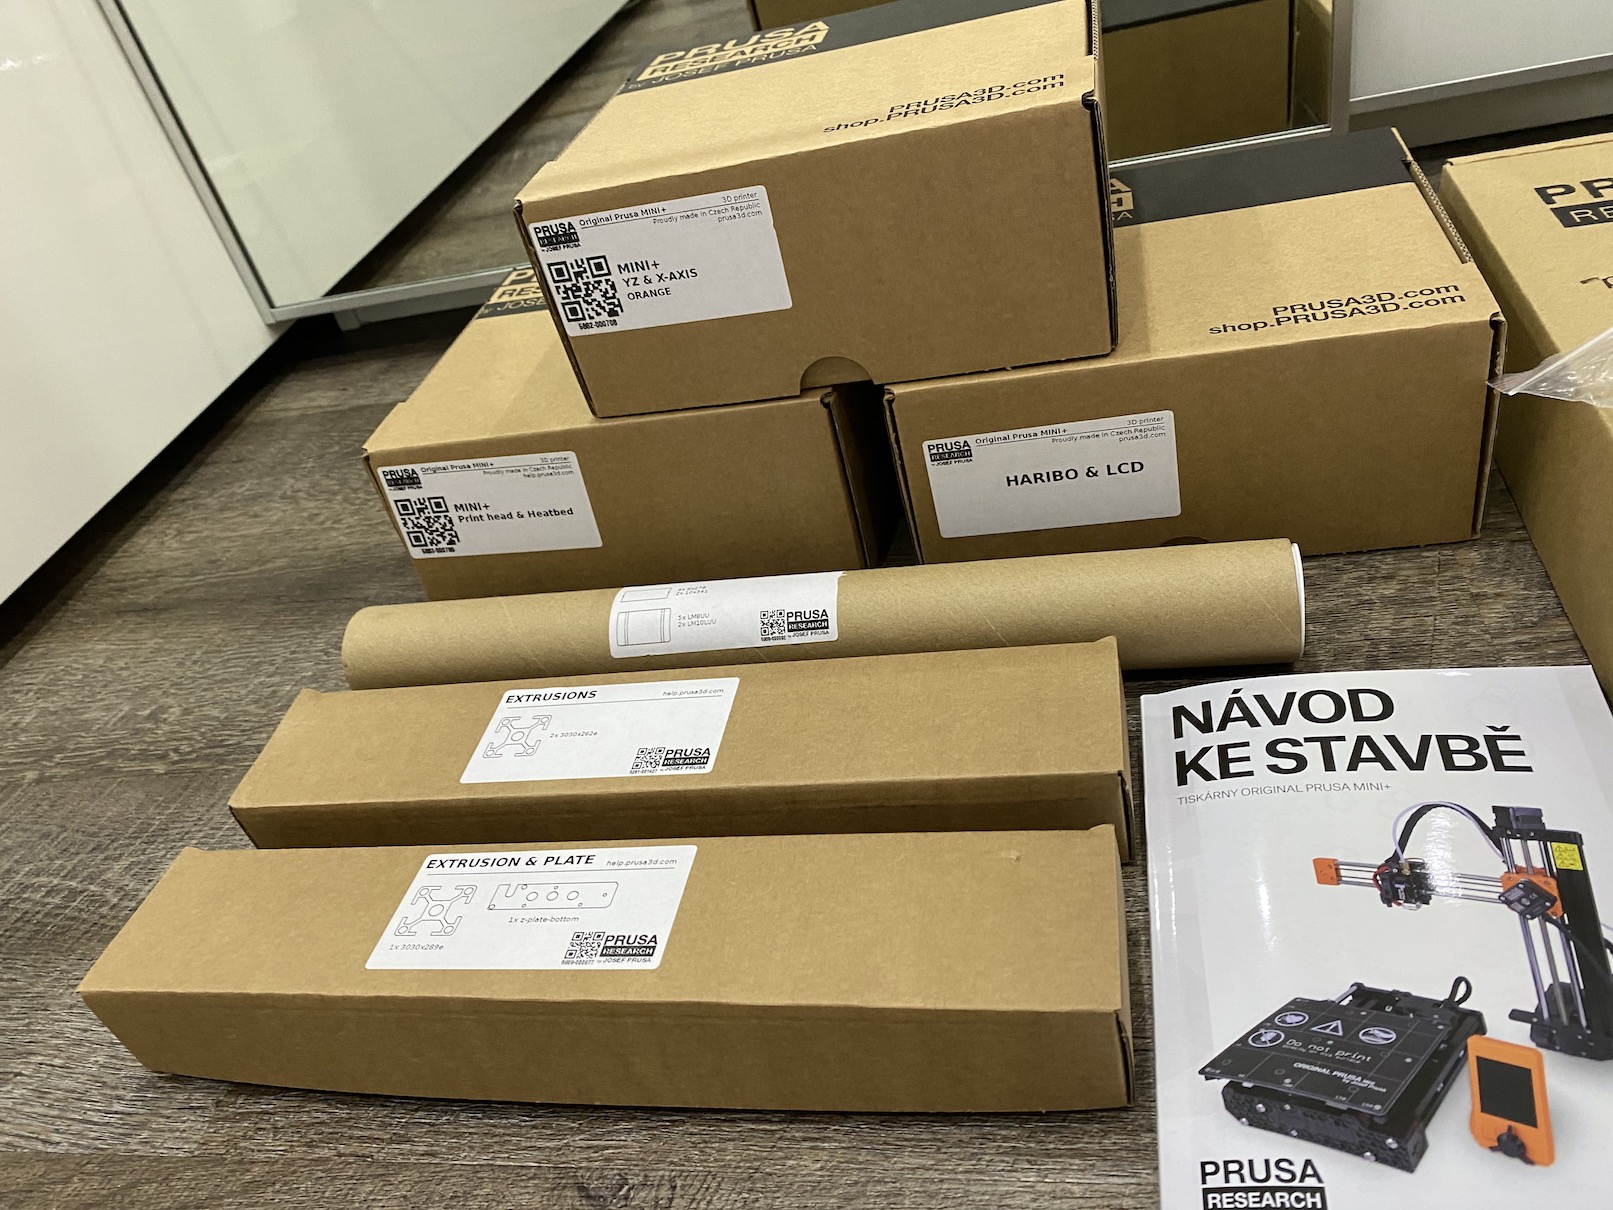
You're probably wondering why you should wait to unpack - the reason is very simple. Inside the large "main" box are several smaller boxes, along with other components in the form of manuals and documents. If you drag all these little boxes out, along with the rest of the packaging, it's likely to be a mess. However, if you want to look at and unpack all the boxes, you can of course do so, but in any case, put everything in one pile and don't spread everything around the room.

Either way you decide, in both cases, first pick up the manual in which you read the first few introductory pages to folding. I can mention for myself that assembling a 3D printer can be considered relatively challenging, especially for an individual who will assemble a 3D printer for the first time. Personally, I set aside about three afternoons to assemble the printer. First of all, plan your composition on days when you have time, ideally right after each other. If you assemble half of the printer in one day and the other in two weeks, you probably won't remember where you left off. In addition, you risk possible material loss. If you have planned the assembly, unpack the first box and the tools you will need. In this way, gradually when folding, unpack one box after another as needed and do not needlessly unpack all at once.
Photos of Prusa MINI+ packaging:
What are we going to lie to ourselves about - if we buy some electronics or something similar, in practically all cases we also get instructions for it, but we don't even open them, or we just throw them away. However, this does not happen with PRUSA 3D printers. As I already mentioned, the composition of a 3D printer is definitely not a simple matter. This means that you definitely cannot do without a manual, even if you are building the printer for the umpteenth time. Only really seasoned professionals can build a 3D printer completely from scratch. So definitely don't be shy to use the manual, on the contrary, use it XNUMX%, because you will save yourself nerves and especially precious time. In addition to the fact that you can use the classic paper manual for folding, you can also move to special help pages, where the manuals are in digital and interactive form, along with user comments that can help you solve a problem or confusion. Personally, when composing, I followed exactly the procedure that is given on the mentioned websites.
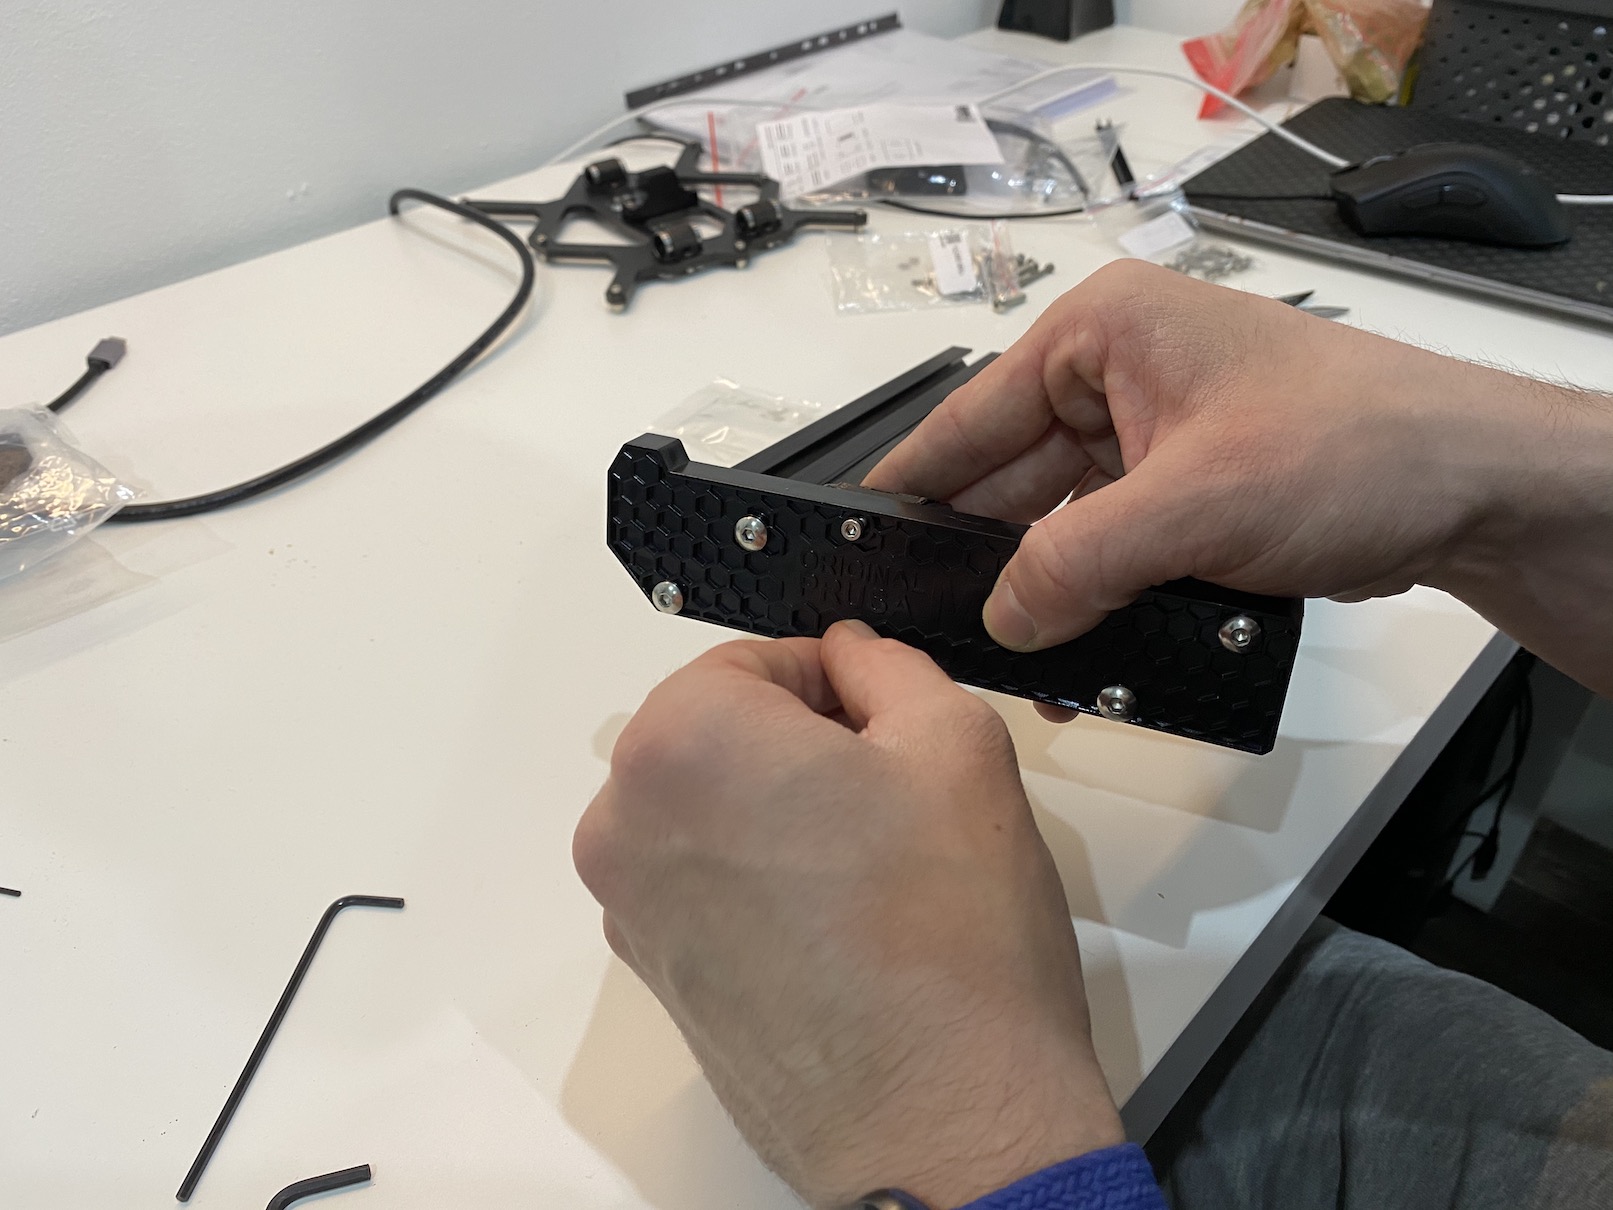
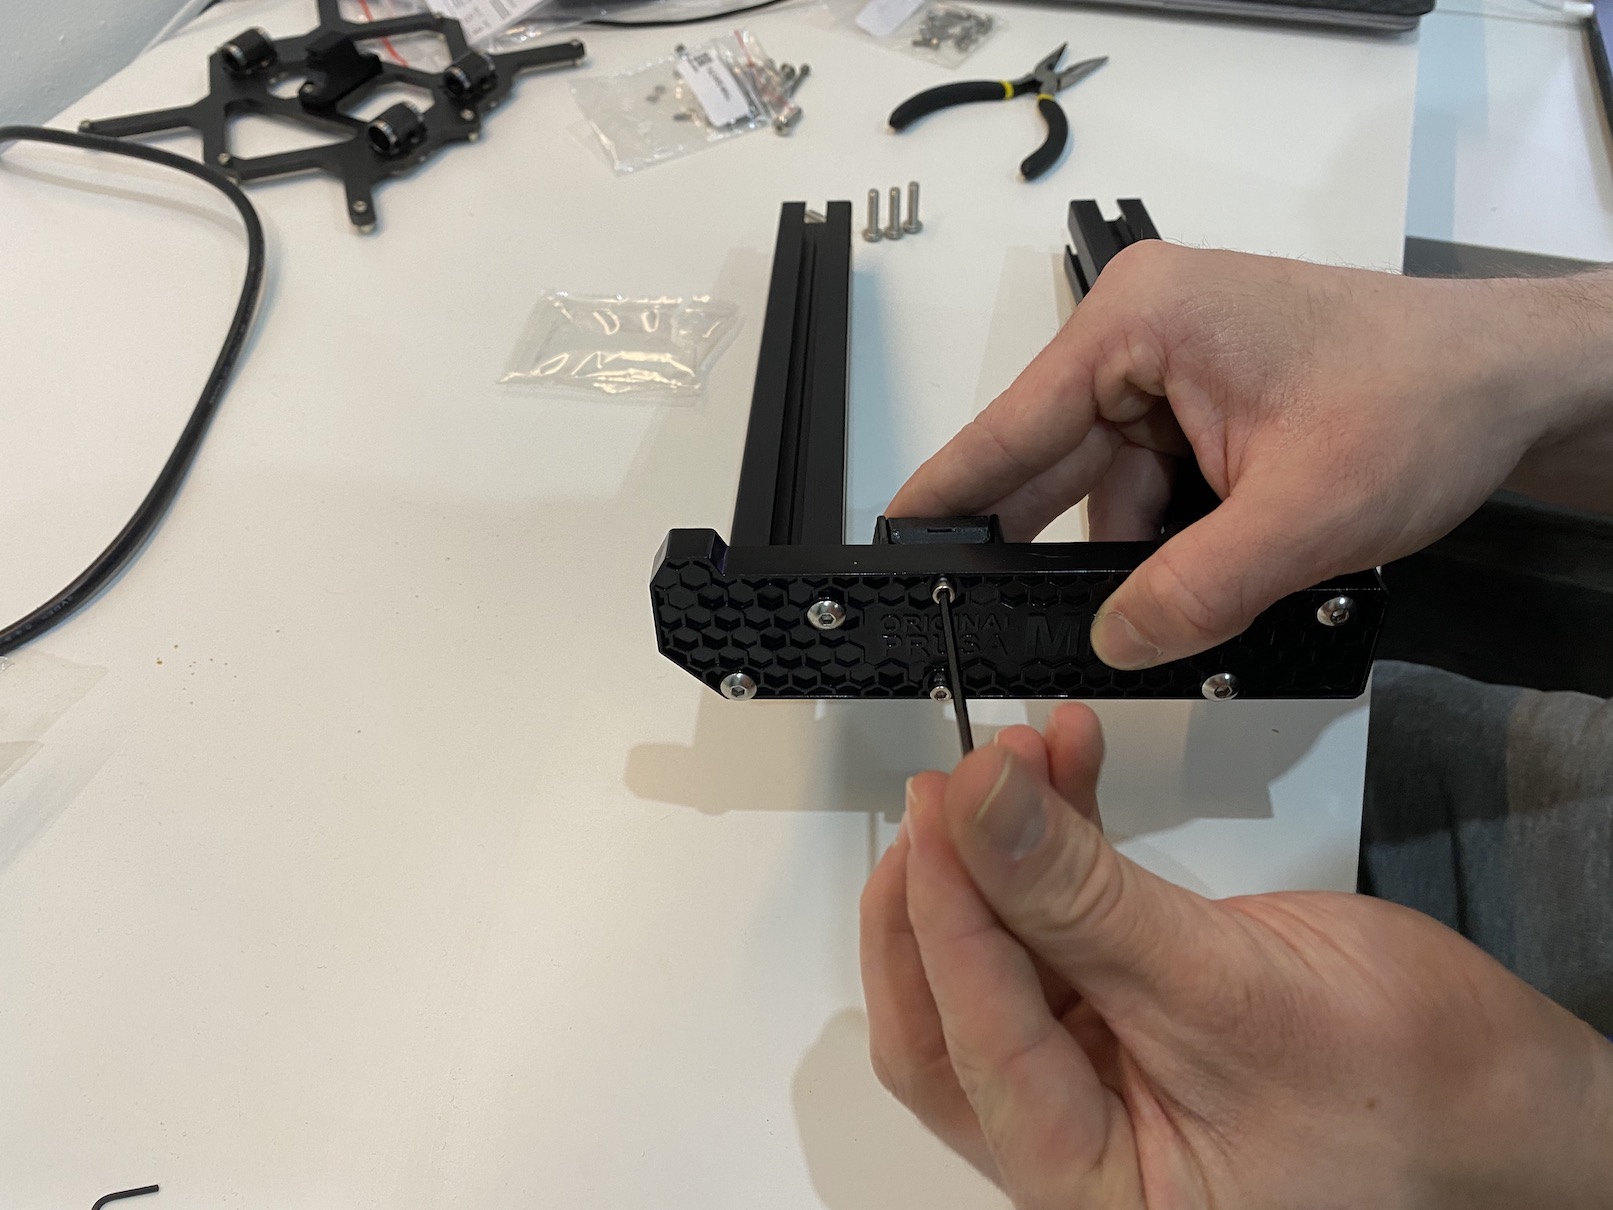
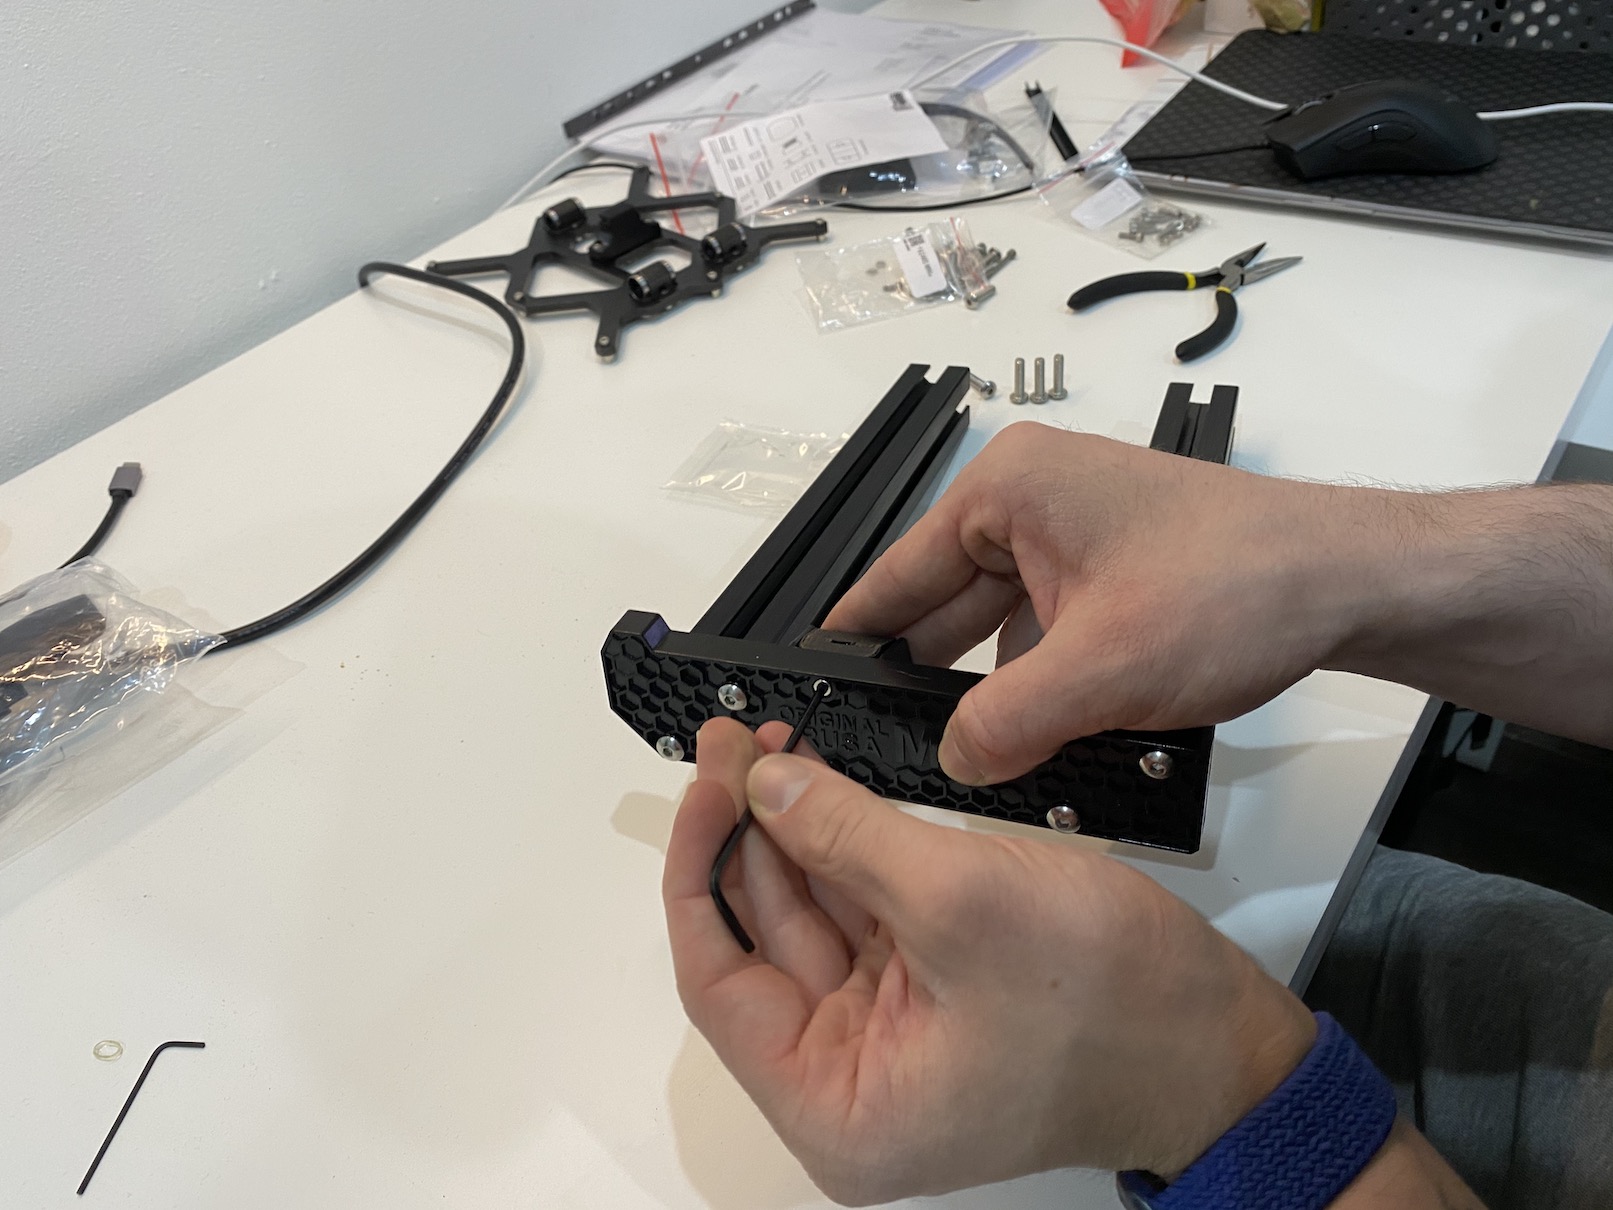
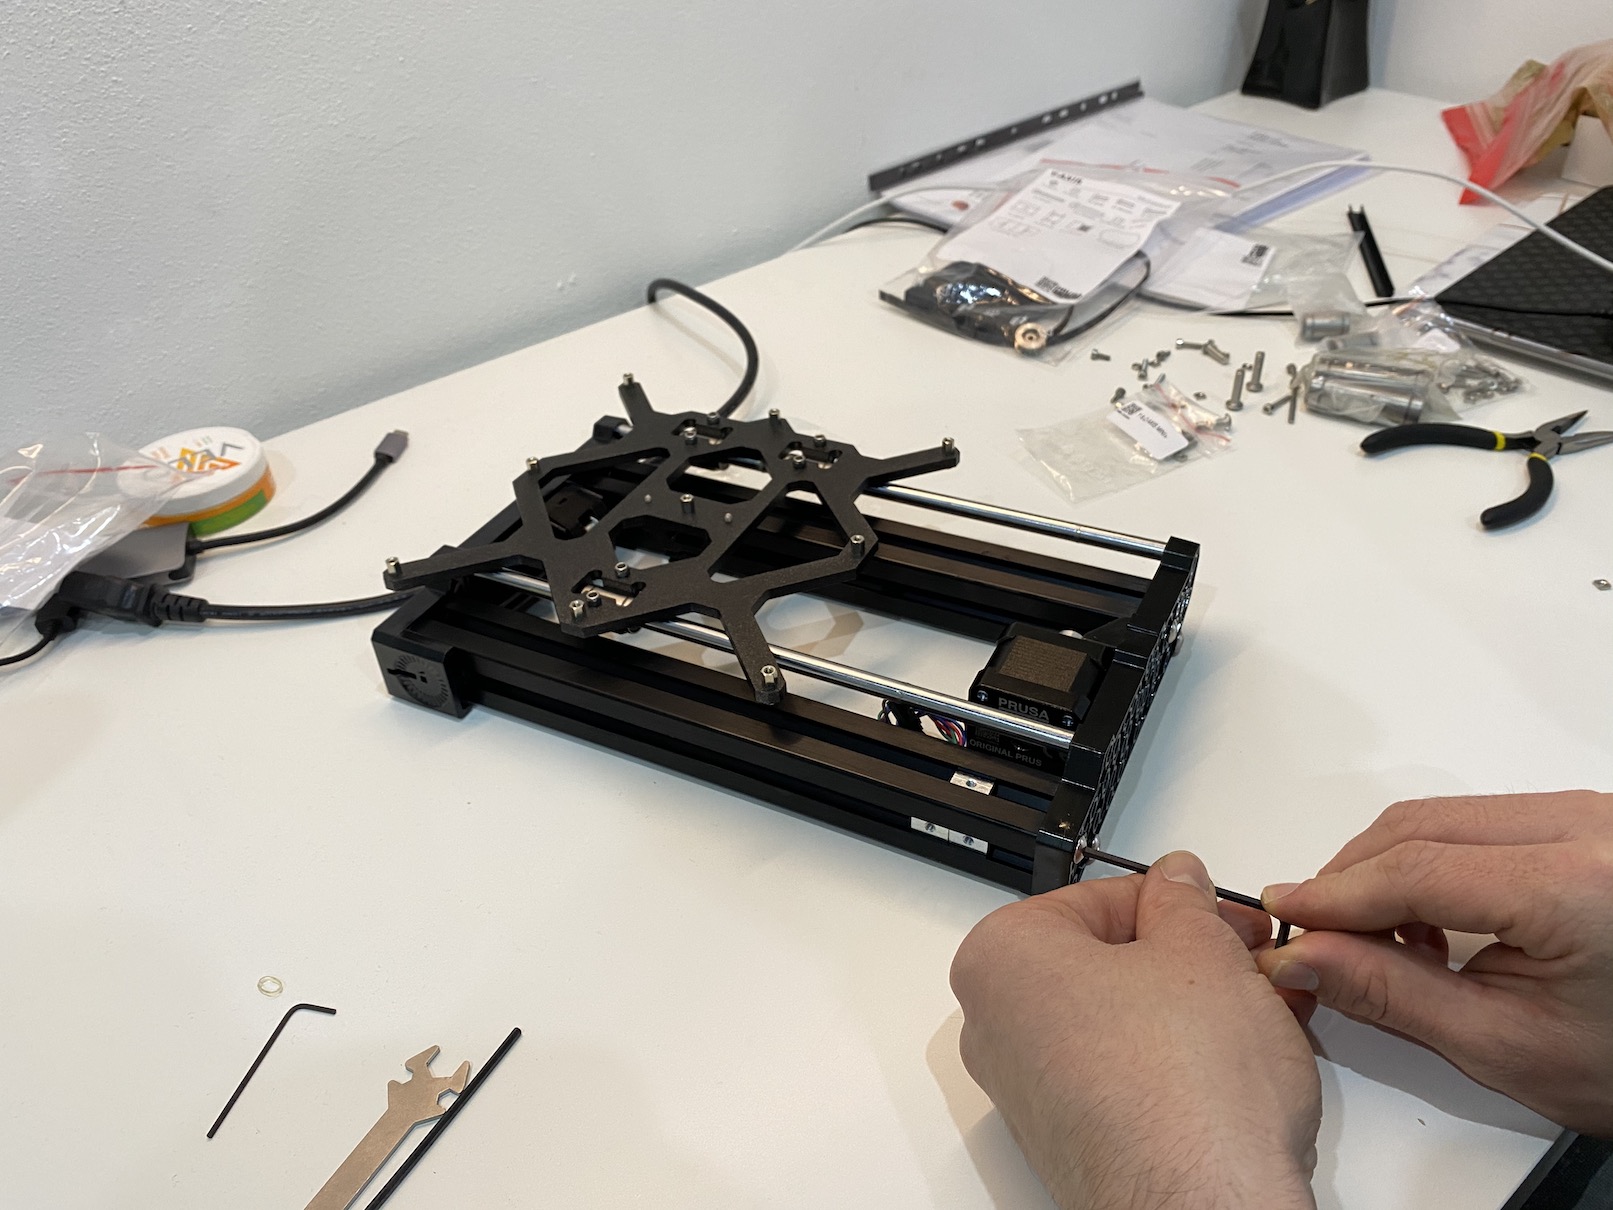
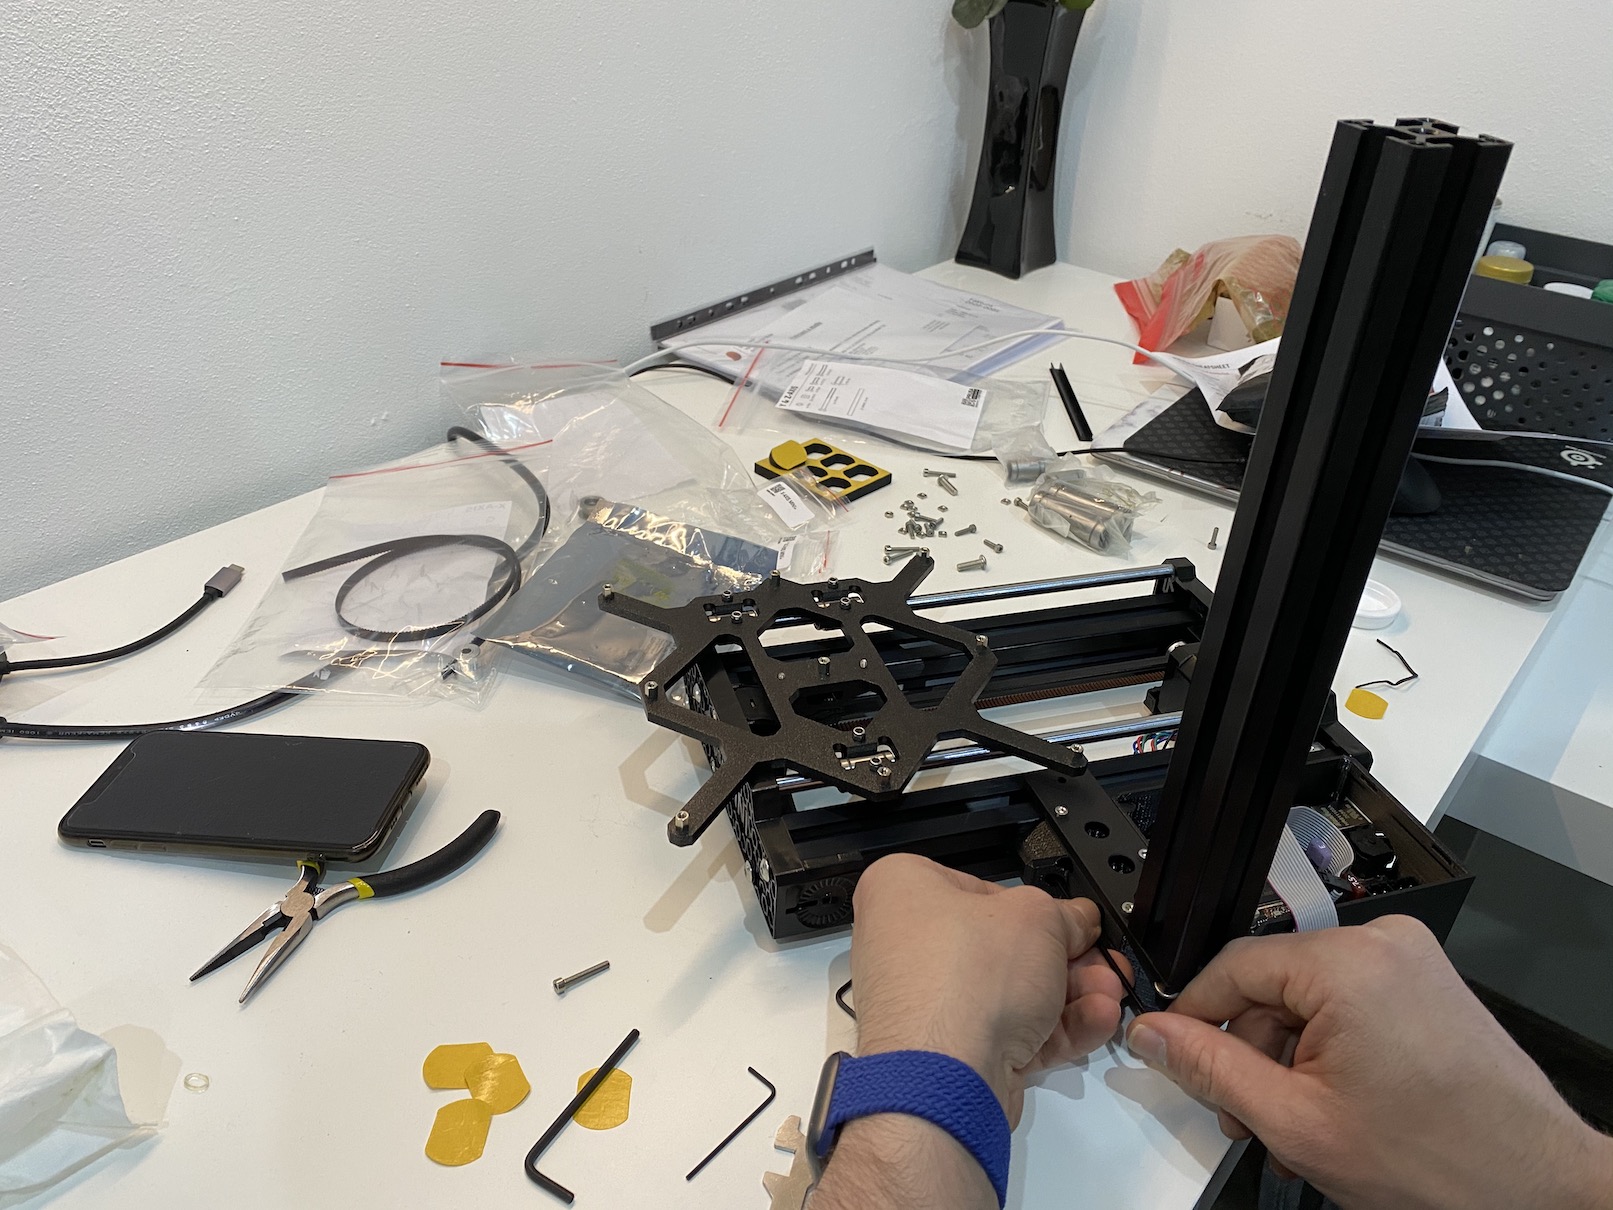
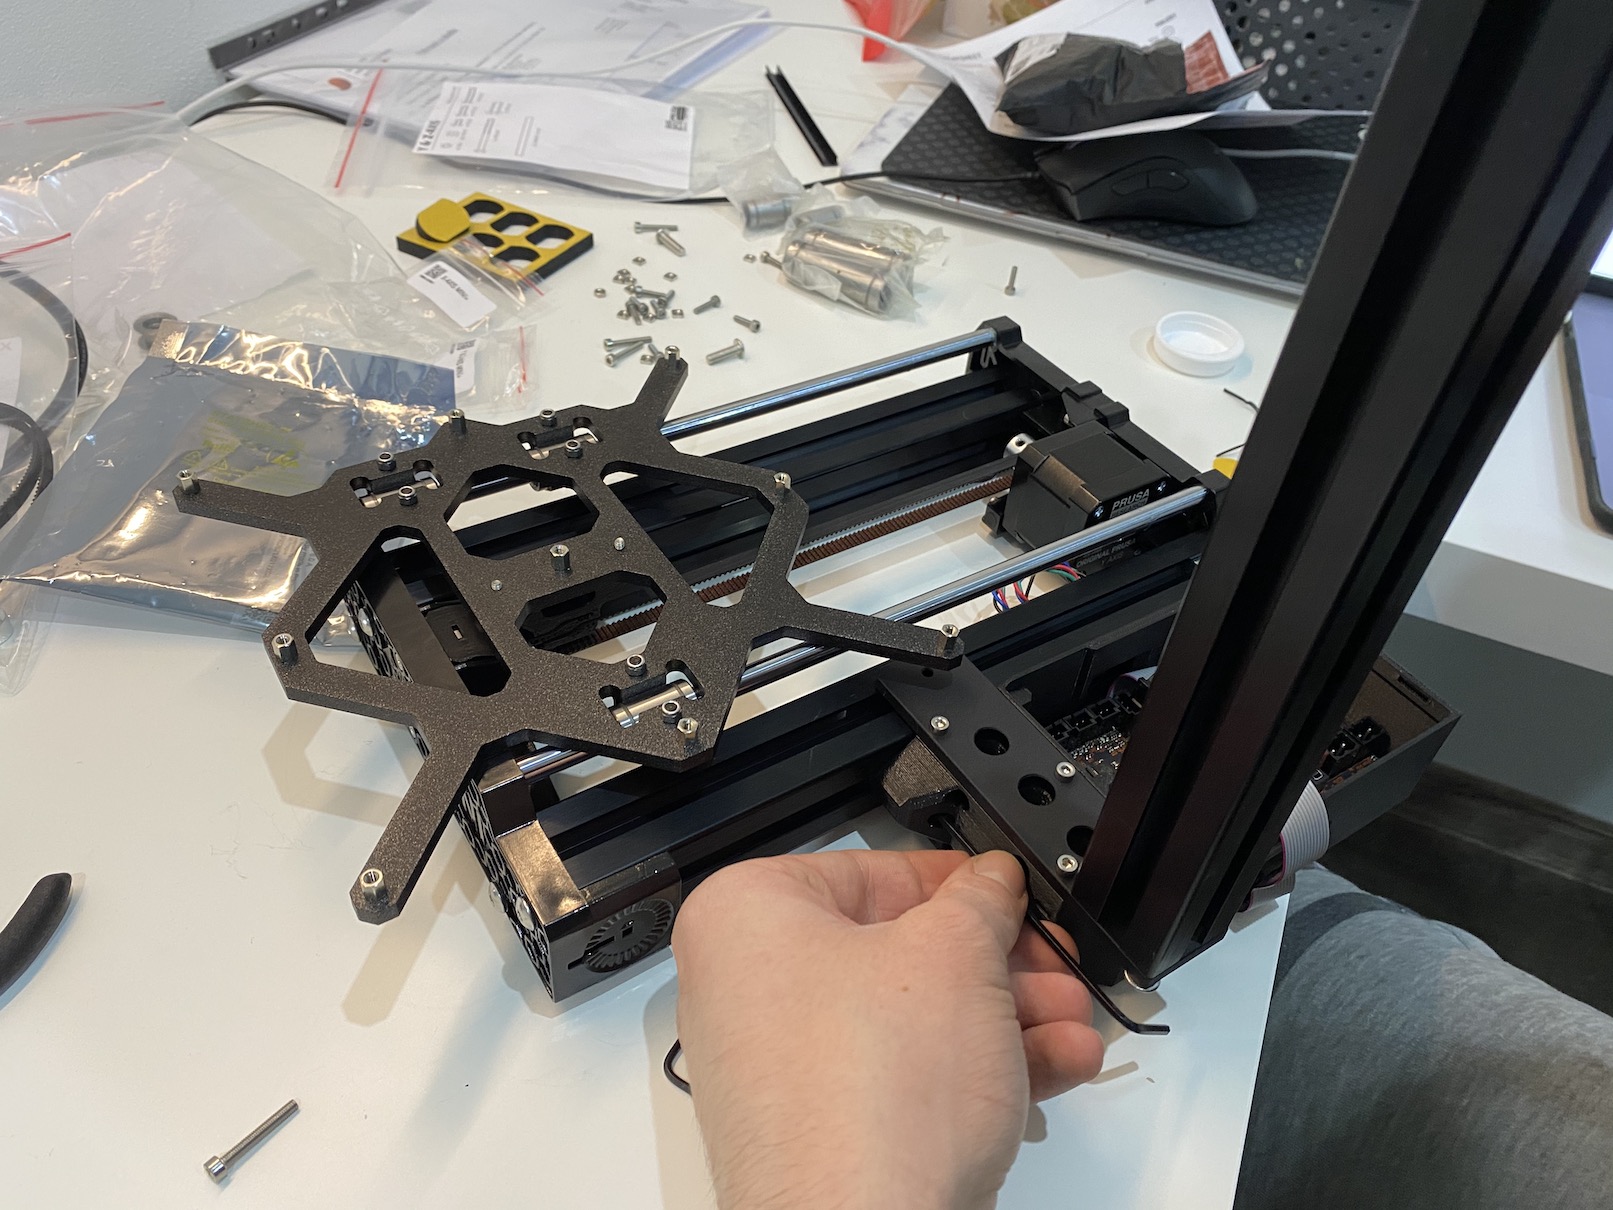
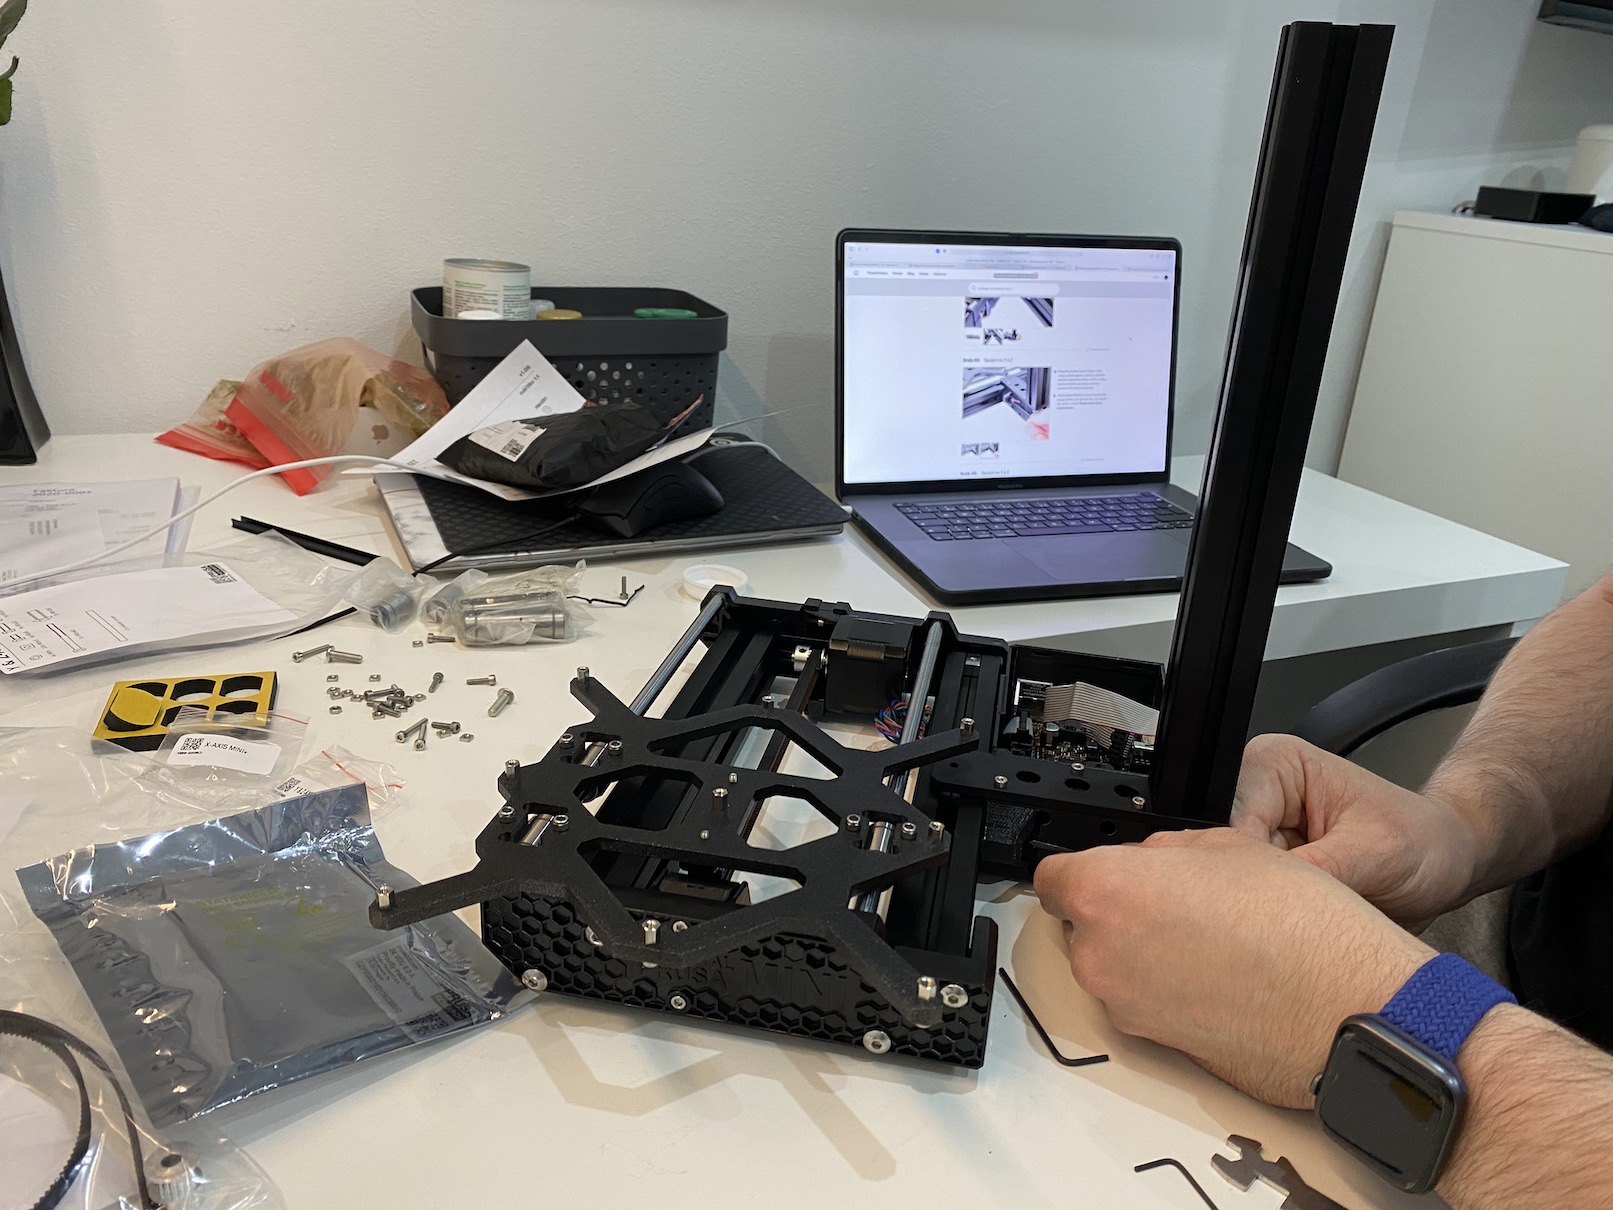
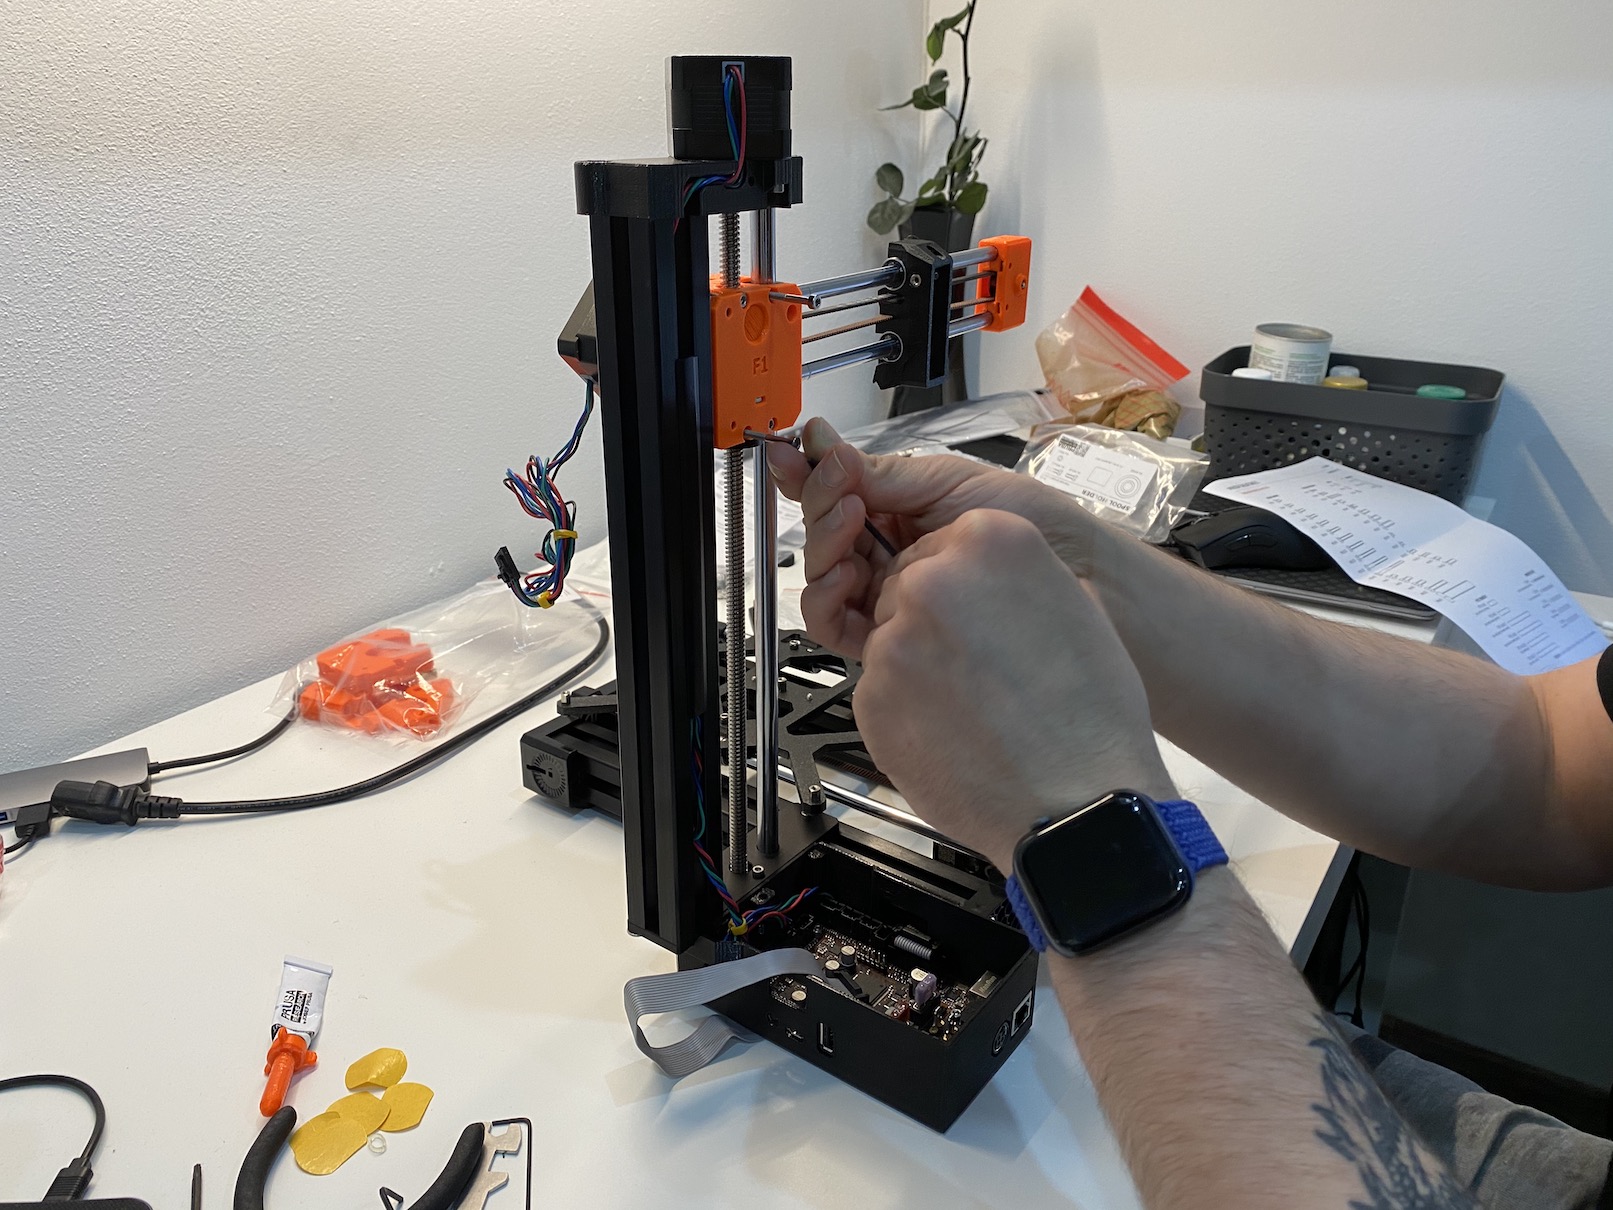
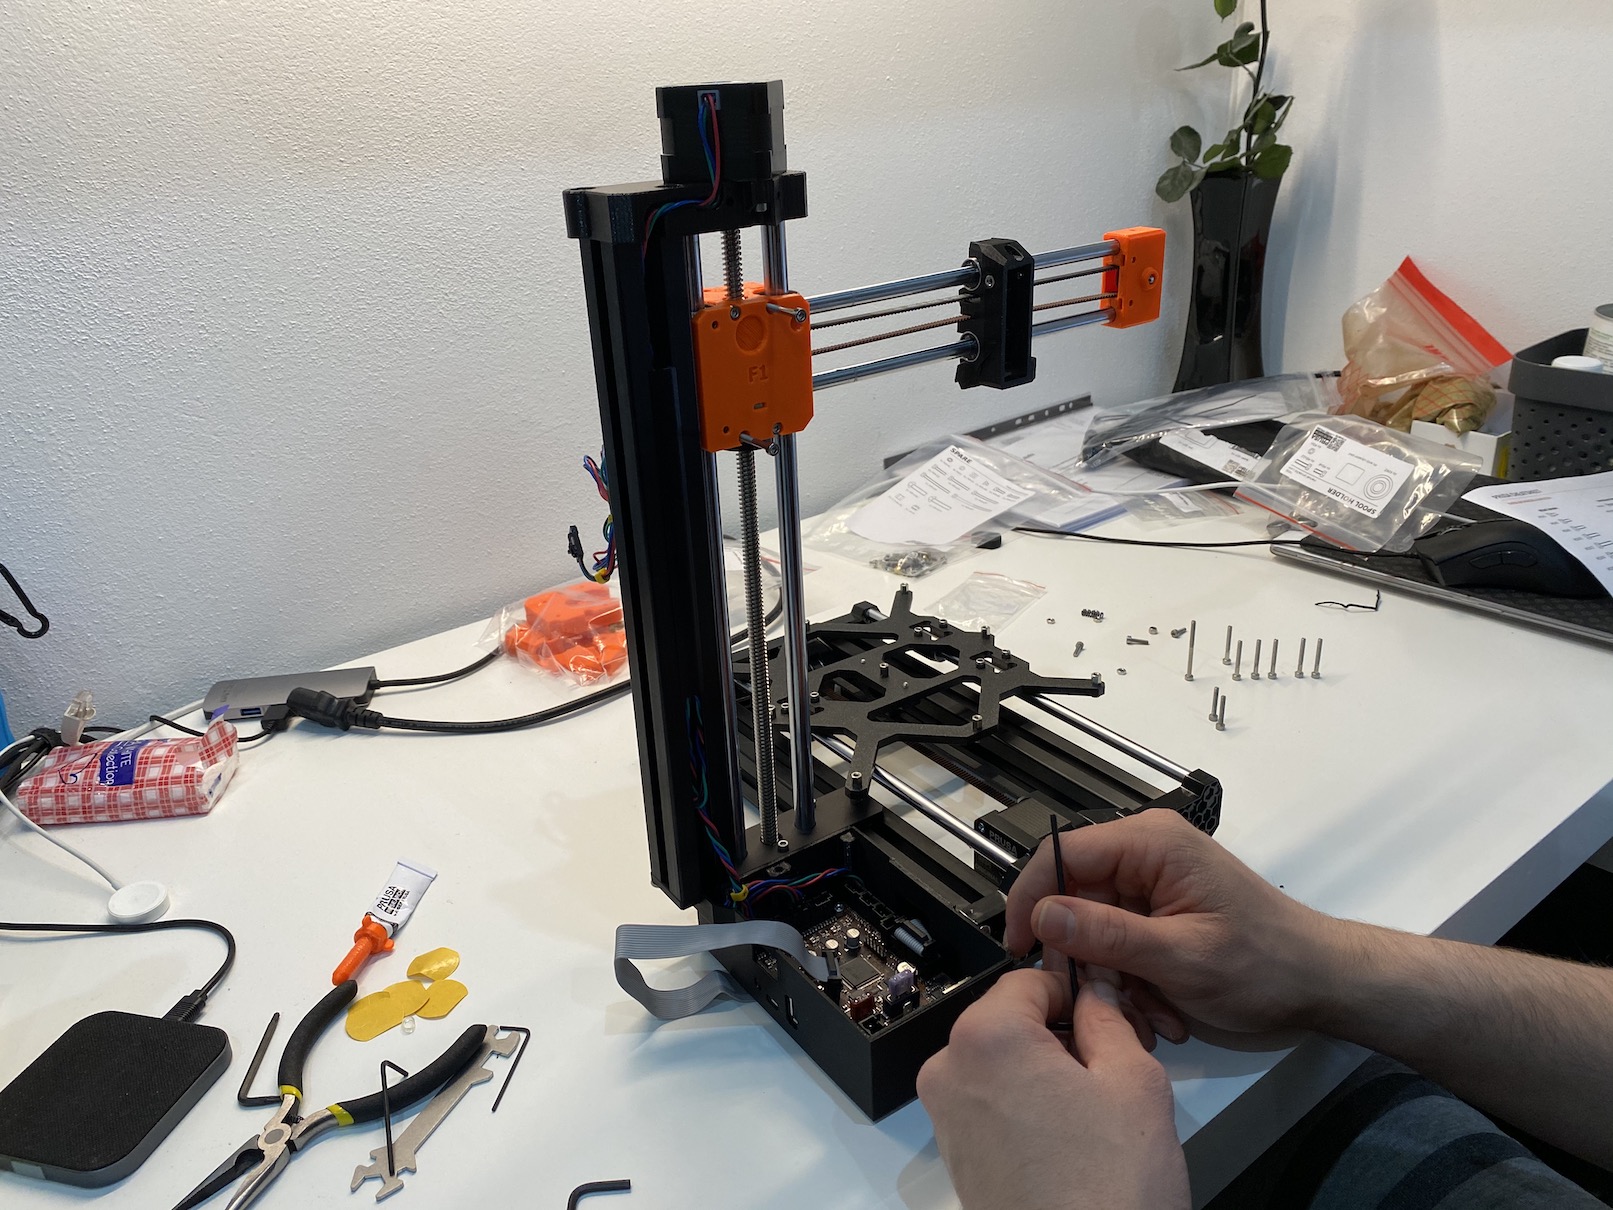
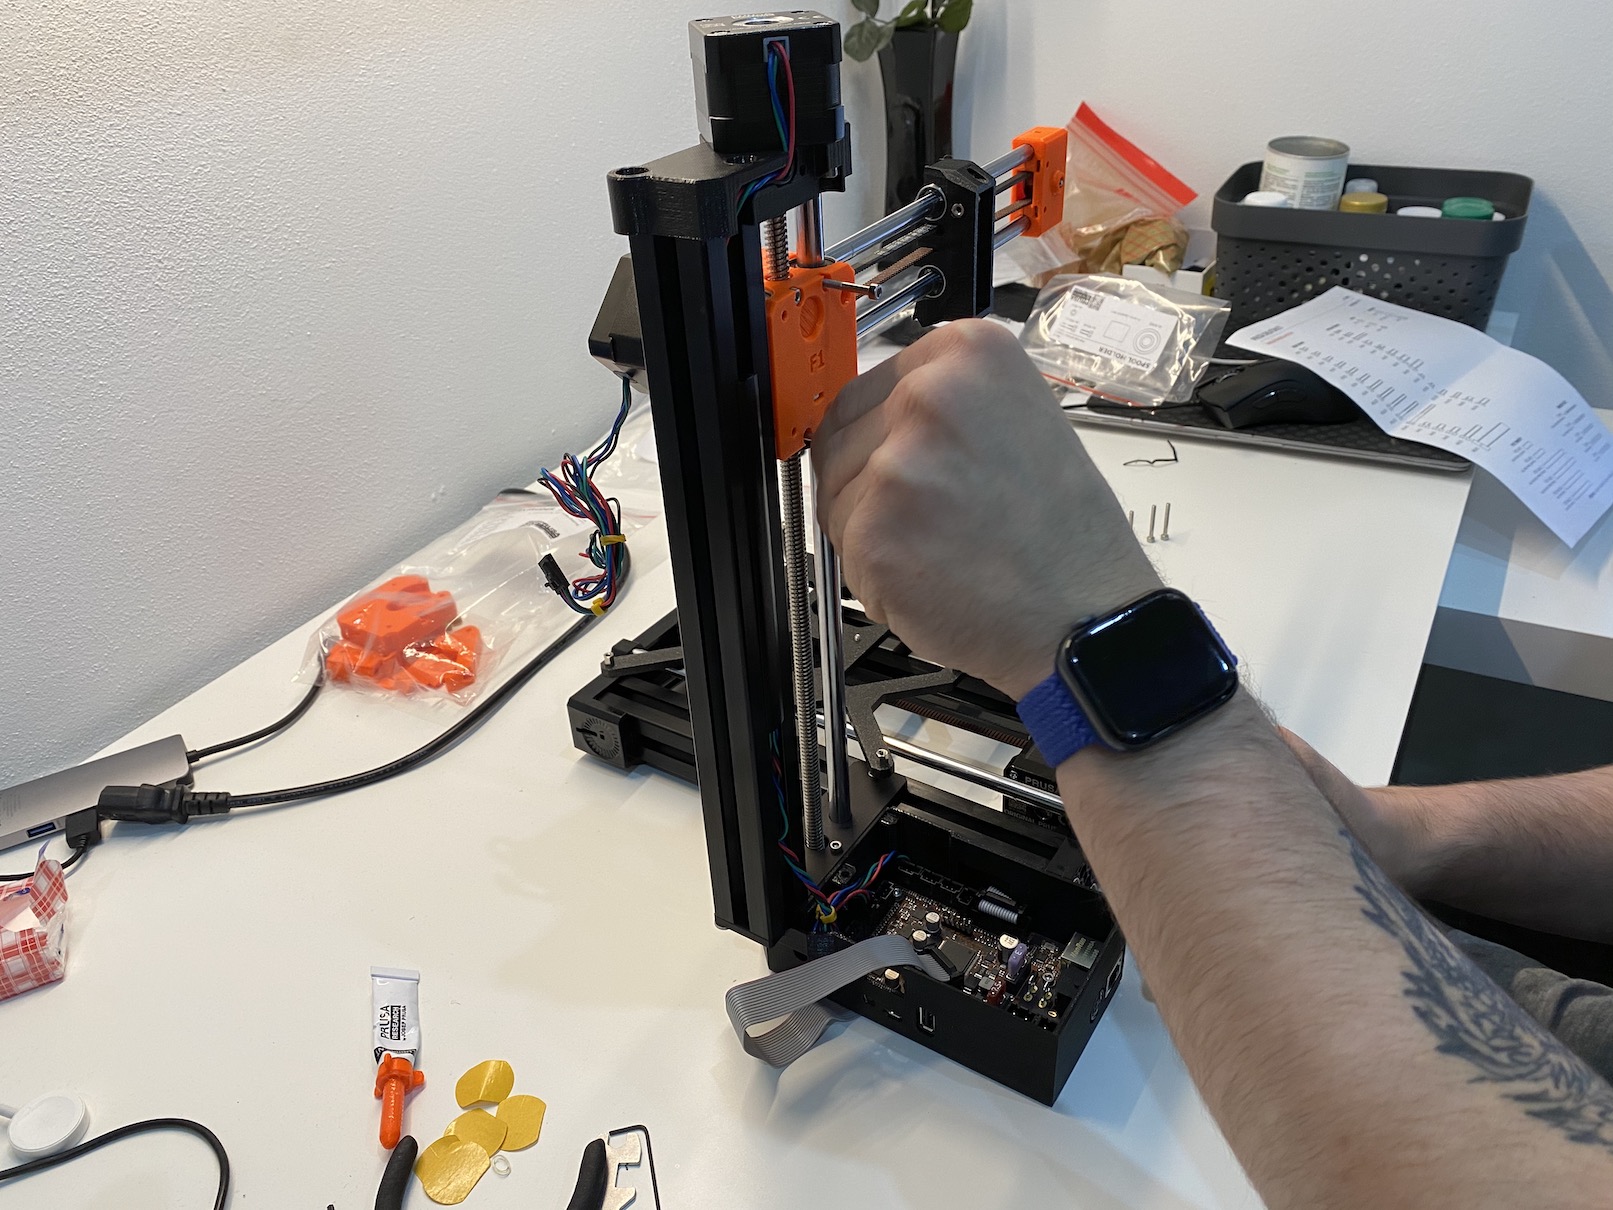
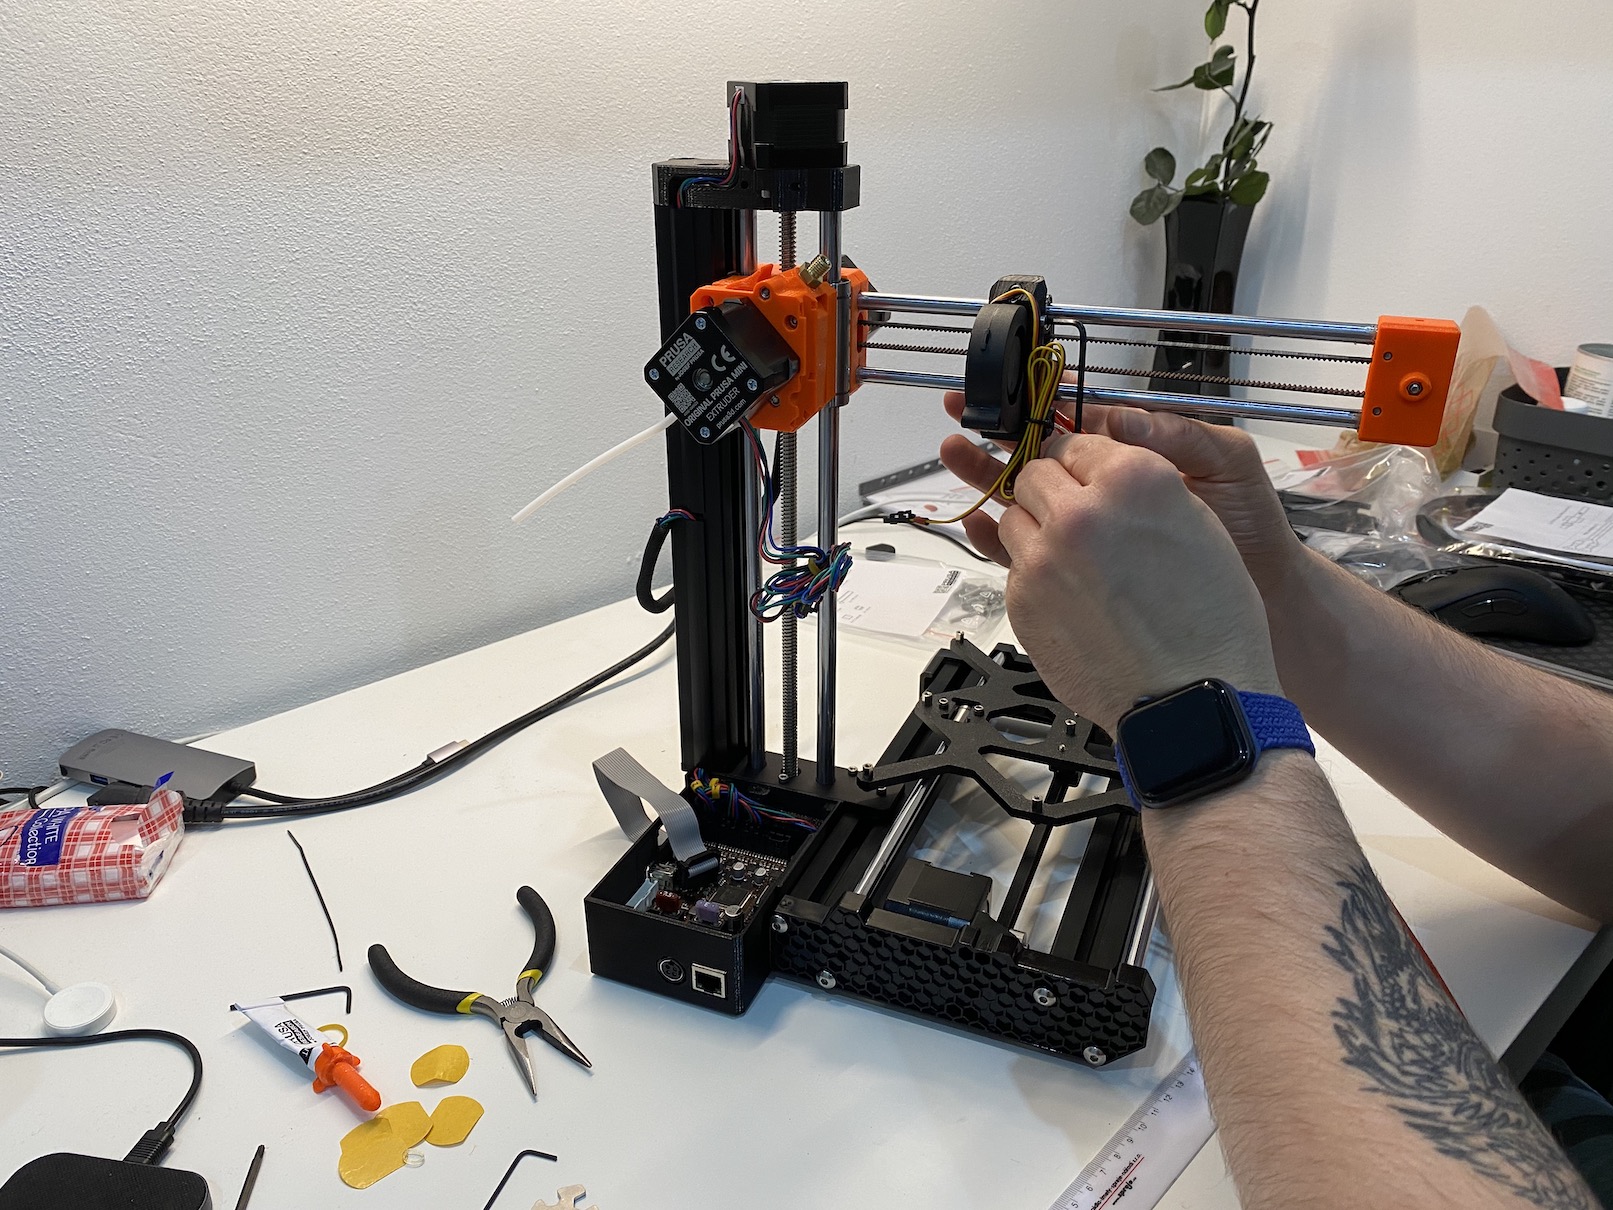
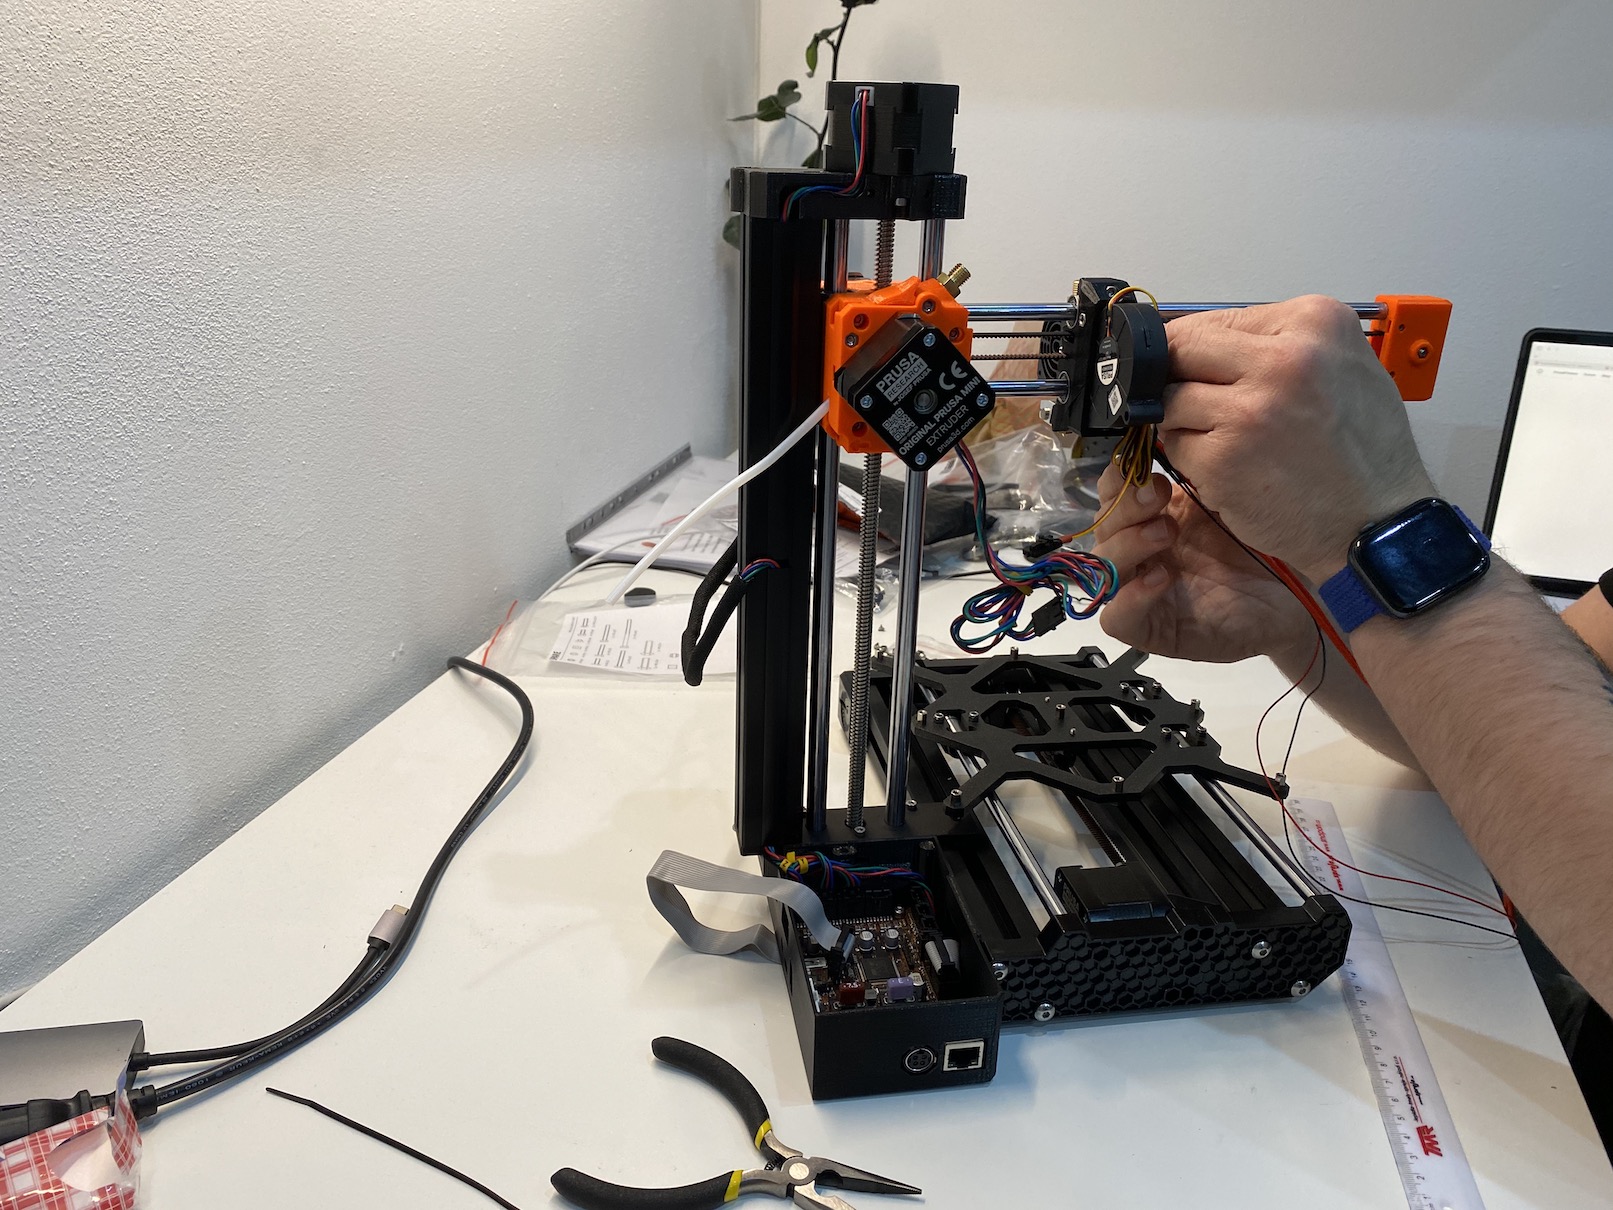
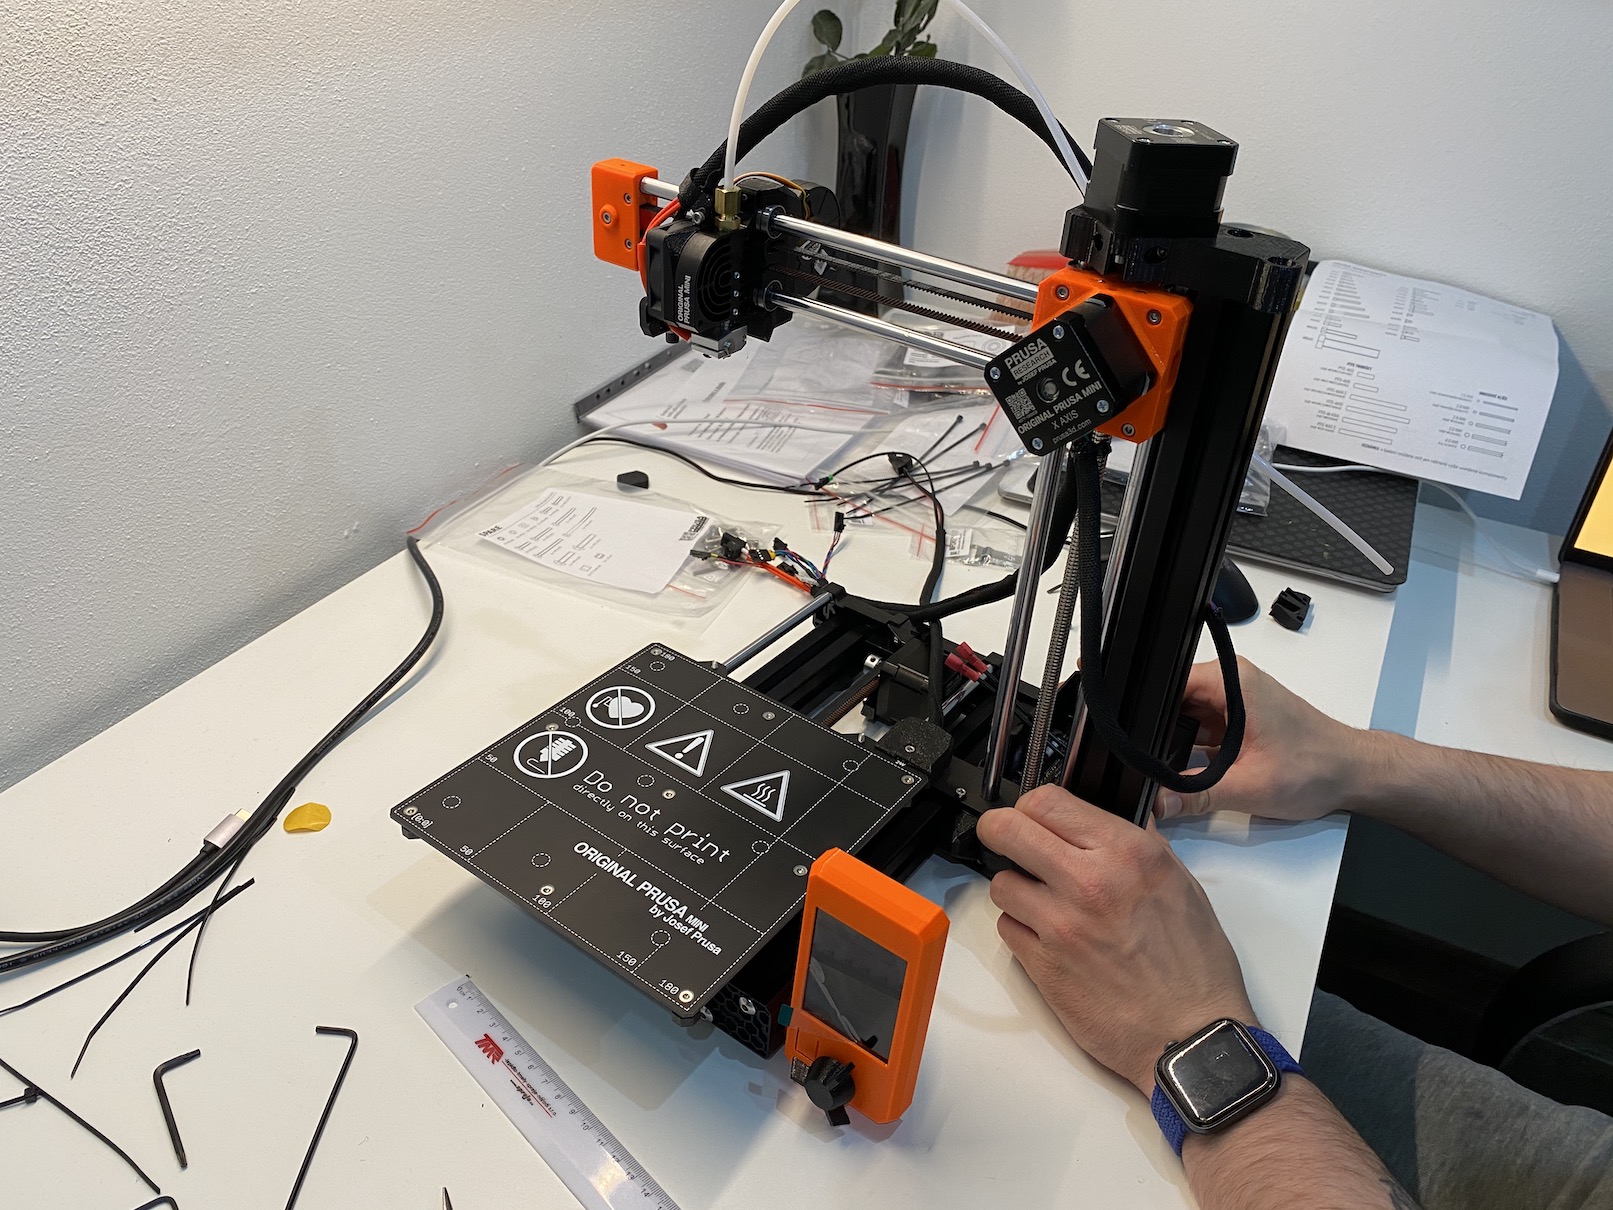
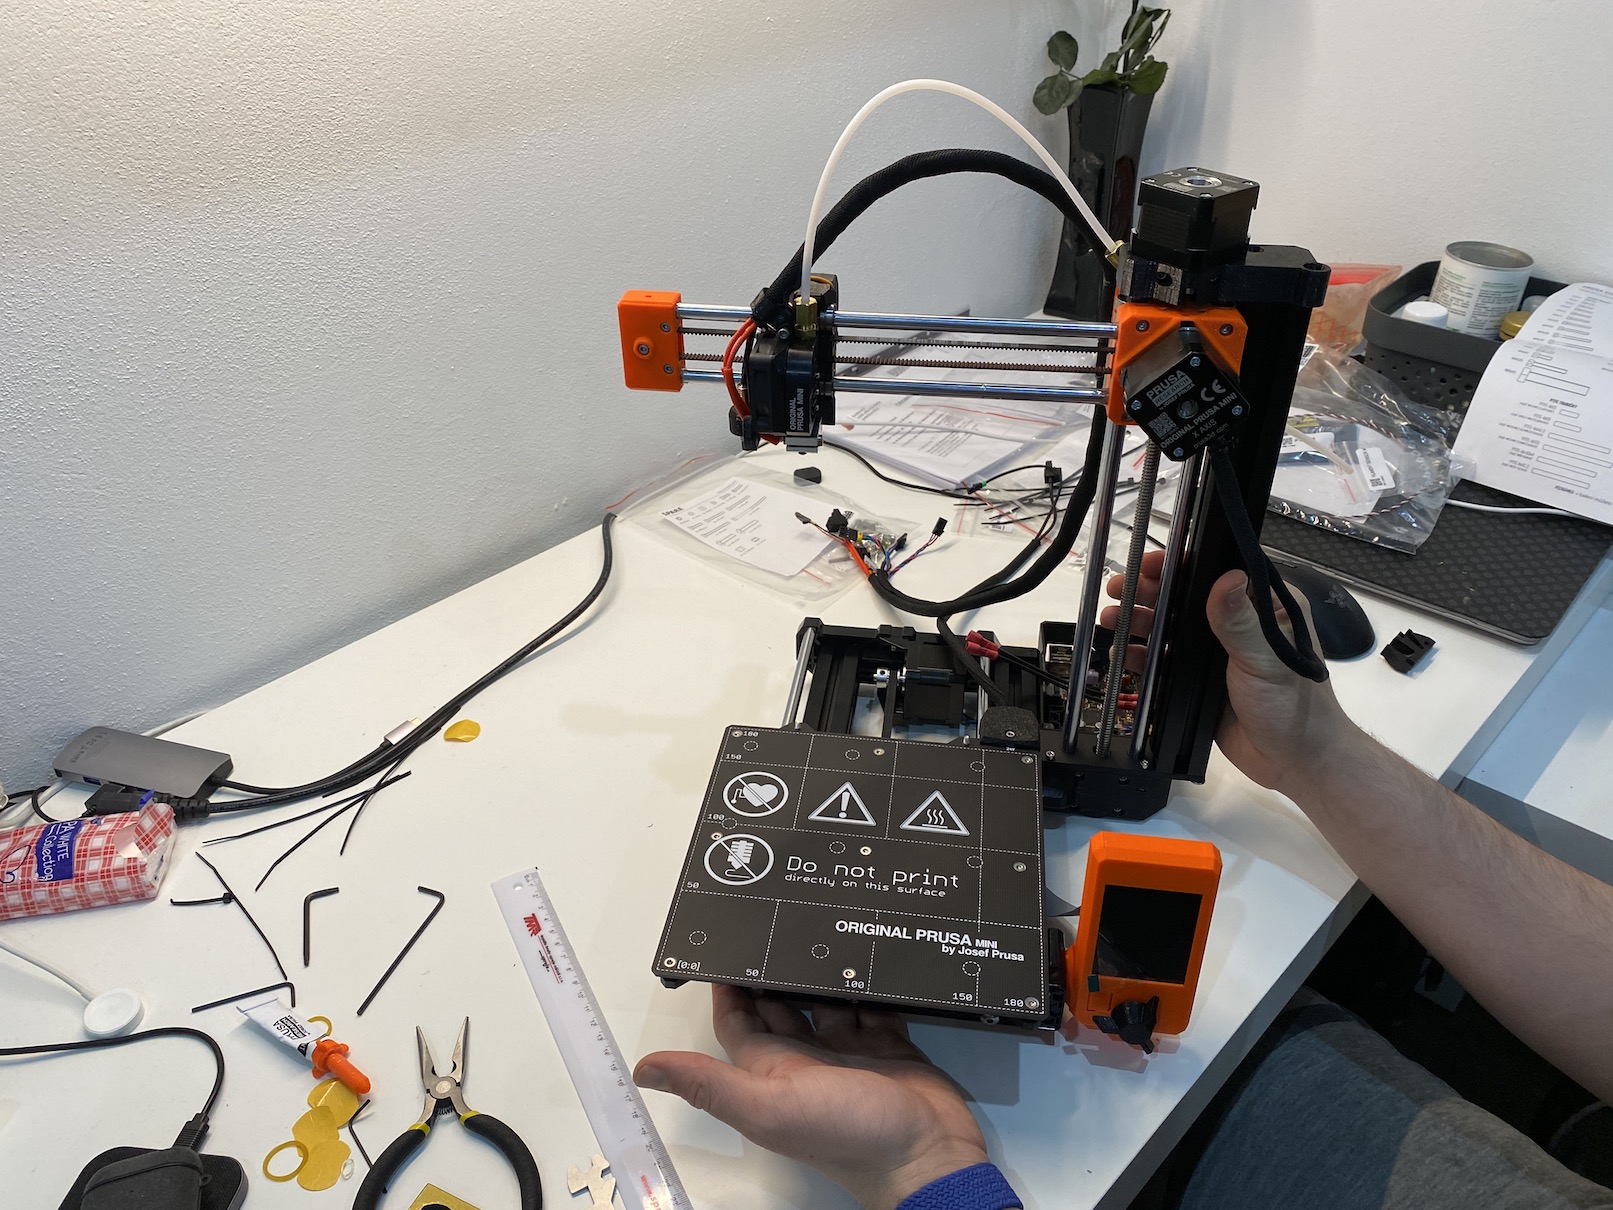
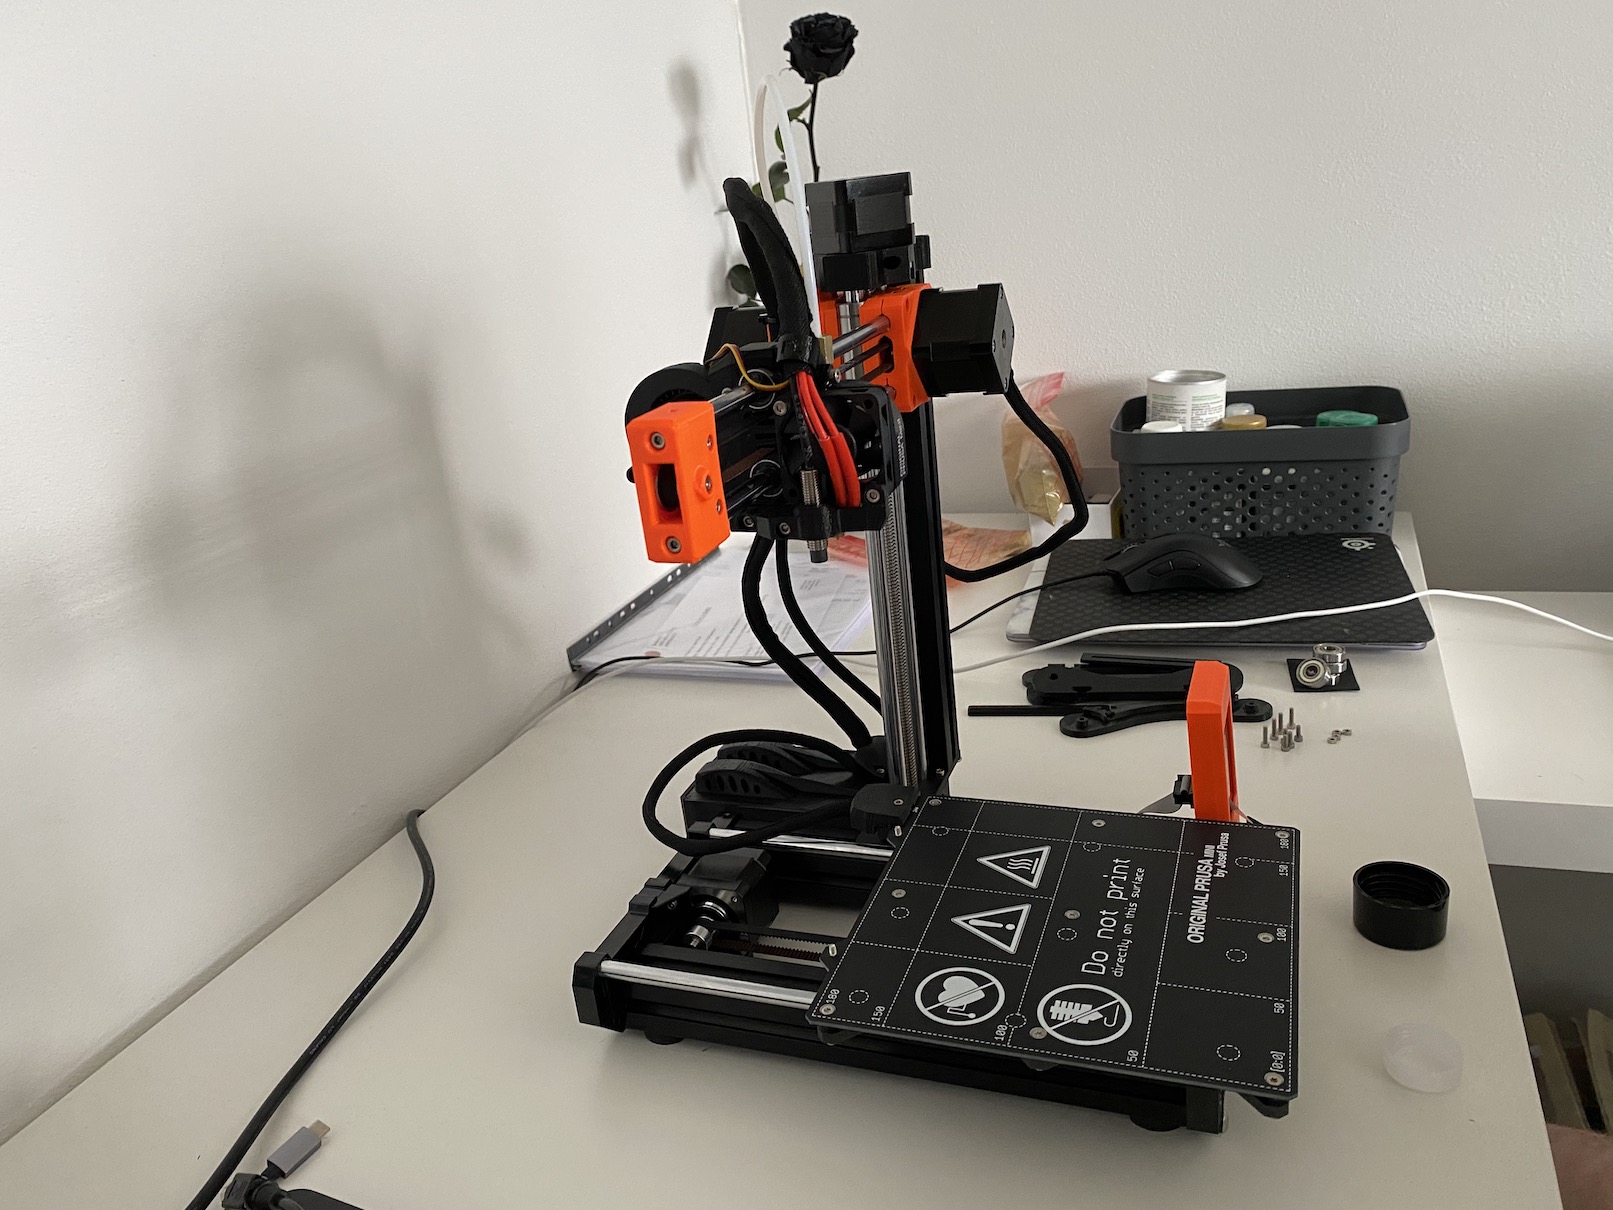
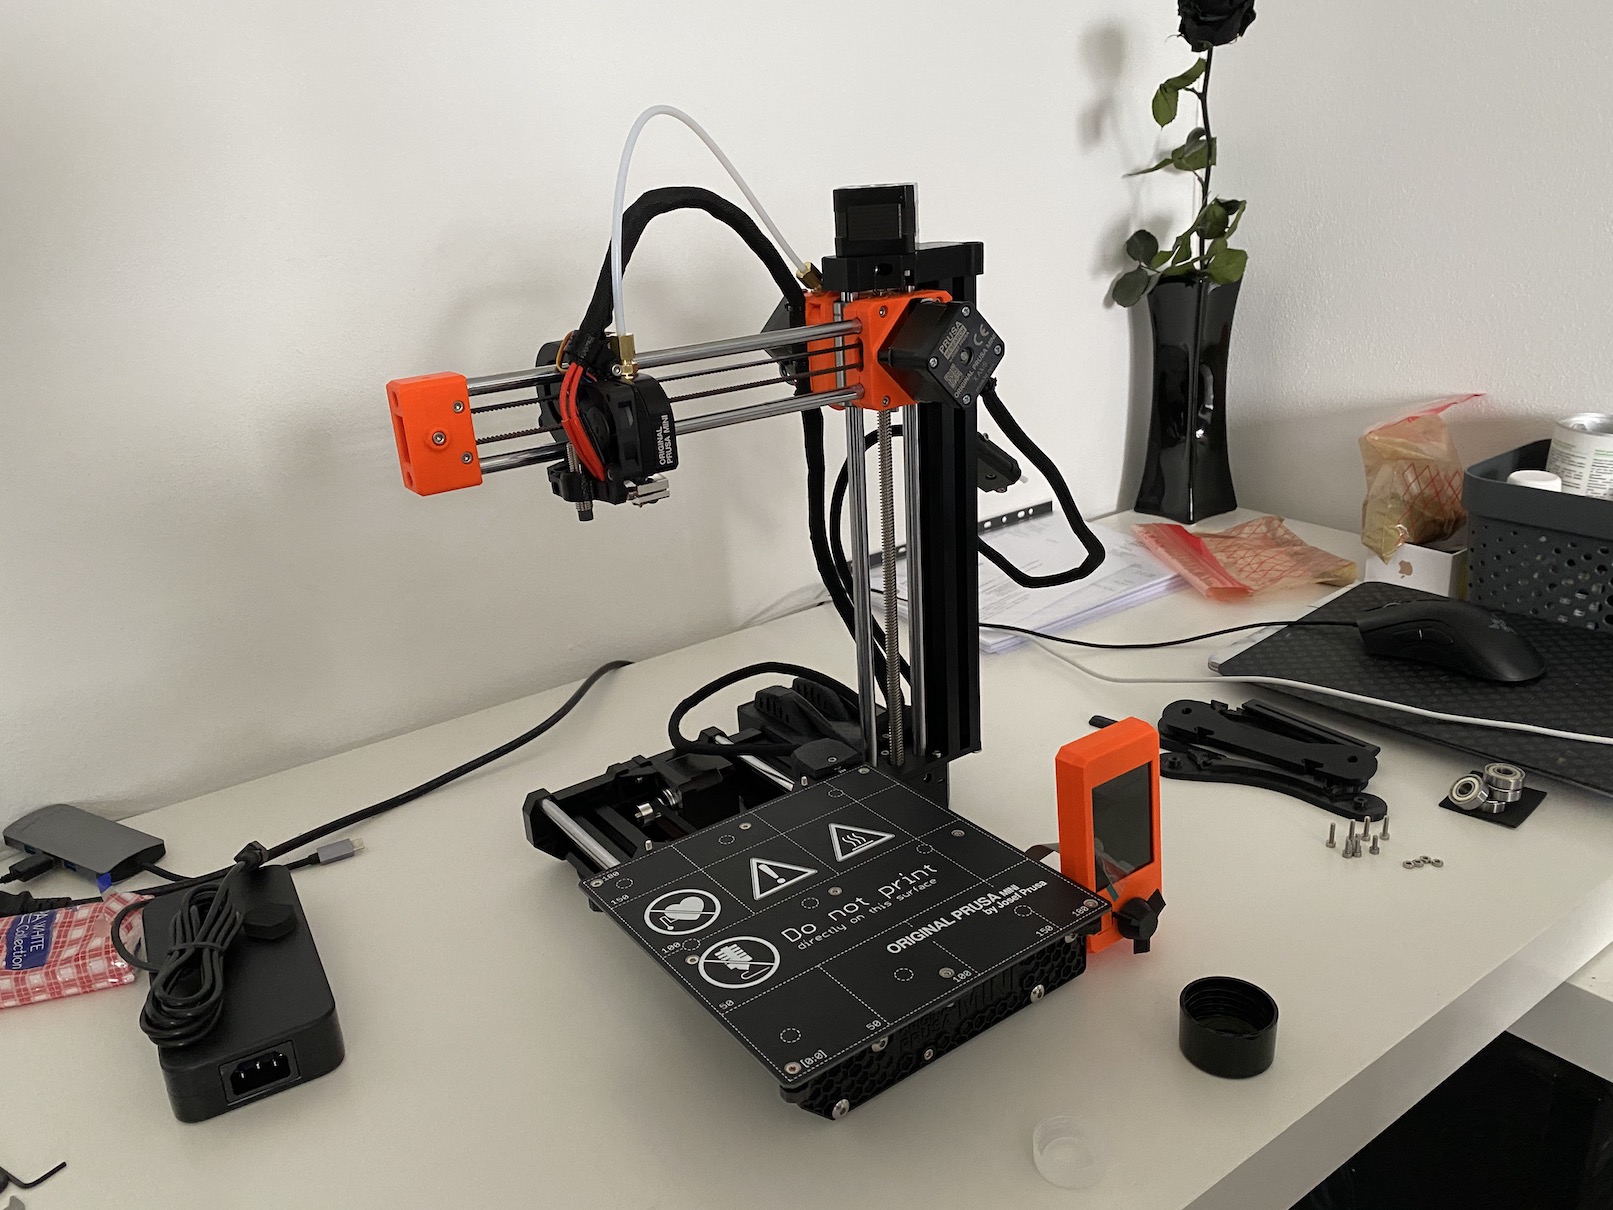
A few photos from the assembly of the Prusa MINI+:
Gadgets
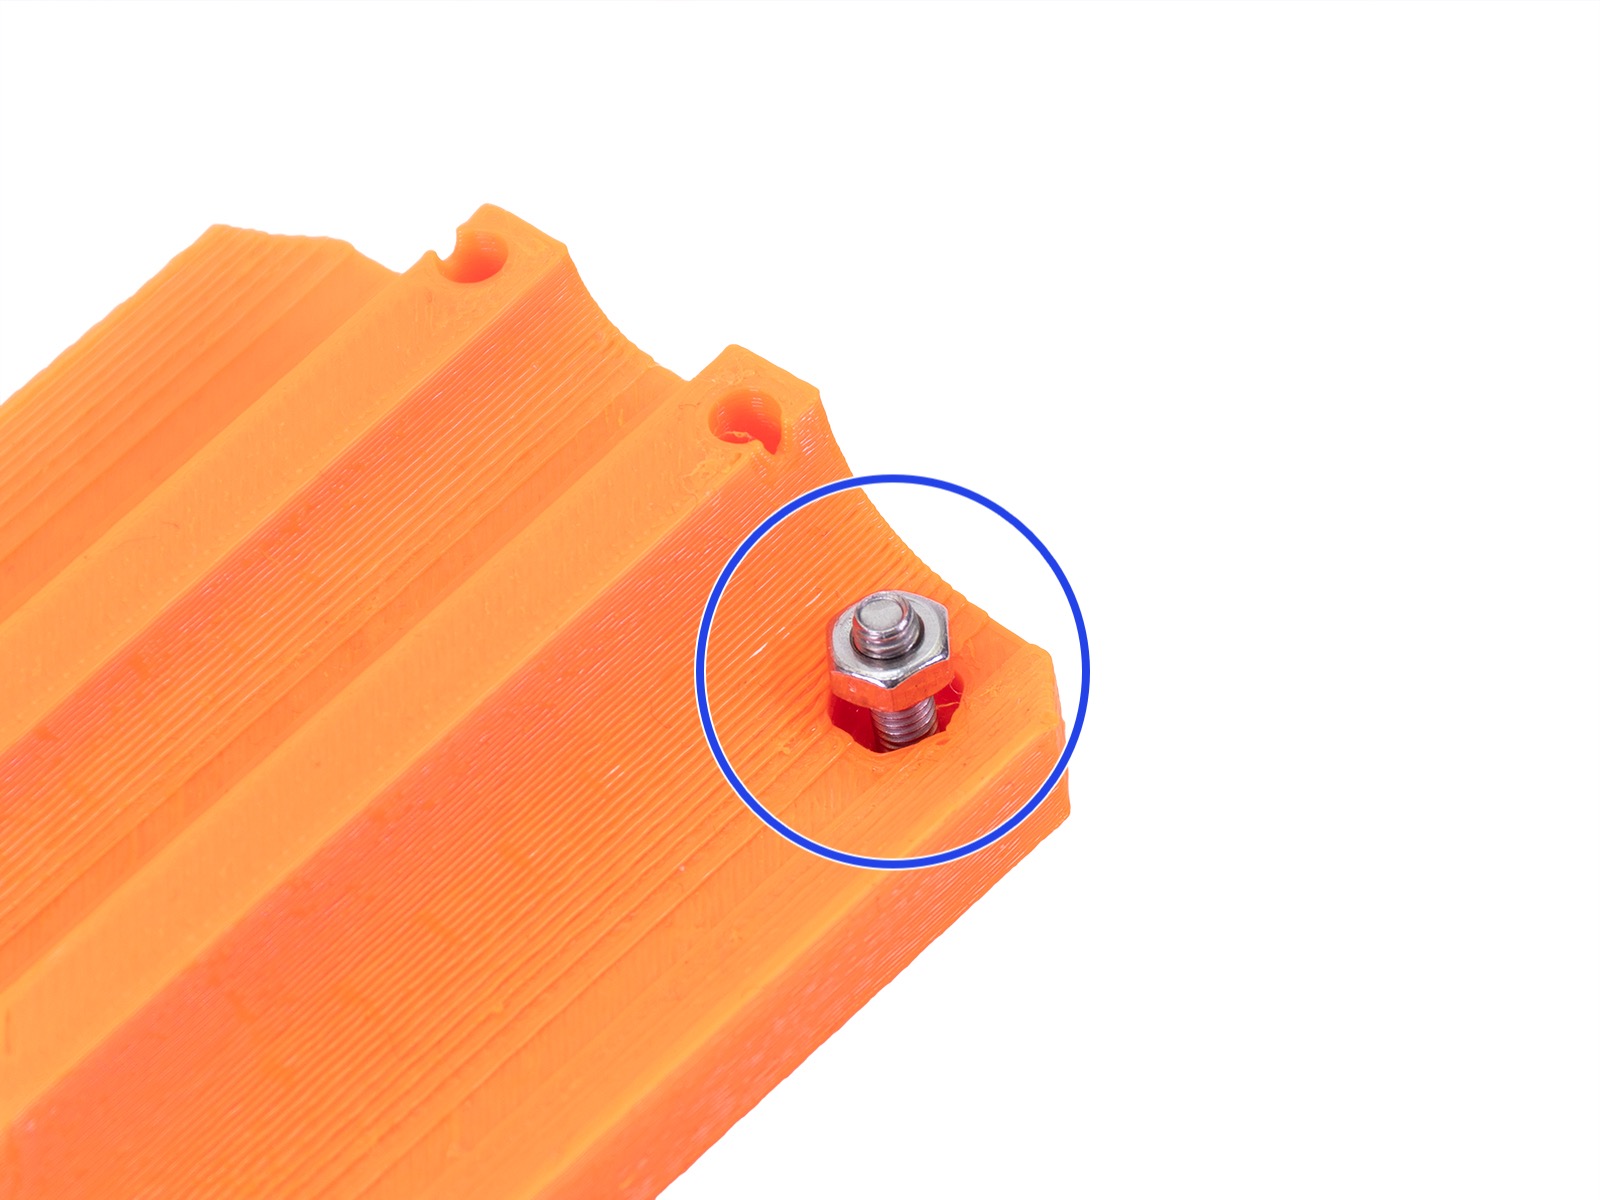
When folding the printer, you may find some gadgets useful, thanks to which folding becomes much more pleasant and, above all, faster. The most important is the so-called technique of pulling in nuts using a screw. When assembling a 3D printer, you often use nuts that are inserted into precise holes. Even though all the printed parts for assembling the printer are accurate, it can happen that in some cases the nut does not fit into the hole. In this case, some of you might think of "slamming" the nut in, but in any case, this is not the ideal way, as you risk possible cracking or damage to the part. Instead, the just-mentioned technique can be used to more easily insert a nut that cannot fit into the hole. In the package you will also find a pack of candies for reinforcement, which must be consumed exactly according to the attached instructions :).
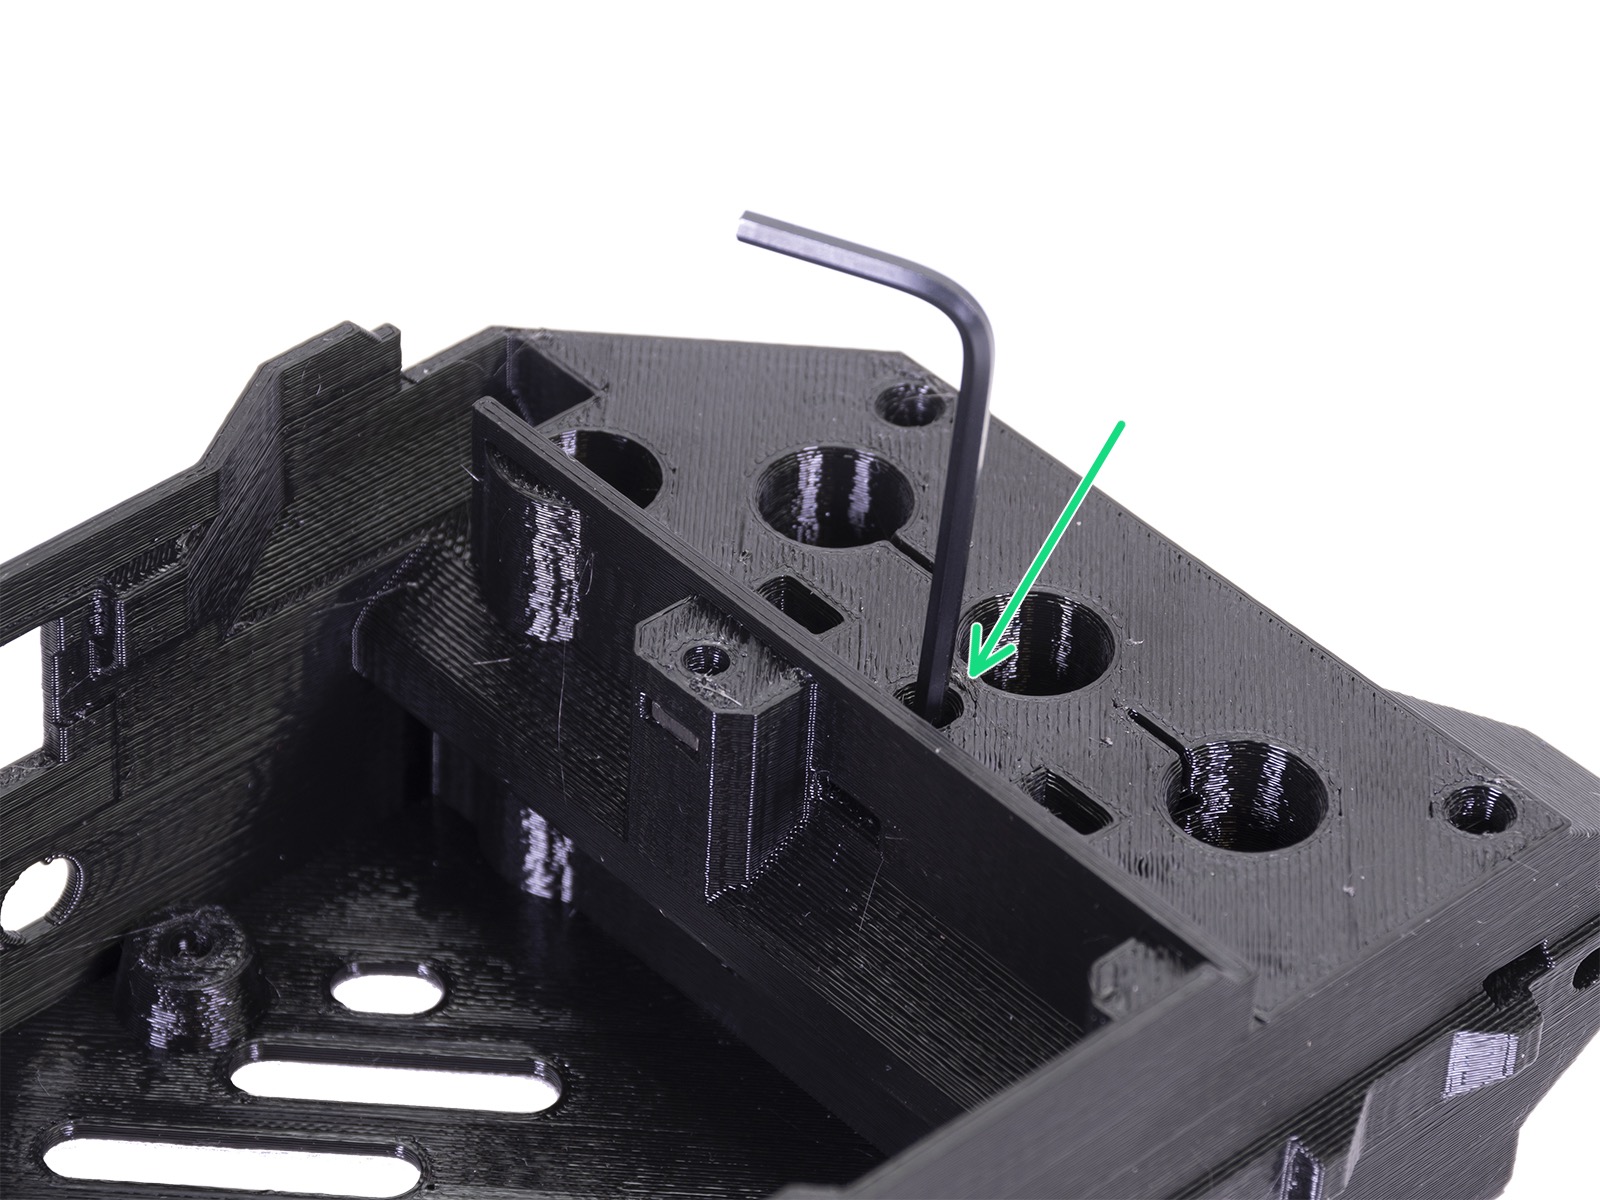
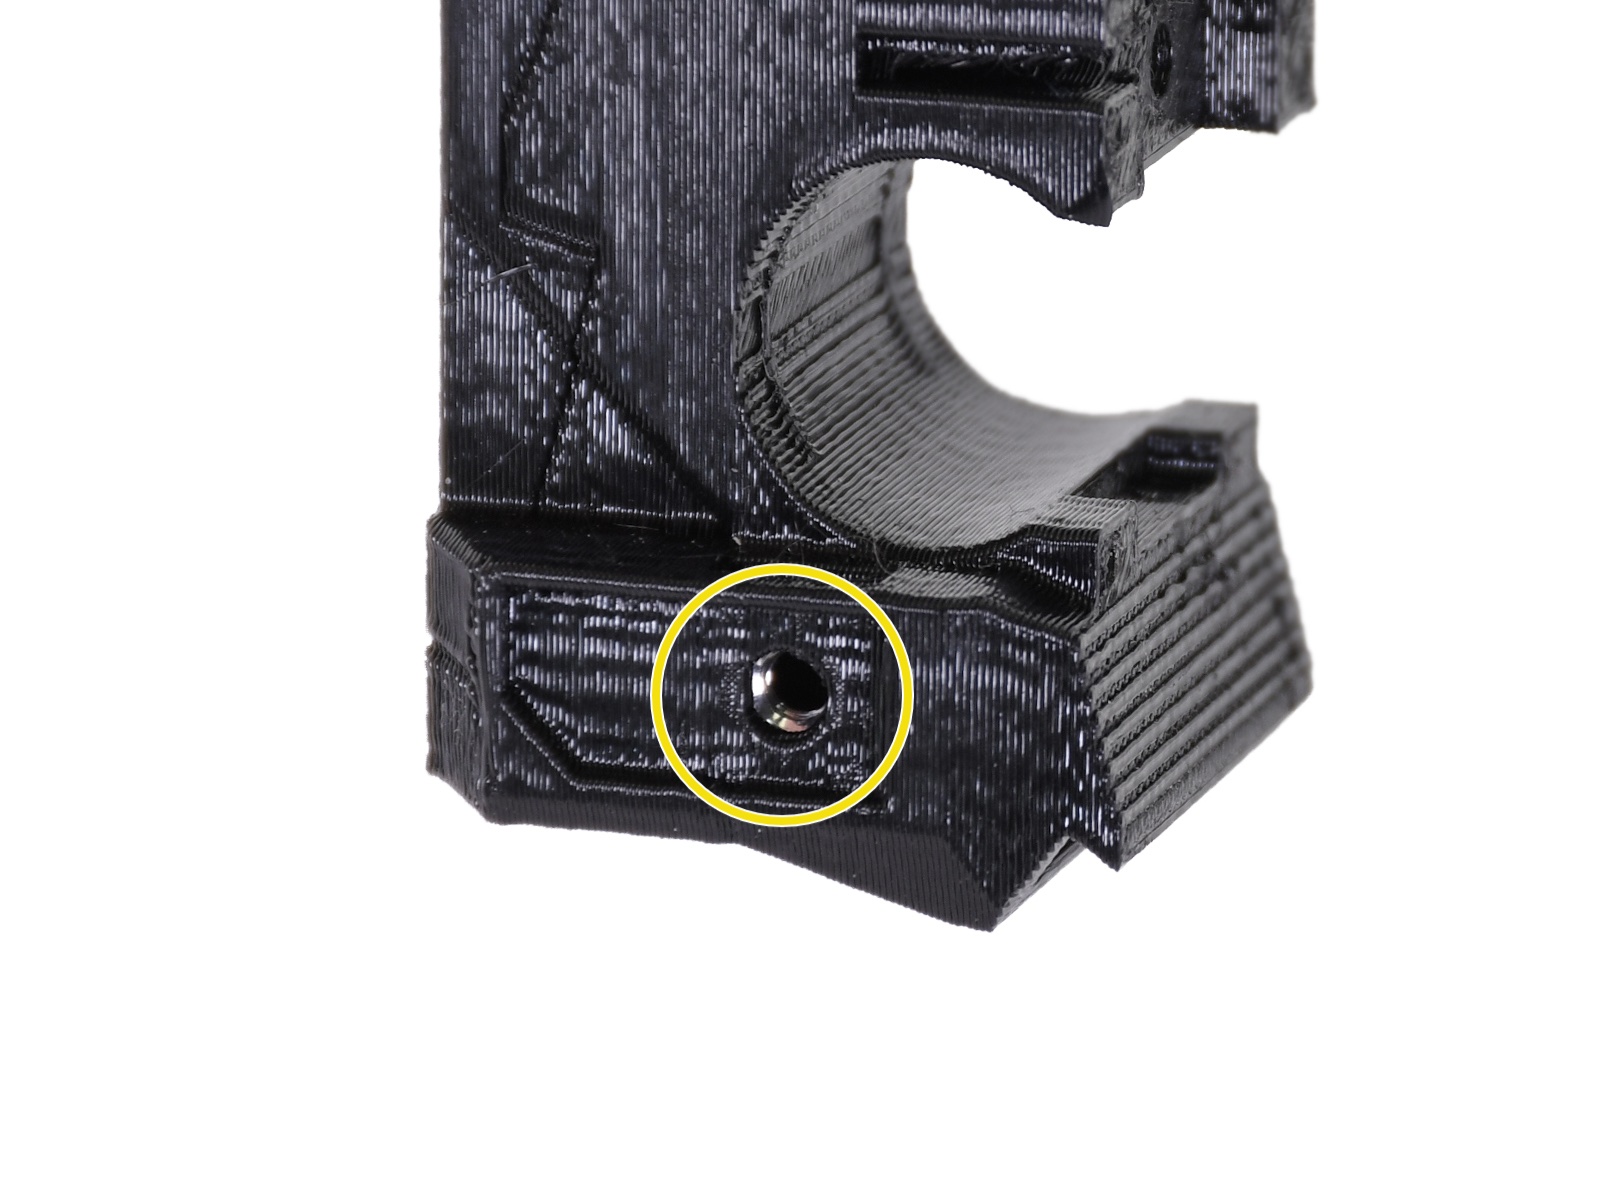
For a classic nut, in this case, put the nut in its place. From the other side of the hole, then thread the nut screw and start screwing it. This will start to tighten the nut and get it in place. Just make sure when tightening that the nut is oriented correctly, i.e. that it can fit into the prepared hole. After tightening the nut, simply unscrew the screw out. If, on the other hand, the nut does not hold in the hole, it is enough to attach it with a piece of adhesive tape. In addition to classic nuts, you will also come across angular (square) nuts when folding, which are inserted "flat" into the holes, sometimes really deep. You may not be able to push the nut all the way in. In that case, take a small Allen key to simply push the square nut into place.
záver
In this article, we've looked together at tips that might come in handy when assembling your potential new 3D printer. In summary, you could say that you should definitely take your time when assembling and make sure that you are assembling everything exactly according to the instructions as you should. In certain cases, the gadgets mentioned may come in handy. The complete procedure for composition can be found directly in the attached manual, or you can go to the mentioned help pages on your computer, where you can also find the procedures. In the next part of this series, we will look at turning on the printer for the first time, together with the initial setup and calibration. In one of the following parts, we will also focus on the "glossary" of the individual terms, so that you can easily recognize what is what.

