In the second part of our series Getting started with 3D printing, we looked together at unpacking and assembling a 3D printer from the brand PRUSSIA. Of course, you can buy a pre-assembled PRUSA 3D printer, but to get the best possible understanding of how the whole system works, I highly recommend that you buy a jigsaw - and you'll save even more. However, we talked more about choosing a 3D printer in the already mentioned previous part of our series.
It could be interest you
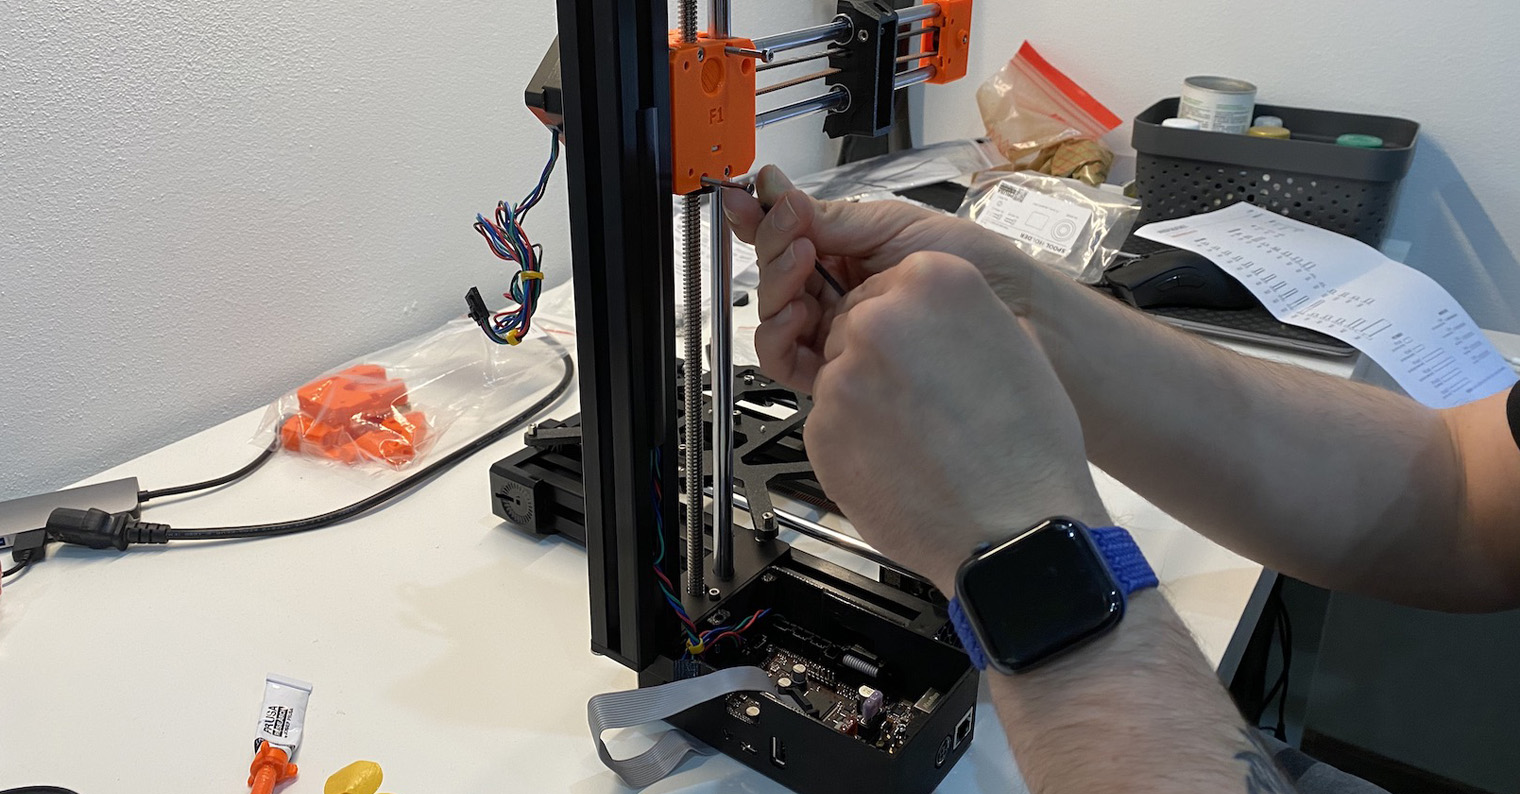
If you have reached this article, you most likely already have a 3D printer built in front of you and ready to be turned on. So plug one end of the power cable into the printer and the other into the socket in the classic way. Subsequently, it is necessary that you switch the power switch to the active position in the part of the printer where the electronics are located. This will automatically turn on the 3D printer, which you can tell for example by the fans spinning at full speed for a short time. If the fan blades start to touch something, for example a cable, of course turn off the printer again and adjust the cables.
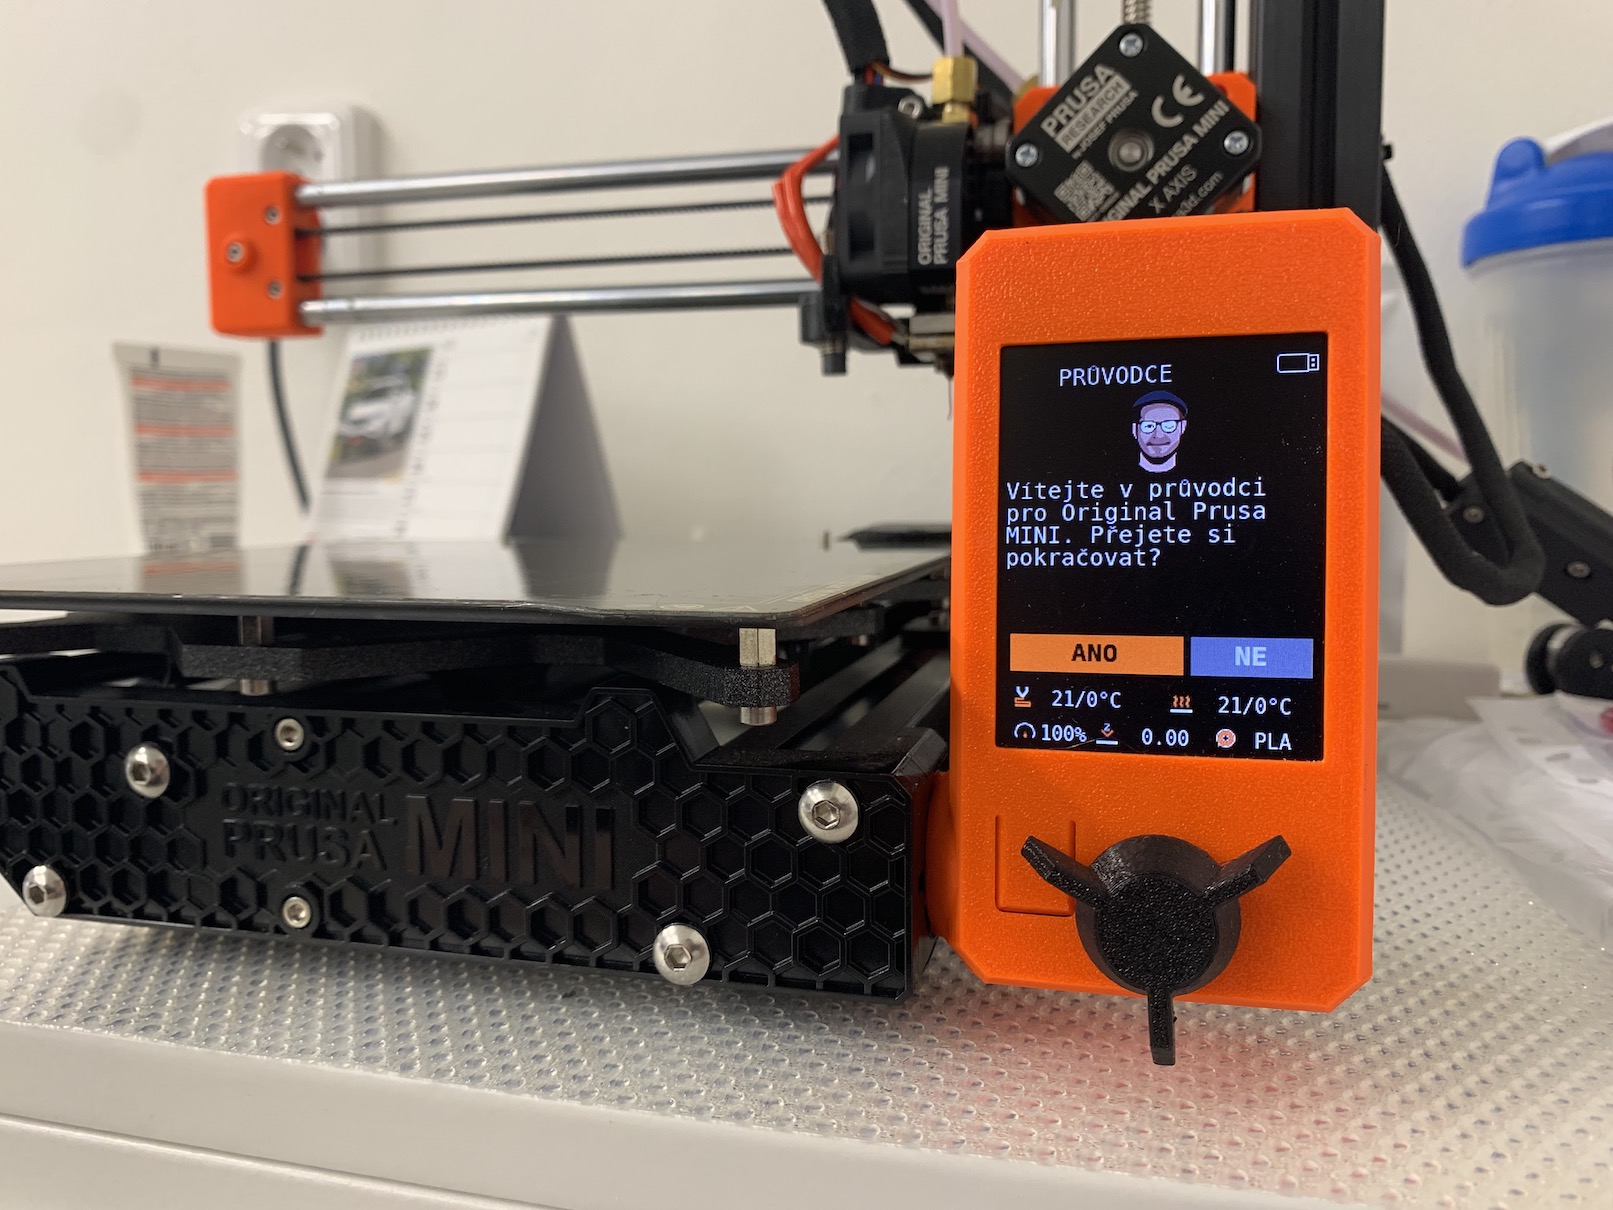
Our PRUSA MINI+ printer, which we have available in the editorial office, is controlled in the front part, where there is a large color display, together with a control button below it. As soon as you start the printer for the first time, you may see information that it is necessary to insert a flash disk with firmware. Personally, I didn't see this message, but if it does, just take the silver flash drive out of the printer package, insert it a short distance from the power cable into the USB connector and perform the installation. The 3D printer will then ask you if you want to go through the introductory guide. I highly recommend this, of course, unless you are an advanced user.
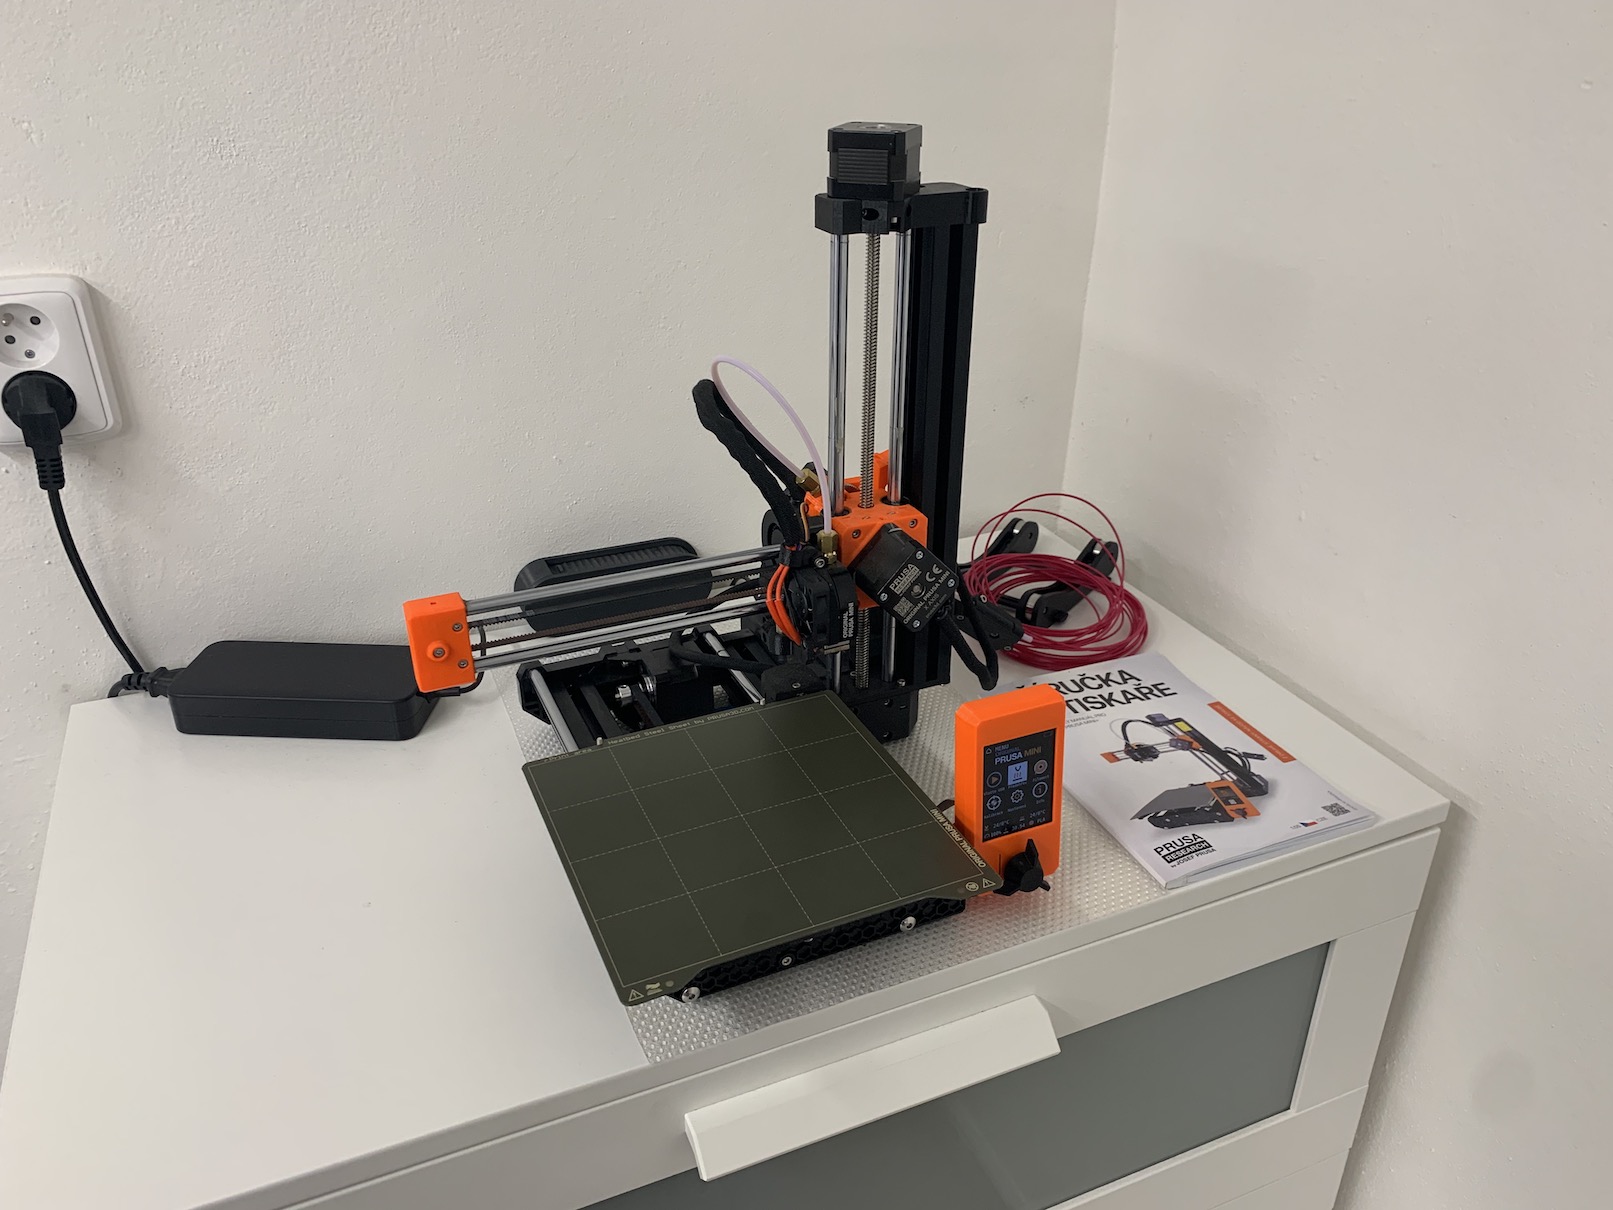
The Getting Started Guide will help you with the initial setup
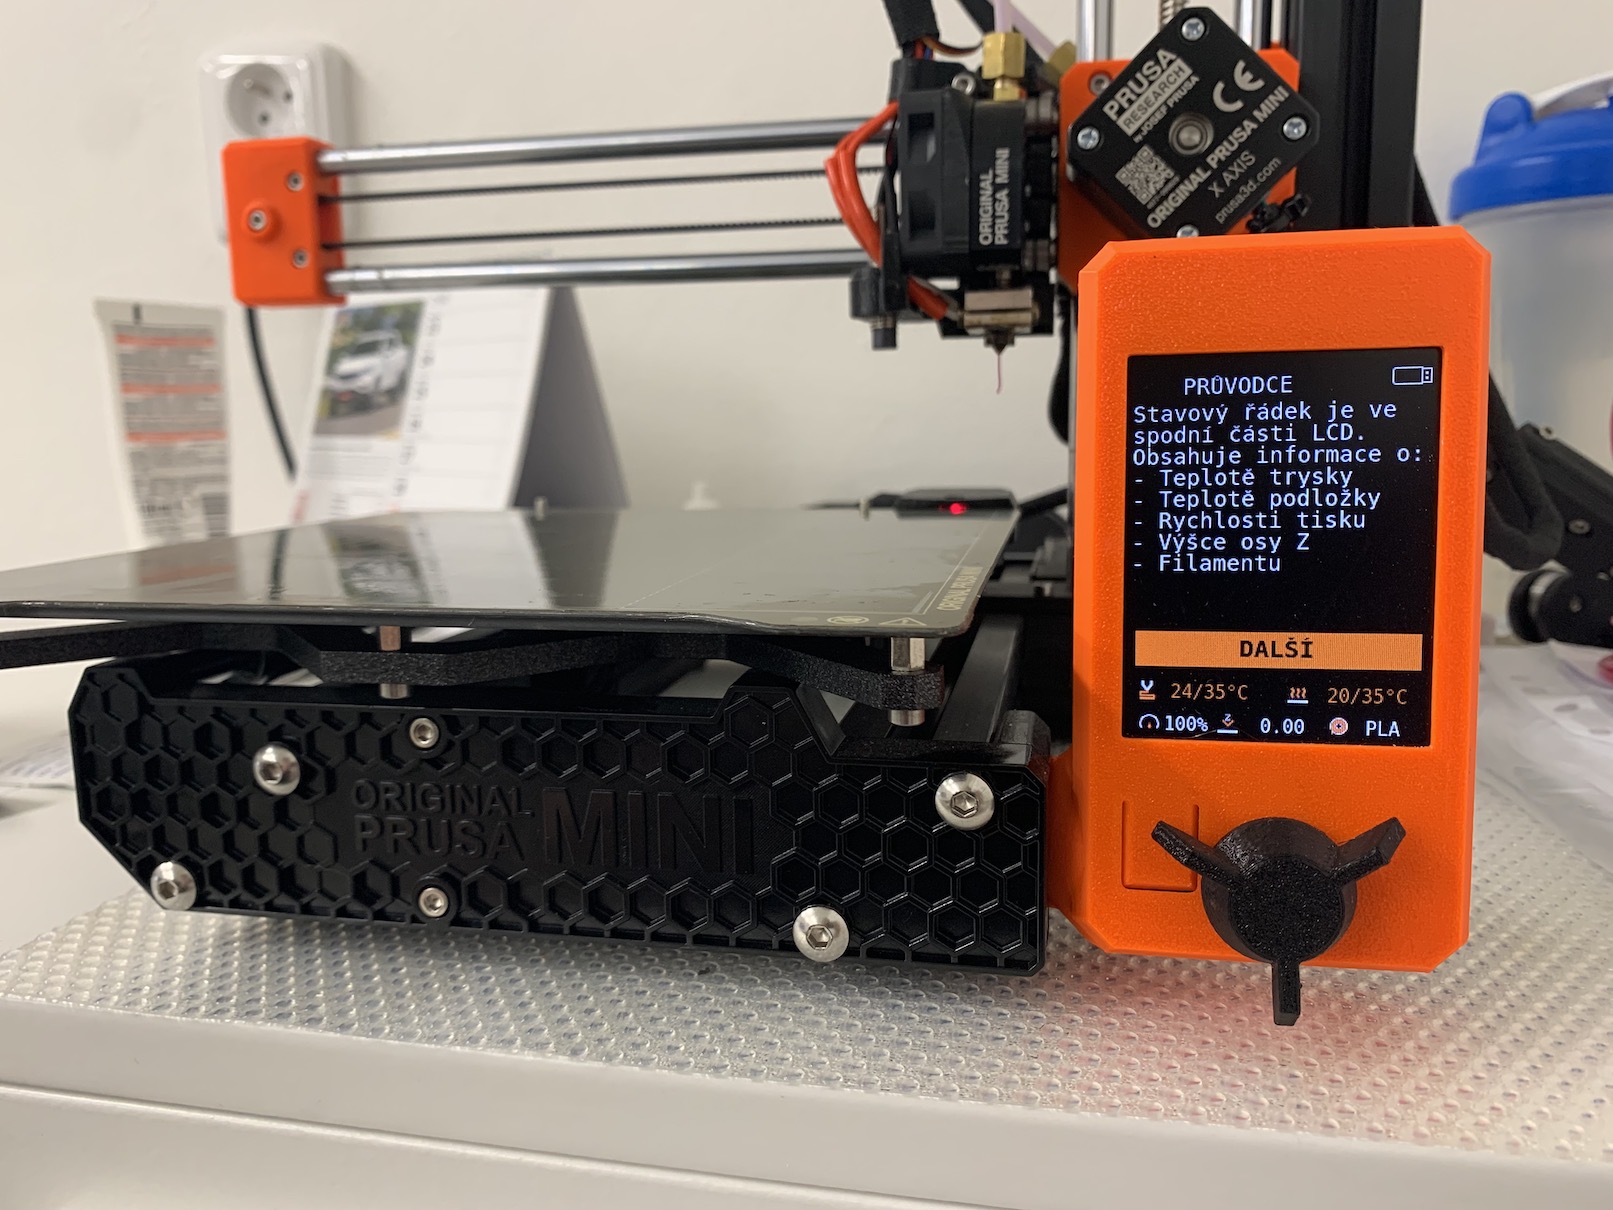
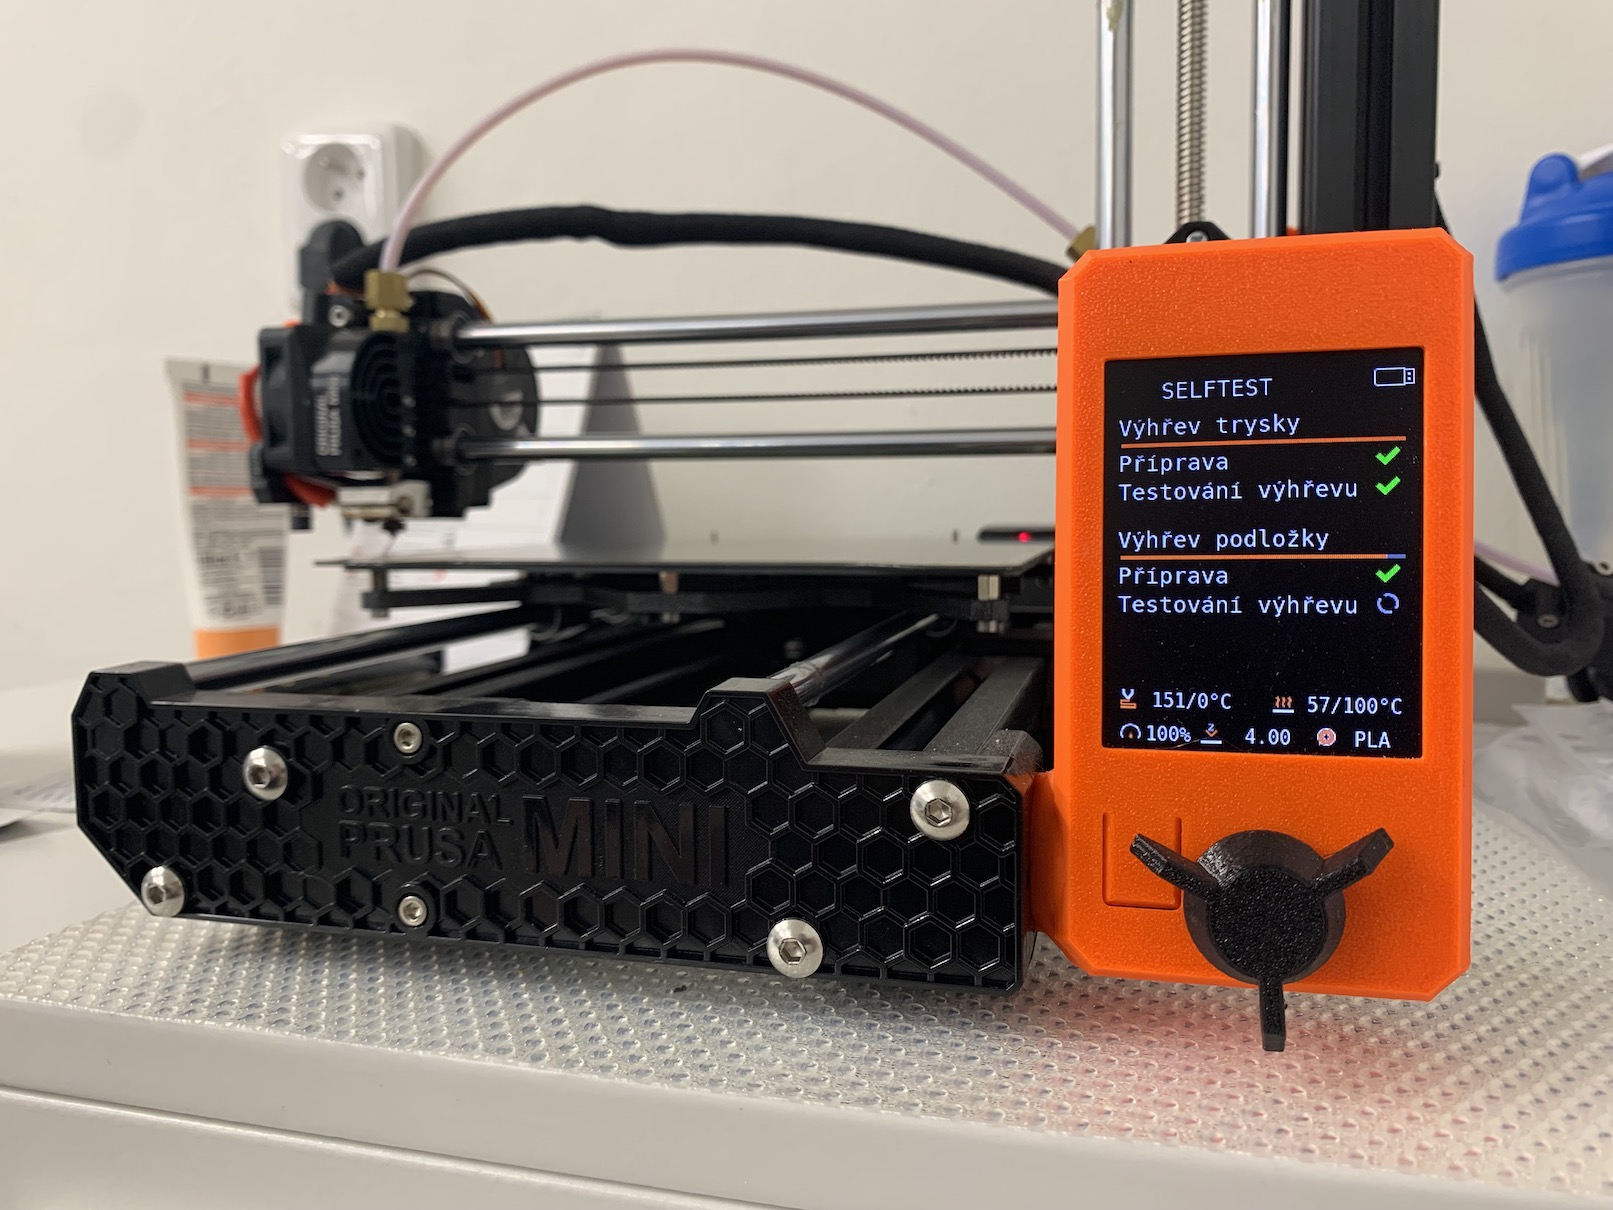
This introductory guide walks you through everything important about the printer system. On the first screen, you will see a description of the individual data that can be displayed on the display - it is mainly the temperature, used filament (material) and others. You will then be asked if you have the filament sensor connected to the printer, which is located in the middle of the tube that "sticks out" from the right side of the printer. Subsequently, the printer will prompt you to perform a so-called self-test, during which all the printer's components will be tested. If something happens to be wrong with the printer, you will be able to find it out in this test. The self-test may take a few minutes to complete.
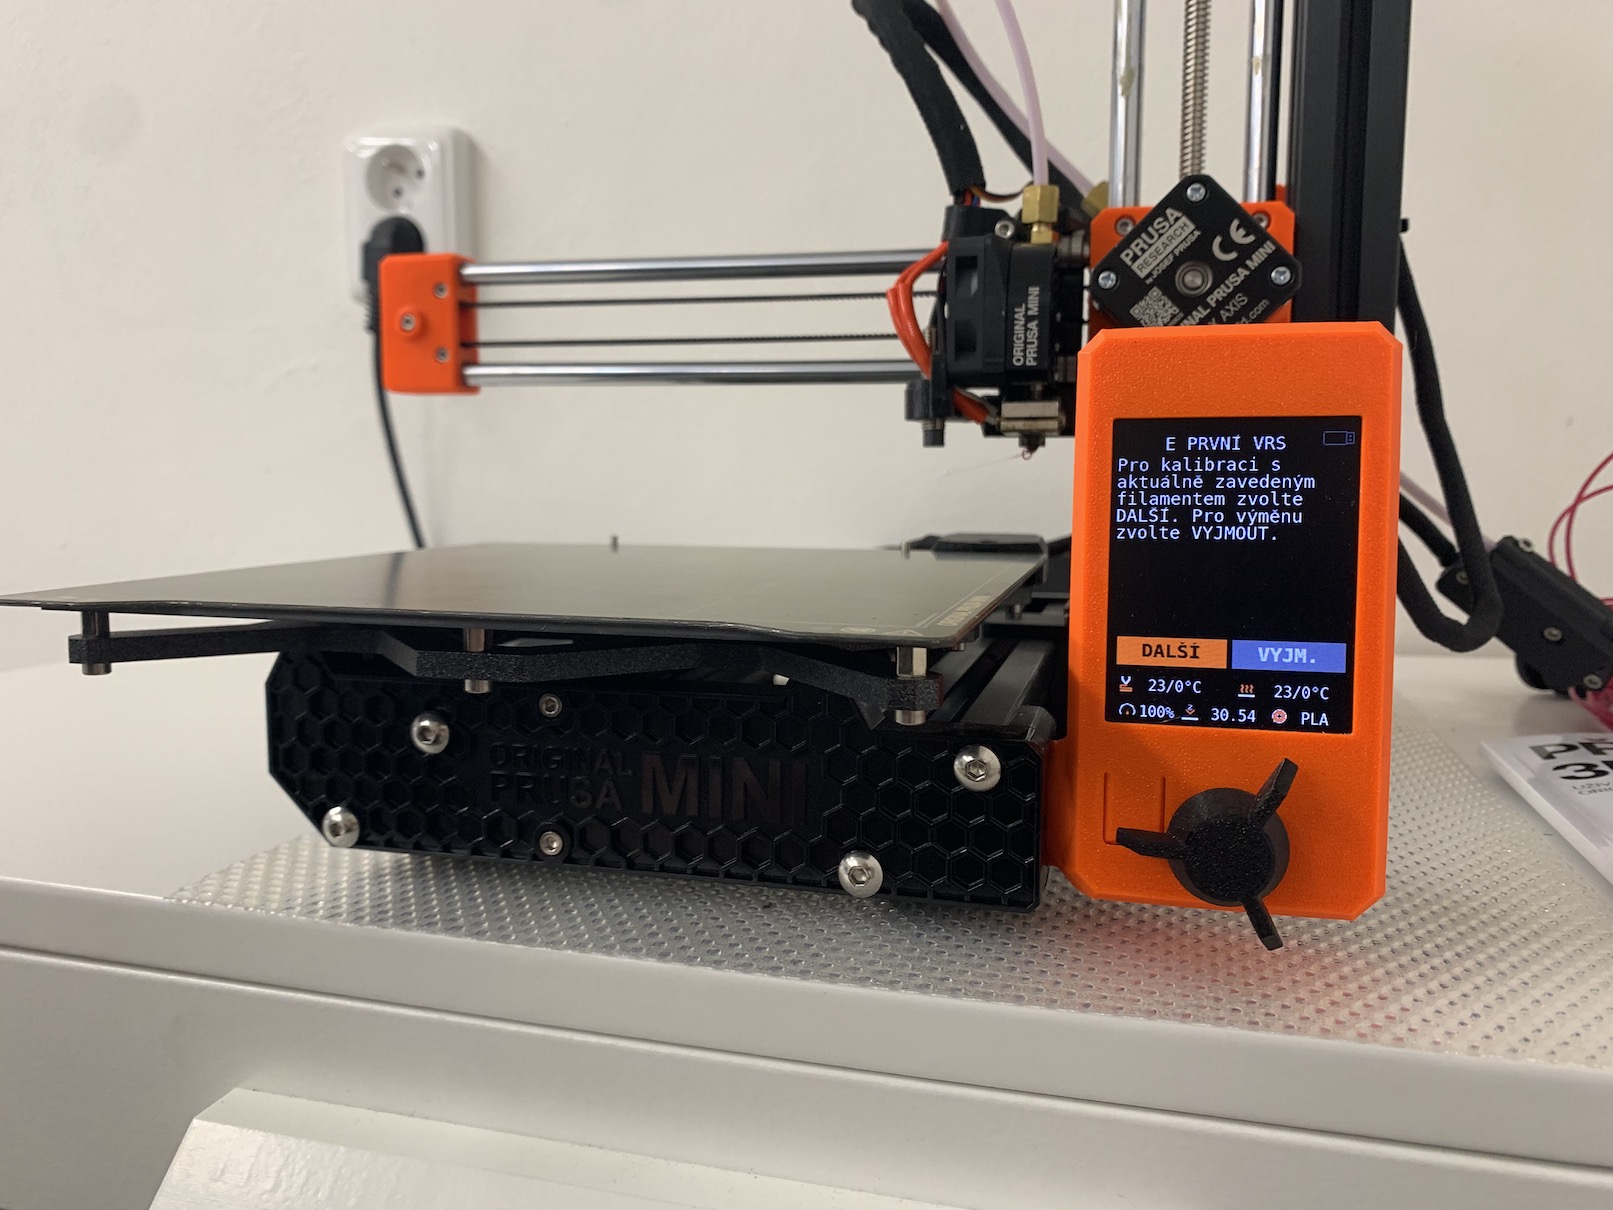
If the self-test has been completed completely and everything works as it should, then congratulations, because you have done the composition correctly. However, don't be scared or sad if the self-test reveals an error - you can fix everything. Either you can tackle the repair yourself, or you can contact PRUSA support at website. In the next step, it will be necessary to calibrate the first layer, for which a filament is needed. So click on the option to insert the filament and on the next screen select the PLA material, that is, if you are using the filament sample that you received with the printer. Subsequently, the printer must be so-called "parked" and heated to a specific temperature.
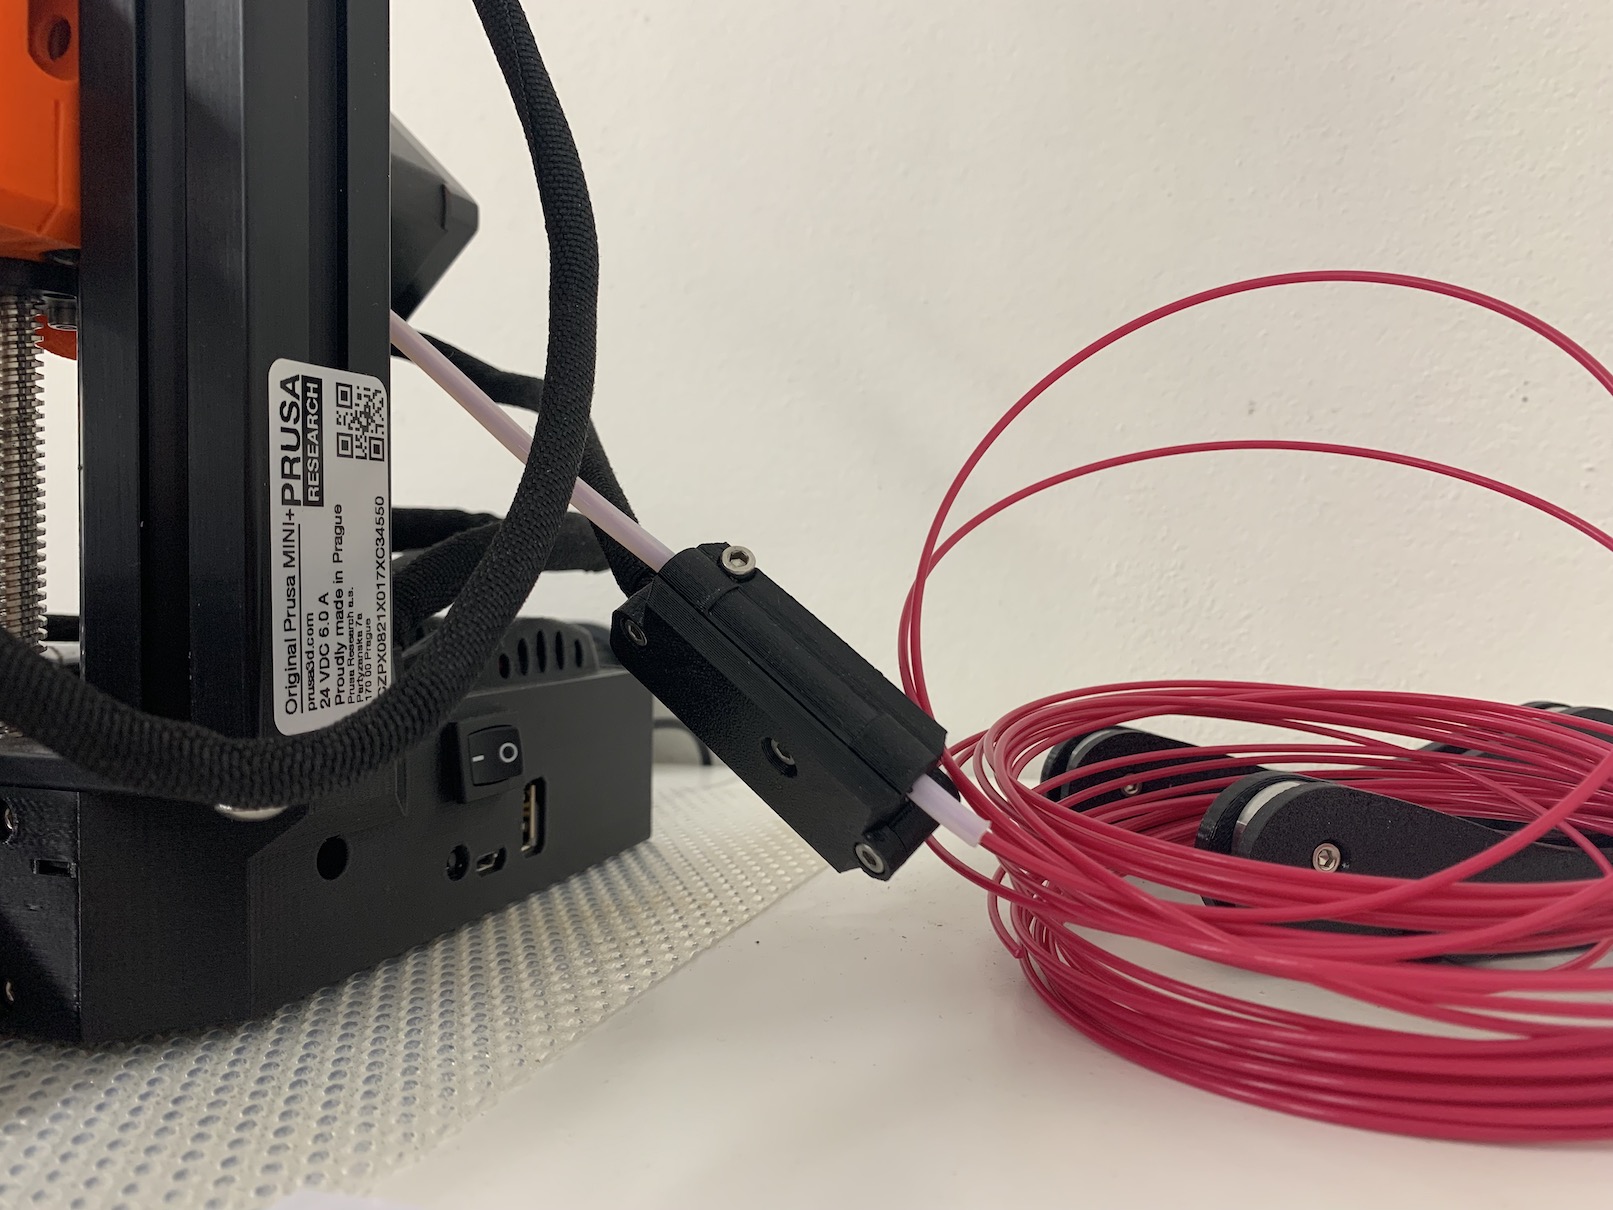
You will then be prompted to thread the filament through the filament sensor. This is achieved by taking the filament and inserting it into the tube that sticks out of the printer. Once the sensor detects the filament, proceed by pushing it further into the printer, specifically the extruder (middle part). Keep helping the filament until the extruder grabs it and begins to stretch it by itself. As soon as you introduce the filament, the plastic starts to come out of the nozzle after a while, which is correct. In a short time, the printer will ask you if the filament color is correct. If you introduced the very first filament, the color cannot be different. However, this query will come in handy later when you alternate filament colors.
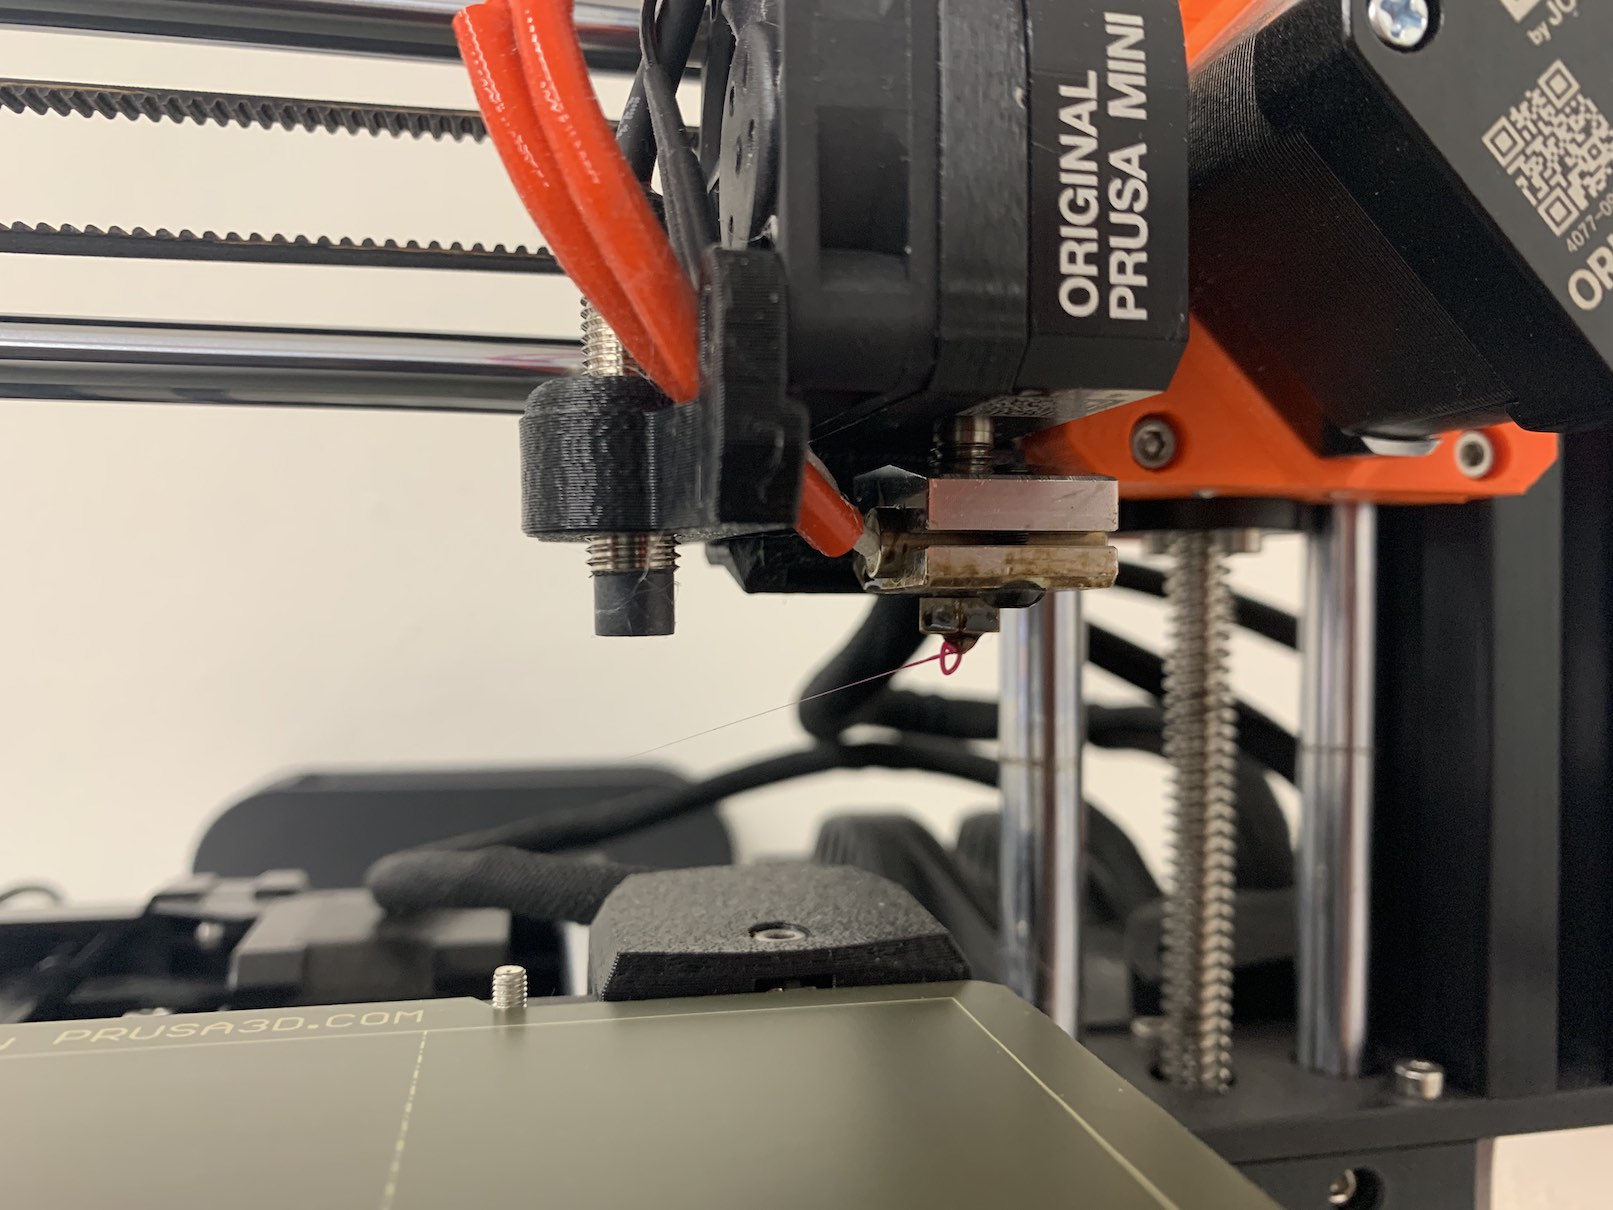
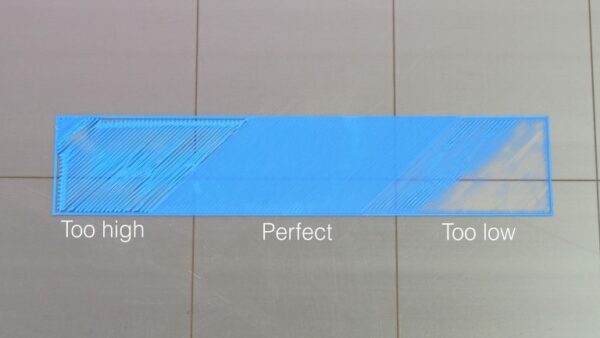
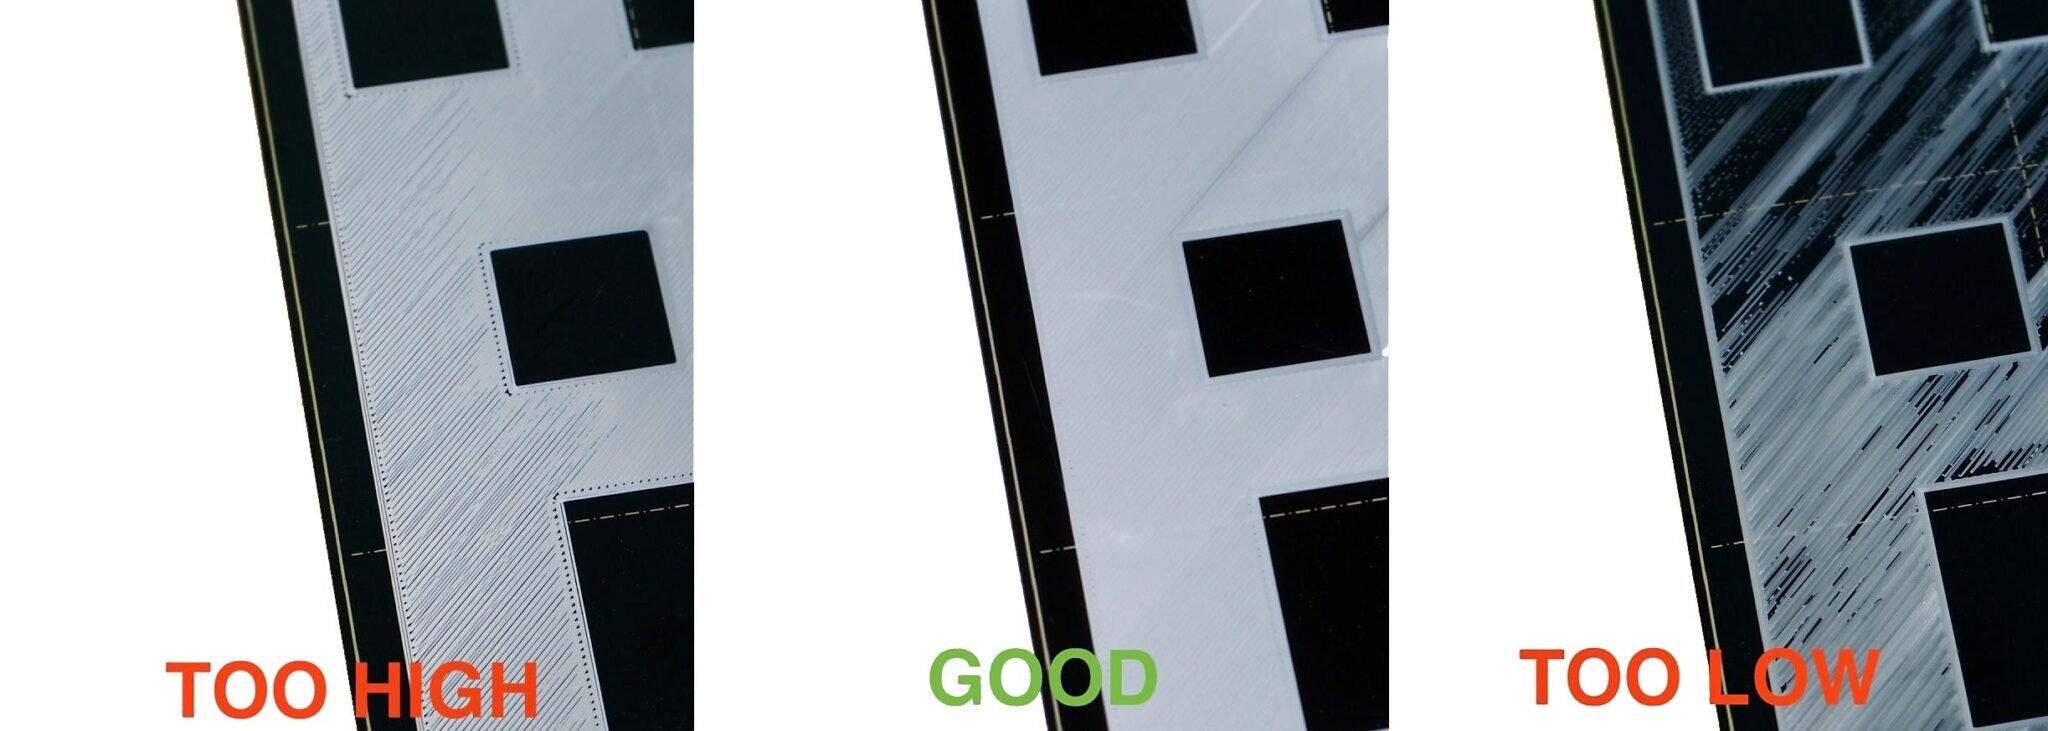
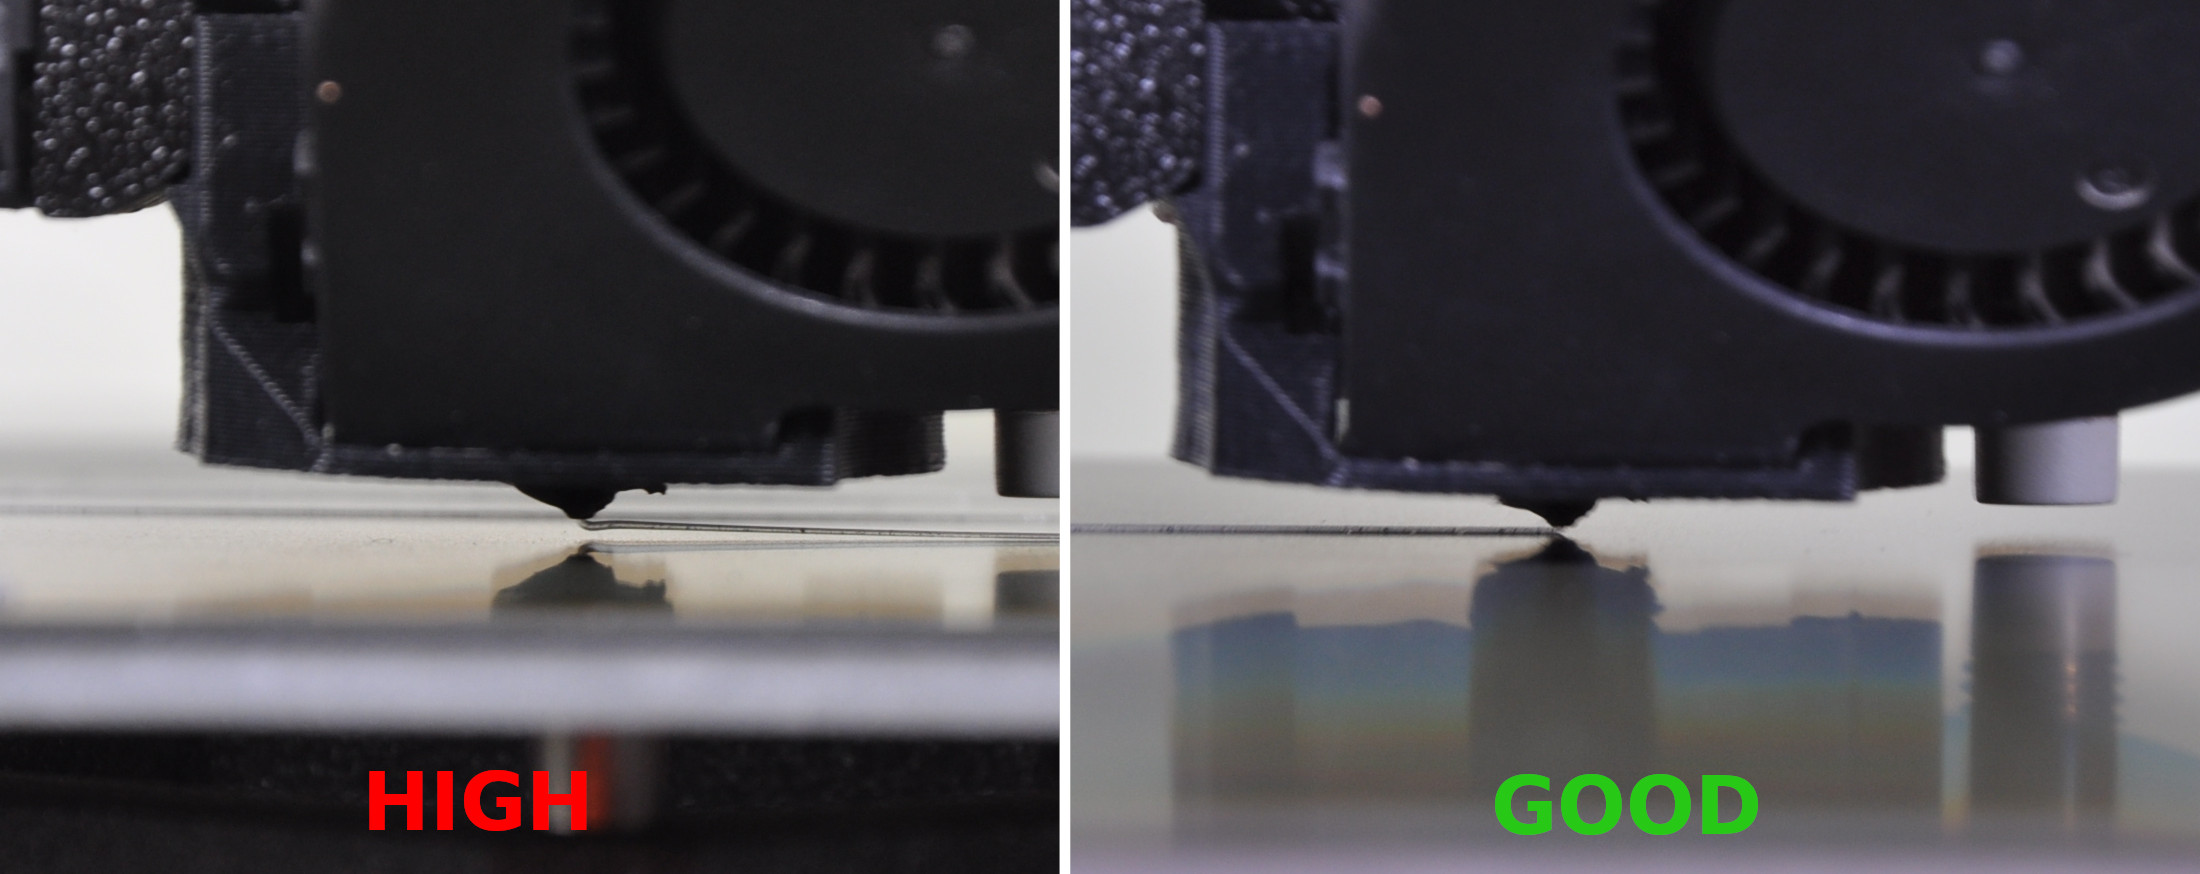
Once you have completed the procedure described above, you will find yourself in the first layer calibration interface. It should be mentioned that the first layer is absolutely essential for a 3D printer, and if you do not have it set correctly, you will not be able to print. The first layer calibration is the kind of calibration that you will have to do repeatedly from time to time if you want to have perfect print quality all the time. It can be said that most of the success really depends on a properly set first layer. Once the calibration process starts, you have to turn the wheel under the display depending on whether the nozzle should move up or down. Below you will find a few images in the gallery to guide you in calibrating the first layer. We will discuss the calibration of the first layer in detail in the next part of this series. By completing the first layer calibration, the initial guide is complete and you can theoretically jump into printing.
PRUSS support
In one of the paragraphs above, I mentioned that in case of problems with the printer, you can contact PRUSA support, which is available for you 24/7. PRUSA support can be found on the website prusa3d.com, where you just need to tap on Chat now in the lower right corner, and then fill in the necessary information. Many individuals "spit" on PRUSA printers, due to their higher price. It should be noted, however, that in addition to the printer as such and clear materials, the price also includes non-stop support that will advise you every time. In addition, you have access to other documents, instructions and other supporting data, which you will find on the website help.prusa3d.com.


Průša has now bought a stake in another Czech manufacturer of 3D printers – Trilab: https://trilab3d.com/cs/ I mentioned it once before, but Trilab is quite similar in design to Apple products. It's just a printer for businesses, it's not quite for us hobbyists.