You can do pretty much anything on an iPhone these days. In addition to making phone calls, you can make video calls, play games and, last but not least, also surf the Internet or social networks. In addition, you can also edit or fill out PDF documents, which you would normally have to print and fill in manually or on a computer. Did you know that you can easily sign, fill in, rewrite and annotate a document in other ways on your iPhone? Below you will find 5 tips for Annotating on iPhone (or iPad) that you should know.
It could be interest you

Signing the document
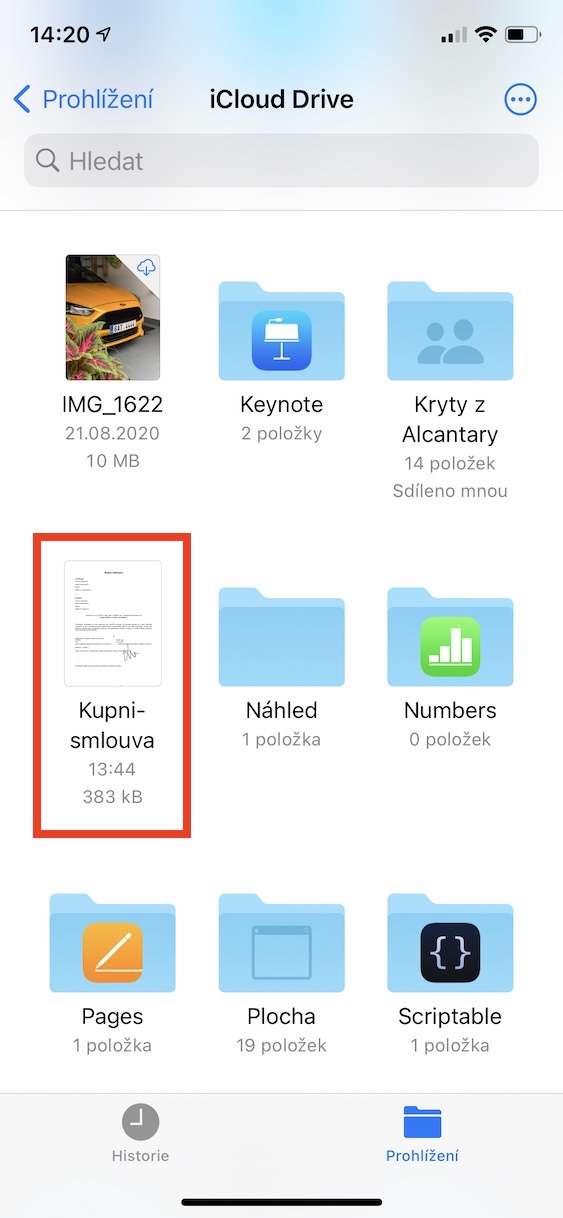
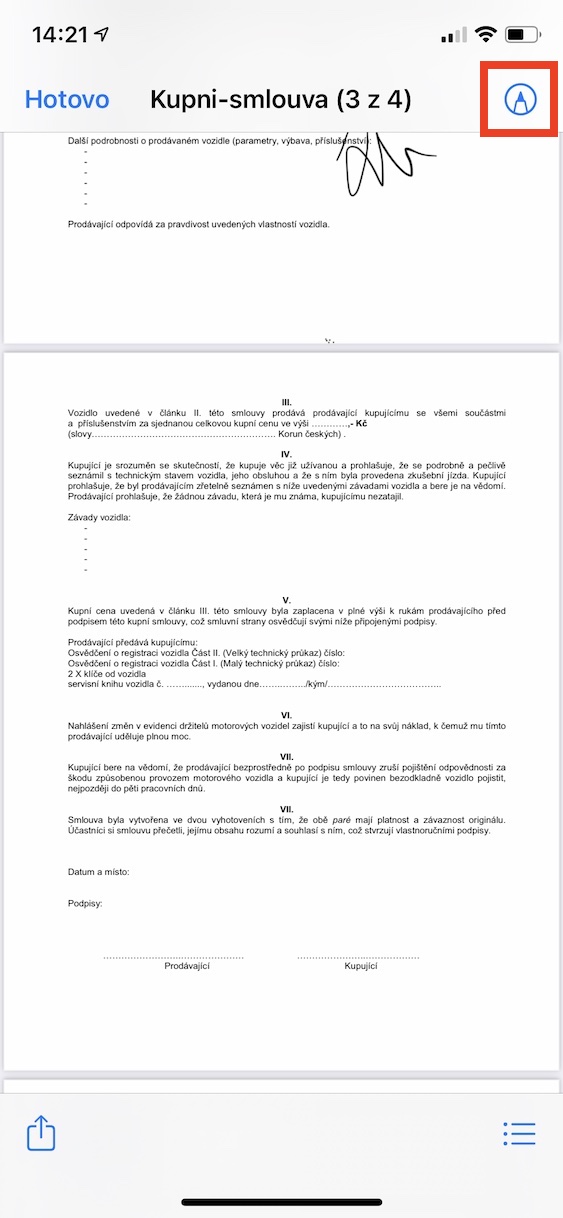
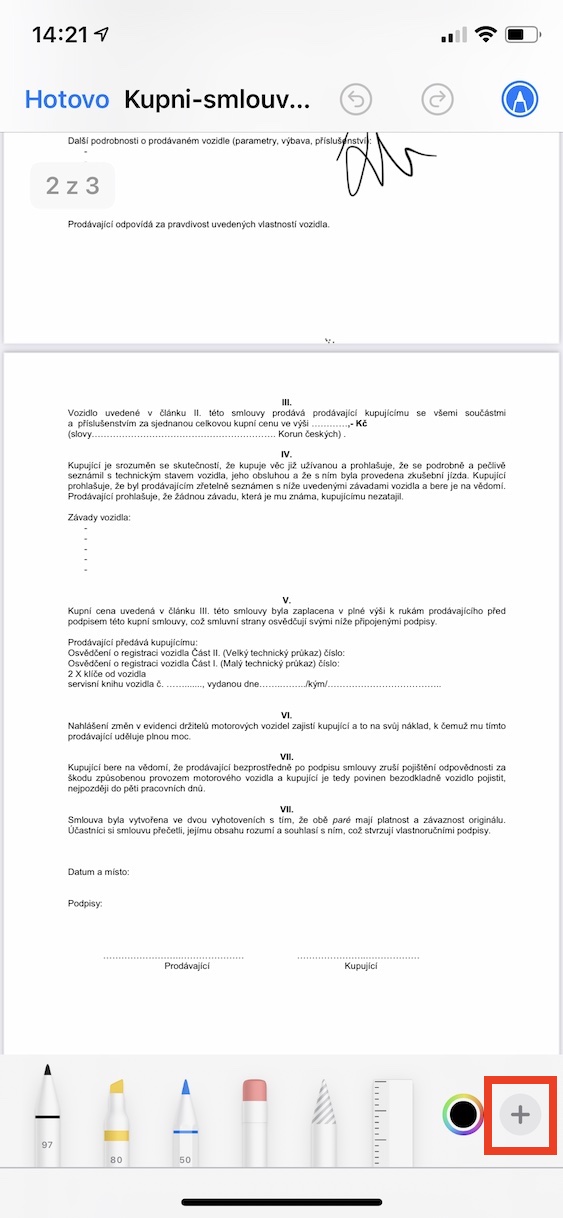
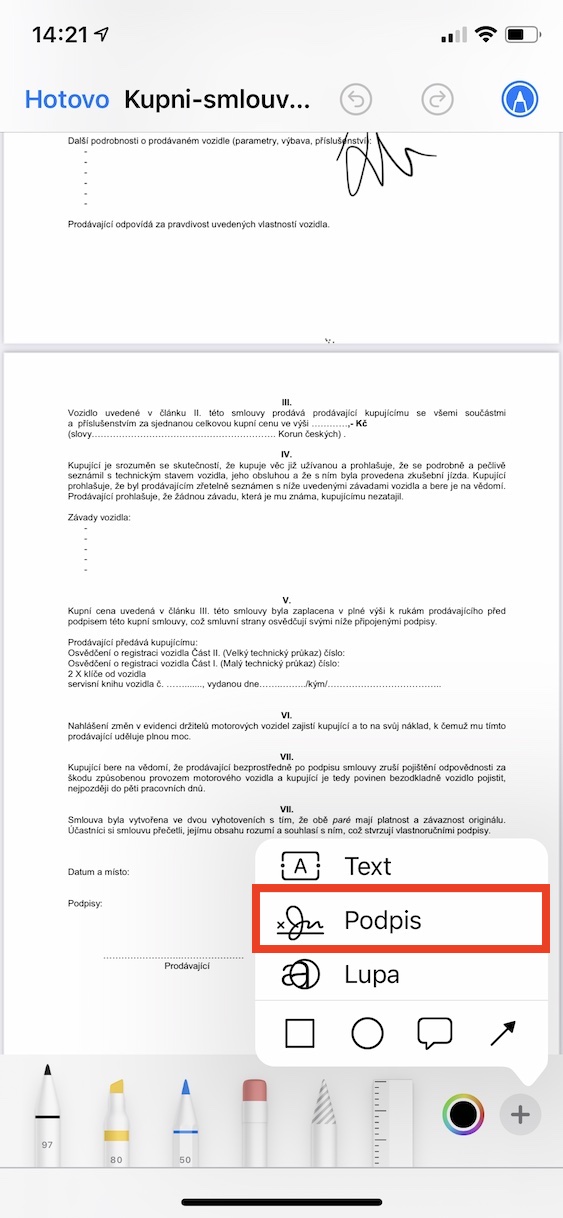
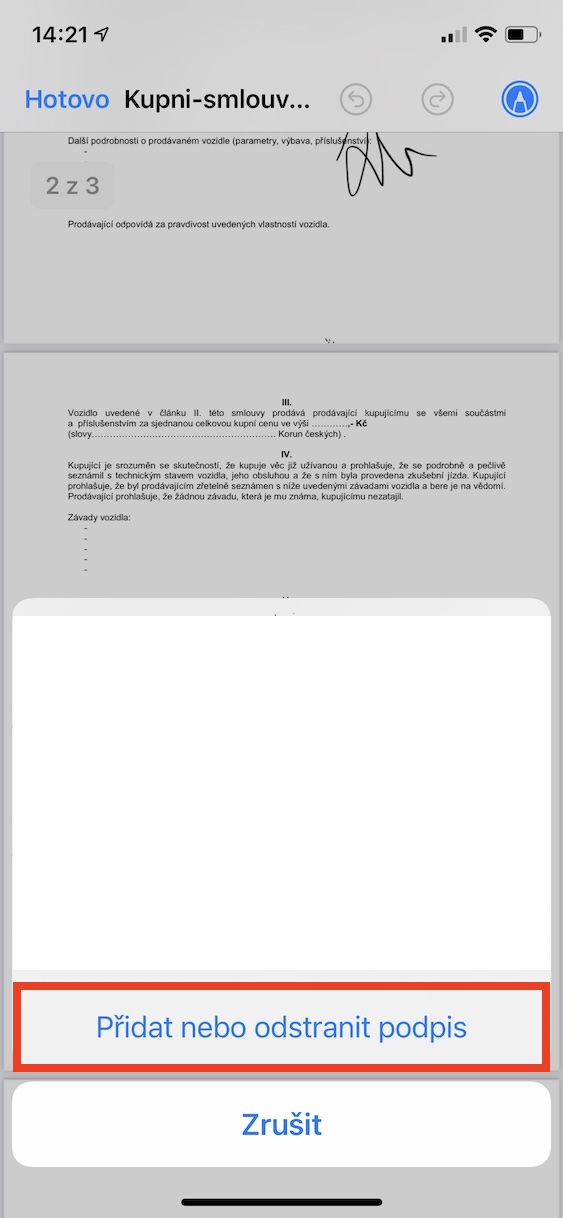
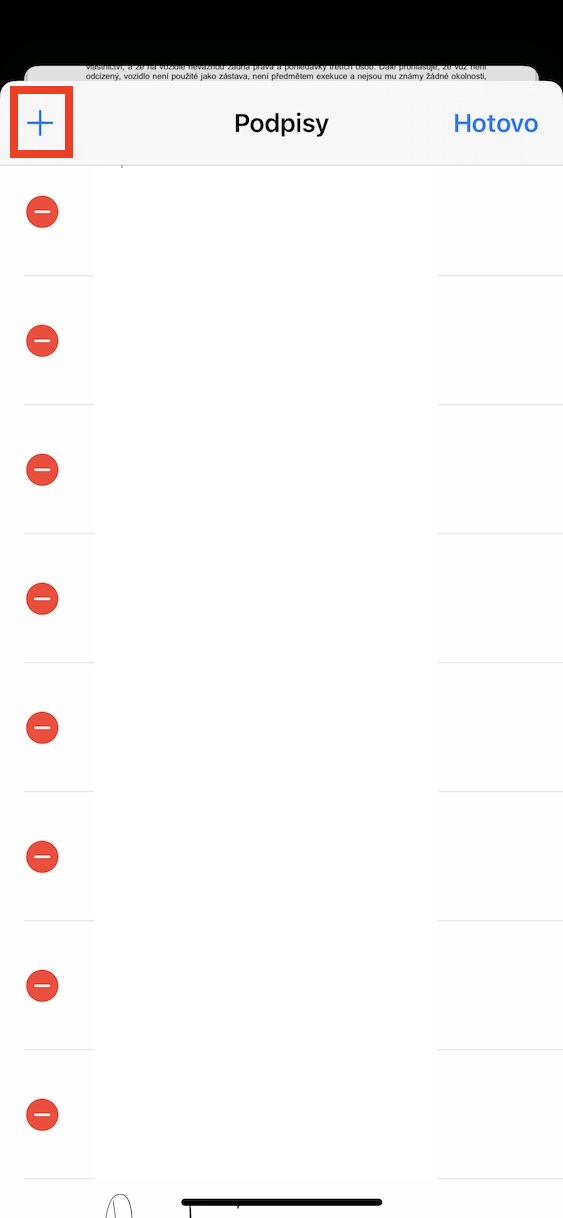
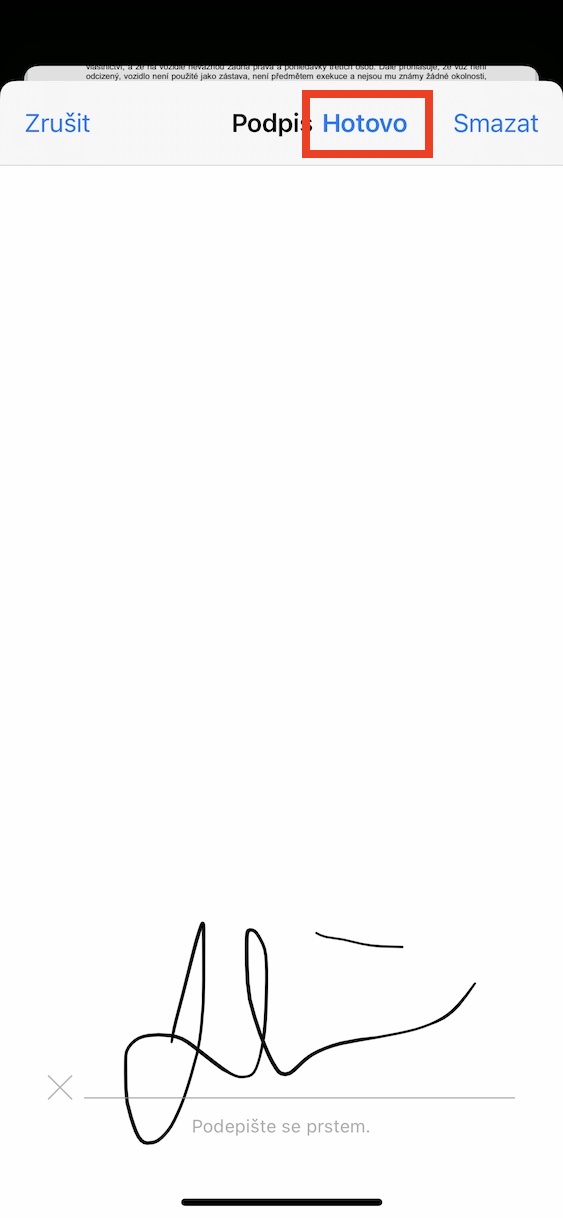
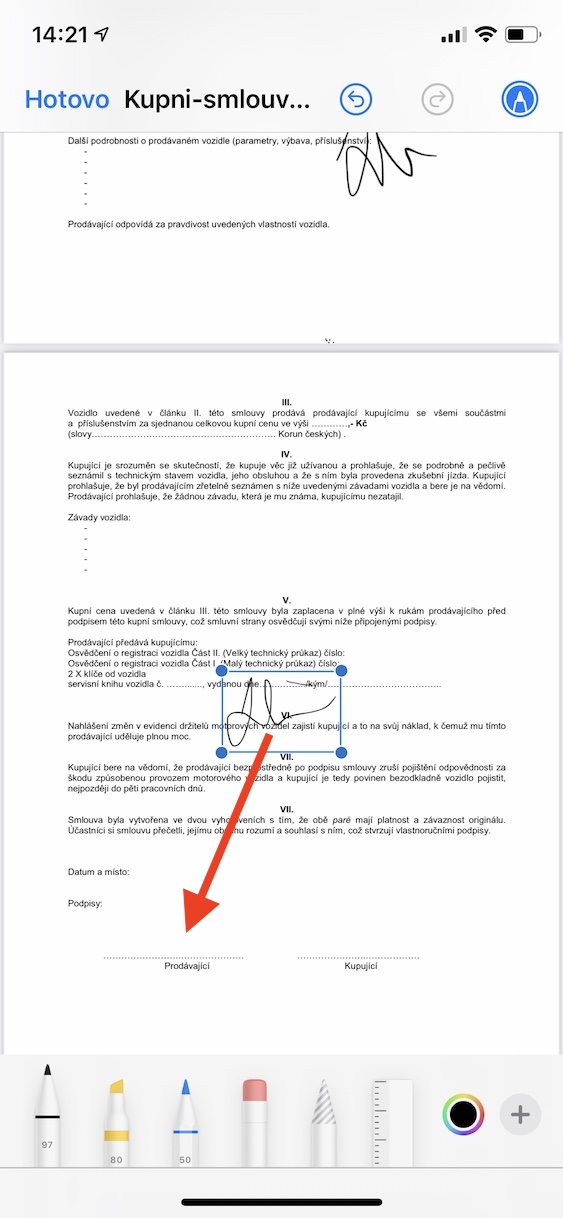
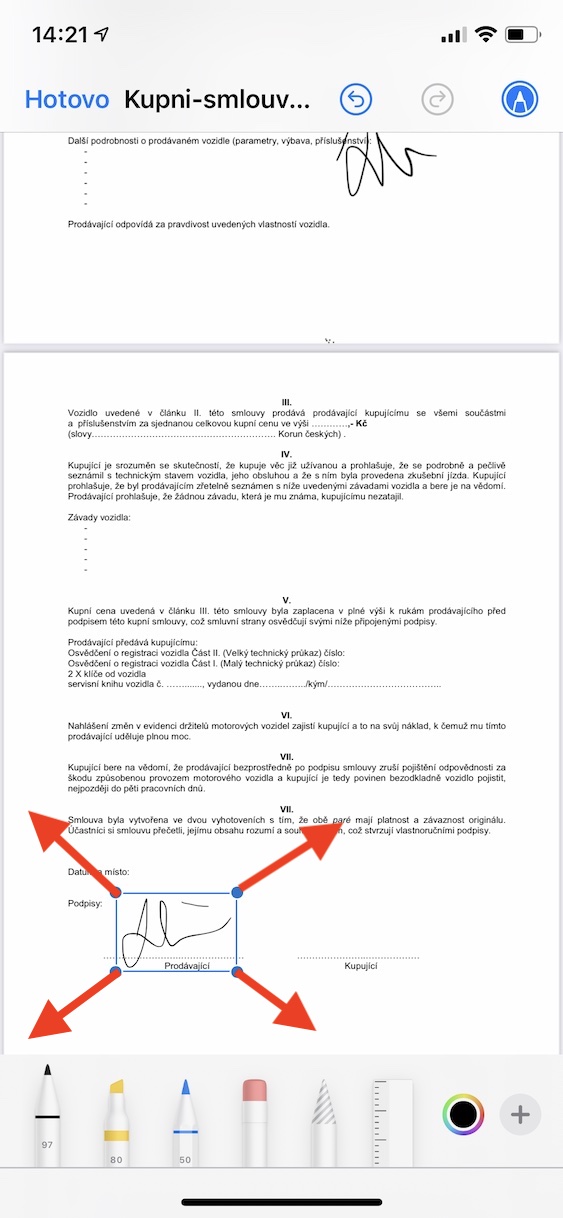
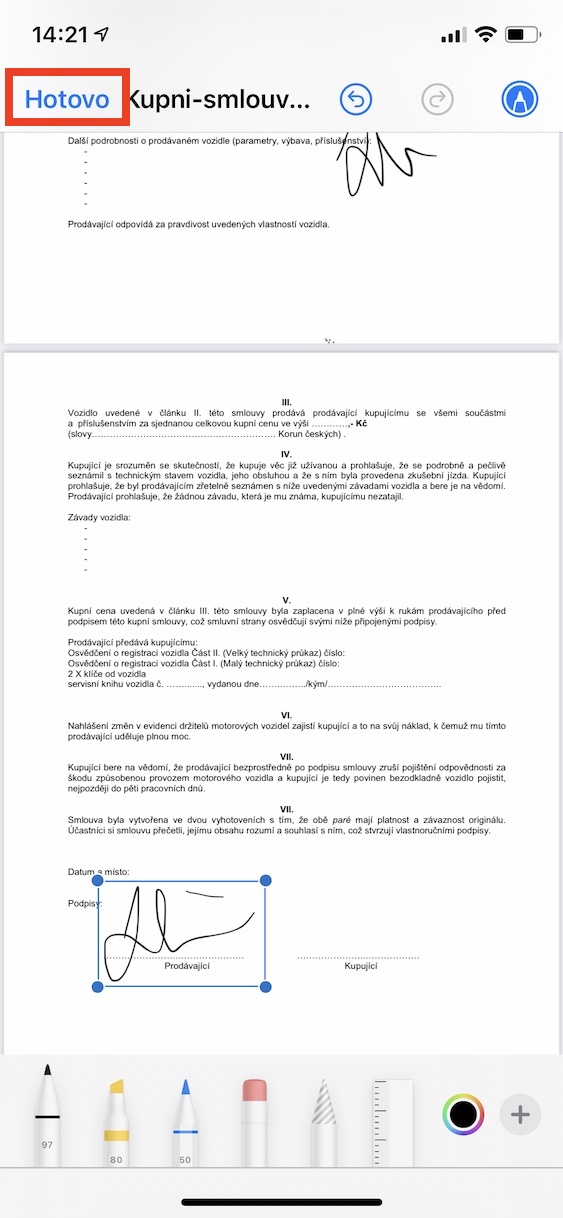
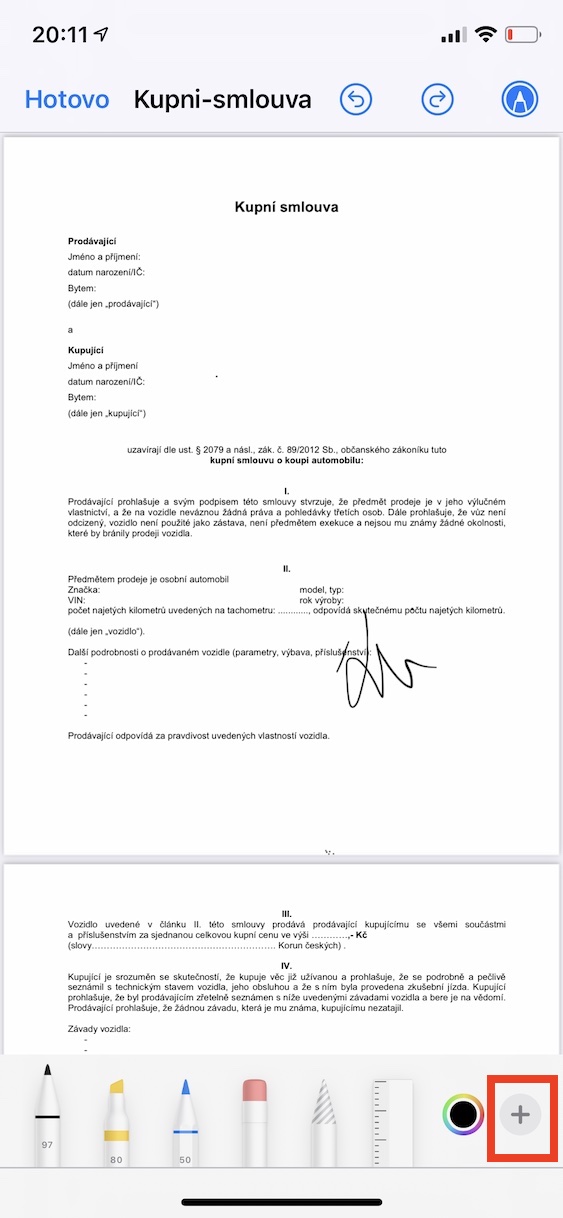
If someone e-mails you a document to sign, in most cases you will print it, sign it and scan it again. But this is an extremely lengthy process, which is also extremely outdated. Nowadays, you can easily sign any PDF document directly on your iPhone. First, you need to open the document itself - for example, within the Files application. Once you've done that, tap on in the top right corner circled pencil icon (Annotation) to display all options for annotation. Here, click on the bottom right the + icon. After that, a small menu will appear, click on the option Signature. Now you just have to they clicked on one of the selected signatures, or created a new one. Simply insert the signature and save the document. A complete and detailed procedure can be found in this article.
Filling in the box
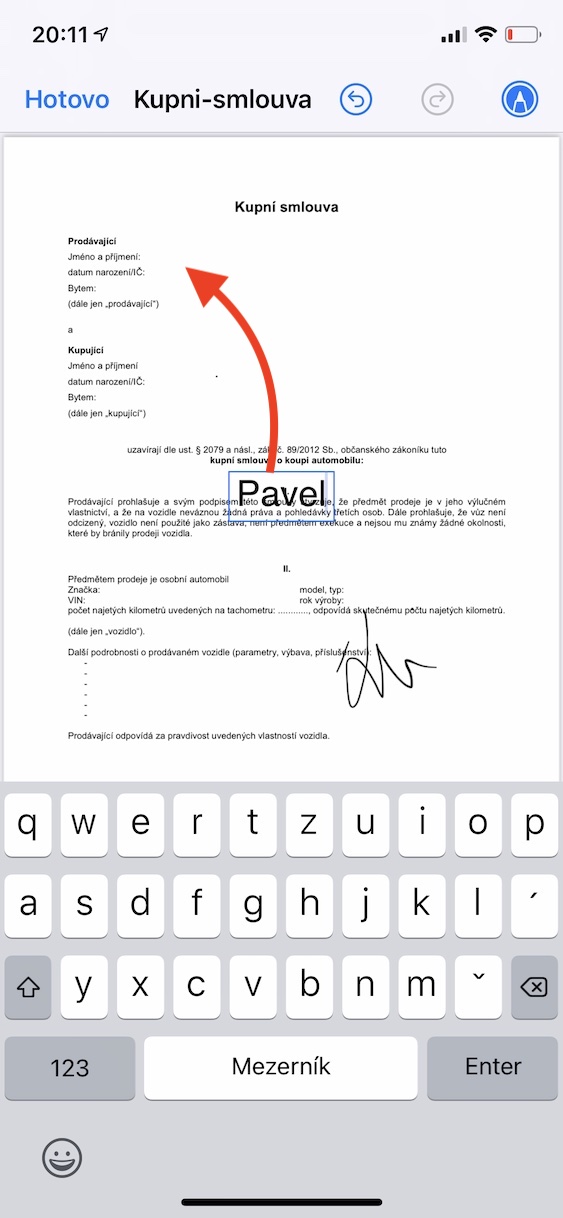
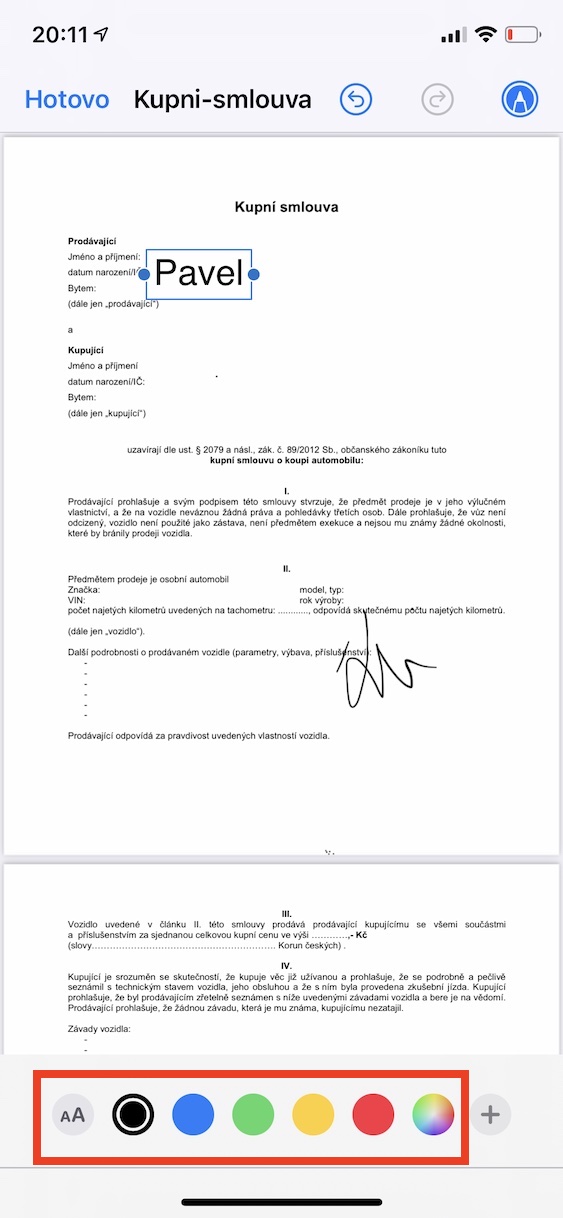
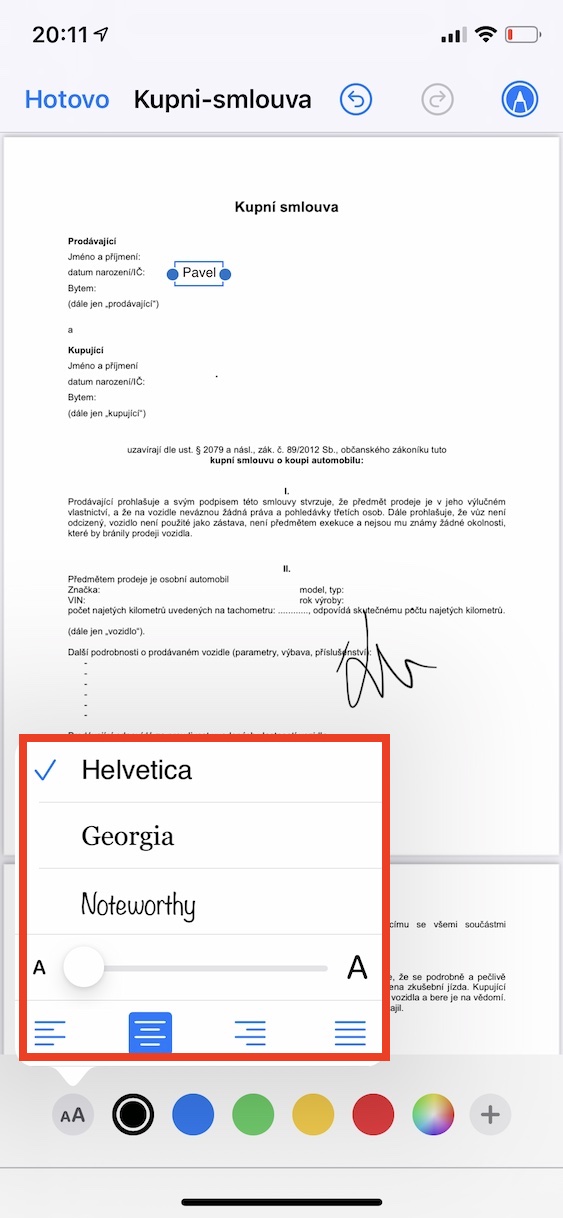
In addition to signing as such, you may sometimes come across a document in which you have to add something to the appropriate boxes - for example, your name, address, social security number or anything else. Even in this case, however, you can handle the entire procedure easily on the iPhone. Again, find the PDF file itself, and then it unclick. In the upper right corner, tap Annotations icon, and then in the lower right corner on the + icon a Text. This will insert a text field. To change the text to it double tap a type in what you need. You can of course change it below color, style a size text field. Just swipe your finger to move the field grab and move where you need. Repeat this process until you have filled in all the boxes.
Safe "Scribbling"
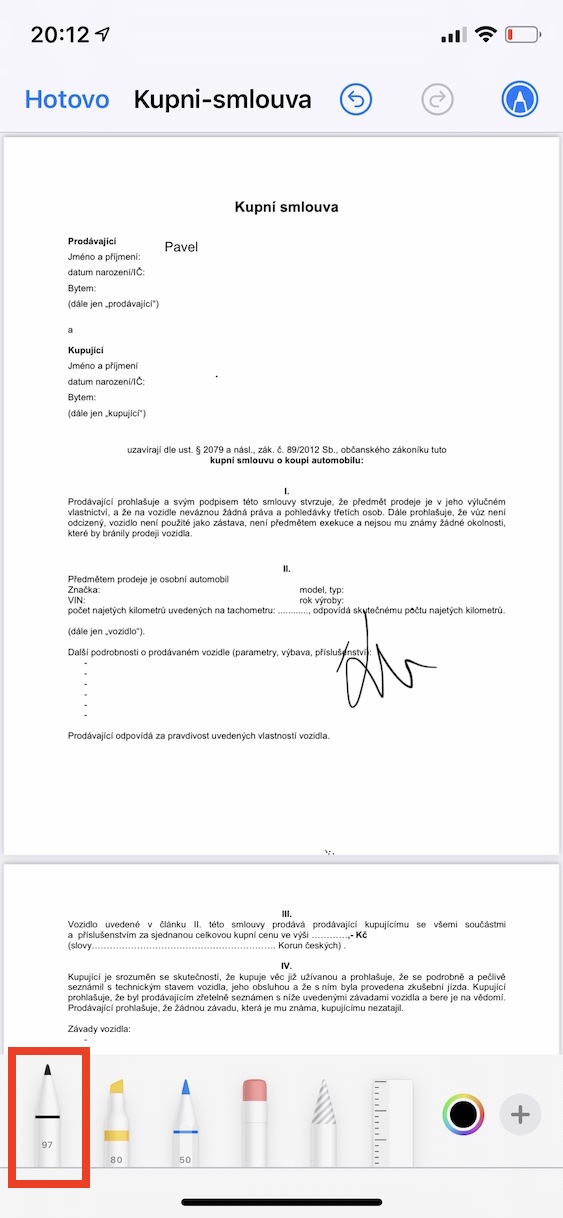
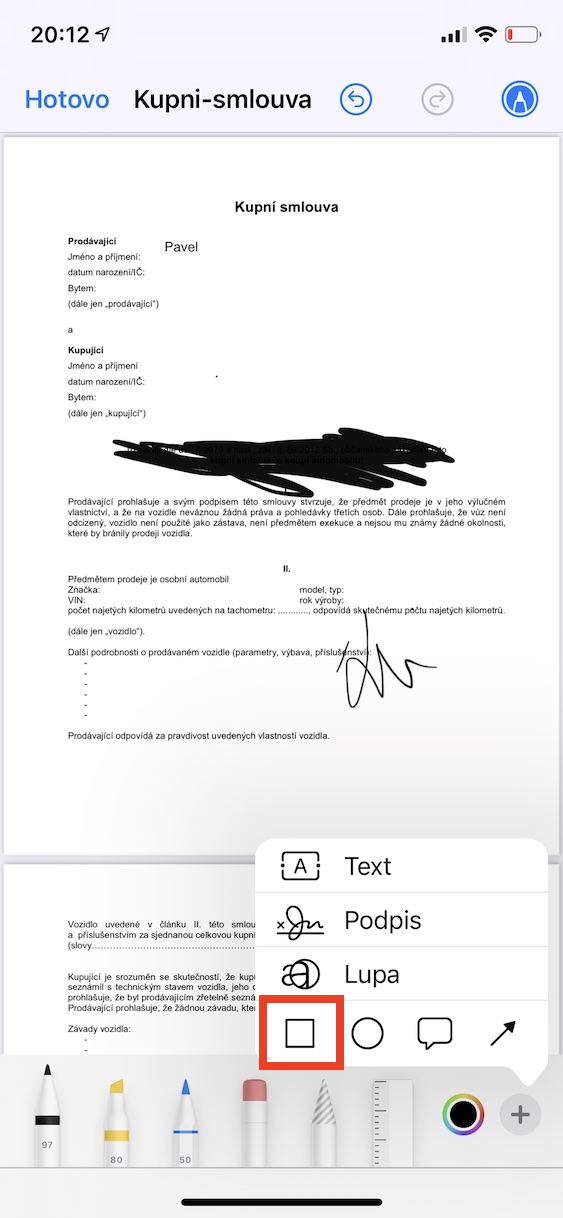
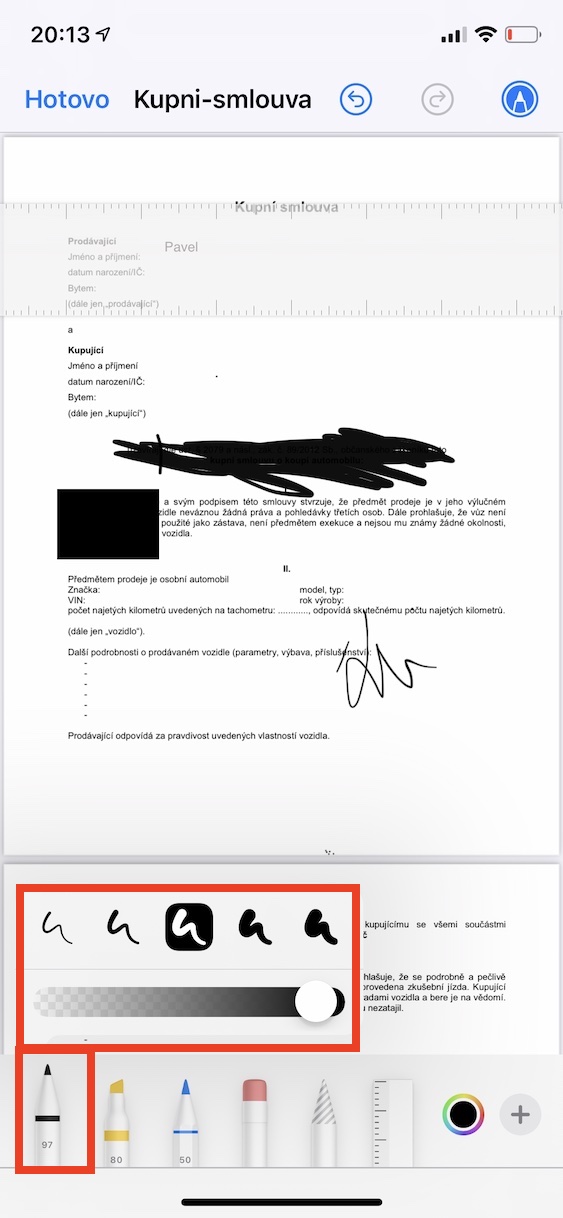
From time to time you may come across an image or document in which some data is "crossed out". However, if the wrong tool is used for this overlay, it may happen that someone specially edits the image and still displays the content - more information about this issue can be found in of this article. If you would like to scribble something in the document (or on the picture), it is necessary that you use it classic brush, or maybe some shape. So open the file and tap on Annotations icon. Select to scribble with a brush the first tool from the left and ideally you are too increase its size. If you want insert shape so click on the bottom right the + icon, and then choose one of the shapes - in this case it will work great square. After inserting, set the outline and color, with the fact that you can of course also change the size and position of the object itself.
Using a ruler
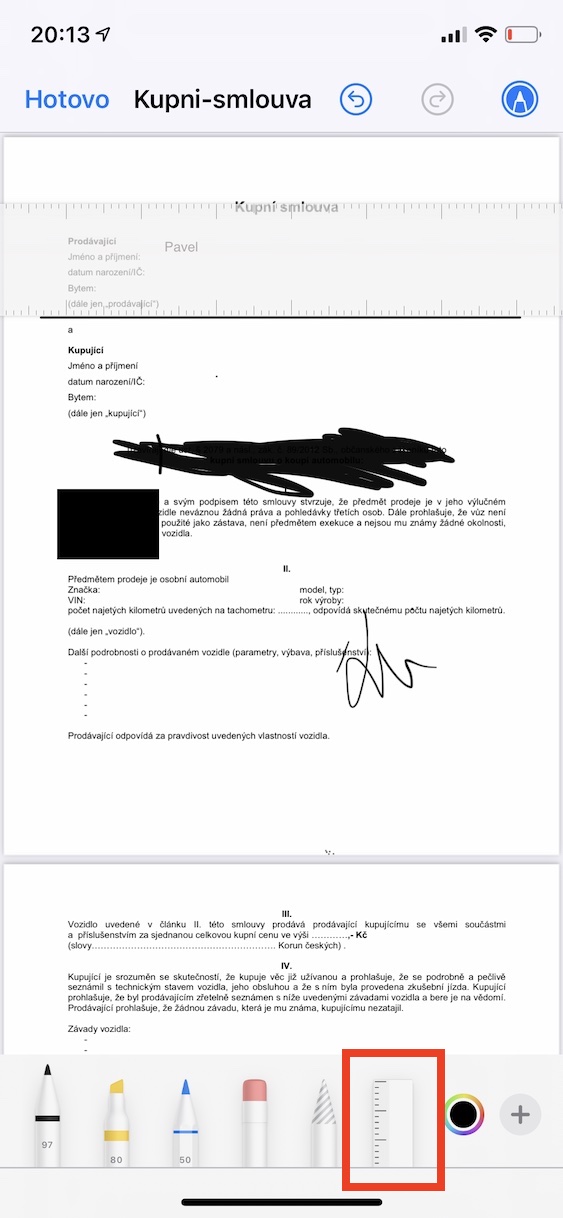
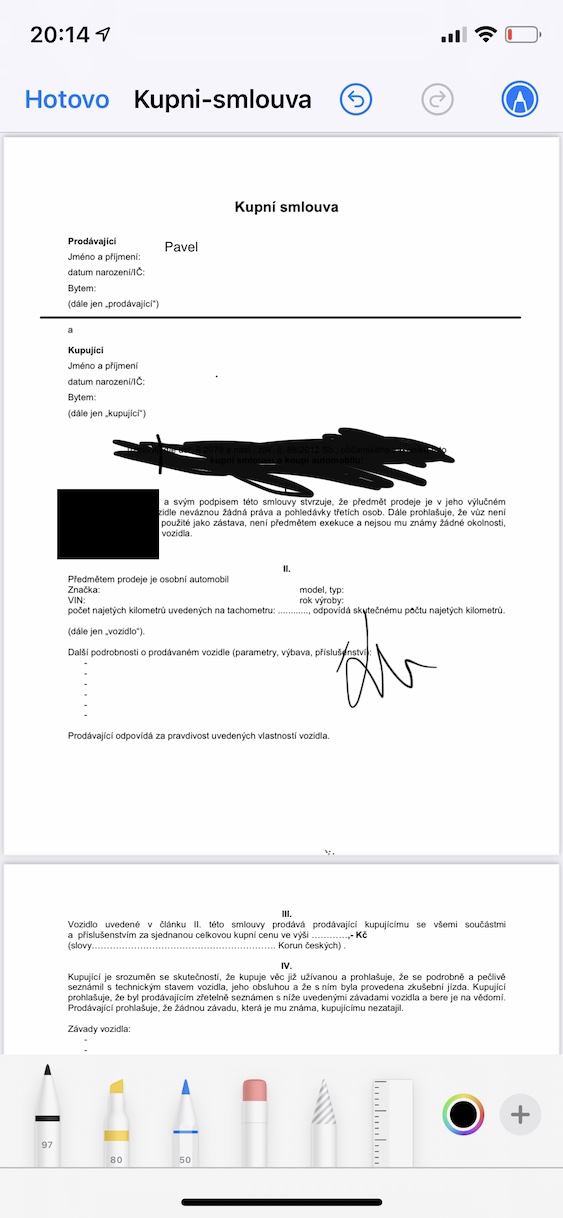
One of the tools available within annotations that very few users use is the ruler. If you have ever needed to create a straight line in a document, or if you wanted to underline something exactly, you probably failed to do it with your finger and the line was always uneven. However, if you use a ruler, you can attach it to the page in any way you like, and then run over it with a pen, for example. You can find the ruler in the annotations, specifically it is about the last tool available and located on the far right. After choosing it, it is enough by one prstem to move whether turn with two fingers. Once you have the ruler in place, switch to brush and a finger swipe over the ruler, creating a precise line. To hide the ruler, tap its icon in the tools again.
Notice of specific content
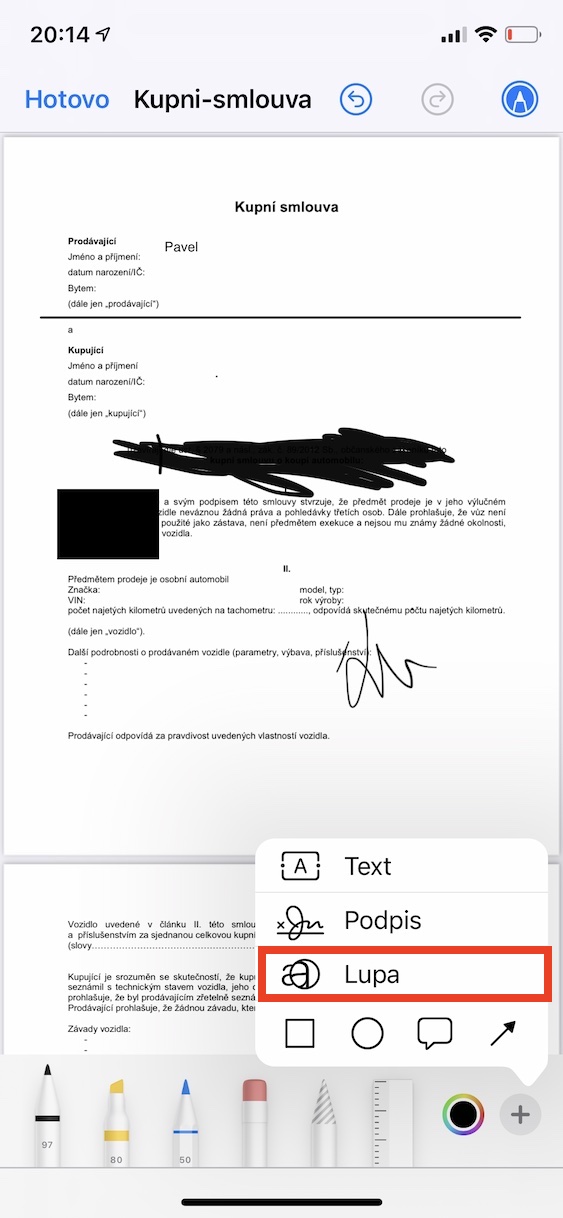
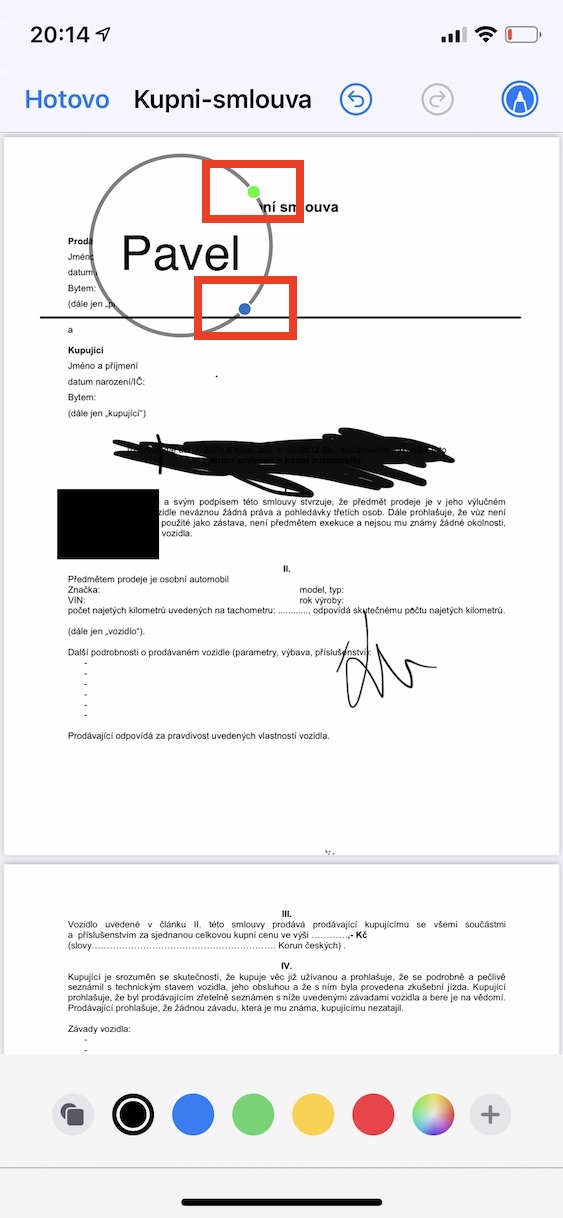
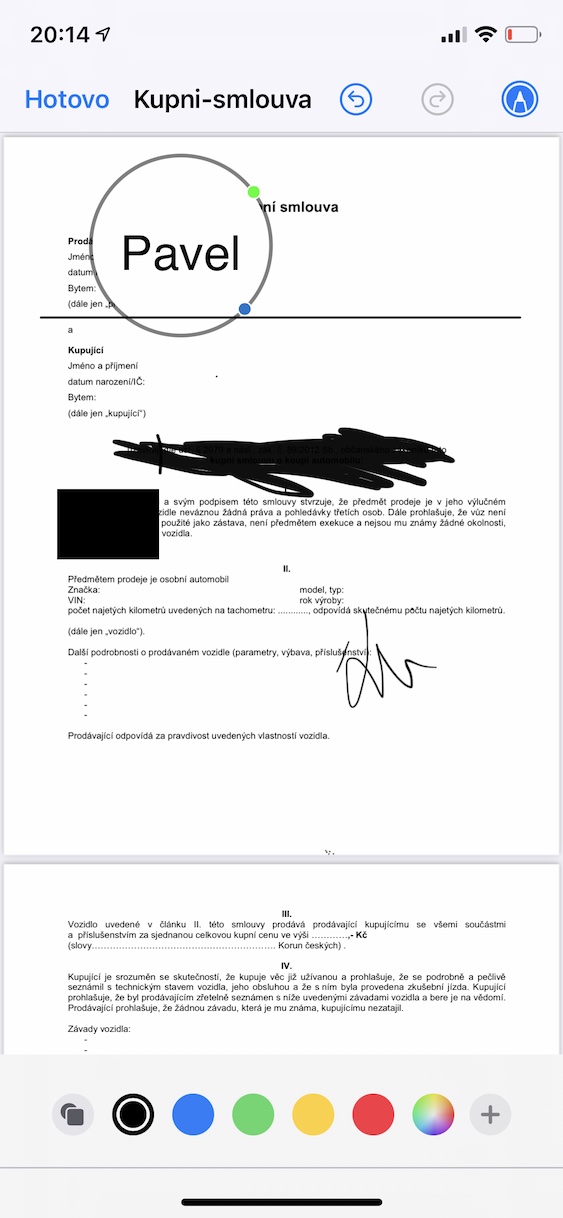
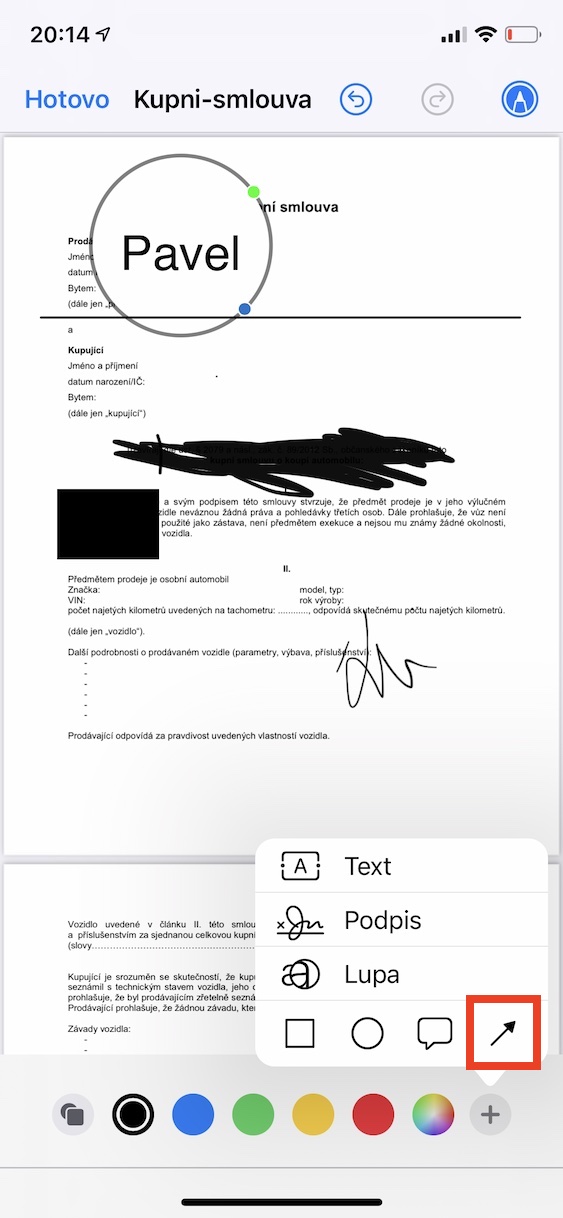
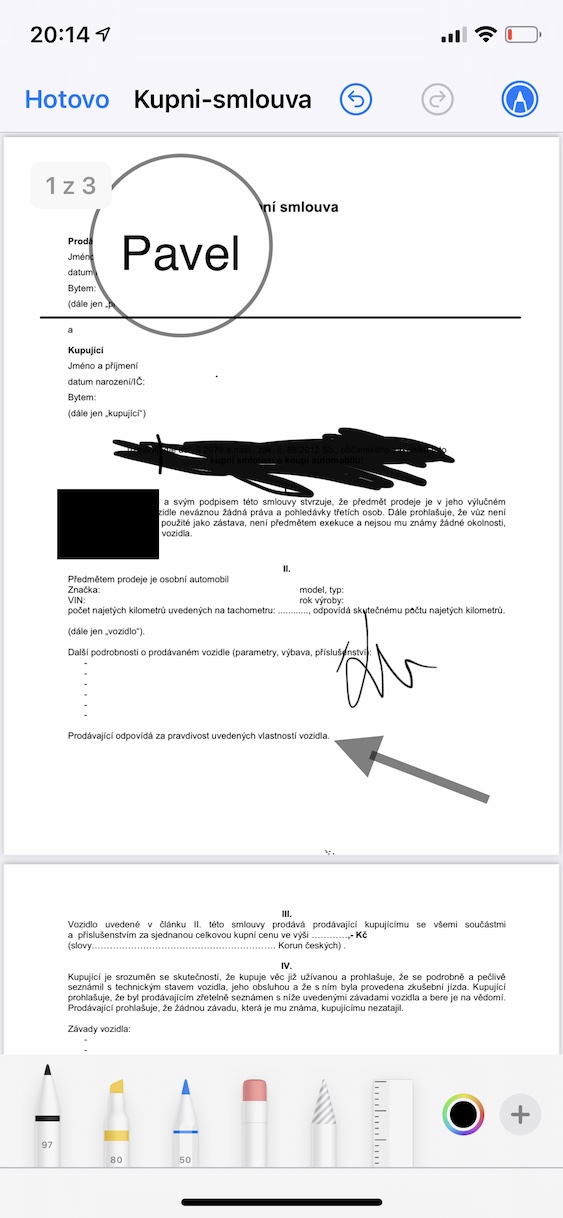
If you want to draw attention to something in the image, or if you want the other party to notice some content, you can use, for example, a magnifying glass or an arrow. With the help of the magnifying glass, you can easily zoom in on some content, and with the arrow you can precisely mark some content so that the person in question quickly notices it. If you would like to add a magnifying glass, click on the bottom right in the annotations the + icon, and then select Magnifying glass. This will insert the magnifier into the document - of course you can do it in the classic way finger to move. Grabbing the green dot however, you can change degree of approach, by grabbing the blue dot then can be changed magnifier size. You insert the arrow by clicking on the bottom right the + icon and select it from a small menu. You can also dart move with one finger a turn with two fingers with the fact that of course you can also choose color.
