Keyboard shortcuts are the alpha and omega of efficient work in any program or system. Mac OS is no exception. This article will show you the basic keyboard shortcuts for working with this system.
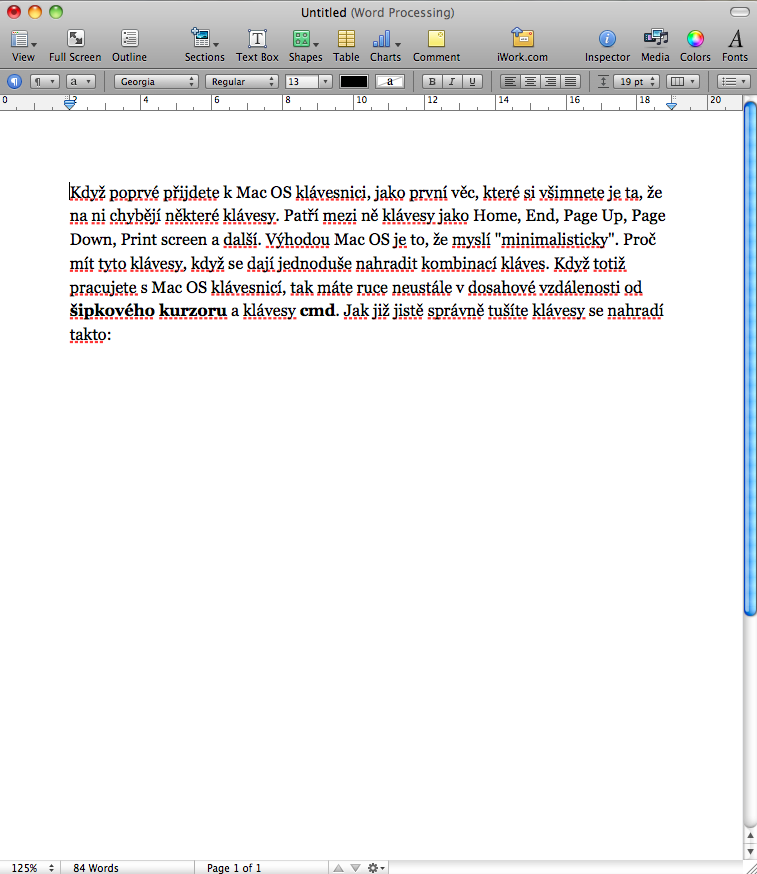
When you first come to the Mac OS and MacBook keyboard, the first thing you'll notice is that it's missing some keys (the official Apple keyboard doesn't, but these shortcuts should work on it too). These include keys such as Home, End, Page Up, Page Down, Print screen and more. The advantage of Mac OS is that it thinks "minimalist". Why have these keys when they can be easily replaced with a key combination. When you work with a Mac OS keyboard, your hands are always within reach of arrow cursor and keys cmd. As you may have guessed correctly, the keys are replaced as follows:
- Home - cmd + ←
- End – cmd + →
- Page Up – cmd + ↑
- Page Down – cmd + ↓
It should be noted that in some programs, such as Terminal, the button cmd replaced by a button fn.
However, the keyboard is missing another rather important key and that is delete. On the Apple keyboard, you will only find backspace, which works as we would expect, but if we use the shortcut fn + backspace, then this shortcut works like the desired delete. But be careful if you use cmd + backspace, it will delete the entire line of text.
If you liked typing images via Print Screen under Windows, don't despair. Although this button is missing on the Mac OS keyboard, the following keyboard shortcuts replace it:
- cmd+shift+3 – captures the entire screen and saves it to the user's desktop under the name "Screen shot" (Snow Leopard) or "Picture" (older Mac OS versions).
- cmd+shift+4 – the cursor changes to a cross and you can mark with the mouse only the part of the screen that you want to "photograph". As in the previous case, the resulting image is saved on the desktop.
- cmd+shift+4, press as soon as the cross appears space bar – the cursor changes to a camera and the window that is hidden under it is marked. With this you can make a picture of any window on your Mac OS, you just need to point the cursor at it and press the left mouse button. The window is then saved back to the desktop in a file.
If to these shortcuts, to remove the screen, press again ctrl, the image will not be saved to a file on the desktop, but will be available in the clipboard.
Working with windows
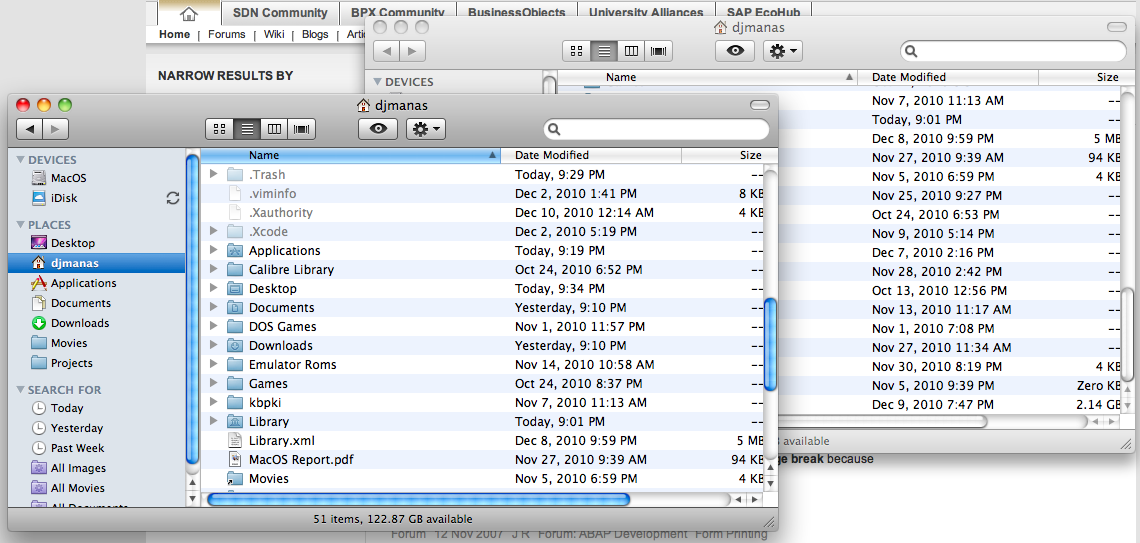
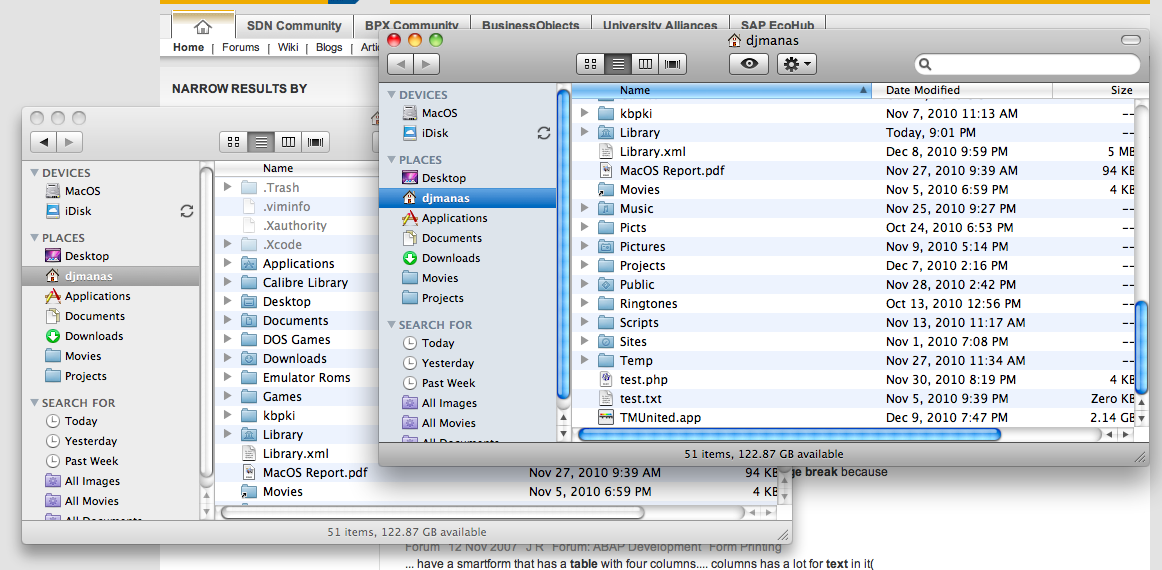
Subsequently, it is good to know how to work with windows. I won't discuss here that I finally like working with windows in Mac OS more than in MS Windows, it has its own charm. Yes, there is a shortcut similar to that used in Windows to switch between applications, and that's it cmd+tab, but Mac OS can do even more. Since you can have several windows open at the same time, you can also switch between individual windows of the active application. You can do this using a keyboard shortcut cmd + `. For the record, I will mention that the windows can be scrolled in 2 directions. Cmd + tab used to switch forward and cmd + shift + tab is used to switch back. Switching between windows works in the same way.
Very often we need to minimize application windows. This is what they serve us for cmd + m. If we want to maximize all open windows of the active application at once, we use a keyboard shortcut cmd + option + m. There is one more way to make application windows disappear, if I mention it cmd+q which terminates the application. We can use a keyboard shortcut cmd + h, which hides the active window, which we can subsequently call up by clicking on the application in the dock again (it does not close the window, it only hides it). In contrast, an abbreviation option + cmd + h, hides all windows except the currently active one.
Another very useful keyboard shortcut in the system is without a doubt cmd + space. This keyboard shortcut calls the so-called spotlight, which is actually a search in the system. Through it, you can search for any application, any file on the disk, or even a contact in the directory. However, it does not end there. It can also be used as a calculator by typing in, for example, 9+3 and the spotlight will show you the result. After pressing the enter key, it will bring up the calculator. However, this is not all that this part of the system can do. If you type any English word into it, it is able to look it up in the internal dictionary application.
If I already mentioned the dictionary application, then the system has another excellent thing. If you are in any internal application and you need to look up any word either in the dictionary (I don't know if there is an option other than English) or for example in wikipedia, then move the cursor over the desired word and use the keyboard shortcut cmd + control + d.
If we have a dock that is set to hide and unfortunately we are unable to display it by moving the mouse over it, we can use keyboard shortcuts cmd + option + d.
Sometimes, even on this great operating system, an application becomes unresponsive. We can go to the menu and "kill" her from the appropriate menu, but we can use the following 2 shortcuts. cmd + option + esc it brings up a menu where we can kill the application, or faster actions when we press in an application that is not responding cmd + option + shift + esc. This will "kill" the application directly (functional since 10.5).
Trackpad
If we're talking about basic keyboard shortcuts, we also need to hone in on trackpad gesture options. It's not exactly a keyboard, but it does have some interesting features.
With two fingers, we can move any text both horizontally and vertically. We can also use them to rotate photos, which we do by placing both fingers on the trackpad and rotating them as if. If we put our fingers together and move them apart, we zoom in on the photo or text, and if, on the contrary, we pull them together, we zoom out the object. If we use two fingers to move up and down and press a key with it ctrl, then the magnifying glass is activated, with which we can zoom in on anything on this system.
With three fingers, we can jump from photo to photo forward and backward, it is also used, for example, in Safari as a forward or backward button. We have to swipe the trackpad from left to right or vice versa with our fingers.
With four fingers, we can trigger exposure or look at the desktop. If we swipe from bottom to top with four fingers, the windows will move to the edge of the screen and we will see its contents. If we do the opposite, the expose pops up with all the windows open. If we make this movement from left to right or from right to left, we switch between applications, the same as a keyboard shortcut cmd+tab.
We have come up with the main Mac OS keyboard shortcuts that can be used globally. At the moment, we will look at some keyboard shortcuts of individual programs.
Finder
This file manager, which is part of Mac OS, also has a few goodies in the form of keyboard shortcuts. Leaving aside the basic ones (I mean the ones we know from Windows, but with the difference that this time we press cmd instead of ctrl), we can do the following things quickly and without a mouse.
To quickly open a directory or file, use either cmd + o, which may not be very practical, but you can also use this keyboard shortcut, which is faster cmd + ↓. If we want to go a directory higher, we can use cmd + ↑.
If you have a disk image mounted, you can eject it using a keyboard shortcut cmd + e.
Unfortunately, if you need a keyboard shortcut cmd + x, that is, take it out and then paste it somewhere, then Apple basically does not support this. There used to be a hidden Finder setting. But now it is no longer functional. You can use it today this guide, which however only adds this functionality for files. Otherwise, you only have to drag and drop with the mouse. The point is that you download two services for Finder, add them to the specified directory, create a directory in the root of the drive and map these services to keyboard shortcuts. I looked inside, this is just a "substitute" made via symlinks. This means that in the first step, shortcuts to the files you want to move will appear in the root directory, and in the second step, these shortcuts will be moved to a new location and the links will be deleted.
A keyboard shortcut can be used to connect the Finder to a remote system cmd+k.
If we want to make an alias to the directory, a so-called symbolic link, we can use a shortcut cmd + l. Speaking of directories, we can add any directory to Places to the left next to the directory entries. Just mark the directory we want to add and using cmd + t add him.
Deleting also belongs to the management of files and directories. To delete marked items in the Finder, we use a keyboard shortcut cmd + backspace. Marked items are moved to the trash. We can then delete them using a keyboard shortcut cmd + shift + backspace. But before that, the system will ask us if we want to empty the trash.
Safari
The Internet browser is mainly controlled by the mouse, although some things can be done on the keyboard. For example, if we want to jump to the address bar and type a URL, we can use cmd + l. If we want to search using the search engine, which is right next to the address bar, we jump to it using the shortcut cmd + option + f.
We can use the cursor to move on the page, but it can also be used for scrolling space bar, which jumps down a page while shift + space bar moves us up a page. However, the text on the pages may be too small or too large. To enlarge we can use cmd++ and to shrink cmd + –.
A website developer sometimes needs to clear the browser cache and can achieve this with a keyboard shortcut cmd + shift + e.
We discussed navigation between windows above, in Safari we can jump between tabs using cmd + shift + [ left a cmd + shift + ] transport. We create a new bookmark using cmd + t.
You can also buy a MacBook Pro at www.kuptolevne.cz
Good day, please recommend a keyboard shortcut to change the keyboard, the default is spotlight, opt+space with an unbreakable space :(
I set ctrl+space, it's as simple as spotlight, but it doesn't work with the rest of the keyboard shortcuts.
I use ctrl+alt+cmd+k on the keyboard
In general, however, there is not much need to switch to the Mac OS keyboard, I only use it when I am connected to the Windows remote desktop.
Hello. Does anyone have a tip on how to set up the keyboard (i.e. Keys, keyboard shortcuts, etc.) so that they work for me in Paralles Desktop 5 (with win xp) as in mac os? Example: @ I type in mac os as opt + 2, in win opt + v. Likewise []{}%^^*+= etc. Likewise cmd + c vs. ctrl + ca many others. I use and want to use the cz keyboard. I prefer not to talk about remote desktop under Win). Nothing seems to work there. :) Remote desktop for mac does not support all server axes and is quite unstable. Thanks for advice.
I don't know ;( the only thing, so cmd+ca cmd+v works for me mac->parallels, but parallels->parallels no longer ;( then I didn't have time to research it, if it would be possible to integrate it somehow better, when I already use mac integration os. I'll give it as an assignment until next month, or write something about it.
I would need to specify switching between active windows of the same application using the cmd + ` shortcut. I know that on the US keyboard it's cmd+˜ (tilde), but it doesn't work like that on the Slovak one, we have the § sign there or when I switch to SK it's <. (key over TAB)
do you have the opposite debt in Czech and does it work for you? switching between the windows of one application is quite a mistake for me, and normally because of this I am considering buying the nearest macbook with a US keyboard...
thanks for the advice
in English I have the ` key next to the left shift, in Czech it is right next to return (MBP late 2008 unibody), when I switch to Slovak, it is exactly the same as in Czech, the fact is that I do not have an external keyboard, anyway, if you go to preferences :
Language & text, input sources tab and right above all keyboards is:
"Keyboard&character viewer", if you click and then at the top of the list where the language is shown, click and turn on "Show keyboard viewer" then you will see the layout of the current keyboard, then I think it will not be difficult to locate this key even on your layout.
so I finally found it elsewhere... on the SK or supposedly also on the CZ keyboard it is really cmd+`, but on the SK keyboard there is a \ character drawn there (backslash). so I can stay with the SK keyboard... :o)
There is nothing simpler than remapping the default shortcut (SP>Keyboard>keyboard shorcuts>keyboard & text input), I personally like to switch windows by placing the key above the tab - even if there is anything else, the Czech keyboard has . So I just remapped the keyboard shortcut to cmd+<. So I use the "default location" :-D
The fact is that the function is lost when using other keyboards, but under Mac OS I do not switch the layout in the same way...
Hi, the article mentions the capabilities of the Dictionary application. Other dictionaries that are not included in the basic equipment can also be uploaded to this application - for example, Czech and English. With its help, you can just tap on English words and look up what they mean in the dictionary. How to upload such a dictionary can be found in various instructions on the Internet, here is one link: http://quimby2.blogspot.com/2008/07/je-libo-nov-slovnk-do-dictionaryapp.html
Thanks for the addition, I didn't know that.
2honza: I program in English, but to write some longer text in the road I need Czech :/
I'm in the same situation, but ctrl+space works fine for me, hopefully it will help you too :)
I'll try, looks good
well, I switched the order before, probably like everyone else, but on Mac I'm in the habit of using only Czech and for special characters I use opt+appropriate keys (opt+5 for tilde, opt+ů for middle) ... it's a kind of hybrid between the two, but I recognize that it can be a nuisance to press the button every now and then, but I'm getting used to it and it suits me quite well.
well, I need absolutely all of them from English, but it's not enough for me :)
do you know if there is a shortcut for renaming the file?? if so how to create it thanks :))
enter :-)
I especially like that by default only the name starts to be edited, not the attachment, it saves me a lot of work ;)
Hello, I would like to ask if you know what is causing the fact that if I edit the name of the file (with the enter key) it jumps out of the editing on its own. After a while it won't let me overwrite the file name. It's enough to drink my blood :-D
I have a leopard
Didn't you come across that yourself? Most people who switch to a Mac figure it out immediately when they try to open that file xD
Have a nice day. I got an iPhone4 and then I have one problem, I only download unread emails, because I use Outlook so it is always faster than the iPhone.
The question is, you don't know how to set the iPhone to download my read emails as well. Thank you in advance for your reply
You have the wrong account settings in Outlook, you probably use POP3 and you don't have the option of not deleting messages on the server, use IMAP if you have the option, there the clients synchronize against the server.
Otherwise, great article, I'm saving a permlink :-)
Hello, I only use the Czech keyboard and I would like to centrally redefine Undo on the QWERTZ keyboard from cmd+z to cmd+y. The problem I have when setting Keyboard Shortcuts in System Preferences is that the Undo item is often named differently depending on the actions that took place (Undo last change). Thanks in advance for the advice.
For God's sake, what kind of nonsense is the author preaching here? People, don't listen to him.
1. I don't know of a Mac keyboard that doesn't have the PgUp, PgDn, etc. keys. Home and End. Only on the smaller ones are they combined with others and accessible via the Fn key.
2. The Cmd and Fn keys have absolutely nothing in common. Fn is a "hardware" modifier to access an alternate key meaning when (especially on the smallest, laptops, etc.) two different keys are combined into one button, just like on many PC notebooks. Most often, these are various navigation keys (e.g. the up arrow key changes to the PgUp key when Fn is held down) or a complete numeric keyboard folded over the right side of the keyboard with letters, or multimedia keys combined with F1 to F12 keys. It's usually very different on that keyboard and it's obvious what the default function of the key is and what the alternative is available via Fn. It can be said that Fn is more or less a hardware issue, the application will hear that Fn and some other key were pressed, it will receive information about the other one. If we imagine it in such a way that after pressing (Fn-up arrow) the same thing comes out of the keyboard as if the PgUp key was pressed, and no one knows in any way that someone actually pressed the up arrow, it will be a fairly accurate idea.
Cmd, on the other hand, is a software system key that launches some commands/actions and has been on the mac forever. It does not change the meaning of the keys, it is only used for keyboard shortcuts for actions, which are usually all also available through the menu of the active application. Each application processes these commands in its own way, but most of them have been unchanged for decades and thanks to the once strict rules for developers, they apply equally in all applications - CMD-A mark all, CMD-S save, Cmd-Q quit, Cmd-W close the window, etc. - this is how most letters are occupied.
And if a hotkey is needed somewhere, eg Cmd-*, and the asterisk is available via Fn on a hidden numeric keypad (let's say it's Fn-P), then Cmd-(Fn-P) is exactly the same as Cmd-*.
3. Thus, Cmd-up and Cmd-down are NOT PgUp/PgDn or Cmd-PgUp/Cmd-PgDn, they do something completely different, depending on the application. In text editors it is usually a jump to the beginning/end of the file, in the Finder it is a move up a directory or opening marked file etc.
4. The same applies to the Backspace. Smaller keyboards do not have a separate Del key, so it is mapped as Fn-Backspace (everyone probably knows the difference between backspace and del). It will work for you even in the Windows emulator, if you press Ctrl-Alt-(Fn-Backspace) it will be the same as Ctrl-Alt-Del. On the other hand, Cmd-Backspace is a *command* that each application interprets in its own way and each can have a different meaning for it (deleting a line, deleting an item in the database, throwing marked items in the Finder into the trash, etc.), similar to Cmd-Del = Cmd-(Fn-Backspace) will again have a different meaning (or none, depending on the application).
5. Cmd-H does not hide the window, but the entire active application, similarly Cmd-Alt-H hides all running applications (including all their windows) except the active one.
Here you need to be aware of one of the fundamental differences between Mac and Windows: in Windows one window = one instance of the application, on the Mac the application and its windows are independent, the application can run without an open window or have several windows open. But it's still one application, the same application cannot normally be run in multiple instances/copies. Which maybe the author still doesn't fully understand.
Hello, is it possible to program some keys - for example: F8, to write @ after pressing them?
I don't like the classic combination with alto.
Thank you, Daniel
good day, I would also like to be able to reprogram some keys on the BT keyboard, is there a way to do this?
Thanks JV
Good evening, can you please tell me where the slash is?
Hello, the BACKSPACE button has stopped working on my iMac keyboard, can anyone help?
finder - extraction
I don't know about the author, but it works for me as a decent alternative for extracting the file in the finder:
copy file cmd+c
insert file cmd+v or ("cut" - alternative to ctrl+x) cmd+alt+c
Do you happen to know what causes the "backspace" key in the mail client? official on mac os? ... I have a post through imap and since I'm new to the mac and the delete button isn't there, I tried backspace ... the post disappeared, but I have it on imap ... now I can see that cmd+backspc is used as a delte ... but what do you do with backspace itself? thanks for any advice...
Hello, please advise me how to switch the "backspace" key back to backspace mode, because it currently works as if the DEL key. Probably the most accidentally pressed key combination. Thank you