Today, the use of strong passwords is taken for granted to help us secure our data and privacy. But the problem is that we should have a different, but always strong password for each website/service, which can quickly lead to chaos. In short, we cannot remember them all. This is precisely why practical password managers have come forward. They can store all our passwords in a secure form and make their use much easier for us. Apple relies on its own solution for its operating systems - Keychain on iCloud - which is available completely free of charge.
It could be interest you
But there is also a small catch. This password manager is only available on Apple products, which is why it can no longer be used, for example, after switching to Windows/Android, or when using both platforms at the same time. Of course, Apple isn't the only one offering something like this. Perhaps the most popular password manager at the moment is 1Password. This software boasts of its simplicity, well-designed user interface, level of security and cross-platform support. Unfortunately, it is paid. If you are one of its users anyway, then you should definitely know these 5 tips and tricks that will come in handy for you.
Access to passwords through Touch/Face ID
The 1Password application works on a fairly simple principle. We can imagine it as a safe protecting all our passwords, locked notes, payment card numbers and many other important things. This safe is then unlocked master password, which should of course be the strongest. But constantly typing such a long password may not always be completely pleasant. Fortunately, there is a much simpler, but mainly safe solution for apple products - the use of biometric authentication. The application thus understands Touch ID or Face ID and can access the aforementioned safe and provide the required password through a fingerprint or face scan.
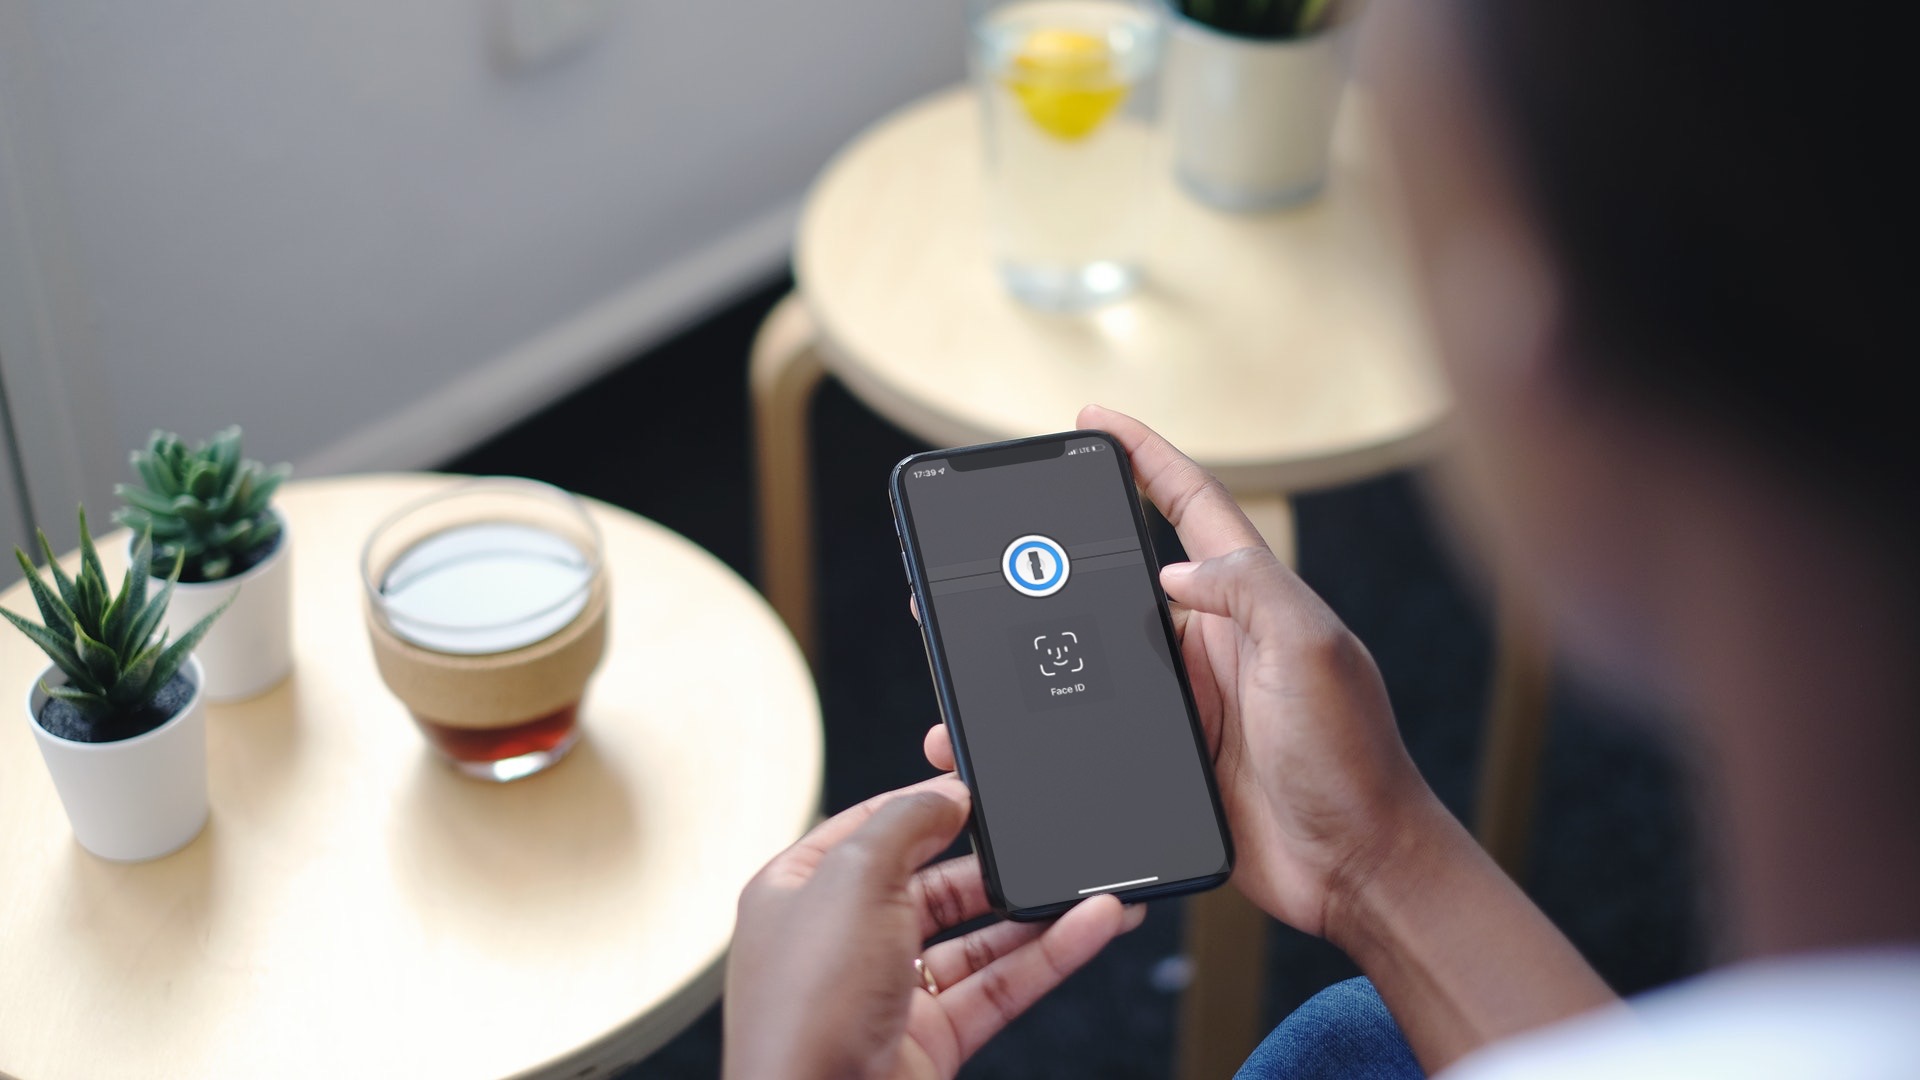
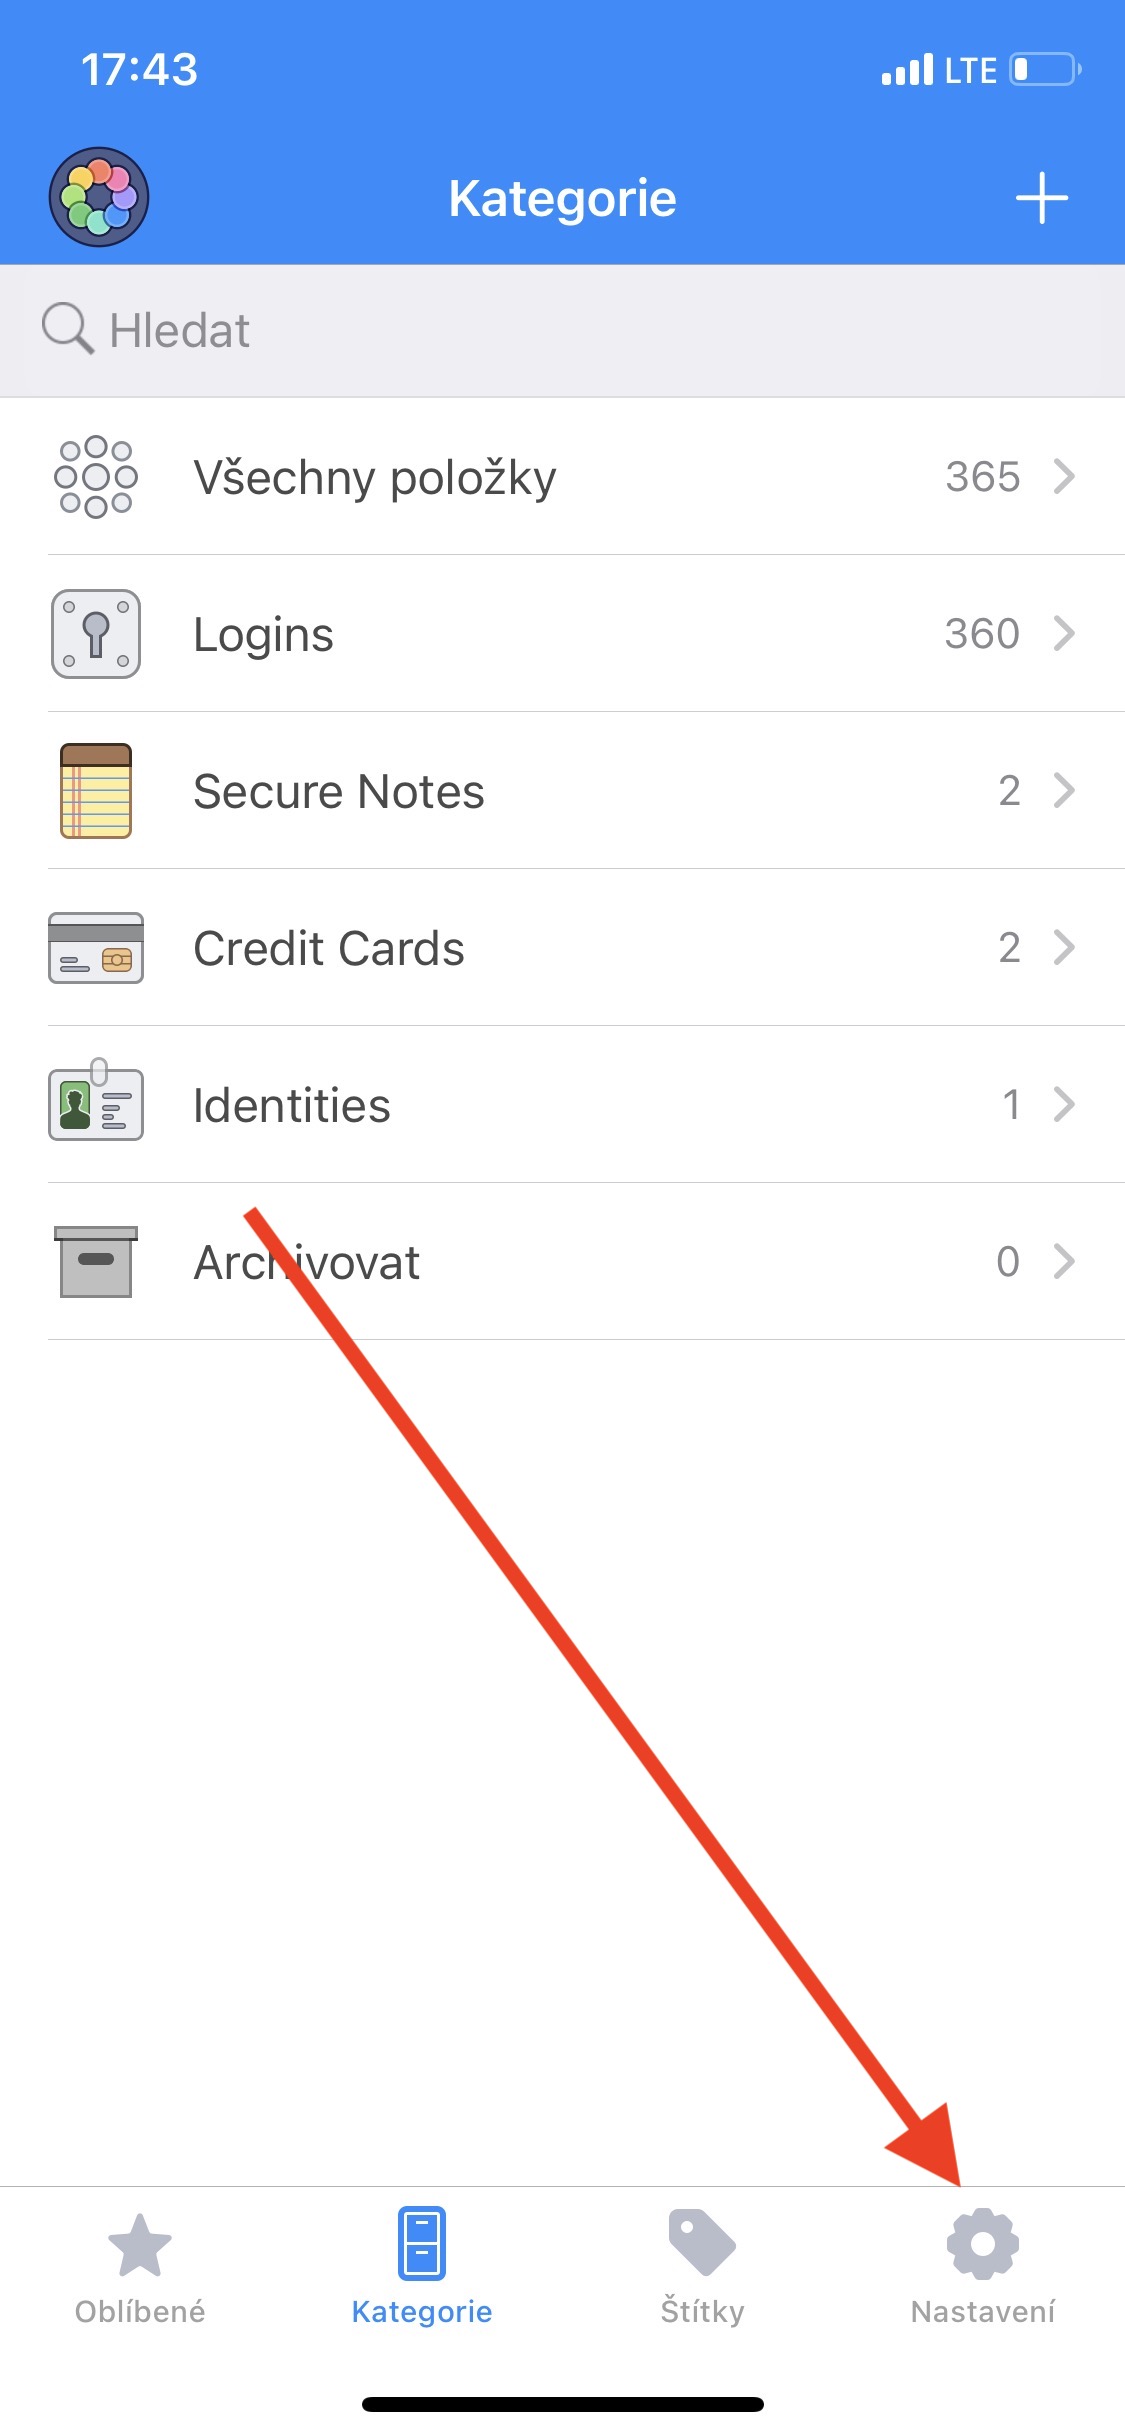
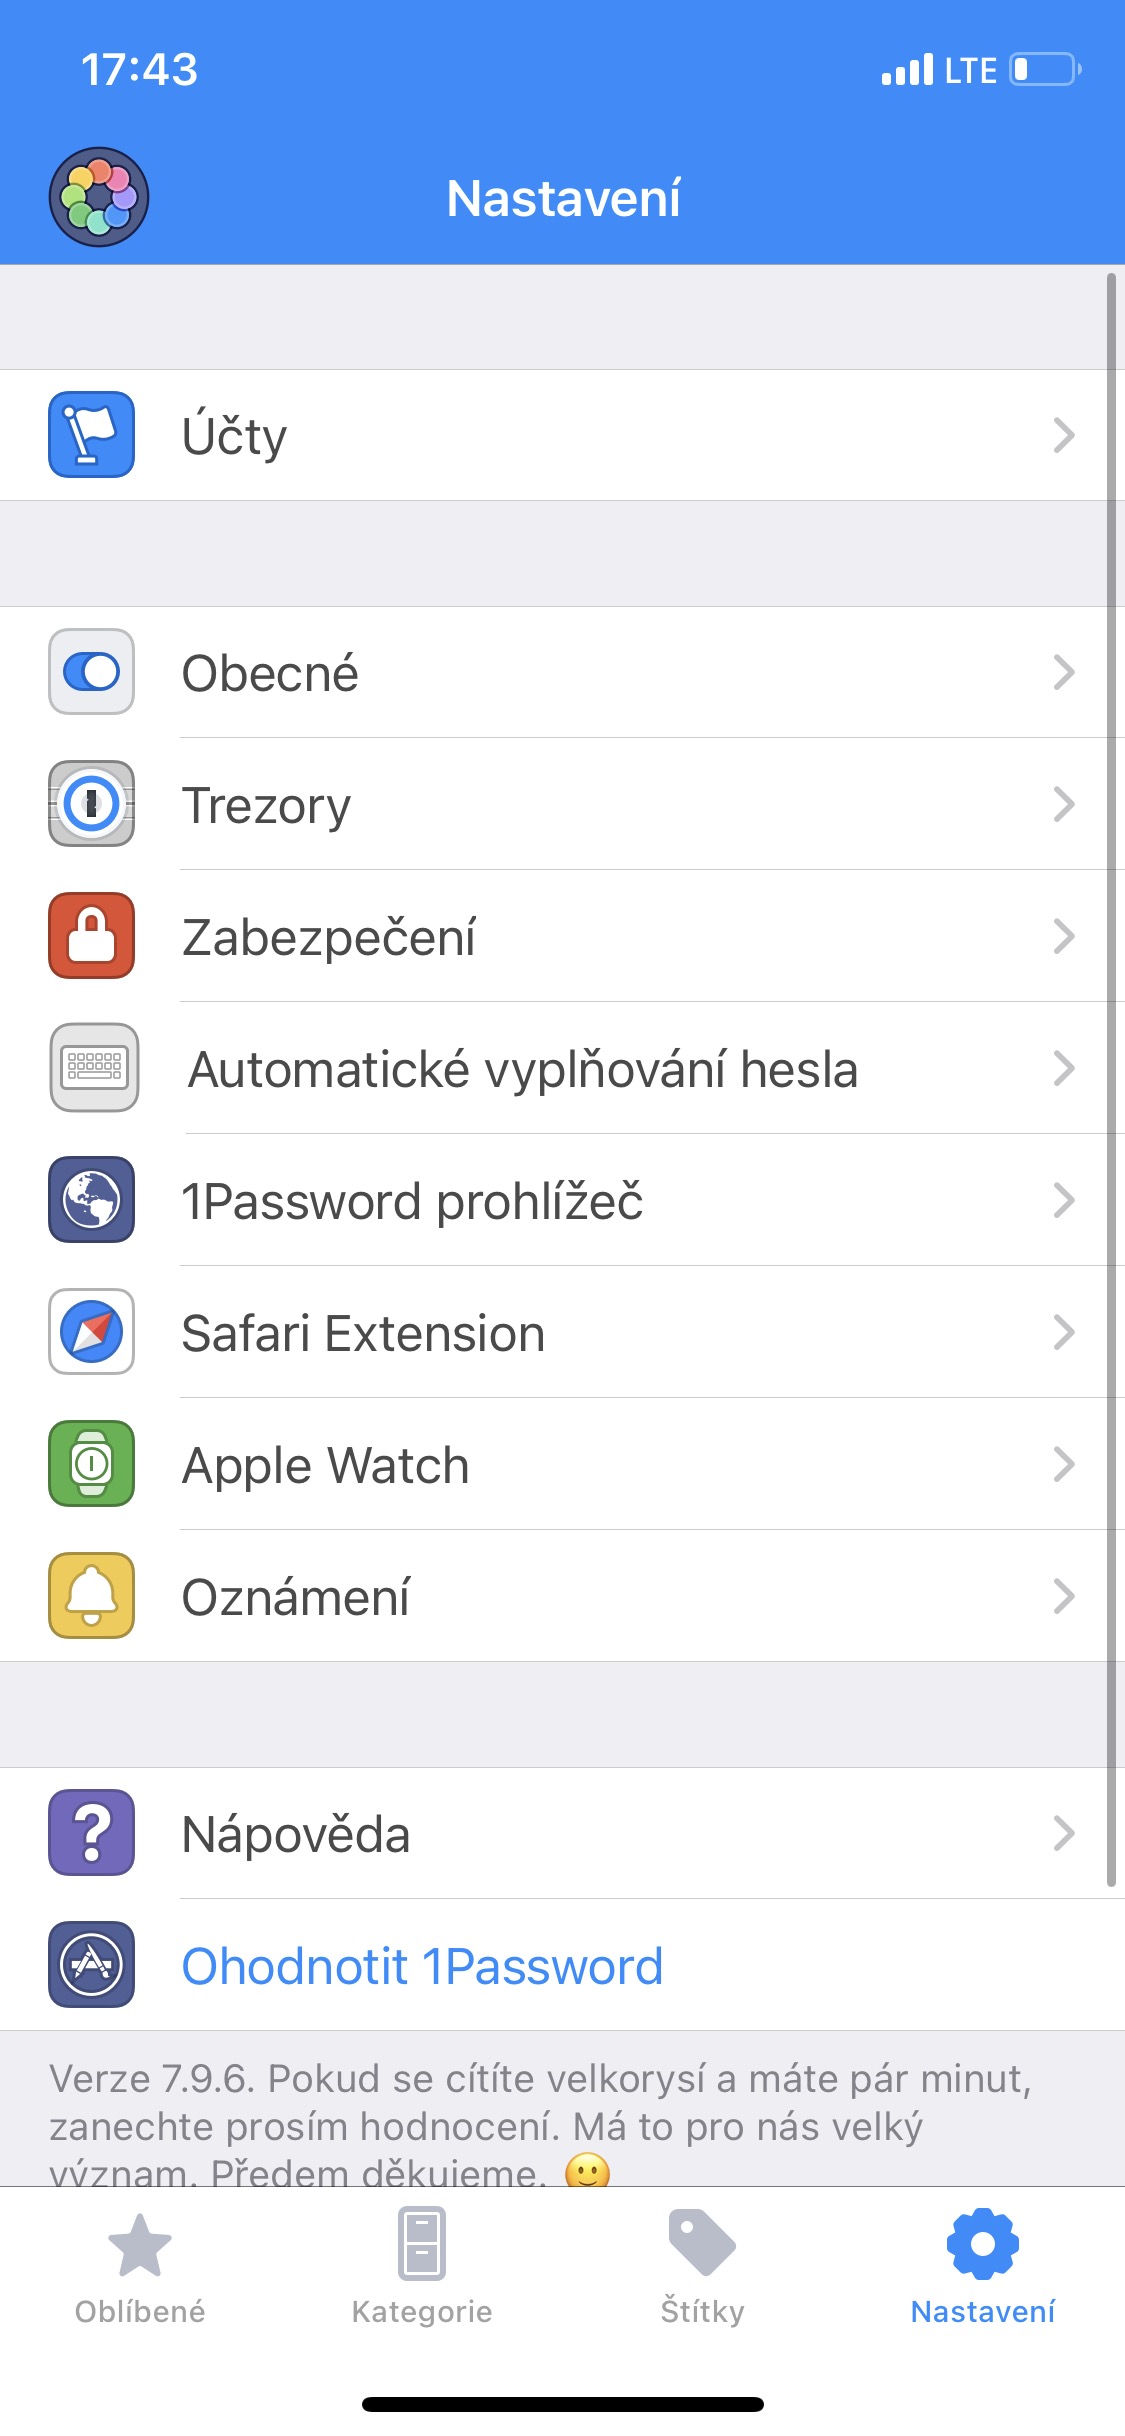
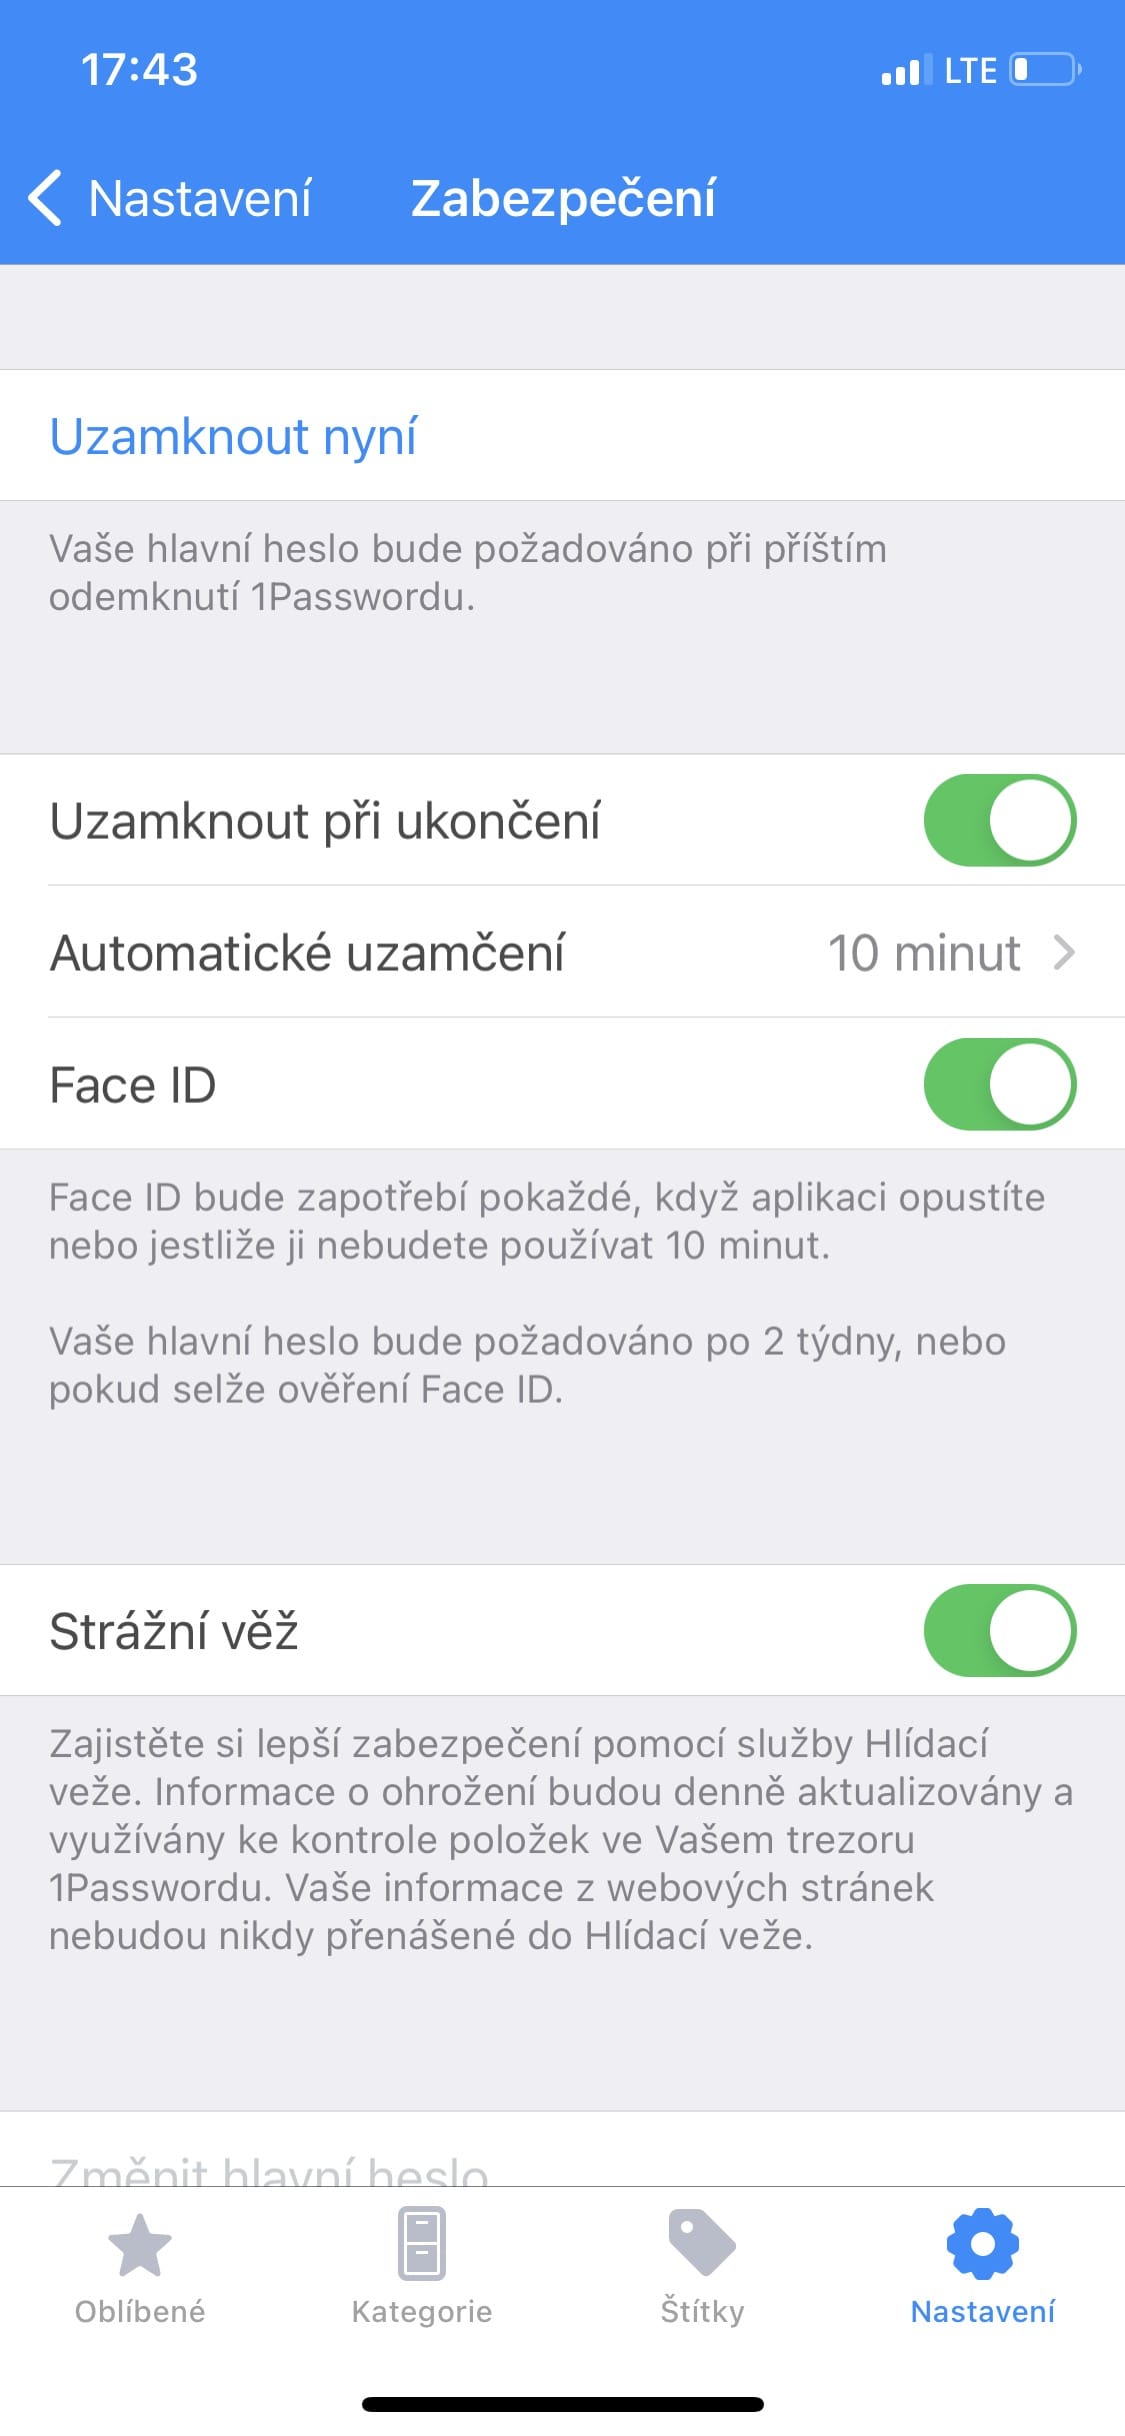
If you don't have biometric authentication enabled in 1Password, you can turn it on with just a few clicks. In the case of the iOS version, just open Settings > Security at the bottom right and swipe to activate the Touch/Face ID option. For the version for macOS, then with a keyboard shortcut ⌘+, open preferences and proceed exactly the same. So just go to the Security tab and enable Touch ID.
You might think that accessing your entire password vault with only Touch ID/Face ID can be risky. Fortunately, 1Password has less protection in this regard. The entire software locks itself after a certain period of time, and in order to open it again, you must first enter the master password. This process is repeated every 14 days.
1Password auto-lock
As soon as you have the option of using biometric authentication active, you may notice an interesting phenomenon. For example, when you log into two web applications shortly after each other, you may notice that in the second case, 1Password suddenly does not ask you for a password or biometric authentication. This is related to the possibility of so-called automatic locking, which means that it is not necessary to constantly authenticate and confirm that you really have access to the given safe. In short, as soon as you have your face scanned via Face ID on an iPhone, or you confirm your fingerprint via Touch ID on a Mac, you have peace of mind for a while.
Of course, leaving the safe unlocked like this all the time would be highly risky. The Automatic Lock function therefore locks it again after just a few minutes, which can be set by each user according to their own preferences. In the case of the iOS version, go to Settings > Security > Auto-lock and then just choose how long you want passwords to be re-locked. You can choose from one minute to one hour. For macOS, the procedure is the same again, you can just find the function here under the label Auto-lock.
Two-factor authentication
We no longer rely on simple passwords for security, as they can be easily cracked. That's why we've added a second factor to the whole process, the goal of which is to significantly boost security and make sure that the right person is logging in at any given moment. In this regard, we have become accustomed to a fairly universal approach - the use of an authenticator on our smartphones, which constantly generates new verification codes. The trick is that they change after a certain time and the old ones stop working (mostly after 30 seconds to a minute). Undoubtedly, the most popular are Google Authenticator and Microsoft Authenticator.
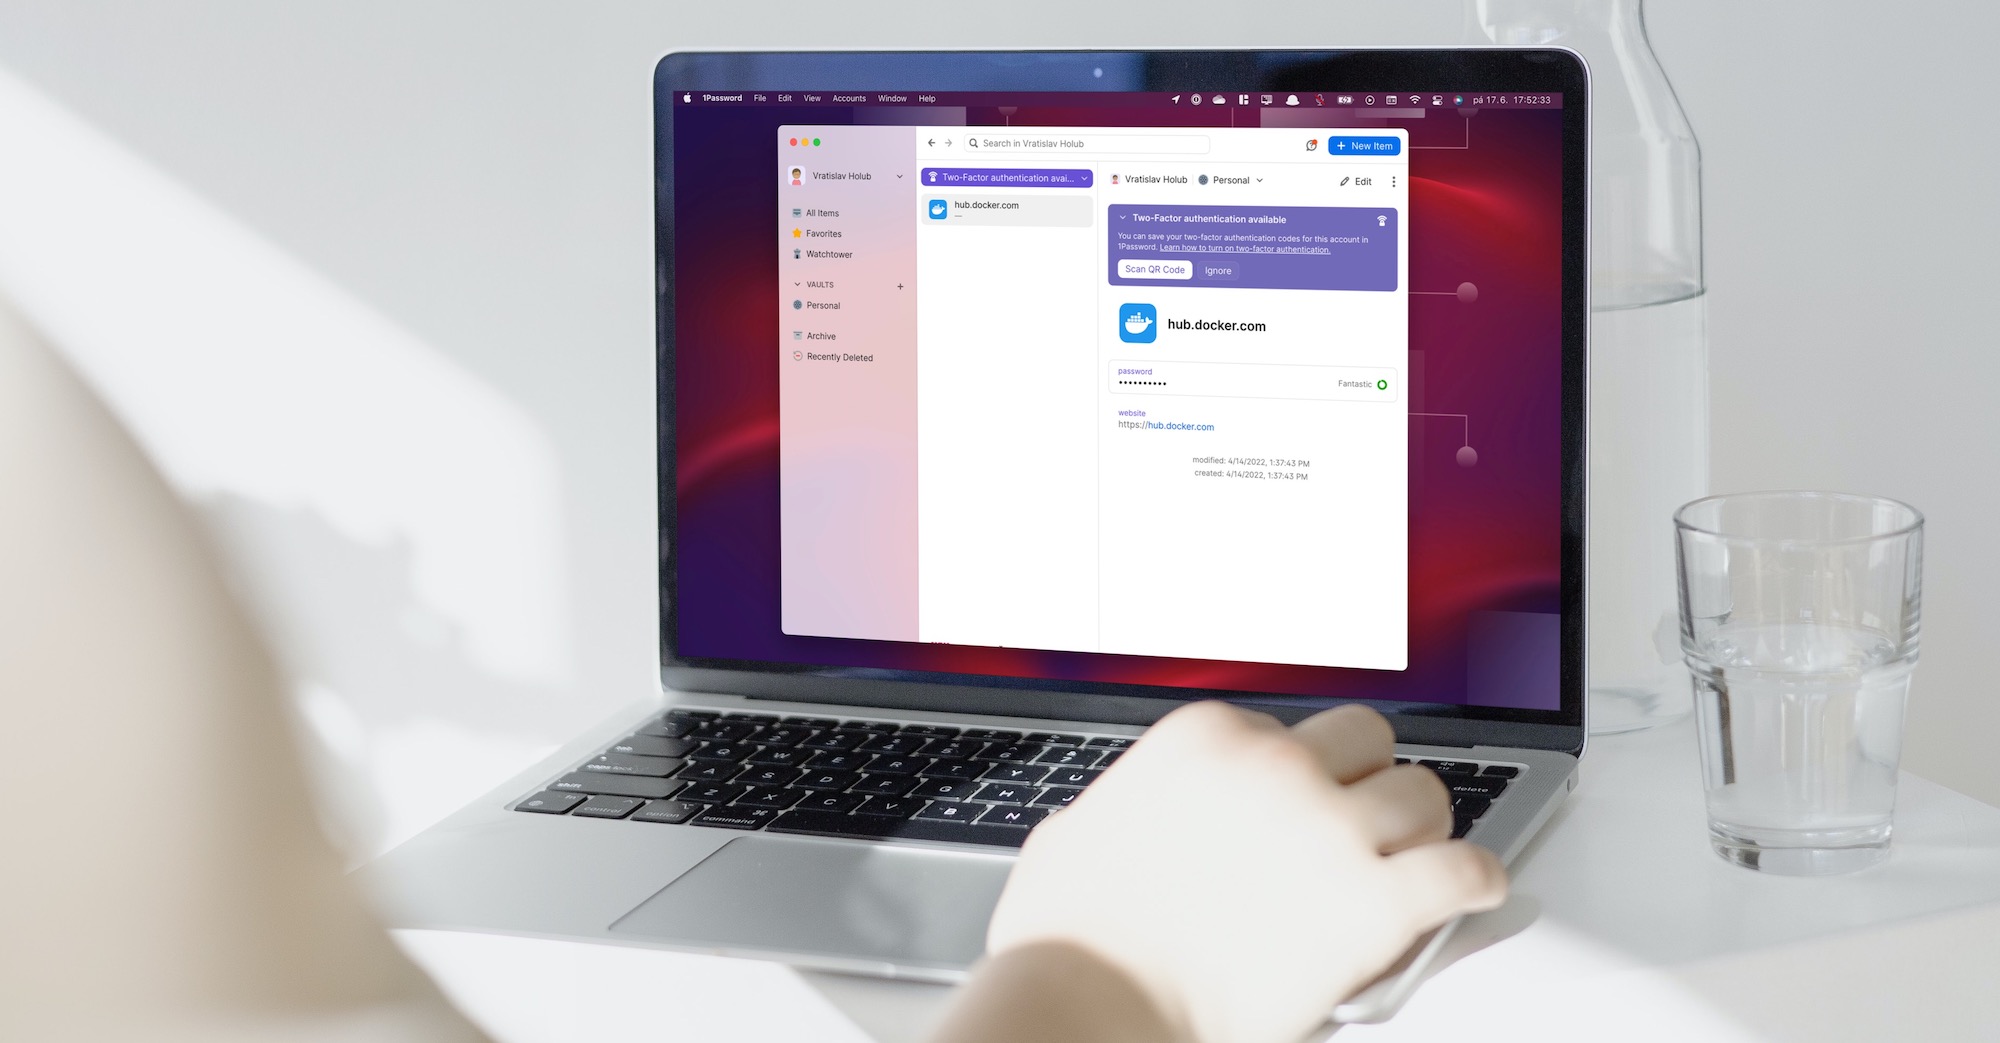
But why keep codes away from passwords? 1Password has exactly the same option, which can also handle the generation of verification codes for our accounts, thanks to which we can literally have everything under control in one place. On the other hand, it is necessary to realize an important thing. In such a case, it is extremely necessary to have a really strong password, since we have both passwords and verification codes in one place. If, on the other hand, we keep them separate, we have a better chance in terms of security. If you use a really strong password, this shouldn't be a problem.
It could be interest you

Watchtower
The so-called Watchtower is also a relatively good gadget. 1Password specifically works with a well-known site for this Have I Been Pwned, which can provide you with information about various leaks of passwords or personal information. In this way, you can find out in an instant whether, for example, one of yours was not part of a data breach and is therefore not theoretically compromised. When opening a record with a problem (e.g. repeated password, leaked password, etc.), a warning and possible solutions are displayed in the upper part of the display.
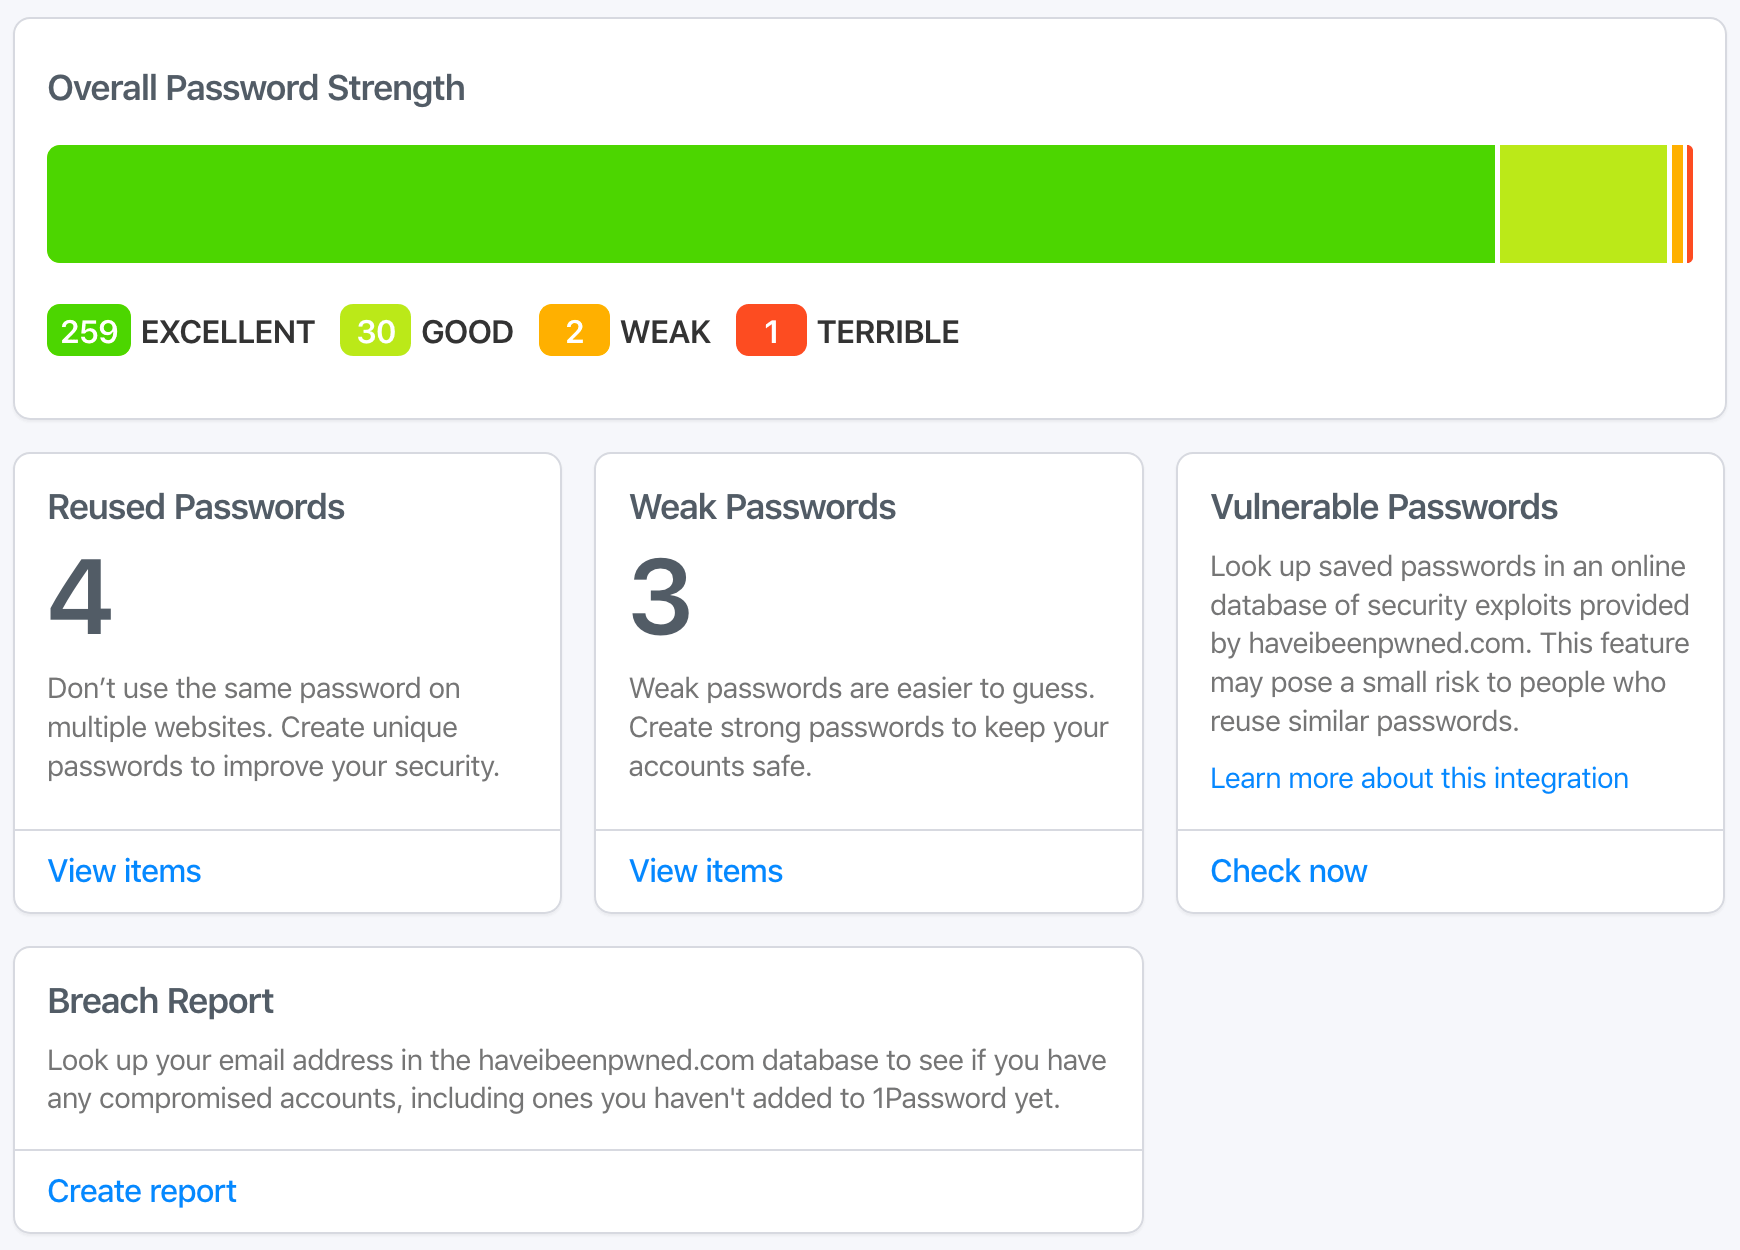
In addition, for 1Password on the web and desktop apps, the Watchtower has its own category with a detailed overview. In this case, the software can inform you about the average strength of your passwords, while still categorizing frequently repeated passwords, weak passwords and insecure websites. Subsequently, it also offers the option of activating two-factor authentication on available pages. The watchtower is an extremely useful tool. Therefore, you should definitely not ignore its existence, and check at least once in a while whether everything is in order from the point of view of your security.
Organizing passwords and sharing them
Nowadays, we log into an unimaginable number of different applications, websites and services. It is therefore completely understandable if your vault has well over 500 records. But knowing such a quantity can be a more difficult task. It is for this reason that there is no lack of opportunity for their organization. In this direction, two options are offered. You can set the selected records as favorites and access them at any time relatively easily, as you can find them in the given category. Another possible solution is the use of so-called tags. These can be set by going to the record, starting to edit it and adding a tag to it at the very bottom. At the same time, you are creating new ones here.
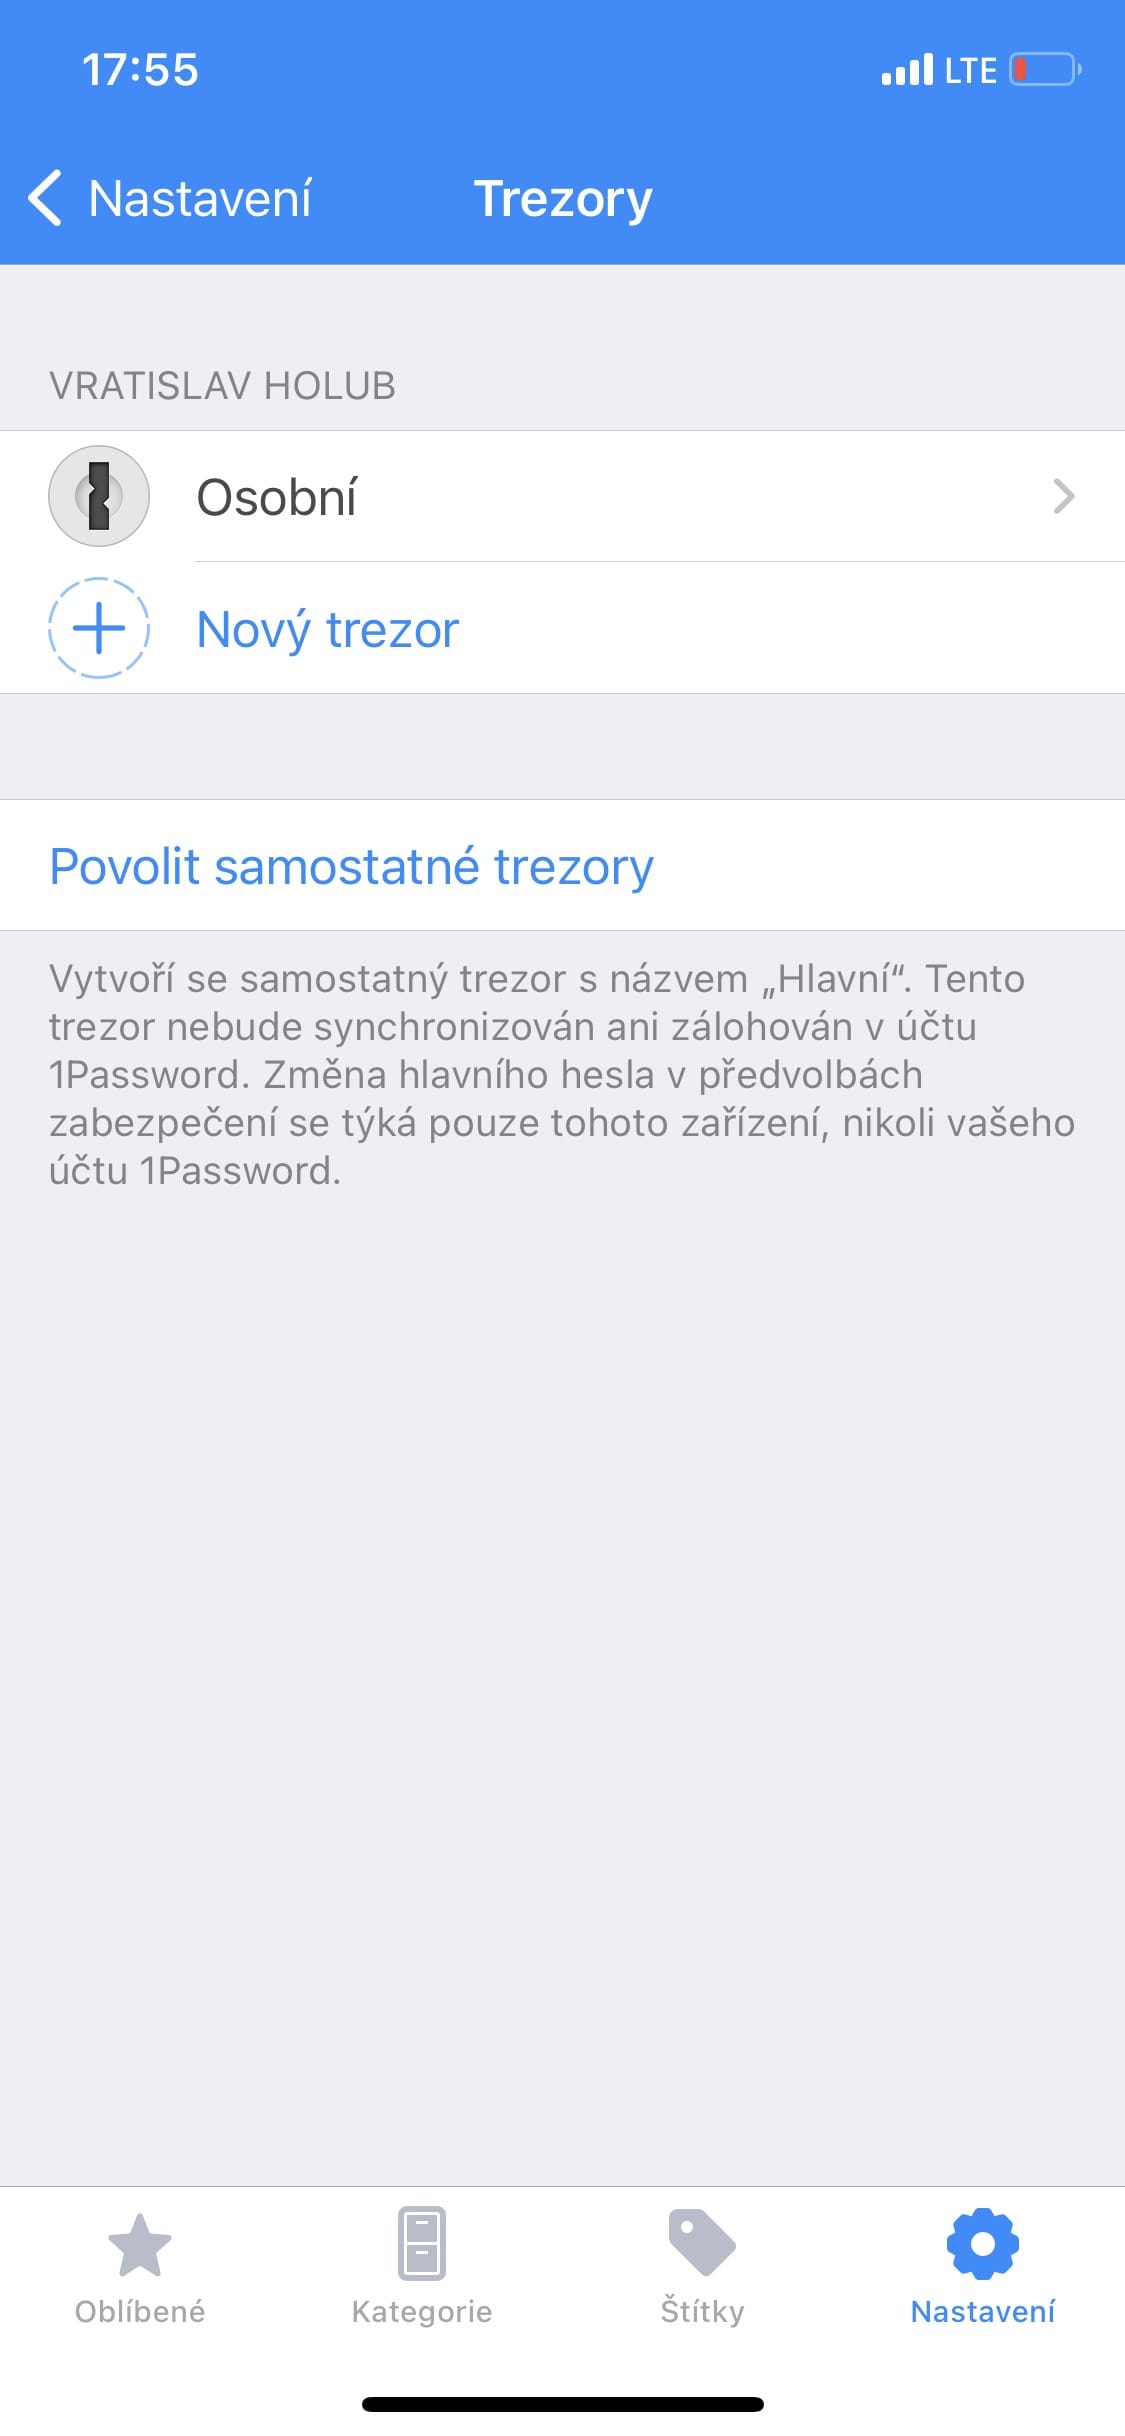
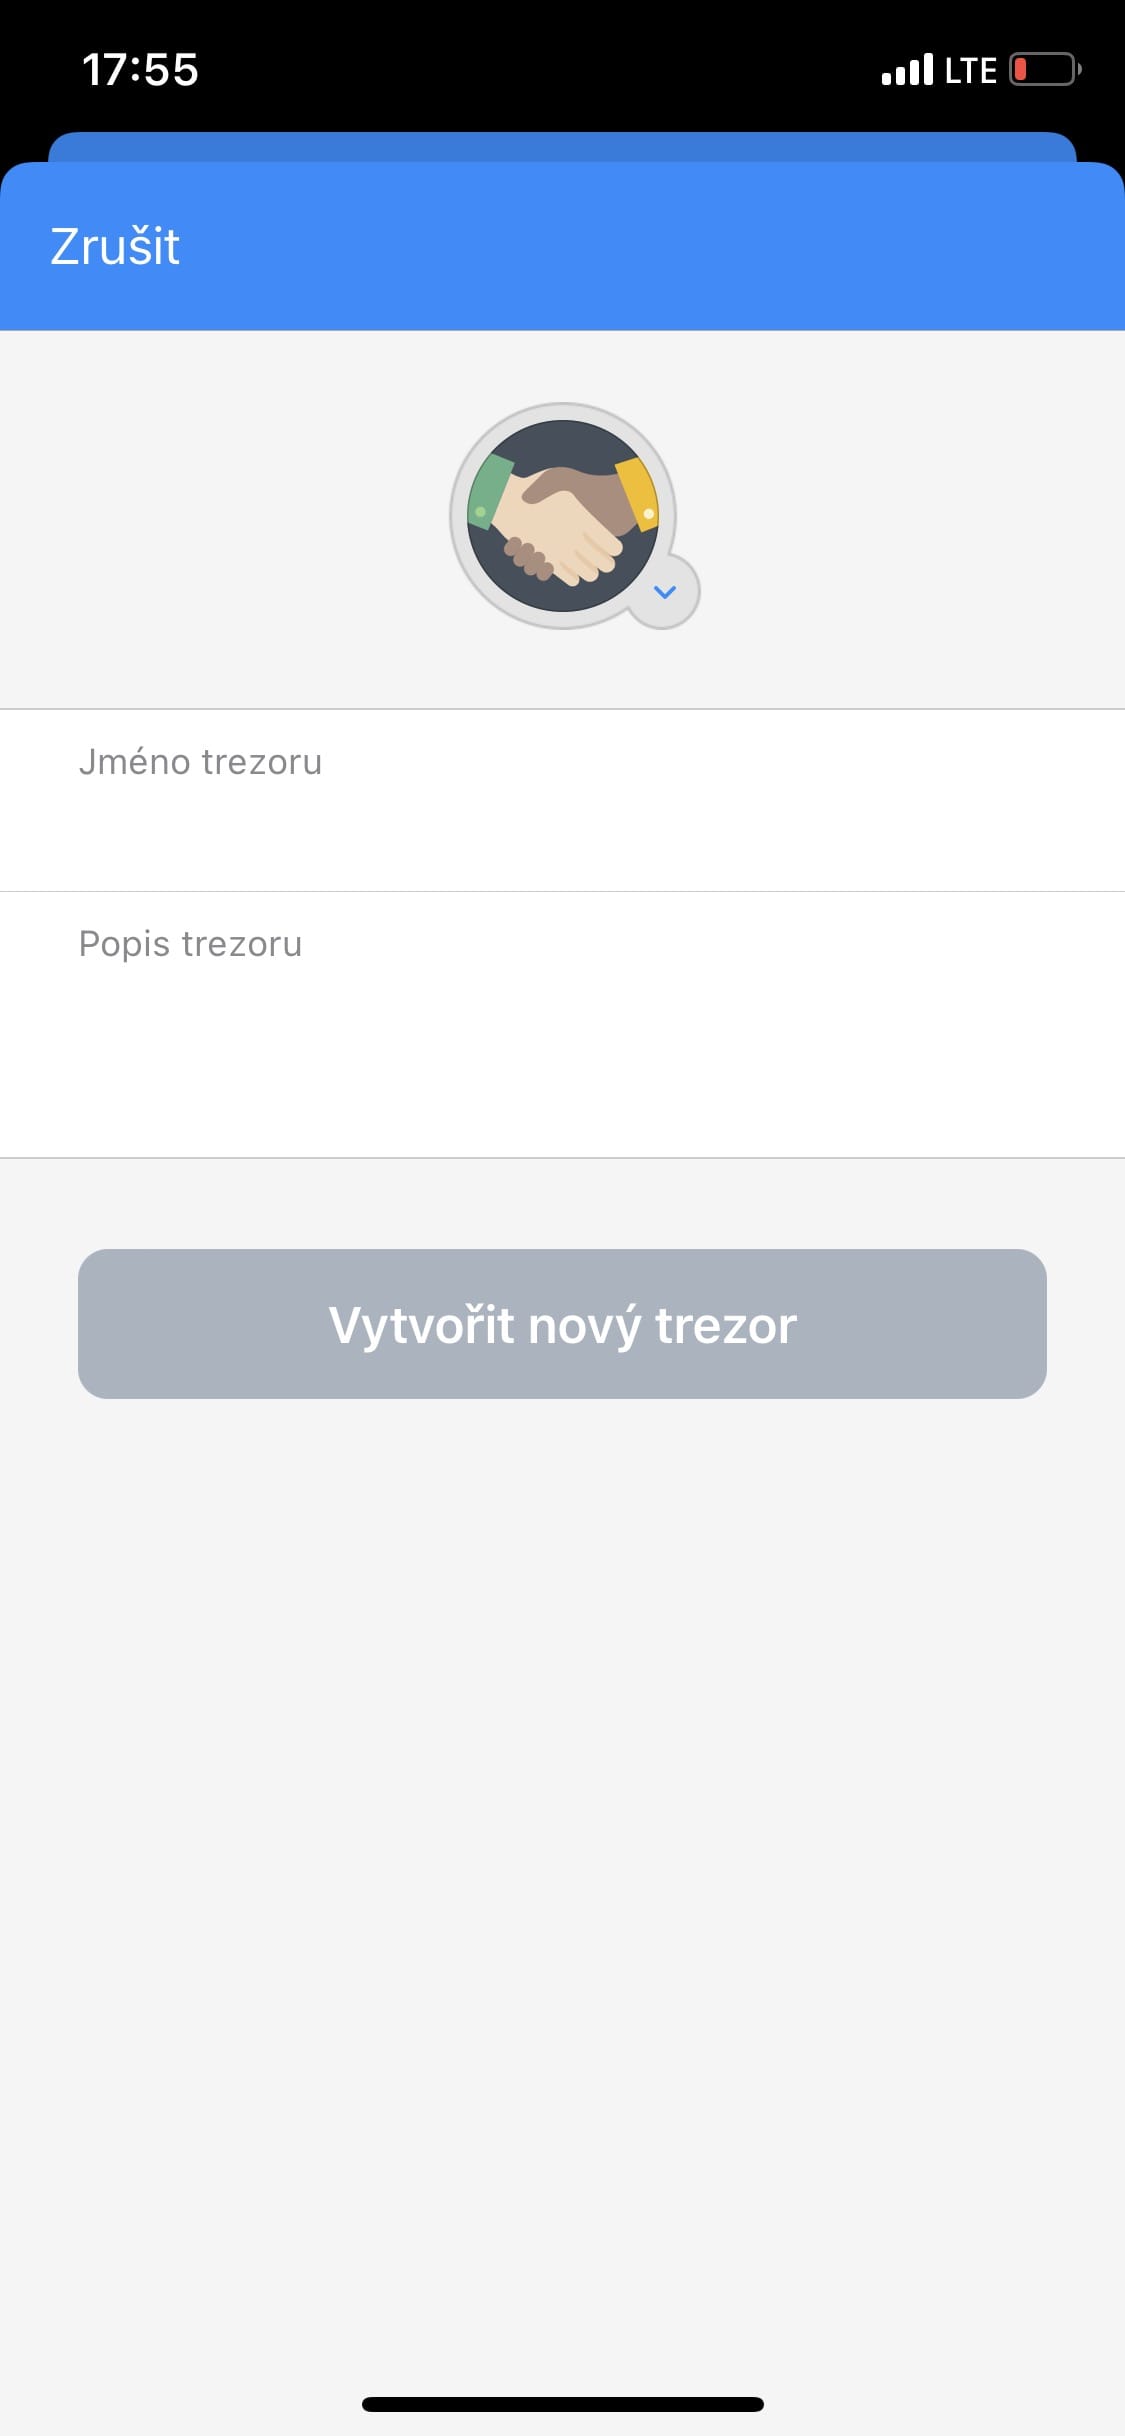
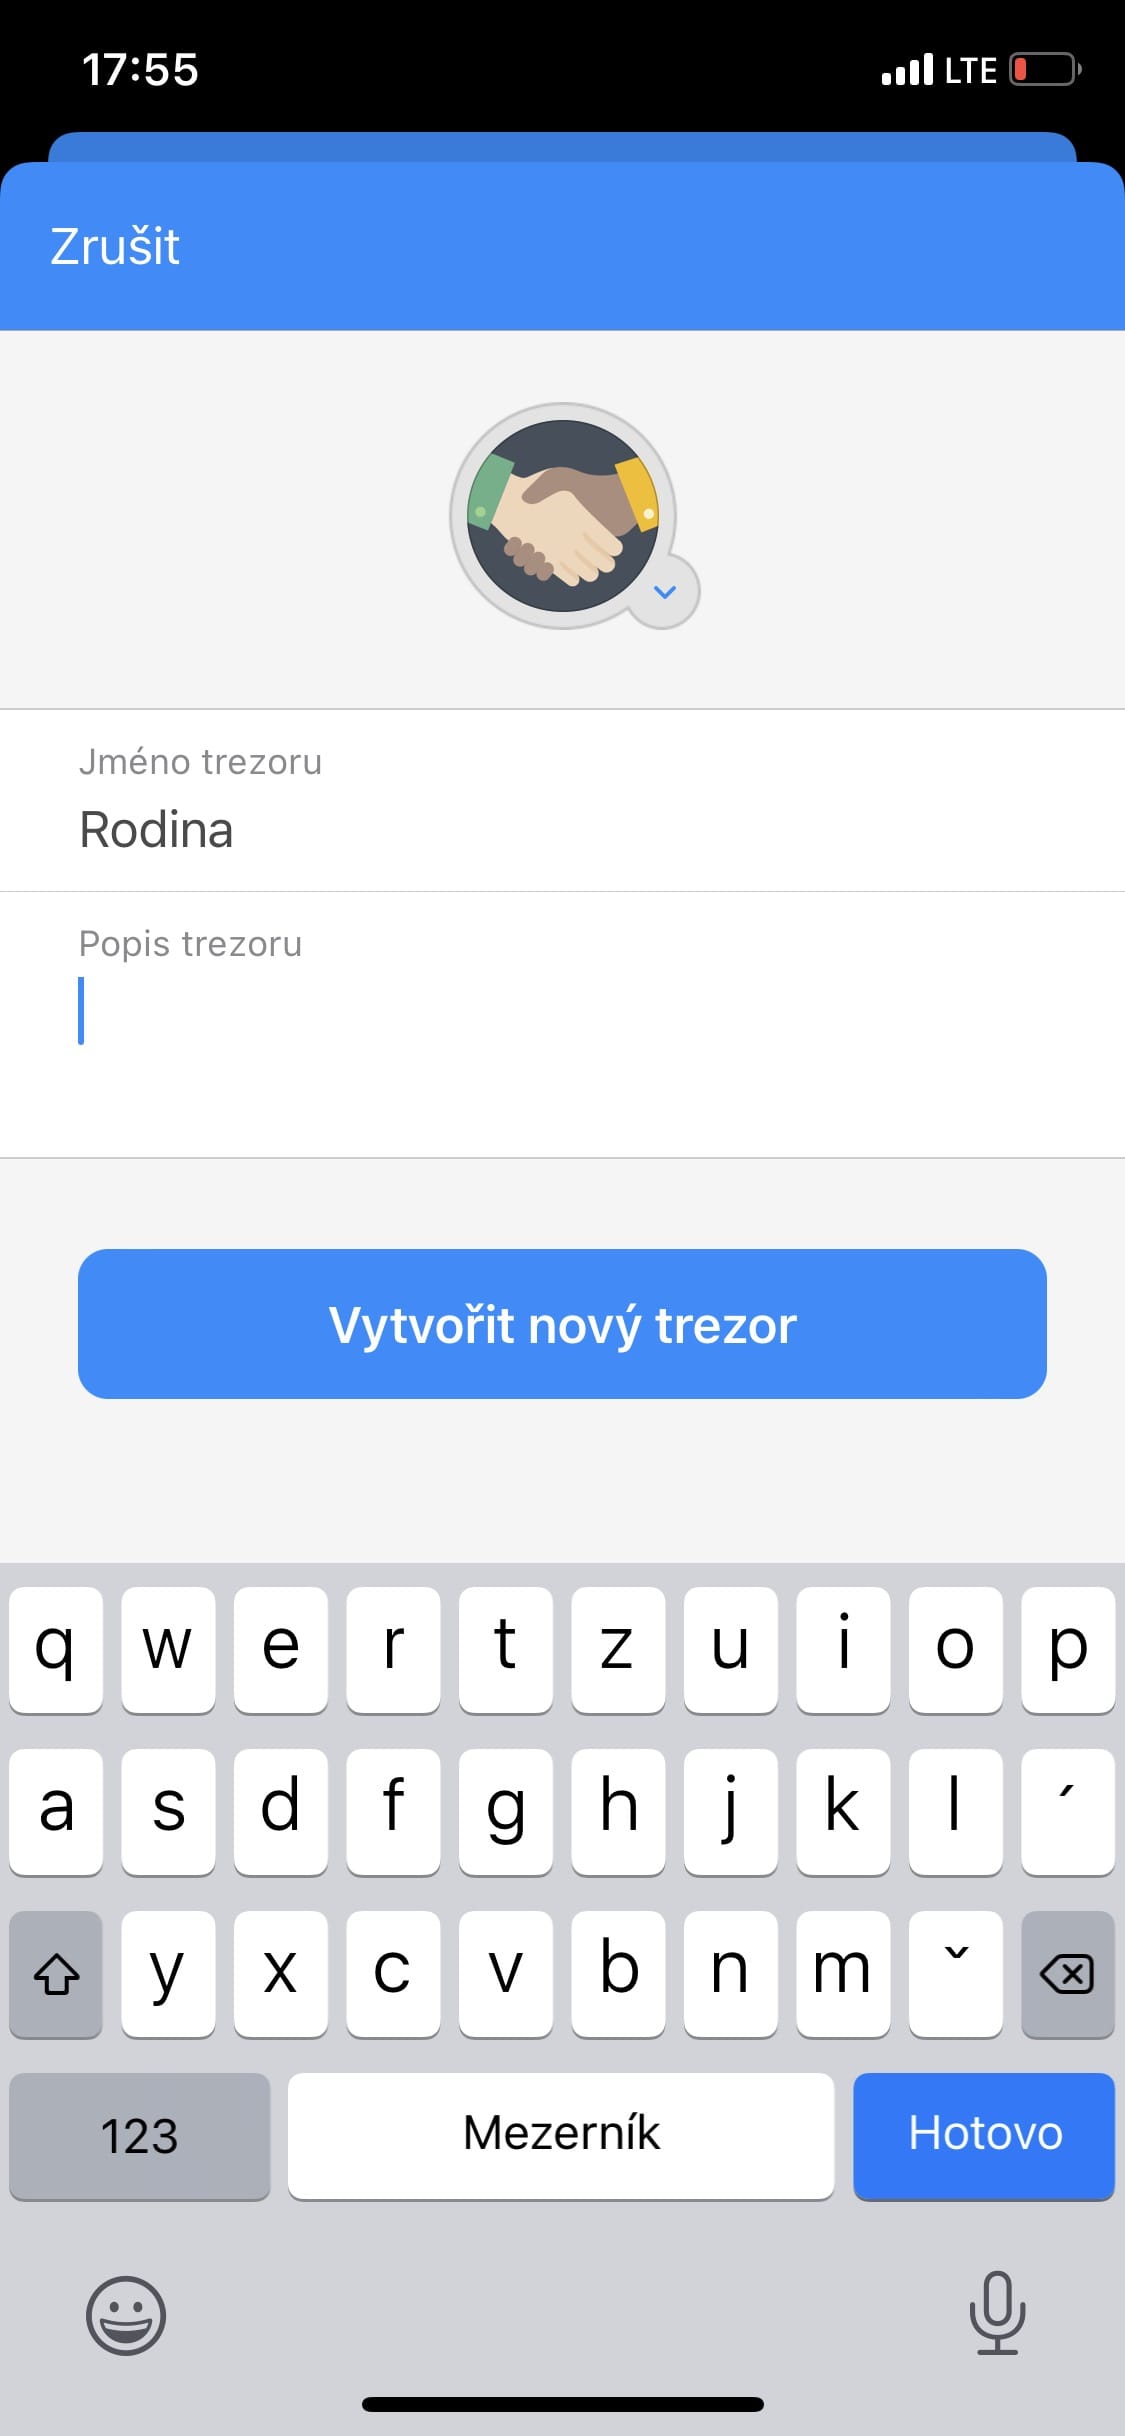
Of course, there may also be situations where you need to share some passwords with others. But in reality, it doesn't have to be just passwords, but secure notes, Wi-Fi router passwords, documents, medical reports, passports, software licenses and more. That is why 1Password offers the possibility to create several vaults. Alongside the personal one, you can have, for example, a family one, in which all the necessary data will be stored and will be available to all family members. Once one of them adds a new record, everyone else will have access to it. But it has one condition. It is necessary to directly create a shared vault that can only be accessed by subscription members. For this reason, it is not possible to share records with friends, for example – shared vaults are only available within the family and business subscription.
How to add a vault in 1Password? Again, it's pretty simple. In the case of the mobile version, you have to click on the icon of the given safe at the top left and then just select the New safe option. On Mac, in the left panel, you will see a whole section reserved for vaults (Vaults), where you just need to click on the plus sign icon.
Secure notes
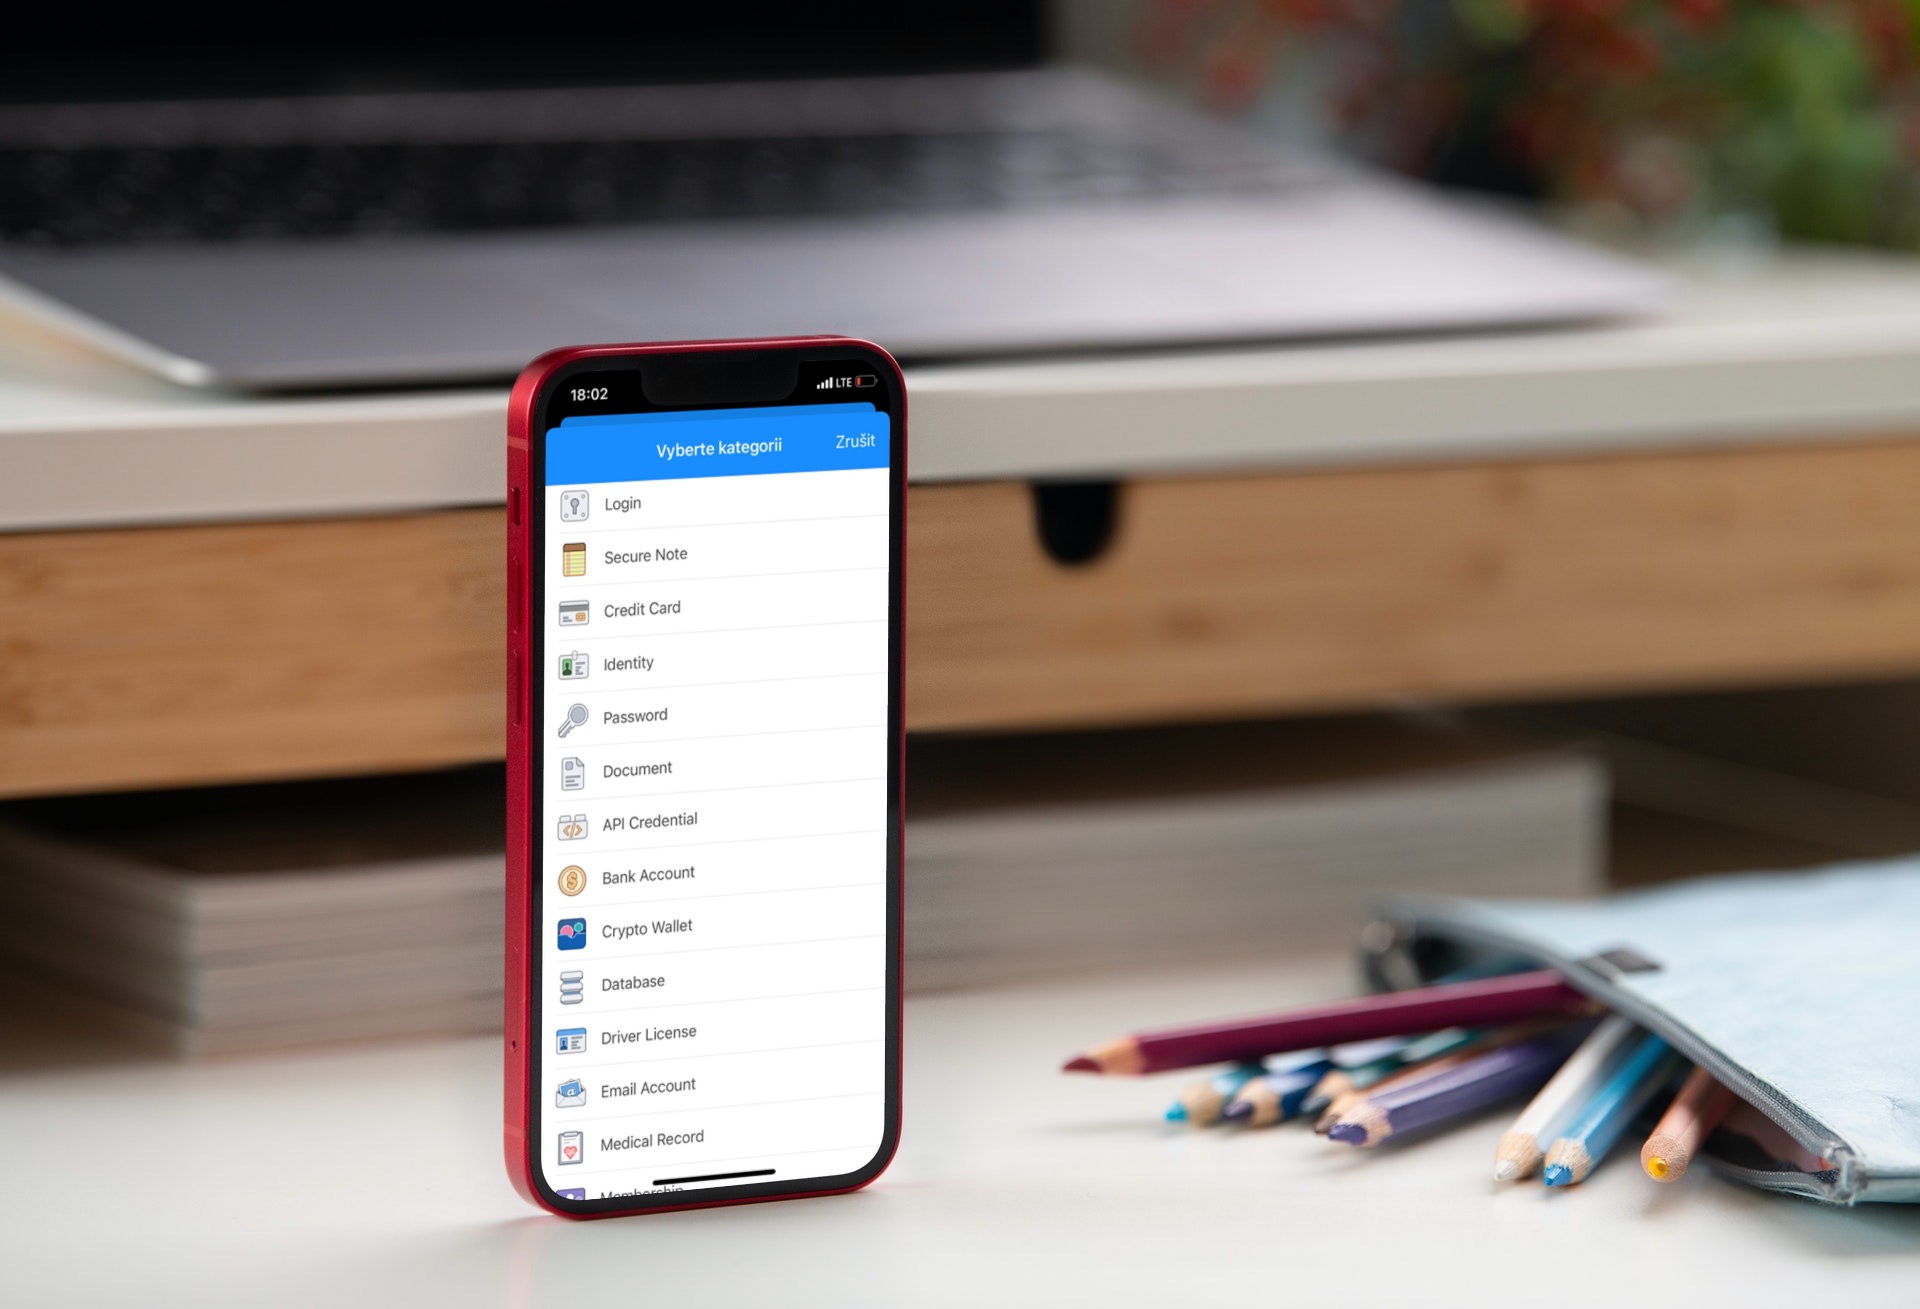
As we mentioned in earlier sections, 1Password is not only for storing passwords, but it offers much more. Thus, it can easily deal with the safe storage of, for example, secure notes, documents, medical reports, payment cards, passports, identities, crypto wallets, license keys and more. Although at the core it's practically always one and the same thing - that is, a note hiding possible login data with a password - it's good to have these options for better division. Thanks to this, it is then possible to tell at a glance what the given record is actually about and what it is used for.
