The native Files app is part of the iOS and iPadOS operating system. Through it, you can easily manage the data that is located in the internal storage, or on the remote one. But the truth is that it wasn't always like that - just a few years ago, we couldn't use the internal storage of iPhones or iPads at all. However, in the end, Apple wised up and made this option available, surprising many users who were finally able to work fully on these mentioned Apple devices. Currently, however, it is rather a matter of course, and users simply rely on the simple possibility of managing internal and remote storage. Let's look together in this article at 5 tips and tricks in Files that are useful to know.
It could be interest you
Data archiving
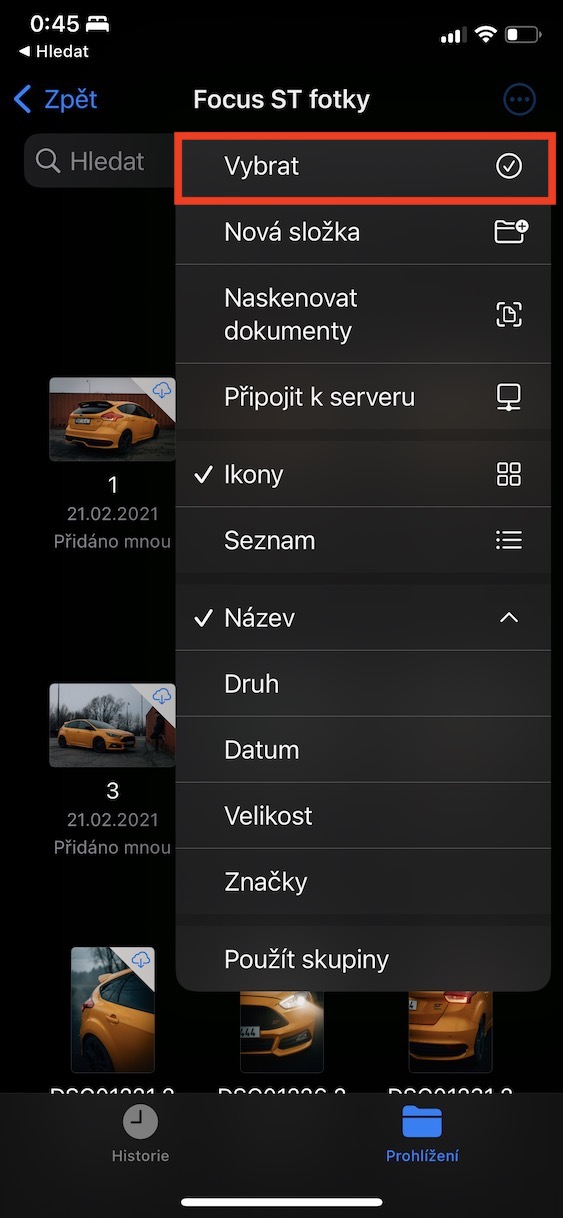
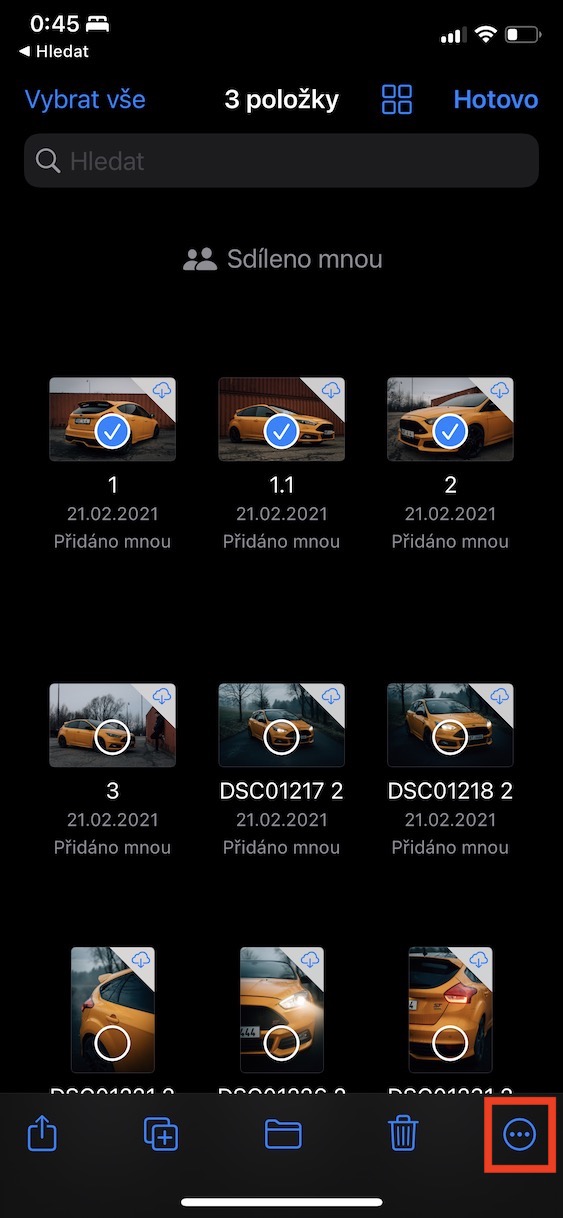
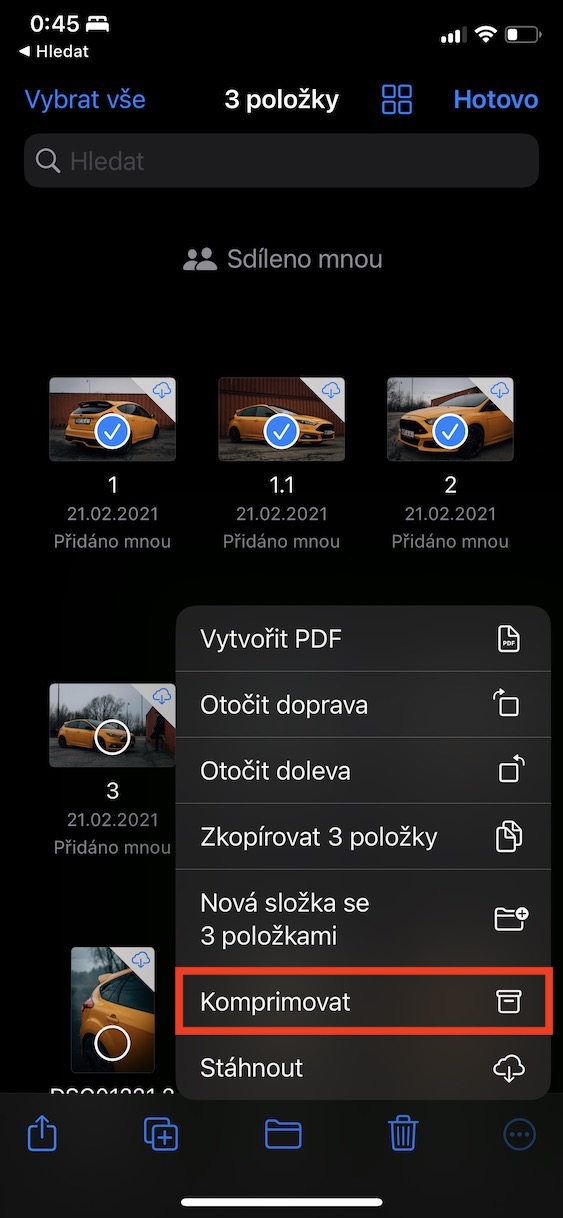
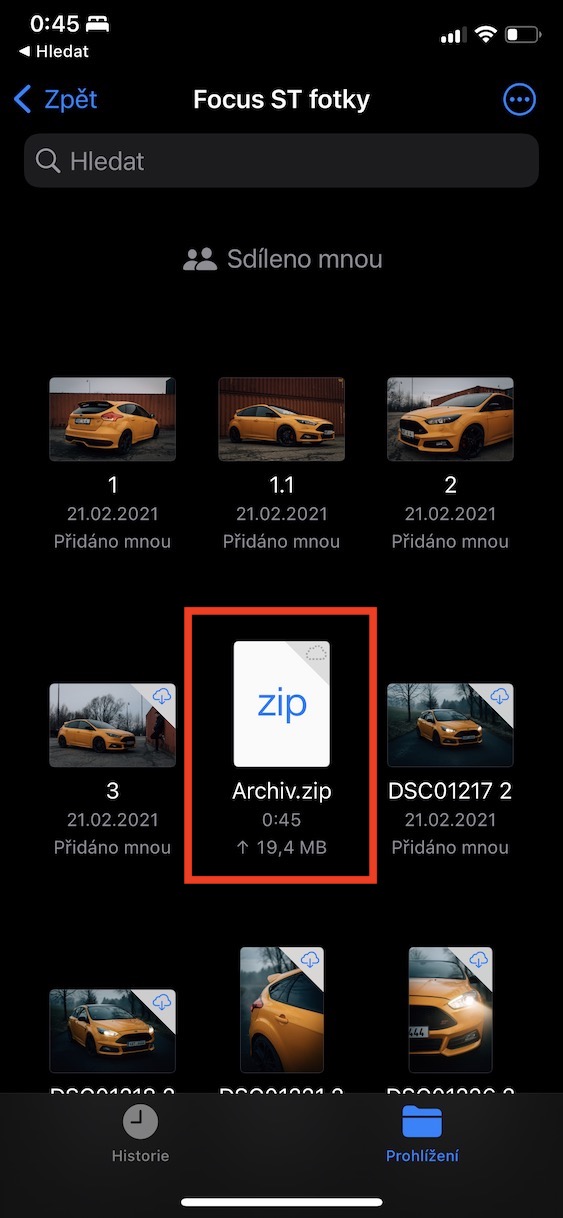
If you want to share a large number of files or folders with anyone, you should always use an archive. Instead of sending several different files and folders, send only one file, which the recipient can then simply download and unzip wherever they want. In addition to all this, when archiving data, the resulting size is reduced, which is always useful. The good news is that you can easily perform archiving, i.e. compression, within the Files application as well. You can then easily share the archived file with anyone - either via e-mail or in any other way. To create an archive, go to Files a find the data you want to archive. Then click on the top right three dots icon and click on in the menu Choose. Then select files to archive. Then click on the bottom right three dots icon and select an option from the menu Compress. This will lead to creating an archive with a ZIP extension.
Connecting to the server
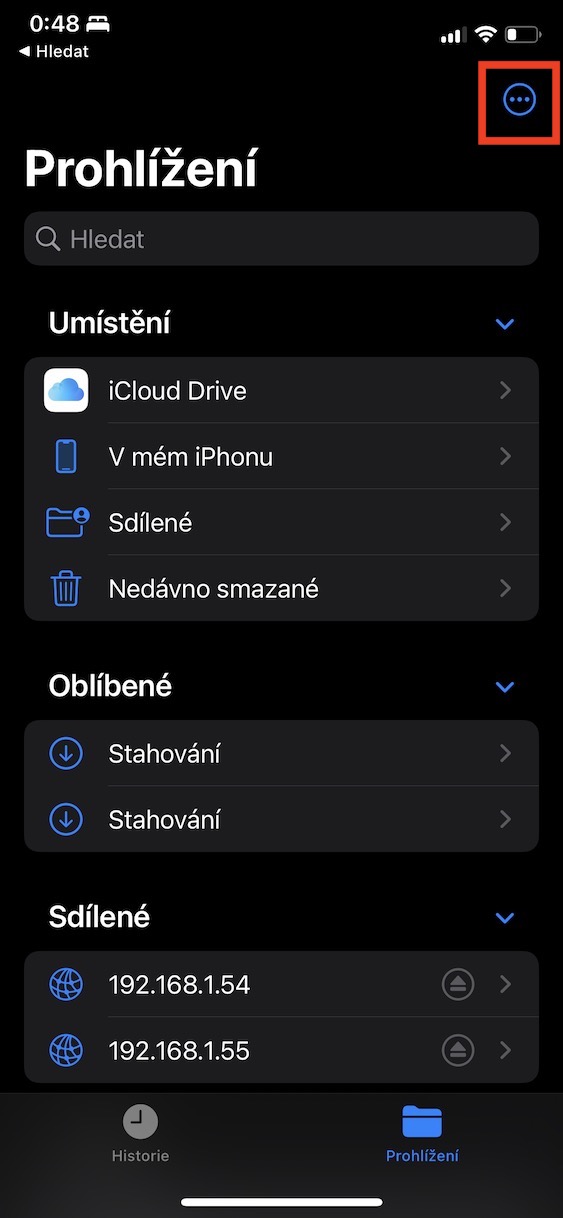
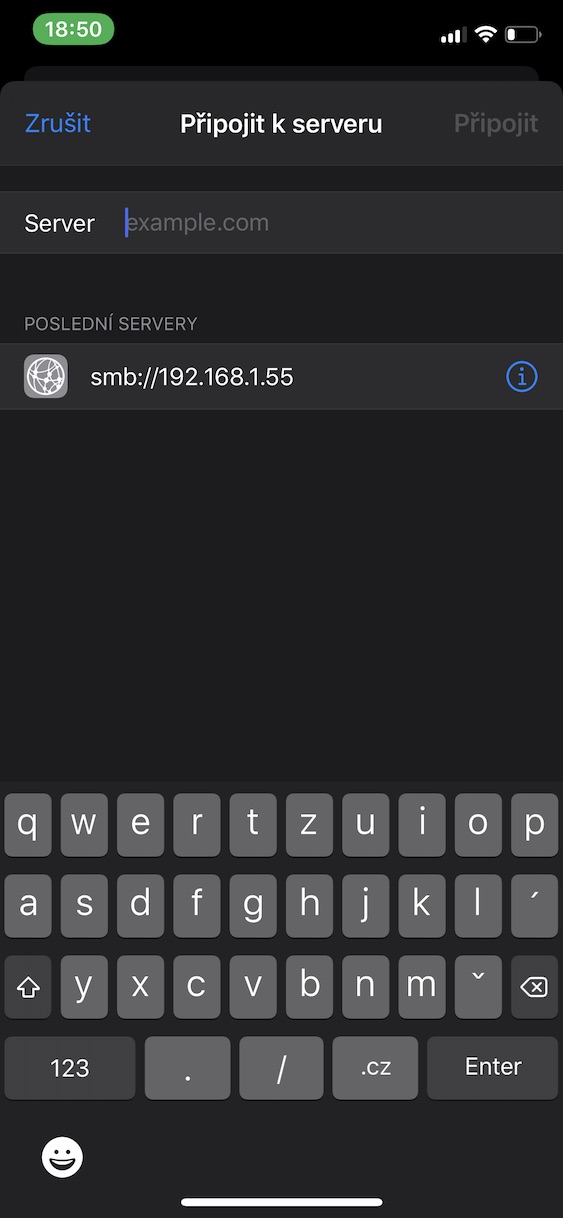
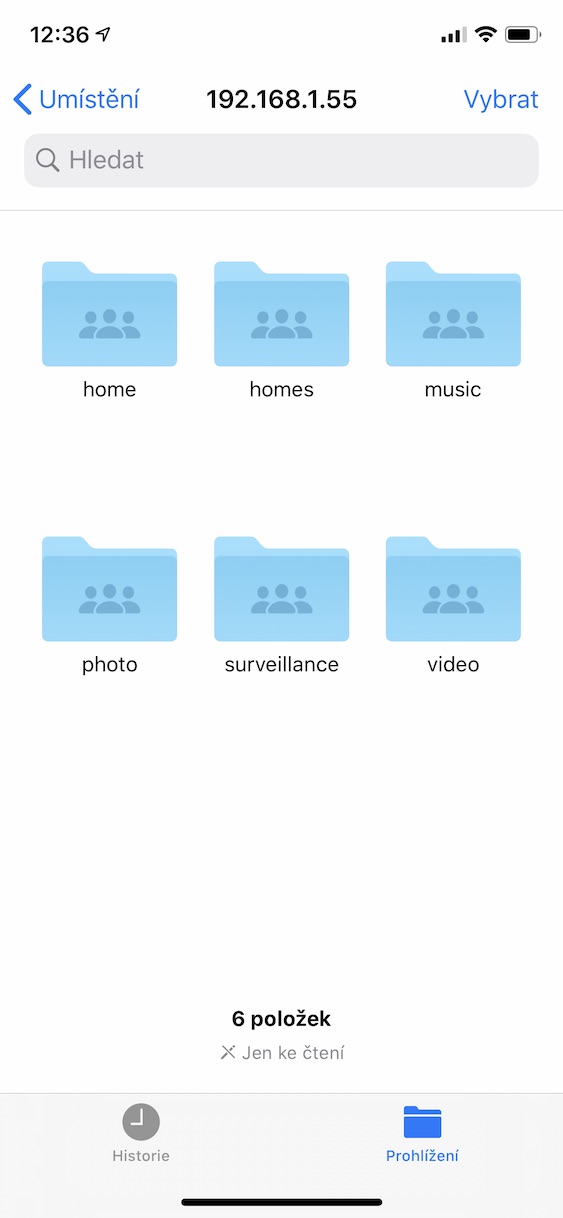
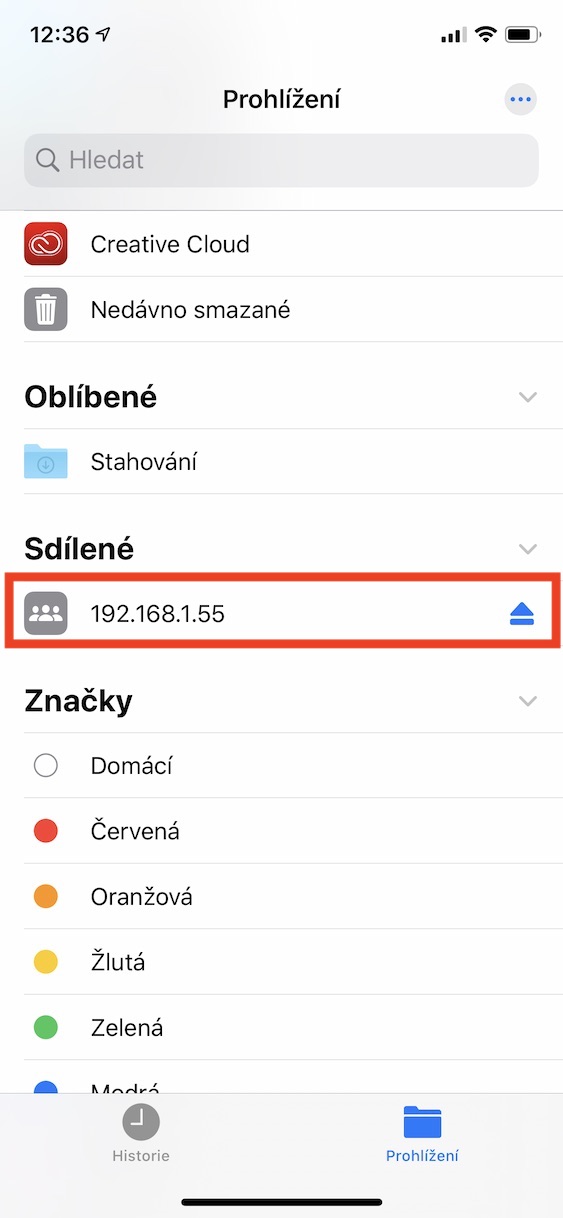
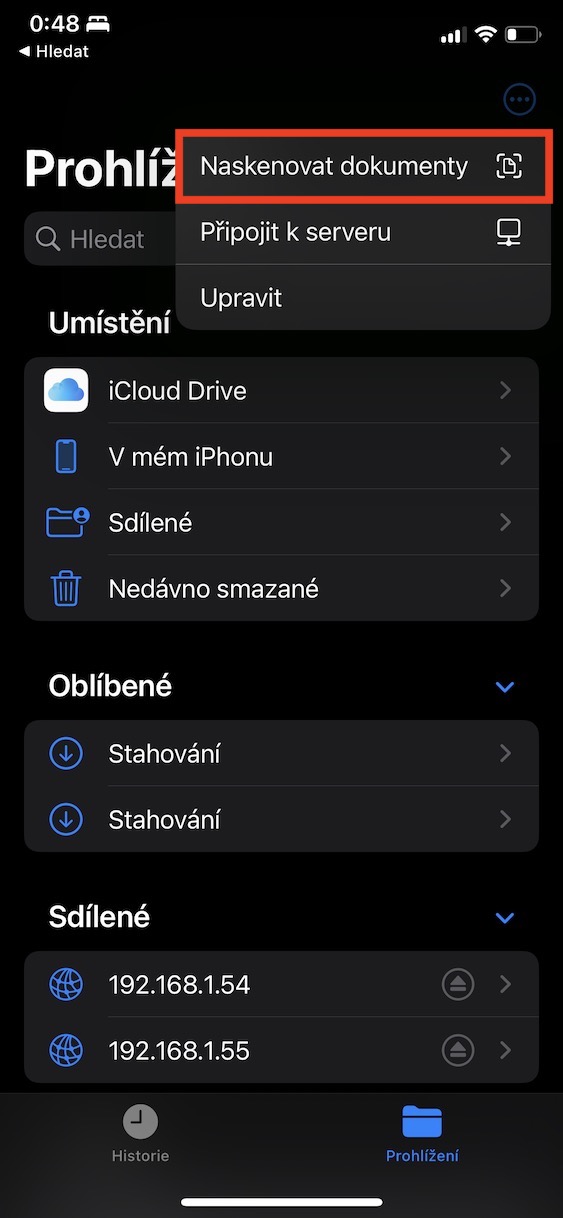
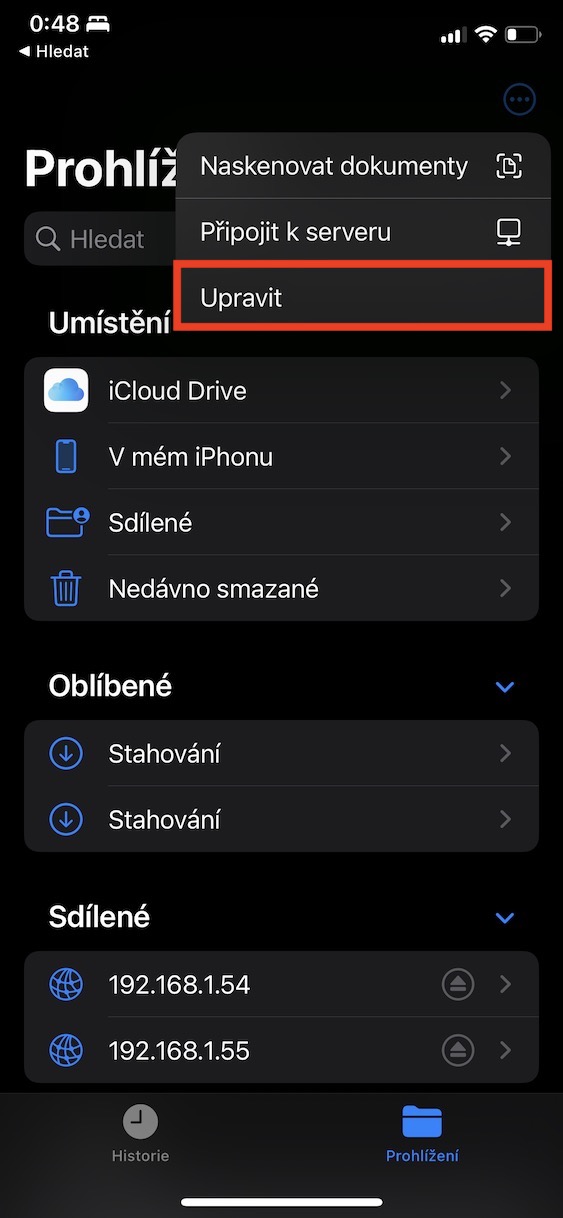
As I mentioned in the introduction, you can easily manage both internal and remote storage within the native Files application. As for remote storage, most of you probably think that it is cloud services in the form of iCloud, Google Drive, DropBox, OneDrive, etc. This is of course true, but in addition to these remote storages, you can also easily connect to home NAS server, or to any other server available on the network. You just have to on main page applications tapped at the top right of the three dots icon, and then tapped on Connect to the server. Then of course enter IP address of the server, then account details on the server and press Connect. Once you log in to the server once, it will remain available in the locations and you won't need to log in again.
Annotating PDFs
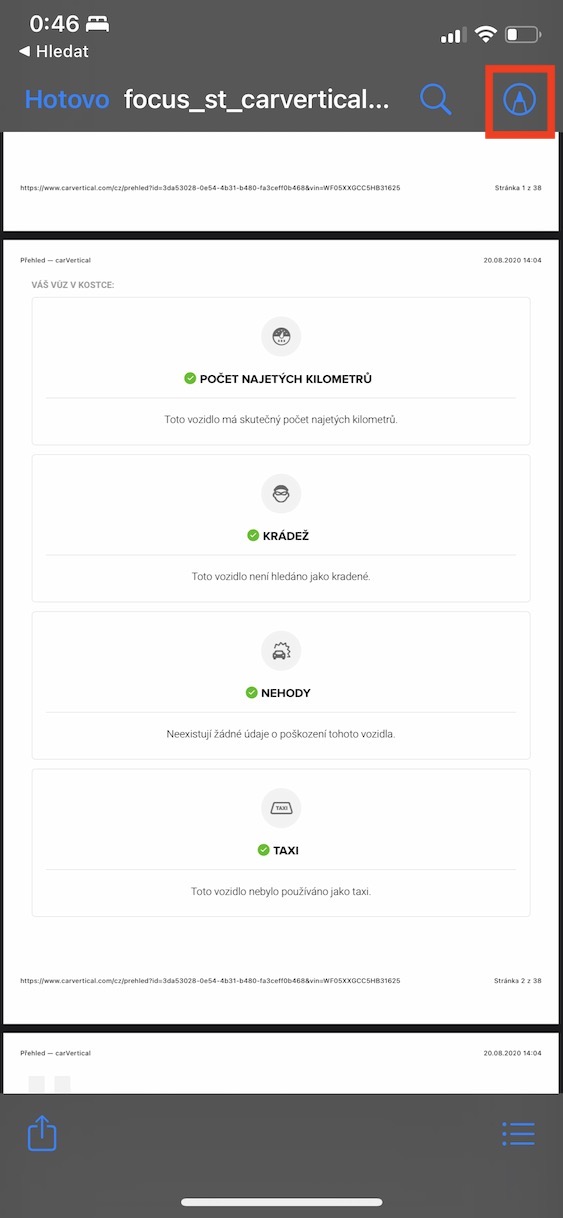
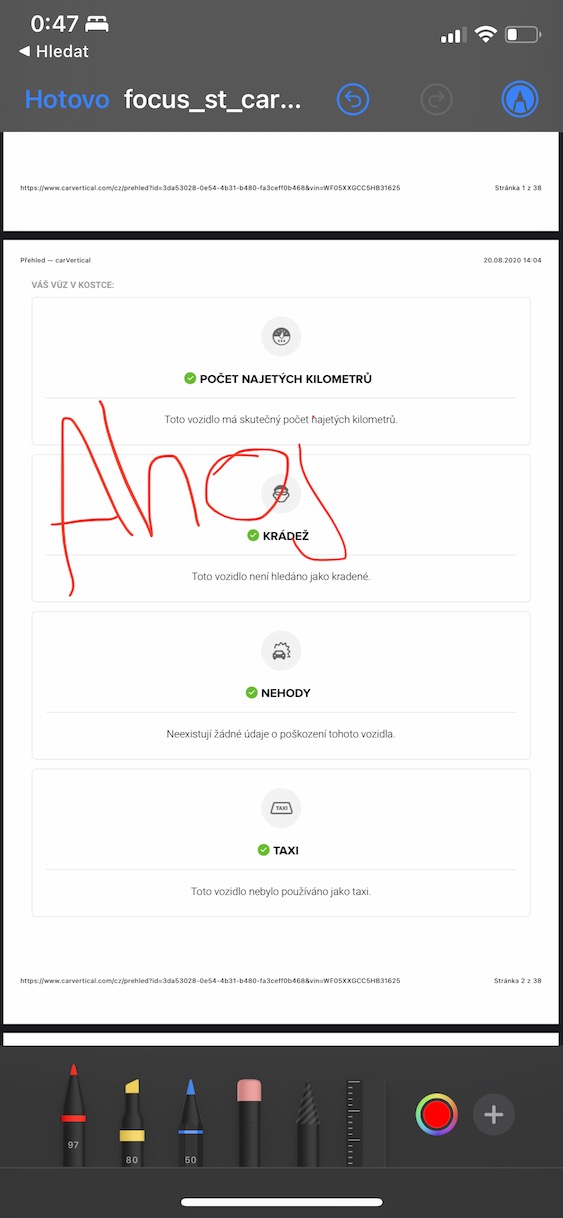
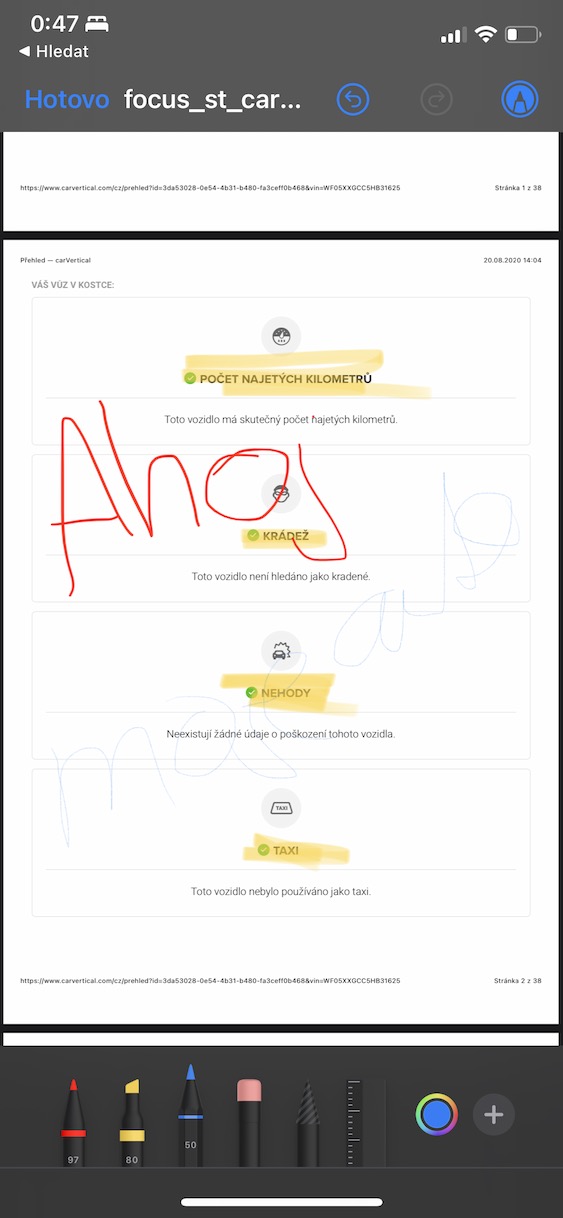
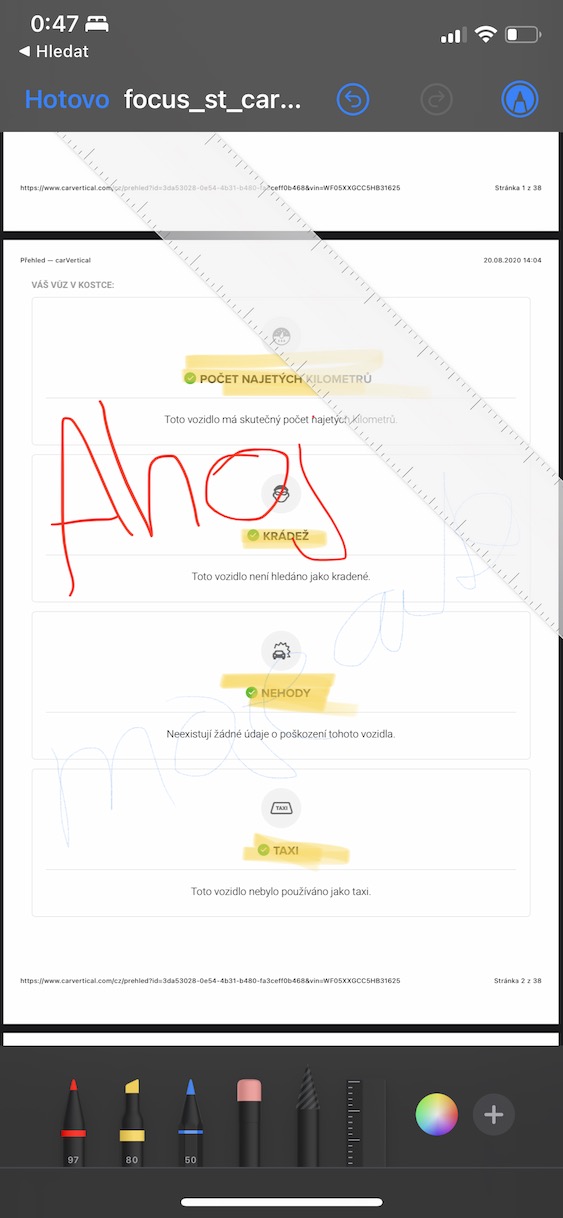
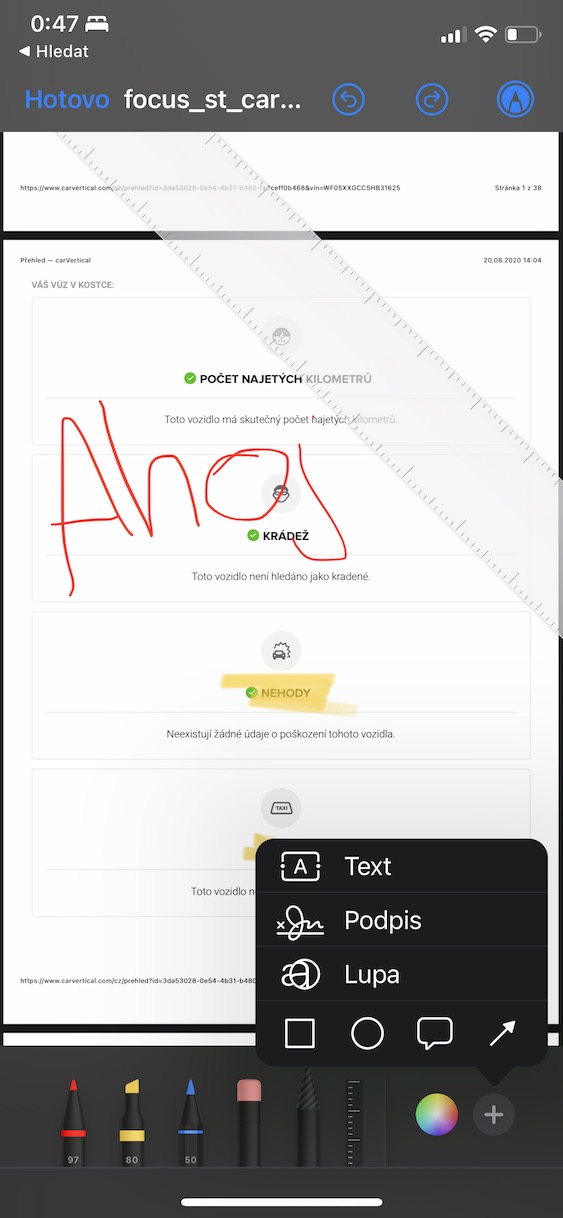
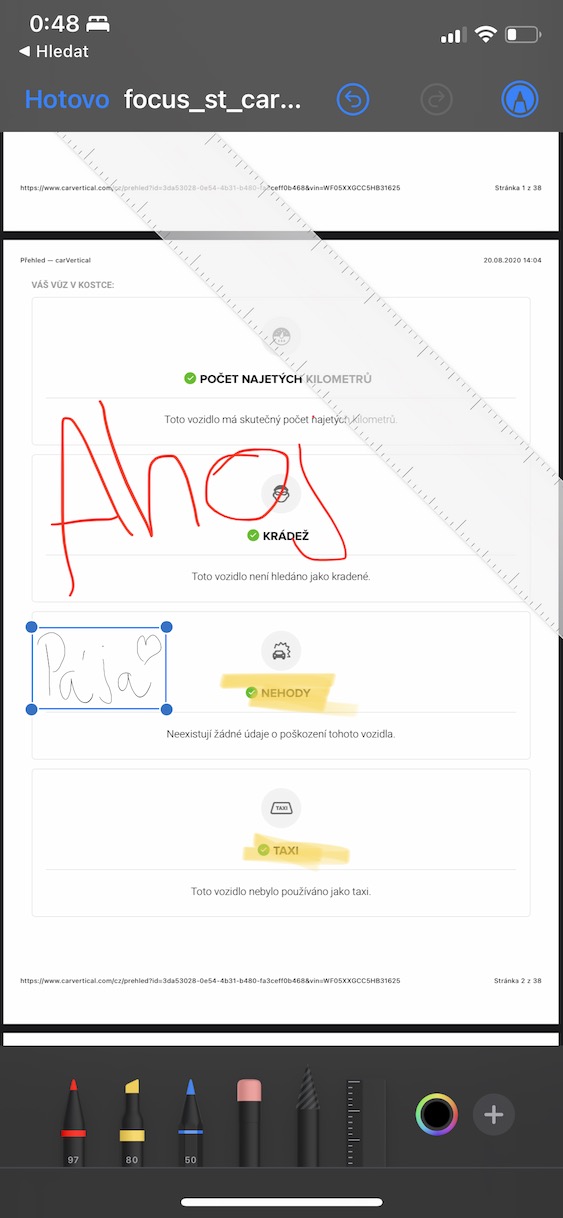
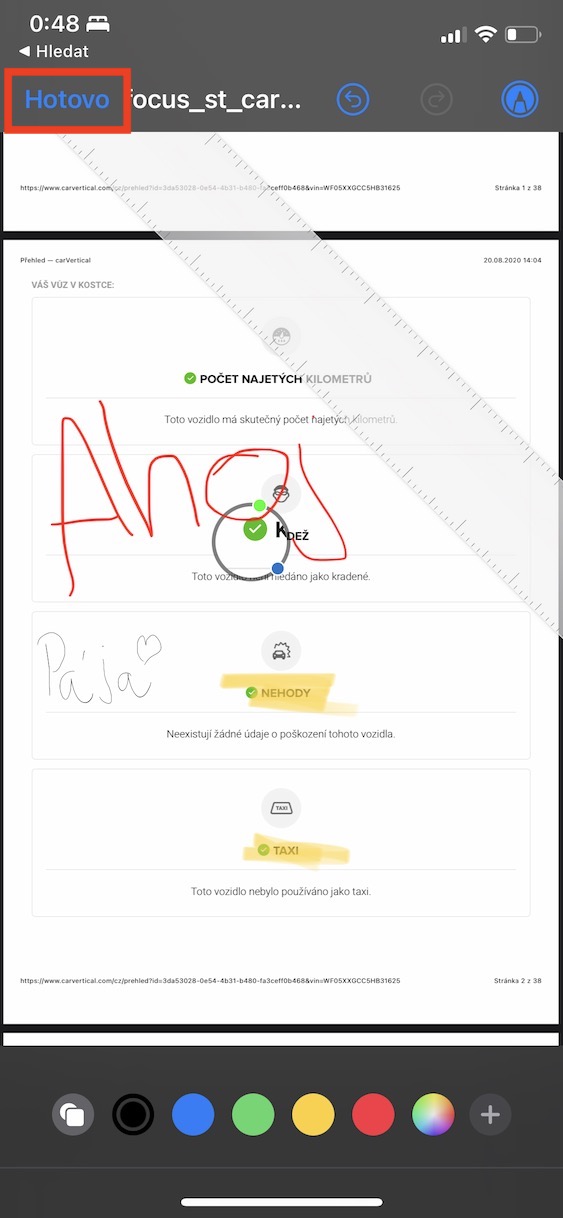
Within the macOS operating system, you can easily annotate images, photos and documents. Most likely, you have already used the option to annotate photos in the native Photos application, but did you know that you can also annotate PDF files, for example, which you will often appreciate? I personally use the annotation of PDF files for simple signing - if someone sends me a file to be signed, I save it in Files, then open it, add a signature through the annotations, add a date or anything else, and then send it back. All this without the need for printing. If you would like to start annotating a PDF document, view it in Files find and open it. Then click on the top right pencil icon and you can start editing. When you're done editing, don't forget to tap on Done top left.
Document scanning
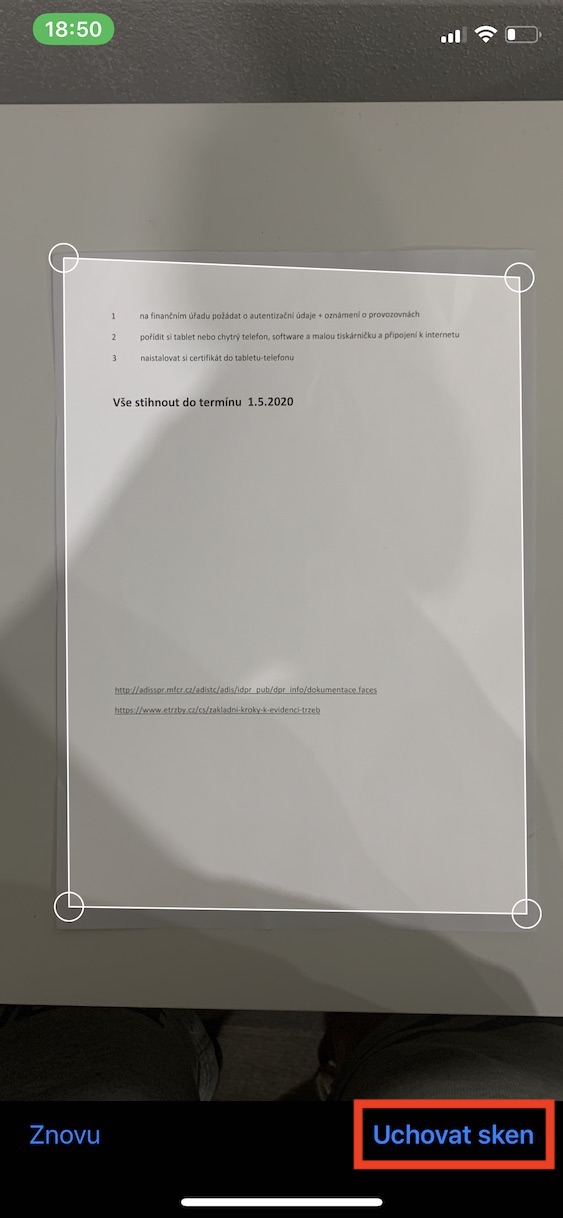
I mentioned on the previous page that through Files you can easily work with documents and annotate them. In addition, you will certainly appreciate the option to scan documents. So, if you have a certain document in paper form and you need to transfer it to digital form, for example for simple sending, then you can use document scanning from Files for this. Just tap to start scanning main page application on three dots icon in the top right, and then tap on in the menu Scan documents. Then all you have to do is simply perform the scan and the result Save the PDF file. You can easily sign or annotate it afterwards, as we have shown.
Location arrangement
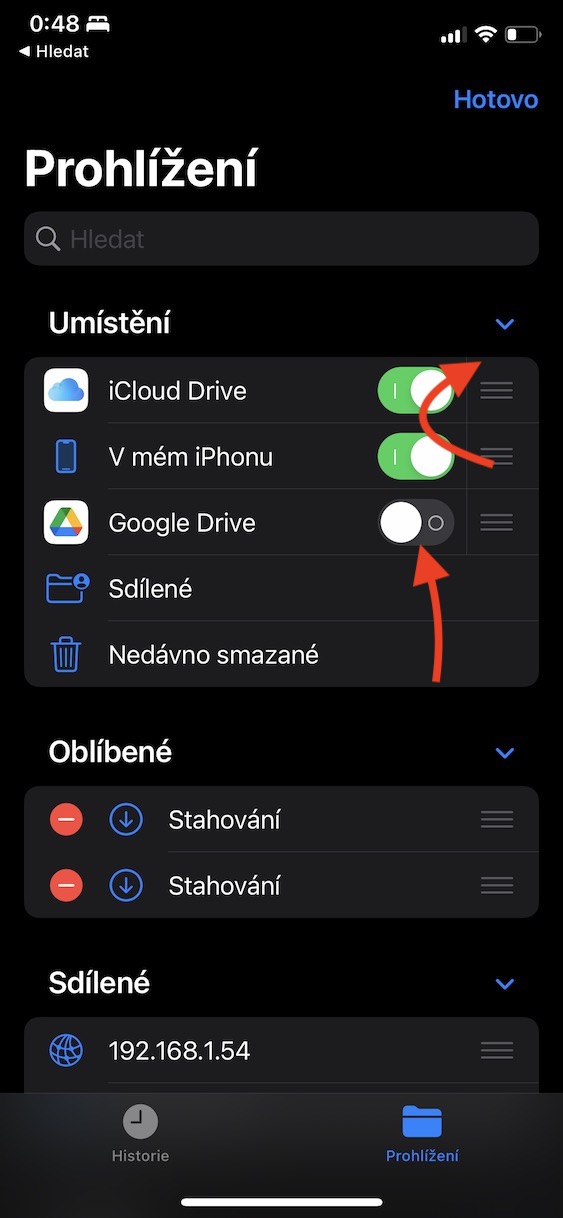
With the Files app, you can manage internal storage, cloud services, and possibly home NAS servers and more. All these locations will then be displayed on the main page of the application, and it is very likely that their order will not suit you - because we all use different repositories, so it is logical to have frequently used locations on the first rungs and rarely used ones on the bottom. To rearrange individual locations, go to main page, and then at the top right, tap three dots icon. Next, select an option in the menu Adjust and subsequently change the order by dragging individual lines. If you want some hide location, so with him disable the switch. Finally, don't forget to press Done at the top right.

