Apple offers two programs for video editing, namely iMovie and Final Cut Pro. The problem, however, is that while iMovie does not offer many options and is suitable only for simple operations, Final Cut Pro, on the other hand, is too professional and its price is 7 crowns. This is precisely why it is necessary to look elsewhere. It can become an interesting choice Wondershare filmora, the best video editor with many interesting options.
Wondershare Filmora is considered one of the best by many experts video editors for ordinary users at all, thanks to which it also won several awards. The software is characterized primarily by its simplicity, which offers the user a number of great effects, motion tracking, the ability to split the image, color management and more. It can come in handy not only for beginners, but we are sure that even professionals will use it for certain work.
The importance of quality software
We live in a digital age, where practically every one of us has at our fingertips quality equipment and software for creating various videos. In theory, everyone can thus fit into the role of director, screenwriter and editor and create their own film right from home. In addition, today's iPhones can handle high-quality video recording, with the latest iPhone 13 series even offering a special movie mode. But it simply cannot be done without quality software, which is precisely where Wondershare Filmora is a brilliant helper.
What the program can do
So let's first go over what Wondershare Filmora can do and what it can help us with. Specifically, it is one of the best video editors for ordinary users, when its greatest benefit can be seen in its overall simplicity and the extensive possibilities it offers the user. In this regard, three relatively important functions can be highlighted, which you would not find, for example, in the competition. Personally, I see a great helper in the case of motion tracking. The program itself can detect a moving object/subject, to which you can adapt the effects themselves. For example, is there someone riding a scooter in the shot and you want to add wings to them? That's how the program can deal with it exactly, without you having to determine the position of the mentioned wings frame by frame.

But it does not end there. A great addition that can be seen in more and more videos is the split screen. In this case, the entire scene can be divided into three smaller windows, for example, with something different happening in each of them, which ties the story or idea of the video together. We must not forget the color match. When editing a video, it is common that, for example, one shot is shot in different colors than the other, which can cause unpleasant problems as a result. This ailment can be seen especially when cutting, when the transition does not look natural at all. However, the Wondershare Filmora video editor can handle this automatically with one click. In short, there are several options and the only limitation is the user's imagination.
How to work with Wondershare Filmora
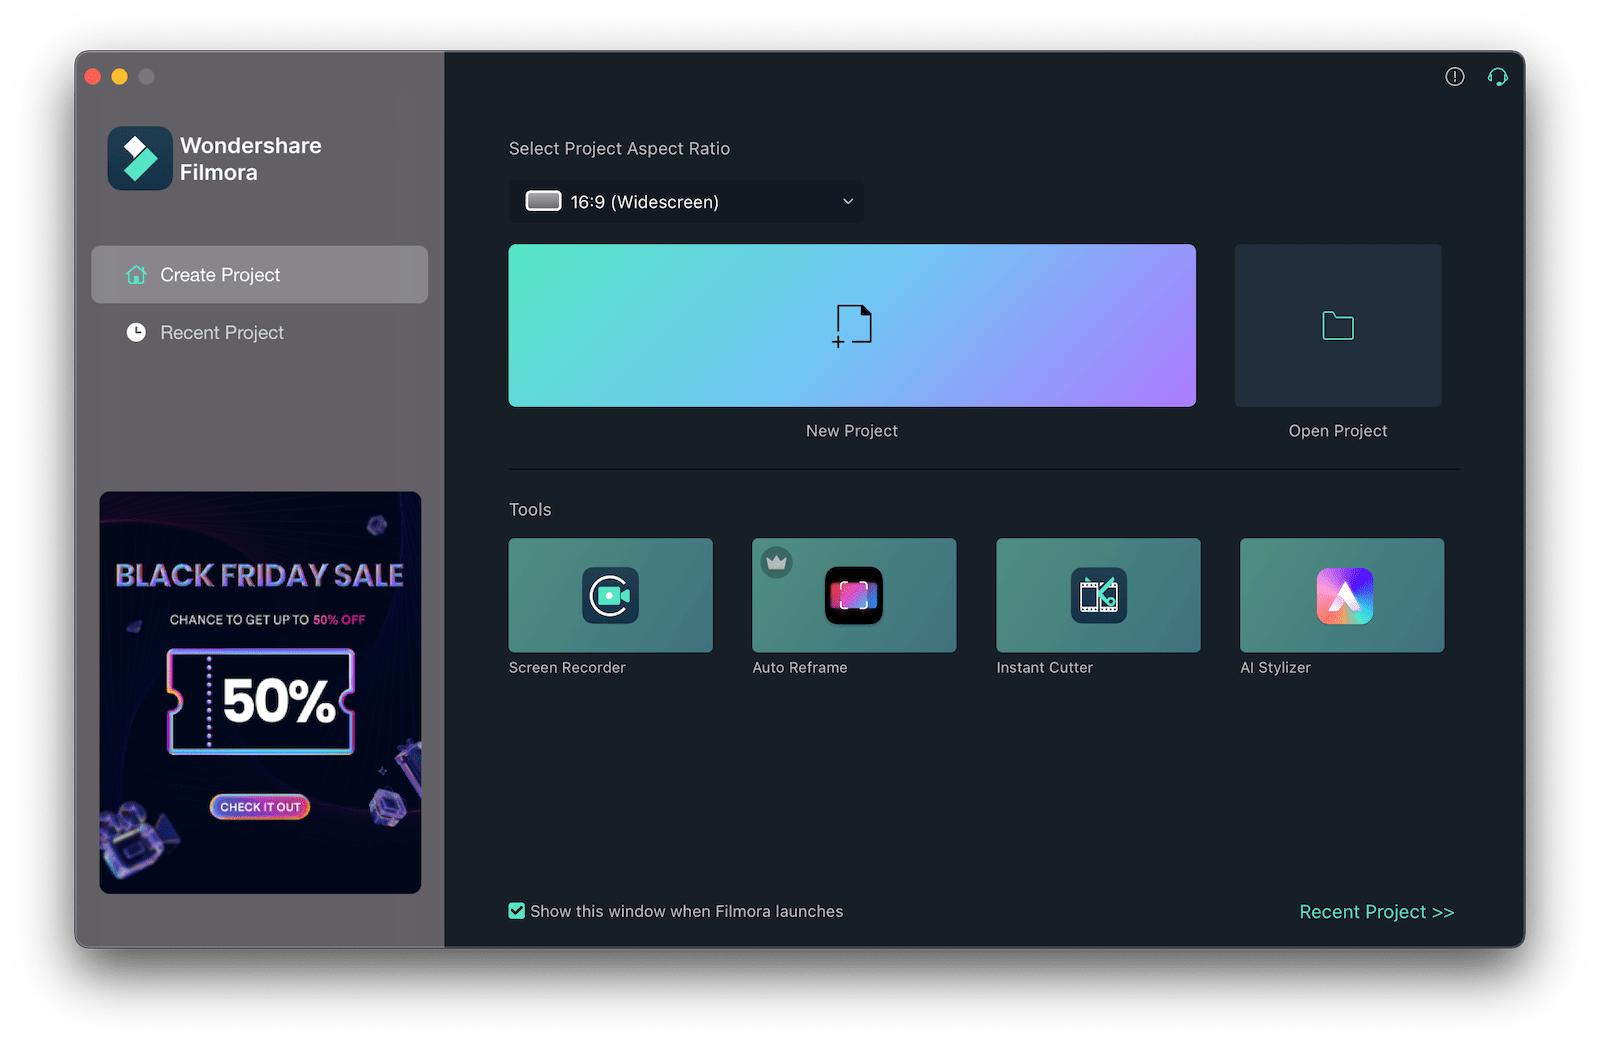
We have stated several times in this article that Wondershare filmora characterized above all by its simplicity. So let's show it in practice and walk through how to actually work with the program. At the very beginning, it is of course necessary to create a project. In this direction, we have to be guided by what kind of video we actually want to create, to which we adapt the aspect ratio. It can be, for example, a normal widescreen video for computers (16:9), a post on Instagram (1:1), portrait mode (9:16), standard video (4:3), or go straight for the film format (21: 9). Once we have selected, we confirm our choice with the New Project button.
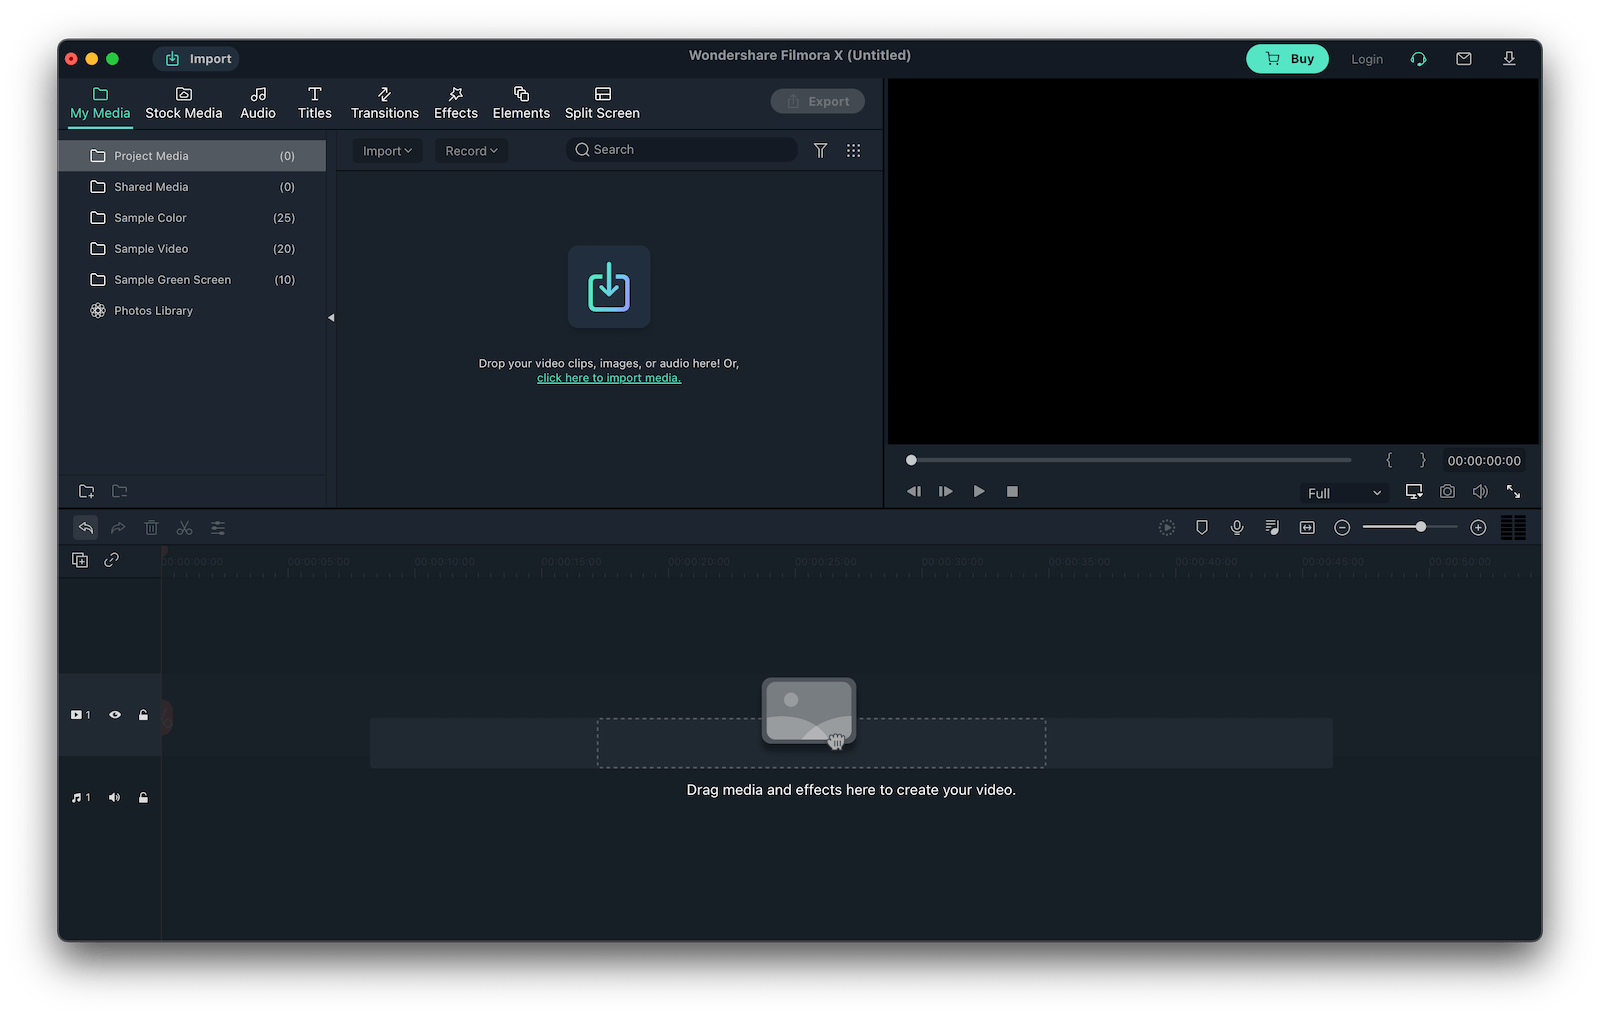
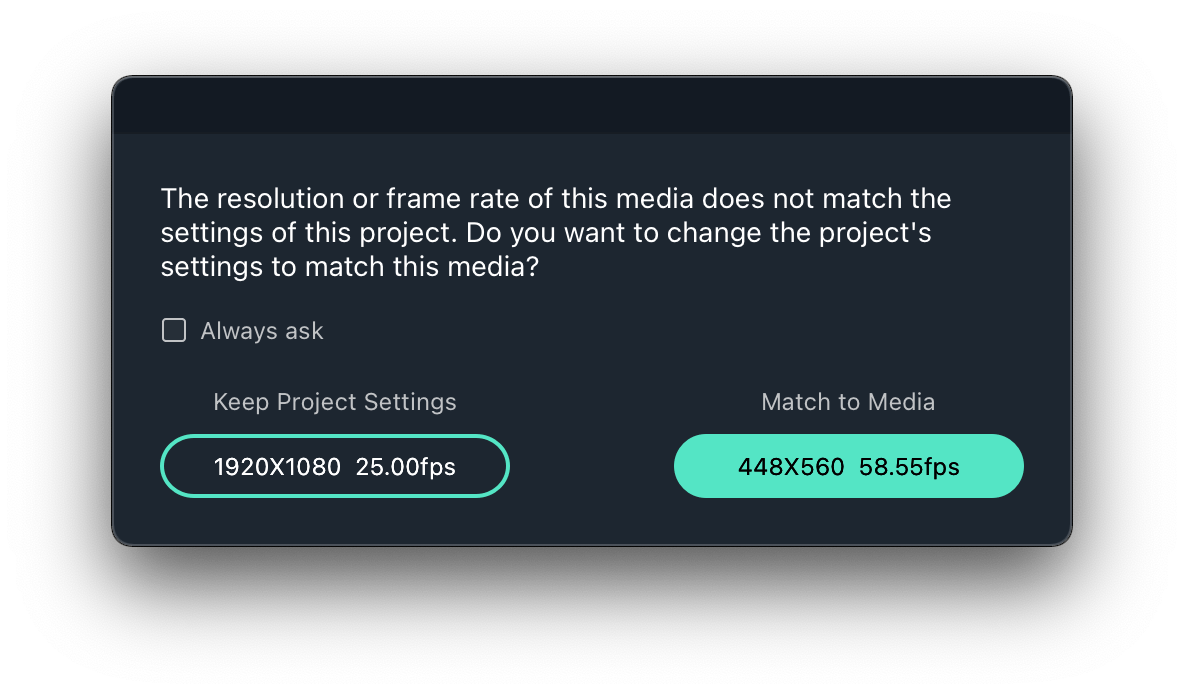
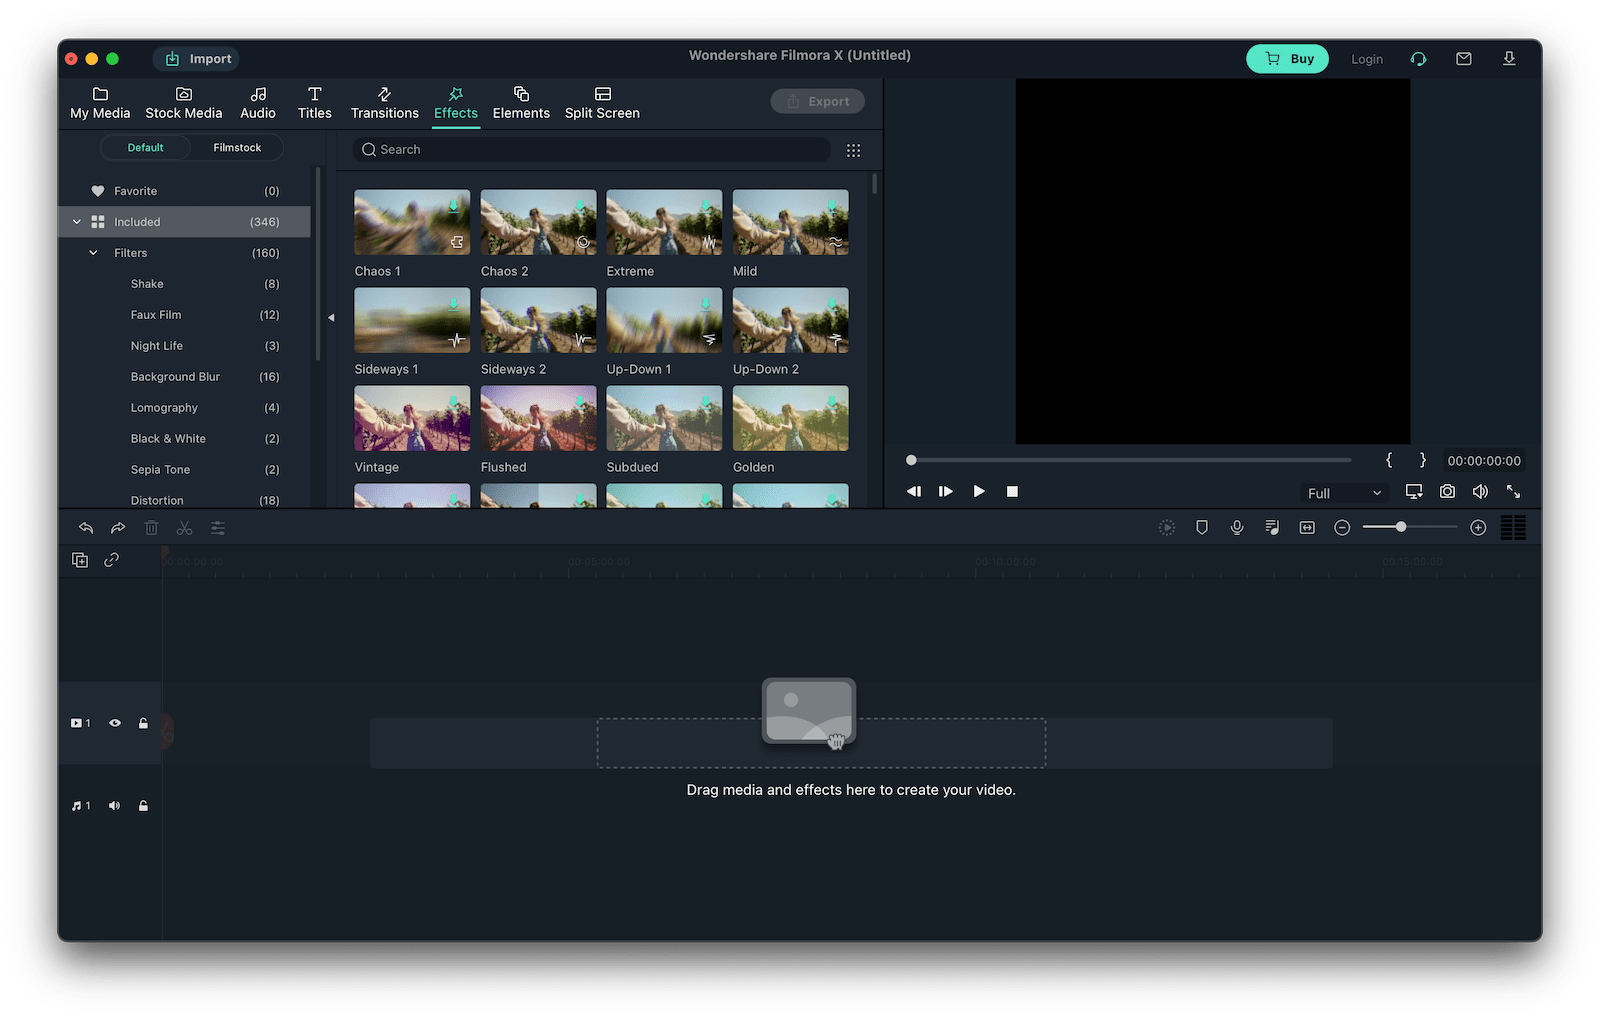
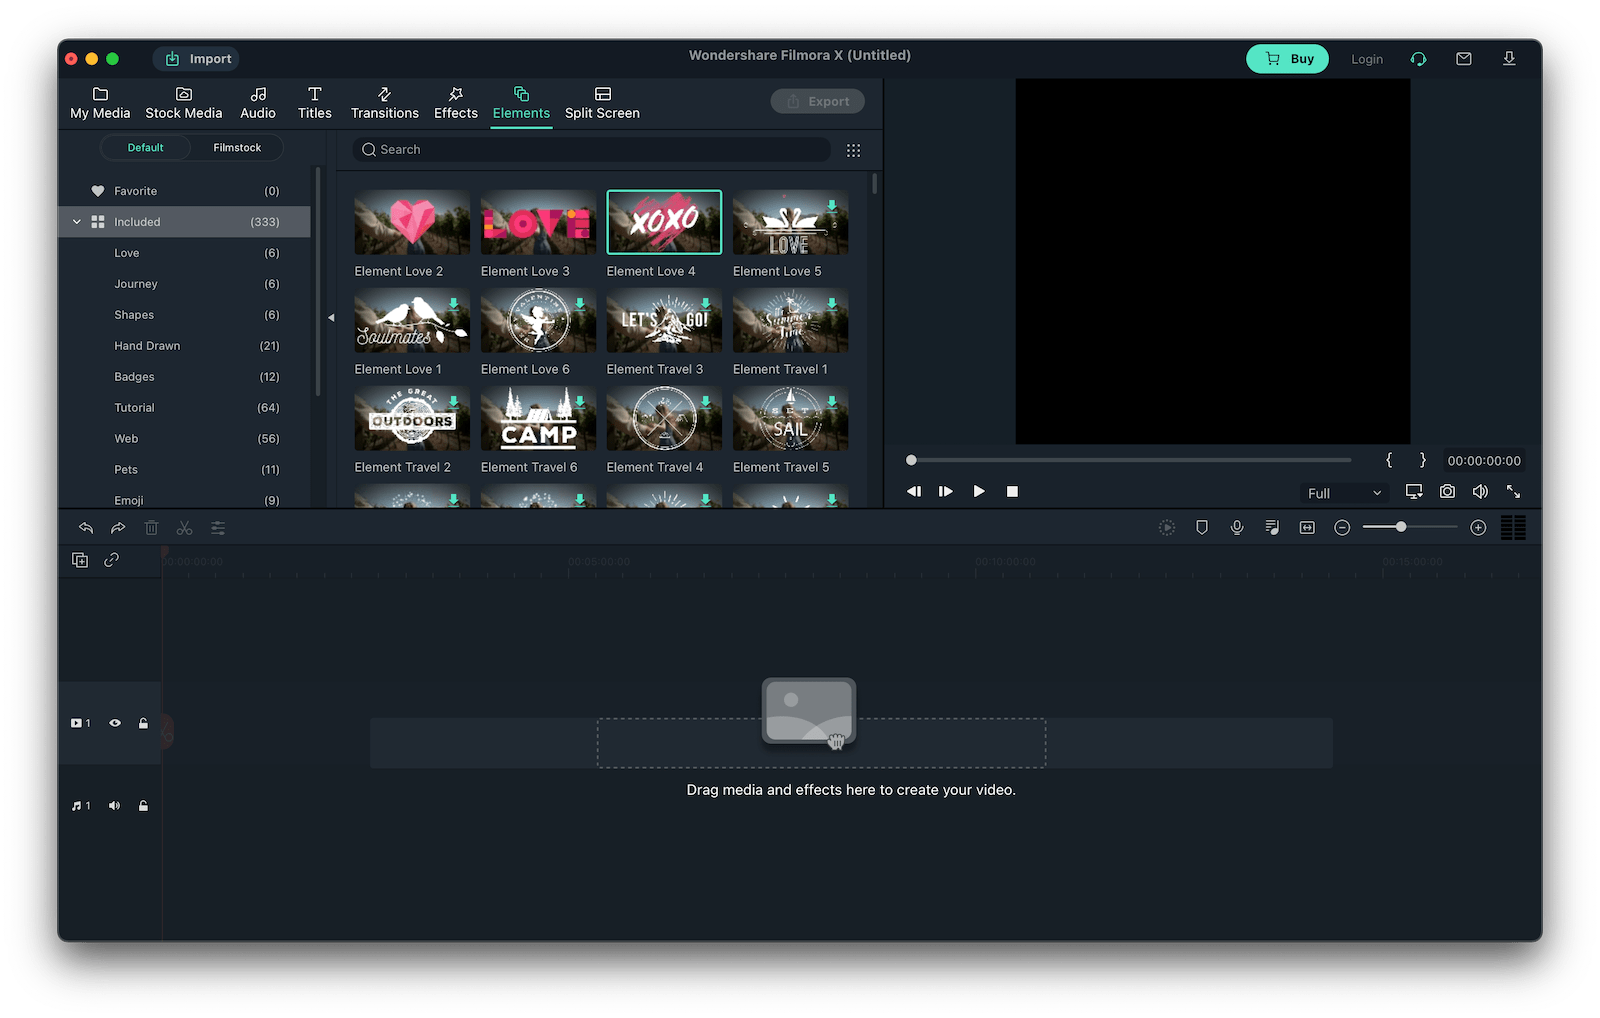
Now the editor itself will appear before us. To begin with, it is necessary to import/drag the videos that we actually want to edit or create a movie from. When importing, Wondershare Filmora may ask if you want to keep the project settings or the video itself. After the selection, our video will appear on the timeline and we can continue working with it. Of course, there is the option of editing, linking with other shots, adding music, subtitles or various effects. The options we talked about above can be found in the upper left part of the window under the tabs Titles, Transitions, Effects, Elements and Split Screen. The presence of the Stock Media card is also a huge advantage. When creating your video, you can also use free shots/images from available photobanks without having to waste time searching for them.
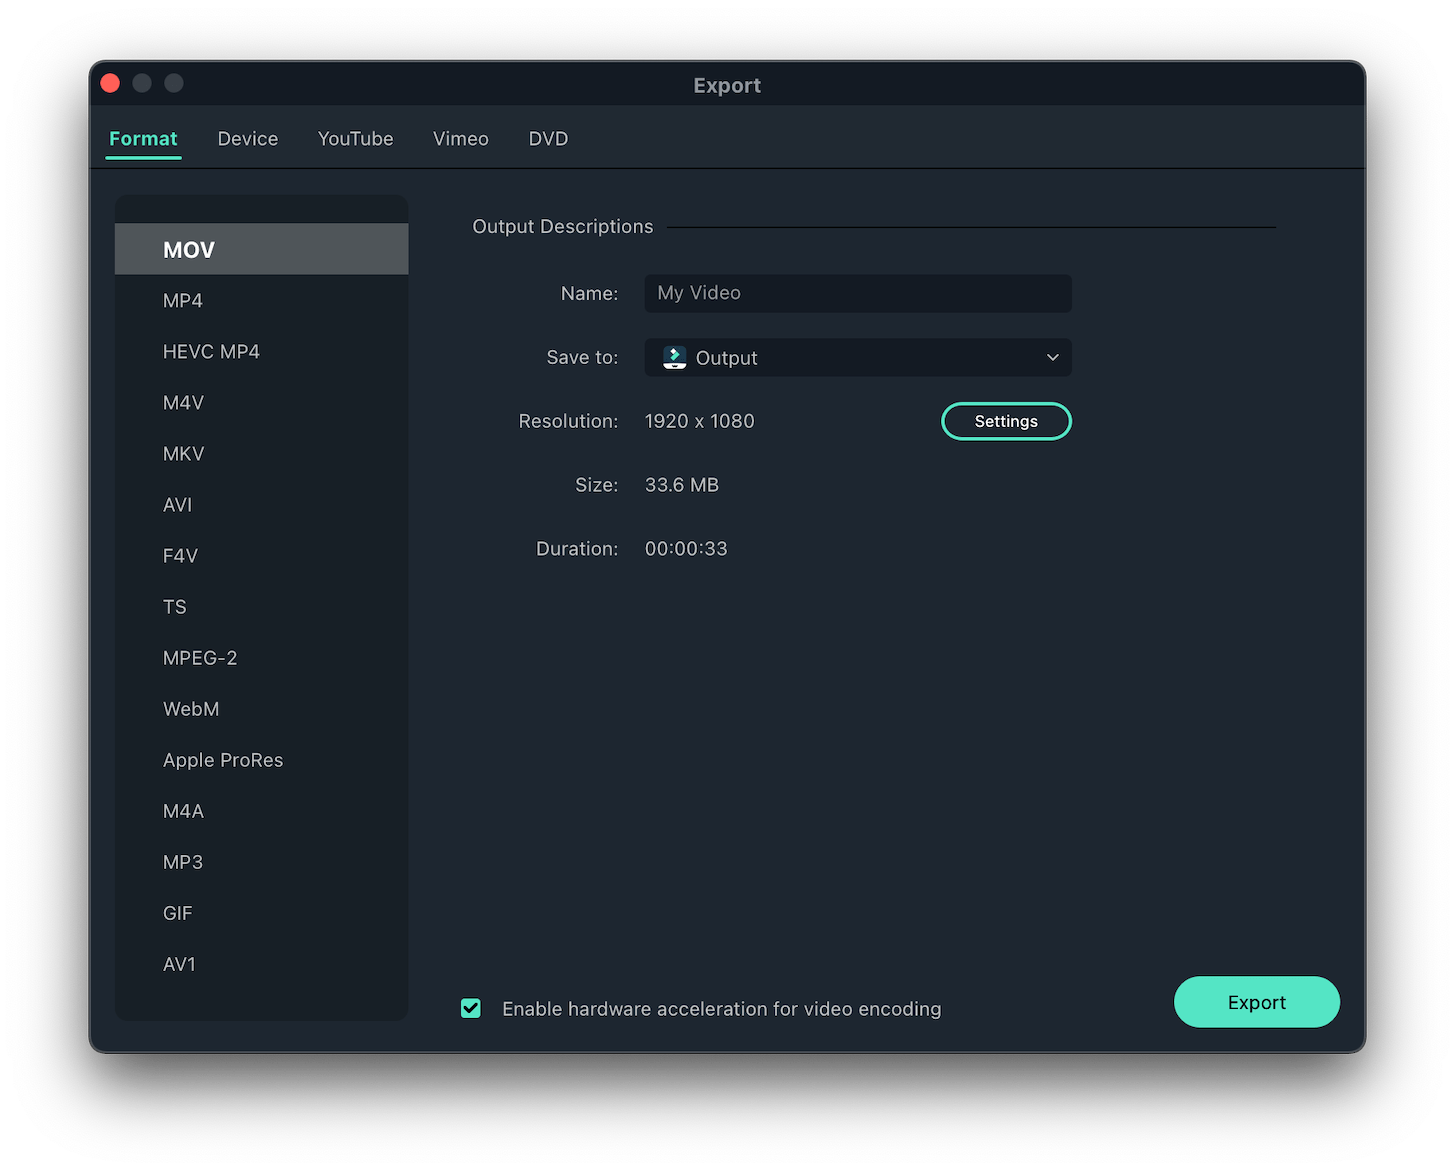
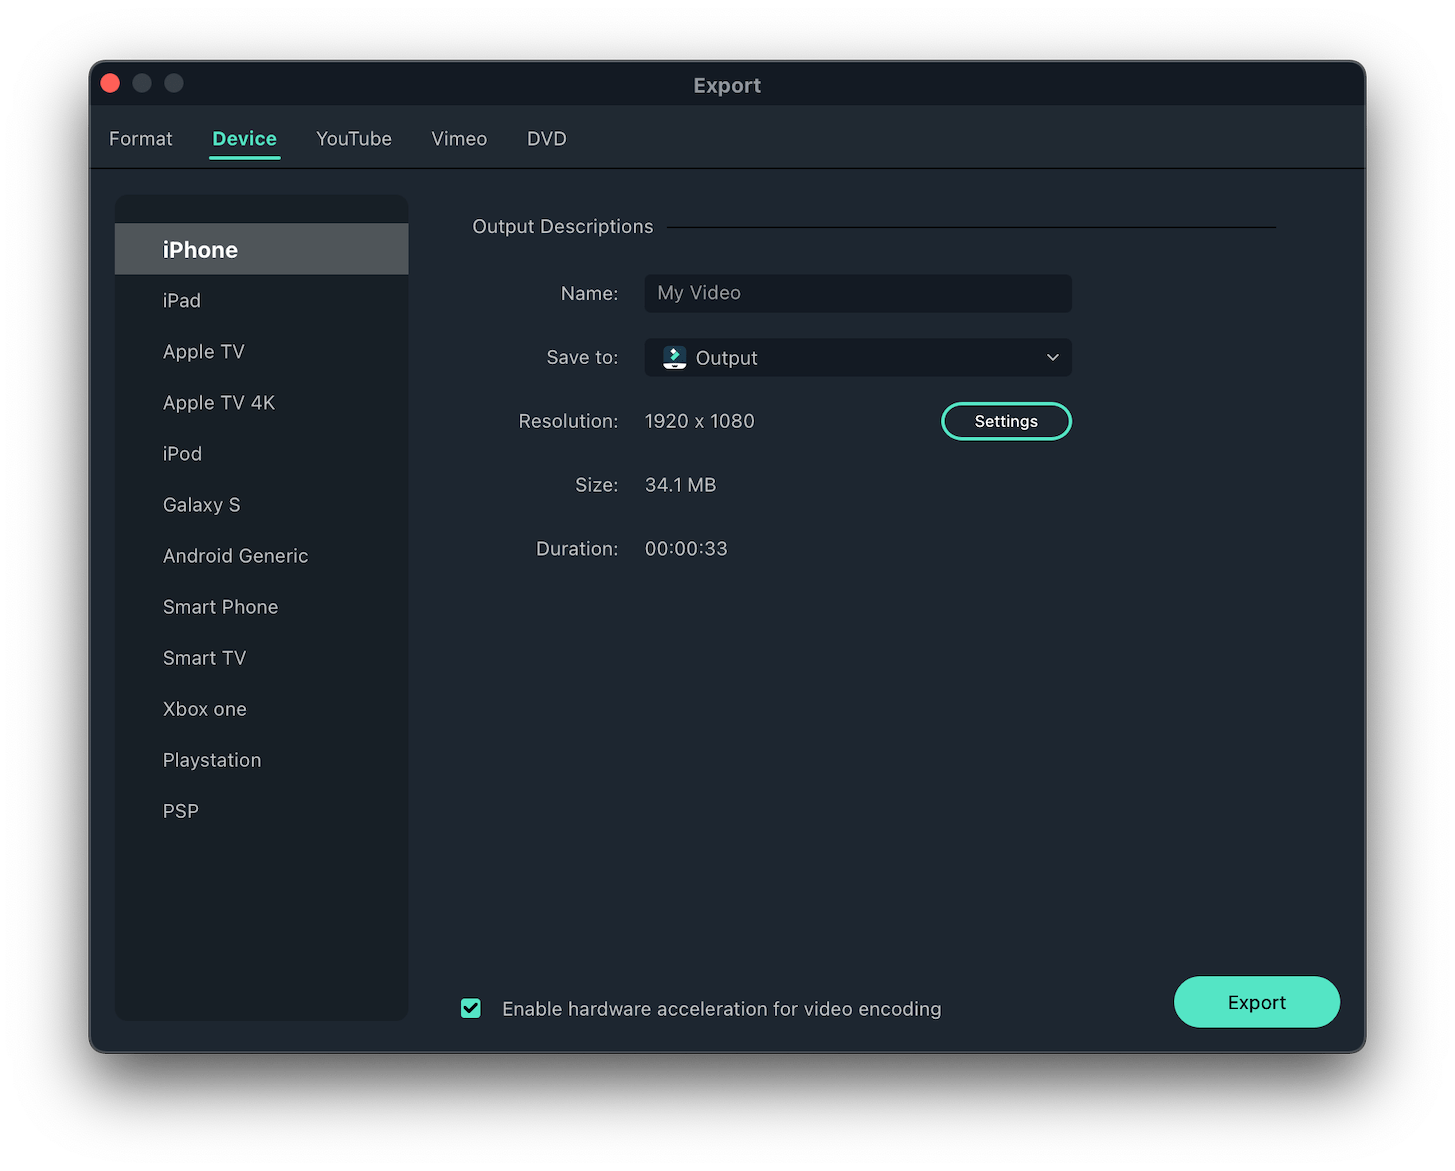
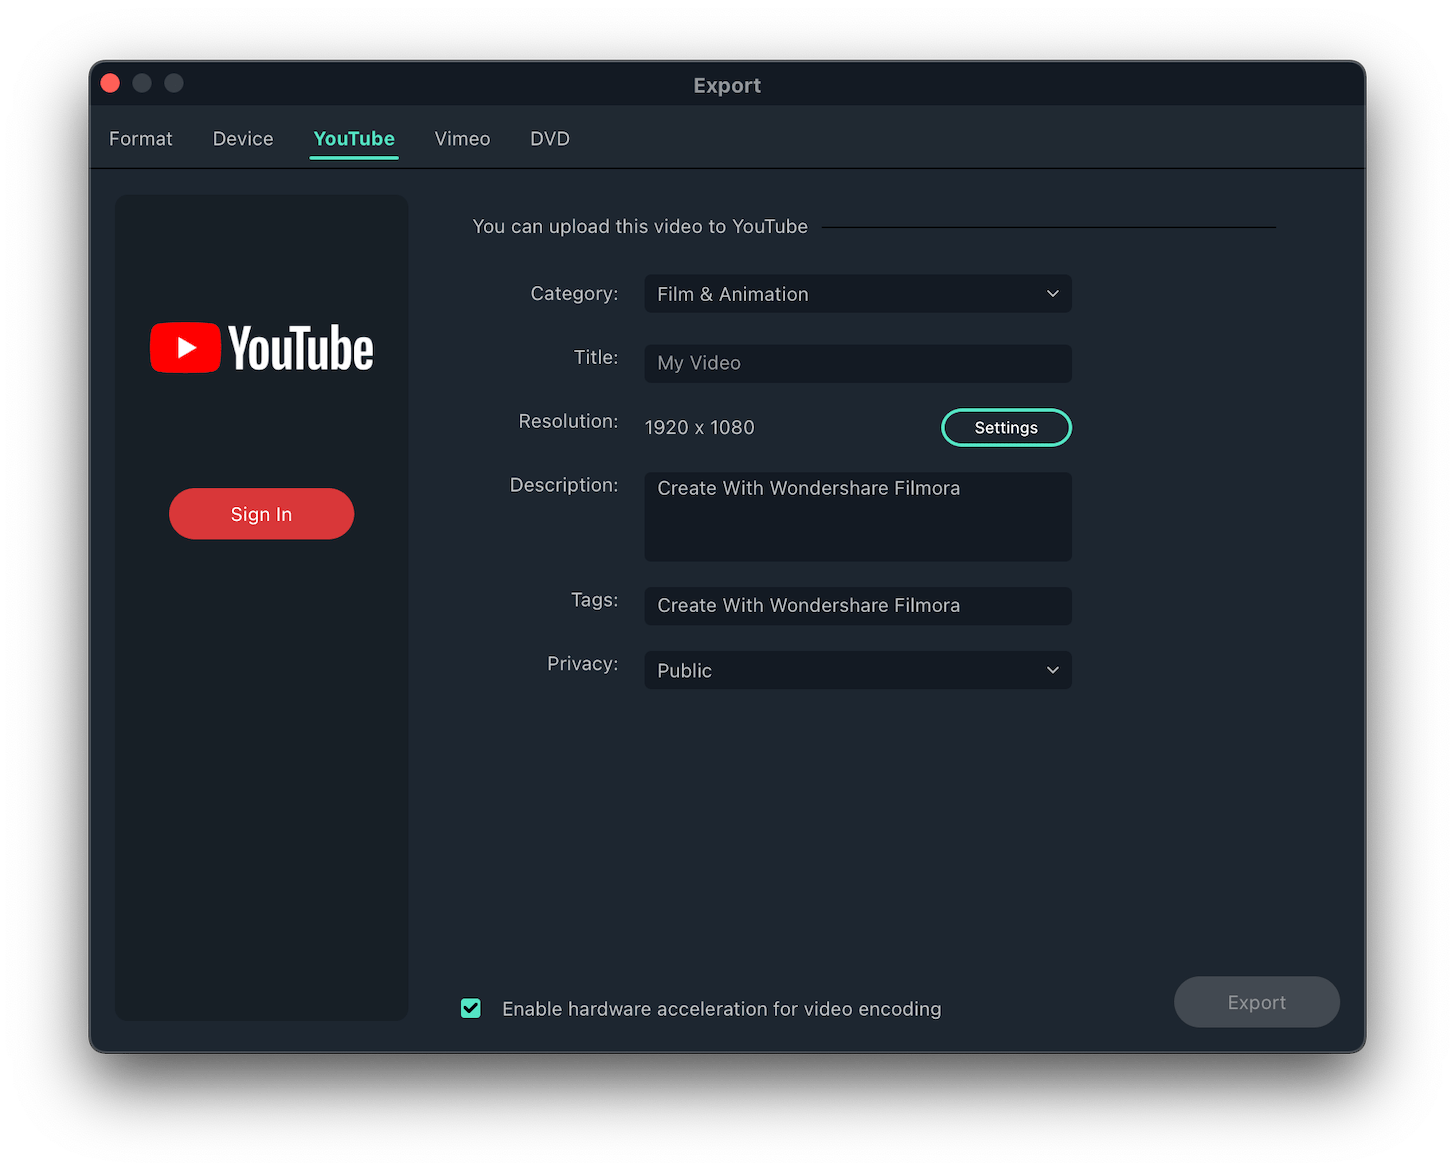
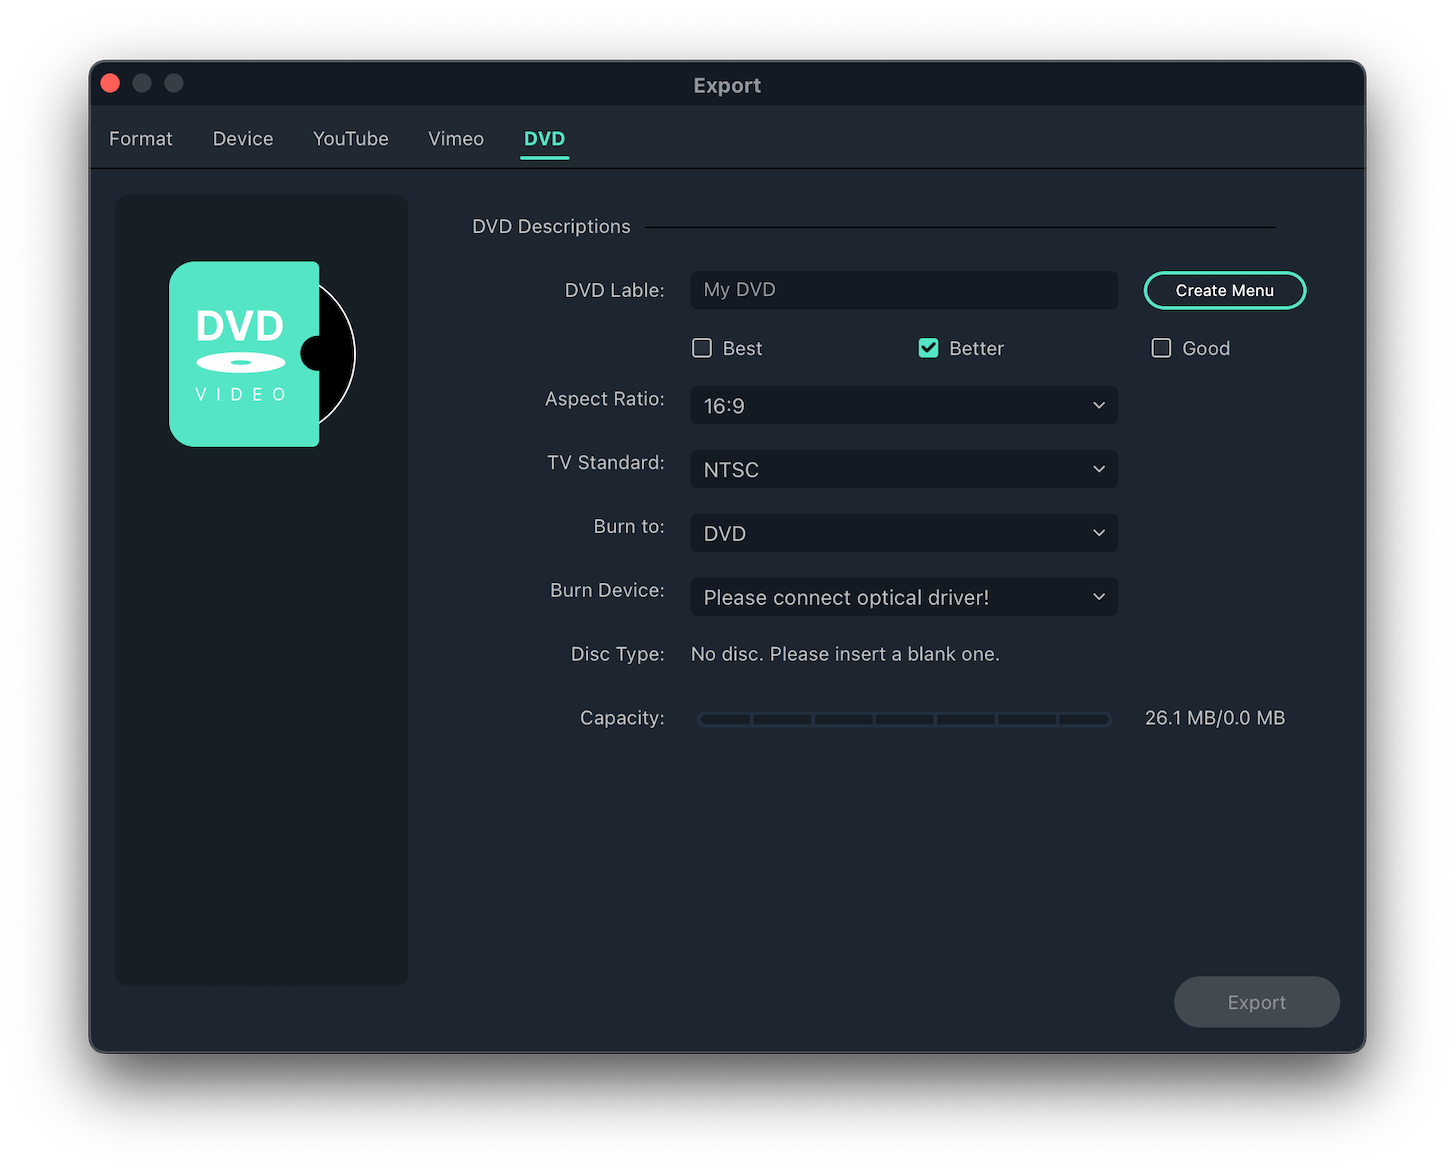
After editing is done, of course, comes exporting your entire project as a whole. The Export button is used for this, which opens another window with a number of options. You can choose not only from the available formats, but also choose based on the device, or export your film for the needs of social networks such as YouTube or Vimeo.
Filmora: The best video editor in its category
As we already mentioned in the very introduction, there are practically two apple editors available for apple users - iMovie and Final Cut Pro. The problem is that while one is free but does practically nothing, the other costs too much. At a glance, you can see where Wondershare filmora is heading. You could say that it is a professional video editor with a number of amazing options, but it benefits from its simplicity and a great user environment, in which no one will get lost. In addition, the program encourages self-exploration and gradually teaches its user. So if you are looking for suitable video editing software, you should definitely try Wondershare Filmora and at least give it a chance.
Download Wondershare Filmora for free here




Phew, unlabeled paid promotion.