In today's test, we will look at another software that deals with data recovery. This time it's a program called EaseUS Data Recovery Wizard, which is backed by a company EaseUS. Personally, I already have experience with this company's products, as I have used their Todo Backup cloning program several times and am completely satisfied with it. So I'm curious if the data recovery solution worked this way as well.
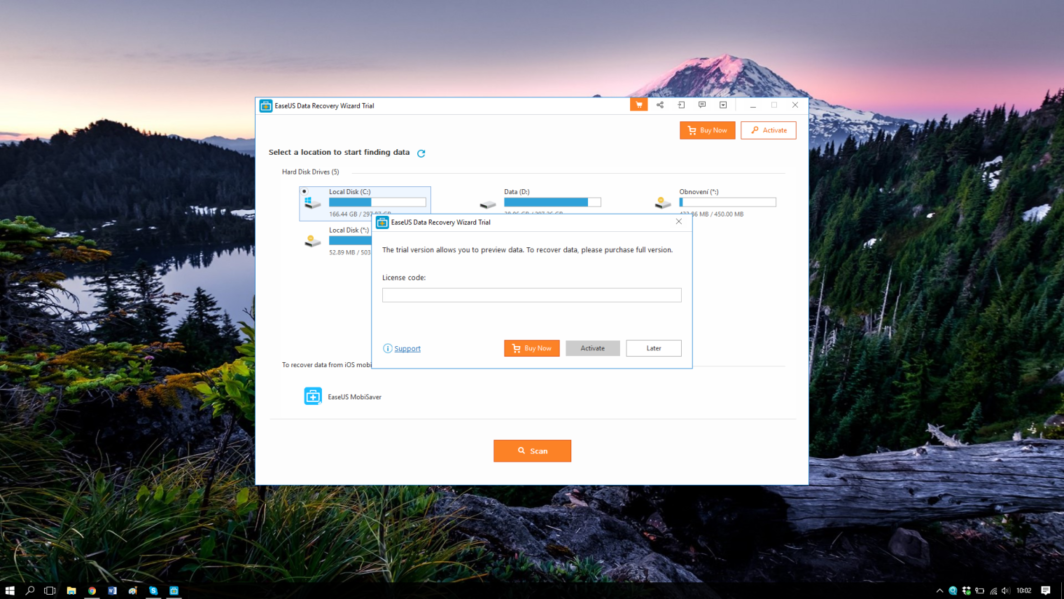
EaseUS Data Recovery Wizard is available for free in the form of a classic limited trial. It is limited by the maximum size of the restored file (up to 2GB) and lacks new updates and software support. The first paid version starts at 90 dollars (now on sale for 70) and offers basically everything except some diagnostic tools intended for professional use. Then there is the $100 version, which can also create a special bootable media that makes it possible to recover data even from a damaged system that has a broken boot. The program is available for both Windows and macOS (as well as for mobile platforms) and the pricing policy is the same for both versions (however, the macOS version is currently not on sale).
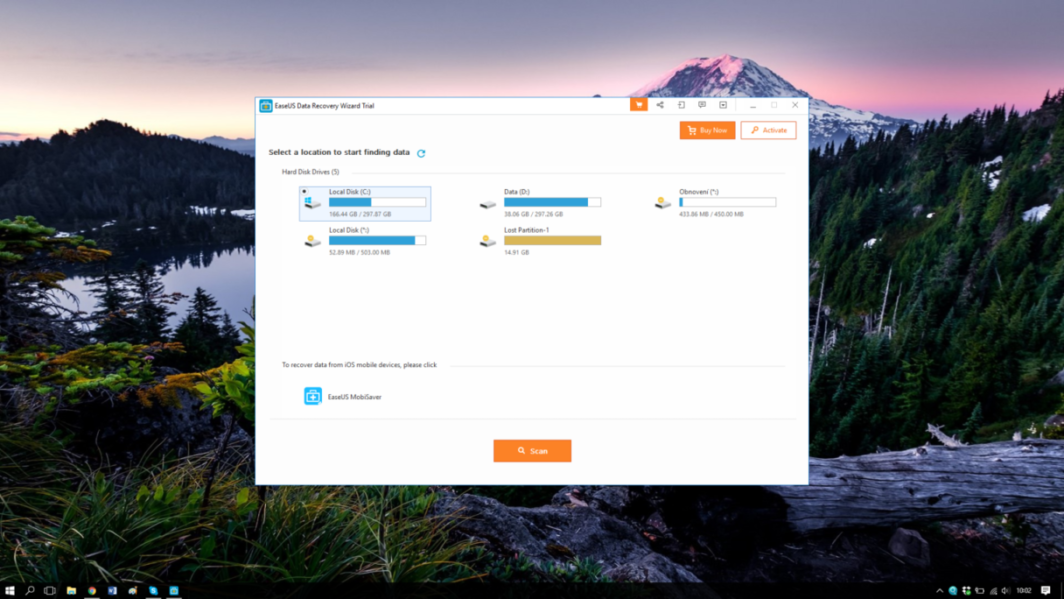
Installation is hassle-free and once you're done, you're greeted with a user interface that's very austere. Basically, apart from the button to activate the product, you won't find anything to distract you from what you expect from the program. So on the basic screen you only see locally stored disks and basic information about them. The list can be restored if you connect/disconnect some disks. All you have to do is select the drive you want to restore and start scanning.
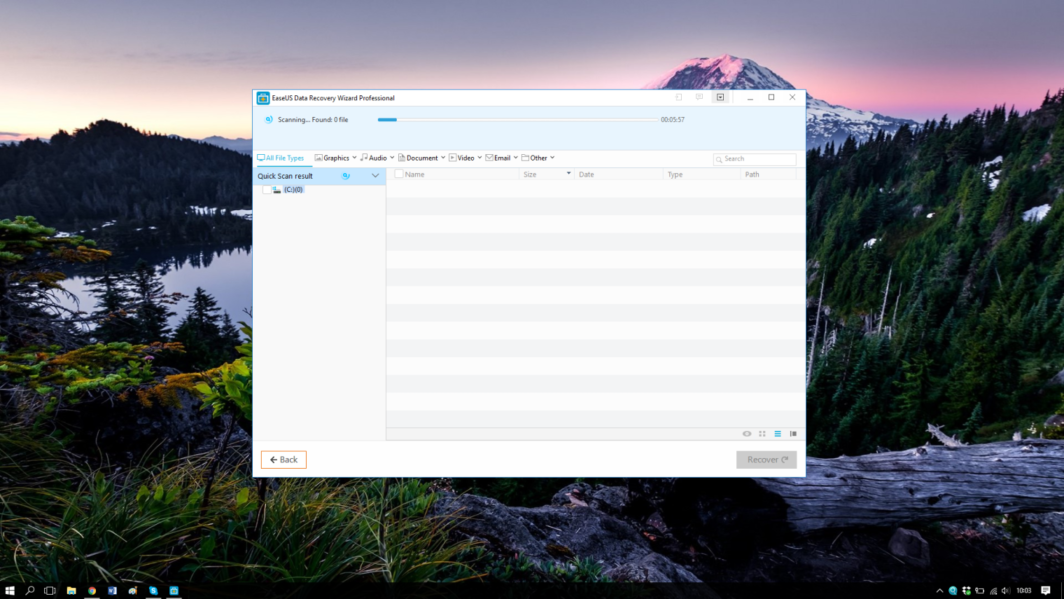
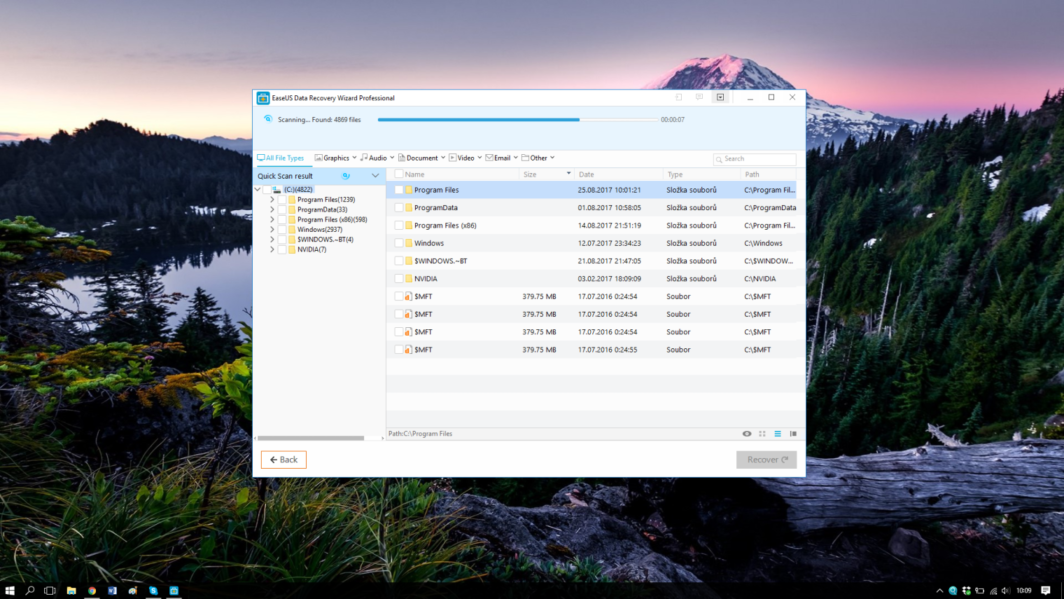
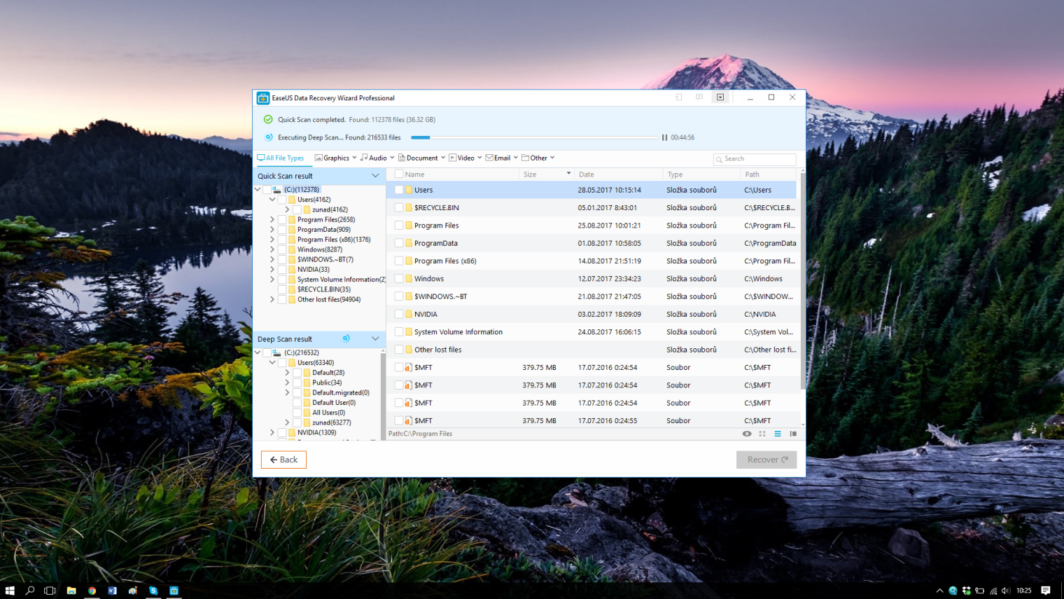
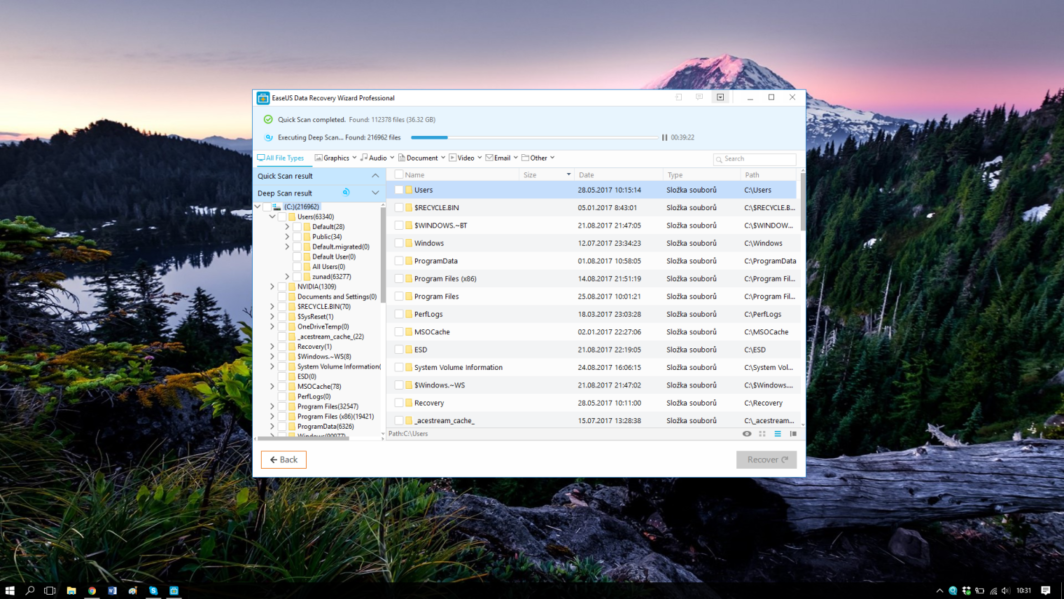
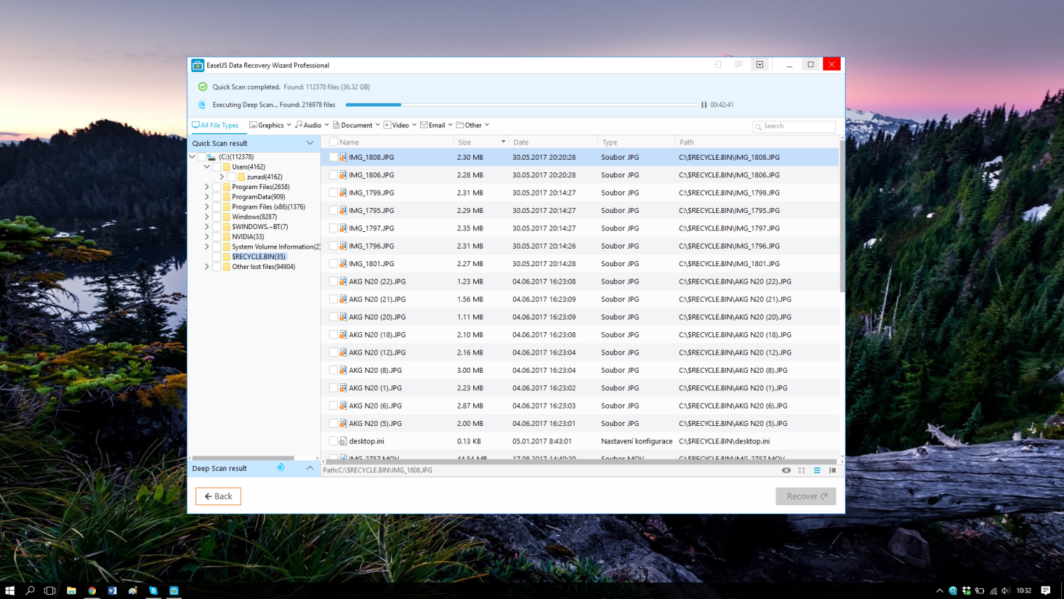
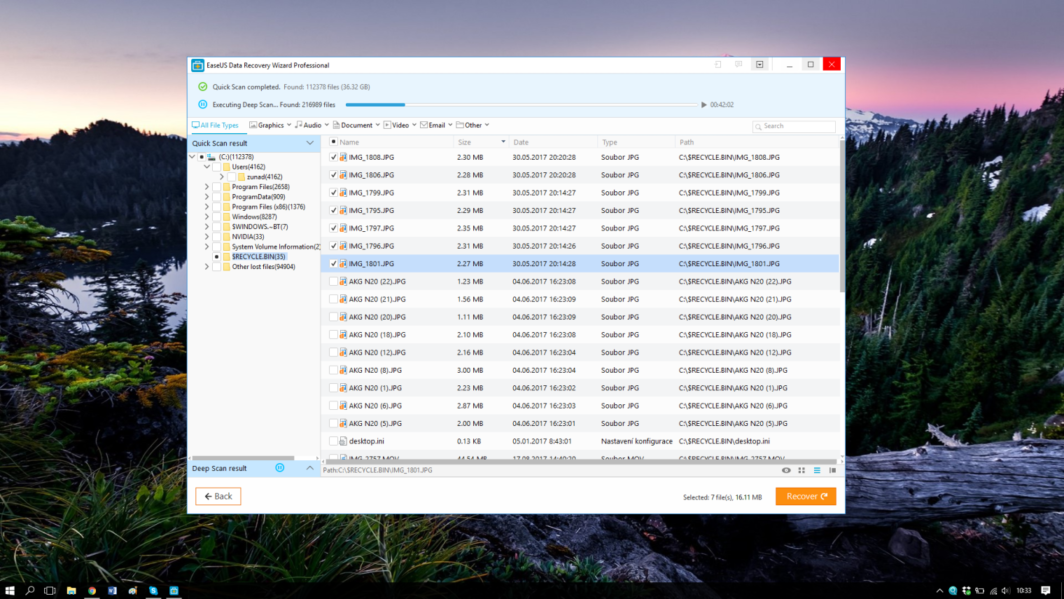
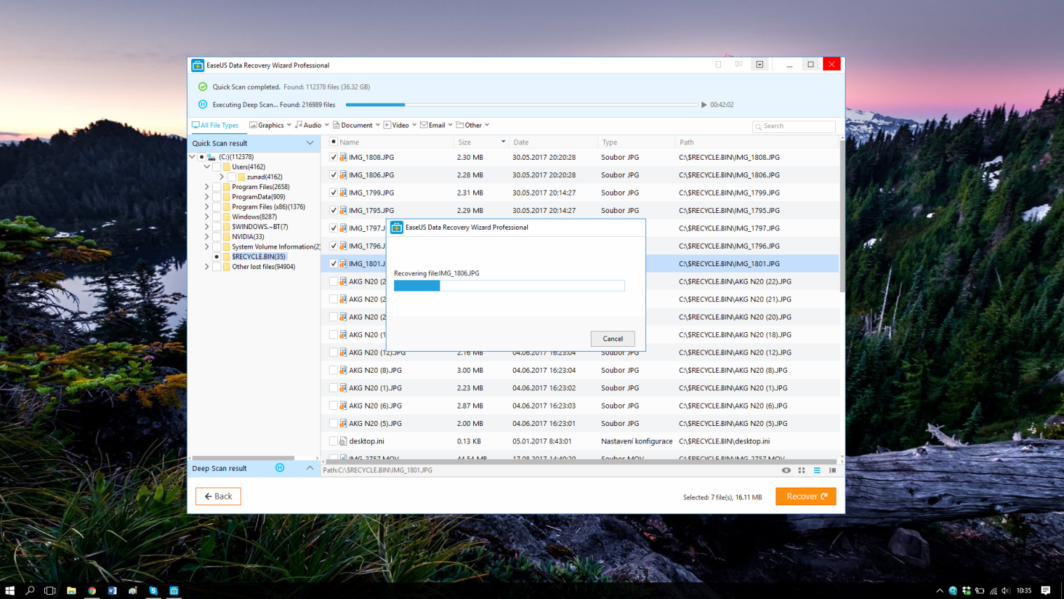
Now we are getting further and the user interface is already more sophisticated, offering more options. In the upper part you can see the progress, below it you can set a file filter. In the left part, you will find the tree structure of the searched files on the disk, and in the central part, detailed information and space for manipulation. Here you can tick the selected files and mark them for recovery which comes in the next step.
As for the scanning itself, the program does two types. The first one is the so-called Quick Scan, which took me 14 minutes (640GB notebook HDD, 5400rpm, SATA III, approx. 300GB used), followed by the Deep Scan, which is considerably longer and can take over an hour (it depends on the type and size of the disk being searched in in my case, the in-depth analysis took 1:27) ). During the entire scan, it is possible to stop it and continue the recovery if the program has already found what you are looking for.
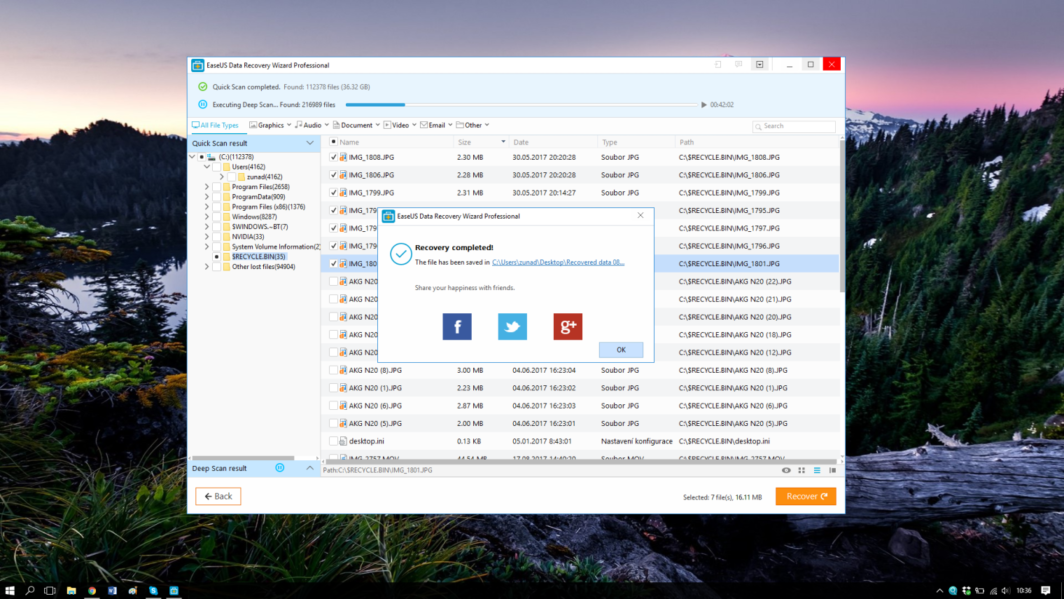
The recovery process itself is easy. It is important to mention here that file recovery is recommended only after both types of scanning are over. Once you don't complete one of them, the recovered files may not be fully recovered and may be corrupted in the end. So if you're serious about recovery, don't be tempted by the first sight of the file you're looking for. Always let the program finish its work. Once that happens and the required files are marked, it's just a matter of selecting the destination and confirming the recovery. The recovery can also take several tens of minutes depending on how many files you are recovering (in my test case I was recovering only ten photos that were from March 2017 and the recovery took only a few seconds). The recovery progress is shown on the progress bar. Once done, the program will create a folder in the target destination with the recovery date and inside it will be the recovered files with the save structure preserved. You can then share your successful recovery on social networks :)
Special review. Something is reviewed here without the uninitiated even really understanding what exactly it is about. So worthless. :-)
That's how it is when it's written by someone who has seen a Mac, perhaps from afar. Or he just got an assignment.
Is this some kind of bad joke? The attached screenshots from Windows really amused me. Now I'm going to entertain you again, I really like the new look of the apple tree.
https://uploads.disquscdn.com/images/22879f36d28dc611b776d8bbefda95b68fe9104ef7ac251a9e8dd81b50501601.jpg