V pilot piece In the First steps with Synology series, we explained what a NAS station from Synology can actually be used for, what it can do and why you should choose it. Now that we have shown the basic functions of the NAS and mastered the theory, let's take a look at the next steps that await you after purchasing a NAS station. All notes are from my own experience, as I have a Synology NAS at home, specifically the DS218j model. In this article, we'll look at how we can get started with data transfer and what's behind it.
It could be interest you
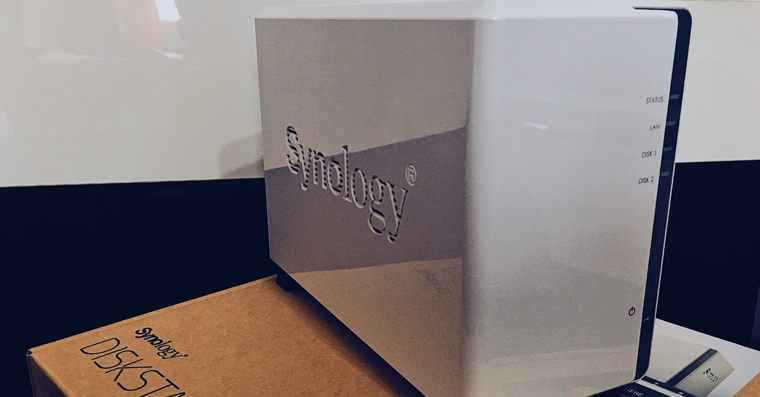
Before we start the transfer
In order to start the transfer, it is of course important to have the Synology NAS equipped with at least one hard drive. Once installed, all you have to do is go through the simple process of installing the DSM operating system. During installation, you can choose various settings, for example in the form of updates, etc. All settings can be changed later in the DSM system. Once you have gone through the initial settings, you can start transferring data.
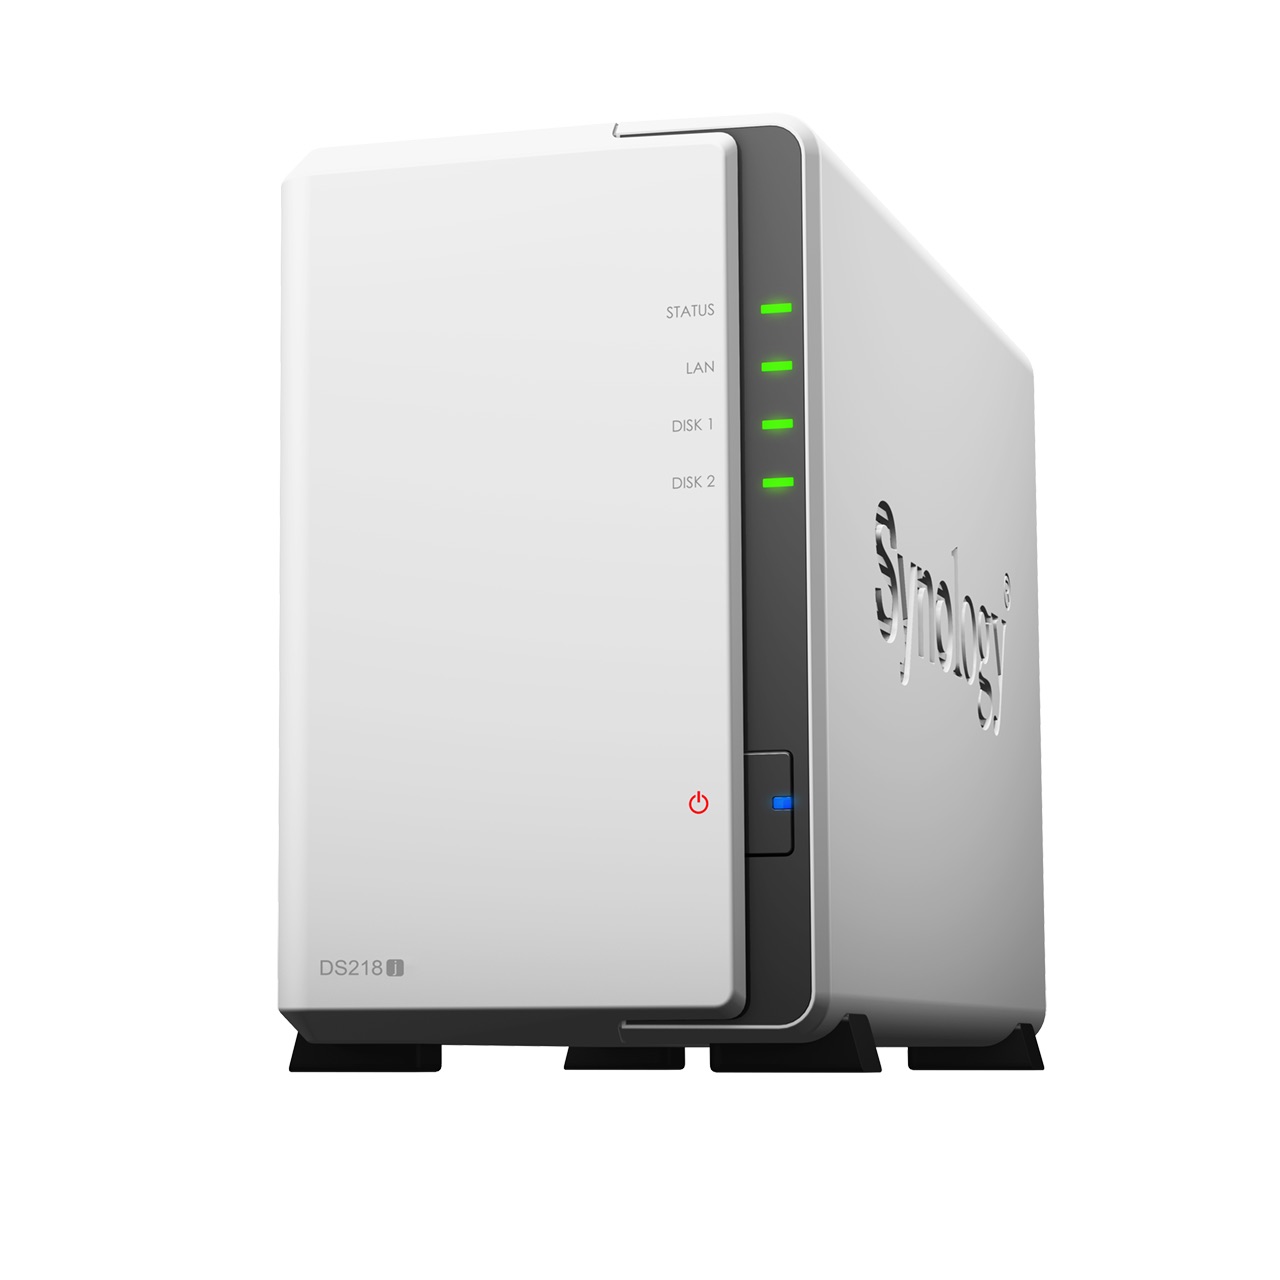
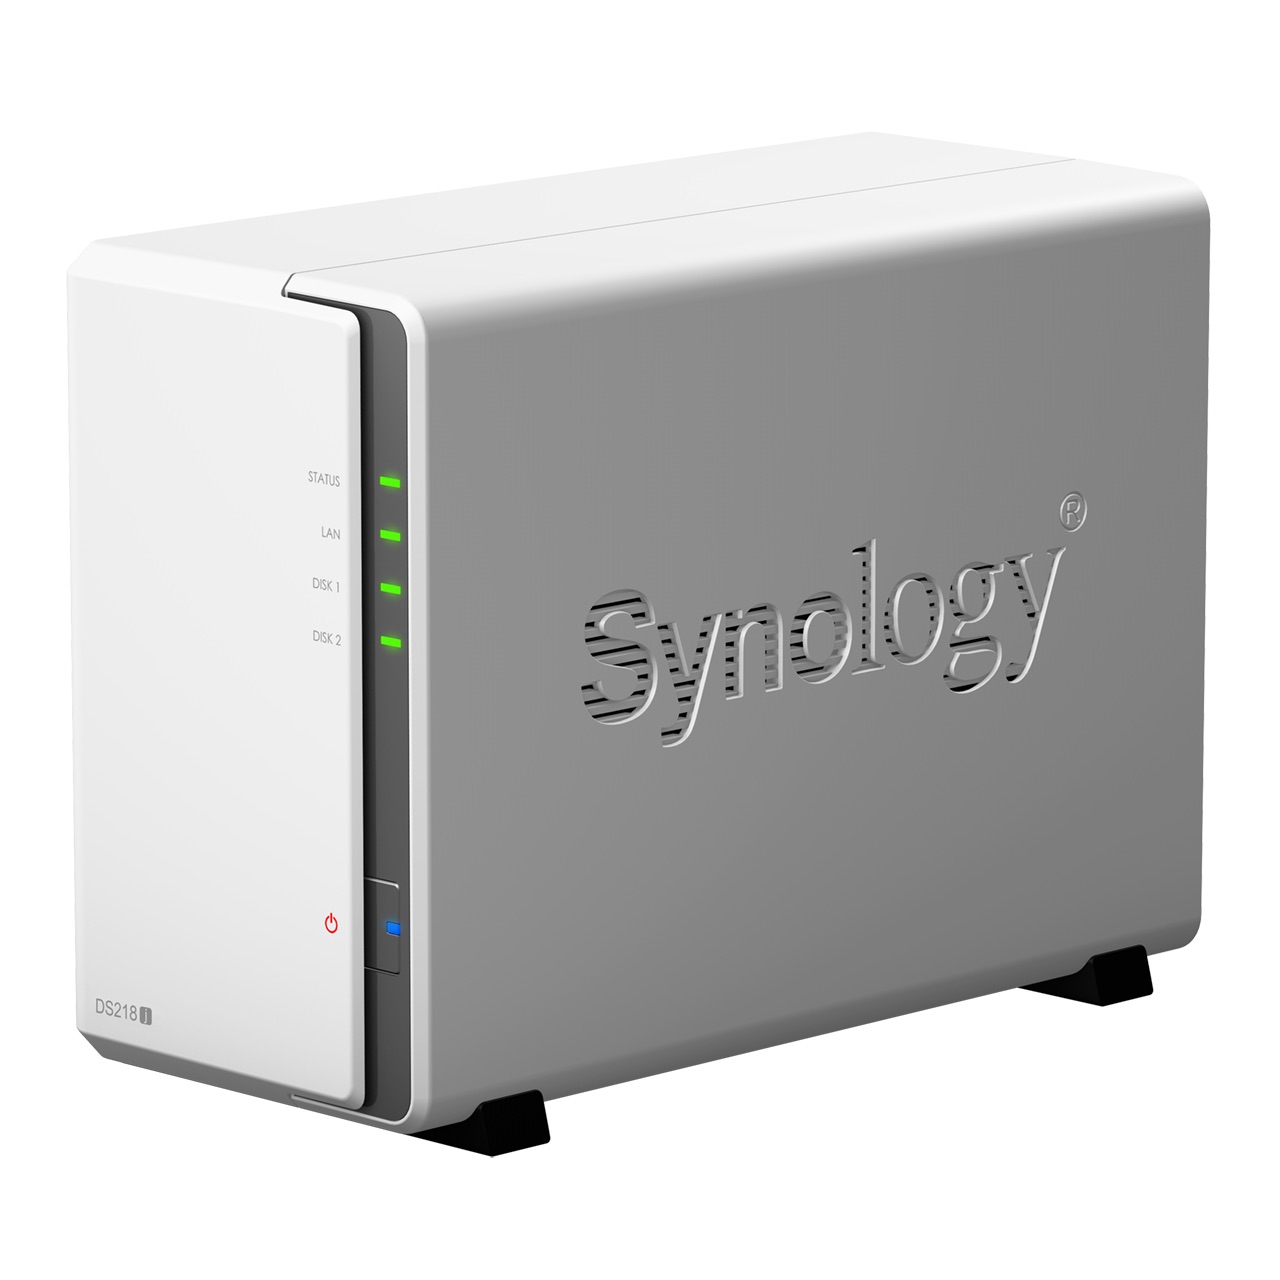
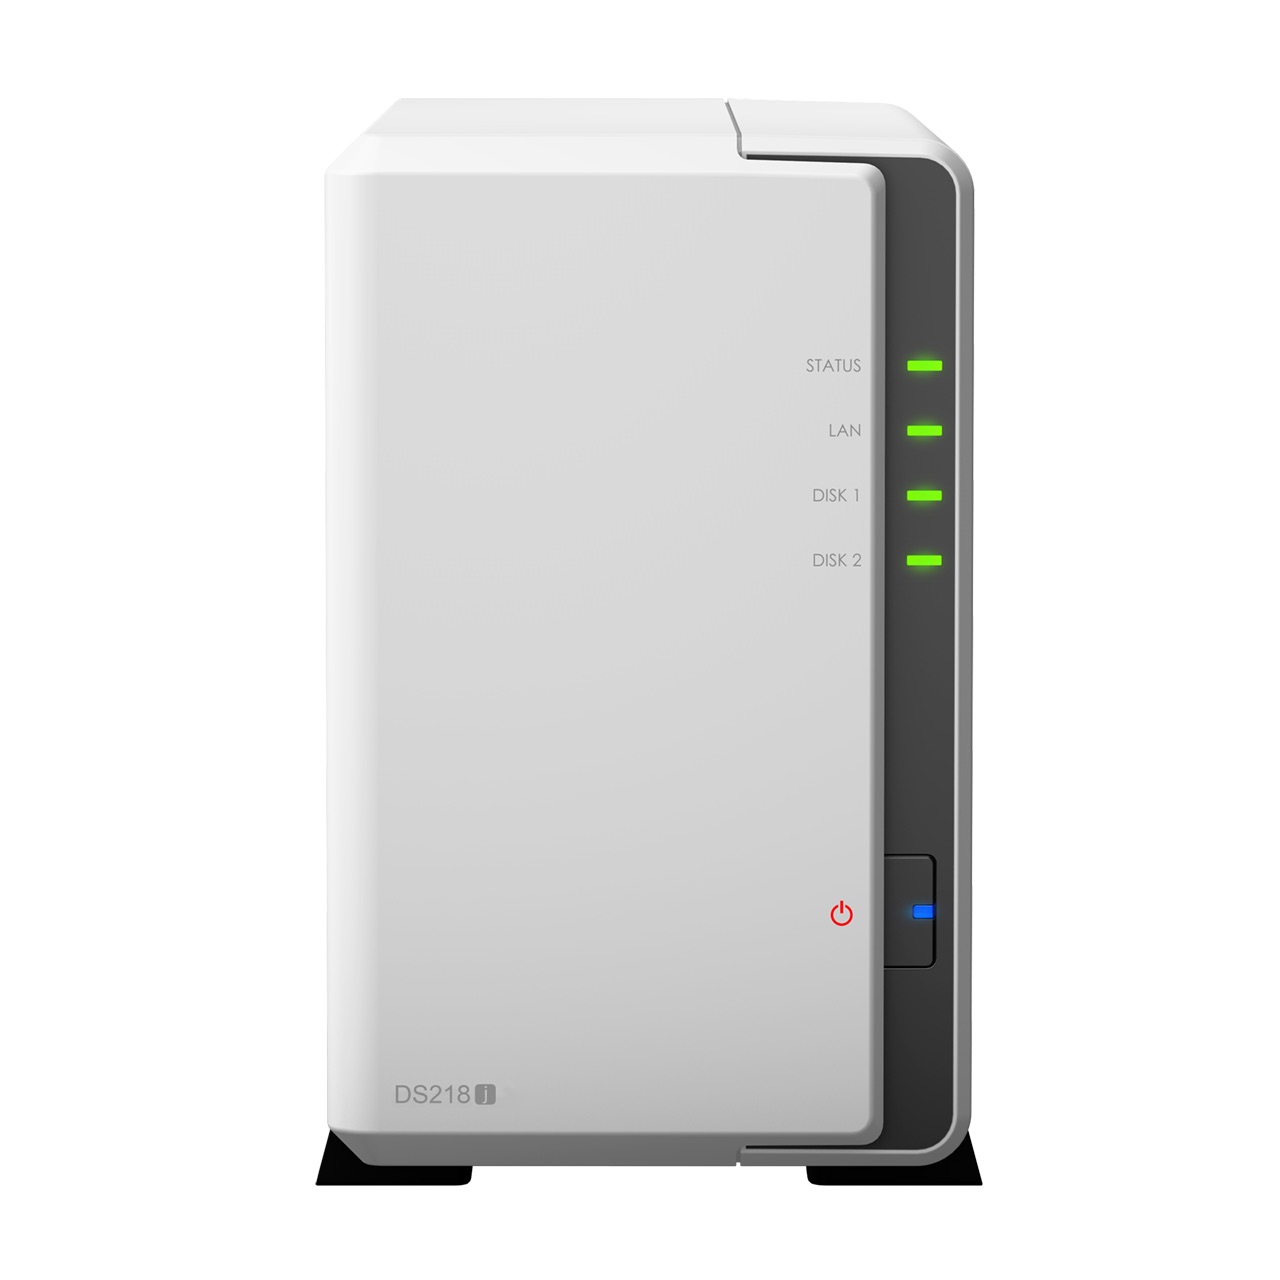
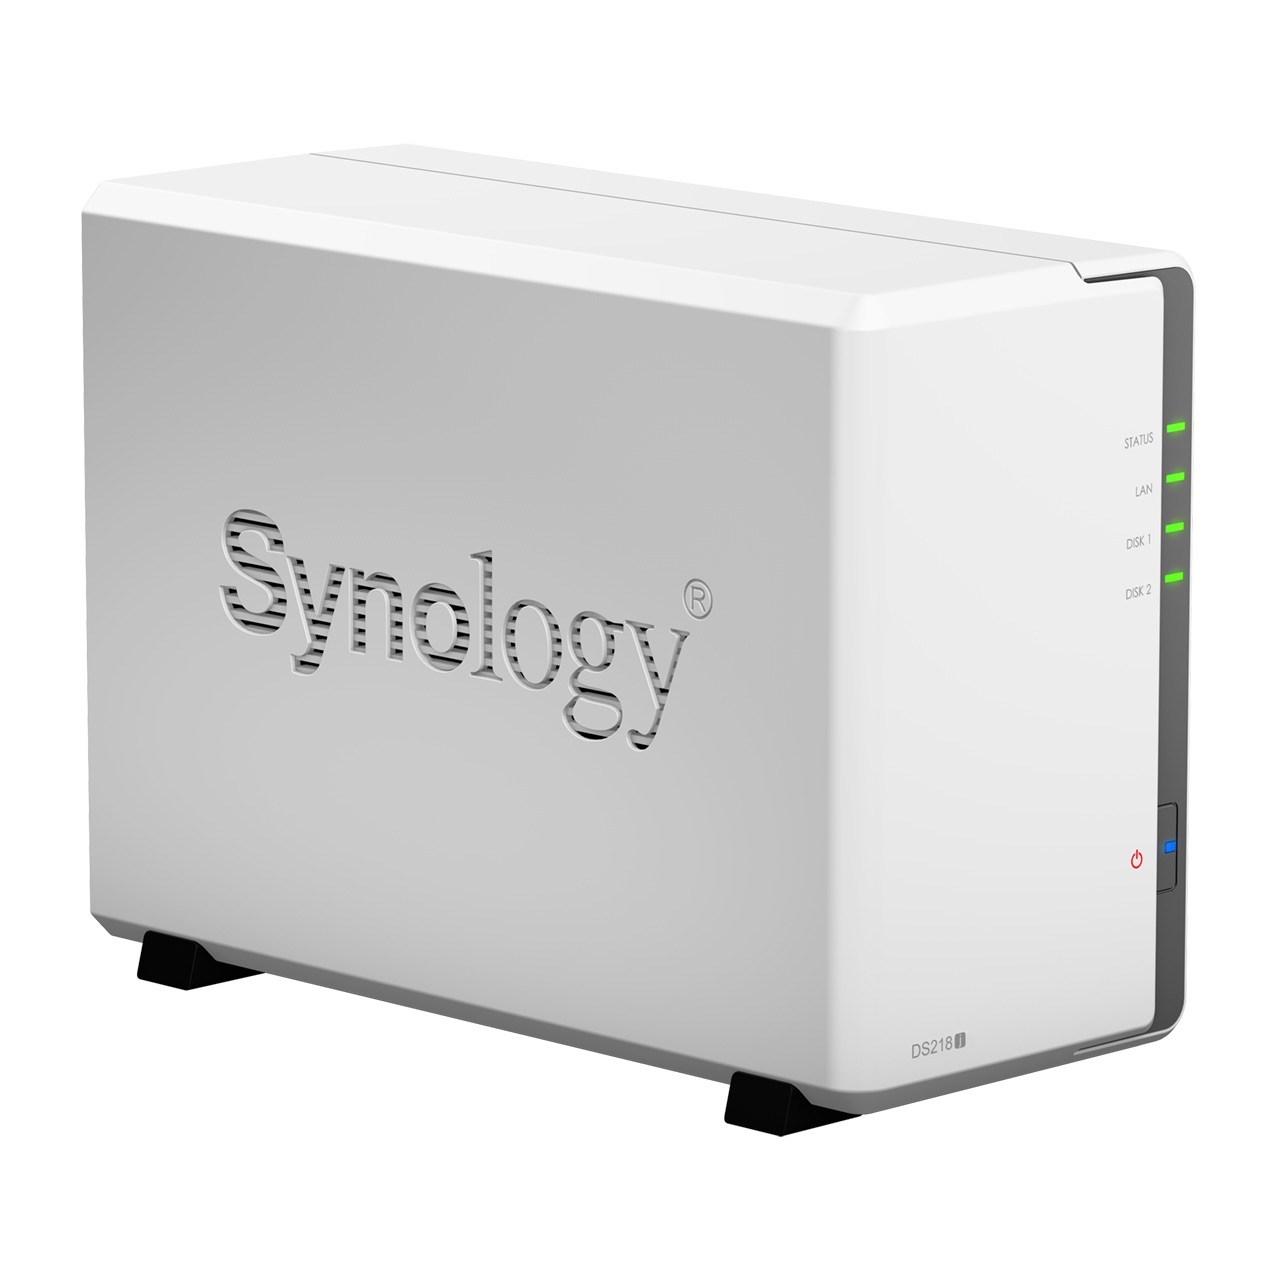
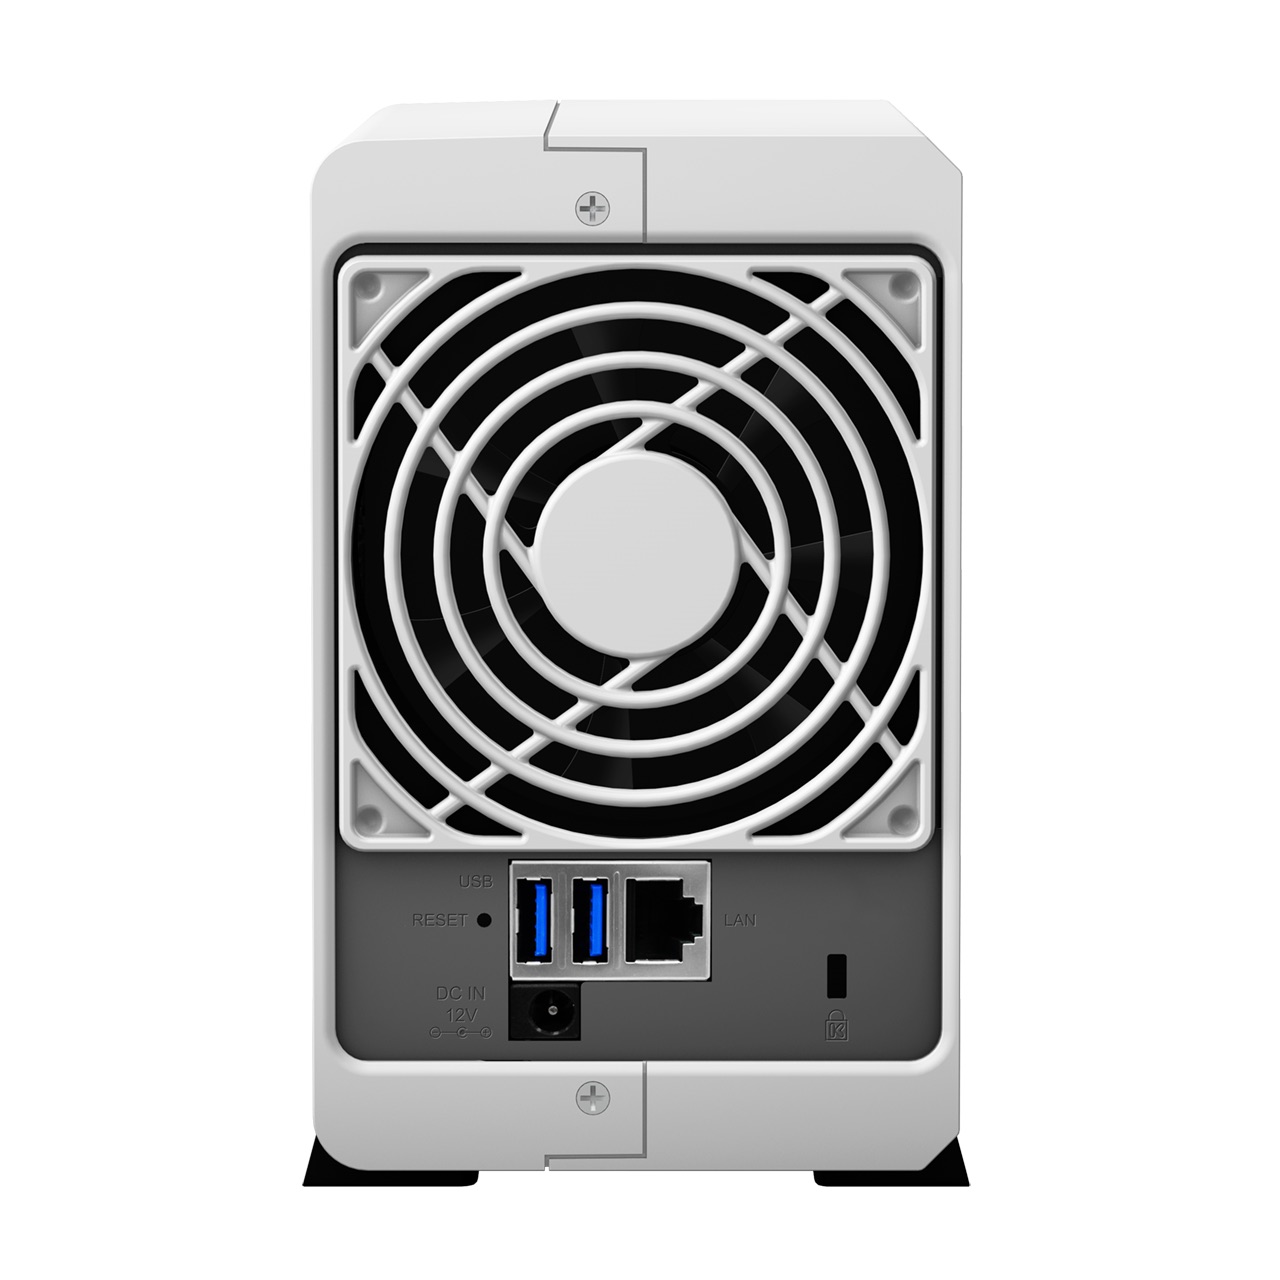
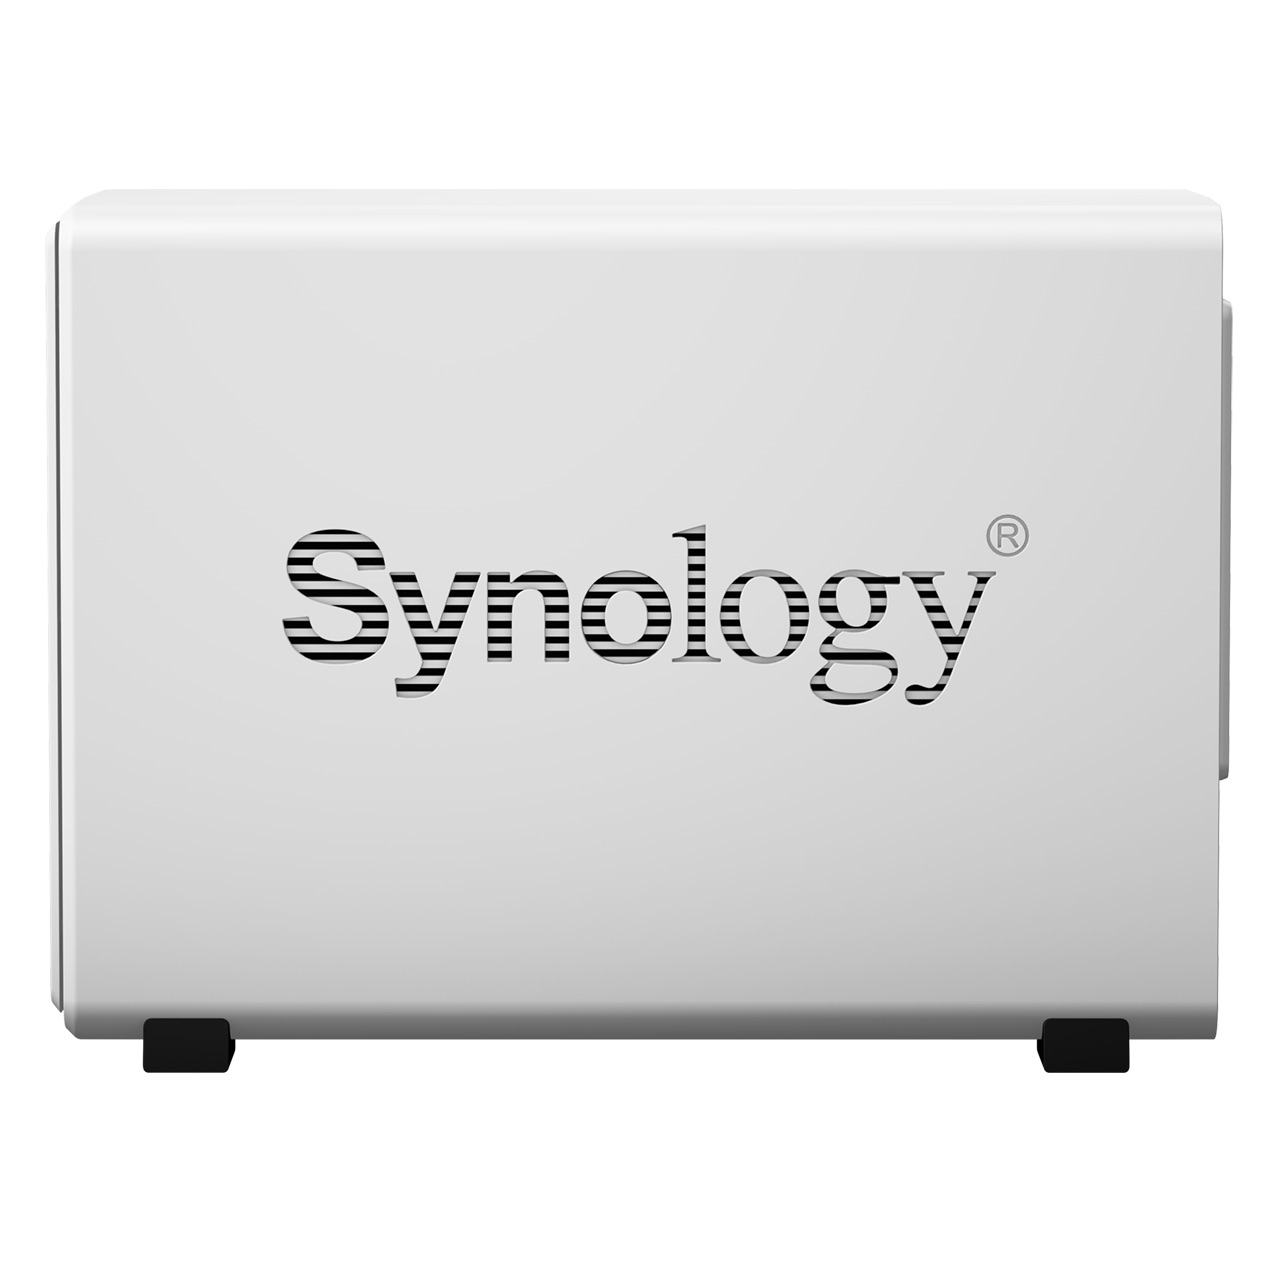
Synology DS218j:
How to transfer data?
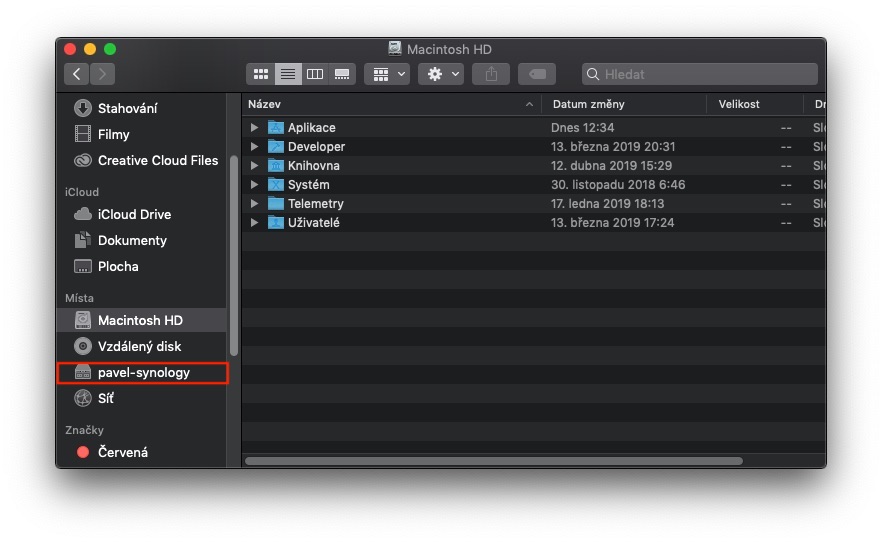
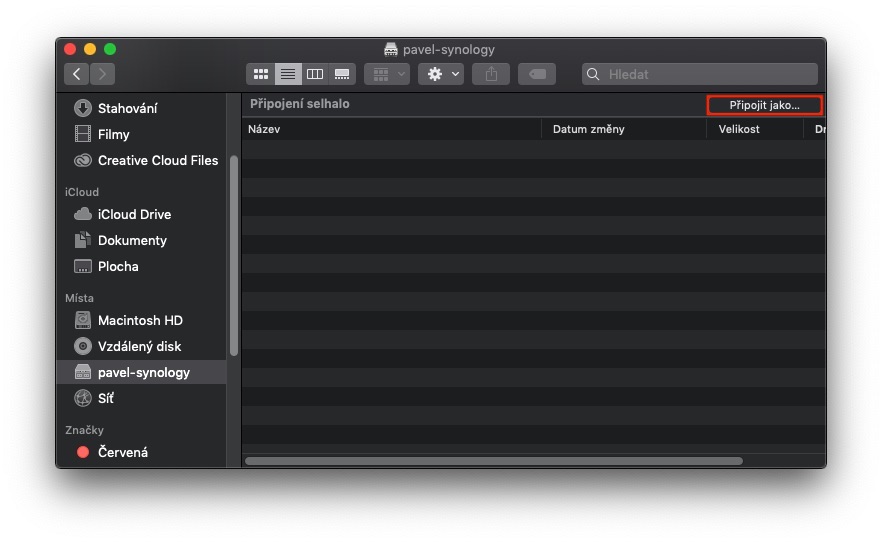
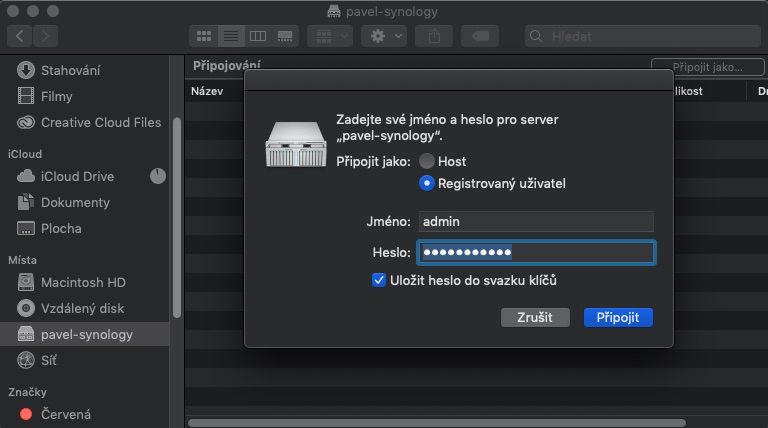
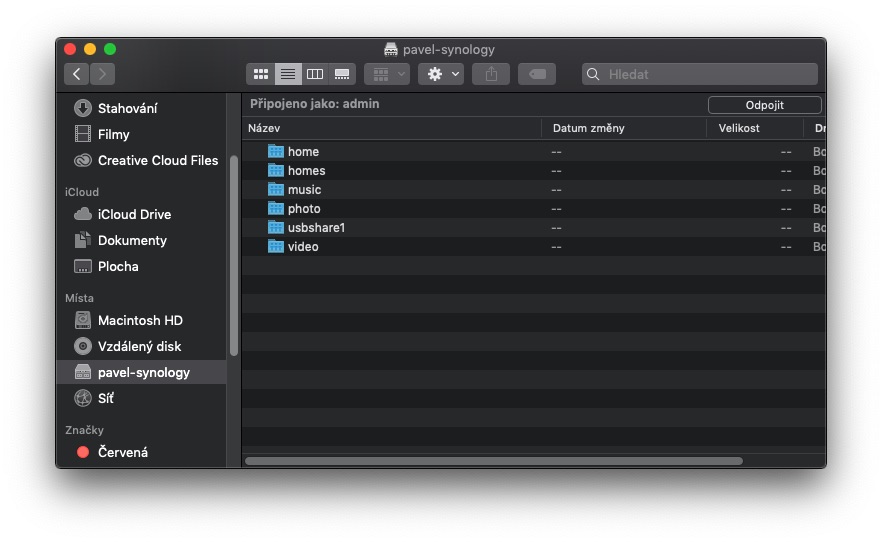
Data transfer can be done on Synology NAS in several ways. The first is very simple. Most NAS servers from Synology have a USB connector. You can connect, for example, a flash drive or an external drive on which your data is stored to this connector. In my opinion, this option seems to be the best if you already have photos and data stored on an external medium. However, if you only have them on your computer and nowhere else, then you have two options. The first one is for you to connect using explorer to Synology. Once connected, Synology will appear on your computer as "another hard drive" to which you can easily transfer data. But there is one big but.
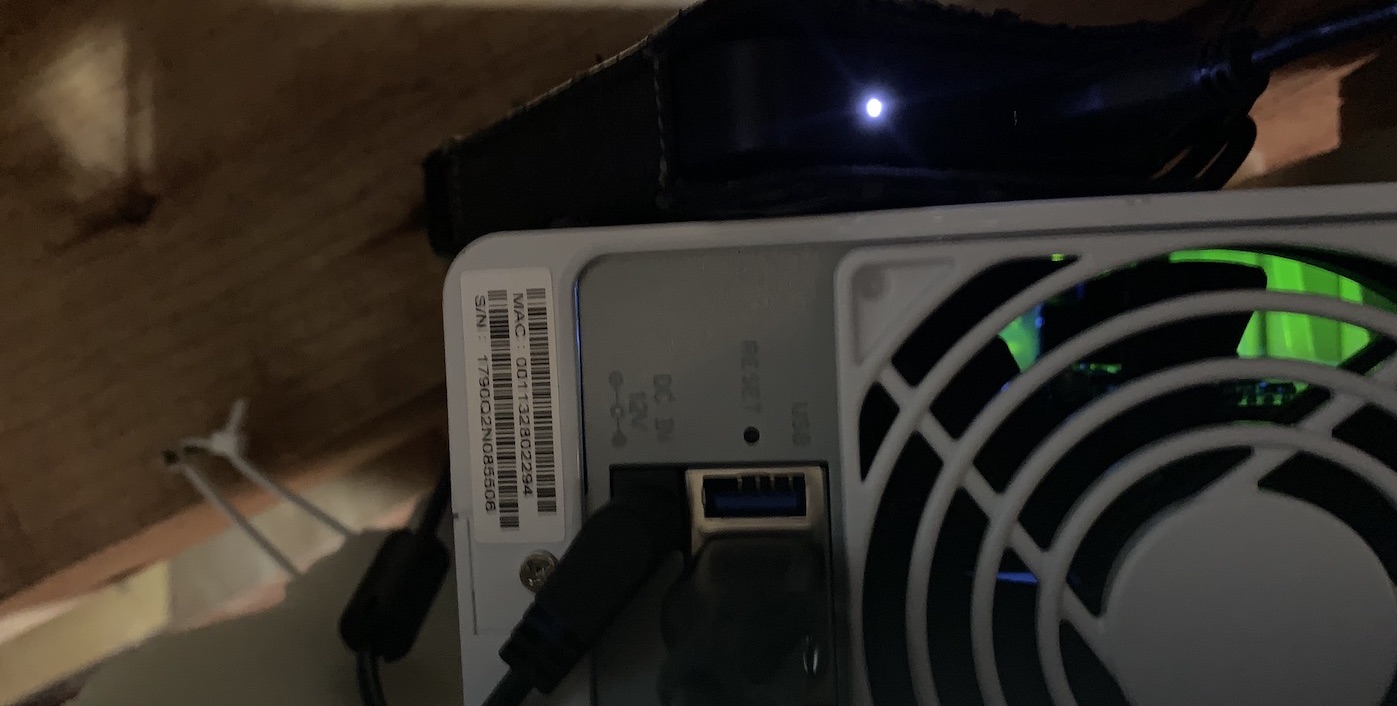
If you do not have the possibility to connect your computer or laptop to the network using a cable, then you have to put up with possible outages. I also found myself in this situation. Therefore, I preferred to move all the data to an external hard drive, which I then connected to the Synology. However, if you have a cable connection, you can continue. Again, there is a kind of "limit" that depends on the speed of your router. Older and cheap routers have a maximum transmission speed of 100 Mbit per second. This value may be sufficient for home use, but you have to put up with a slower transfer rate. Newer routers already have a maximum speed of 1 Gbit per second, which is already completely sufficient. Again, if you own a 100 Mbit router, it offers the option of moving all data to an external drive, and then to Synology.
How does the transfer work?
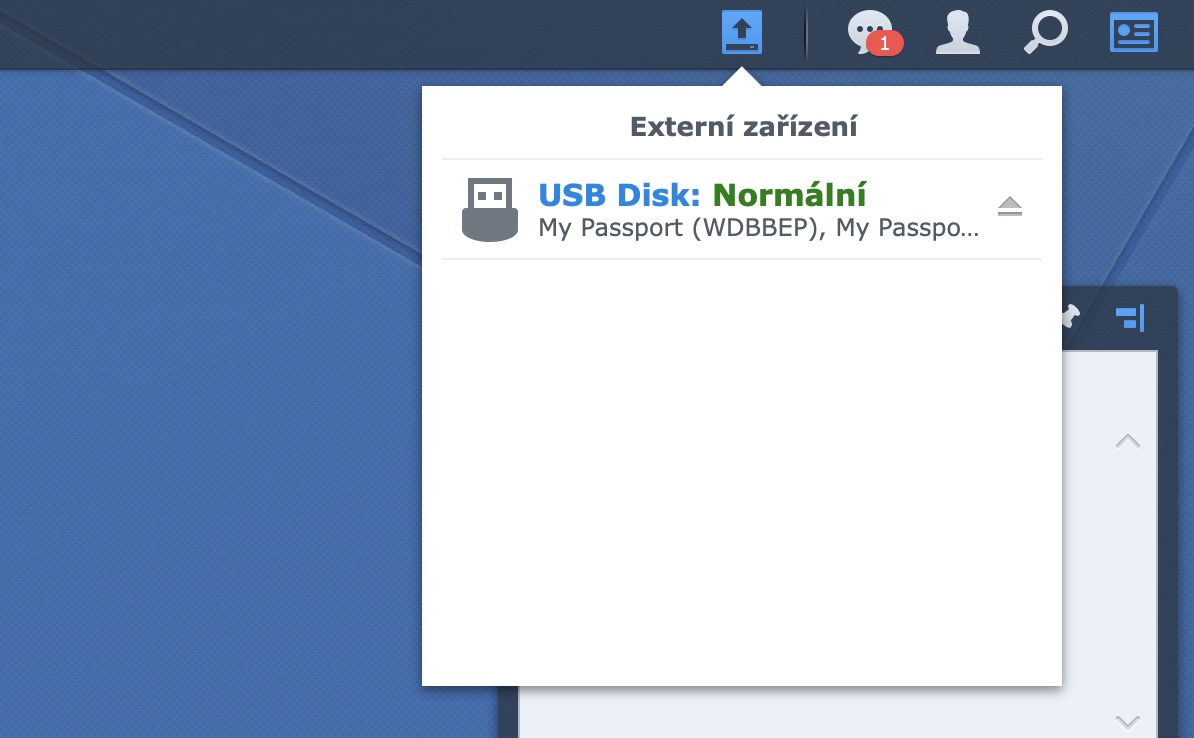
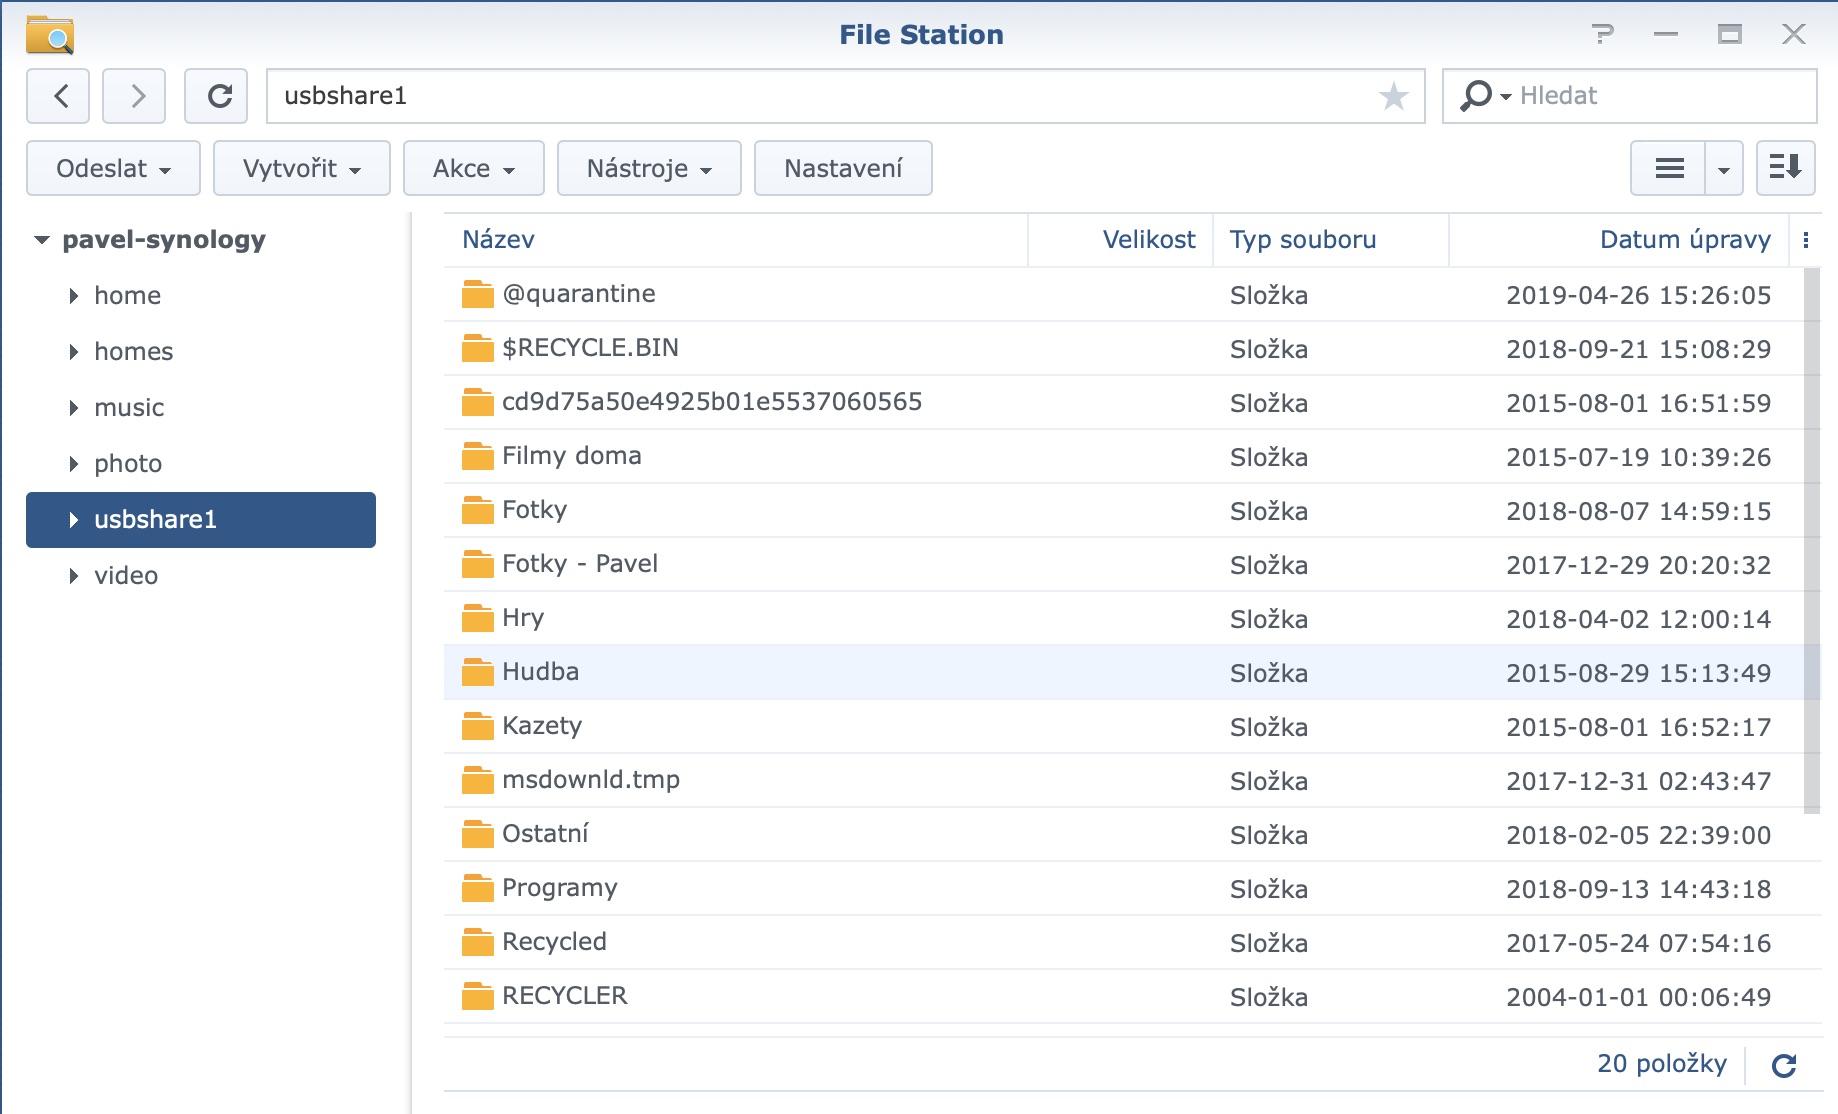
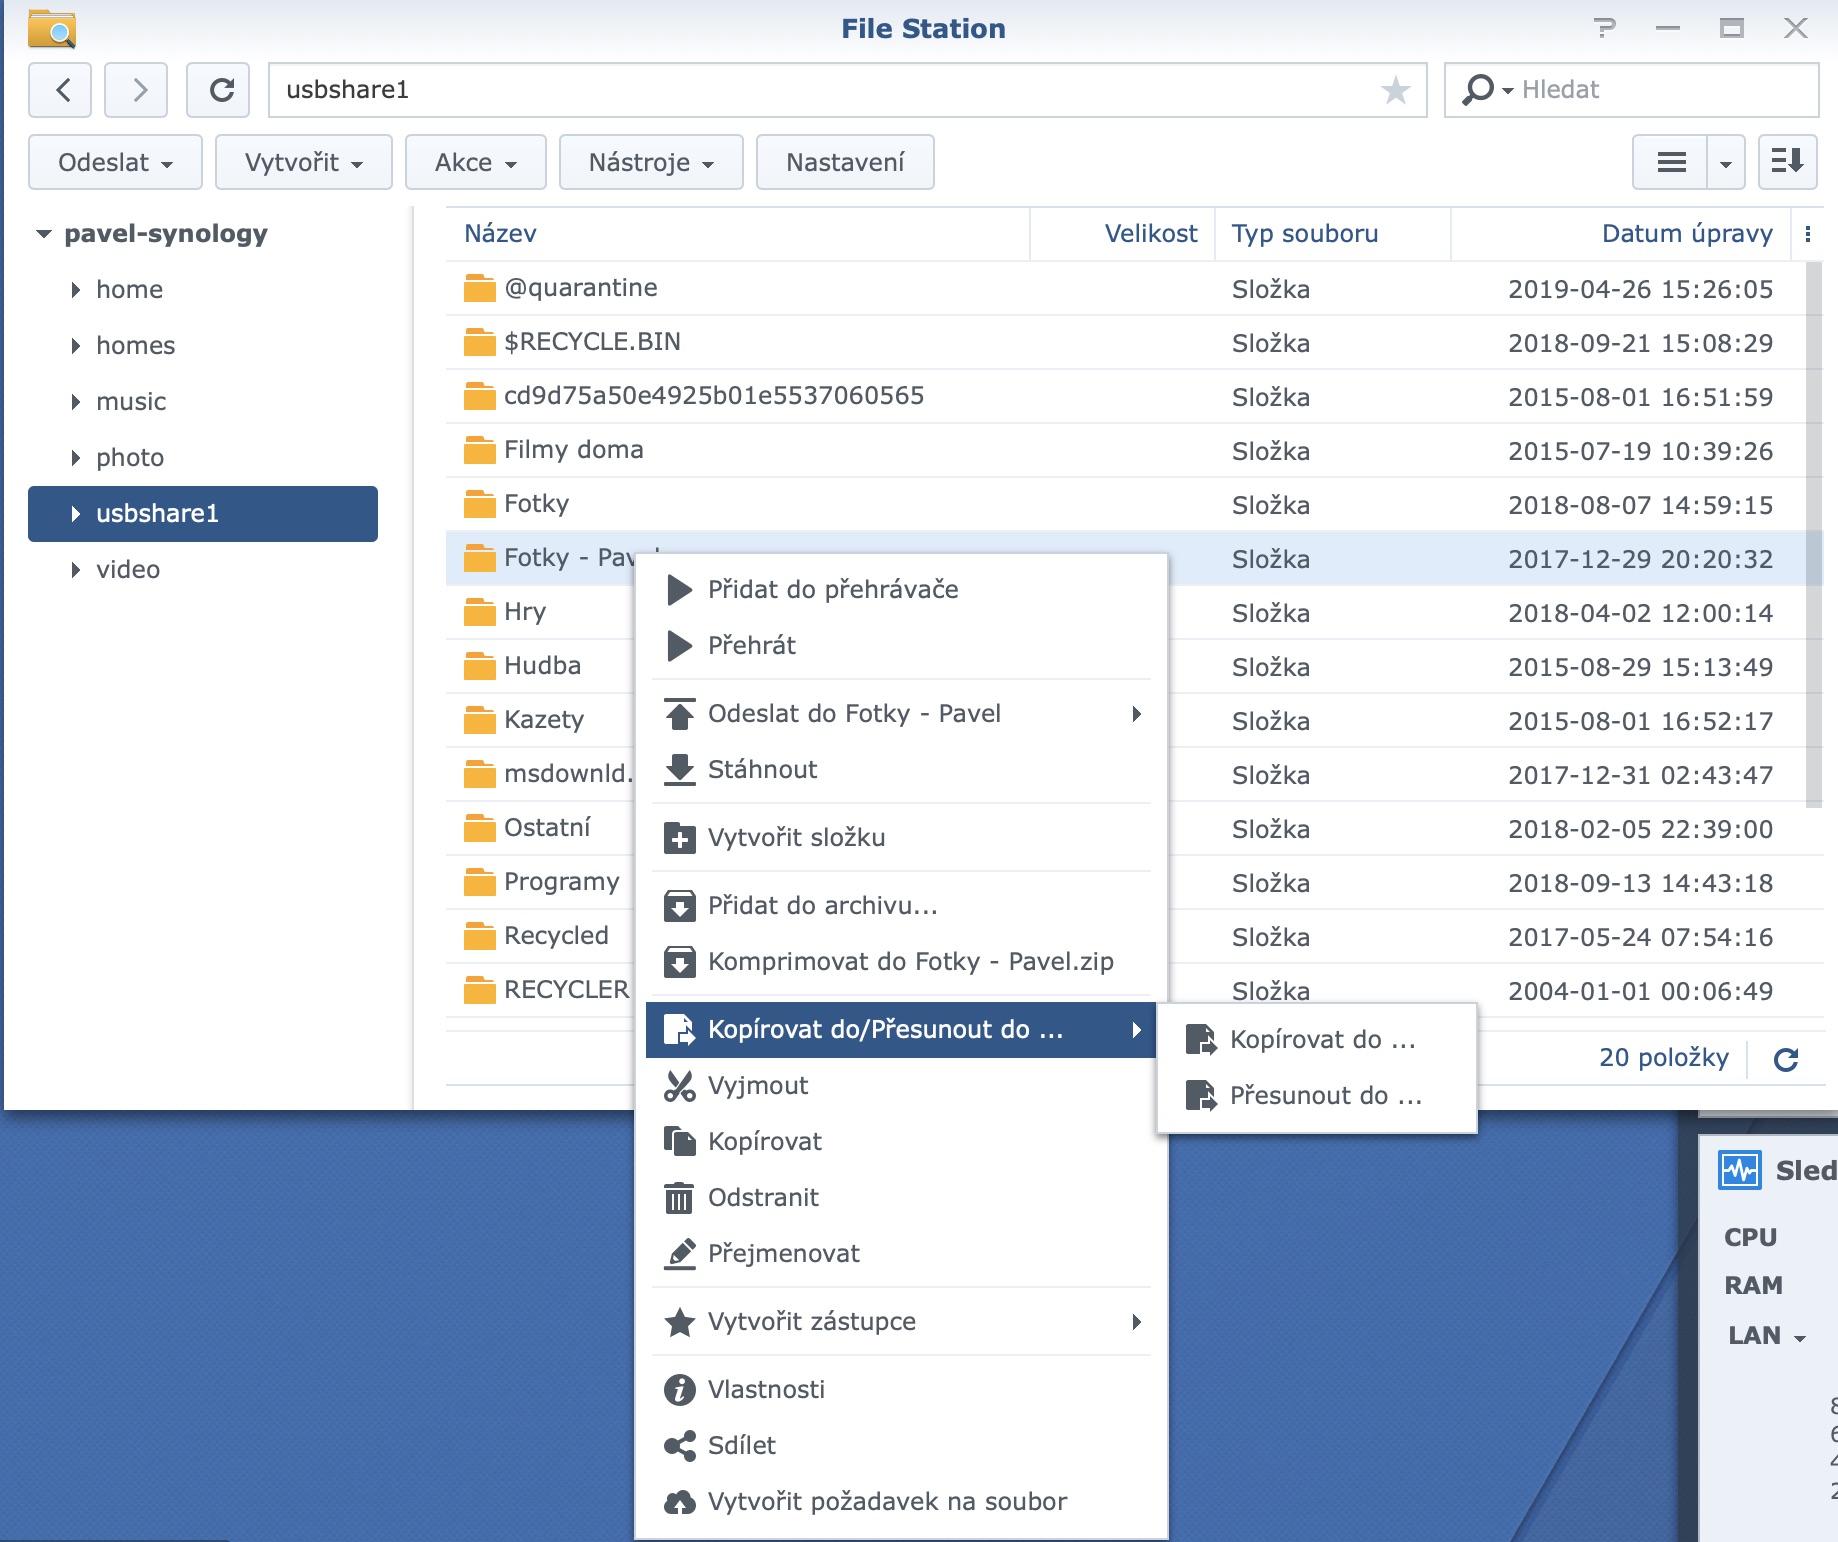
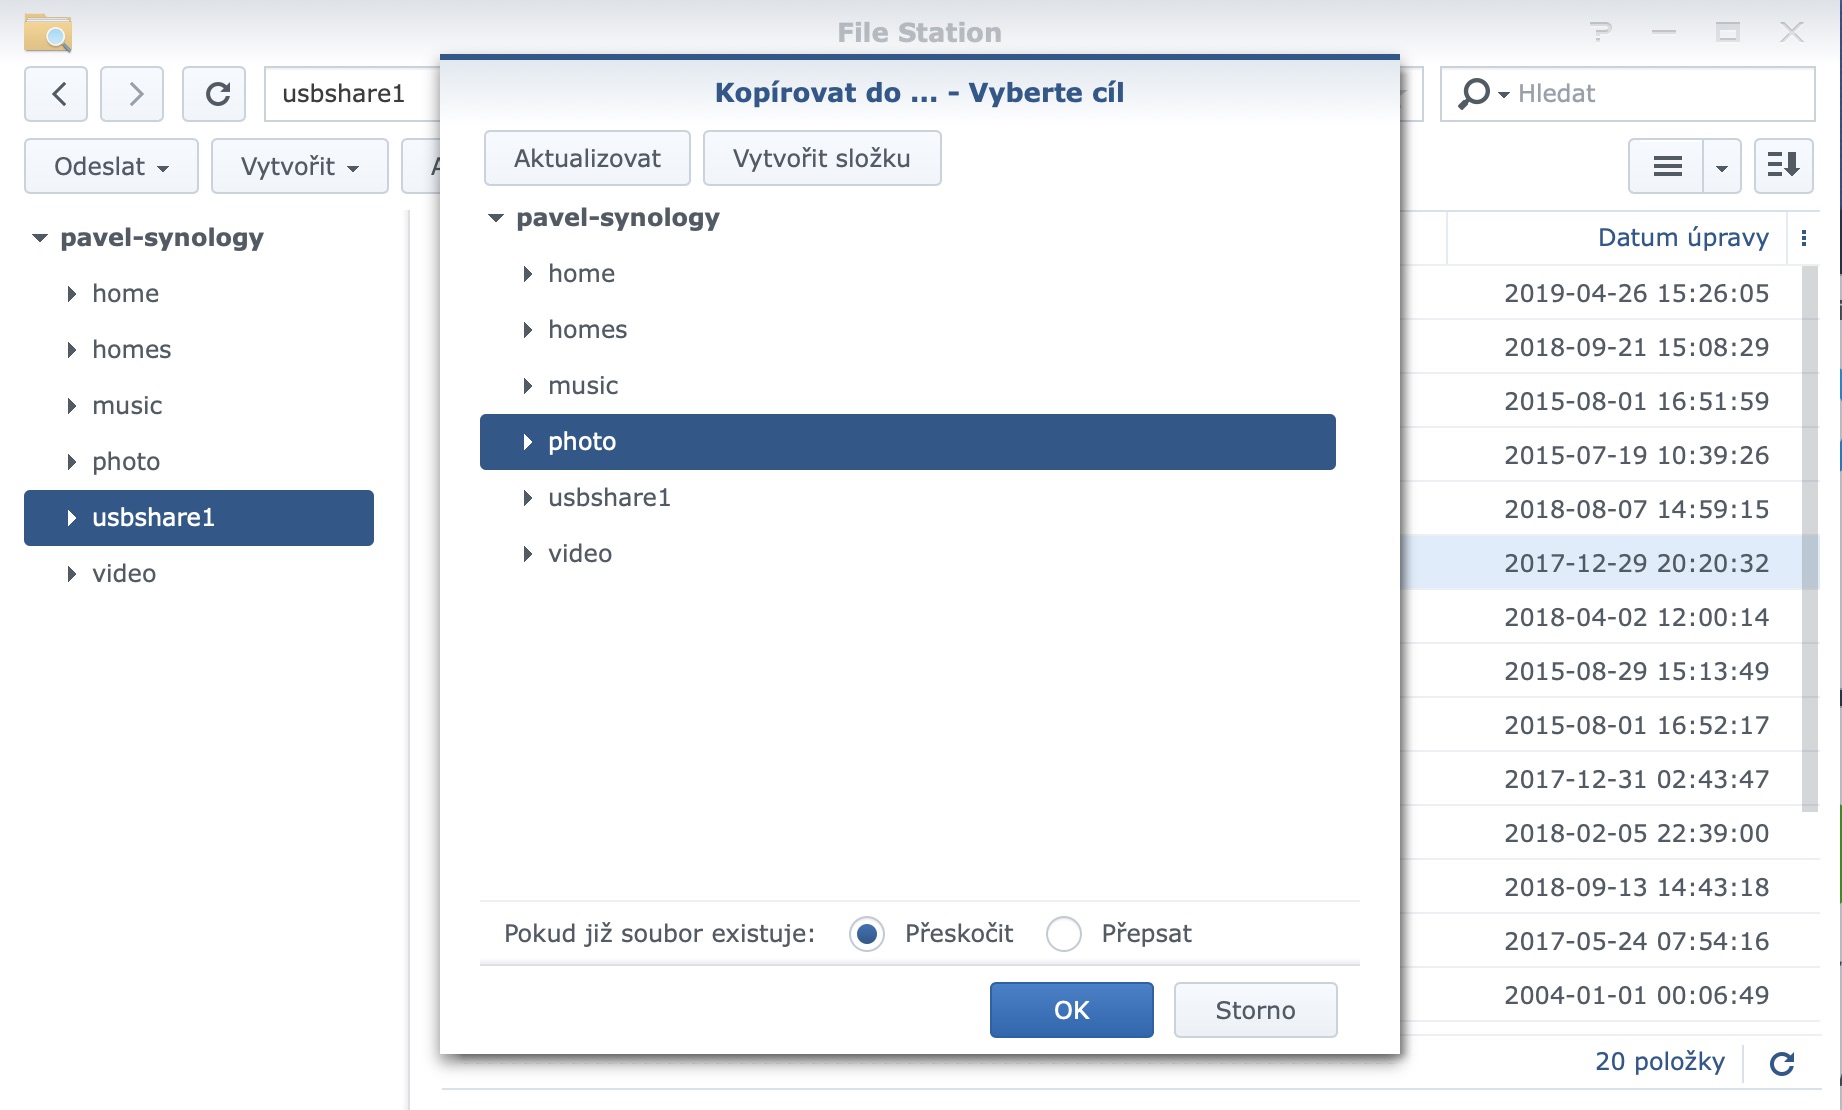
Transferring files is really very simple. In this paragraph, we will show you how to transfer data between an external hard drive and Synology. This method is the best in my opinion, because you don't have to have your computer on during the transfer and everything happens "in the background" without you having to worry about anything. After connecting an external hard drive to the Synology, an icon will appear in the DSM operating system to alert you that the external media is connected. In this case, simply open the File Station file explorer. On the left side, locate your connected external hard drive, on which you can find the data you want to transfer. Then mark them in the classic way, like on your computer, and click with the right mouse button. From the menu that appears, just select the option Copy to/Move to. Since I want the data to be preserved on the external hard drive, I choose the Copy to option. A new window will open where you can simply choose where you want to transfer the data. I will be transferring photos, and therefore I will find a ready-made Photos folder on the Synology, which is used precisely for storing photos. After that, all you have to do is choose in the lower part of the window whether you want to skip any duplicate files or overwrite them. Once you have completed these settings, the transfer itself will start.
Tracking progress
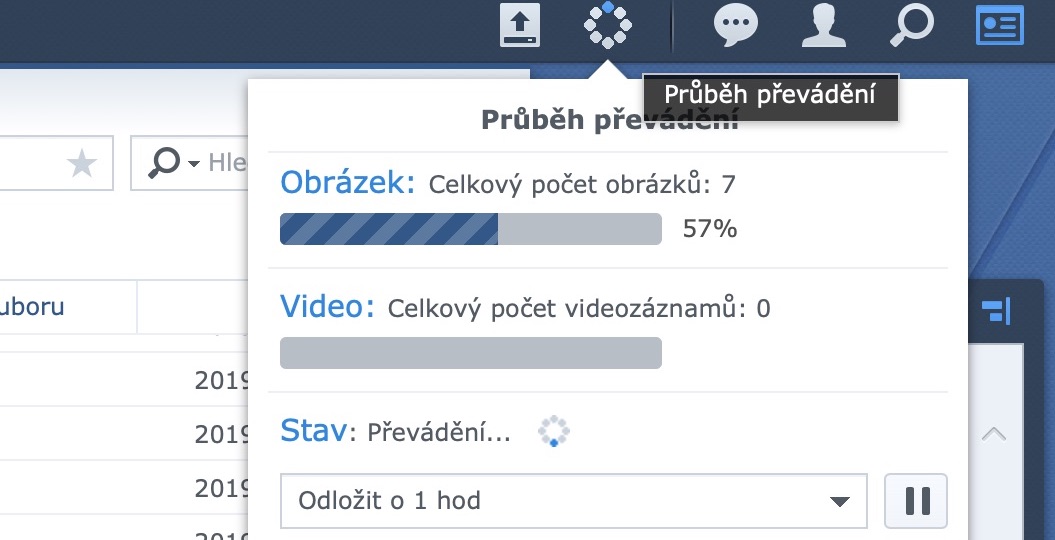
When I stored all my photos on the Synology, which had a total of about 300 GB, the transfer took several hours. However, I don't know the exact time, because as I mentioned several times, everything was happening in the background, as a transfer from the external drive to the Synology. You can monitor the progress of the transfer at any time in the upper right part of the window, where there is an animated icon indicating that the files are being transferred. You will be notified when the transfer is complete.
But the move is certainly not all that awaits you, or the Synology device. When you move a bunch of photos and videos to Synology, so-called indexing still has to take place. This process ensures the best possible performance when viewing photos. That way you won't be waiting a few seconds while searching for photos to find what you're looking for. In layman's terms, Synology compares all photos and videos so that it knows exactly where it is and is able to react quickly if necessary. The indexing process can take several days depending on the size of all files. In this case, the processor power is used at 100%. However, if needed, you can of course pause the entire indexing and start it again at any time.
Completion of transfer and indexing
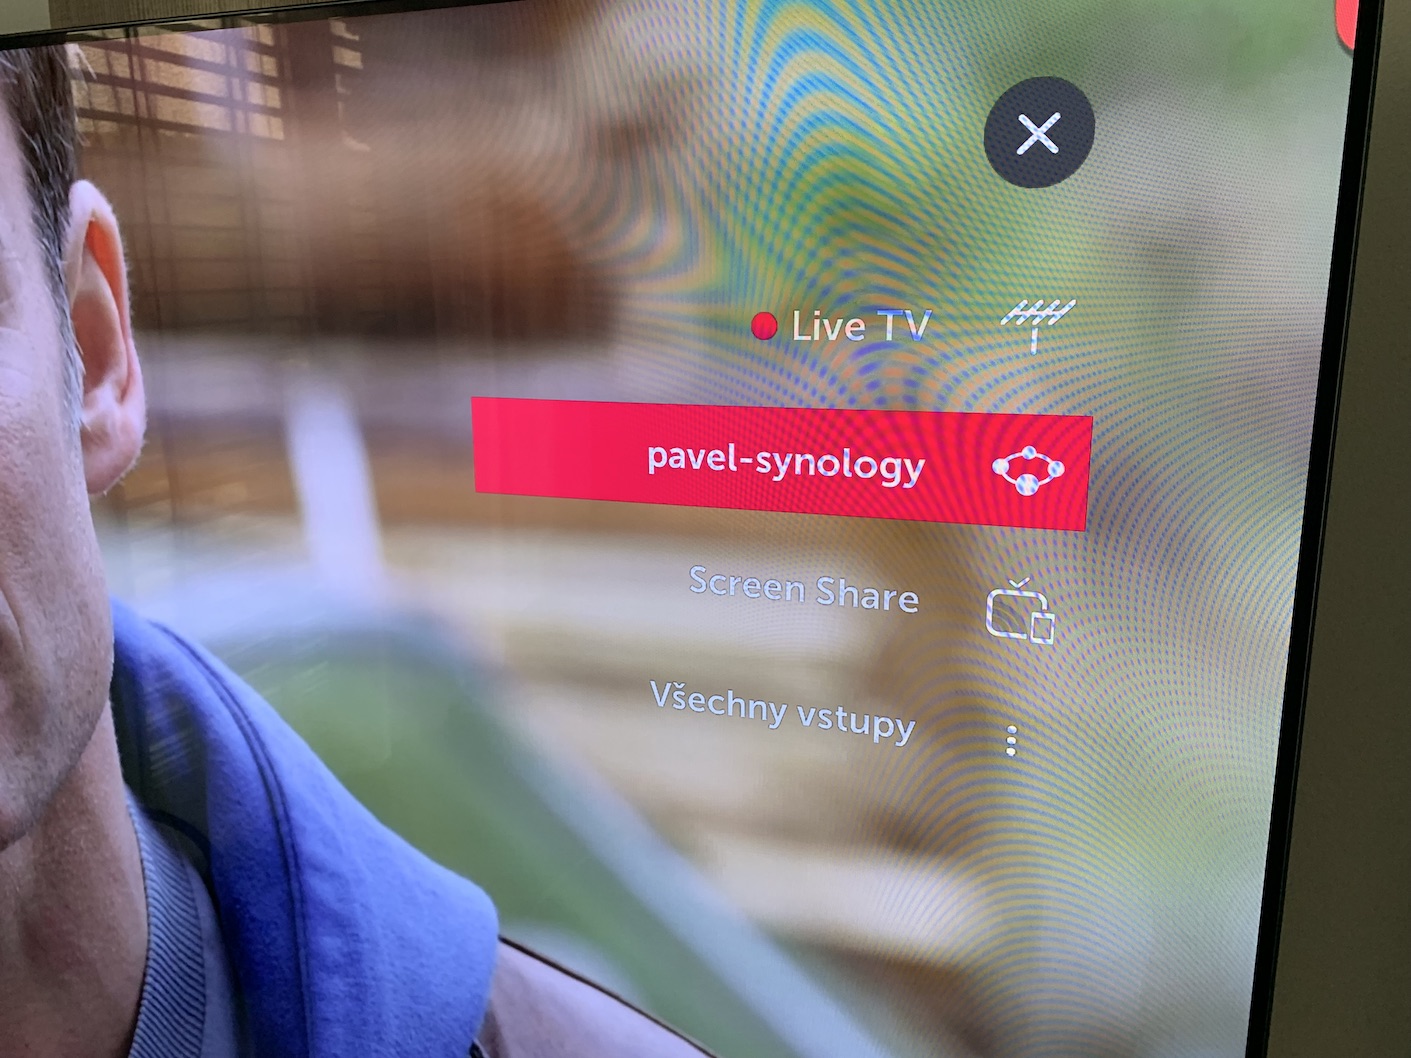
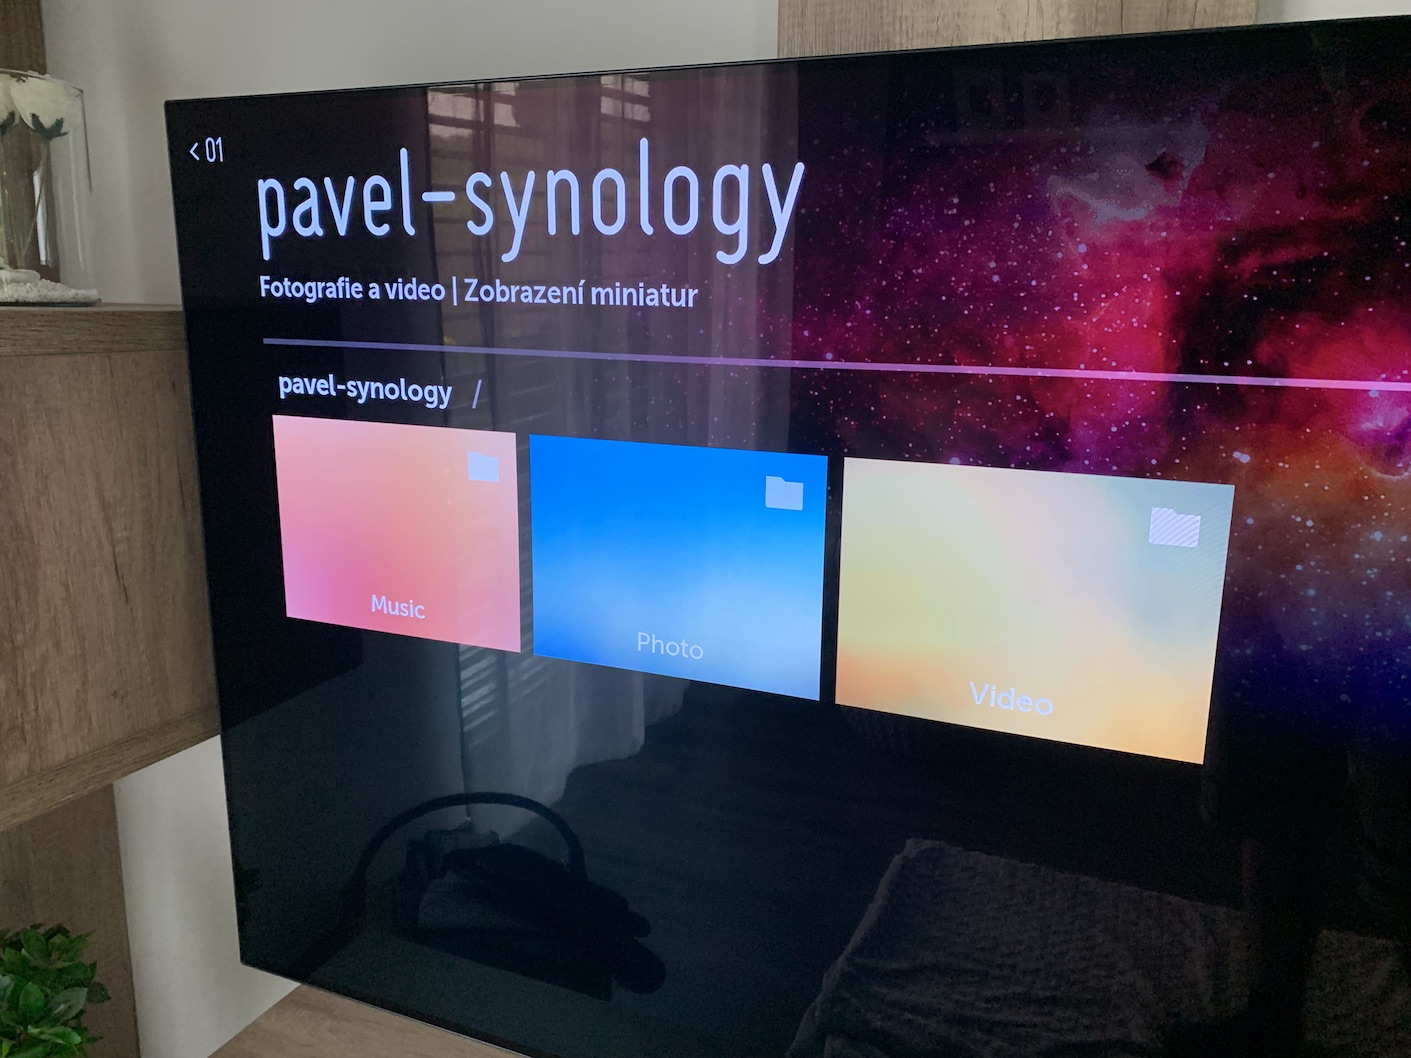
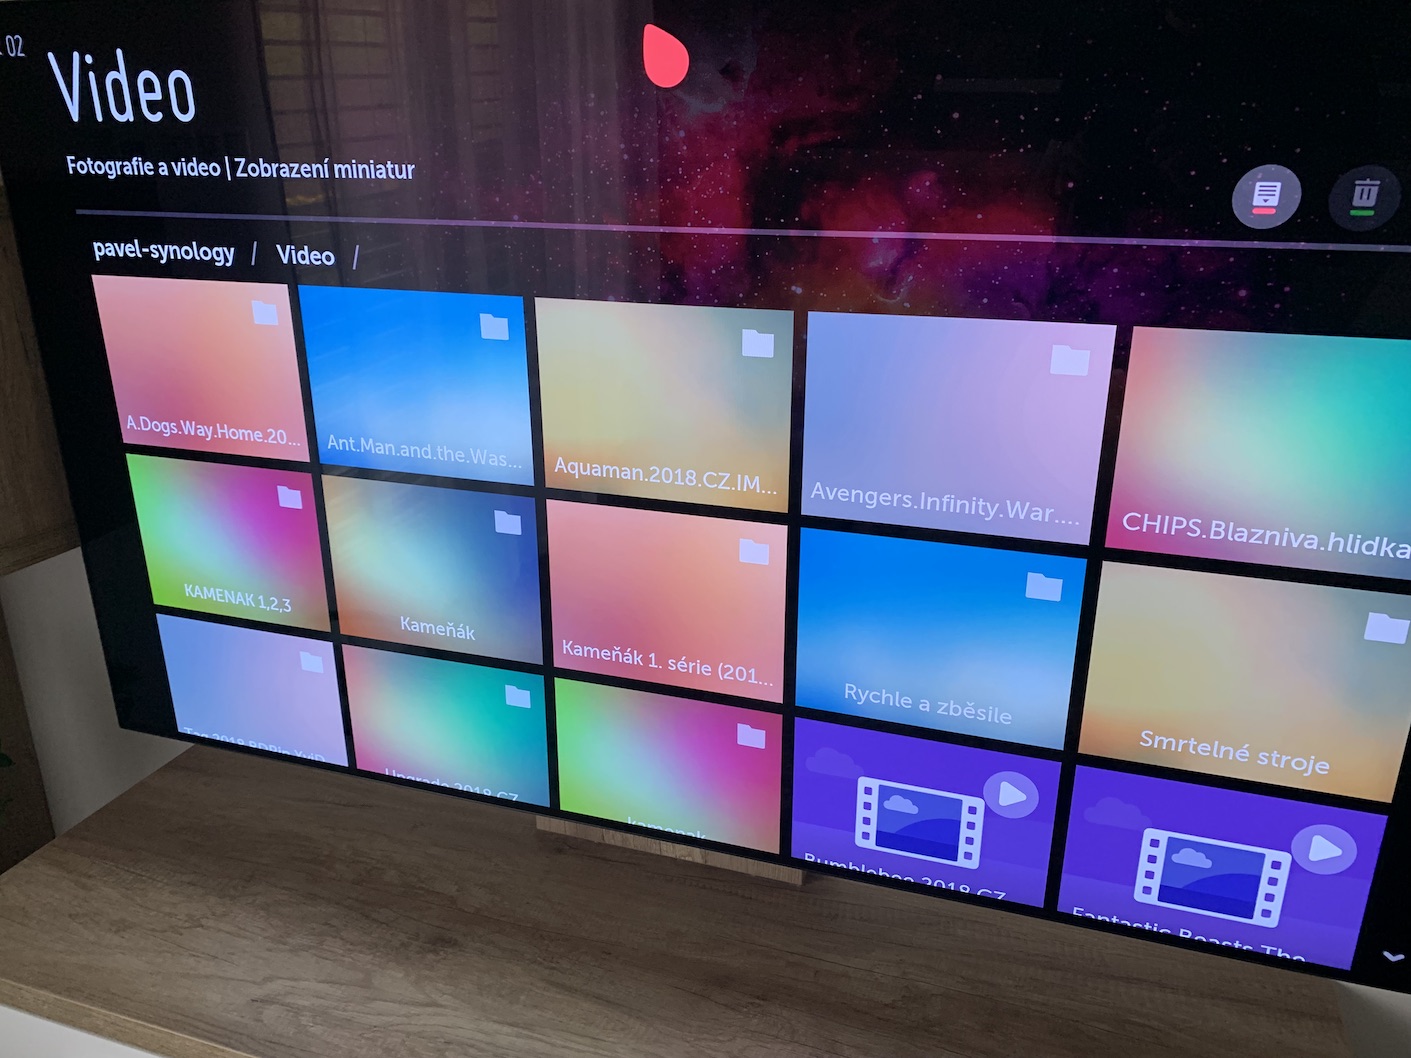
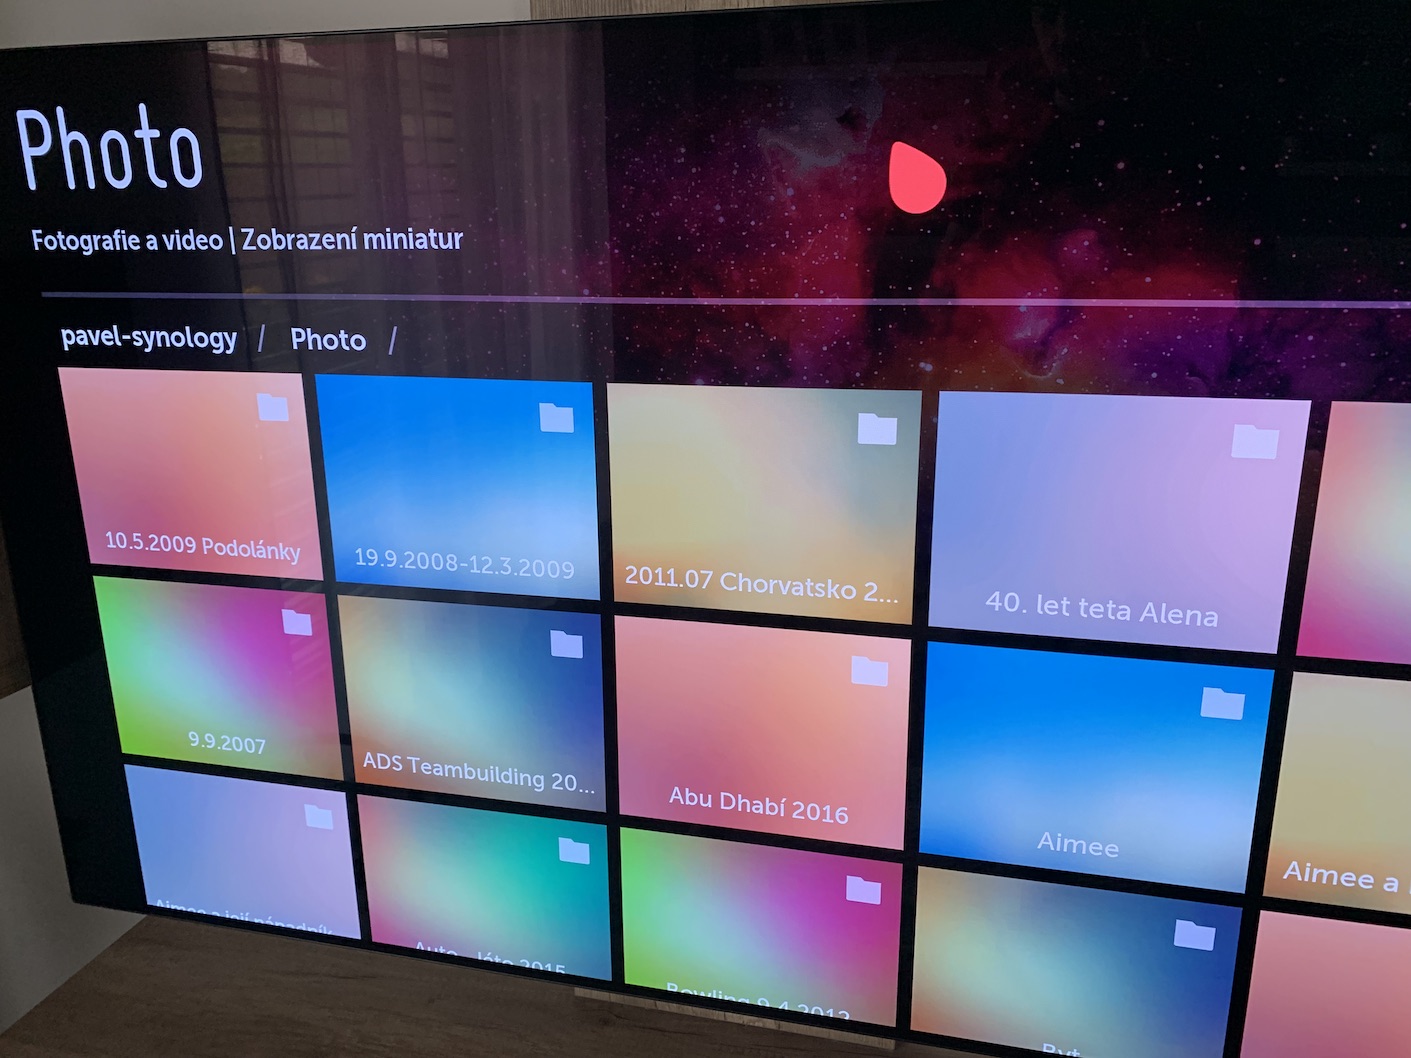
As soon as the indexing is complete, you will be informed again via a message in the upper right part of the screen. After the transfer and indexing process is complete, you can now view all your photos anywhere on the network. Personally, we use the Synology very often on a smart TV, where it is enough to simply switch with one button and view all the files and photos that are on the Synology. So, whenever someone comes, you can simply show them photos directly through the TV. You don't need to connect an external hard drive or computer to it using an HDMI cable. All you need to do to view photos is to be connected on the same network.
záver
Transferring files to Synology is really very simple. I believe that in this article I have made it clear to you what you need to do and undergo if you decide to purchase a NAS station. However, there is definitely nothing to worry about - indexing and the transfer itself takes longer only during the first transfer, when you transfer all your data to the station. In the next part of this series, we will look at Download Station, which will help you download files from the Internet. Even here, however, there are some barriers that we will break down together in order to reach a successful end in the form of flawless functioning.



I have a DS218j at home as well, all transfers are wireless from the Mac and I haven't registered any dropouts yet. It is true that the router has a lot of influence on the transfer speed. I have an older router and 2 GB of video can be streamed wirelessly to the NAS for even 5 minutes. The exchange for a newer router is really necessary :-)