It's been a few weeks since the third part of the Profi iPhone photography series was published in our magazine. In this third part, we looked together at terms related to photography. If you have only started reading this series from this episode, I definitely recommend you to watch the previous episodes as well, so that you are up to date. As I already mentioned, this fourth part will be devoted more to practice than to theory. So we will discuss the native Camera app together with the paid Obscura app. So let's get straight to the point.
It could be interest you
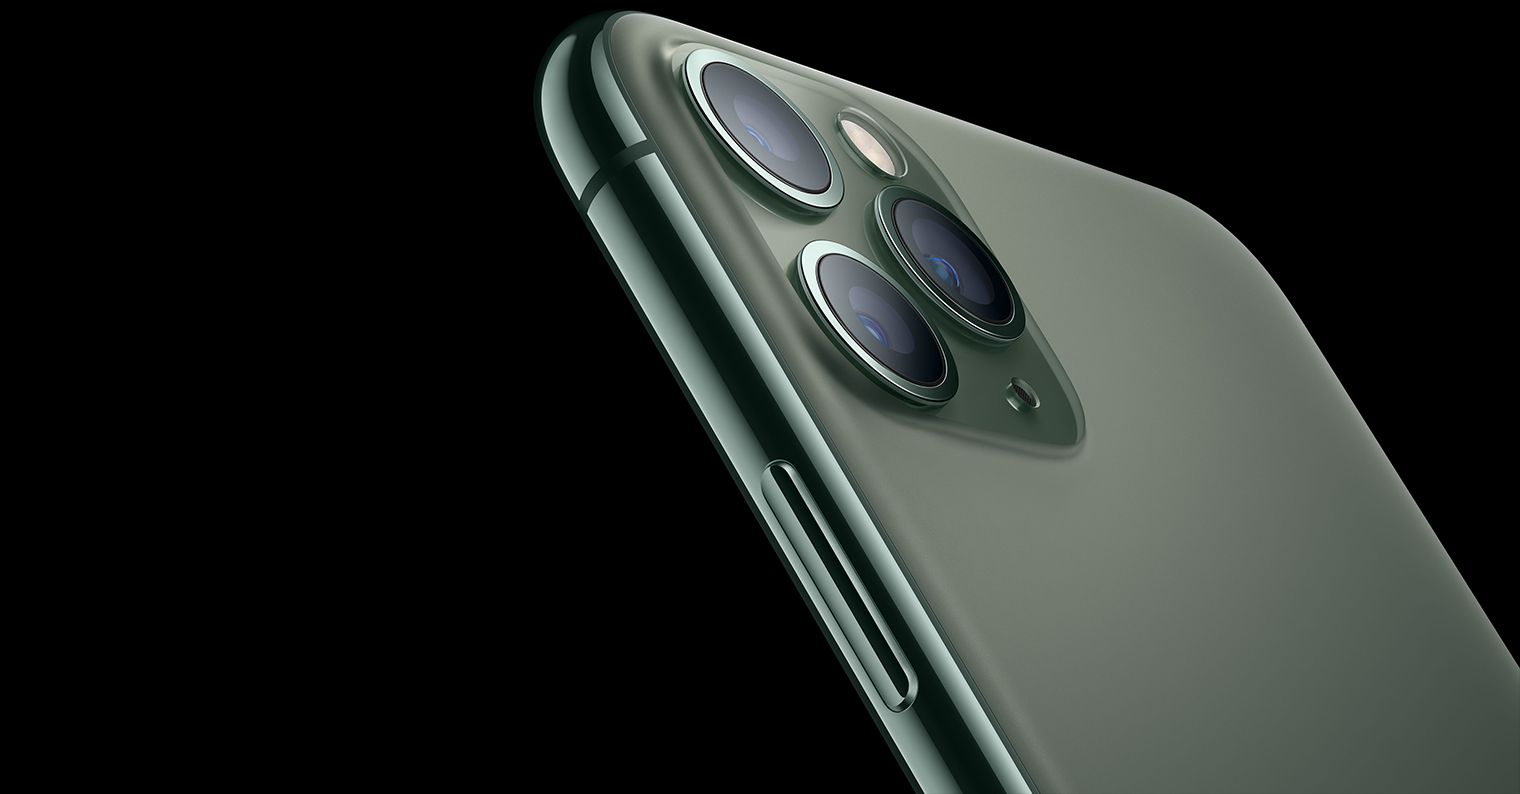
Native Camera app
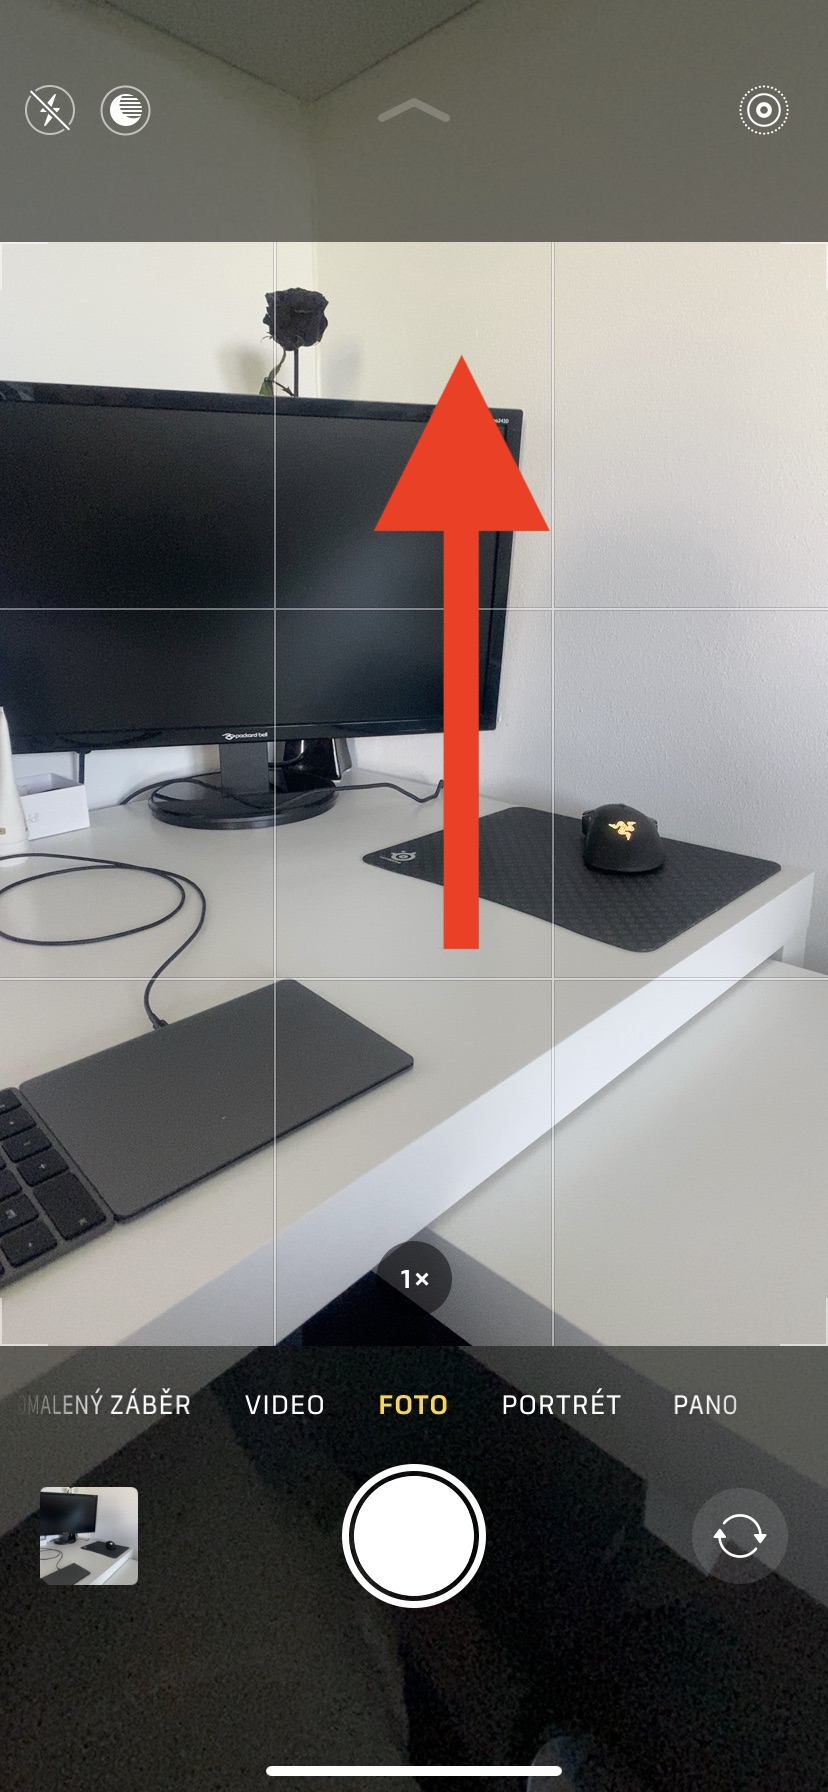
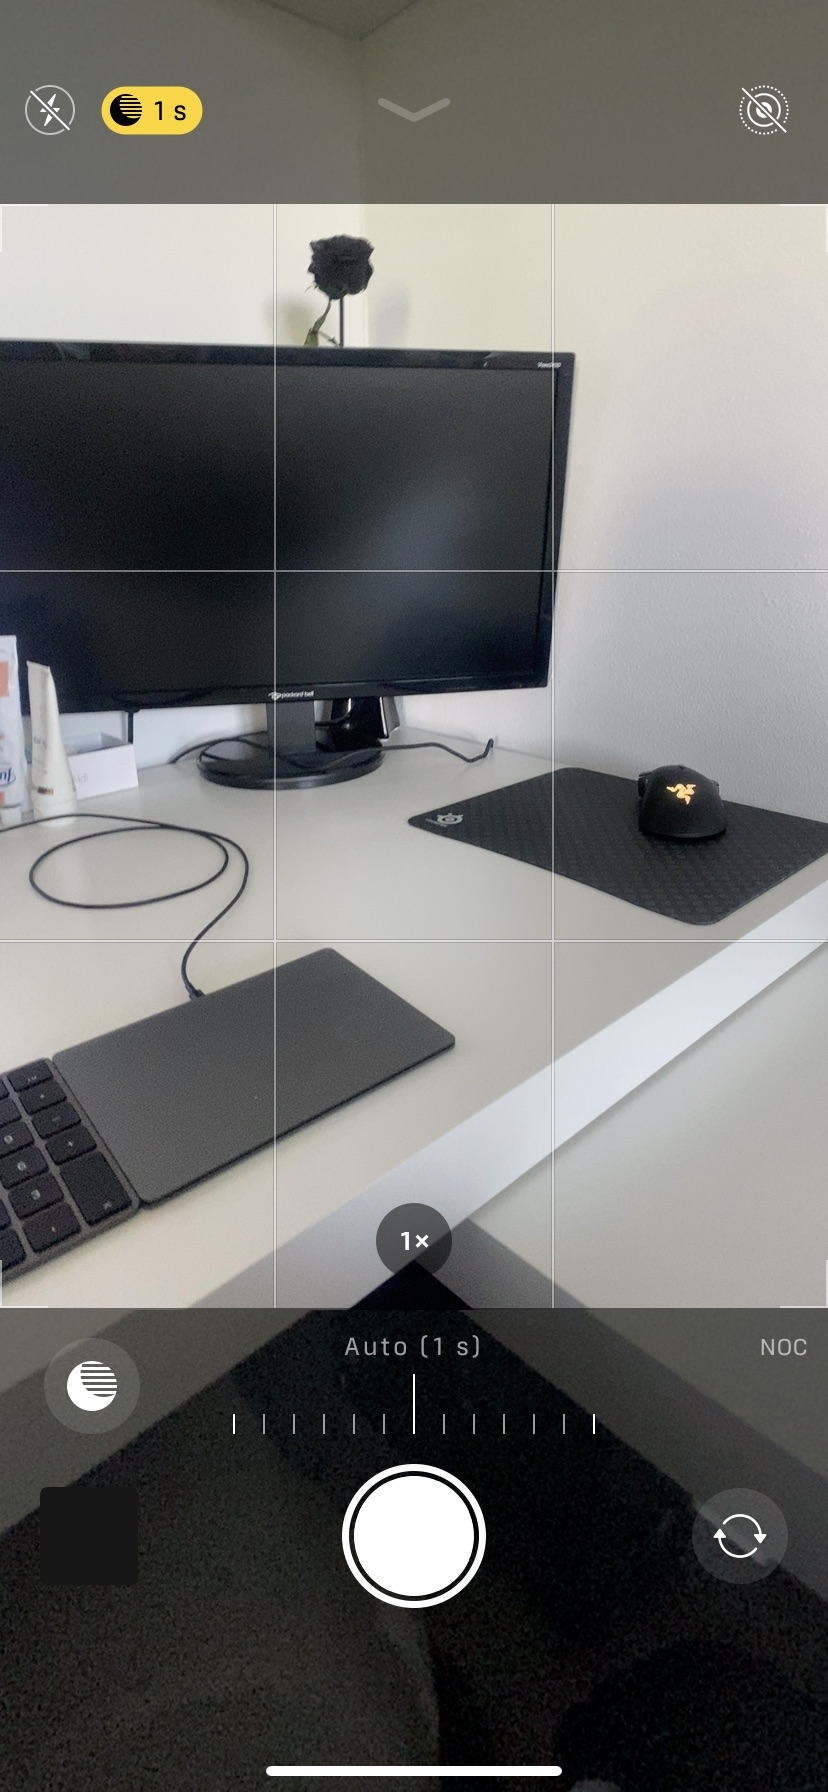
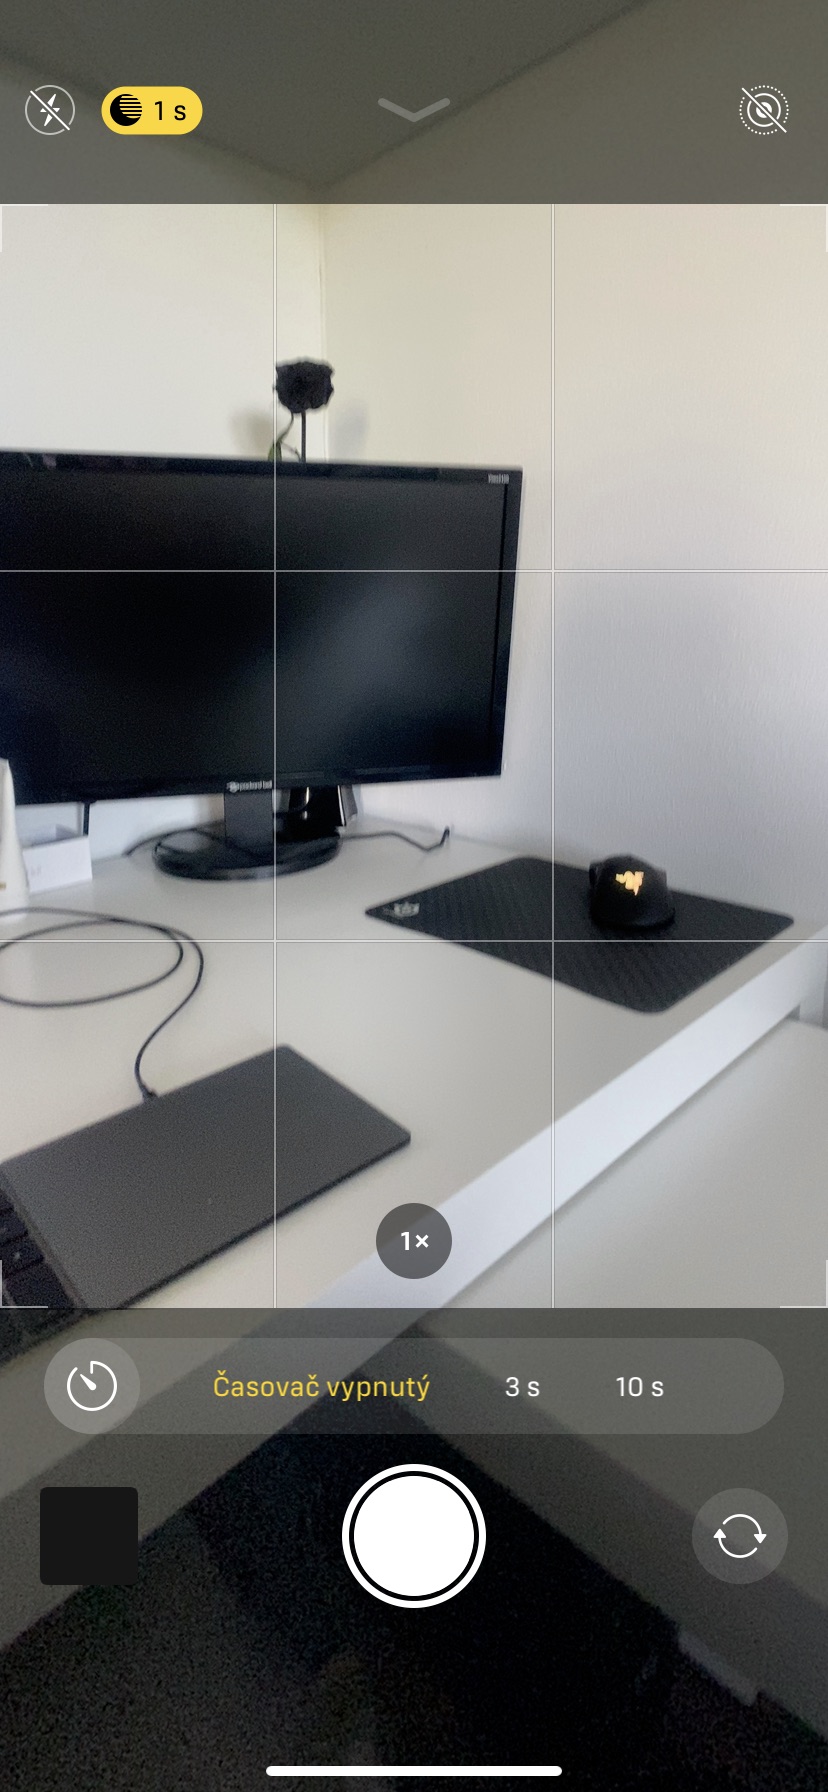
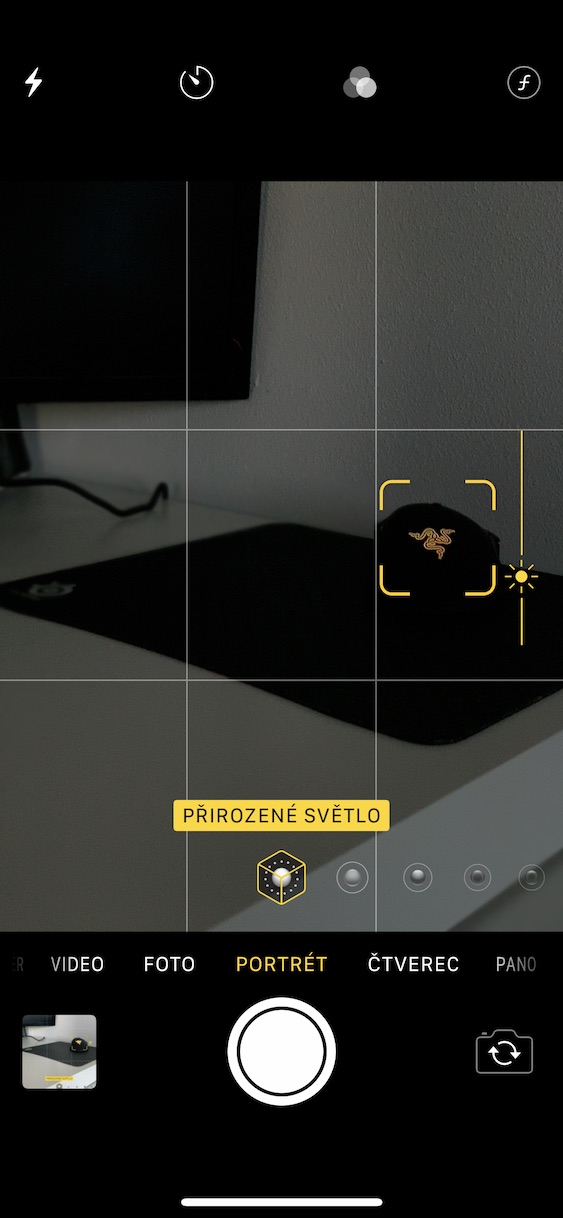
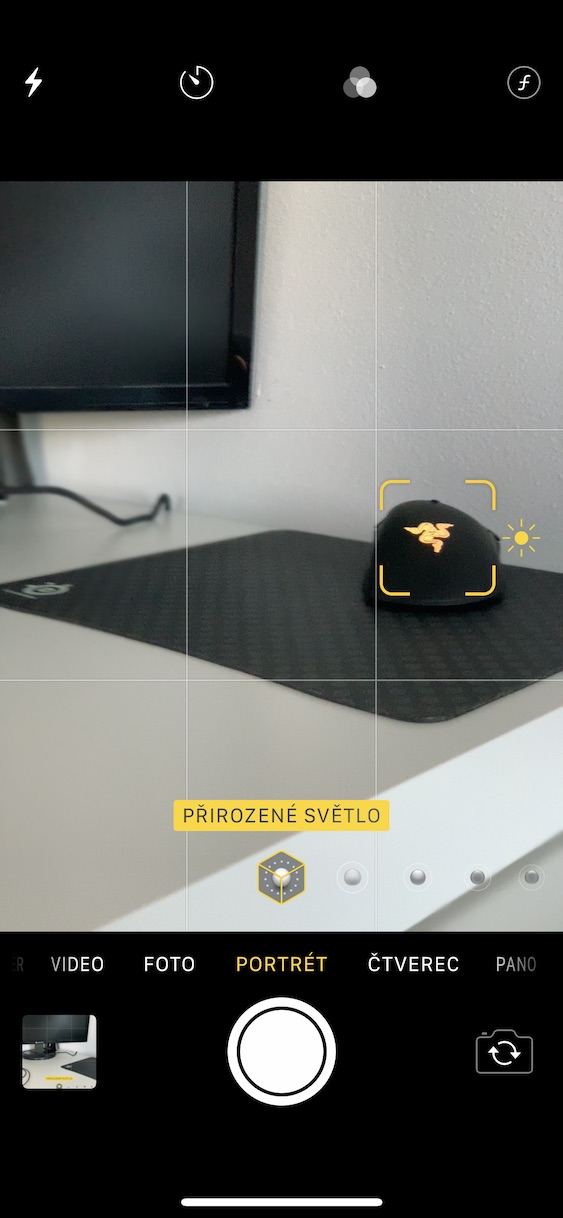
If you are an iPhone or iPad user, you will always find the Camera application pre-installed. This app varies depending on which iPhone model you have. iPhones from the 11 series have a more sophisticated application than all older ones. However, the "basic" version of the Camera is the same for all models. After launching the application, you can slide your finger left and right to move between the available modes (photo, video, slow motion, etc.). At the bottom center is the shutter button to capture the image, on the left you will find quick access to the gallery and on the right the icon for rotating the camera. At the top left is the icon for quick flash settings, next to it is the night mode control. At the top right, you will find a single icon that is used to (de)activate Live Photos. That's it from the "introduction" screen.
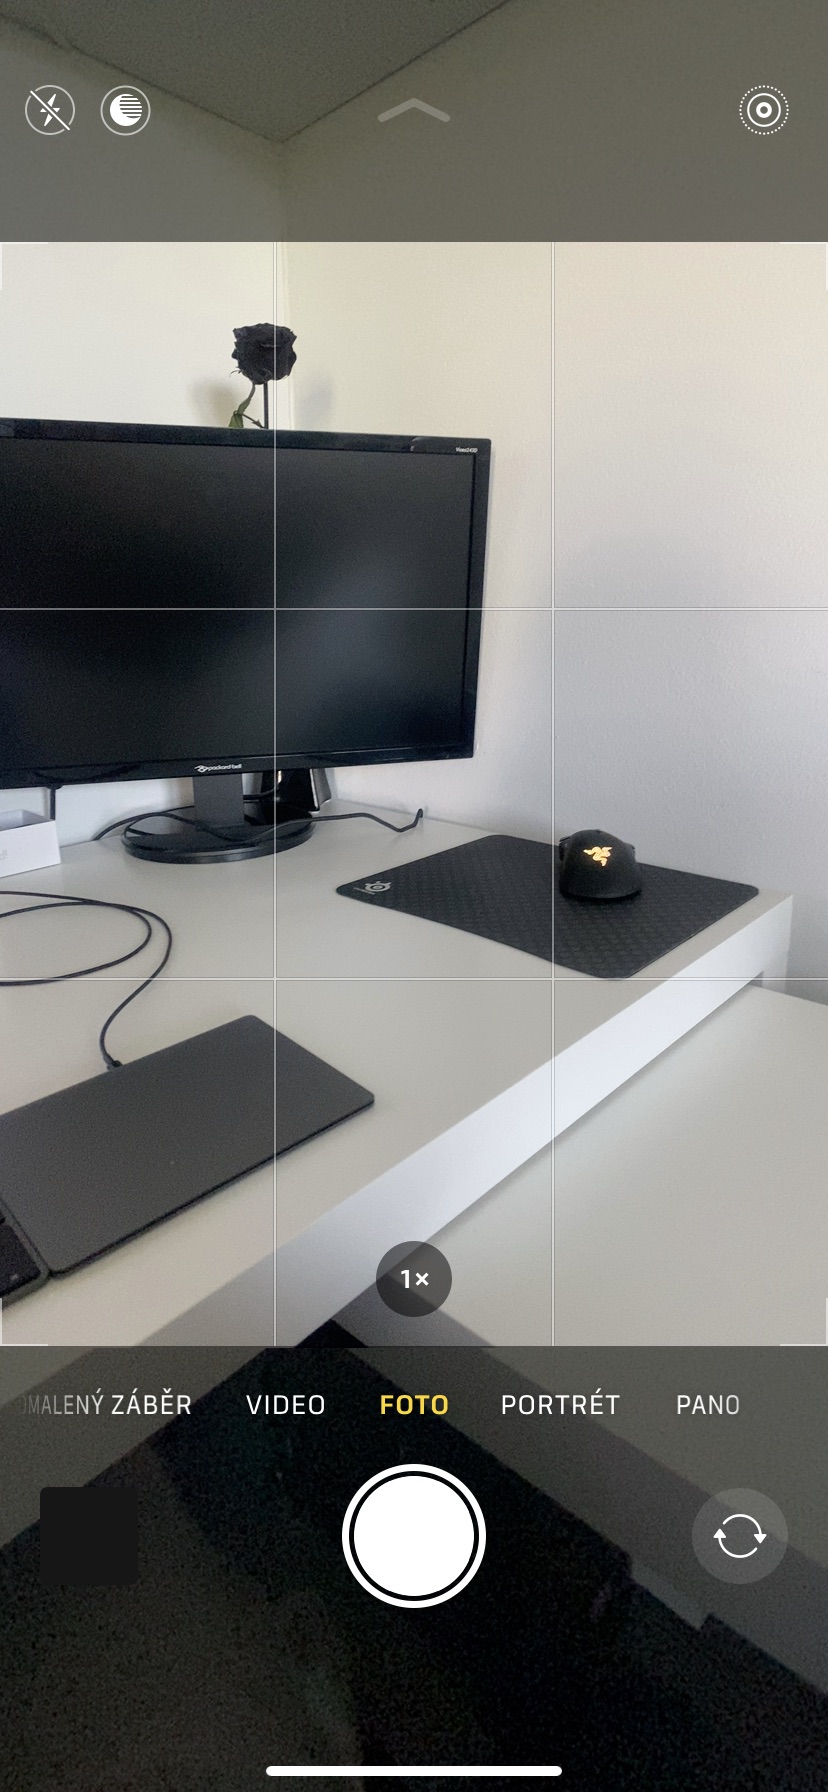
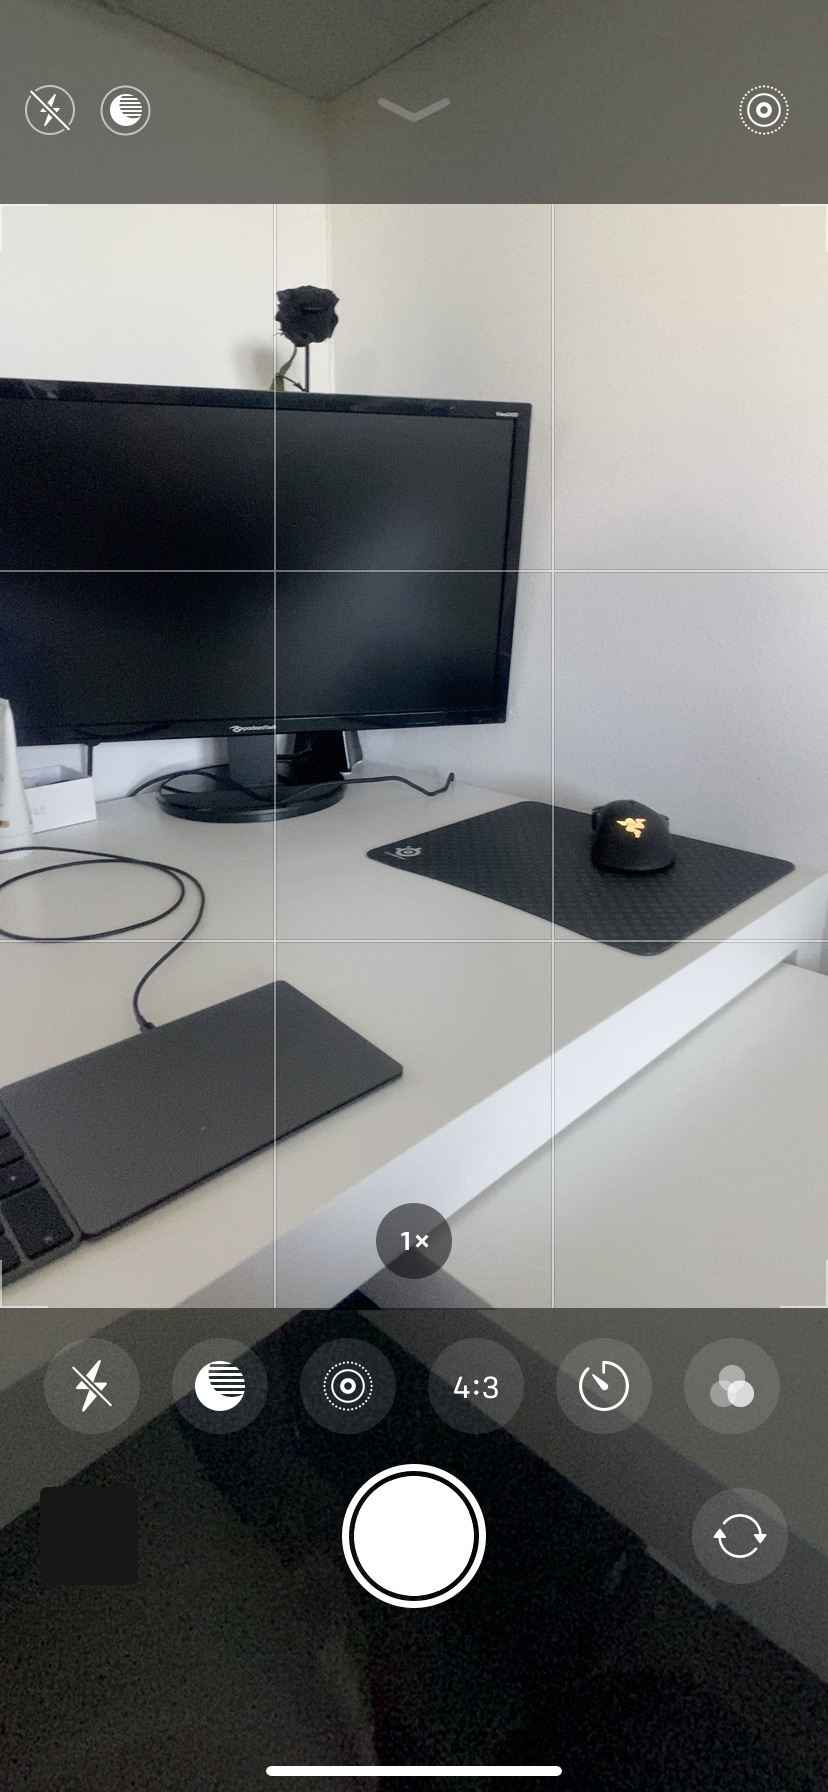
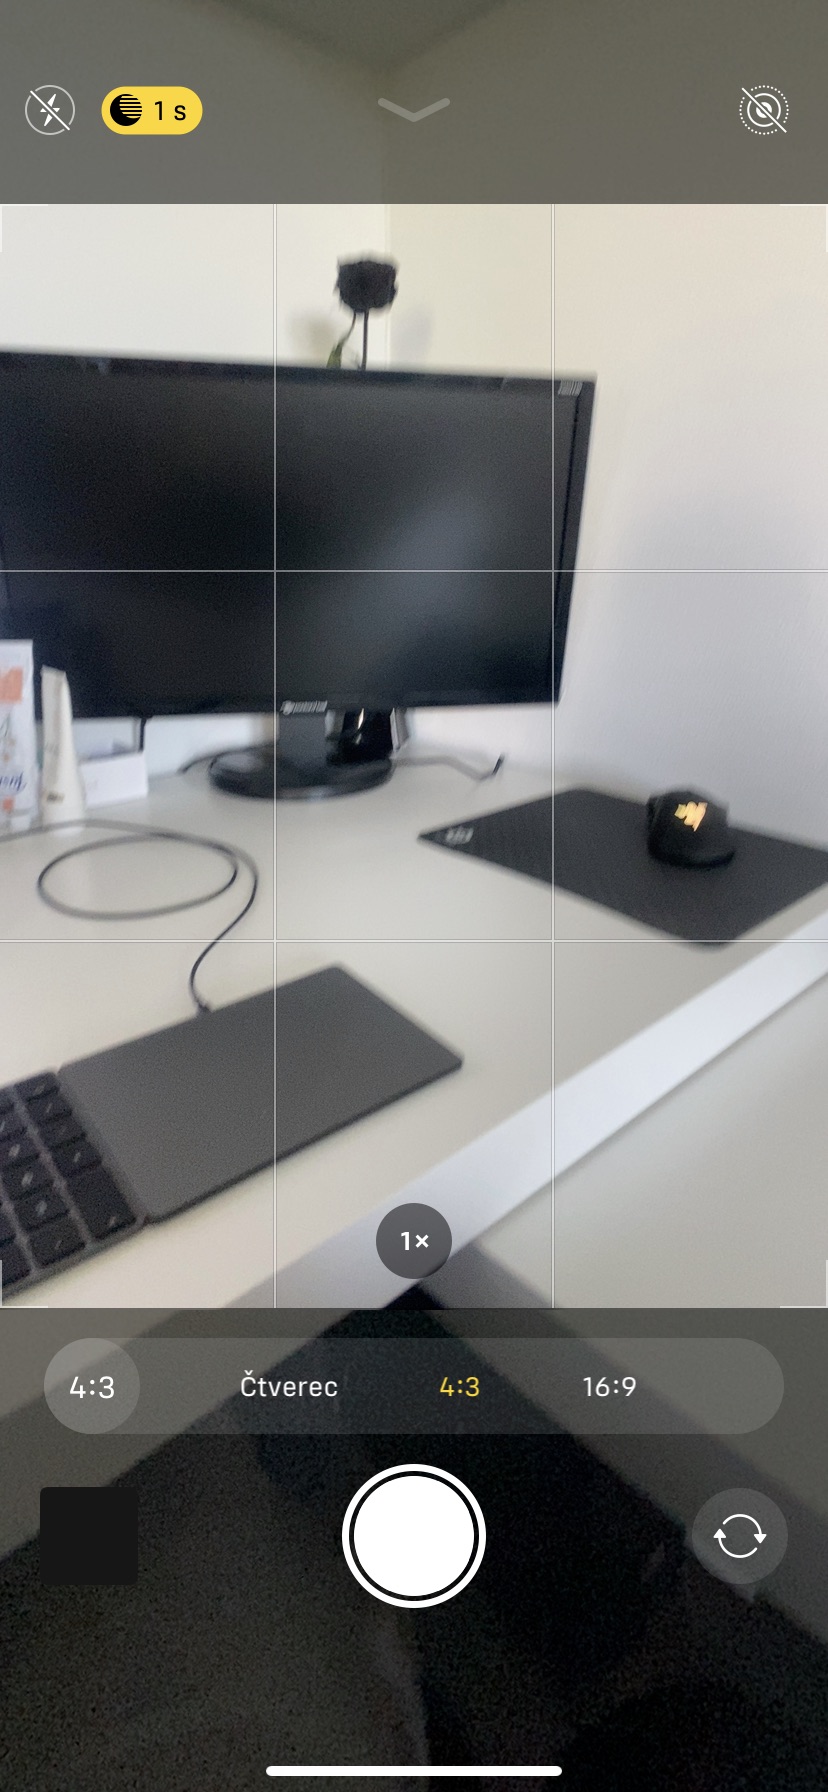
If you swipe up from the bottom of the Camera, you will see additional setting options at the bottom of the screen. If we look at the options on the left, the first one is the flash setting, the second one on the left allows you to set the night mode, and the third icon allows you to (de)activate Live Photos - so it's nothing new compared to the "introduction" screen. With the fourth icon, you can easily change the photo (4:3, 16:9, etc.). The fifth icon is used to set the timer (3 and 10 seconds), i.e. after what time the photo will be captured. The last icon is then used to set the filters.
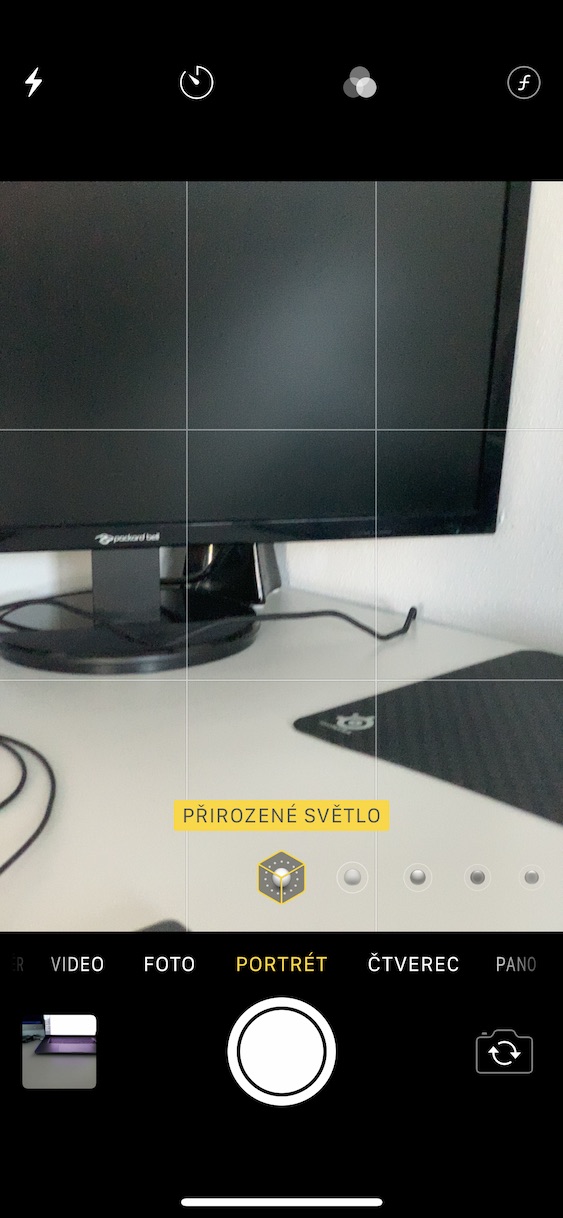
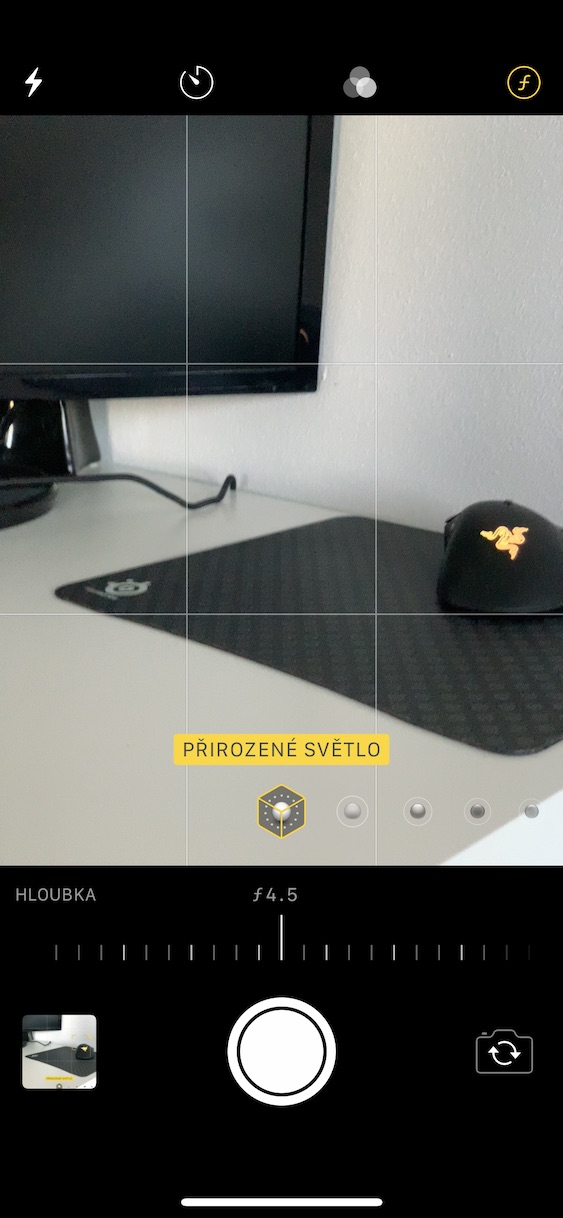
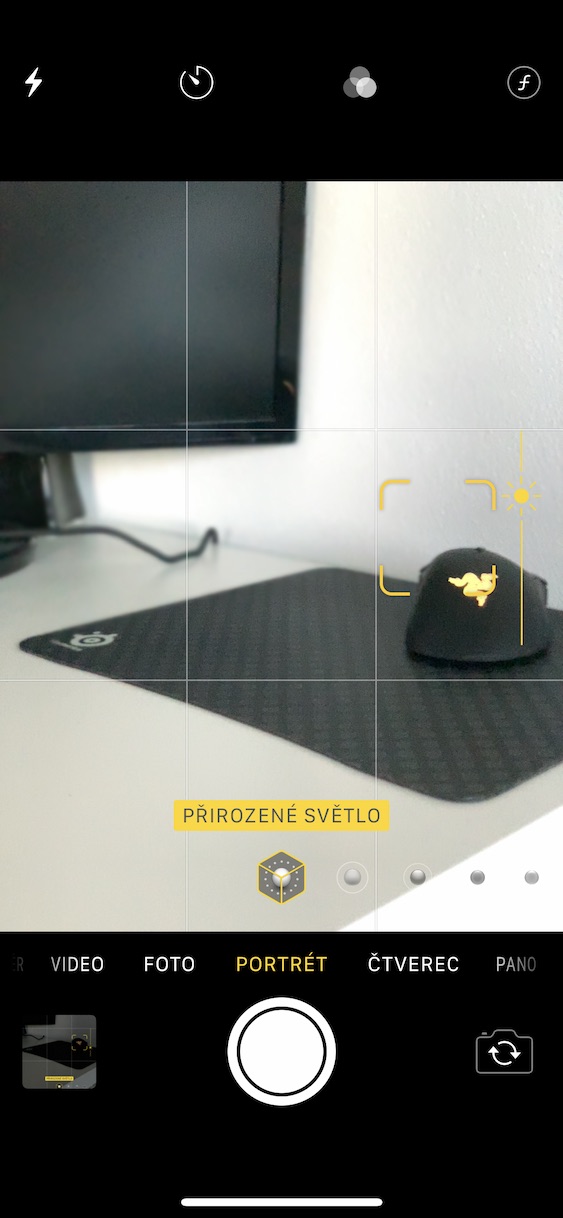
If you own an iPhone with a telephoto lens, you can still adjust the depth of field (the strength of the background blur) by using the fv wheel icon. At the same time, different light modes are available in the lower part of the portrait. As for focusing, of course your iPhone can focus automatically - but this is not entirely appropriate in all cases, as it can focus where you don't want it to. If you need to focus on an object manually, just tap on it on the display. The iPhone will then refocus. If you hold your finger on the display and move it up or down, you can change the exposure level. The native Camera application will therefore be sufficient for most users. There are third-party apps available for pros, such as Obscura or Halide. In the next lines we will look at Obscura.
Obscura app
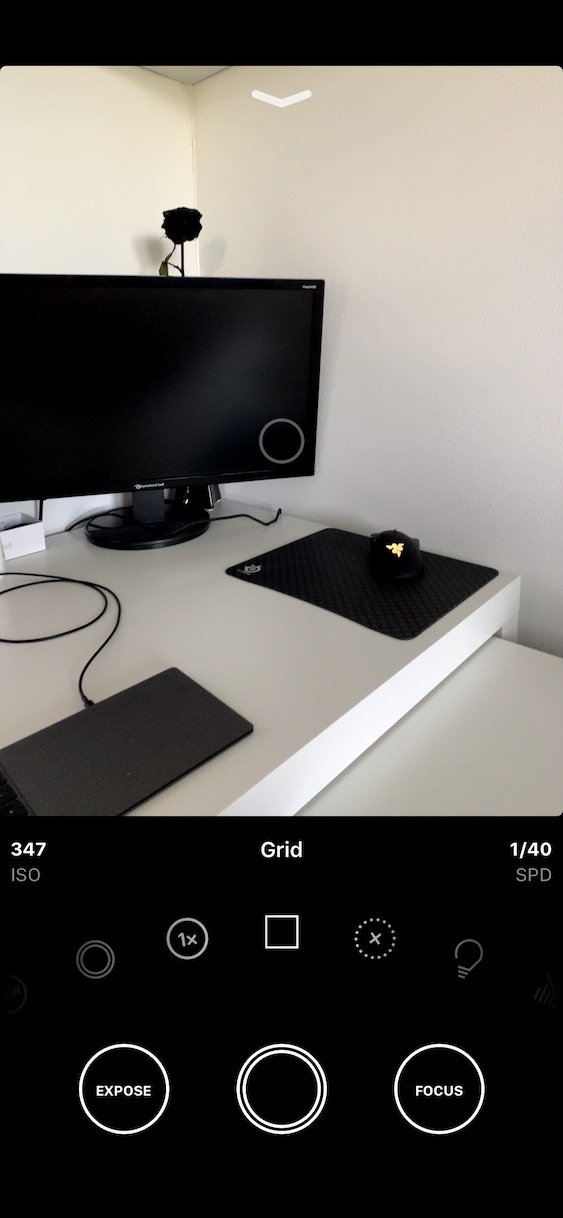
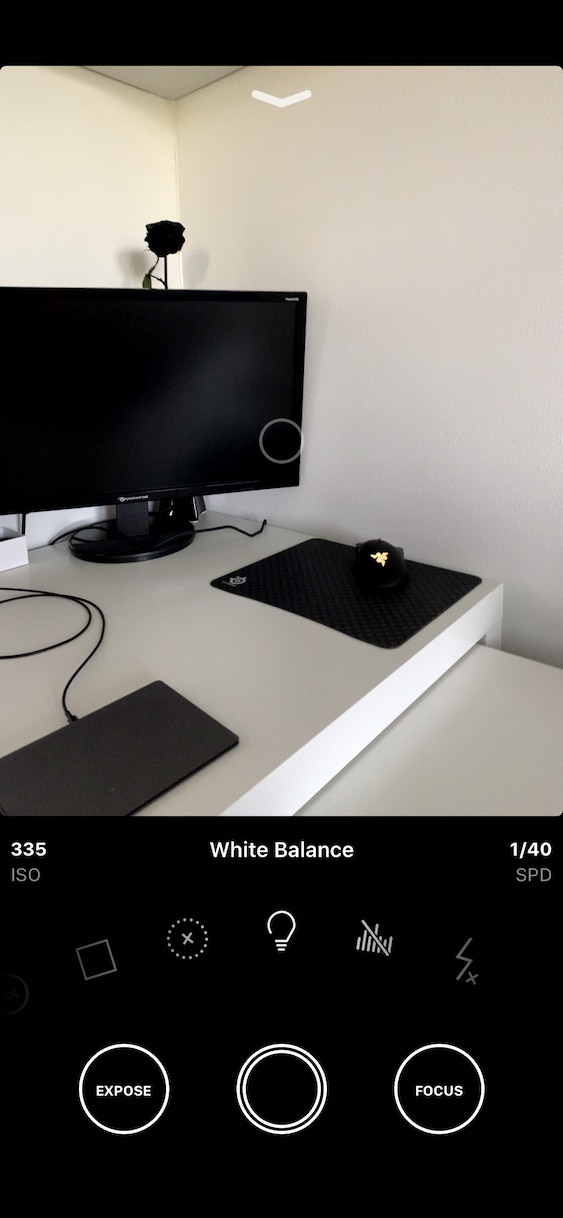
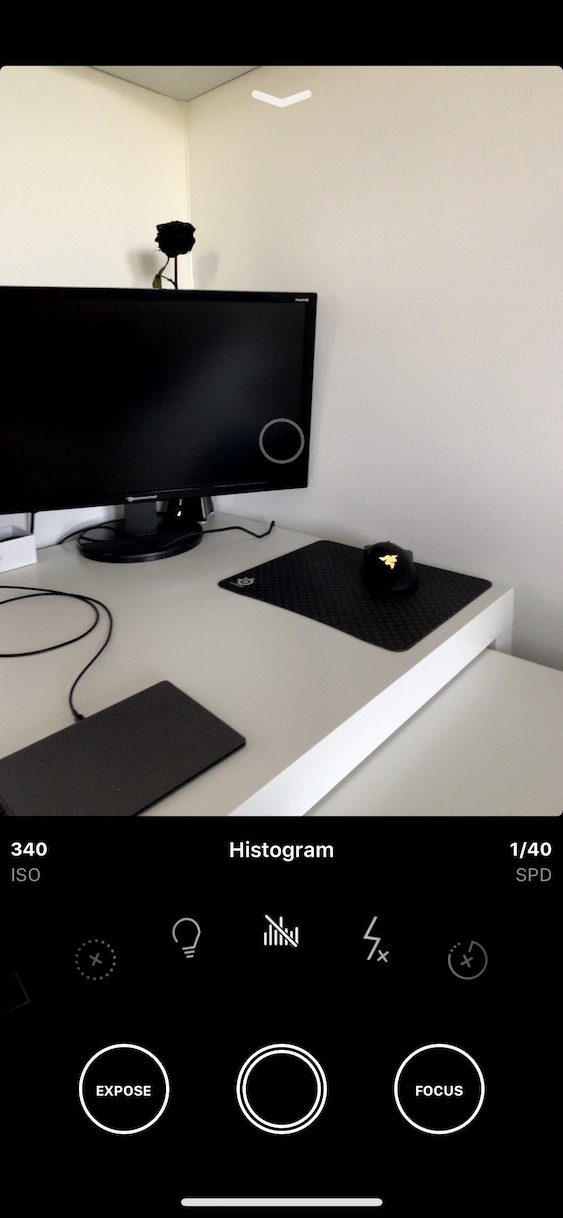
The basic control of the Obscura application is in a way very similar to the control of the native Camera. However, Obscura offers a few extra features compared to it. Once you move into Obscura, you'll find that all the controls are at the bottom of the screen - there are no buttons at the top. All shooting settings are made using the "wheel" located above the shutter button. In this wheel, you simply scroll with your finger. For example, filter, zoom, grid, white balance, histogram, timer or format settings are available. You can move to the settings of a certain item by simply tapping on it. I can highlight, for example, the possibility of shooting in RAW format from this "wheel of functions". To the left of the wheel you will find the ISO value expressed in numbers, and to the right the shutter speed.
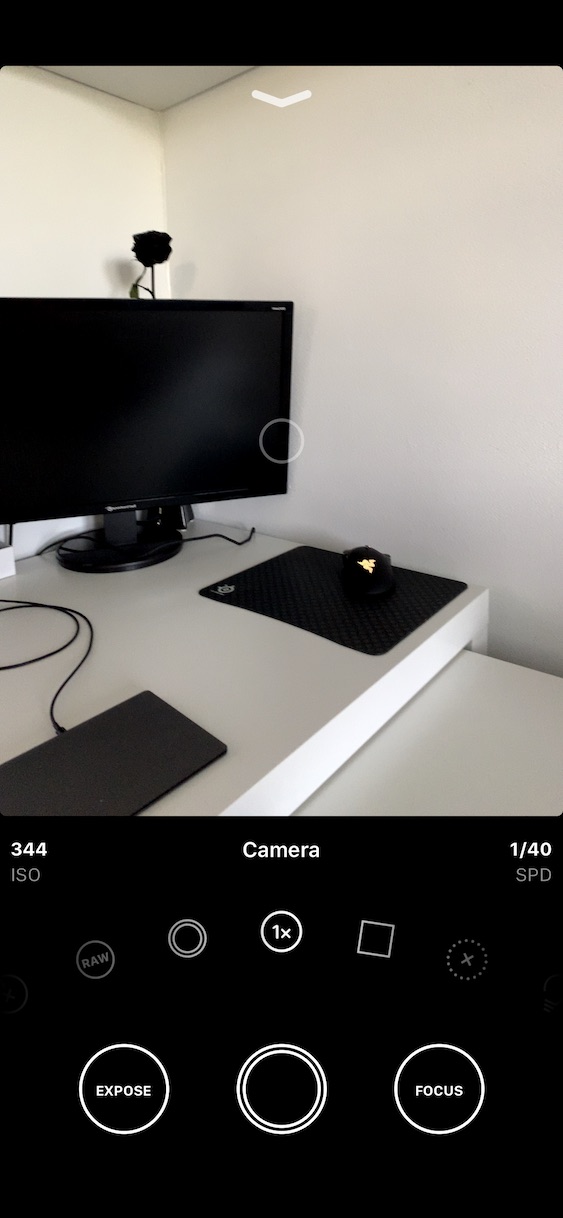
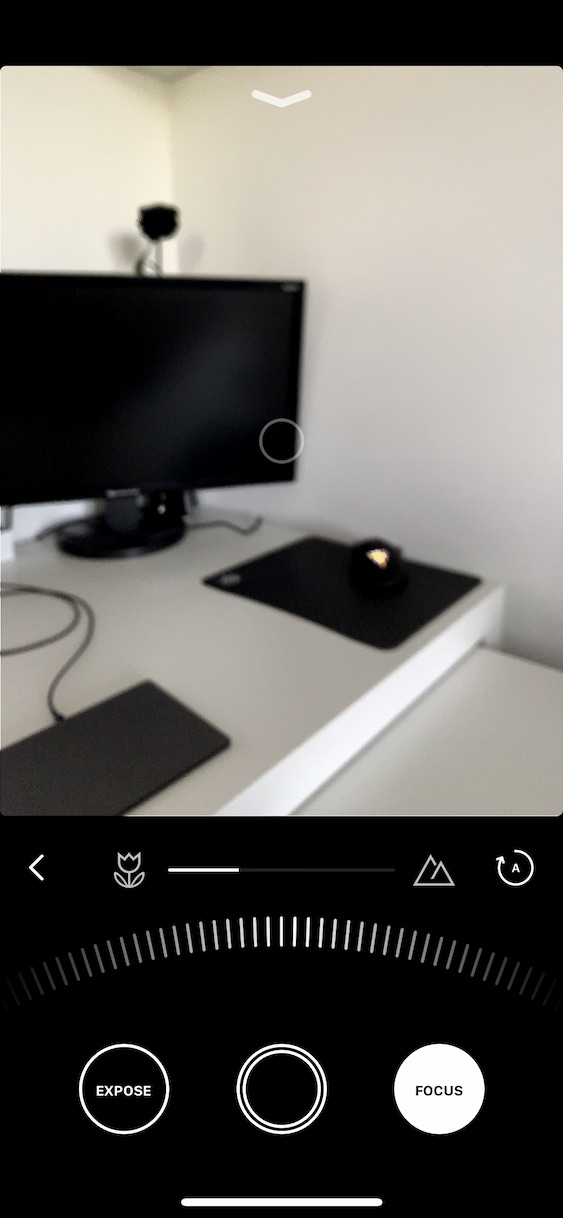
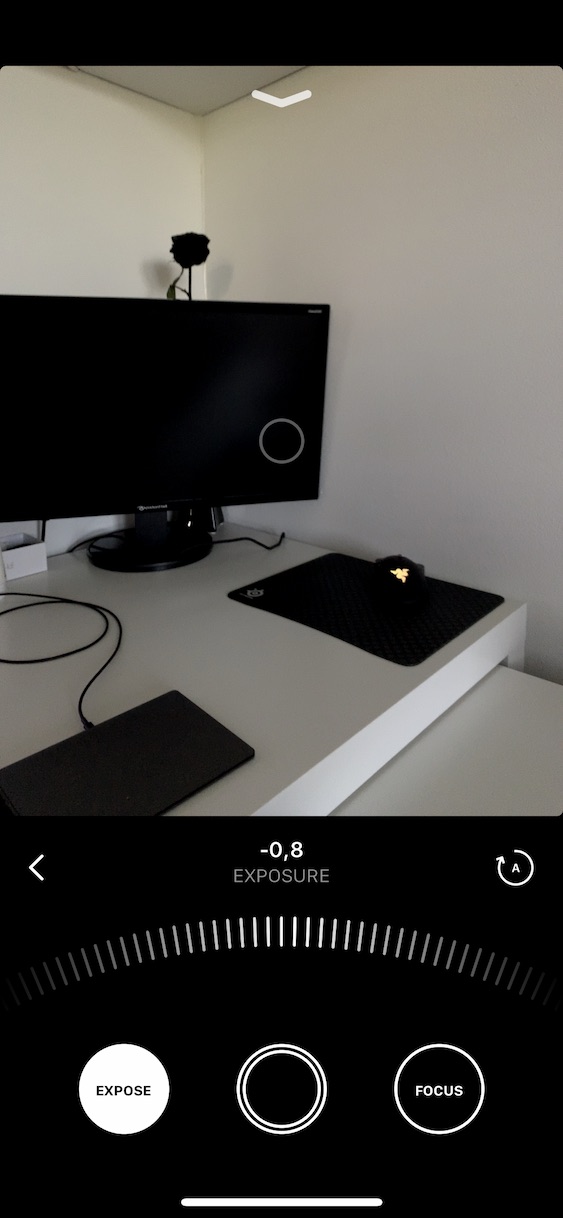
There are a total of three large circles under the aforementioned function wheel. Of course, the middle one serves as a shutter. The circle on the right labeled Focus is used to adjust the focus of your camera. Here comes a big difference compared to the native Camera application – in Obscura you can focus completely manually. If you click on the Focus circle, you will see a slider that allows you to focus manually. If you want the camera to start focusing automatically again, click on A with the arrow in the circle at the top right. It works exactly the same for exposure settings - just tap on Expose in the bottom left. Again, it is enough to set the exposure value manually with the slider, if you want to reset the setting, click on A with the arrow in the circle.
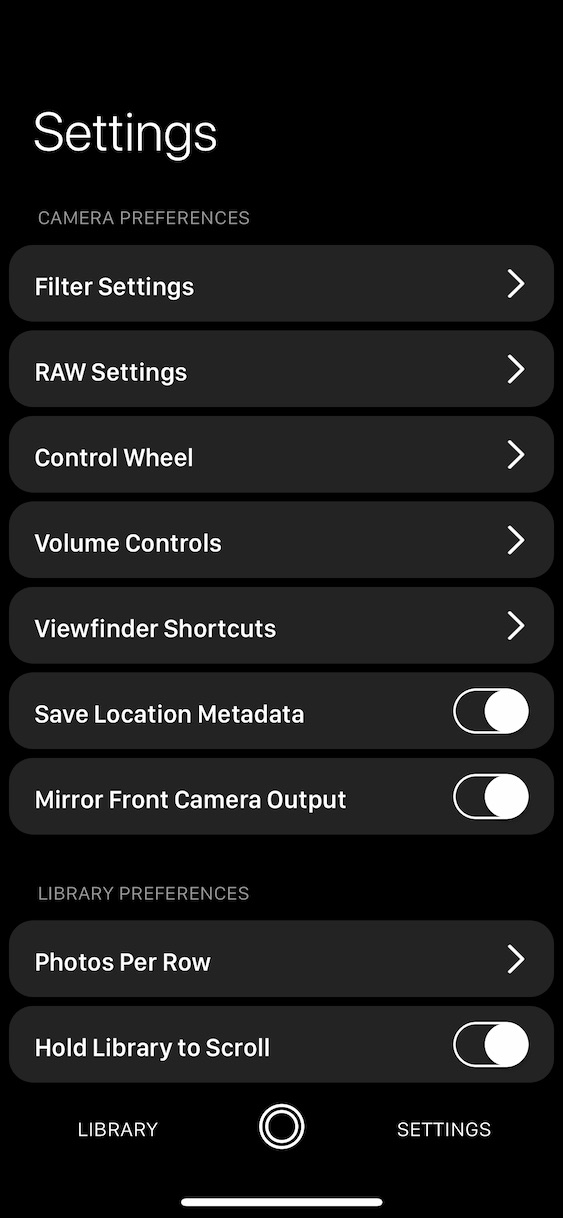
You can also focus manually in Obscura by tapping your finger on the screen on the object you want to focus on, as in the case of the Camera. If you swipe from top to bottom, you will find yourself in the library or in additional settings. You can then move between these sections below by clicking on Library or Settings. In the library you will find all the photos taken, in the settings additional settings of the application.
Summary
If you belong to the classic amateur iPhone users and want to take a picture here and there, then the native Camera application will surely be enough for you. Although this application is not as "widespread" on older devices as on the 11 series, it is not a terrible thing. If you are among the pros, you should definitely go for either Obscura or Halide. Compared to the native application, these applications have extended settings that you would find in the native Camera application in vain. So the choice is only yours. In the next part of this series, we will look together at the post-processing of your photos, or their editing in Adobe Lightroom. Later, we will also look at editing on a mobile phone without the need to use a Mac or computer.
