In the previous installments of our Profi iPhone photography series, we took a look at aspects and other information you should check before shooting. If you want to find out what exactly these aspects are, then definitely read on last, Types part, so you don't miss this important information. Today's episode will be the last theoretical part – we will look at main concepts, which are related to photography. In the next parts, we will focus on the photo shoot itself, and then in next series together we will look at post production and photo editing in the application Lightroom by Adobe. So sit back and read the following lines.
It could be interest you
Concepts related to photography
As I mentioned in the last part of our series, in a native application Camera, which is found in iOS, a lot of options for we don't have photo settings. However, if we reach for an application, for example Obscura whether Halide, so it becomes available to us manual control of virtually every setting that can be adjusted within the iPhones camera. This part will be intended primarily for users who will try to manual camera settings through one of the mentioned applications. Anyway, if you are one of those users who will want to leave all the effort to automation, you should terms below despite know.
Exposure
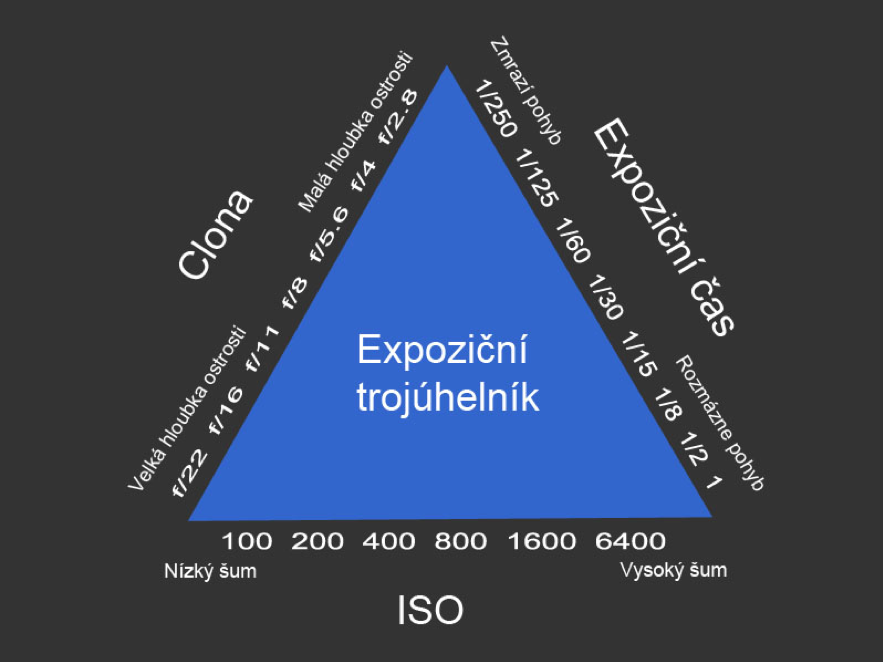
Exposure is the most important thing when taking pictures. This is a kind of "summary" of the overall settings of the camera before shooting. The exposure consists of three parts, Which includes expository time, aperture and ISO sensitivity. If you set one of these parameters before taking a photo poorly, so in most cases you can get by with a nicely taken photo say goodbye You can only ensure these values by correctly setting them high-quality, sharp and unblurred photo. The total exposure value must not be much high, and this is so that the so-called overexposed image and of course it must not be too much either low, so that the so-called underexposed an image. Exposure can simply be expressed in the so-called exposure triangle, which you can view below.
Exposure time
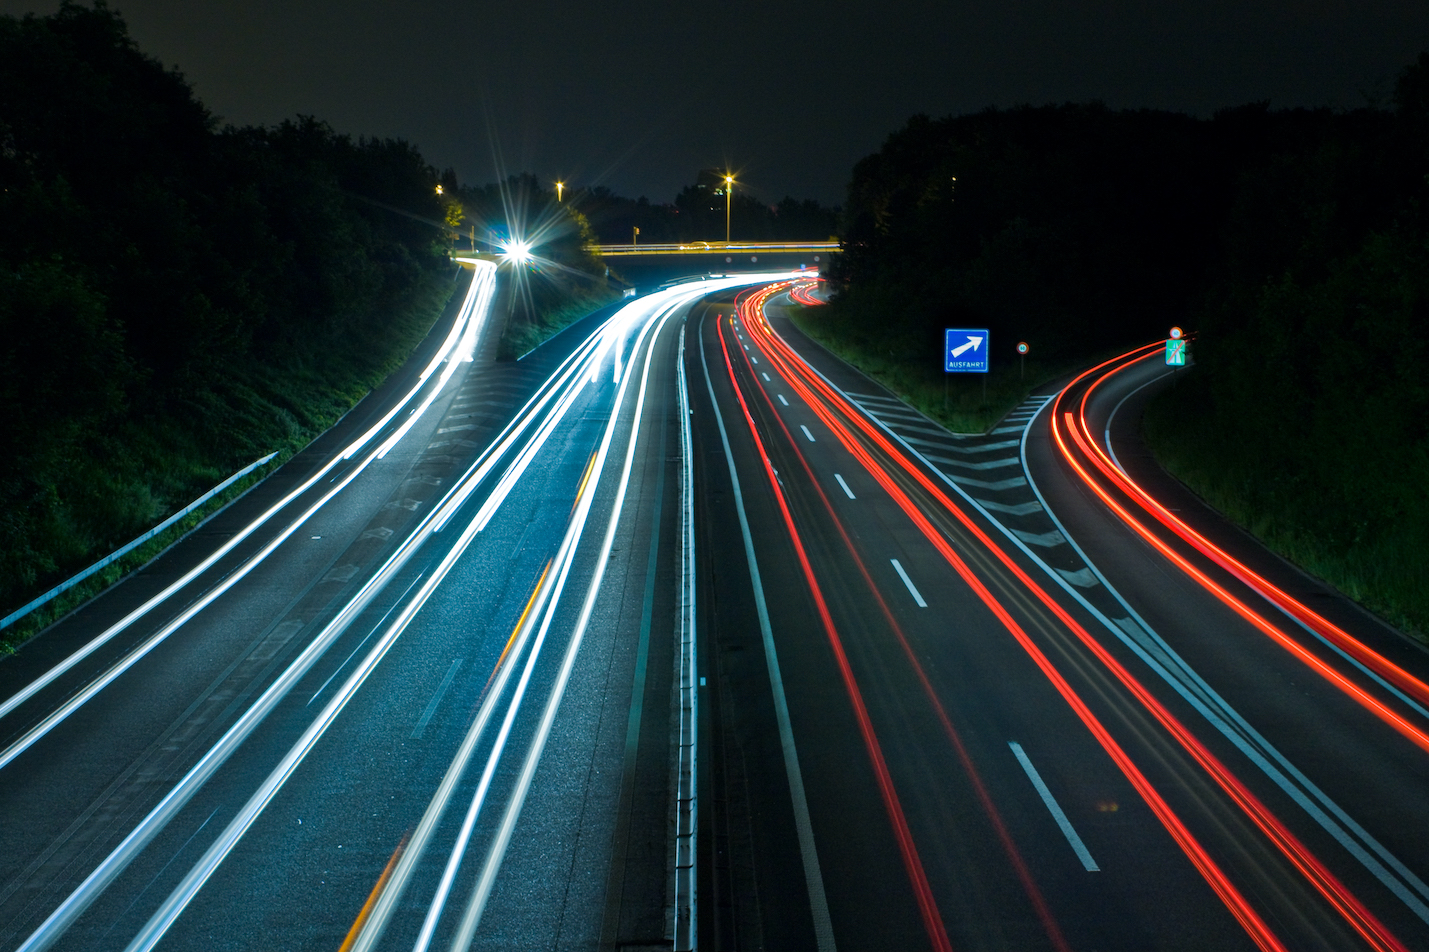
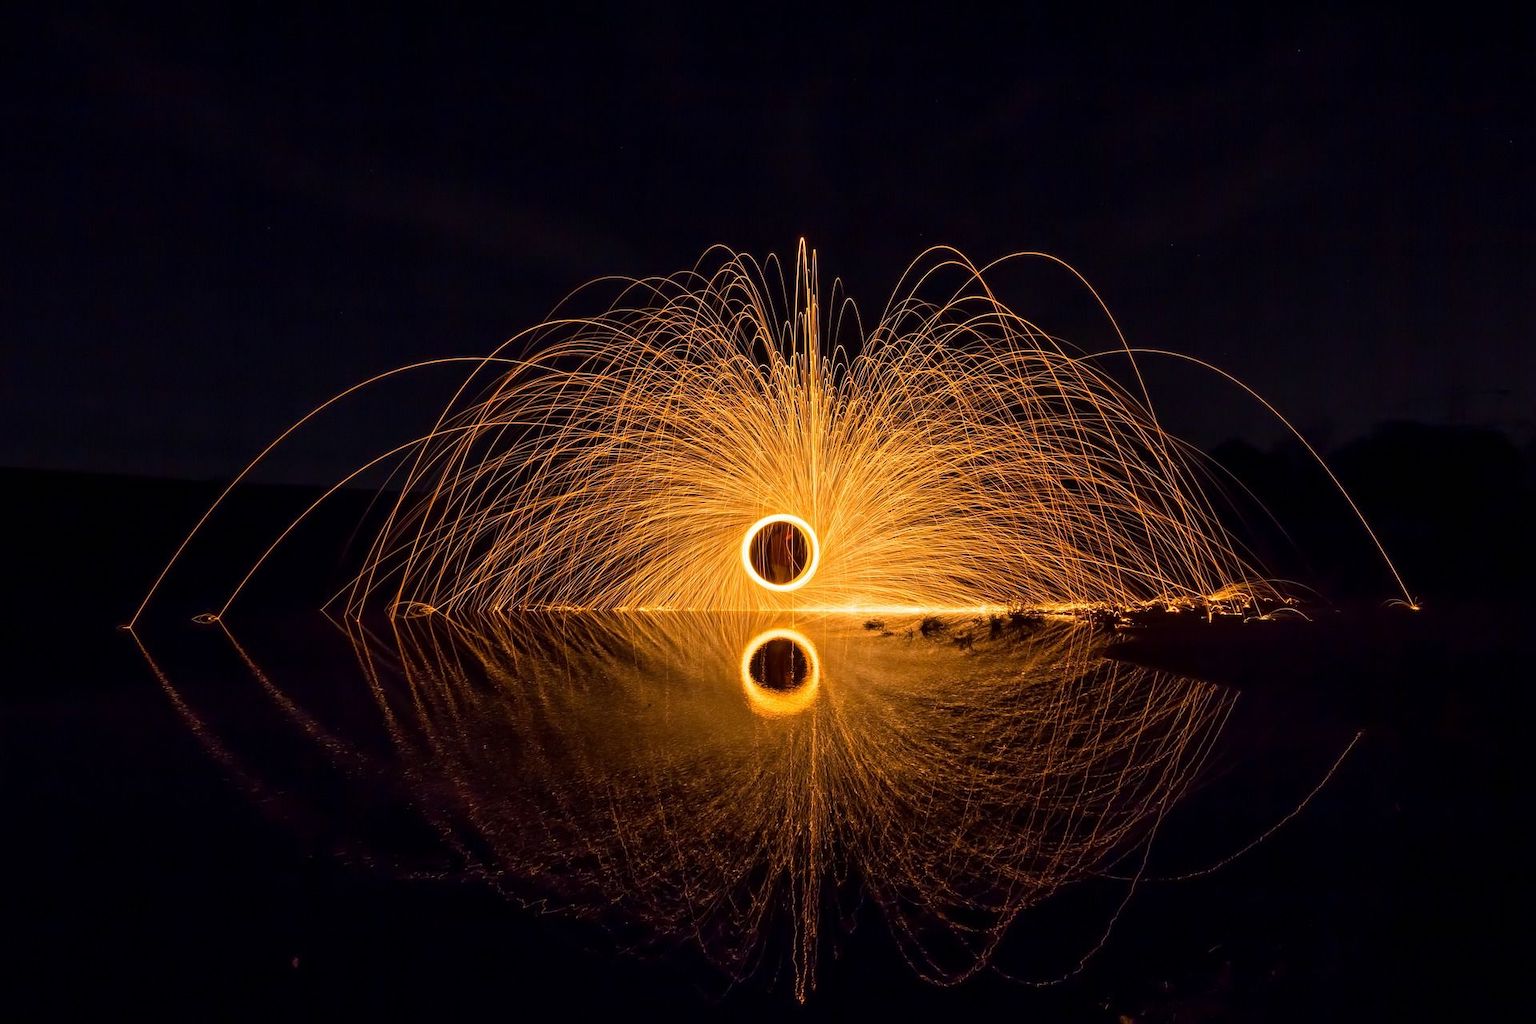
If you dive into setting up exposure time, so you should know beforehand that it is a value expressed in units of time. This time setting indicates how long it will stay camera shutter open. The shutter guarantees the time after which it will be on the image sensor catch the light. In practice, a long shutter speed is used when you want the photo in some way blur – you can observe this "effect" in, for example, pictures from nature where the photographer takes pictures running water (for example in a stream). The water is so nice polished and blurred and the result is very interesting. In this case, however, it is necessary to use tripod, because even the slightest movement with the device could cause blurring the entire image and not just water that moves by itself. If, on the other hand, you want to record only one brief moment for example at sport. whether passing car, so it is necessary to set lower exposure time. The exposure time is set in values from thousandths of a second until the time a few seconds which is quite a large range in which you can "play around".
Photos taken with a long exposure time:
Clone
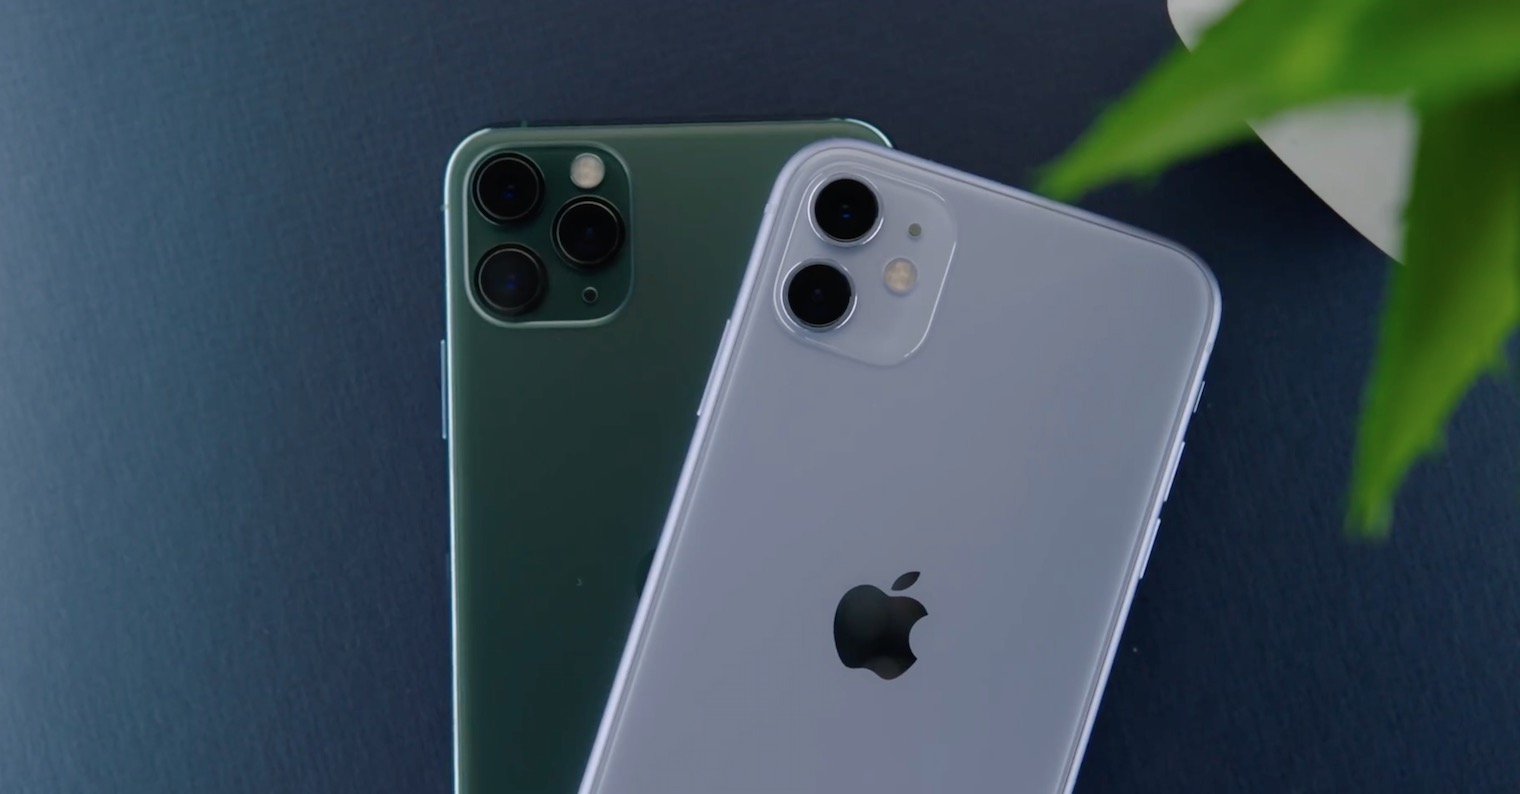
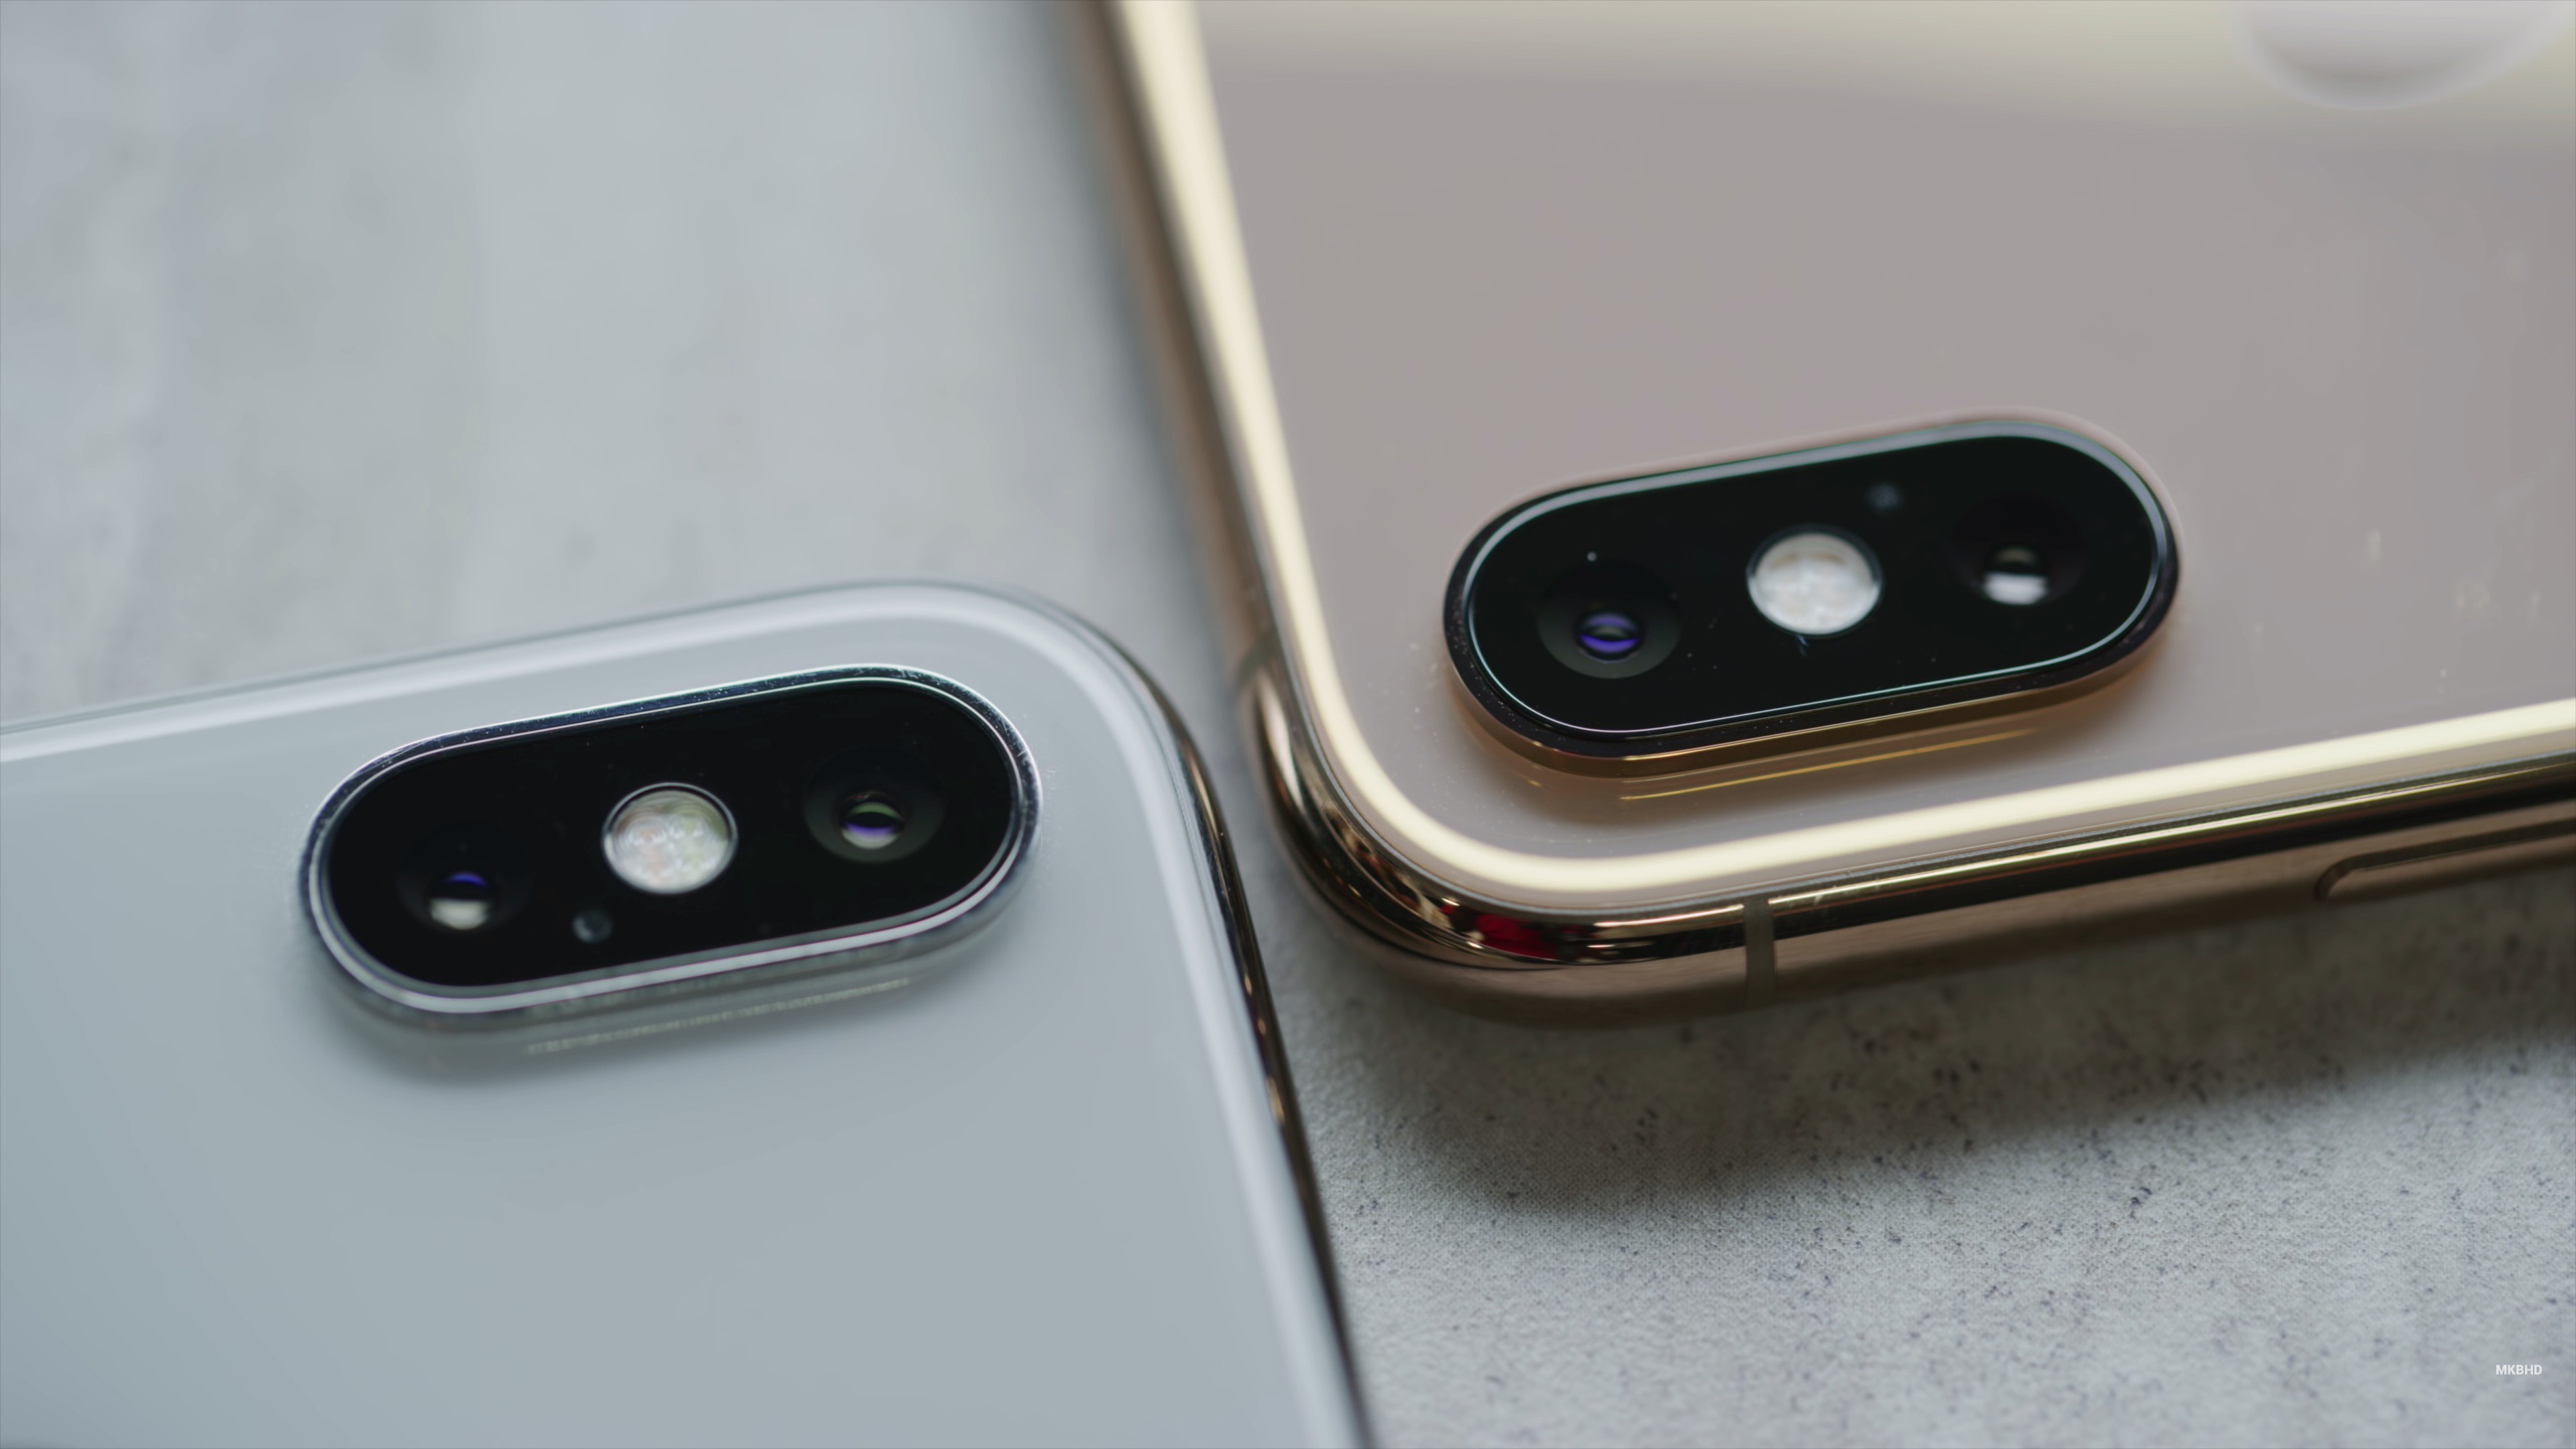
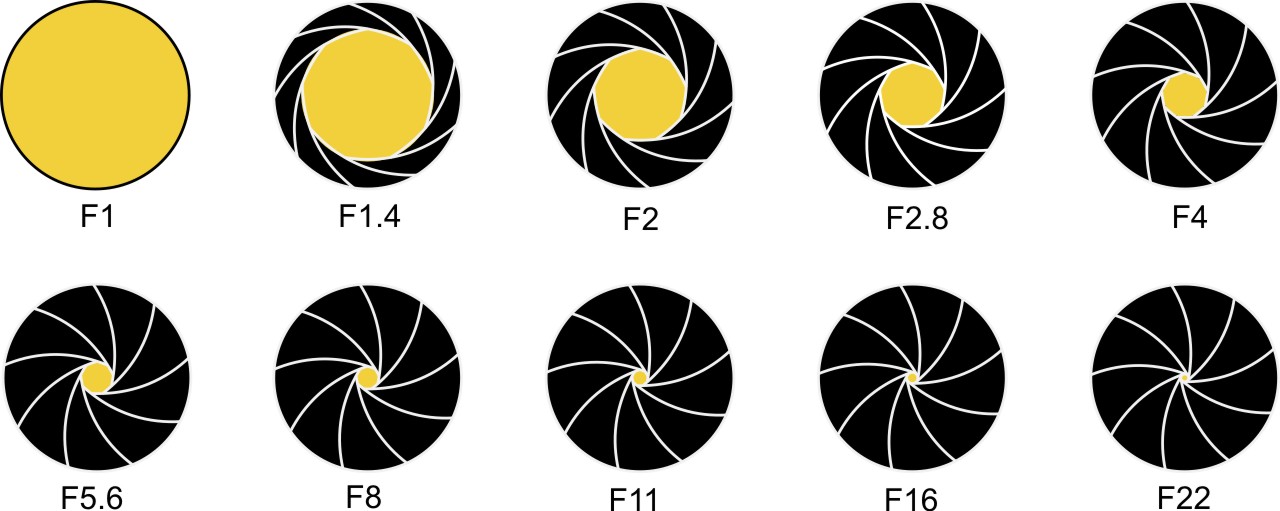
The aperture is the part of the camera that is constructed of differently shaped metal lamellas. These slats can be adjusted as needed open or close. The aperture, by its opening (or closing), determines how much light can fall on the camera sensor. Simply put, if you want a snapshot darker, so the metal lamellas more close thereby hitting the sensor less light. On the contrary, if you need lighter picture, so the metal slats they open more, thereby impacting the sensor more light. Aperture is denoted by a letter in the camera world f. You must have noticed that the camera of your iPhone also has this aperture number. What Vetsi they can create lamellae opening pros catching light team smaller je aperture number sensors. So it is true that the smaller the f-number, the better. A sensor with a smaller f-number can accommodate more light which can come in handy when taking pictures in worse lighting conditions. On the iPhone XS, for example, the aperture number is the main wide-angle lens f/1.8. the telephoto lens then has aperture f/ 2.4.
ISO
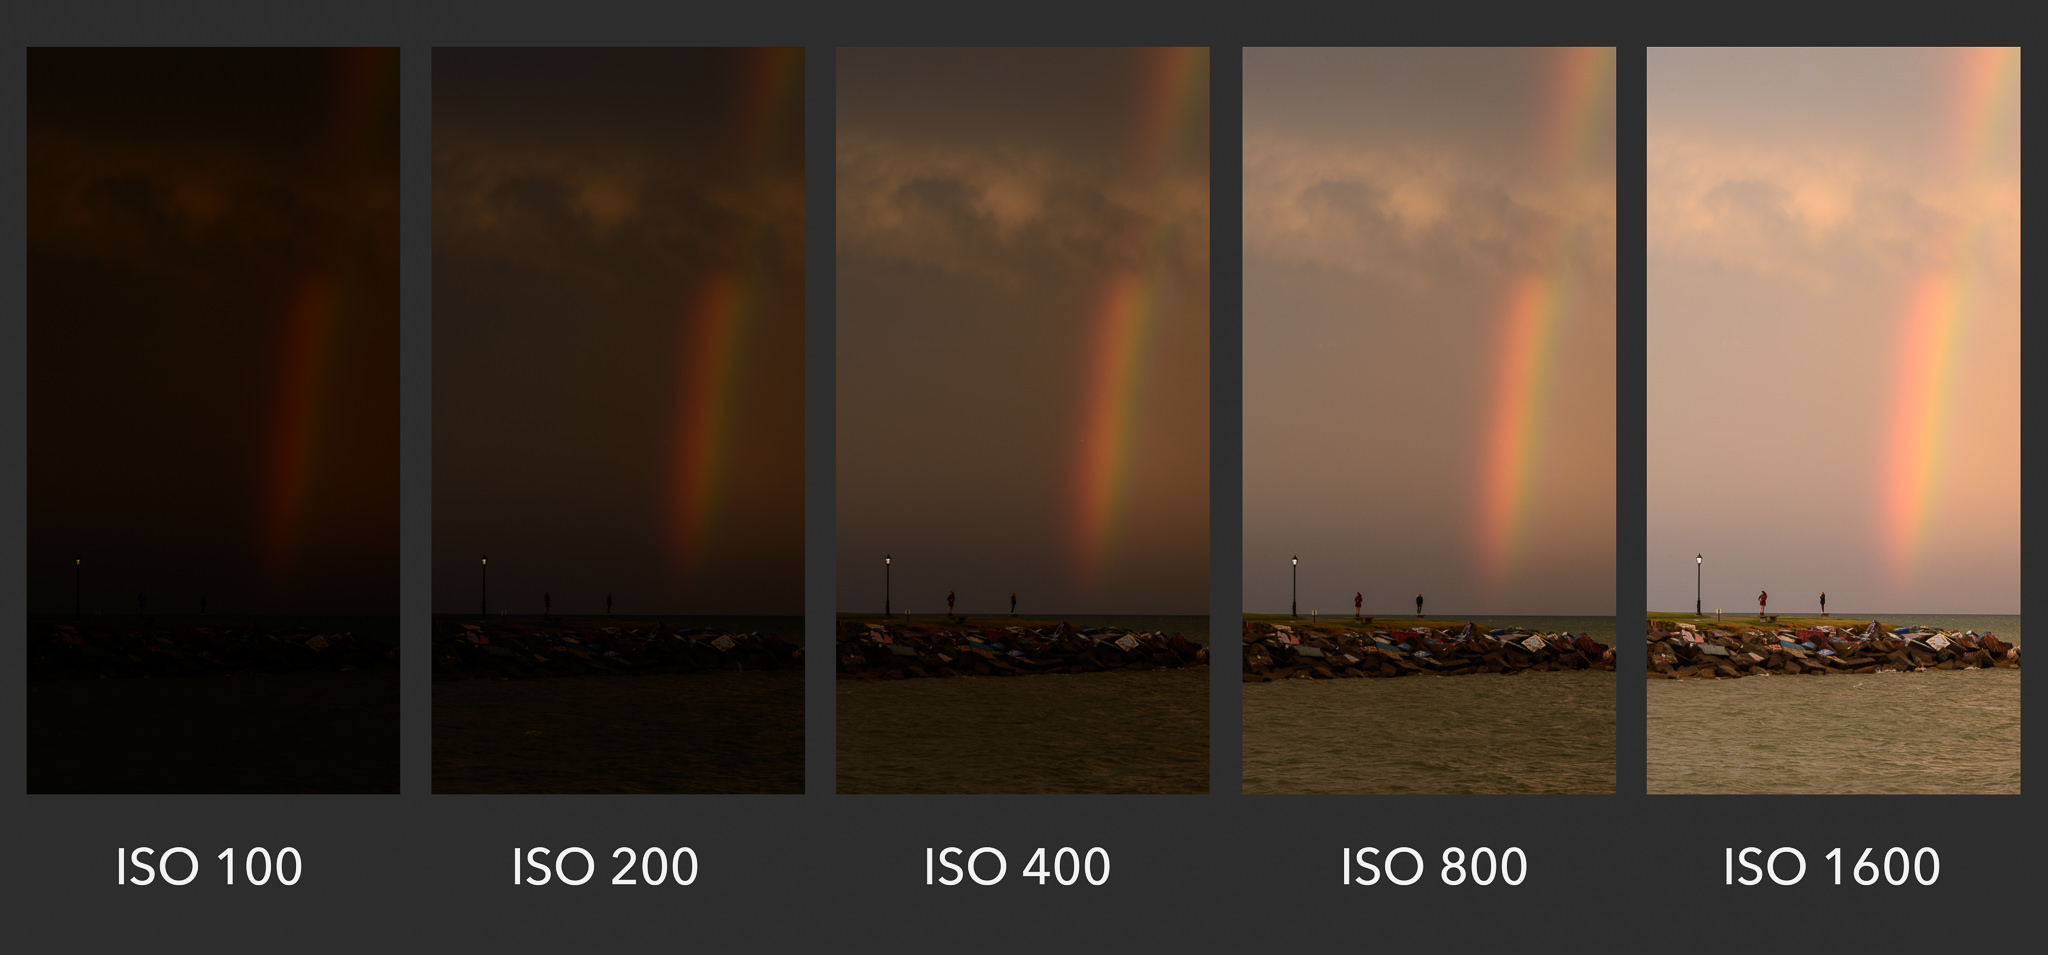
Value ISO sets the standard in the camera world sensitivity. What higher you set the sensitivity ISO, team more will be the sensor respond to the light. It simply means that the higher the ISO value you set, the more will be the resulting photo more clear. In this case, you need to be careful, as with other values, on correct settings. If you set the ISO sensitivity to value too high can only become a photograph white, translucent canvas with a few streaks. If, on the other hand, you set the ISO sensitivity to value too low there will be a photo very dark whether black. At the same time, it is necessary to take into account that by what higher ISO you set (depending on the ambient light conditions), the more you will struggle in the final noise. In practice, this means you would ISO had regard to the surrounding lighting conditions set up as small as possible so that the photo looks even better. If you shoot in the dark with a high ISO value, noise will appear in the resulting photo.
White balance
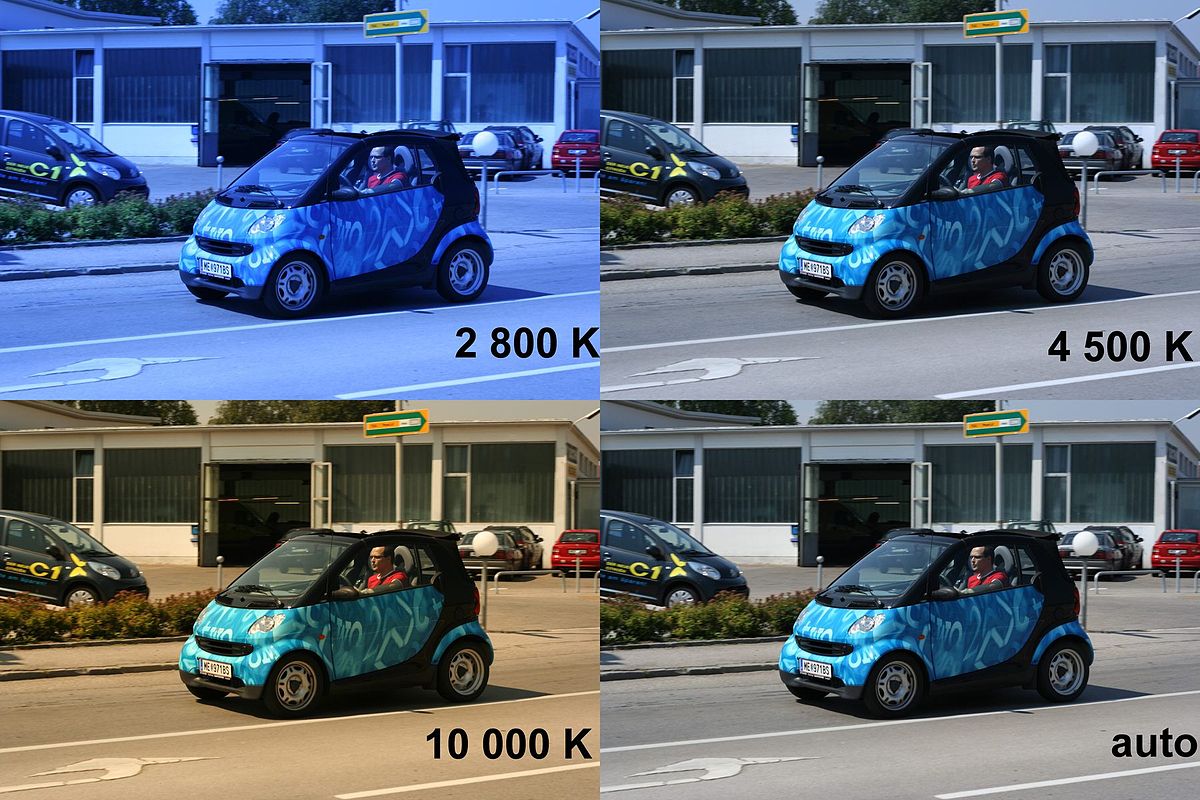
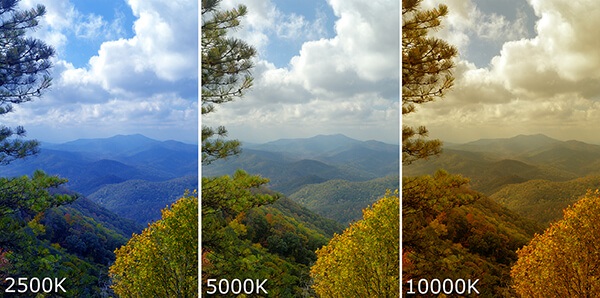
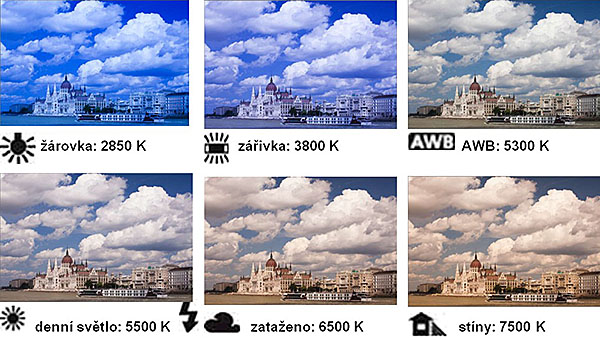
Although this concept is no longer completely related to the exposure triangle, it is still there very important. The white balance must be set according to where you are. It is a kind of white color "calibration". – for example, if you are in the room where it is artificial light, so the color white may appear bluish whetheryellowish. By white balancing, you can "distort" this eliminate. Photographers often calibrate white balance by placing the lens in front of them white paper (or anything else that is pure white) and set the camera to be white really white.
Summary
So I would like this third part of our series he finished the theoretical "teaching". We talked about the basic things you need to know for photography. In the next part, we will look at the photo shoot itself using a native application Camera, but also using the app dark, which offers many more options for manual camera settings. As soon as we blow the practical photo shoot itself, we'll be in the frame next series let's look at photo editing in post-production, specifically in the application Adobe Lightroom. Definitely a magazine Apple picker keep watching so you don't miss more episodes and series. All parts from the series Professional iPhone photography can be viewed using this linkAt other series you can take a look afterwards <a href="https://cdn.shopify.com/s/files/1/1932/8043/files/200721_ODSTOUPENI_BEZ_UDANI_DUVODU__EN.pdf?v=1595428404" data-gt-href-en="https://en.notsofunnyany.com/">here</a>.
It could be interest you
