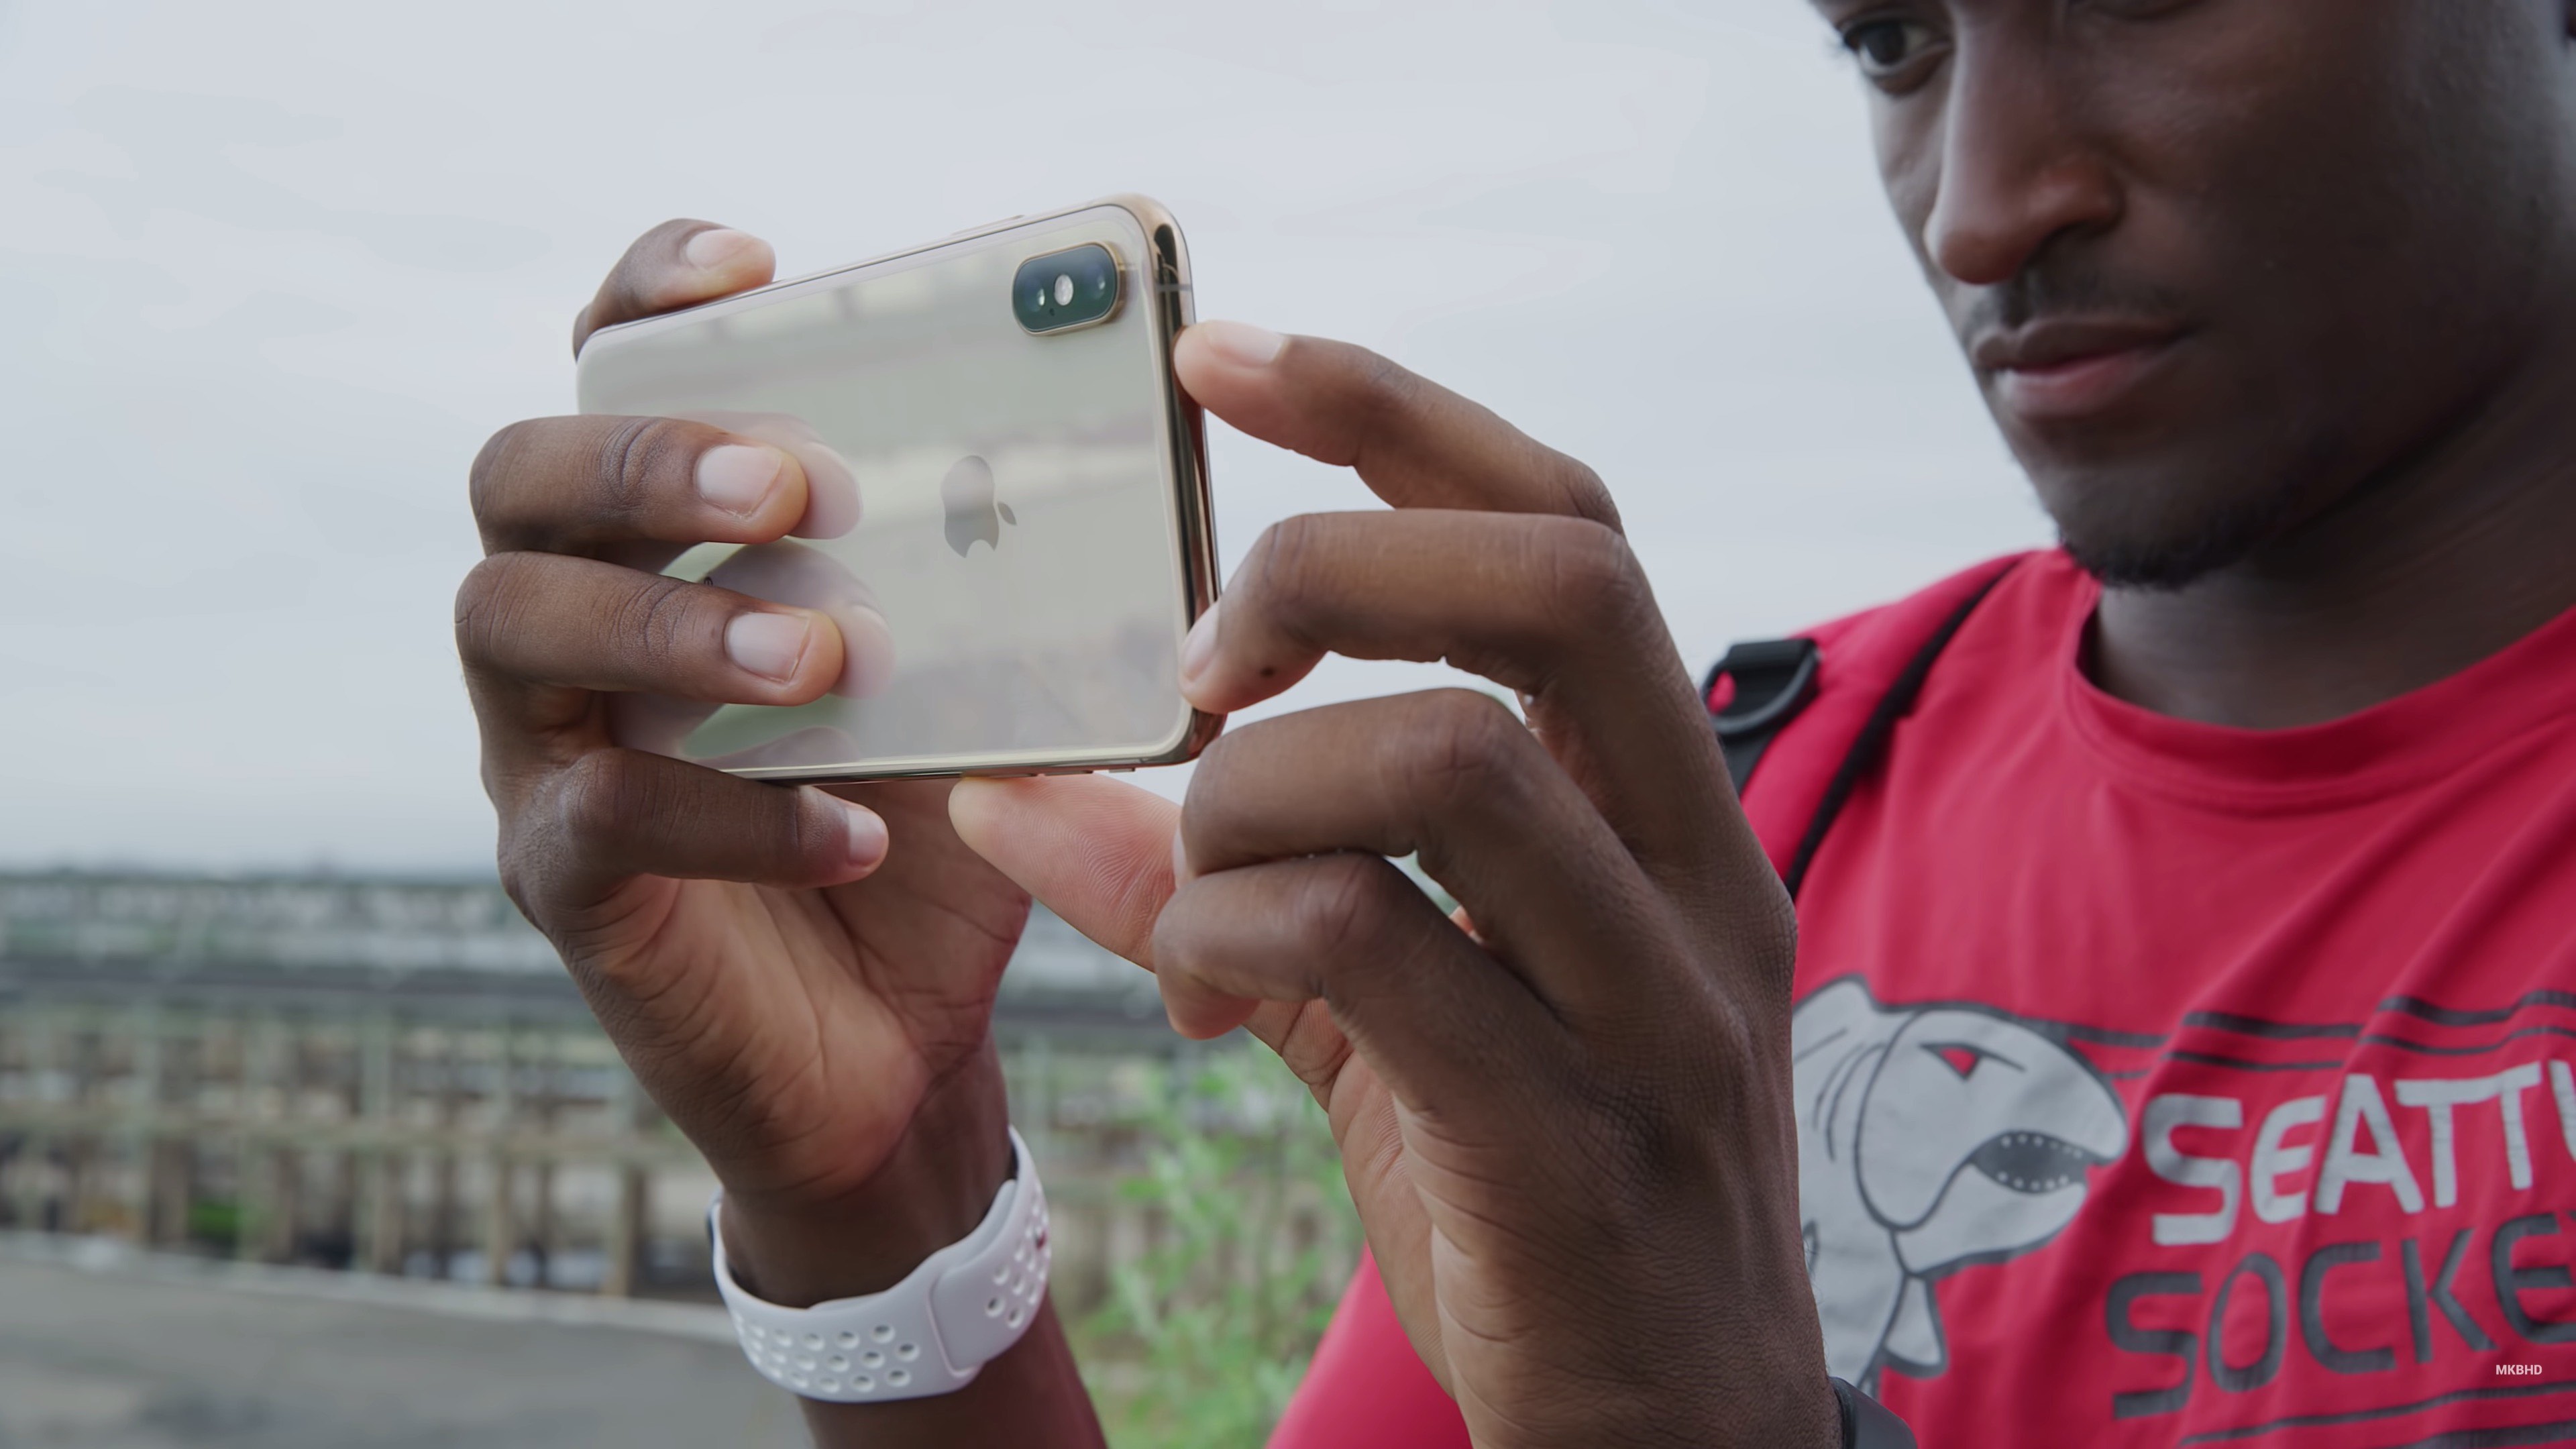
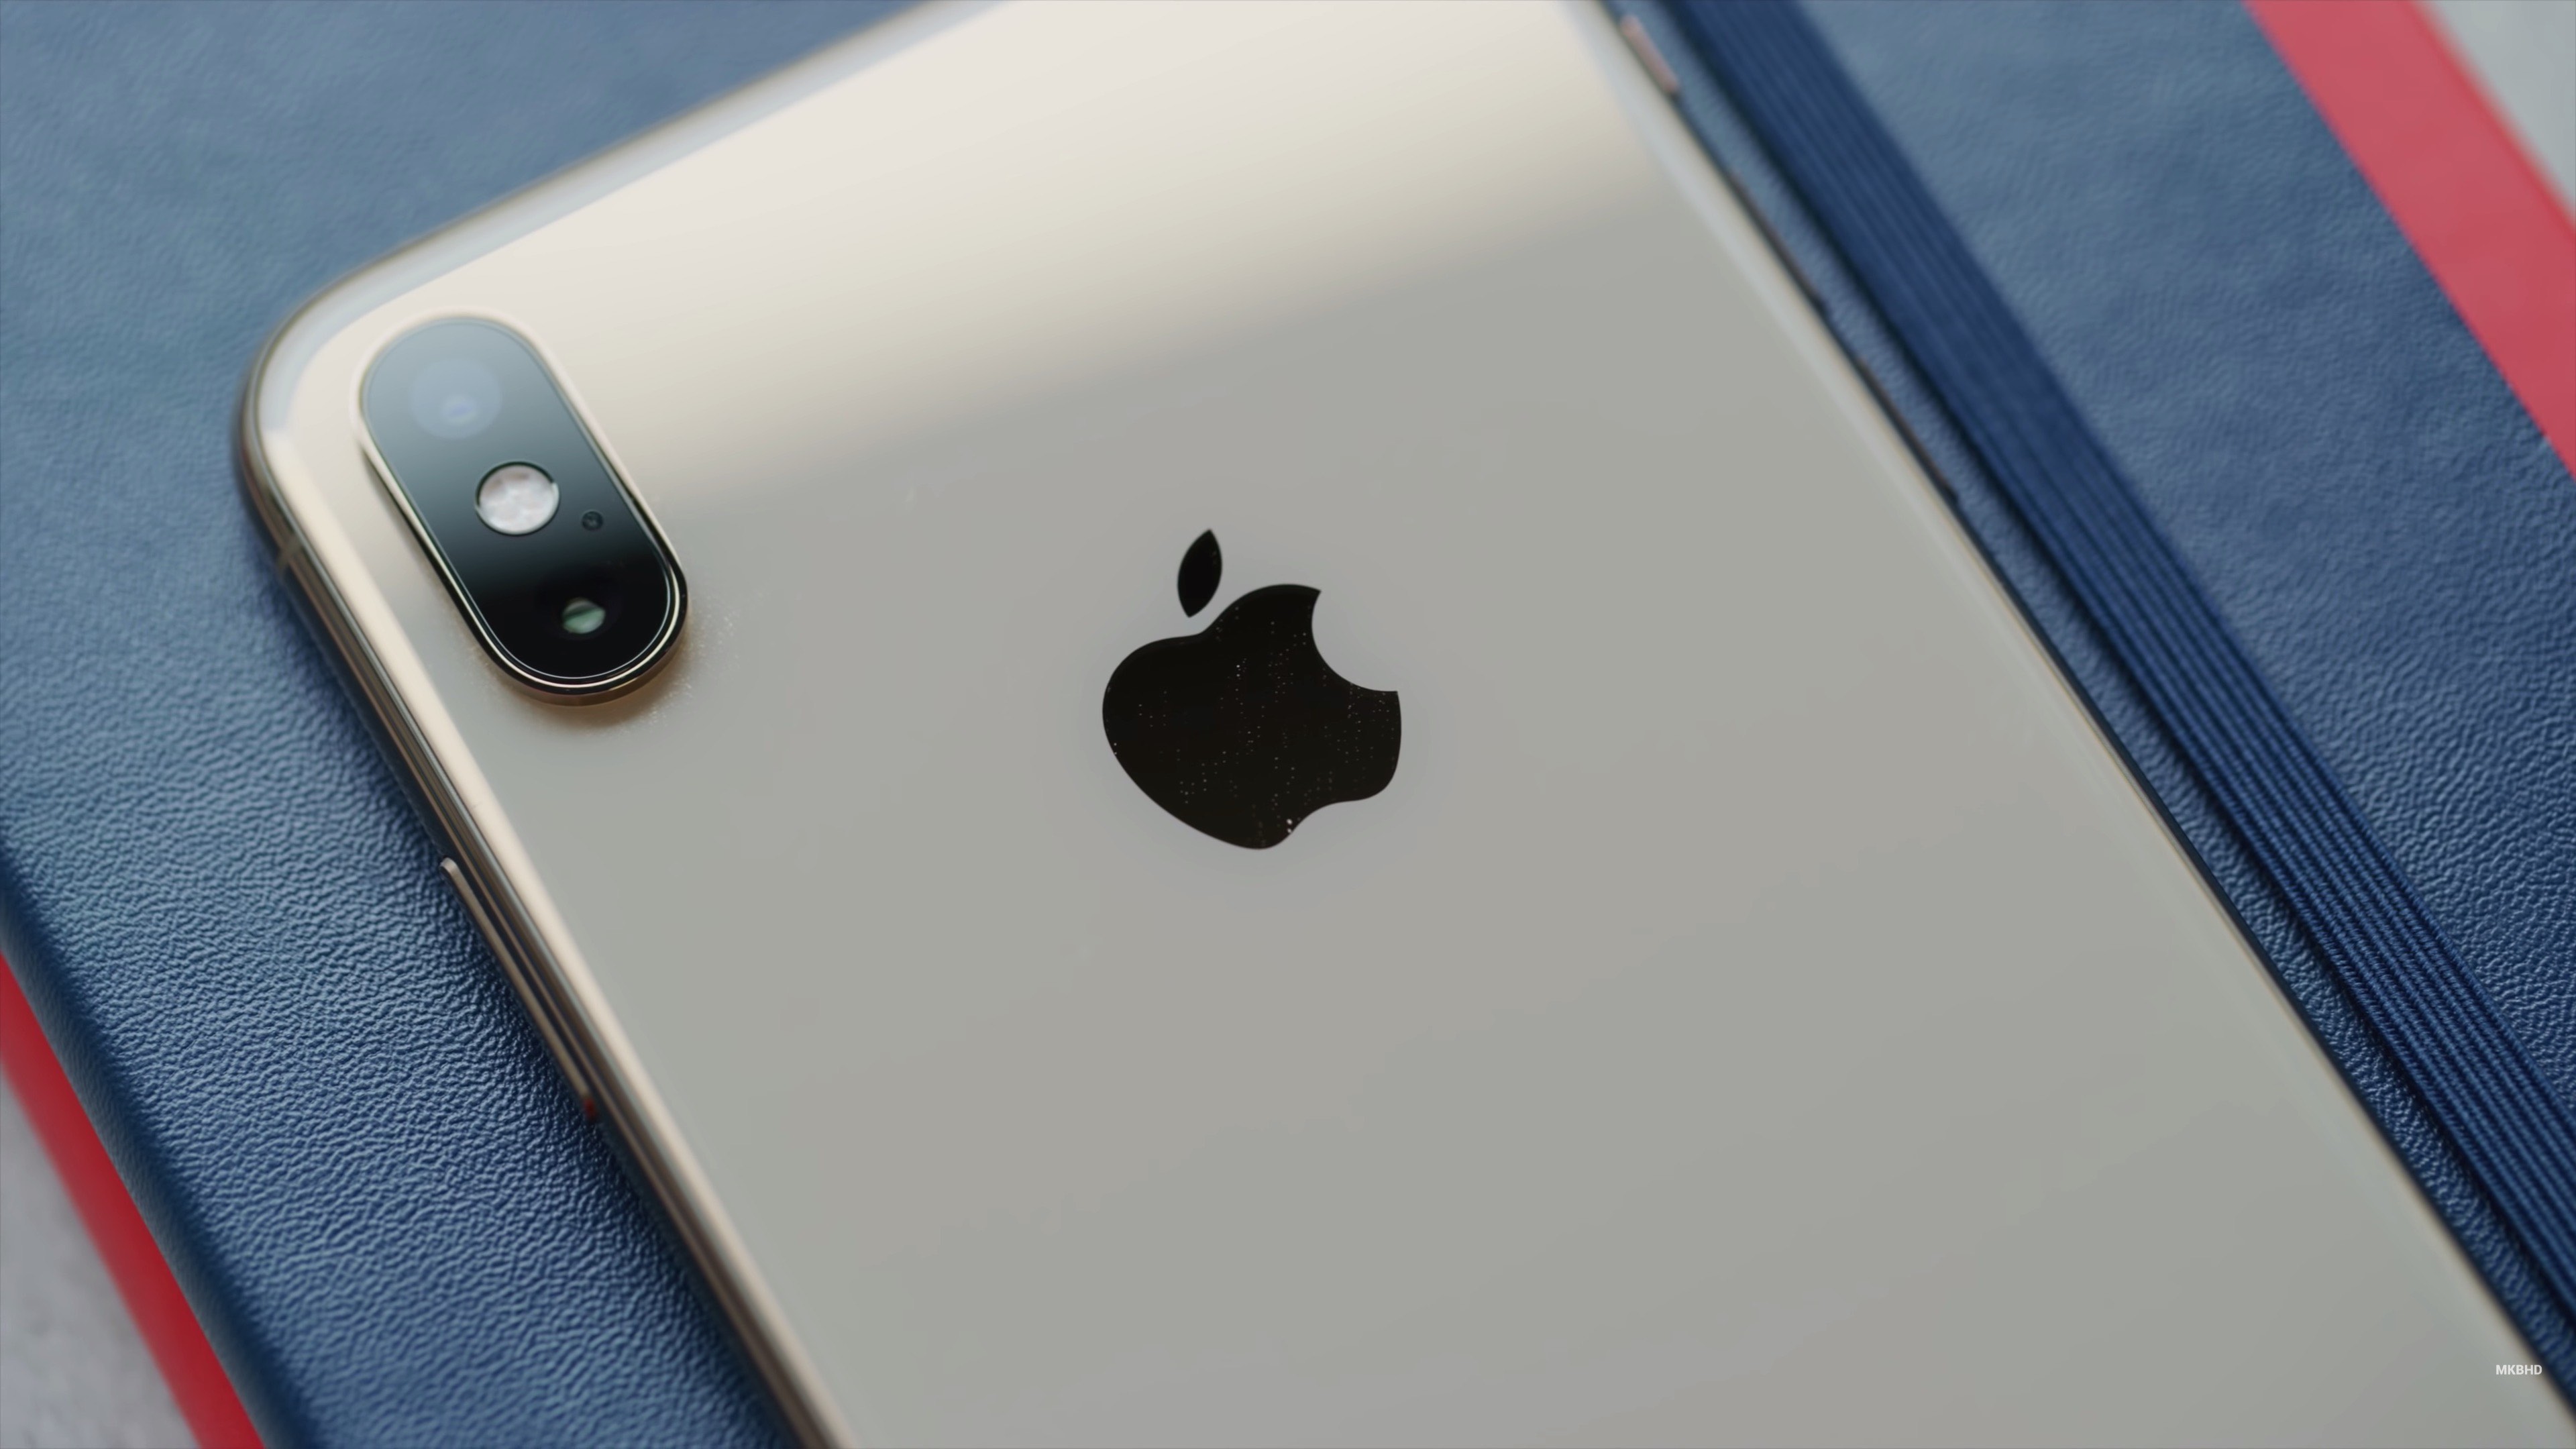
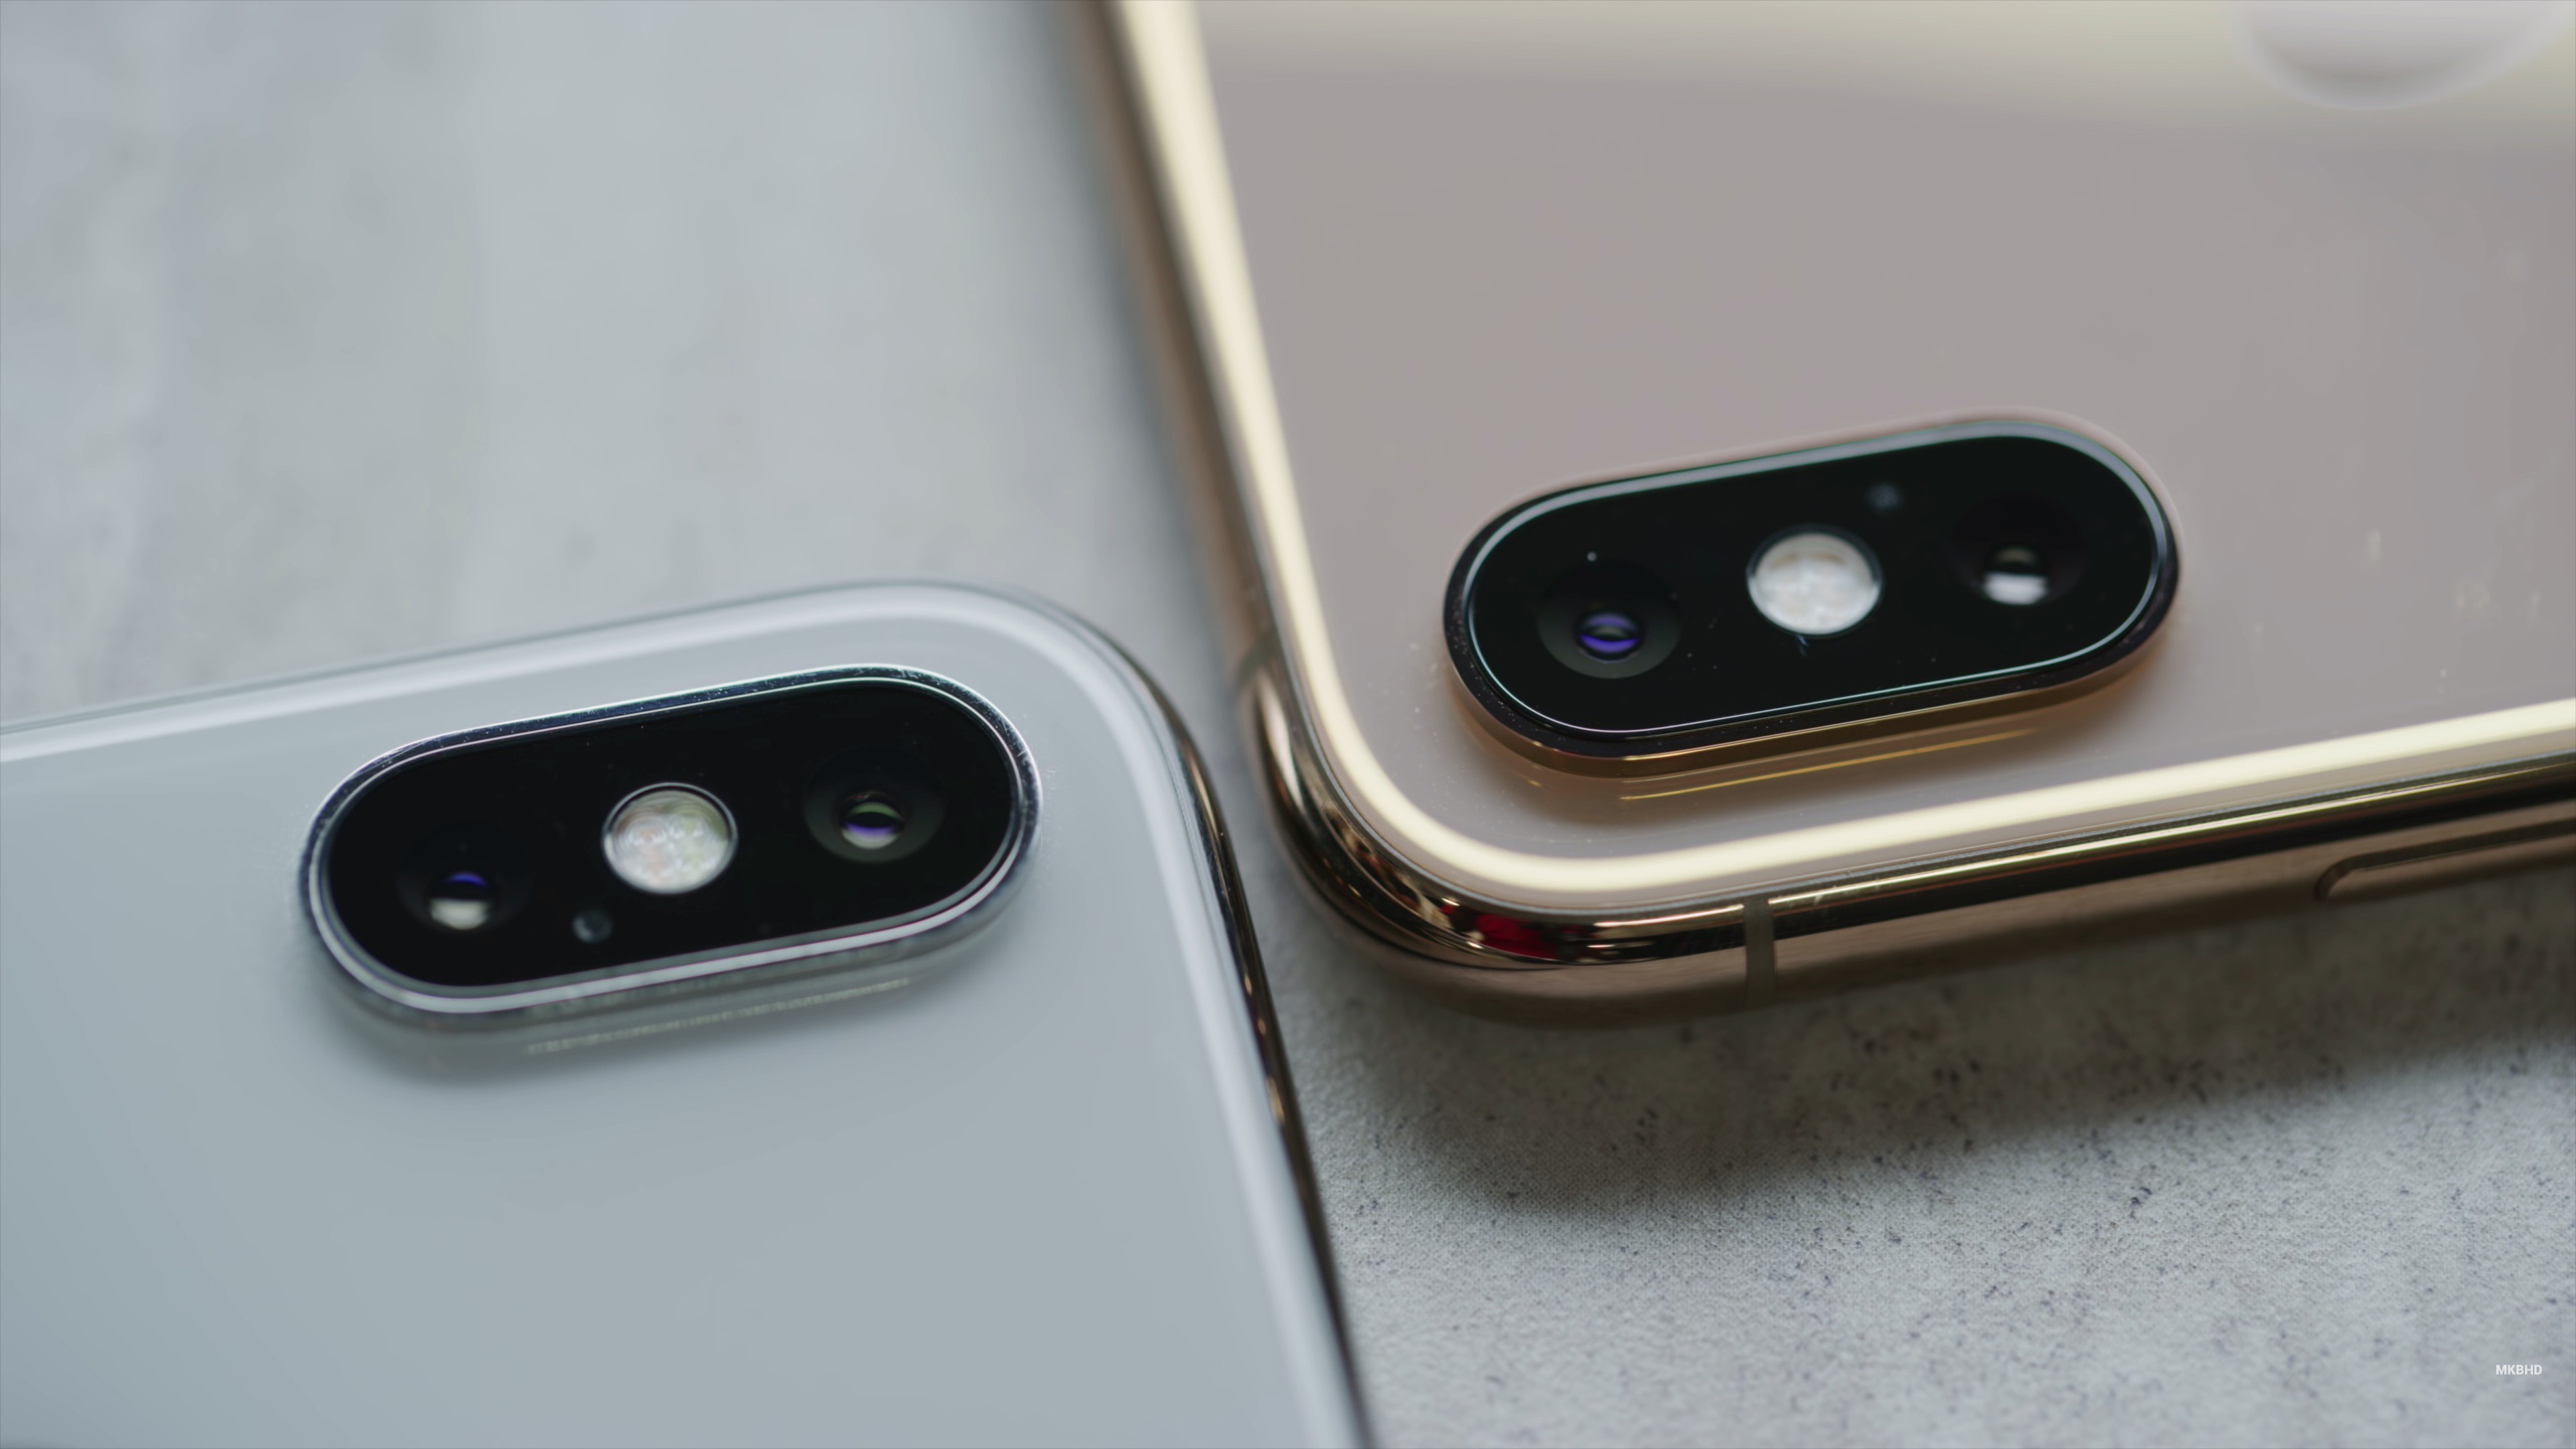
I warmly welcome you to the second part of our new Profi iPhone photography series. This series looks at how to take professional photos with an iPhone (or other smartphone). If you are one of those people who the word association "professional iPhone photos" it doesn't make sense and you despise it, so believe me, even with an iPhone you can take beautiful photos that are often indistinguishable from those taken with a professional SLR. At the end of the last part, we touched on the topic of the most important aspects and thought we would look at a bit of theory. So the content of this article is now more than clear and you can start reading.
It could be interest you
Important aspects
After answering the so-called three questions, which we introduced in last episode, you should still check certain aspects, that can take photos improve or, on the contrary, worsen. I personally follow four aspects. Again, I would like to point out that each user and photographer may have a different opinion and different aspects. This is purely my opinion and my own view of the matter. So the main aspects are in my case light, weather, idea and finance.

Light
The most important aspect during photography was, is and forever will be light. It can be said that no camera can take pictures well in the dark or at night. Of course, we are not talking about long exposure photos. Even though last year's iPhones received the so-called night mode, which, among other things, a number of Android phones also have, so definitely do not think that you will be able to take perfect photos even in the dark with its use. In this case, the night mode is practically only meant to make the photo look at least a little, and not be completely black. So if you decide to take pictures, it is necessary that you go take pictures under lights. The best light is around noon, interesting light then you can get at sunrise or sunset. Simply put, if you want to have quality photos taken with a smartphone, it is necessary to take photos during the day when there is good light outside. At the same time, keep in mind that perfect results you will not achieve s artificial light, and now not at all when using an LED in the form of a flash on your smartphone.
Weather
Another aspect, which in a way goes hand in hand with the previous aspect, is weather. If you have decided that you want to take a photo that has dark undertone of course it is nonsense go take such a photo in the meadow in true sunny noon when everywhere is full of light and the photo would be rather energetic. In case you want to take a dark photo, don't be afraid to go take a photo when it is cloudy. But keep in mind that it must be for photography enough light. It doesn't matter at all that the photo will be about something lighter, than you would like. Everything can be fine-tuned in post production, which of course you will read about in one of the other parts of this series. So take into account the fact that the weather must correspond in some way with the theme you have chosen.
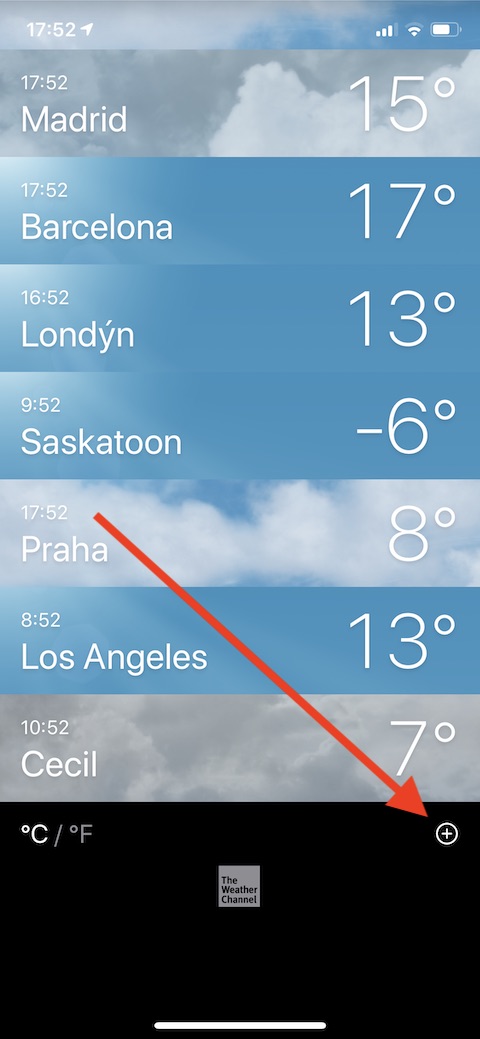
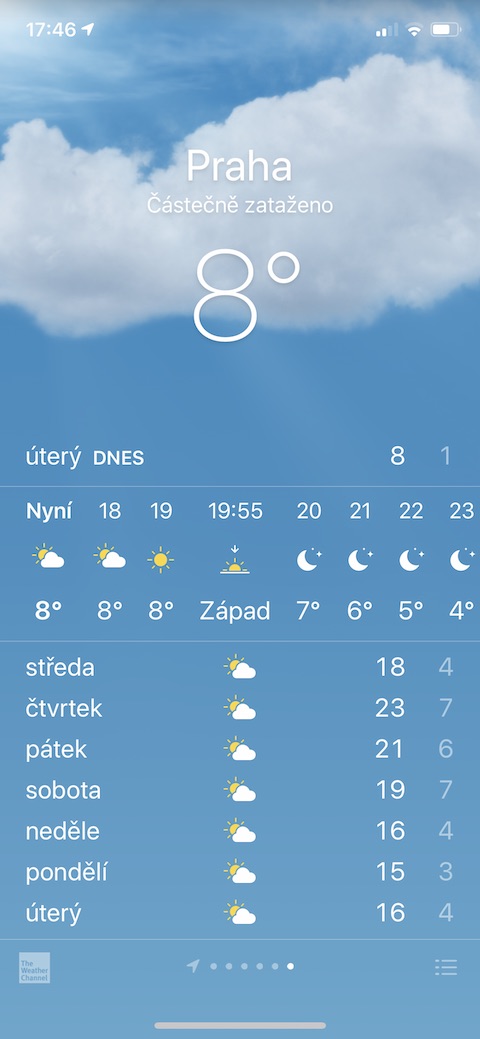
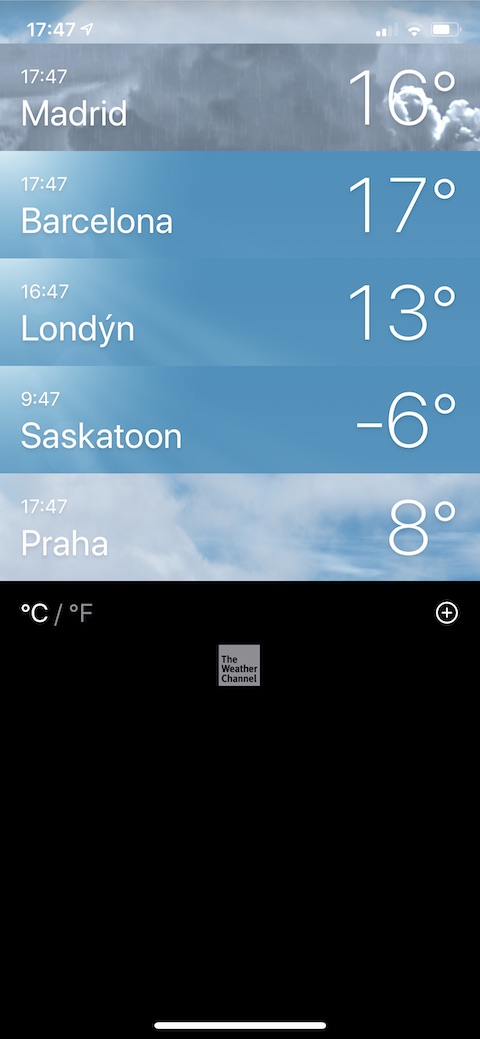
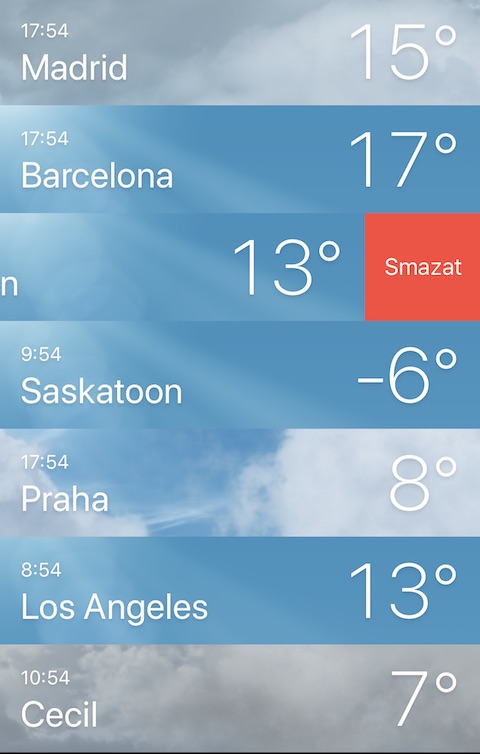
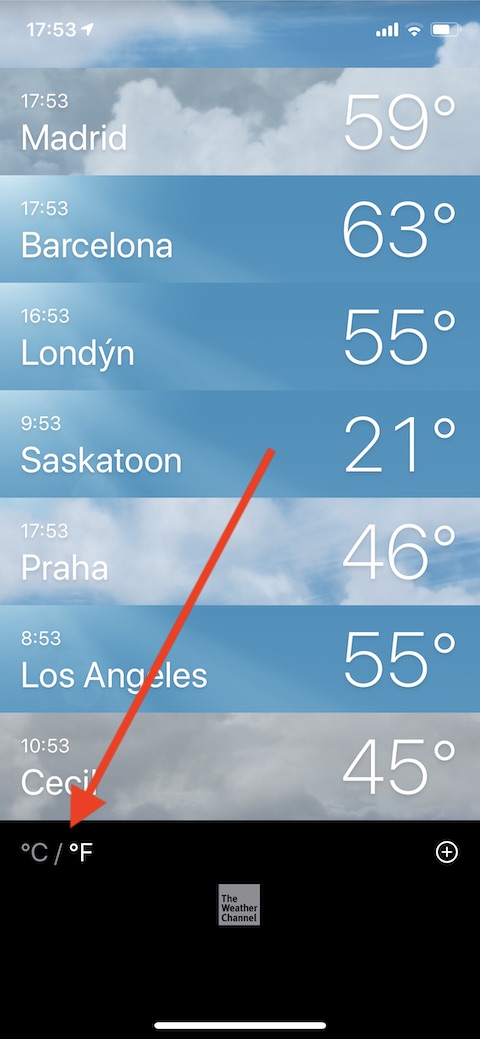
You can easily follow the weather in the application of the same name on the iPhone. You can find everything about Weather in iOS <a href="https://cdn.shopify.com/s/files/1/1932/8043/files/200721_ODSTOUPENI_BEZ_UDANI_DUVODU__EN.pdf?v=1595428404" data-gt-href-en="https://en.notsofunnyany.com/">here</a>.
Idea
Another important aspect is in the case of taking photos idea. They say that the best experiences happen when they are unplanned. I'm not saying that it's not true when taking pictures, but honestly, I've never managed to take a photo that I like when taking spontaneous pictures. Personally, I much prefer to be able to take pictures in advance schedule and think about it, to have the best possible ideas. A photo without an idea is simply not good, and any person who will look at the photo will let you know and will definitely tell you that it is yours a creation without an idea – and you certainly don't want to hear that.
Finance
Of course, they are also an integral part of the photo shoot finances. In addition to the fact that you need finance for purchase of your device, with which you will take pictures, so of course it is necessary to take into account the fact that you have to go to some places transport, and that the whole process can cost something. It's nice to explore though around your place of residence and your city, but sooner or later all of them you run out of locations and definitely not good the same all the time return. So, as soon as you feel that you don't know where to go anymore, sit down train/bus/car and rush into the quest adventure new locations for photography.
It could be interest you
A bit of theory
Natively, the iOS and iPadOS operating systems have applications Camera. You don't have a lot of options for settings within this app, although Apple added options for some manual camera settings on last year's iPhones. But it certainly does not mean that if these functions are not native to the application, then another application could not add them. In this case, I can recommend, for example, an application Obscura whether Halide. Both of these apps are paid, but it should be noted that after purchase you will receive professional application, in which you can set all manually. So either you go on your way automatics and you will be using a native application Camera, or you reach for the application Obscura or Halide, where you can set everything by hand. In the latter case, knowledge of terms will definitely come in handy exposure, exposure time, aperture, ISO value, or perhaps white balance. So that this next part is not unnecessarily long, we will save the explanation of these concepts for the next time. In addition, let's take a closer look at the application dark, which I personally like to use very much, and also for the format raw, which is very important for photography. You can view all episodes of this series using this link.
