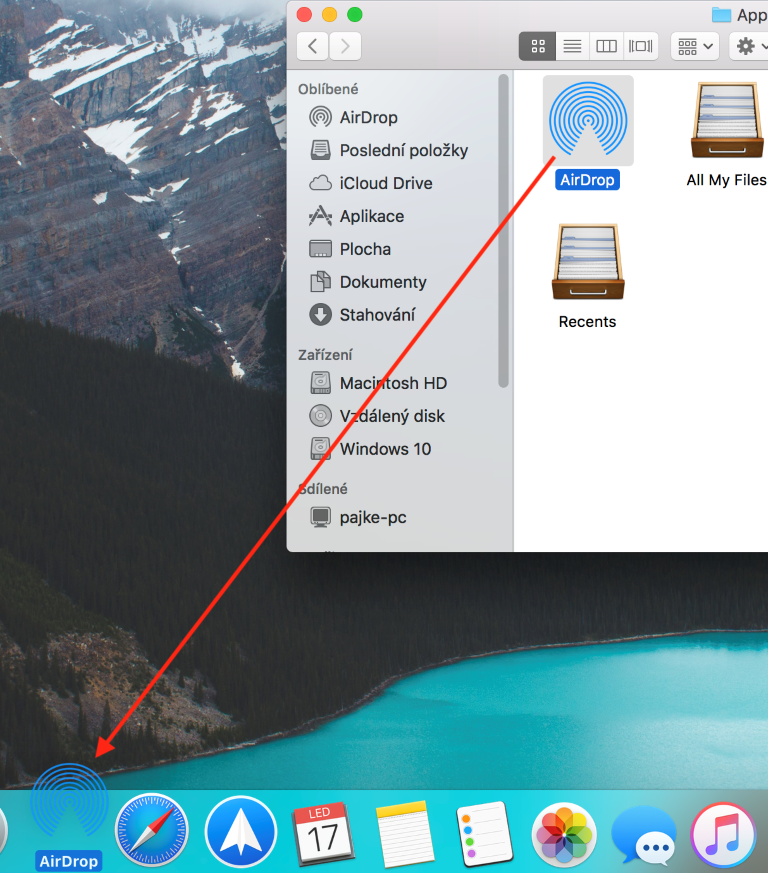
If you're as addicted to AirDrop on your macOS and iOS devices as I am, then you've come to the right place. Using AirDrop, we can transfer various data across all Apple products - be it photos or documents. In order to access AirDrop as quickly as possible on our macOS, today I will show you a simple trick to add AirDrop directly to the Dock. This means that if you want to send, for example, some photos via AirDrop, it will be enough to drag them onto the icon directly in the Dock. So how to do it?
It could be interest you

How to add an AirDrop shortcut to the Dock
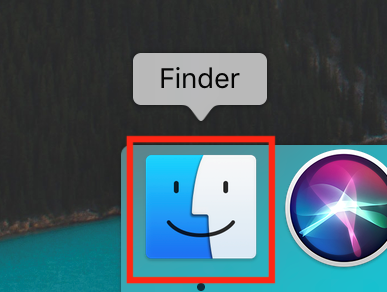
- On your Mac or MacBook, open Finder
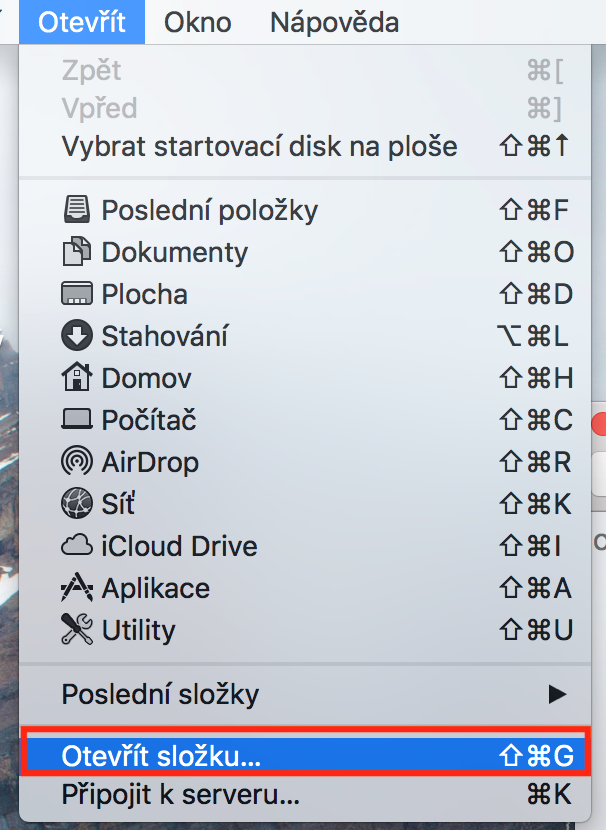
- Click on the option in the menu at the top of the screen Open
- Select an option from the drop-down menu Open folder…
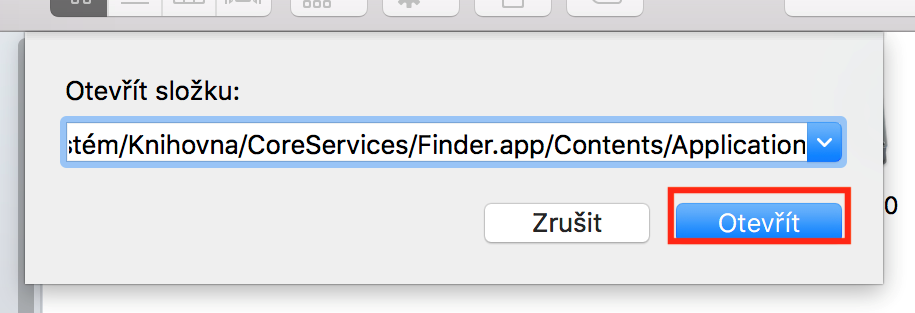
- In the window that appears, paste this path without quotes: "/System/Library/CoreServices/Finder.app/Contents/Applications/"
- After copying, click the button Open
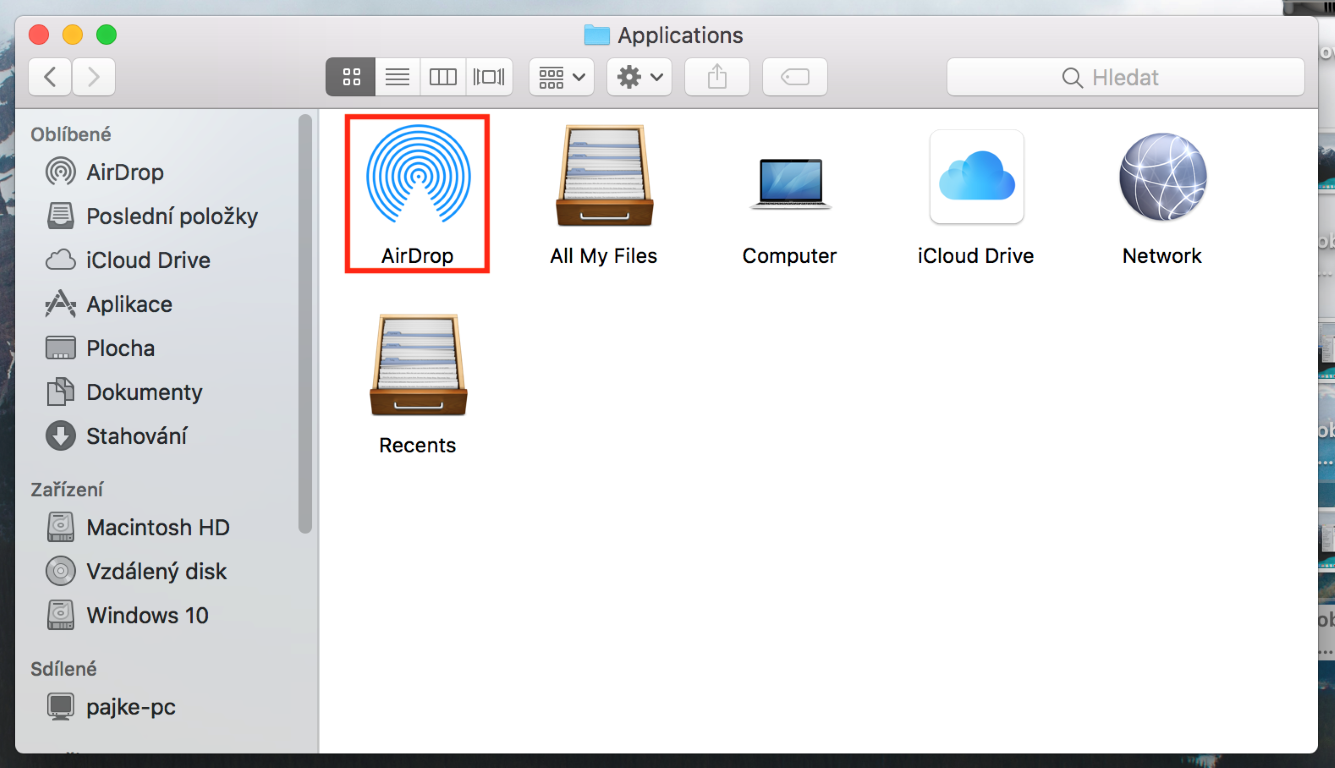
- The link will redirect us to folders, where the AirDrop icon is located
- Now just click on the AirDrop icon tap and drag it to the Dock
If you followed the steps correctly, from now on you can access AirDrop very quickly in the easiest way - directly from the Dock. I am personally very used to this gadget and I think that it will greatly simplify and speed up work.
It doesn't work, I don't get a drop-down window with the option to insert a link.