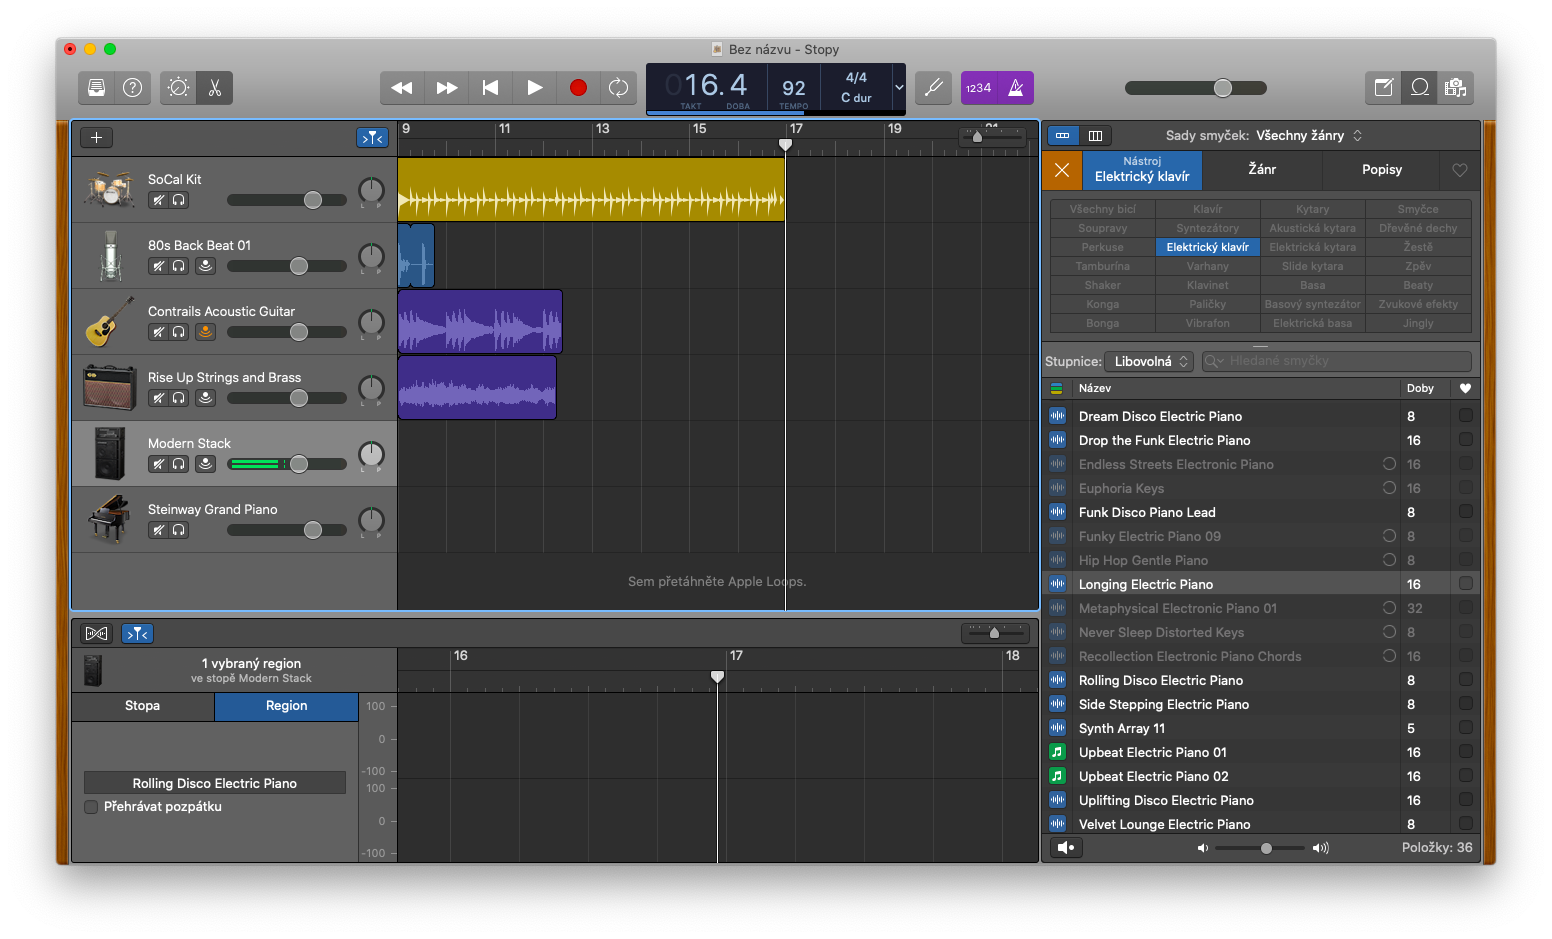
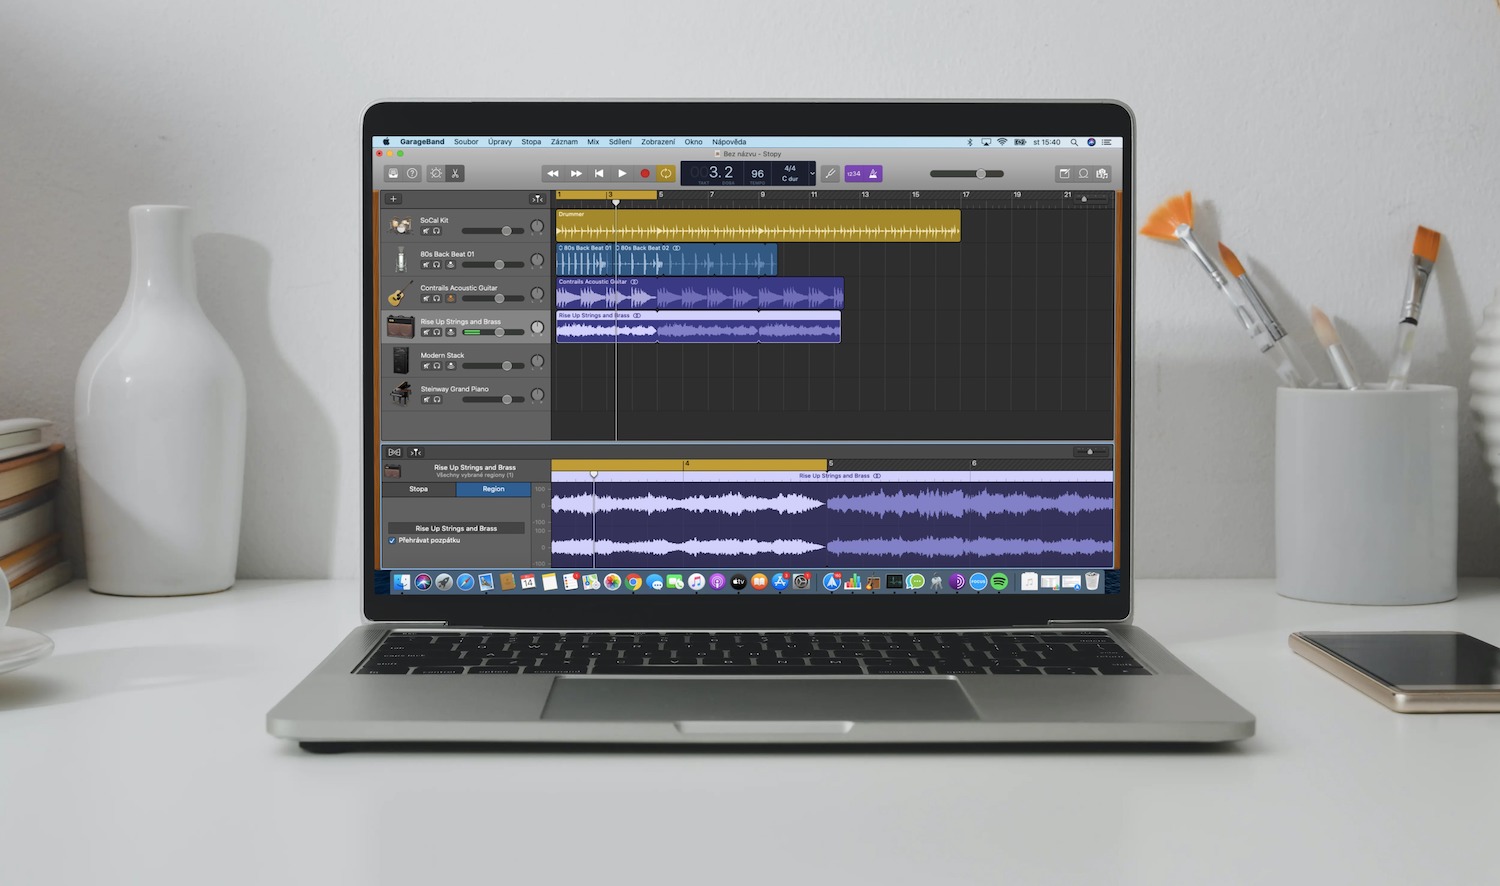
We continue our analysis of GarageBand for Mac in our series on native Apple apps. In today's episode, we will discuss the procedures for arranging songs created in this application.
It could be interest you
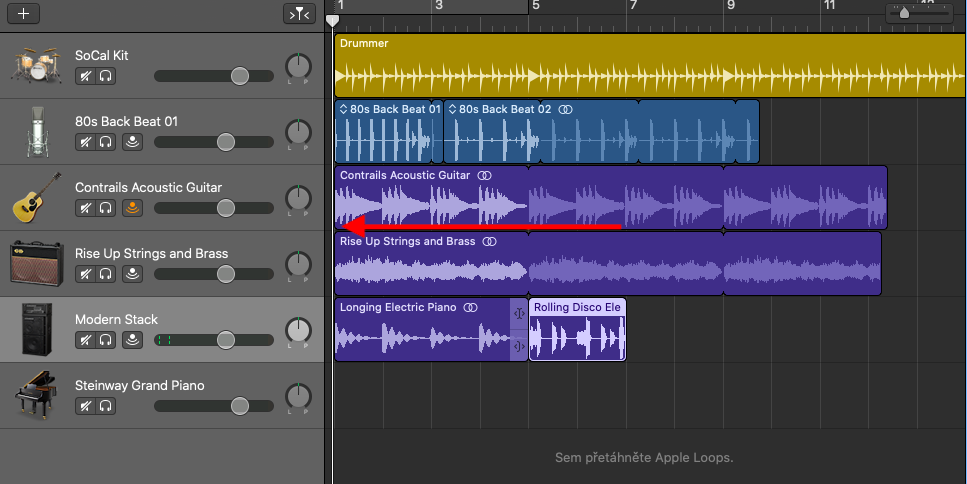
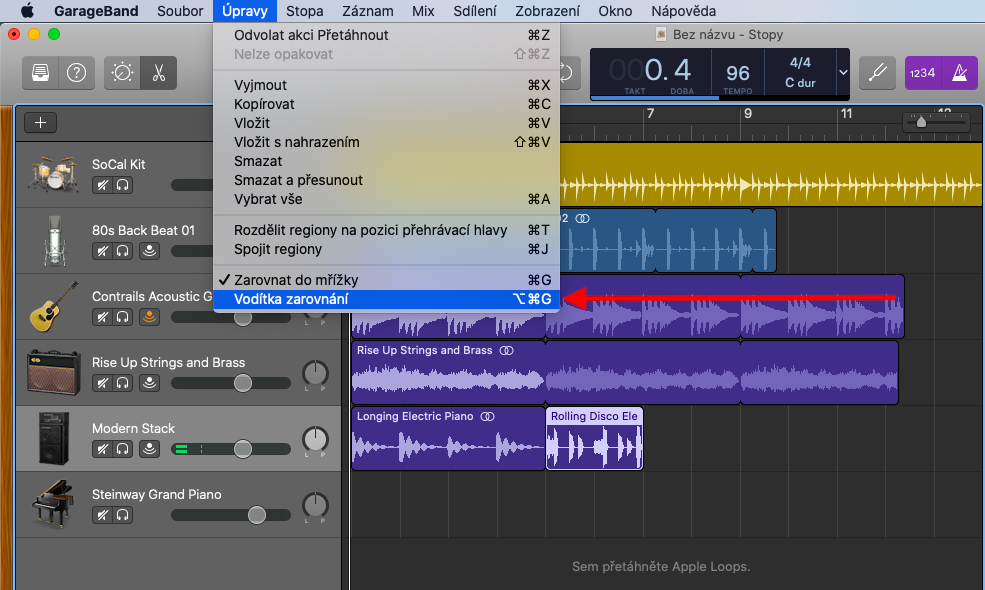
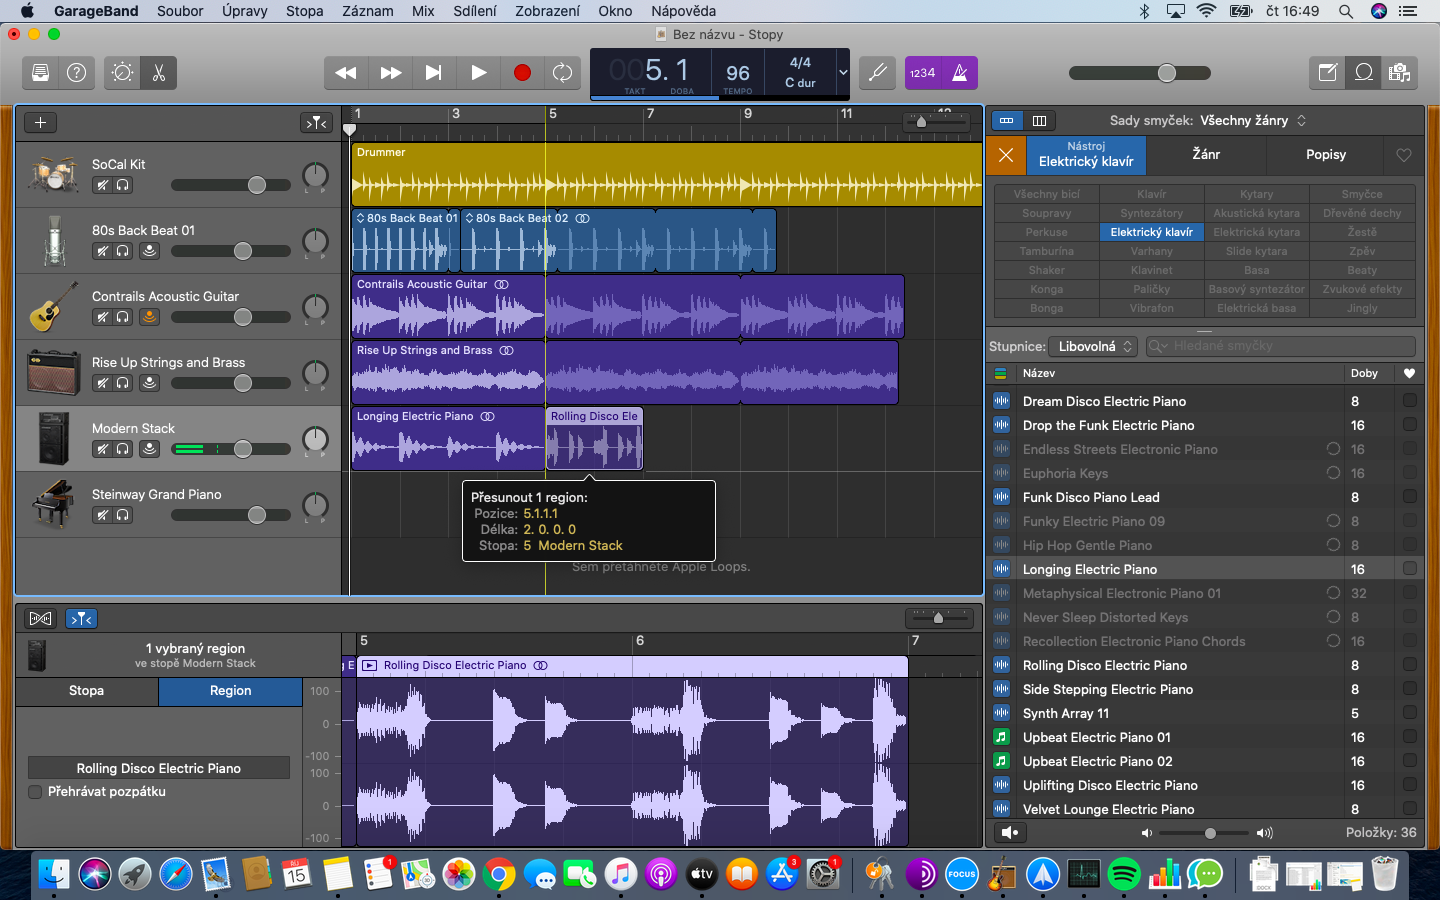
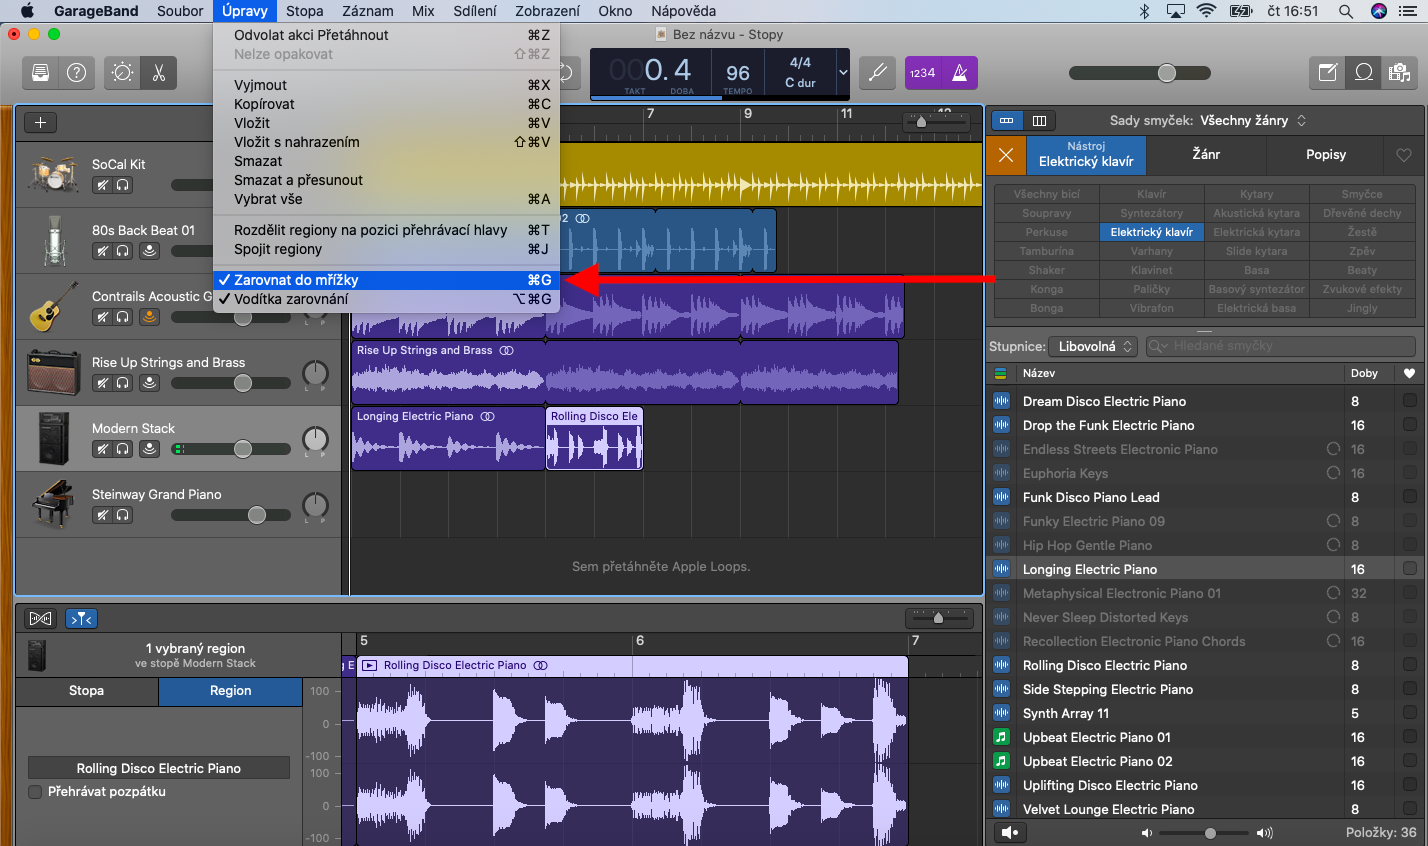
Within arrangements, you can place items in your GarageBand project according to a ruler – for example, the ruler was discussed in the chapter on tracks or regions, which is a bar of numbers that runs horizontally along the top of the track area. The ruler can be used in GarageBand on Mac to align items in the track area more precisely. As you align items to each other in the track area, you'll see alignment guides in yellow. You can turn alignment guides on and off in GarageBand on Mac, and when you turn them on, you also turn on the alignment feature. To enable or disable alignment guides, click Edit -> Alignment Guides in the toolbar at the top of your Mac screen. You can also align items in GarageBand to a grid. To activate the grid in the track area, click Edit -> Snap to Grid in the toolbar at the top of your Mac screen.
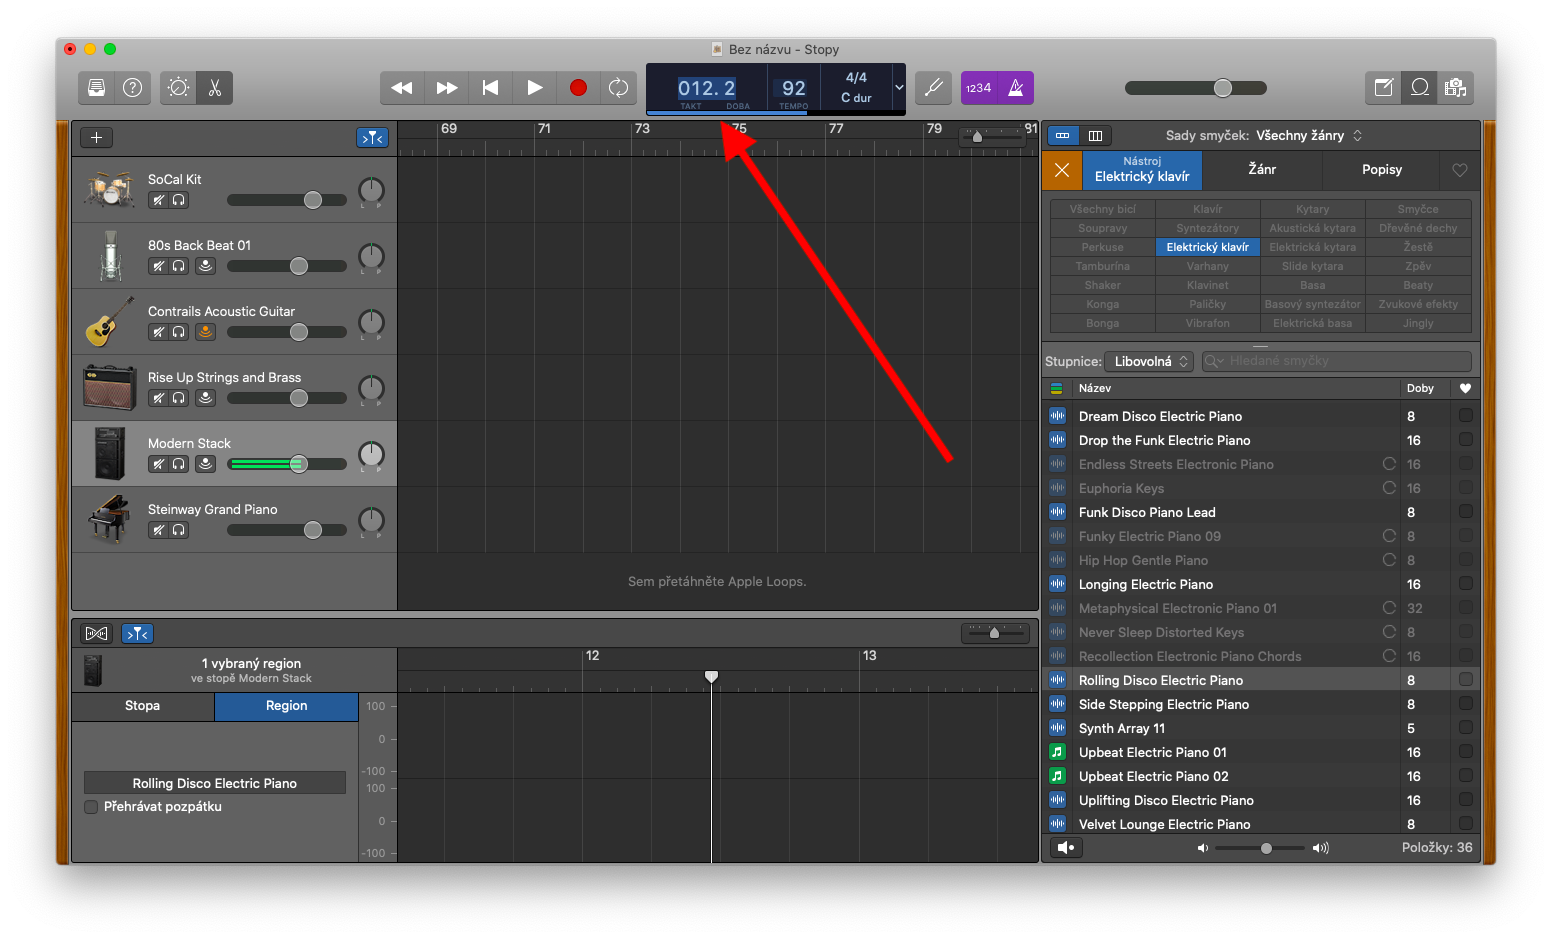
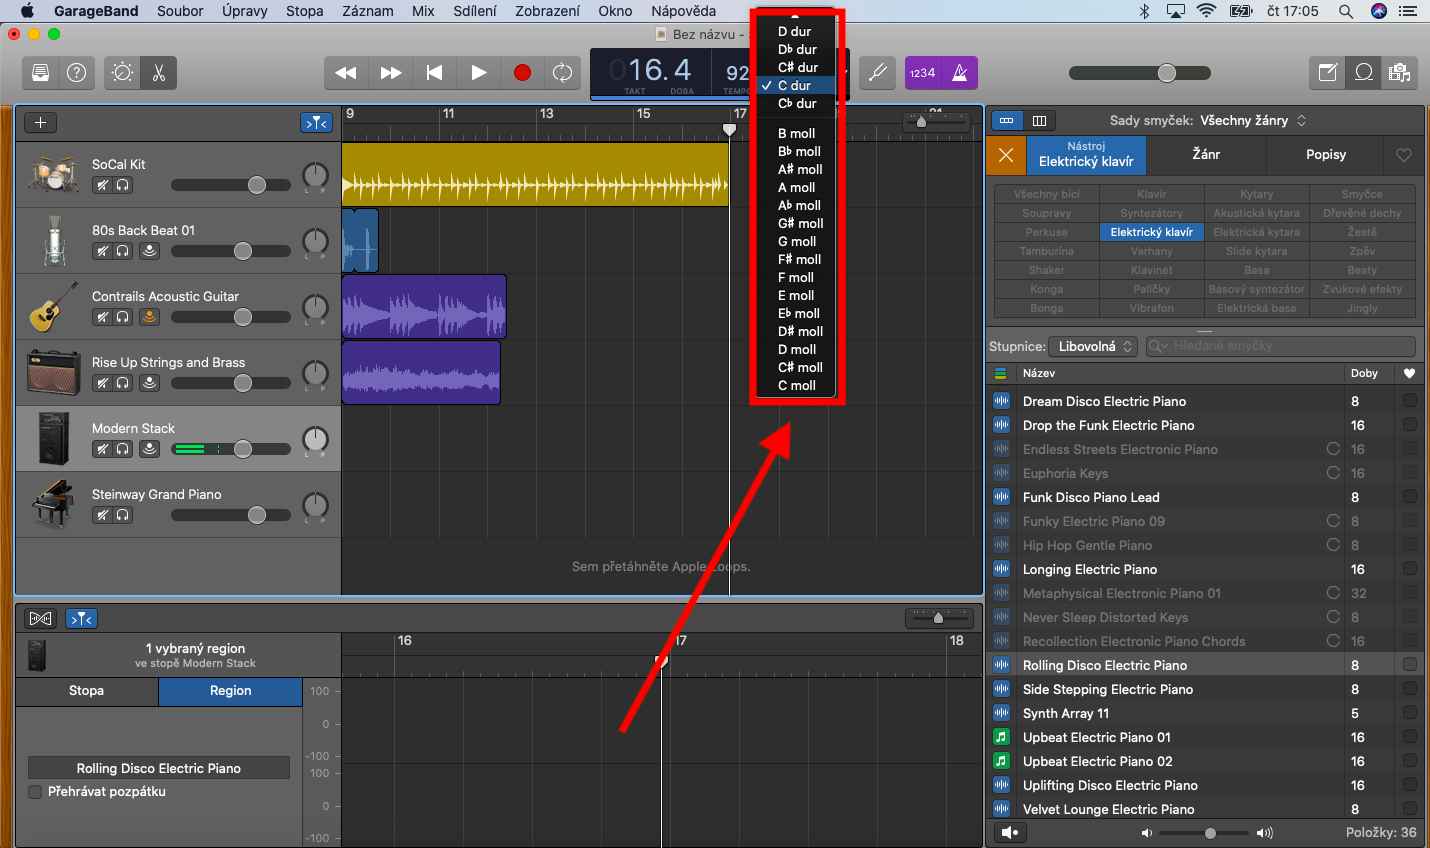
The toolbar at the top of the application window contains tools for further editing the properties of your project. To adjust the tempo, click on the LCD image with bar, time and tempo information. Click on the tempo data and adjust by dragging the cursor up or down. You can adjust the tempo and time on the LCD in the same way. If you prefer to enter the values on the keyboard, double-click the selected item and then enter the required data. To set the tone, click on the corresponding data on the LCD and then select the desired tone in the menu.
