Today we continue to introduce TextEdit for Mac again. In the last part we discussed the basics of working with text, in today's brief overview we will take a closer look at formatting using fonts and styles and changing styles.
It could be interest you

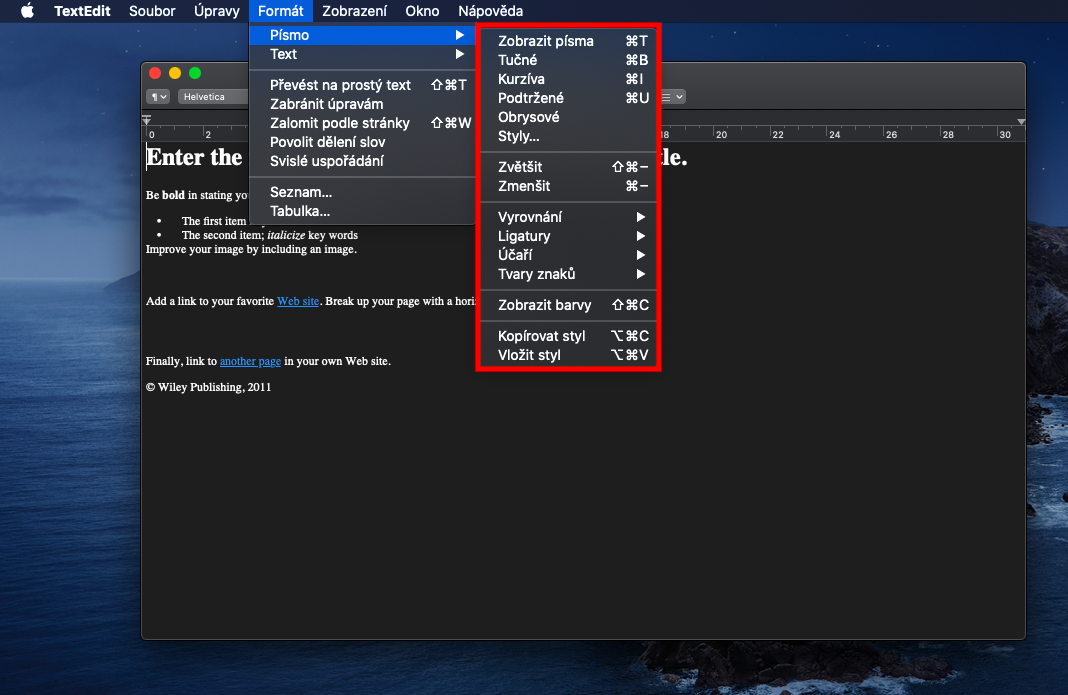
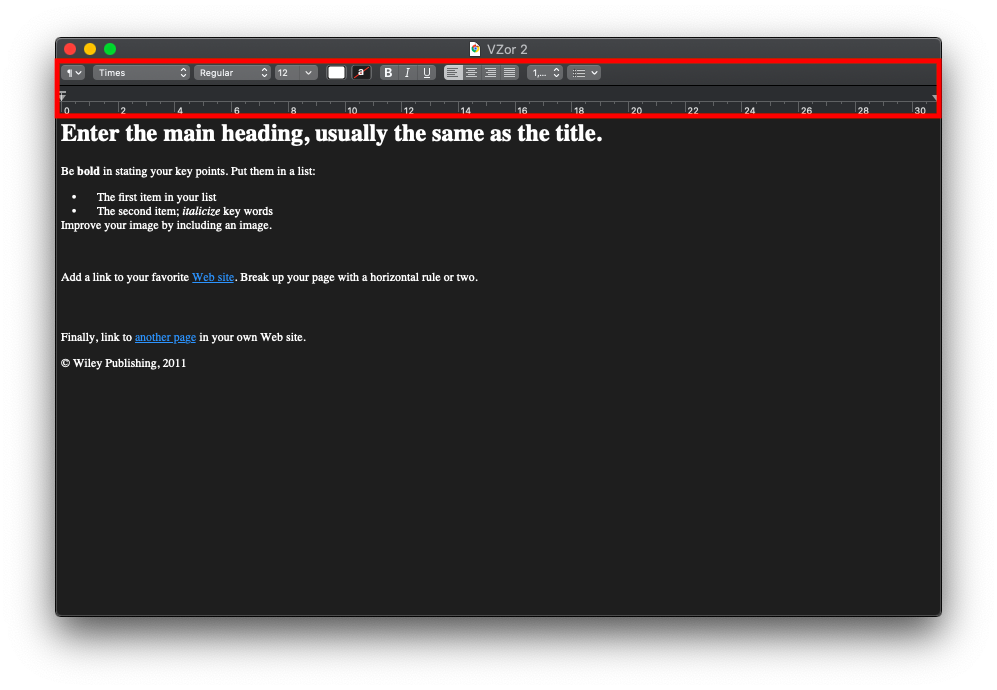
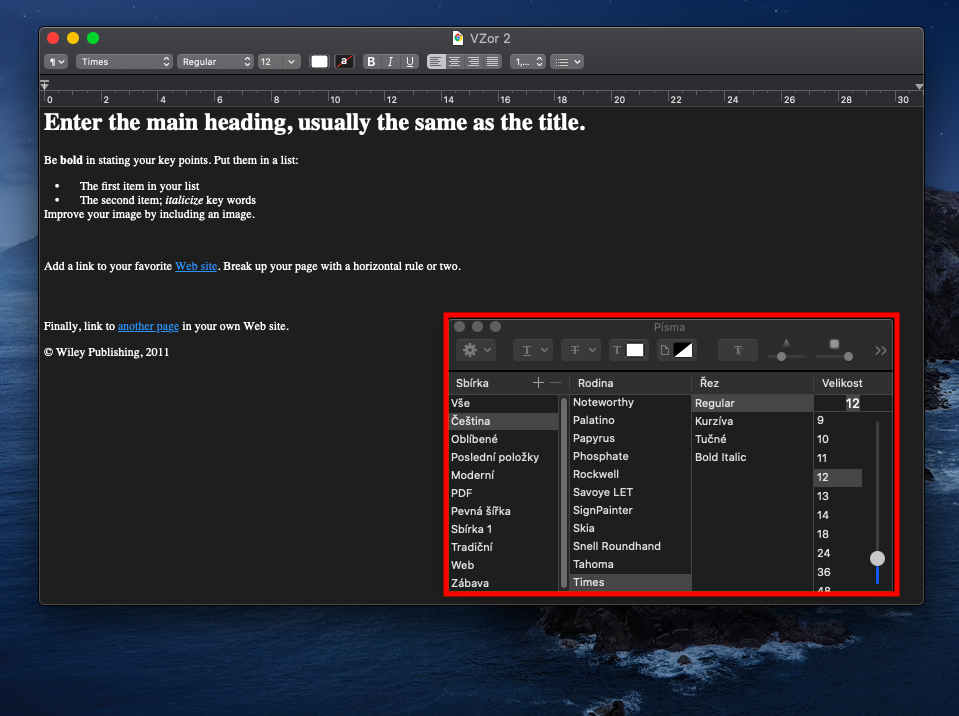
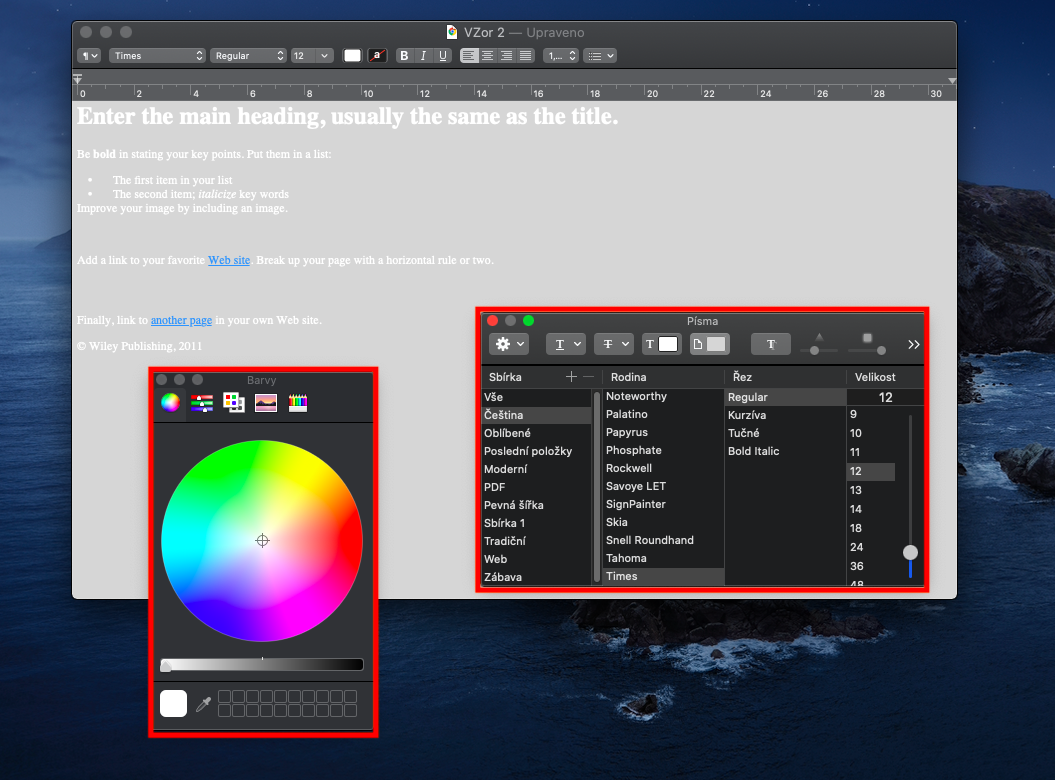
Formatting text is easy and fast in TextEdit. First, on the toolbar at the top of your Mac screen, click Format -> Convert to RTF, and you'll see a toolbar. Here you can then select the font and font type, its size, color, and adjust the style. If you want to get into more advanced formatting, click Format -> Font -> Show Fonts in the toolbar at the top of your Mac's screen. If you want to change the background color of the document in TextEdit on Mac, click again on the toolbar at the top of the screen on Format -> Font -> Show Fonts, or use the keyboard shortcut Cmd + T to open the Fonts window. Select the desired document background color and close the editing panels. If you want to undo an edit, click Edits -> Undo Action on the toolbar.
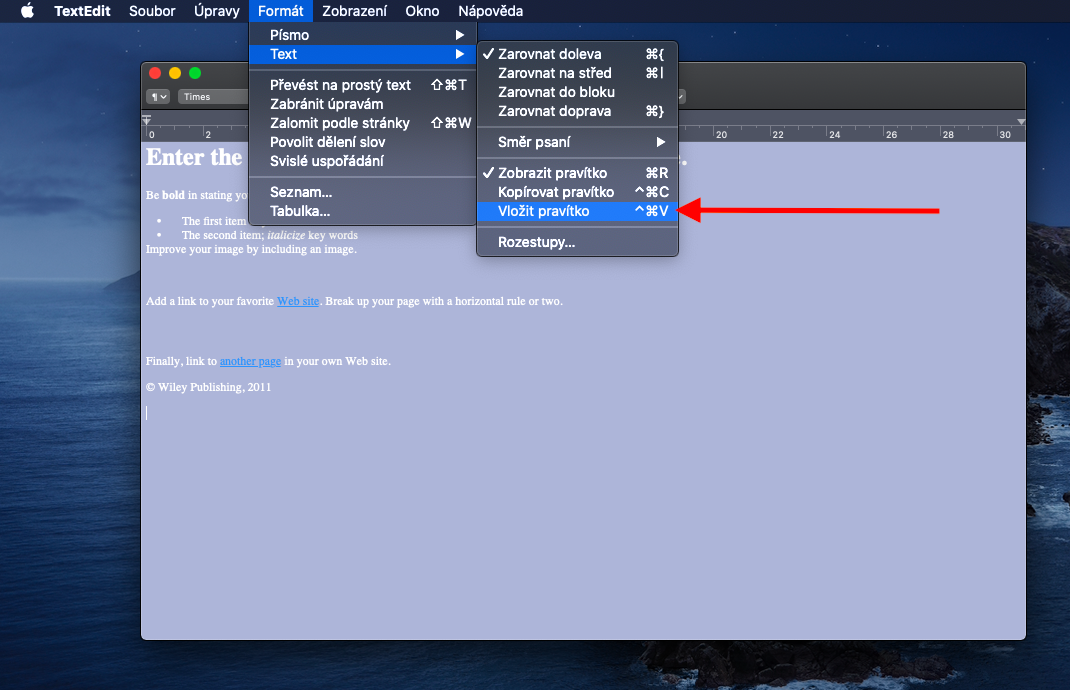
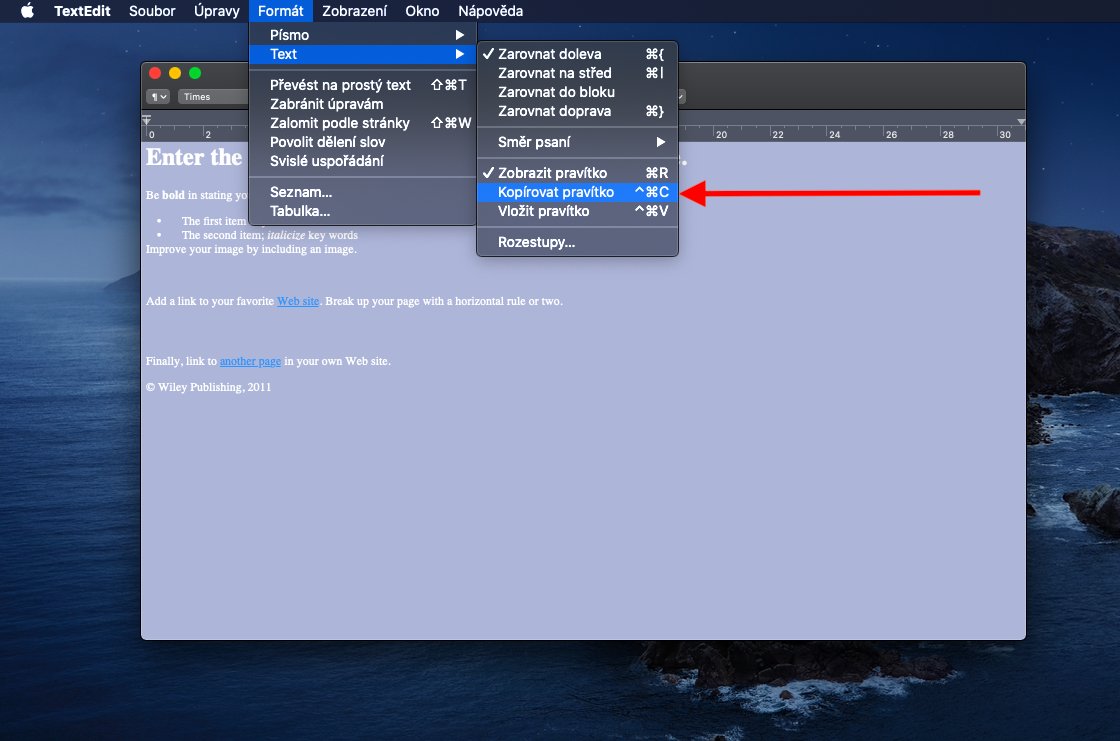
To display a ruler while working on a document in TextEdit on Mac, click Format -> Text -> Show Ruler on the toolbar. If you want to copy a ruler, first open the document whose settings you want to copy in TextEdit. Then, on the toolbar at the top of the screen, click Format -> Text -> Copy Ruler. Open the document you want to convert the selected settings to and click Format -> Text -> Insert Ruler on the toolbar.
