Native Reminders on Mac is a great productivity tool. You can create to-do lists and individual reminders in them, either manually or with the help of Siri. In the first part of our series, dedicated to Reminders, we take a closer look at adding, editing and deleting individual reminders on Mac.
It could be interest you
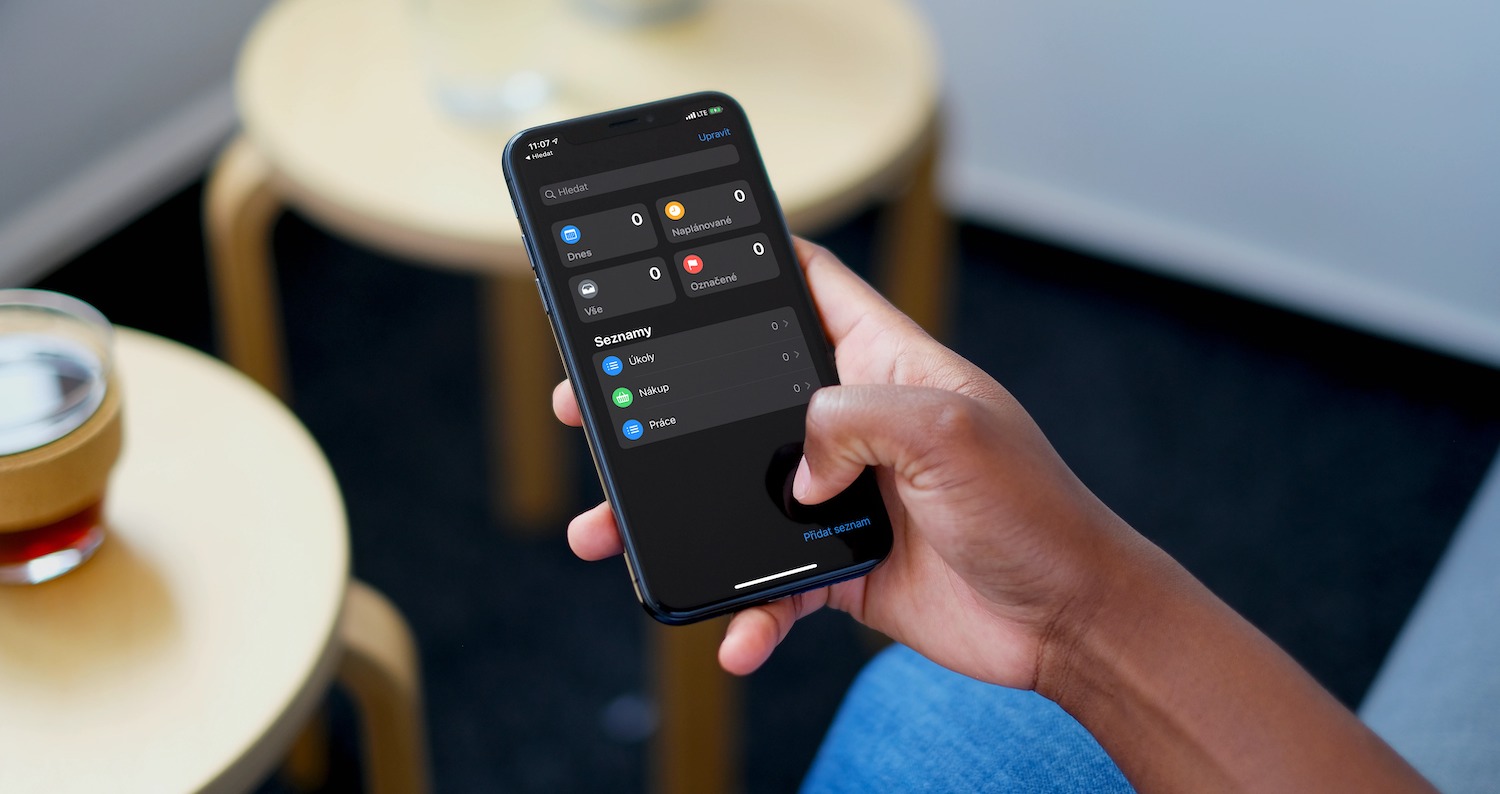
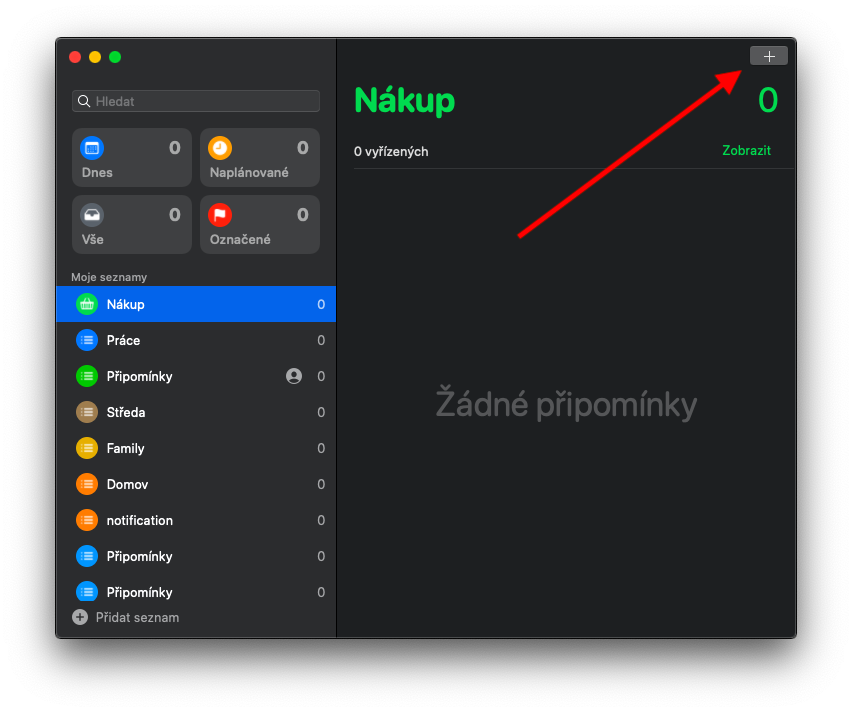
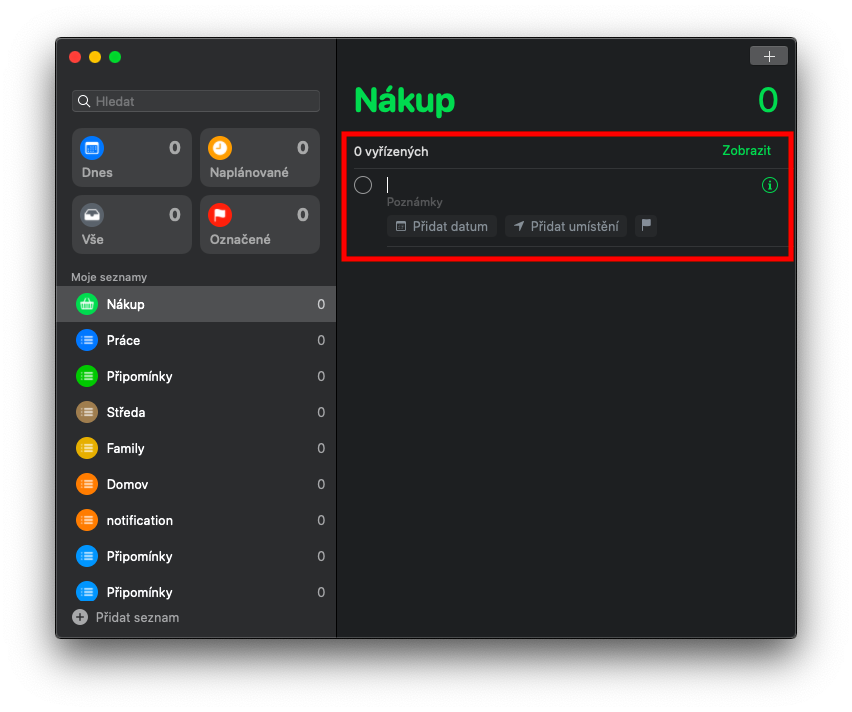
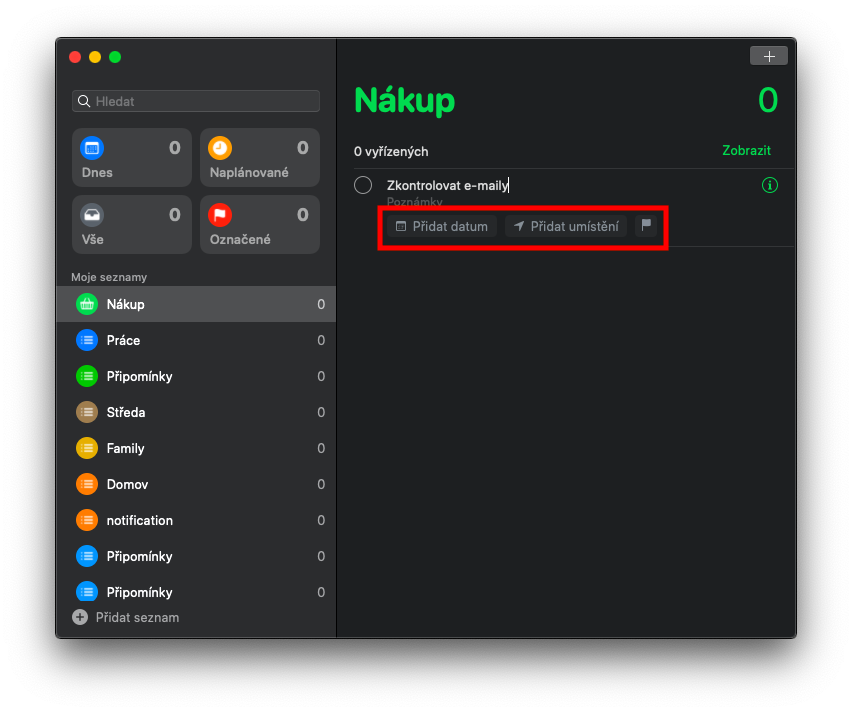
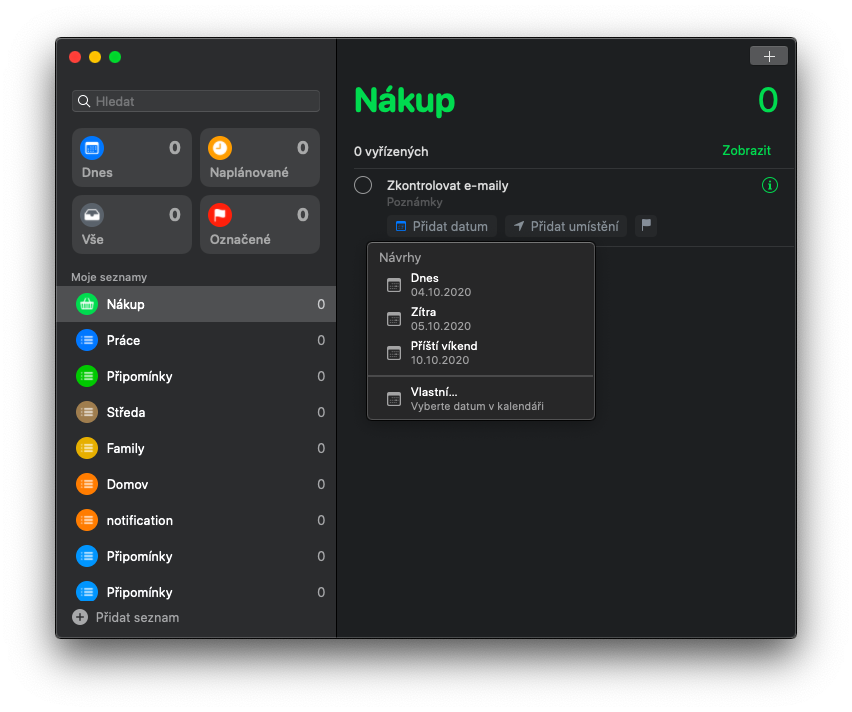
Adding individual reminders in the corresponding native application on Mac is really very easy - just select the desired list in the left-hand panel in which you want to place the new reminder, and then click the "+" button in the upper right corner of the application window. If you don't see the list bar, click View -> Show Sidebar in the toolbar at the top of your Mac screen. If you want to create another line in the reminder, press Alt + Enter (Return). Below the reminder text, you'll find buttons to add a date and time and to add a location where you want to be alerted to the task. A small flag icon is used to indicate a reminder. If you want to add more comments to one list, just press Enter (Return) after entering each one.
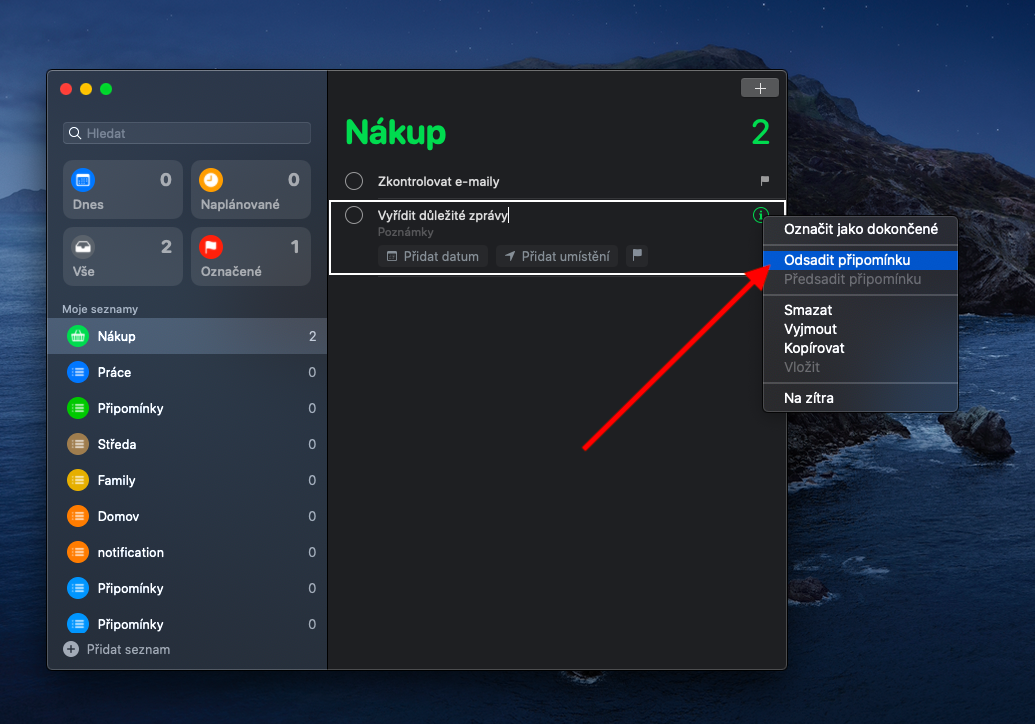
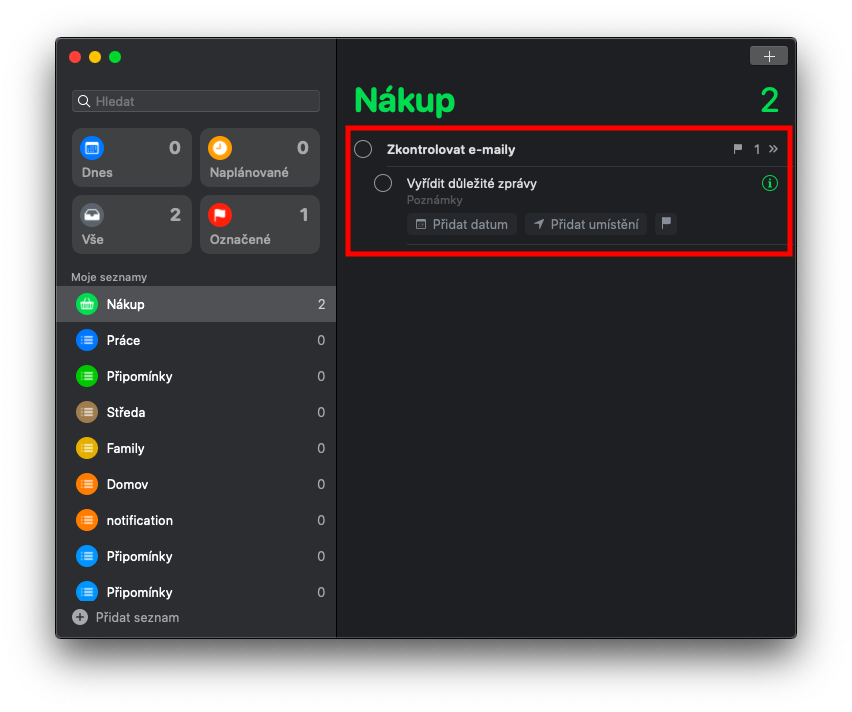
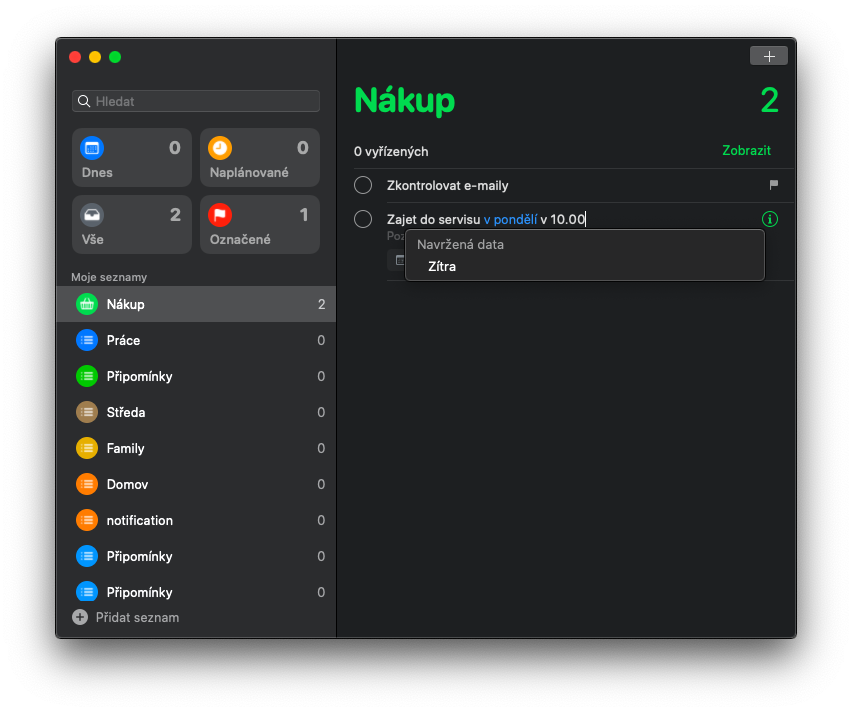
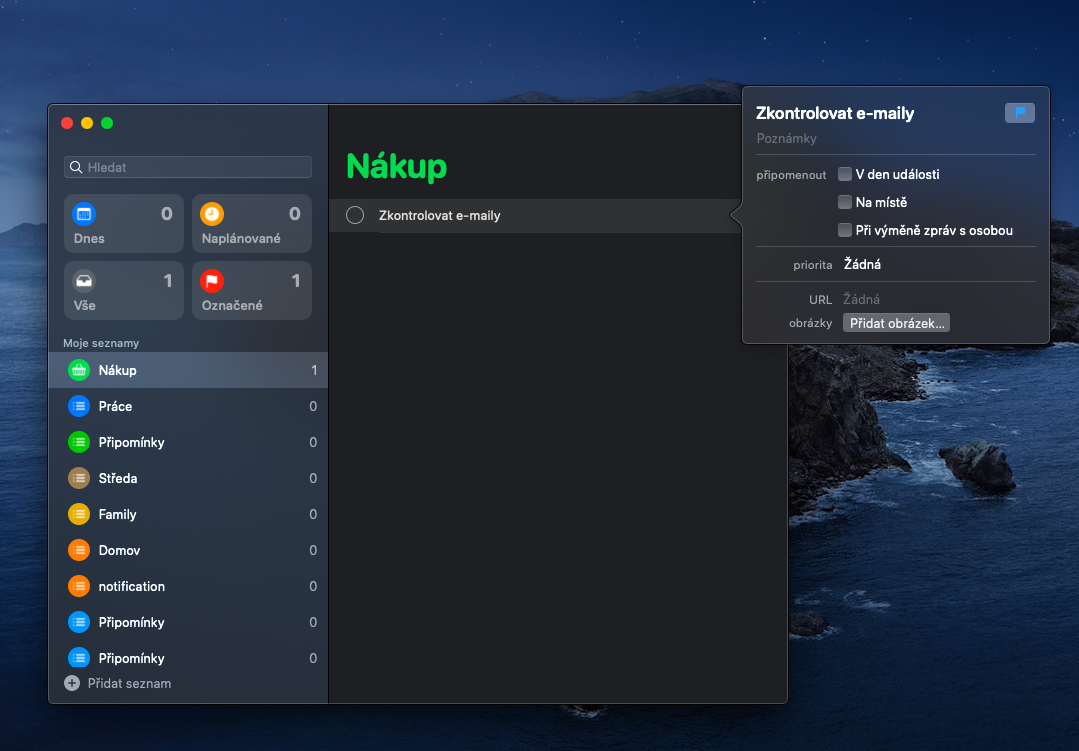
One of the advantages of native Reminders on Mac is natural language support – that is, you enter all the details about the time, date and location in the text of the reminder, and the system automatically evaluates them. So, for example, if you add a reminder "Check emails every Monday at 8.00 am", the application will automatically create a recurring reminder for you. If you want to add more details to the reminder, click on the small "i" icon in the circle to the right of the reminder text - a menu will appear in which you can specify all the necessary details. You can also add URLs or photos to comments. To create a child reminder on a Mac, first create a primary reminder and press Enter (Return). Create a new reminder, right-click on it and select Offset Reminder from the menu.
