A very useful feature in native Notes on iPad is drawing. Especially in conjunction with the Apple Pencil, this feature offers a number of different possibilities, so in today's episode of Native Apps, we're going to look at it in a little more detail, along with creating lists.
It could be interest you

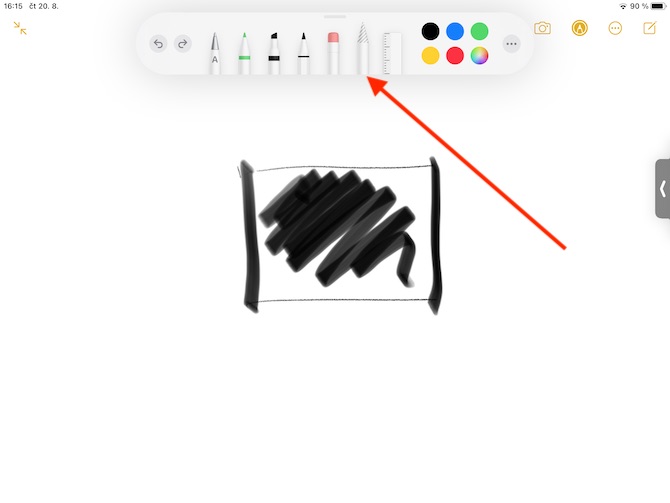
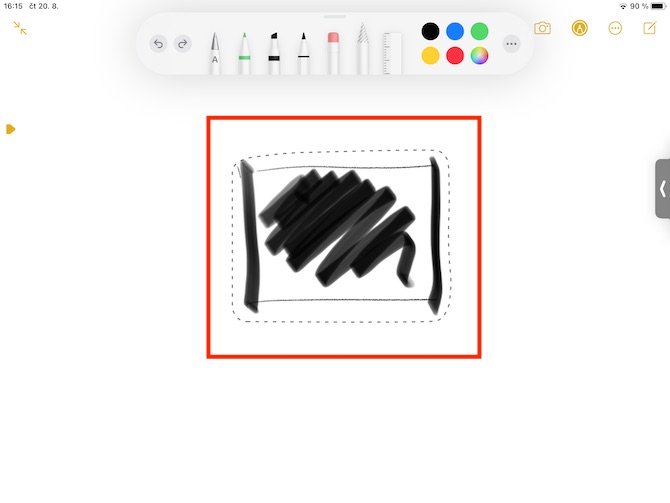
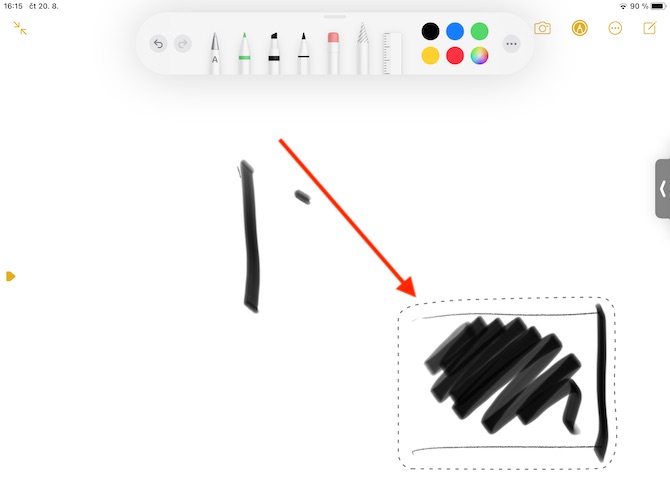
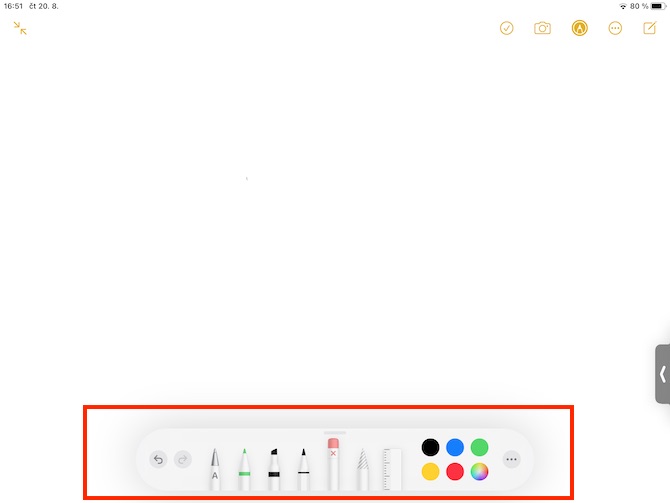
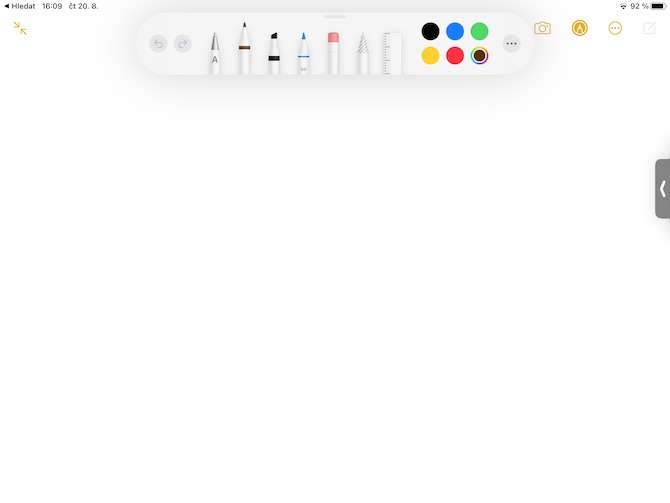
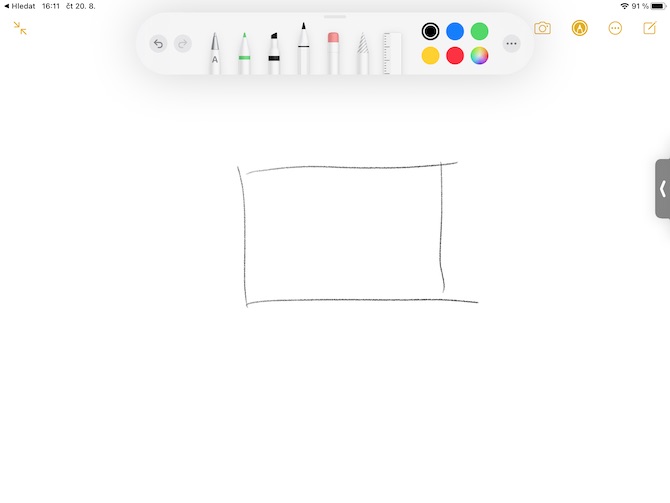
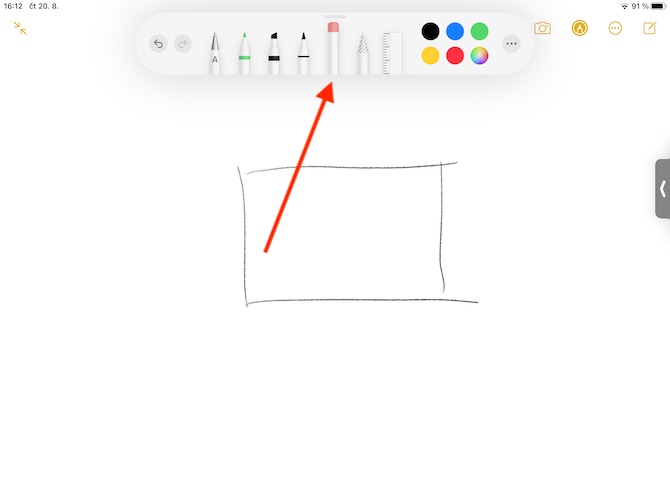
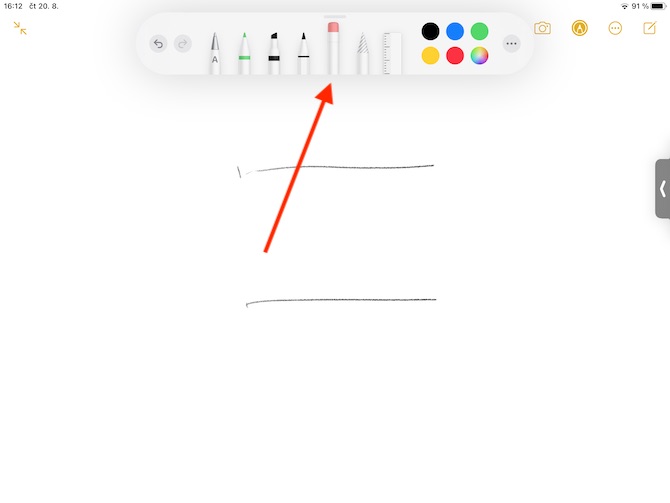
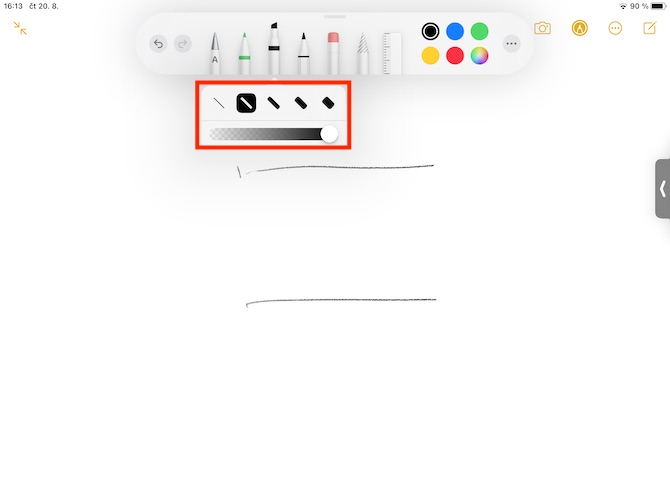
To start drawing, tap the marker icon in the circle at the top of your iPad screen while creating a note. You should see panels on your screen with a selection of drawing tools, an eraser, a selection pencil, and a ruler. First, tap to select the tool you want to start creating with and draw the desired object. By tapping the three dots icon in the right part of the toolbar, you can switch to drawing with your finger or go to the Apple Pencil settings. To erase a selected part of your drawing, first click on the eraser in the toolbar, then click on the area you want to erase - double-click the eraser to change the pixel erasing mode to the entire object erasing mode. To undo an unwanted deletion, tap the arrow to the left. To choose the type of line or the transparency of the color, double-click on the selected tool, to change the size of the drawing field, you can adjust its dimensions by dragging the yellow line above or below the drawing. To move a selected part of a drawn object, click the selection tool (see gallery) and draw a circle around the part you want to move. You can move the removed object simply by dragging. You can also copy and paste parts of drawings with the help of this tool.
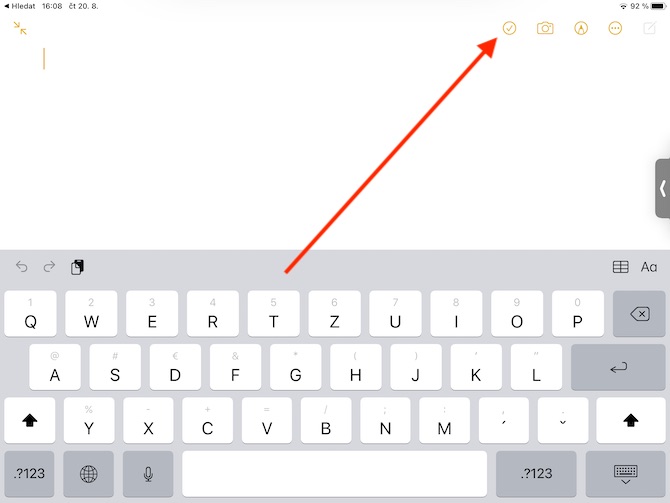
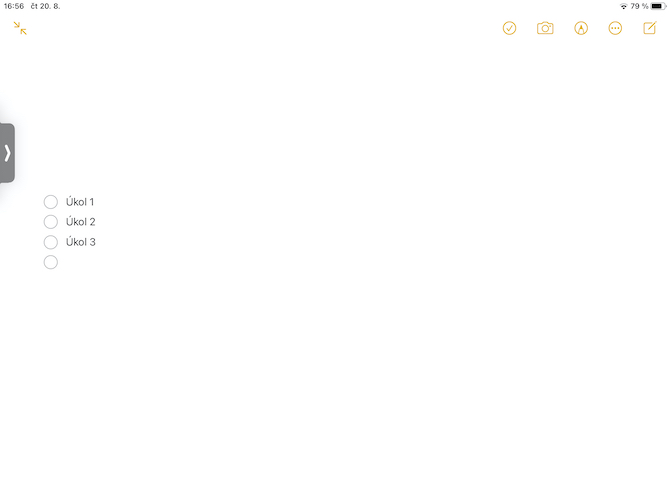
Other useful features of the native Notes app include the ability to create checklists. To start creating lists, click on the crossed-out circle icon in the upper part of the display. A bullet point will be created for the first point in the list, you can add more points by pressing Enter on the keyboard. For a completed task, tap the circle next to the task.
