In another of our regular series, we will gradually introduce native applications from Apple for iPhone, iPad, Apple Watch and Mac. While the content of some episodes of the series may seem trivial to you, we believe that in most cases we will bring you useful information and tips for using native Apple applications. Do you feel like there isn't really much to write about native Weather for iOS devices? The truth is that Weather is a very simple and intuitive application that does not require any special setup, customization and control. Even so, we will take a closer look at it in this part of our series.
It could be interest you
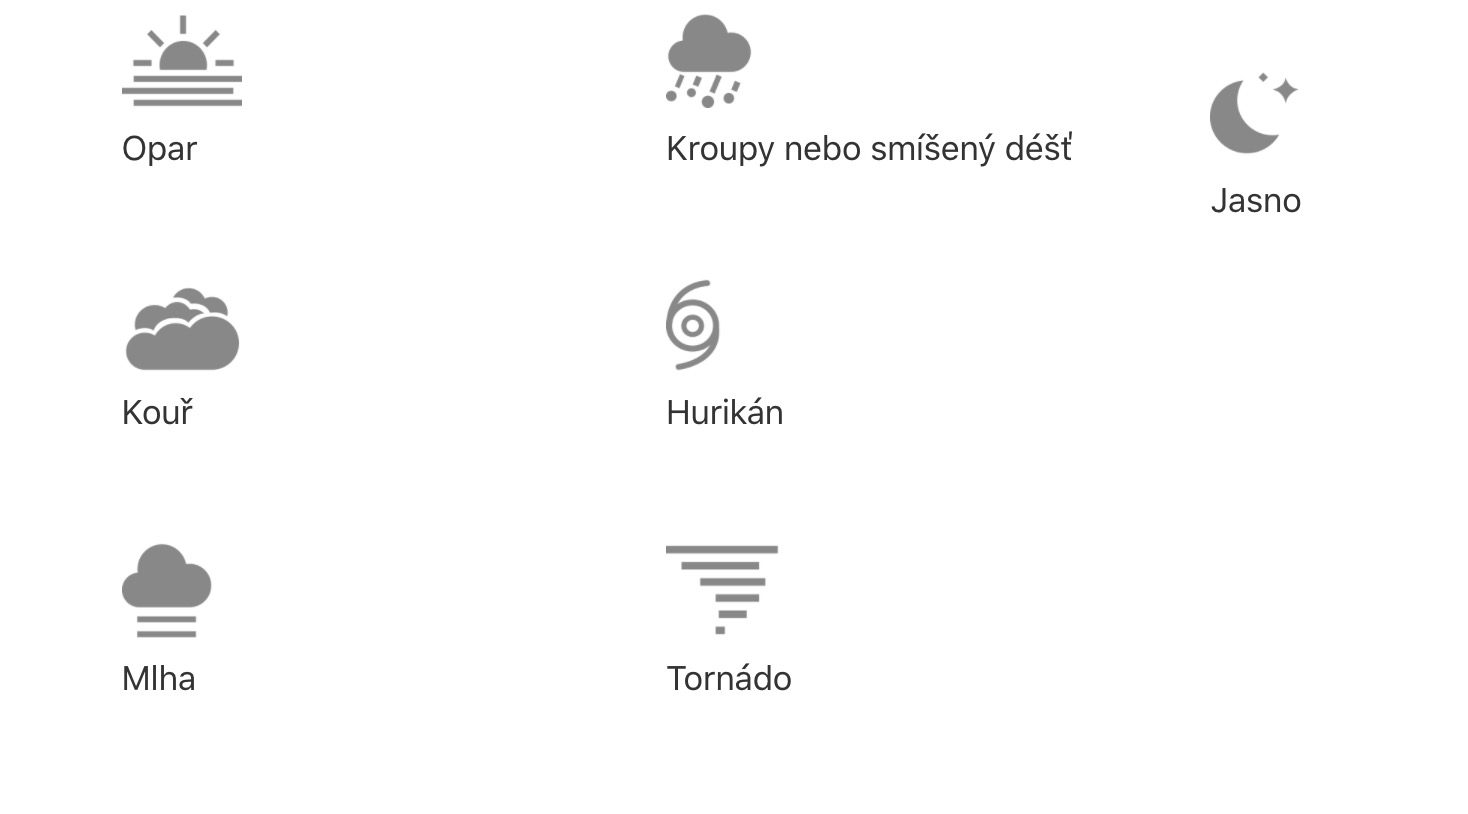
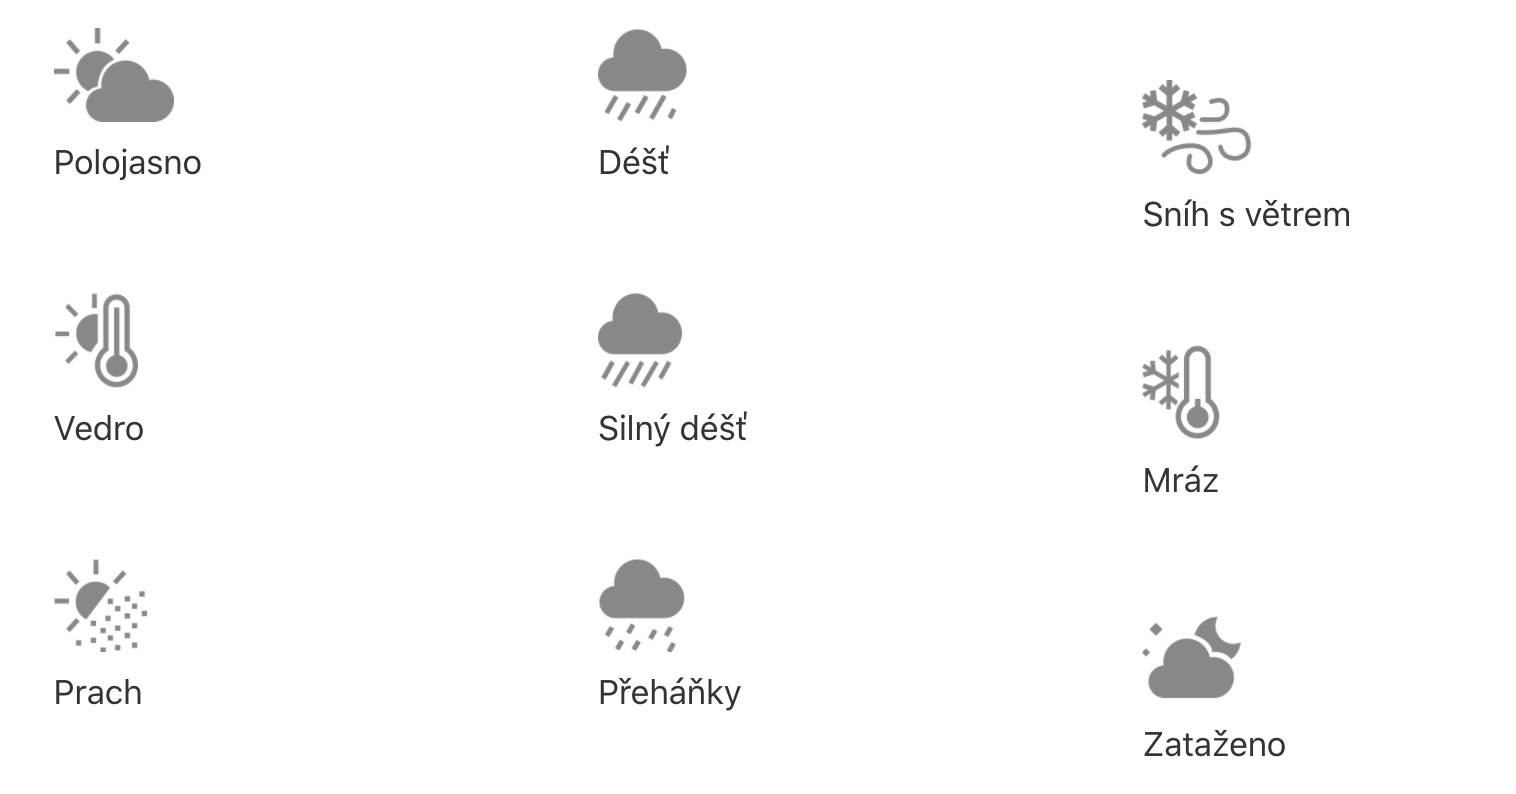
The native Weather app has been part of Apple's mobile operating system since iPhone OS 1. Along with the evolution of the iPhone OS/iOS operating system, the appearance of the Weather app has also changed. In addition to icons symbolizing individual types of weather (see gallery), one of the distinctive features of native iOS weather are animated backgrounds reflecting the current state of the weather in given locations. Apple uses data from The Weather Channel to create its Weather app, but recently also bought the Dark Sky platform. So it's possible that the acquisition will serve to improve the native Weather in iOS 14.
Appearance and layout
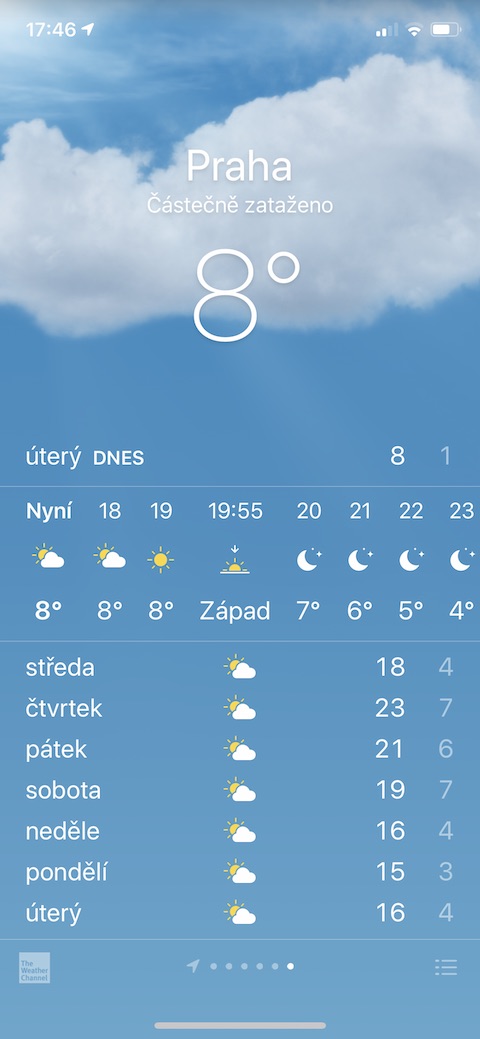
After you launch the Weather app, you'll be taken to its home screen showing your current location, cloud cover, and temperature. Below the temperature indicator, you can see a panel with weather forecast data for the following hours, including what time the sun sets and rises. Below the panel with the hourly breakdown of the weather forecast, you will find a brief one forecast overview for the following days together with data on the highest daily a the lowest night temperature.
Searching for weather data
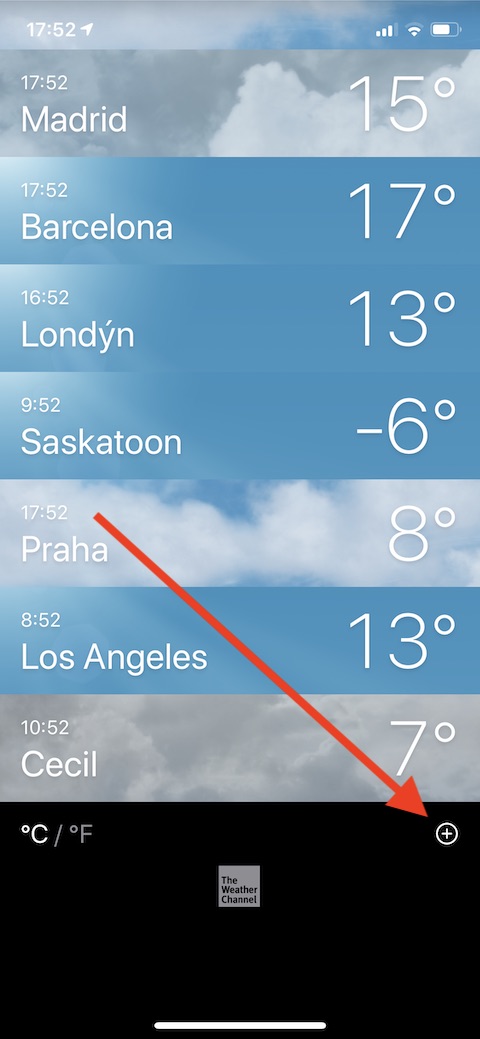
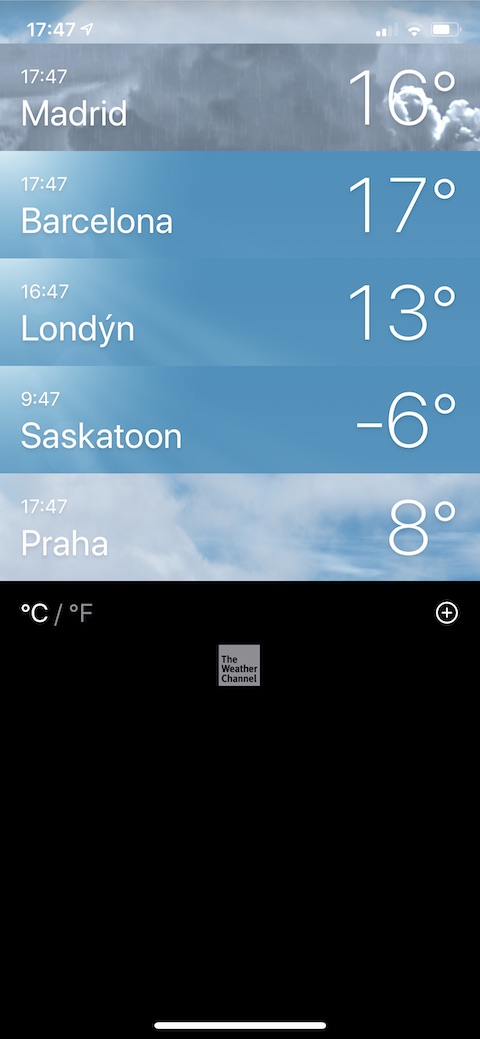
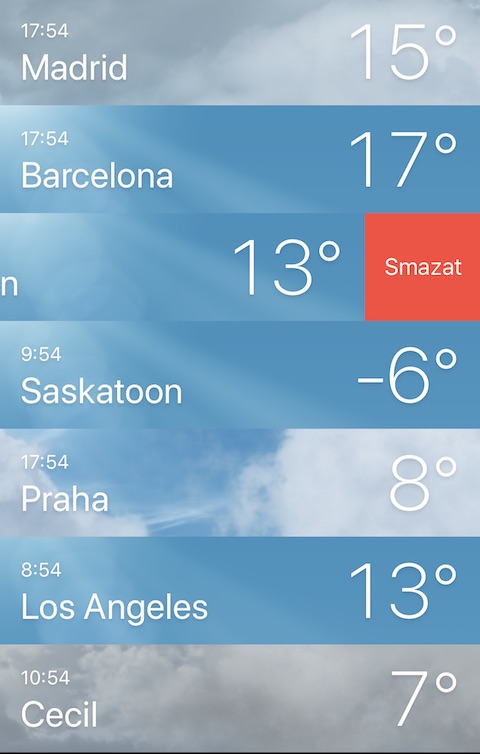
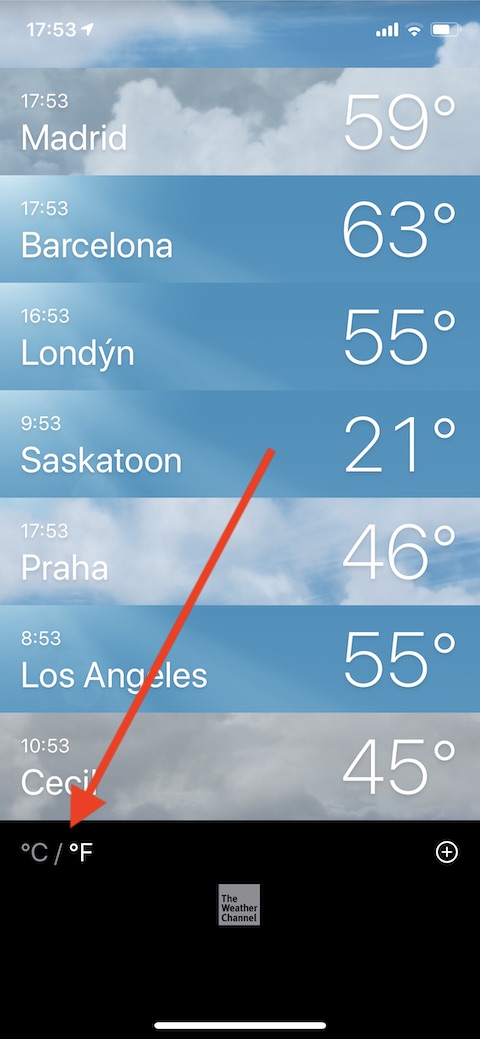
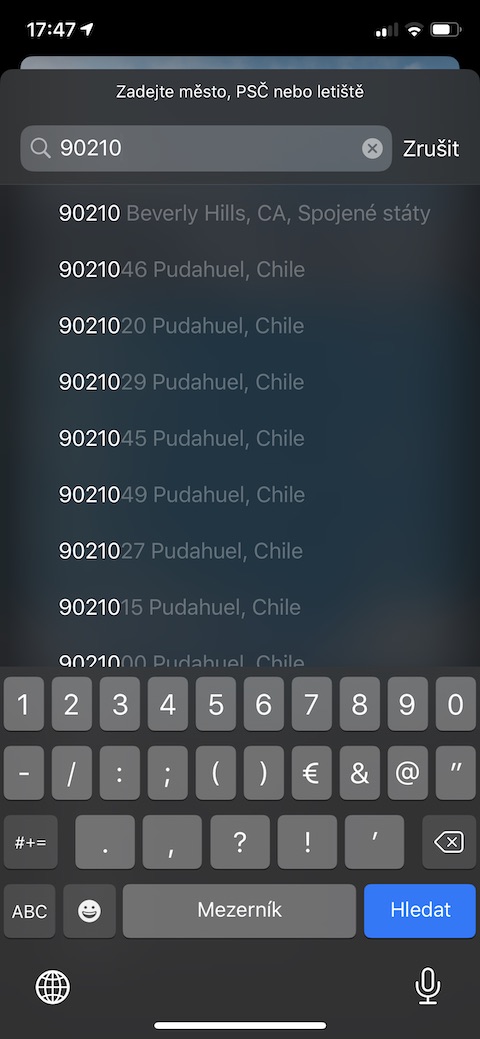
Finding weather data anywhere on the planet is very easy in the Weather app - just tap list icon in right down corner. Under the list of places, tap the circled + icon at the bottom right and enter the name of the city, airport, or postal code in the search field. You can then add the selected area to the list with a simple by tapping. You then switch between individual locations from the home screen of the application scrolling left or right. You can also enter a new location by long pressing the application icon and tapping on the + icon. In the list of cities (after tapping the list icon on the home screen) you can also switch between degrees Celsius and Fahrenheit. If you need to delete a city from the list, just move the panel with its name in the direction left and tap on Delete, order cities by changing the panel with the selected city hold for a long time and move it to the place where you want it.
