In the last installment of our series on native Apple apps, we got to know the very basics and interface of Pages for Mac. In today's episode, we will take a closer look at working with templates, style and font formatting.
It could be interest you

Set custom template as default
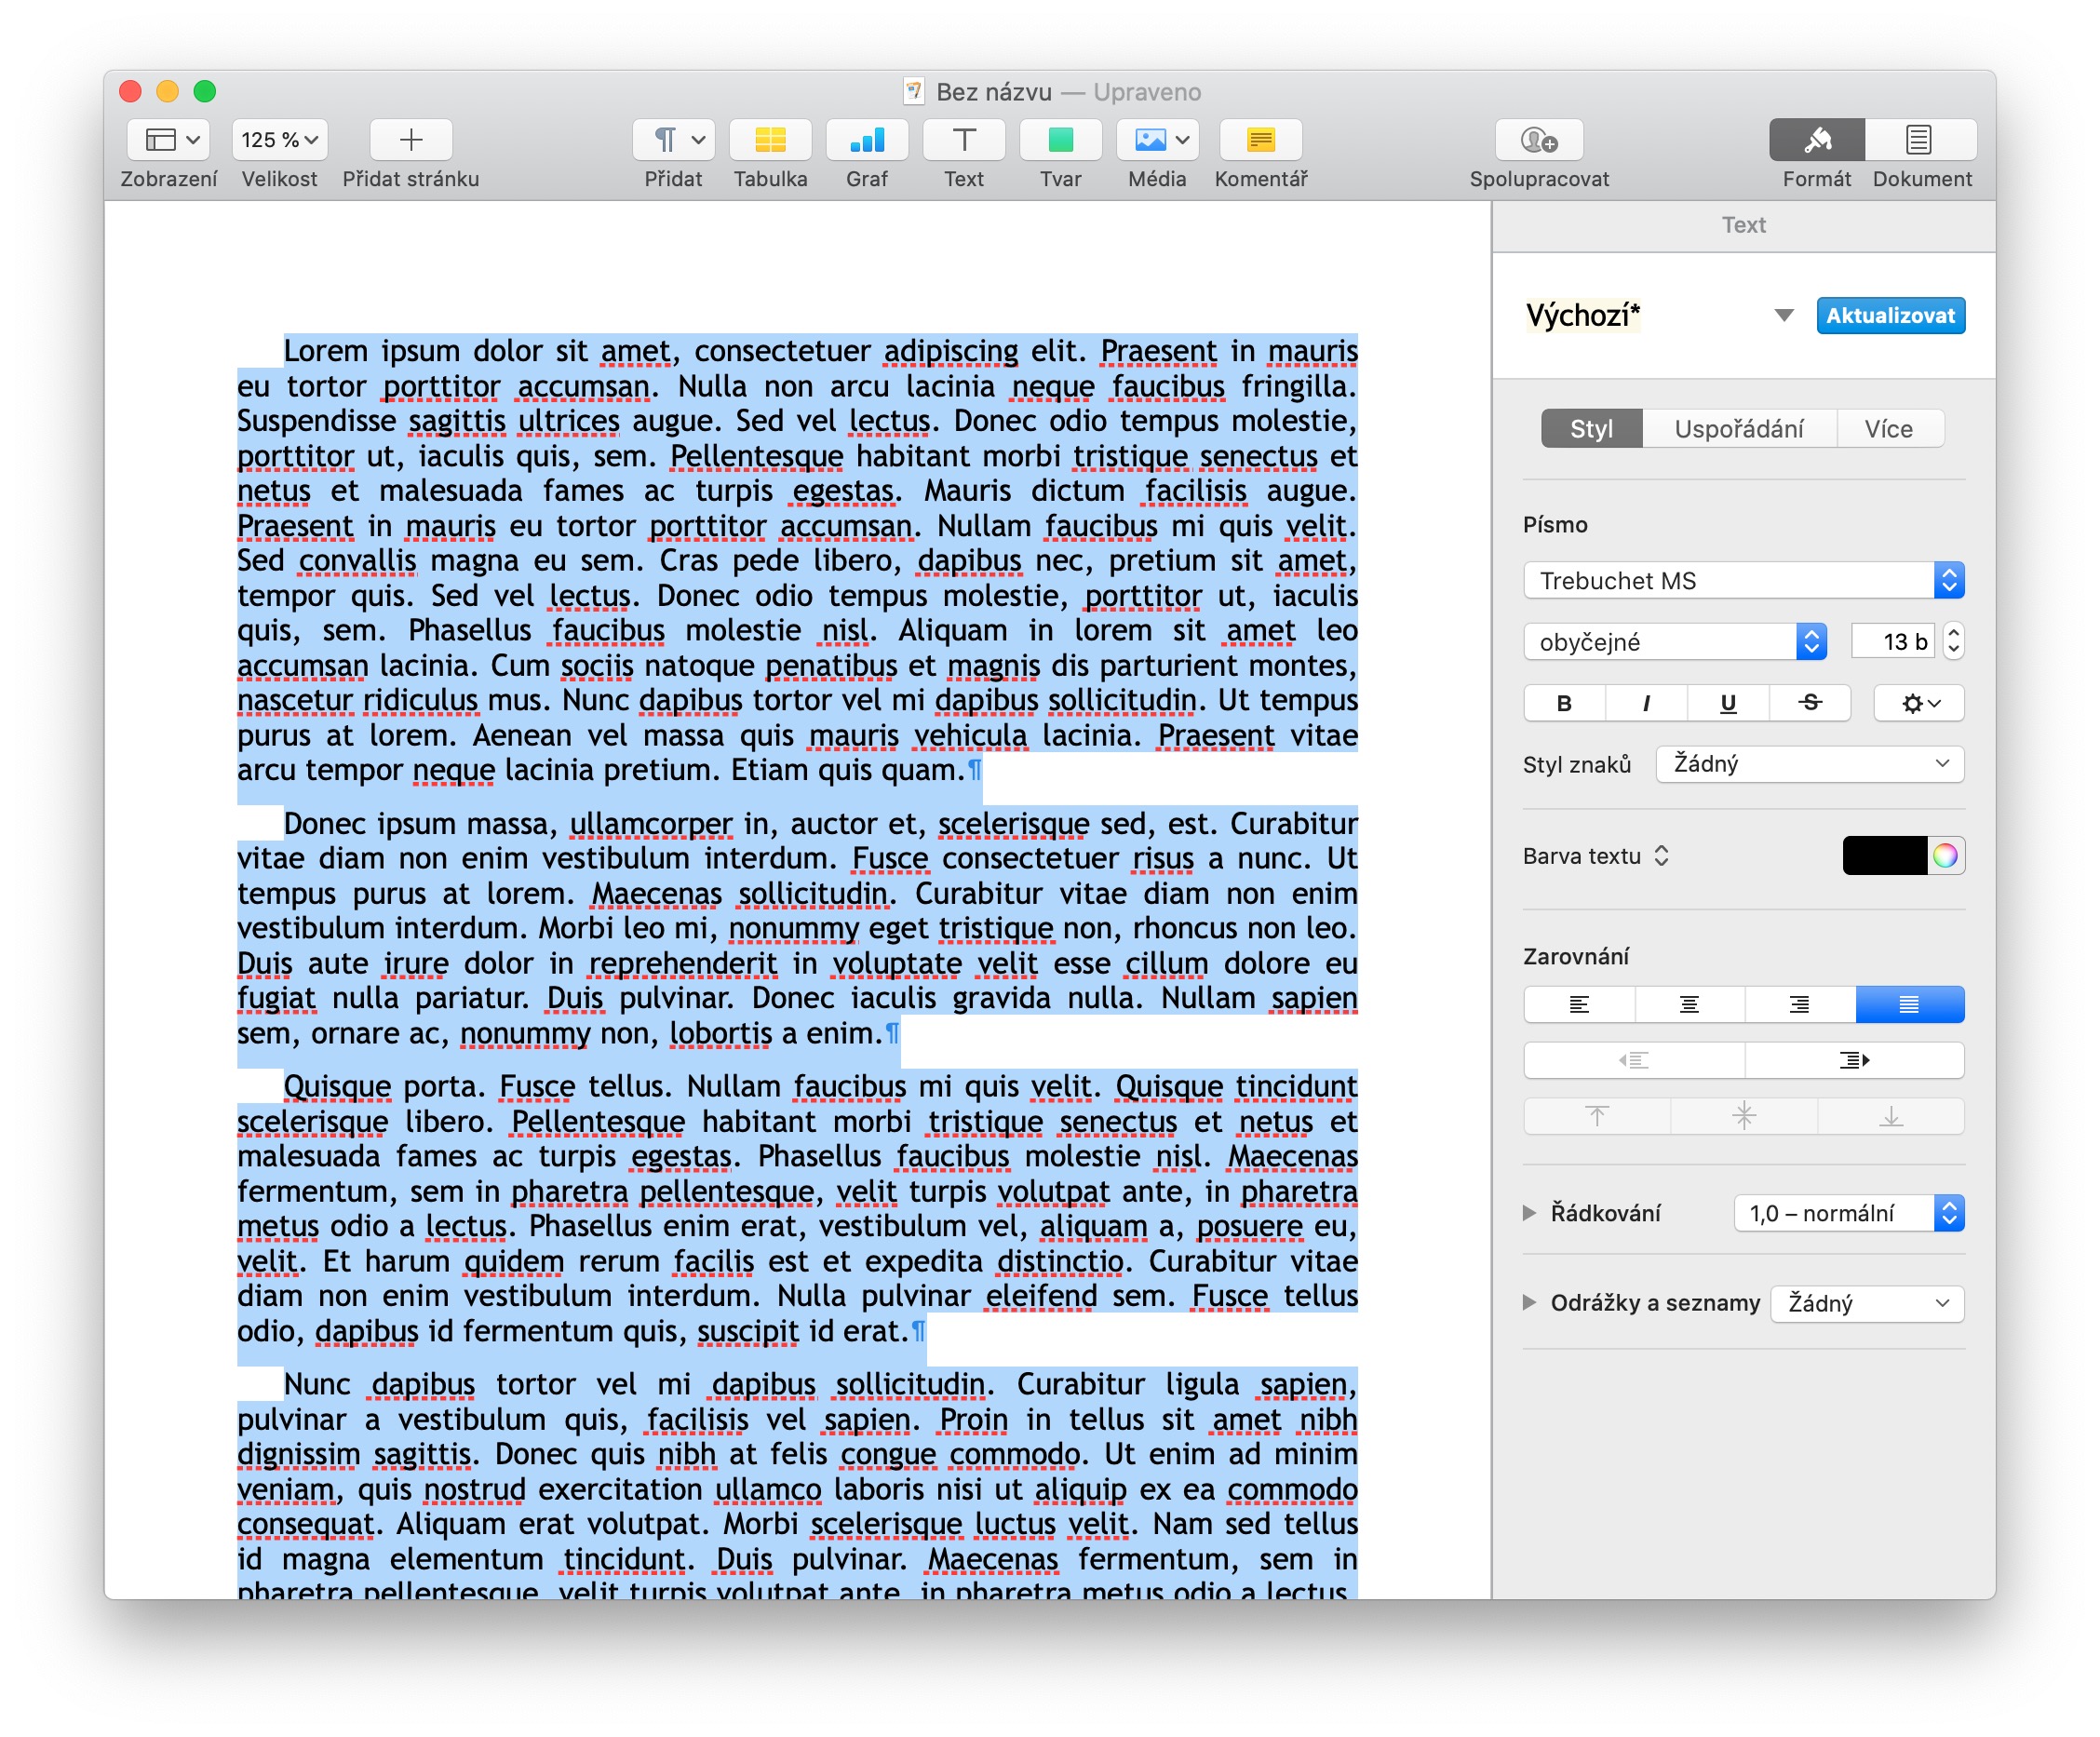
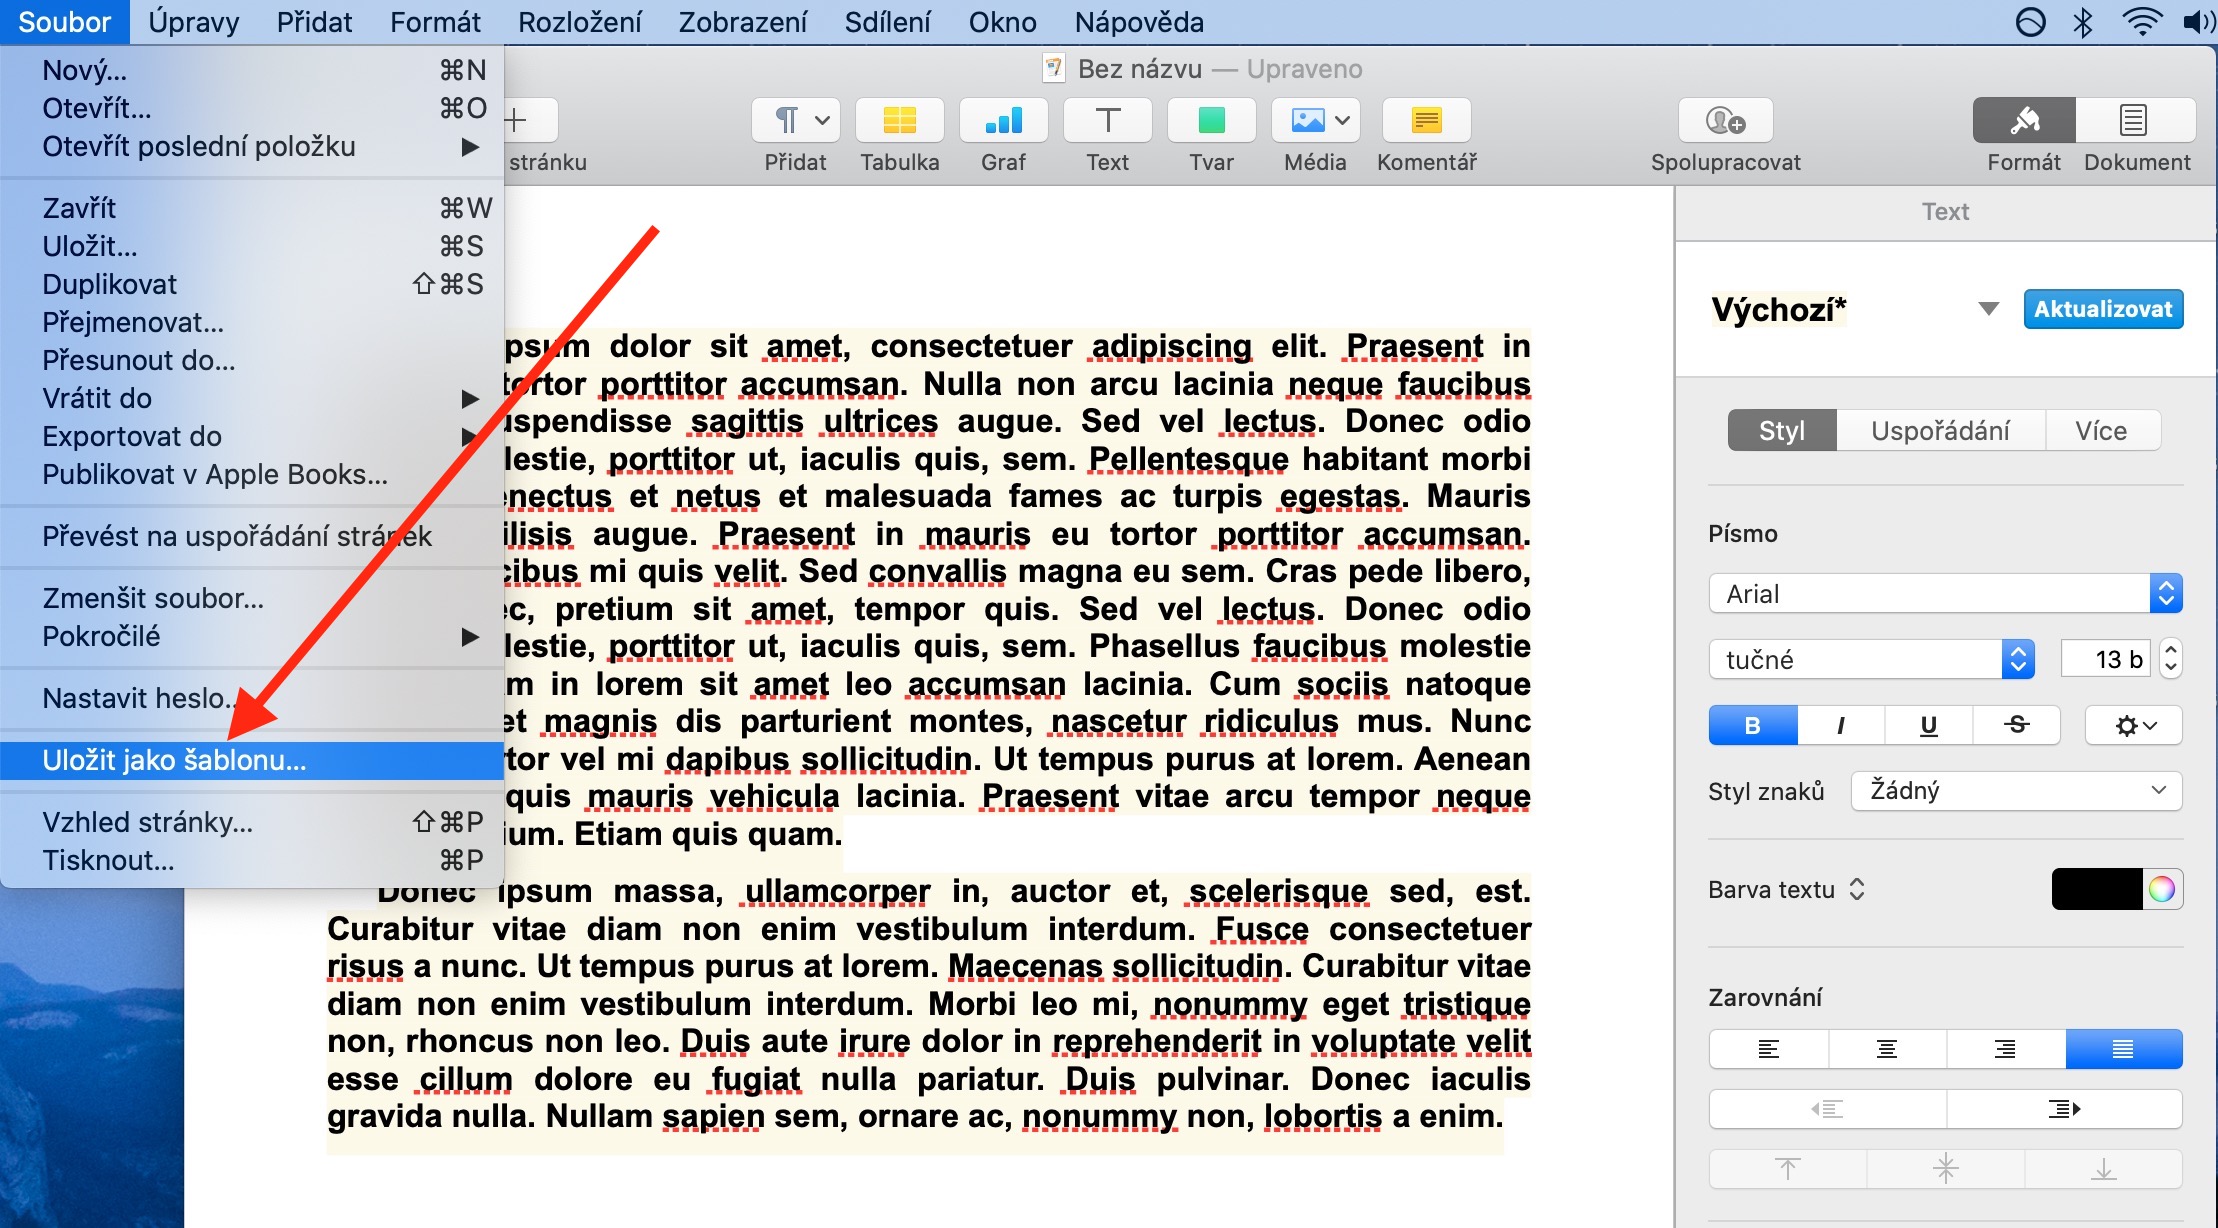
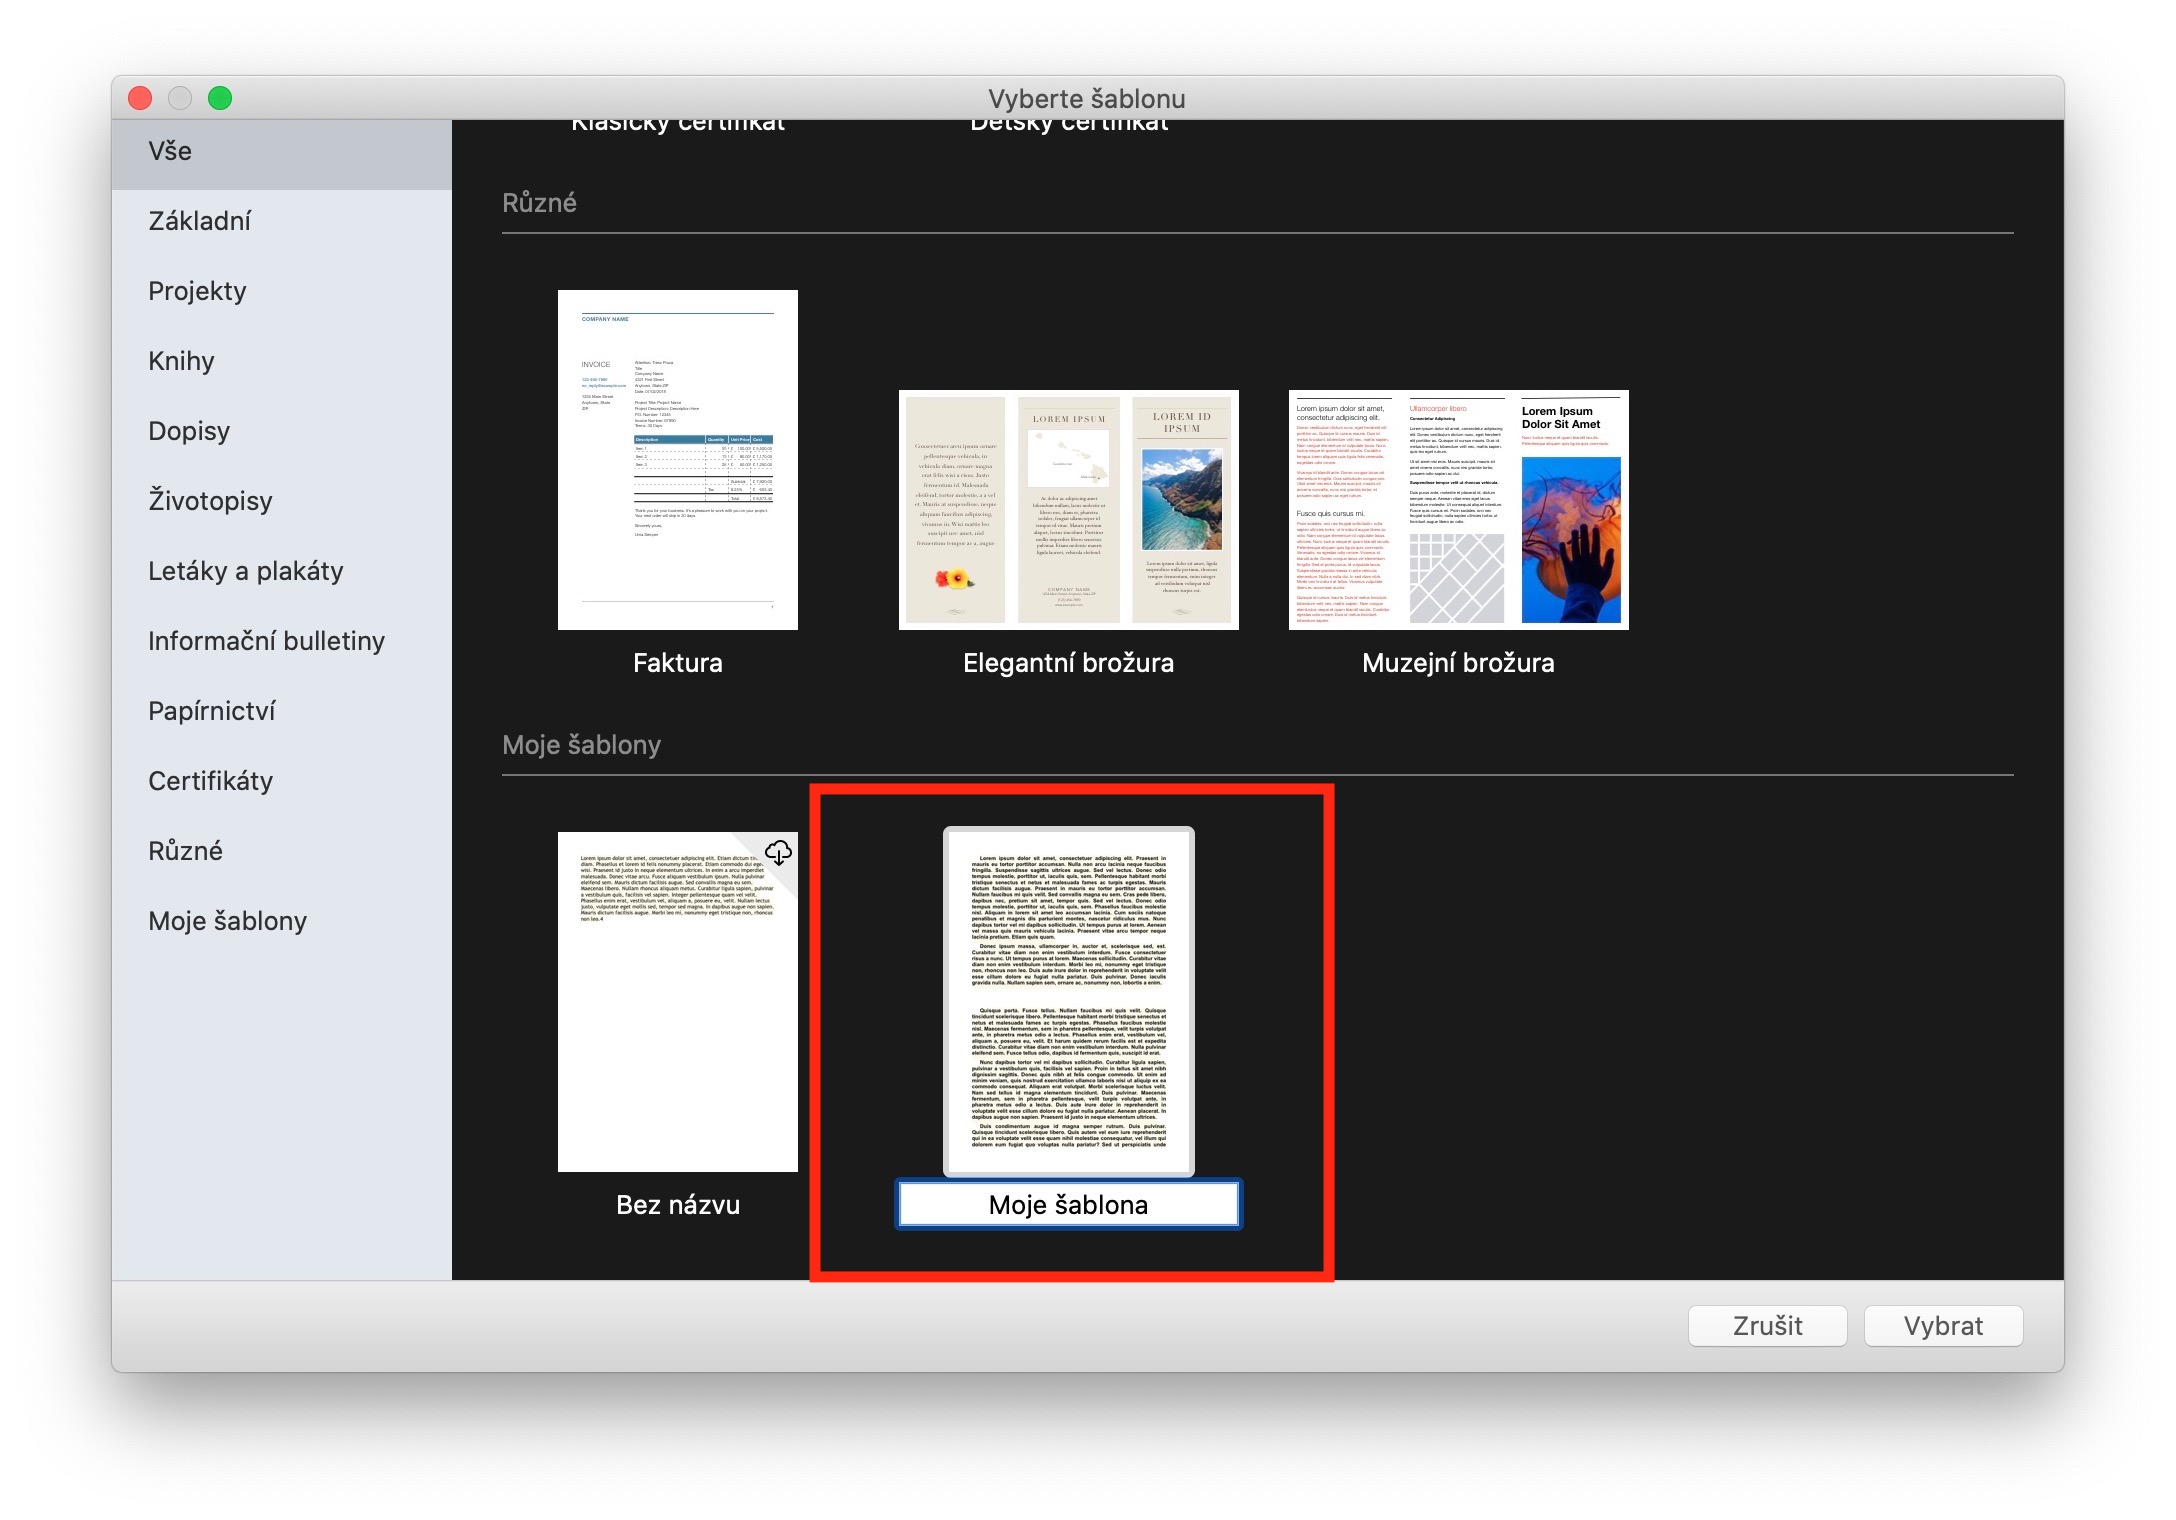
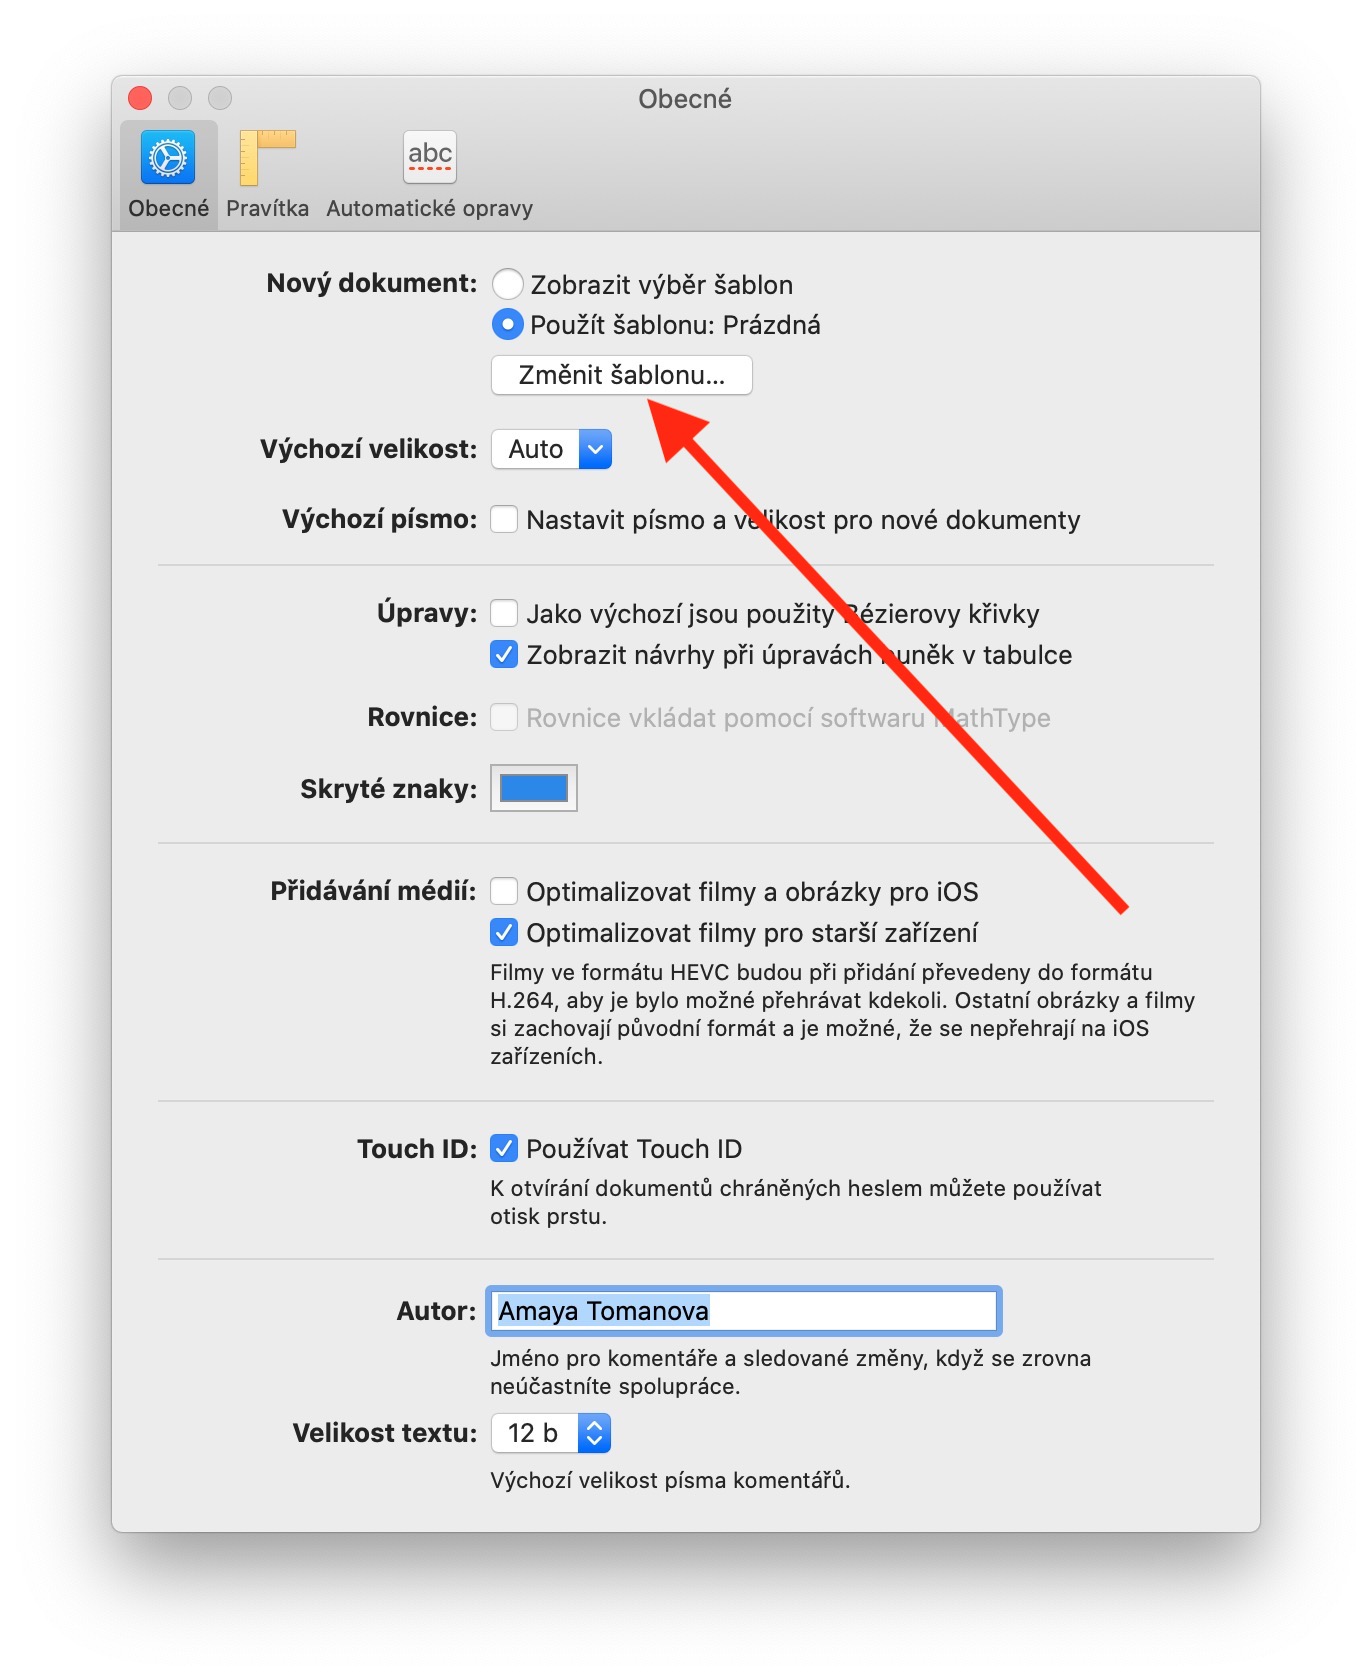
Pages offers a number of highly customizable templates. However, you can also create your own template and set it as the default. First, create a new document in Pages and select all the necessary parameters – font size and font, line spacing, media layouts, and more. Then, on the bar at the top of your Mac screen, click File -> Save as Template. Name the created template, confirm saving and then select Pages -> Preferences again in the top toolbar. In the preferences window, in the New Document section, click the General tab, select Use Template -> Change Template, and in the My Templates section, select the one you want to set as the default.
Font style and formatting
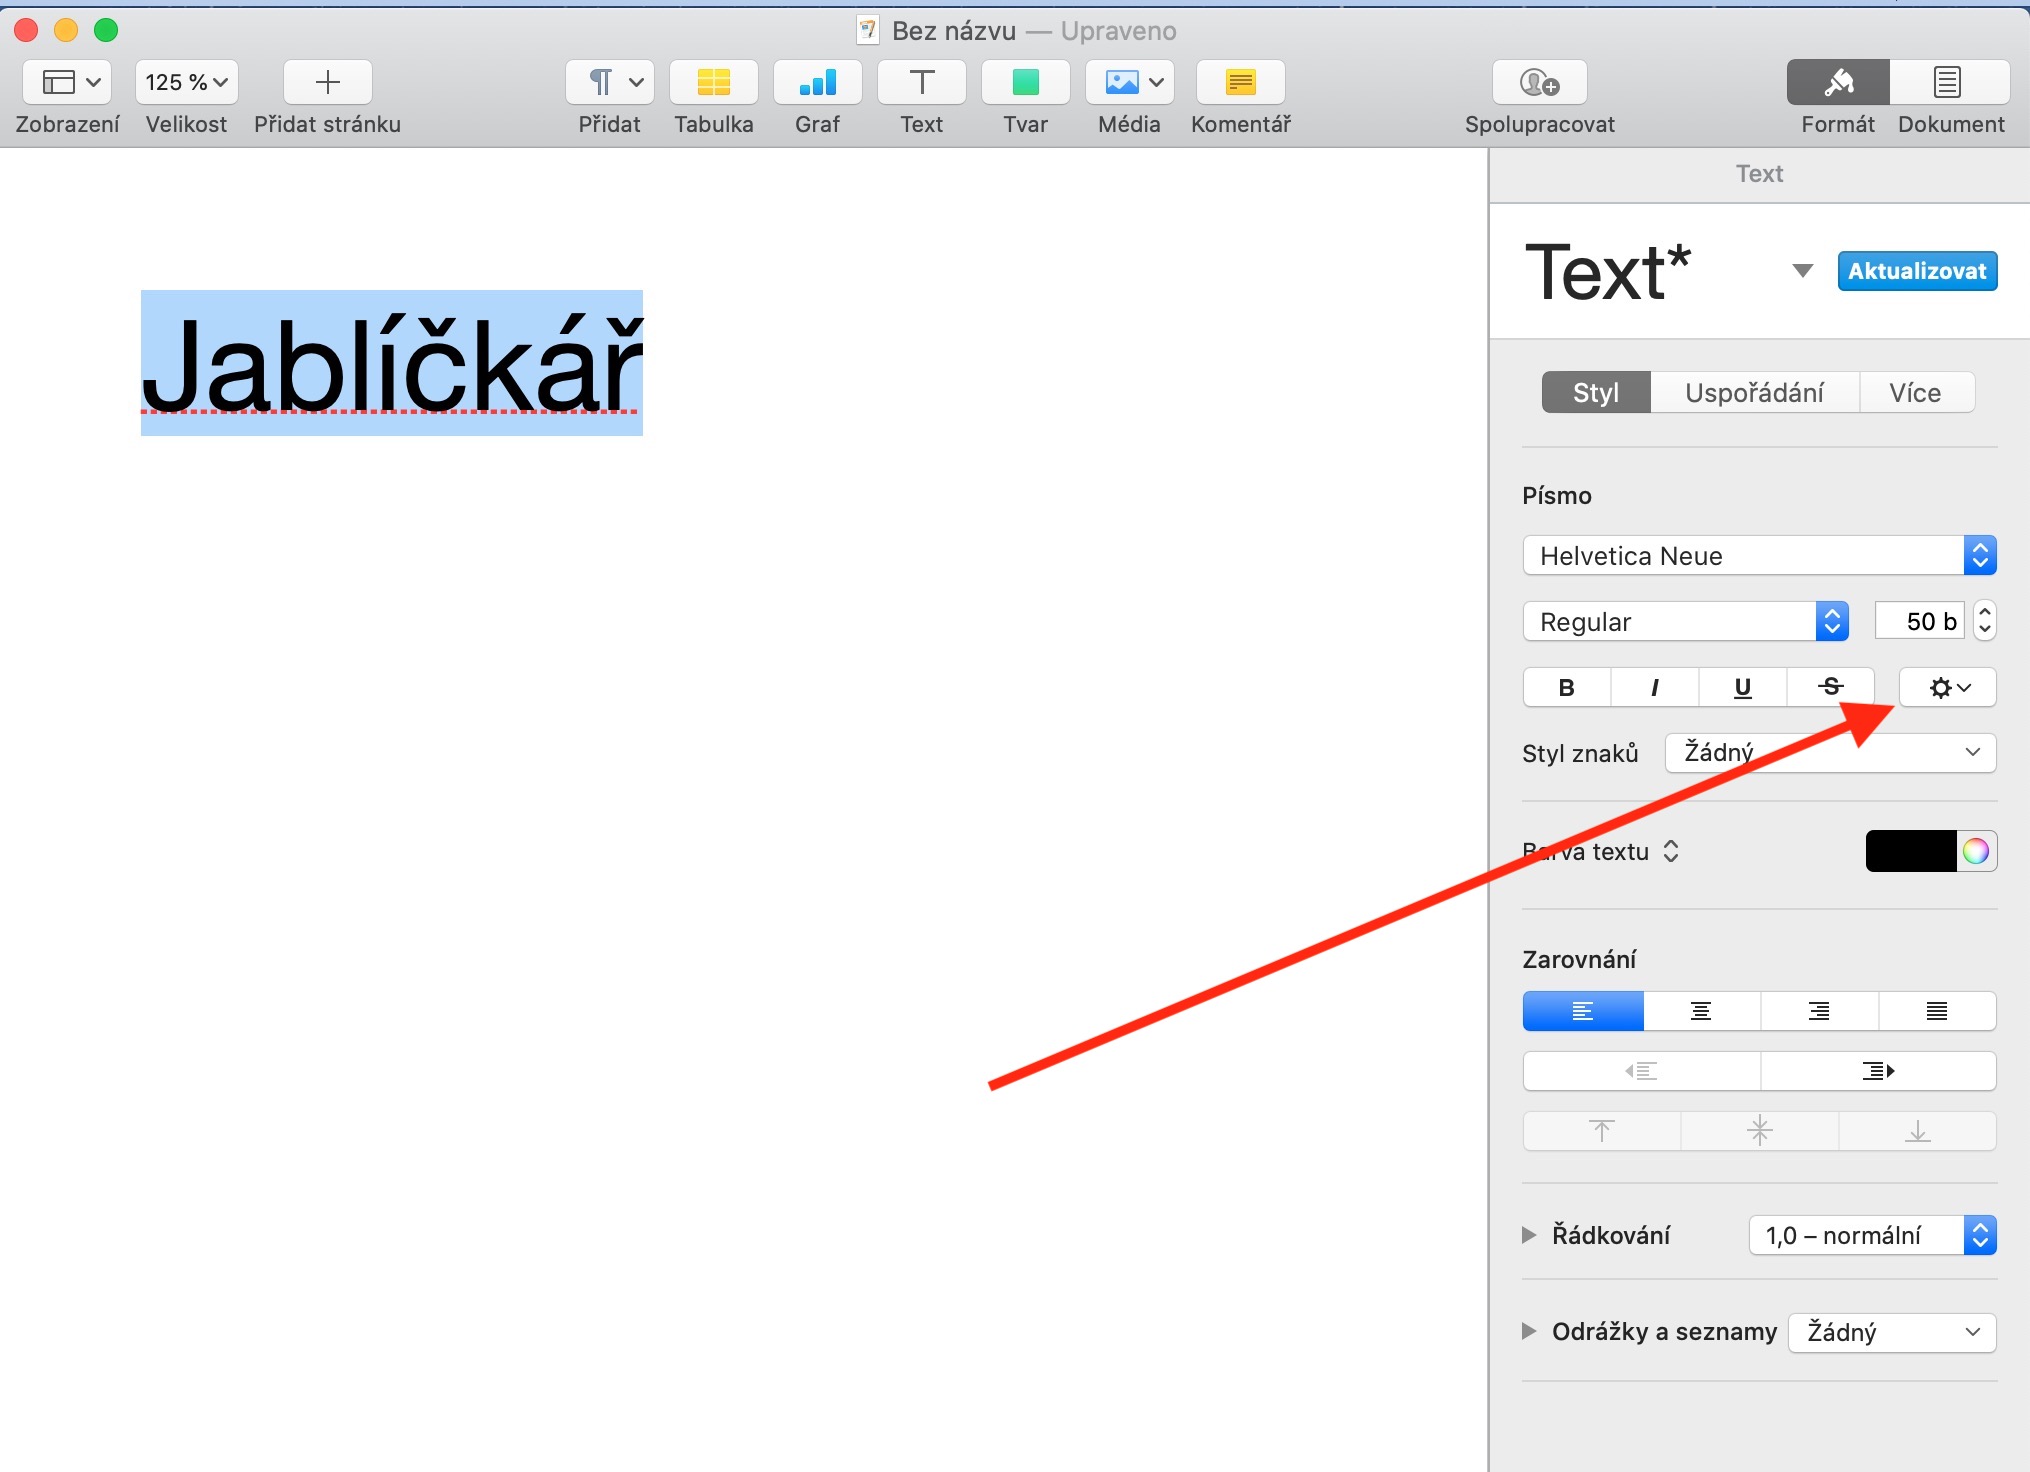
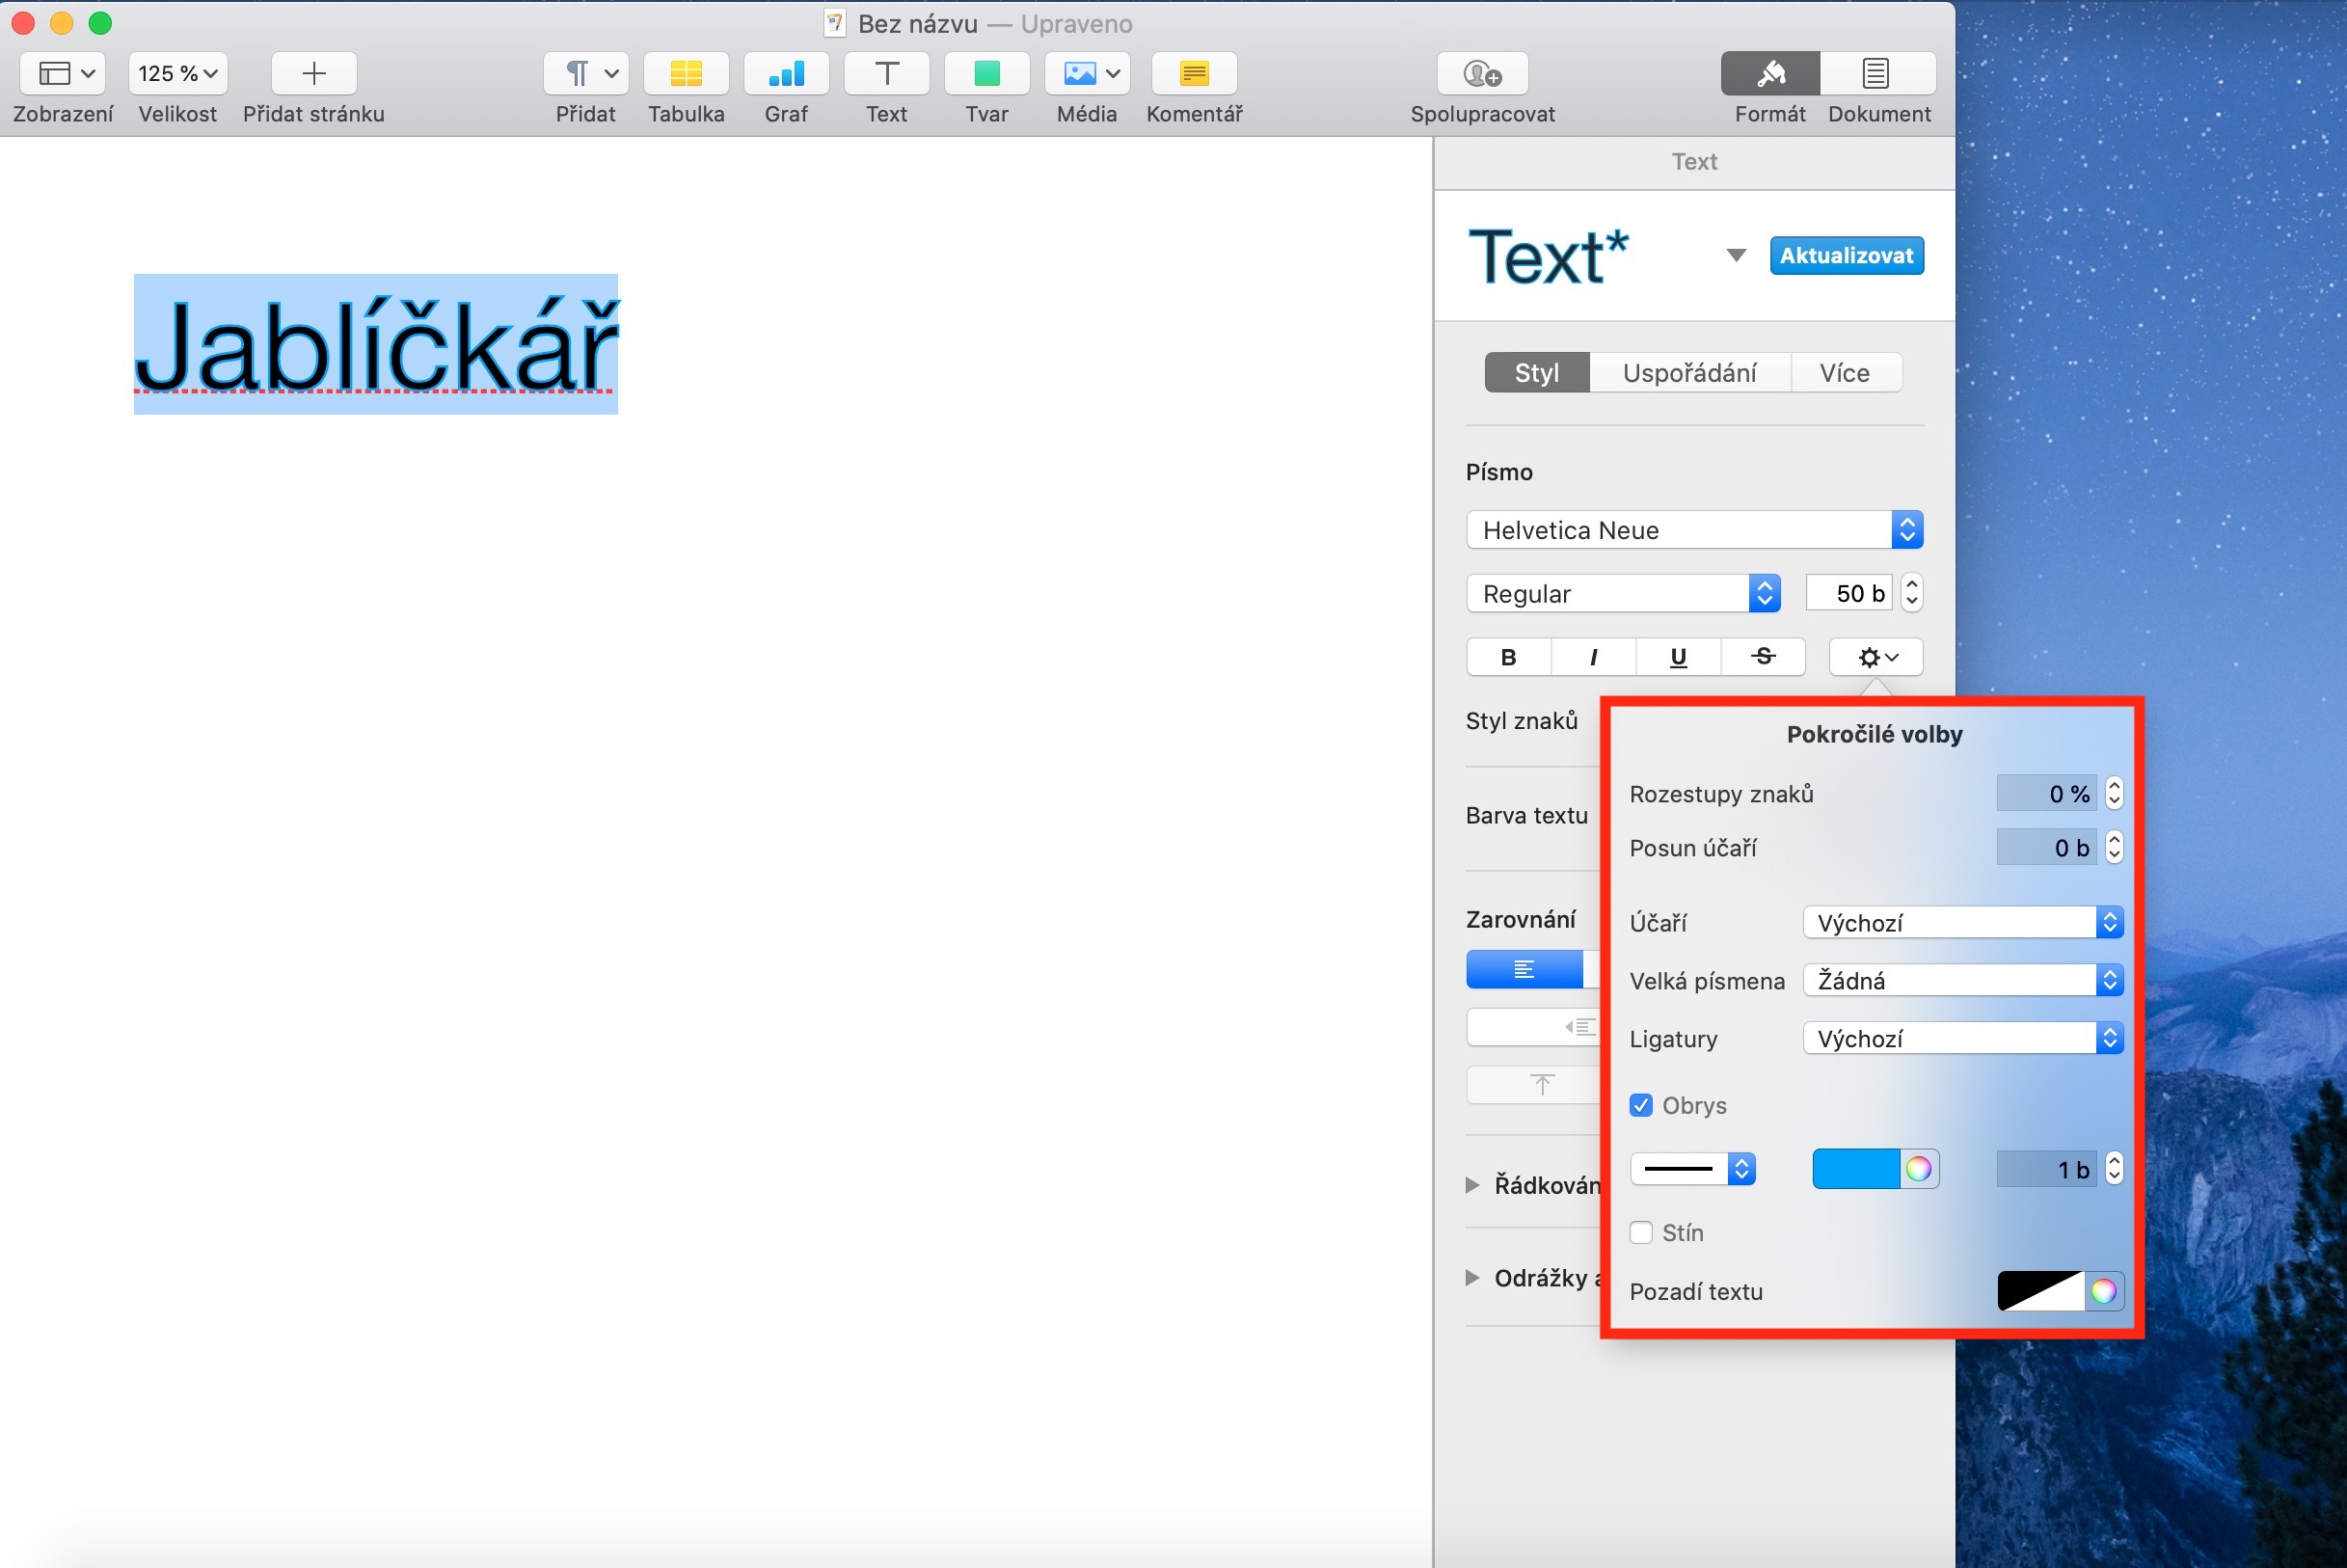
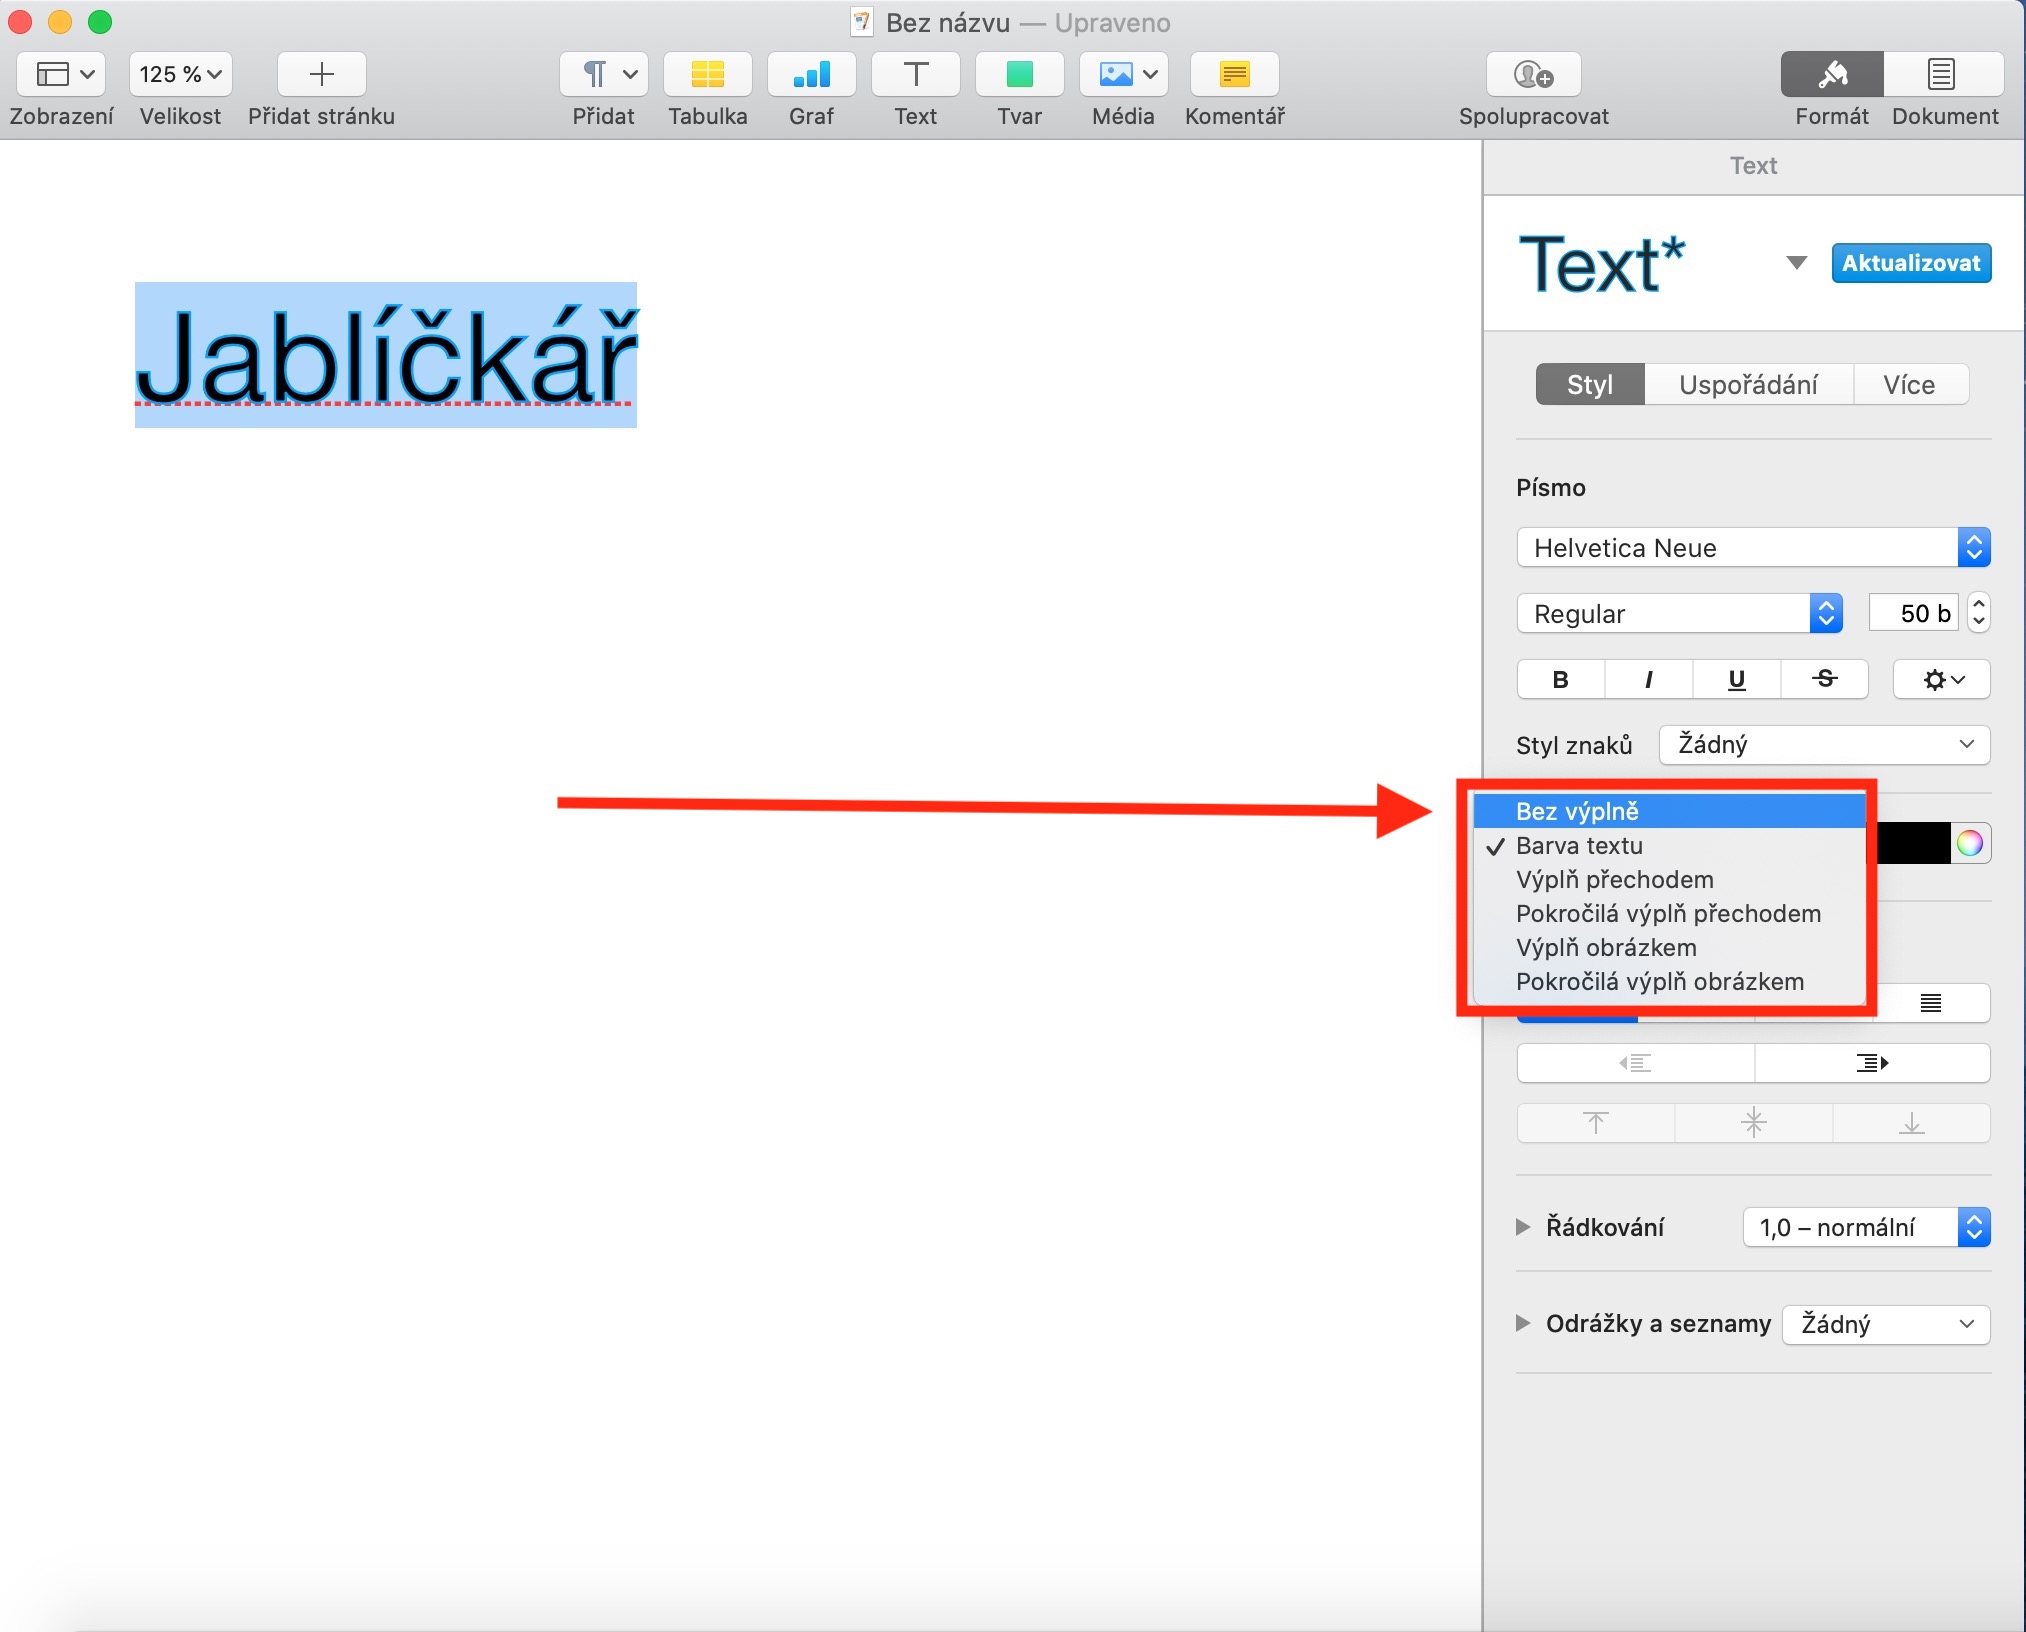
We believe that we do not need to introduce you to the basic editing of the text - i.e. setting italics, bold or underlined text, or perhaps changing the font, size and other parameters. But Pages also allows for advanced editing. As with all editing, start by marking the text you want to work with. Then click Format at the top of the bar on the right side of the application window. If you want to add an outline or shadow to the selected text, click on the gear icon in the Format section, select an outline or shadow and specify the parameters of the selected adjustment. In this section, you can also create text with only an outline and no fill (see the gallery), by selecting the desired text and choosing No Fill from the Text Color drop-down menu in the formatting toolbar.
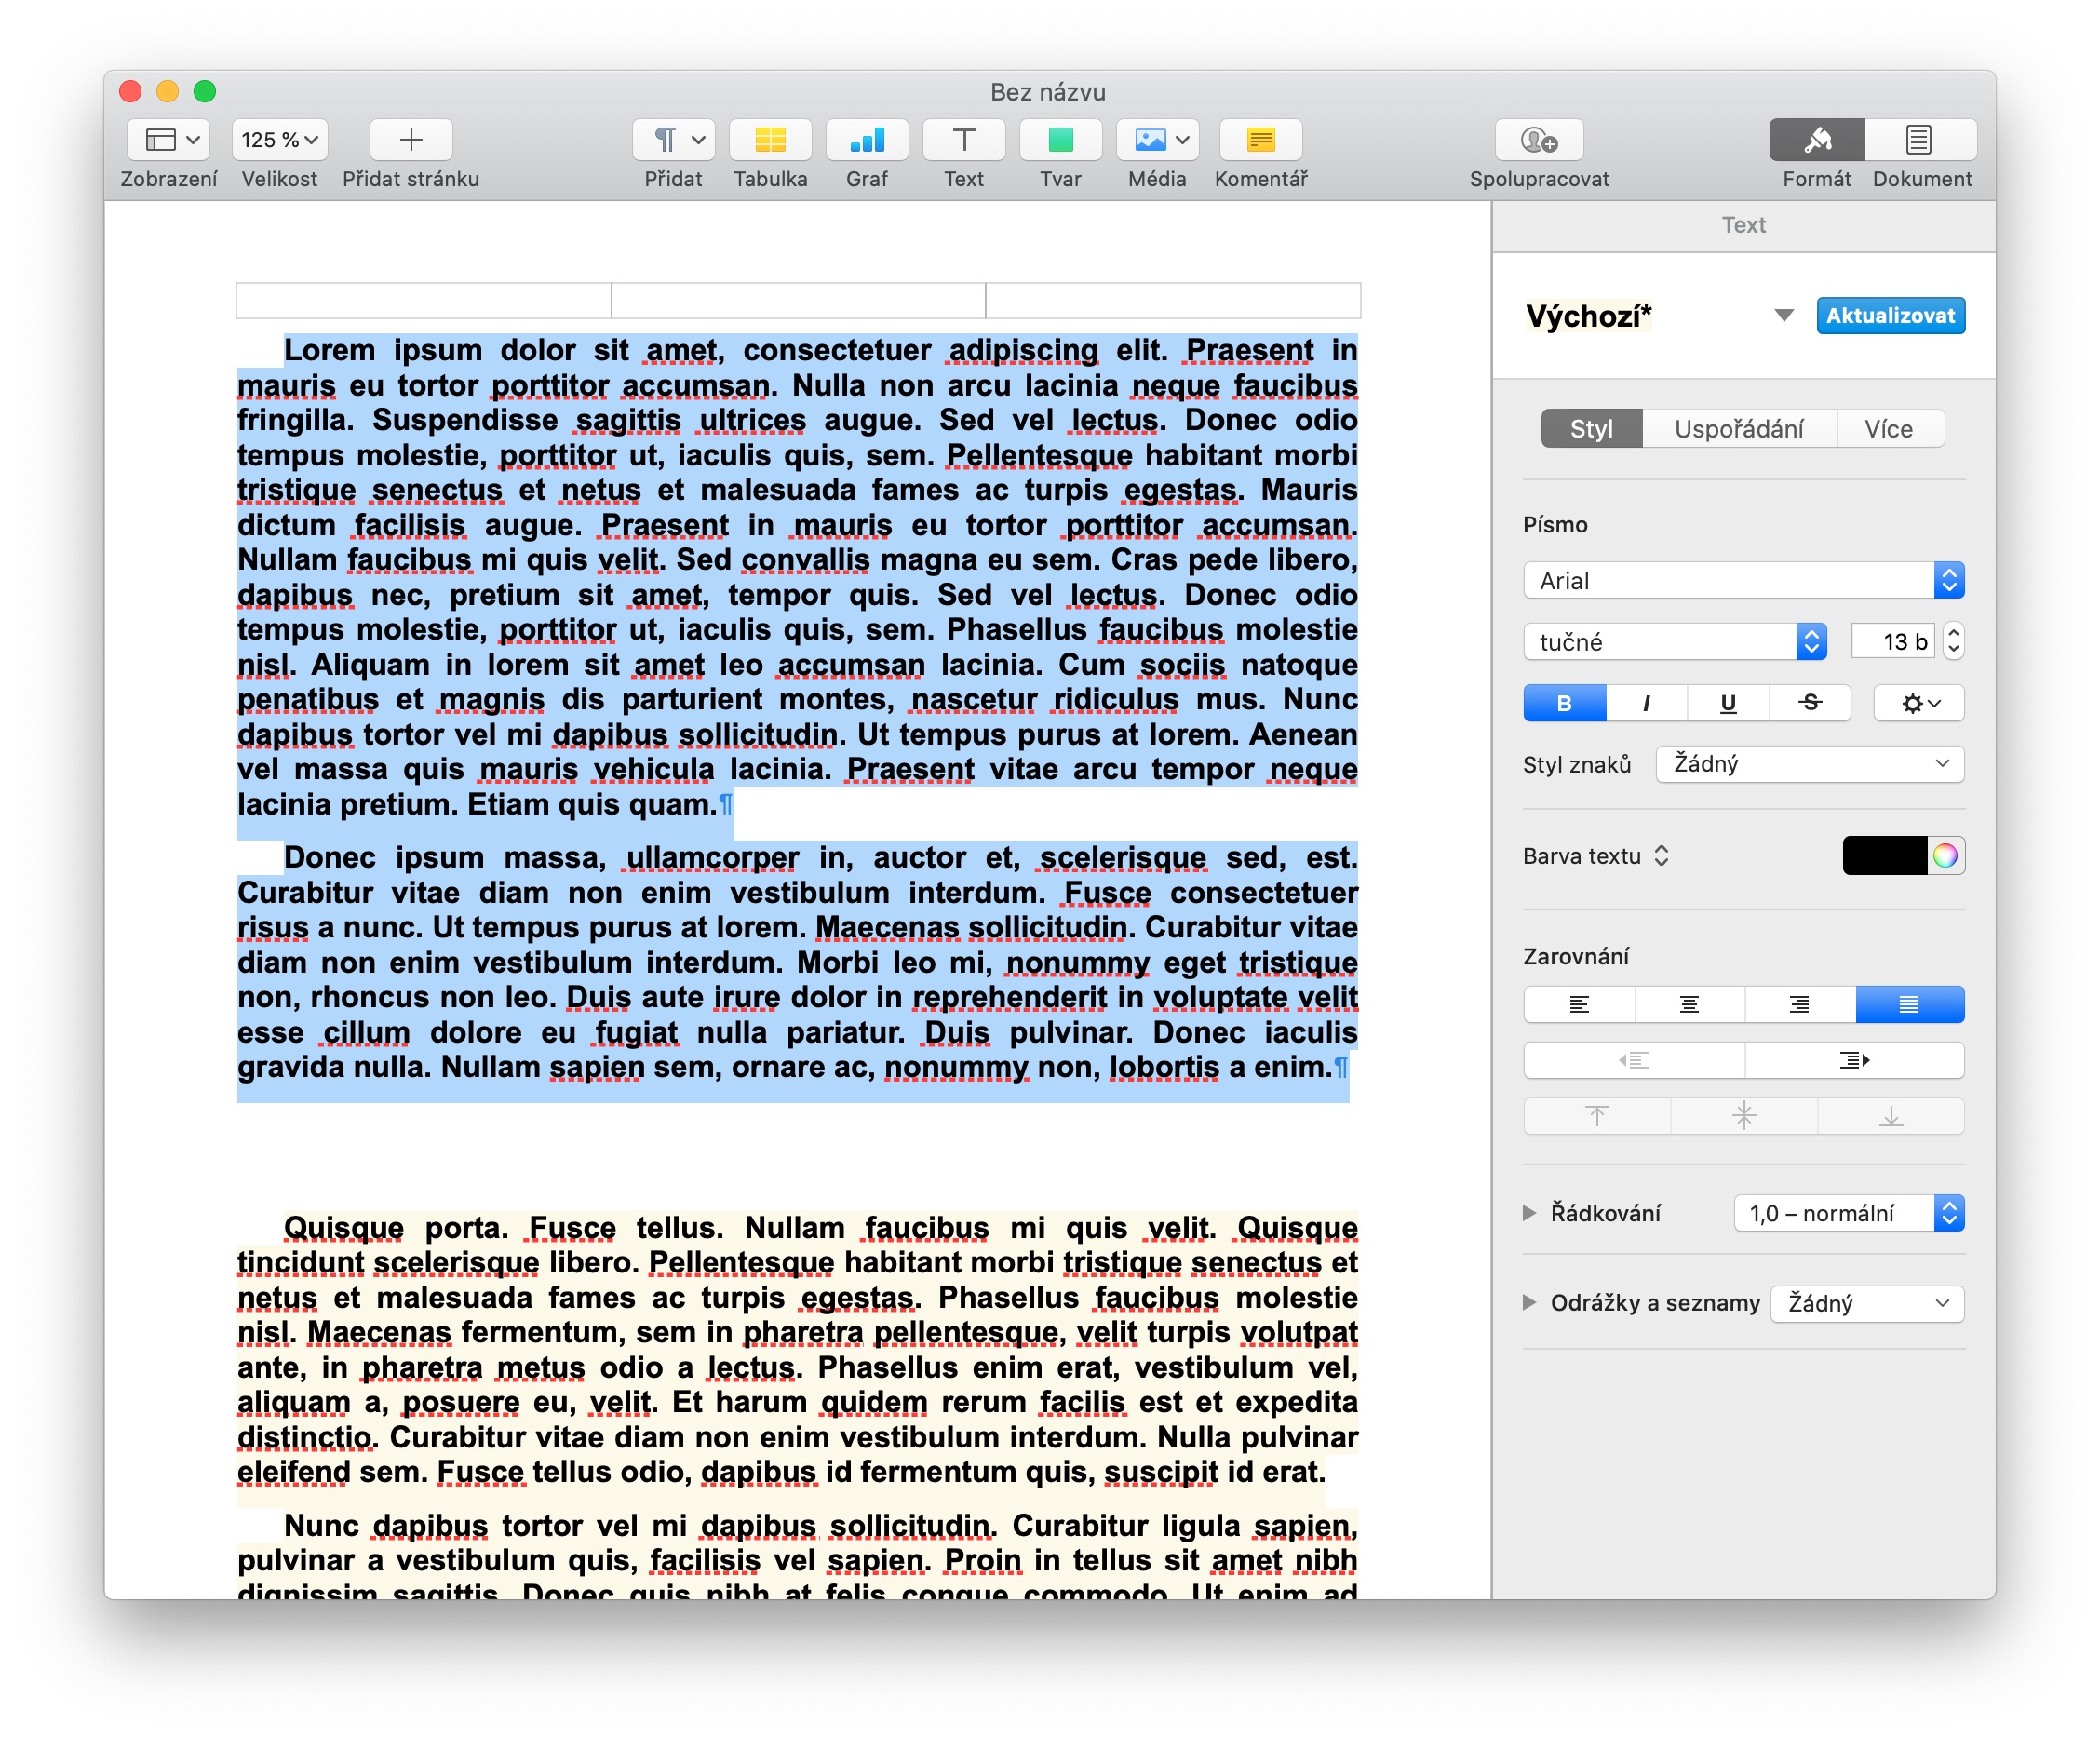
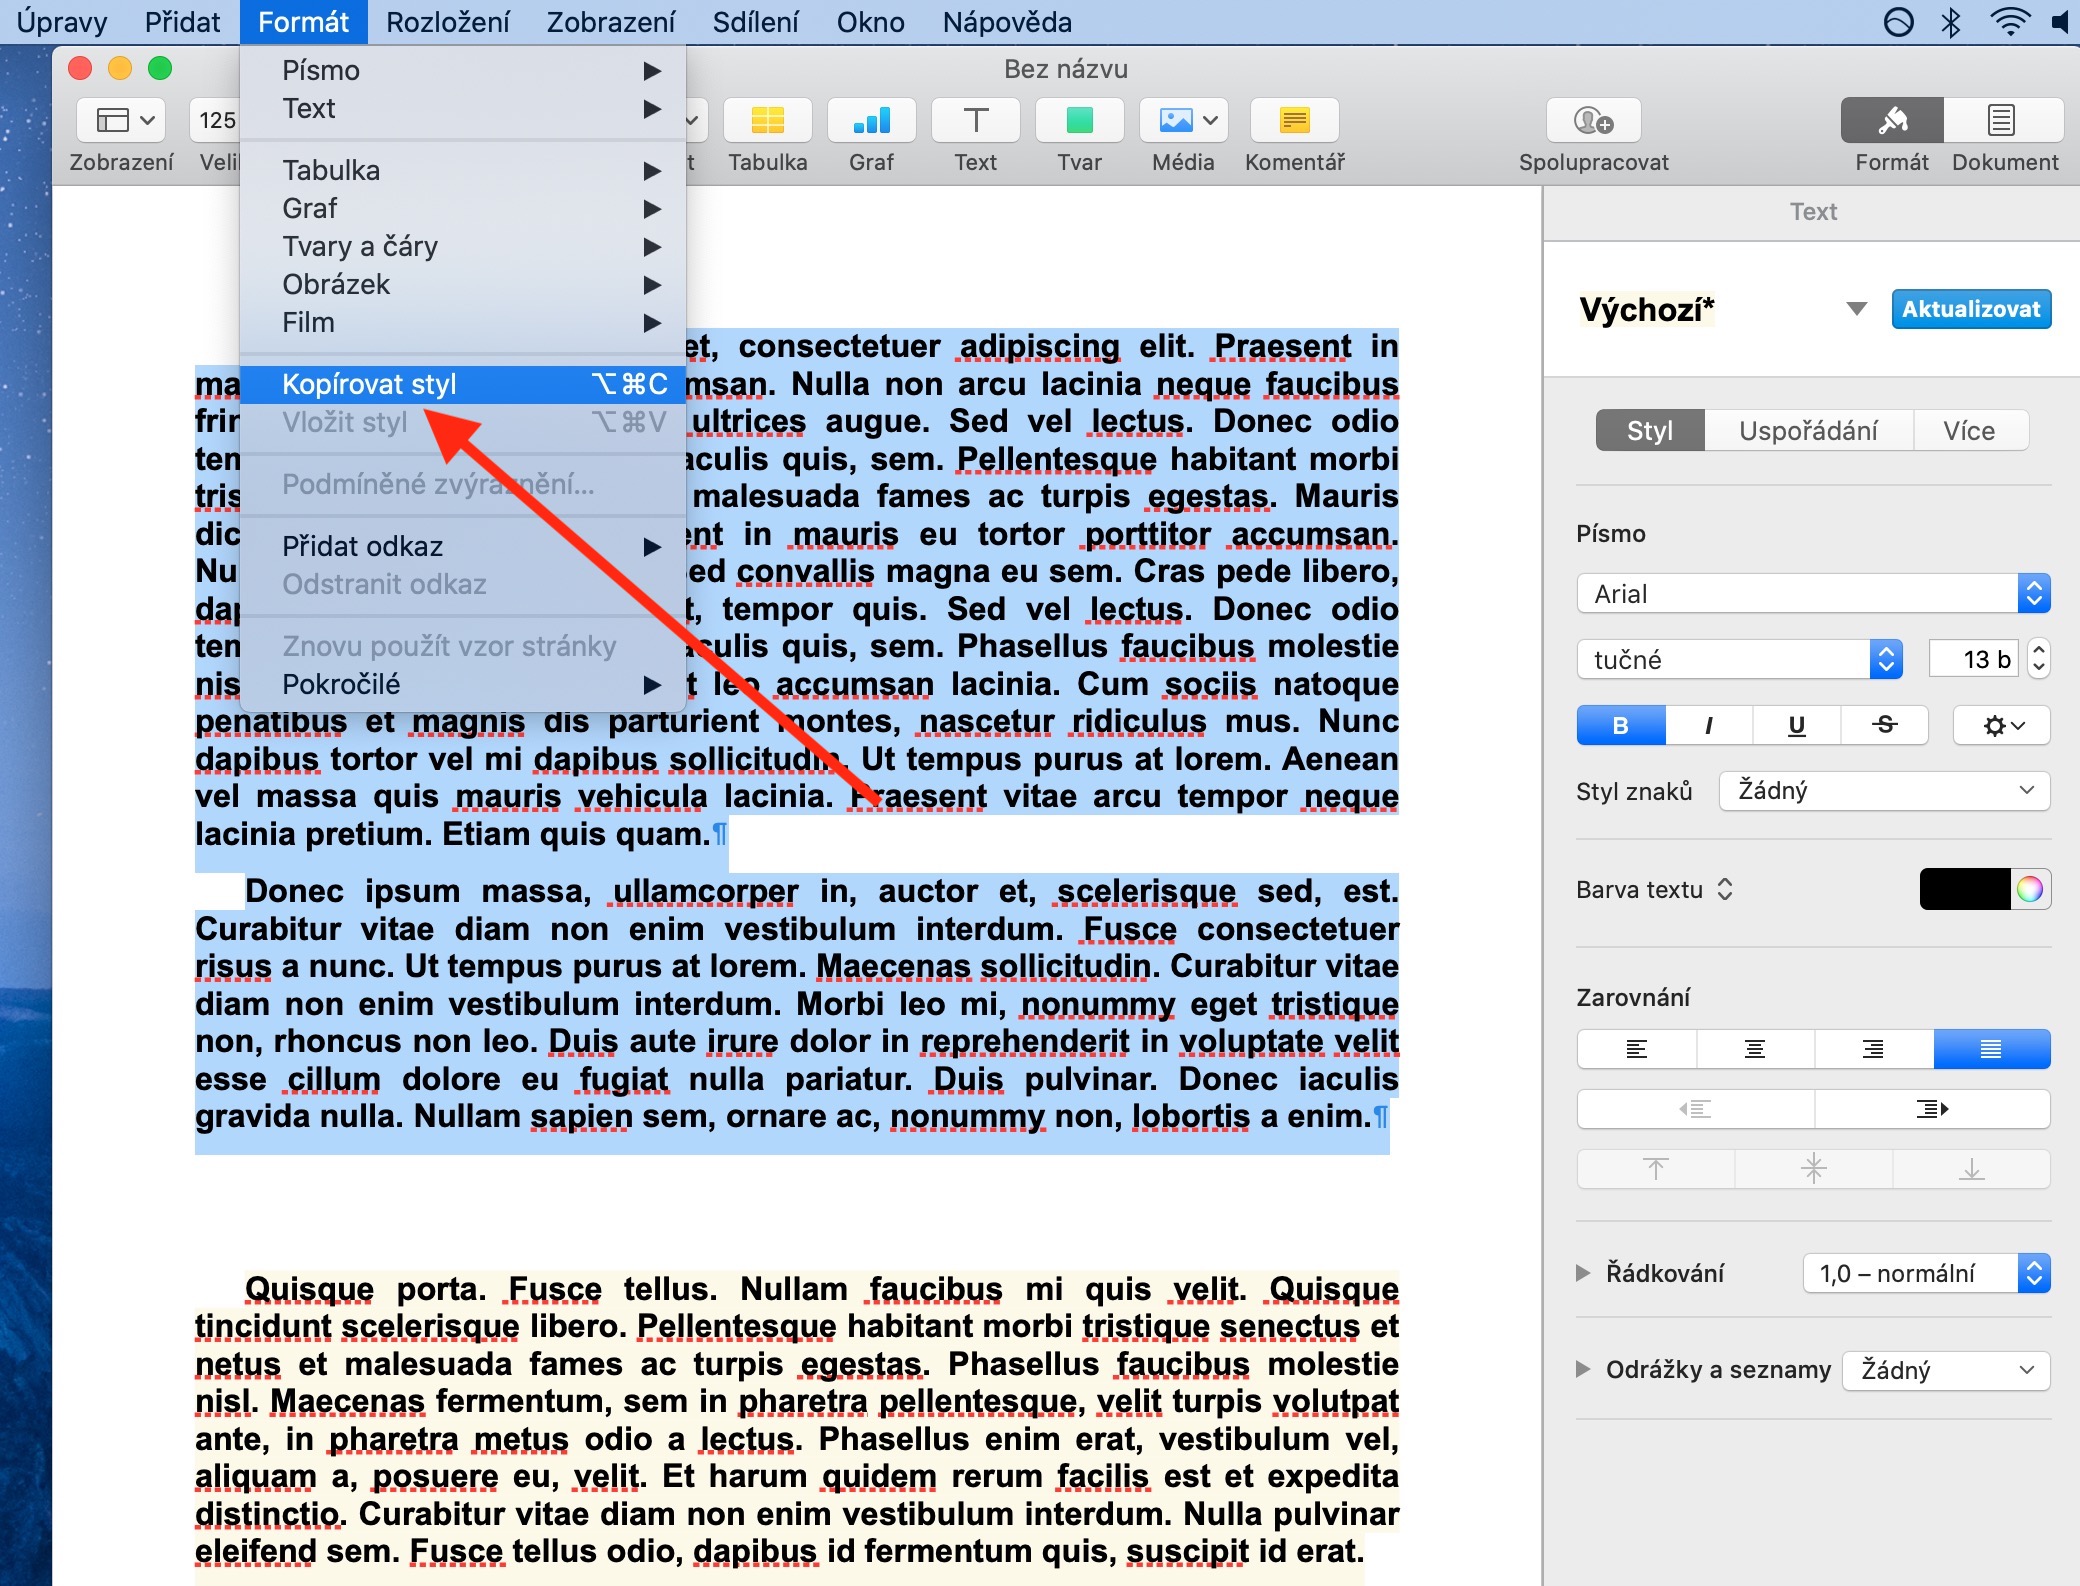
If you want to create your own font style that you would later apply to multiple documents, first write any text, mark it up and make the necessary adjustments. Then, in the panel on the right side of the document window, click on the menu with a list of styles, in its upper right corner, click on the + sign and name the created style. If you change the style in any way, an asterisk will appear next to its name in the right panel and the inscription update. After confirming the update, the style will change, if you do not take any action, the style will remain unchanged. If you want to apply the same look to the entire document (or part of it), first write the text and make the necessary adjustments. Then highlight the text and click Format -> Copy Style on the toolbar at the top of your Mac screen. Then all you have to do is select the text to which you want to apply the selected style, mark it and click on Format -> Insert style in the top bar.
