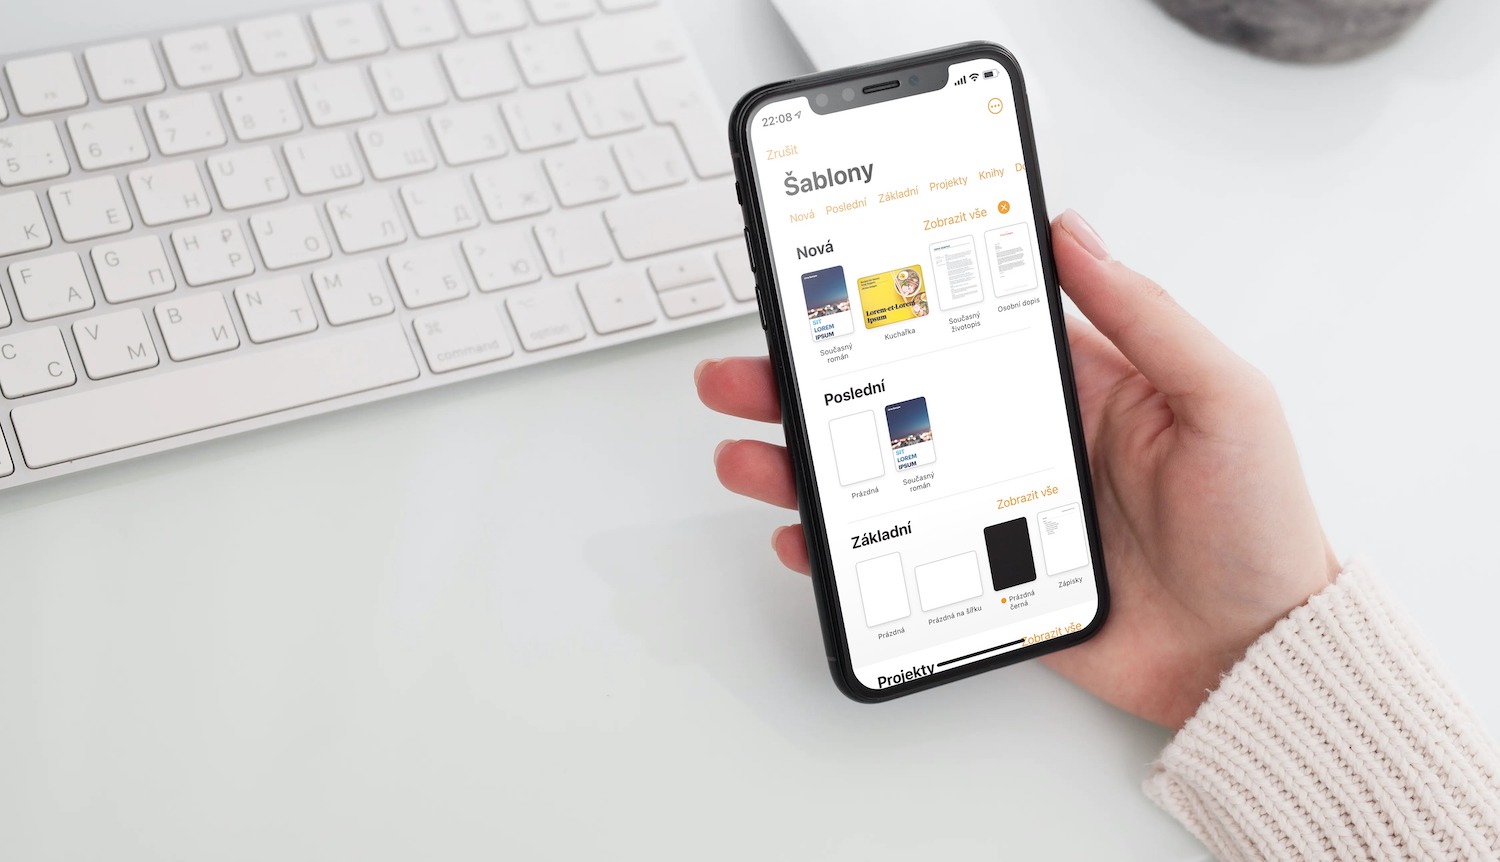
In our regular series dedicated to native Apple apps, this time we focused on the iOS version of Pages. While in the last part we dealt with the basics and simple creation of text, today we will take a closer look at working with images.
It could be interest you
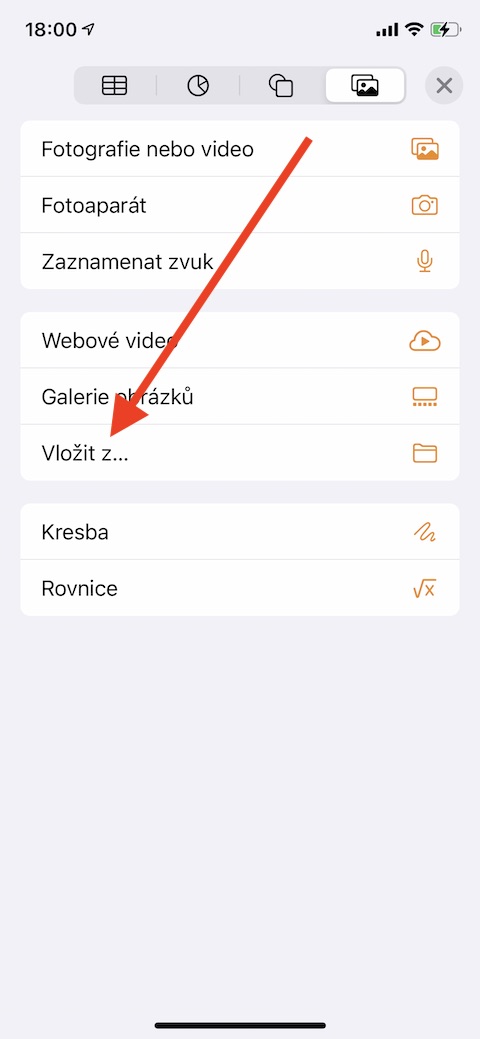
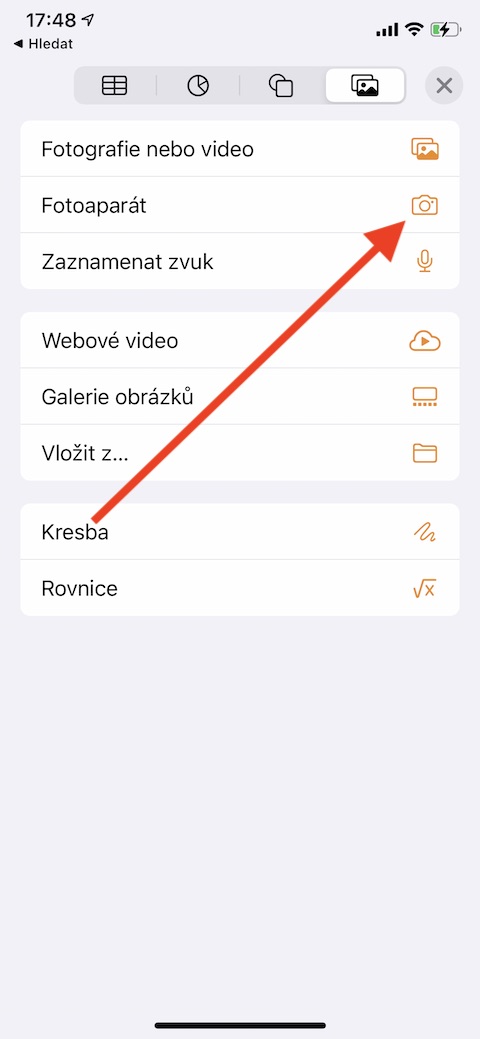
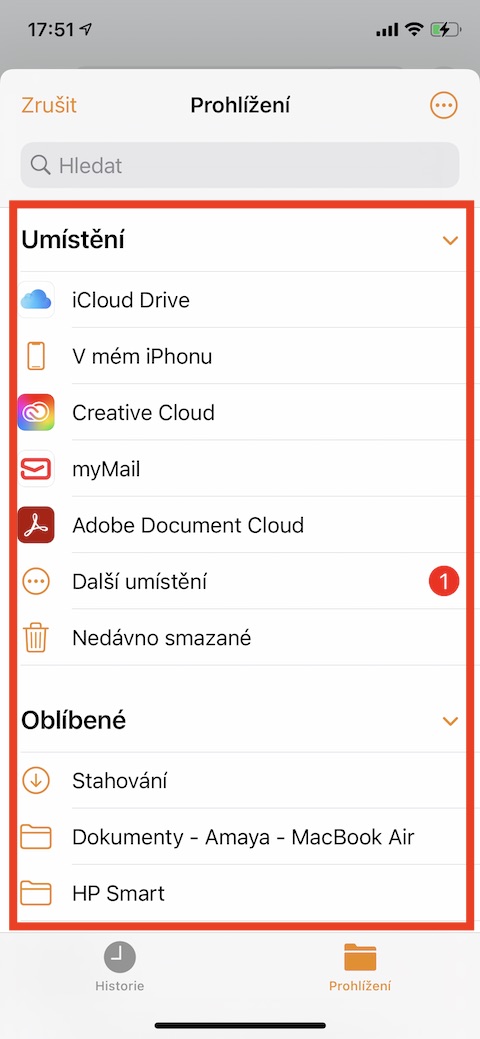
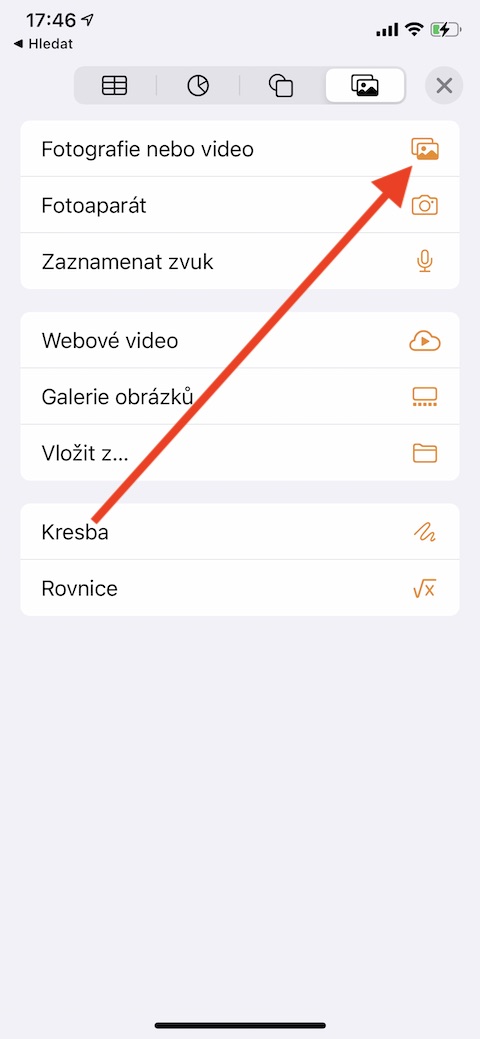
Similar to Mac or iPad, you can add images and replace media mockups in Pages on iPhone. In Pages on iOS, you can add images from your iPhone's photo gallery, from iCloud, or directly from your camera roll. To add, tap on your iPhone screen where you want to insert the image. At the top of the screen, tap on the “+” icon and then on the images icon. In the menu that appears, choose Photos or Video, and then select the appropriate image from your iPhone's gallery. If you want to add an image from iCloud or another location, select Insert from instead of Photo or Video, and then select the desired photo. If you want to add a photo directly from the camera to the document, click on Camera in the menu. Take a picture in the usual way and insert it into a document, where you can edit it to your liking.
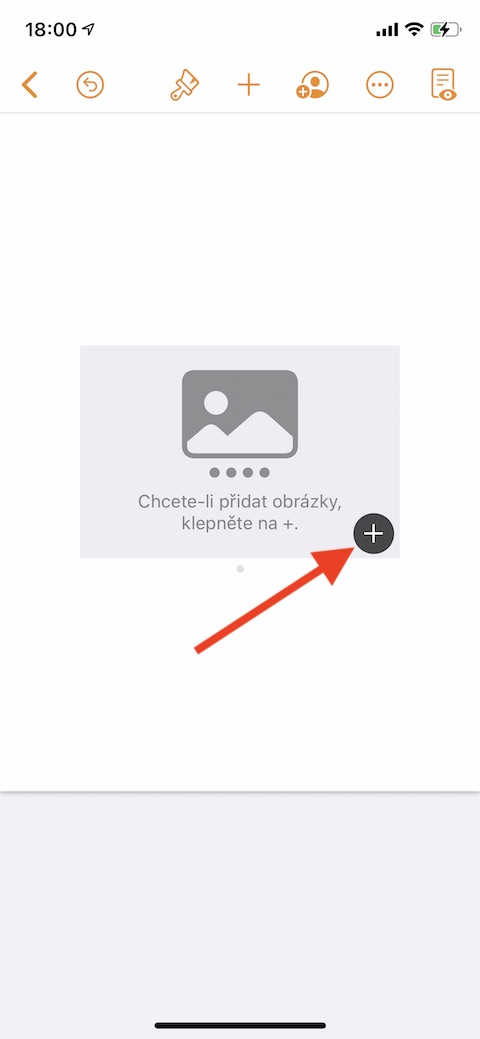
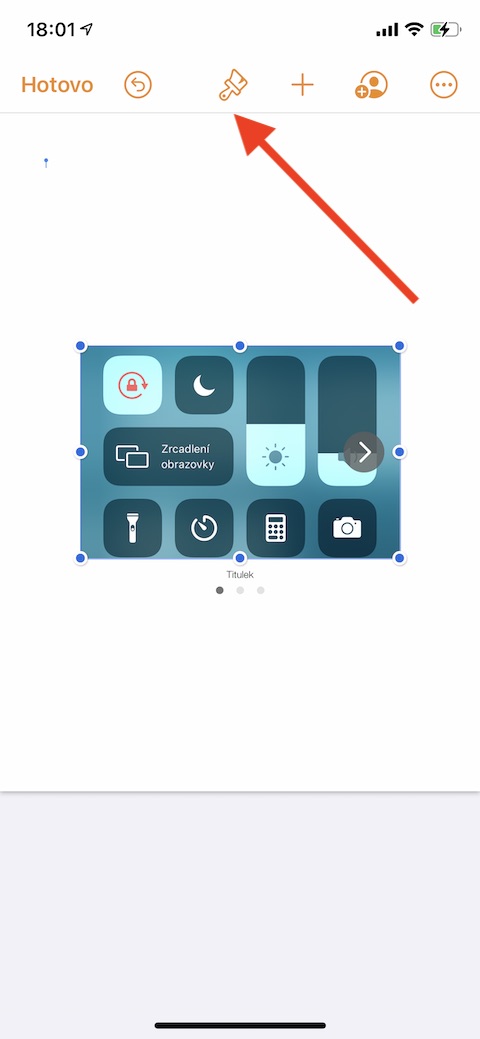
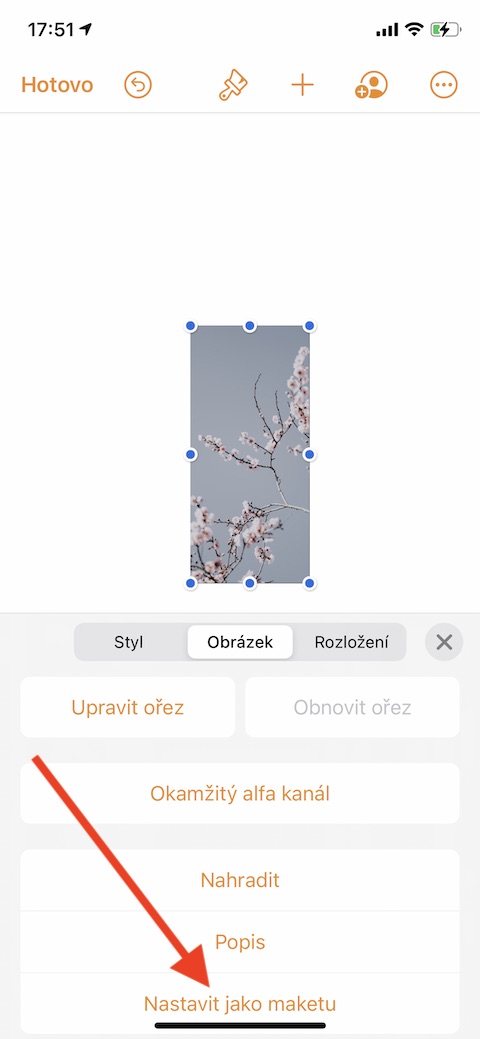
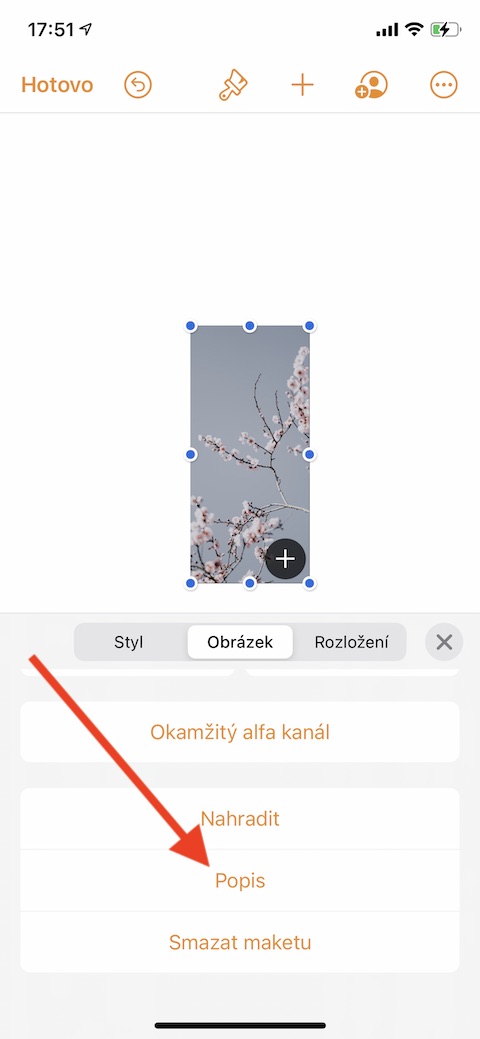
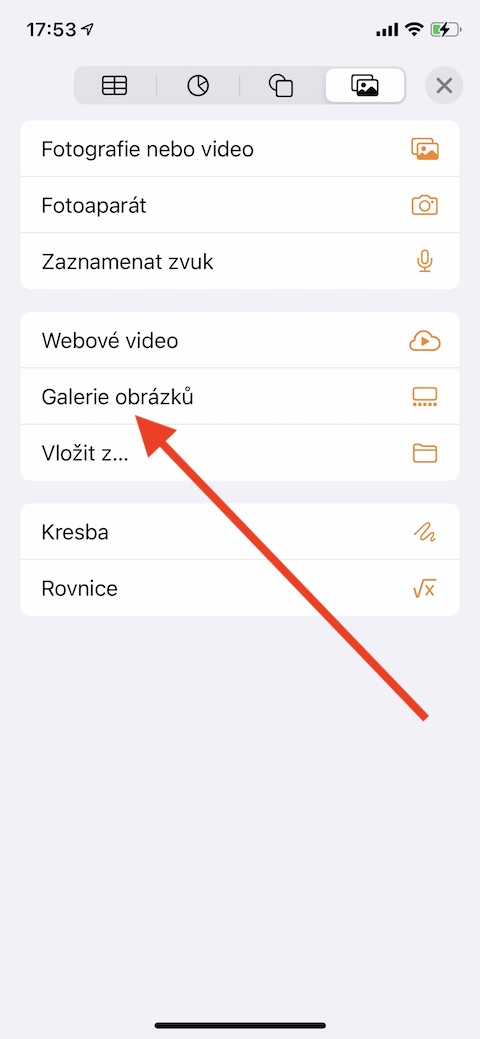
If you want to create a media mockup from an embedded image, first edit it to your liking. Then tap to select the image, at the top of the screen, tap the brush icon -> Image -> Set as mockup. To add an entire gallery of images to a document in Pages on iOS, click Image Gallery in the menu. Select the images you want, insert them into the document and edit them to your liking. Double-click to start editing individual images in the gallery, to change the order, click on the brush icon (the gallery must be selected), select Manage images in the menu and edit the order of images. You can also add a description for assistive technology readers to an image in Pages - just tap to select the image, tap the brush icon at the top of the display -> Image -> Description, and enter a description.
