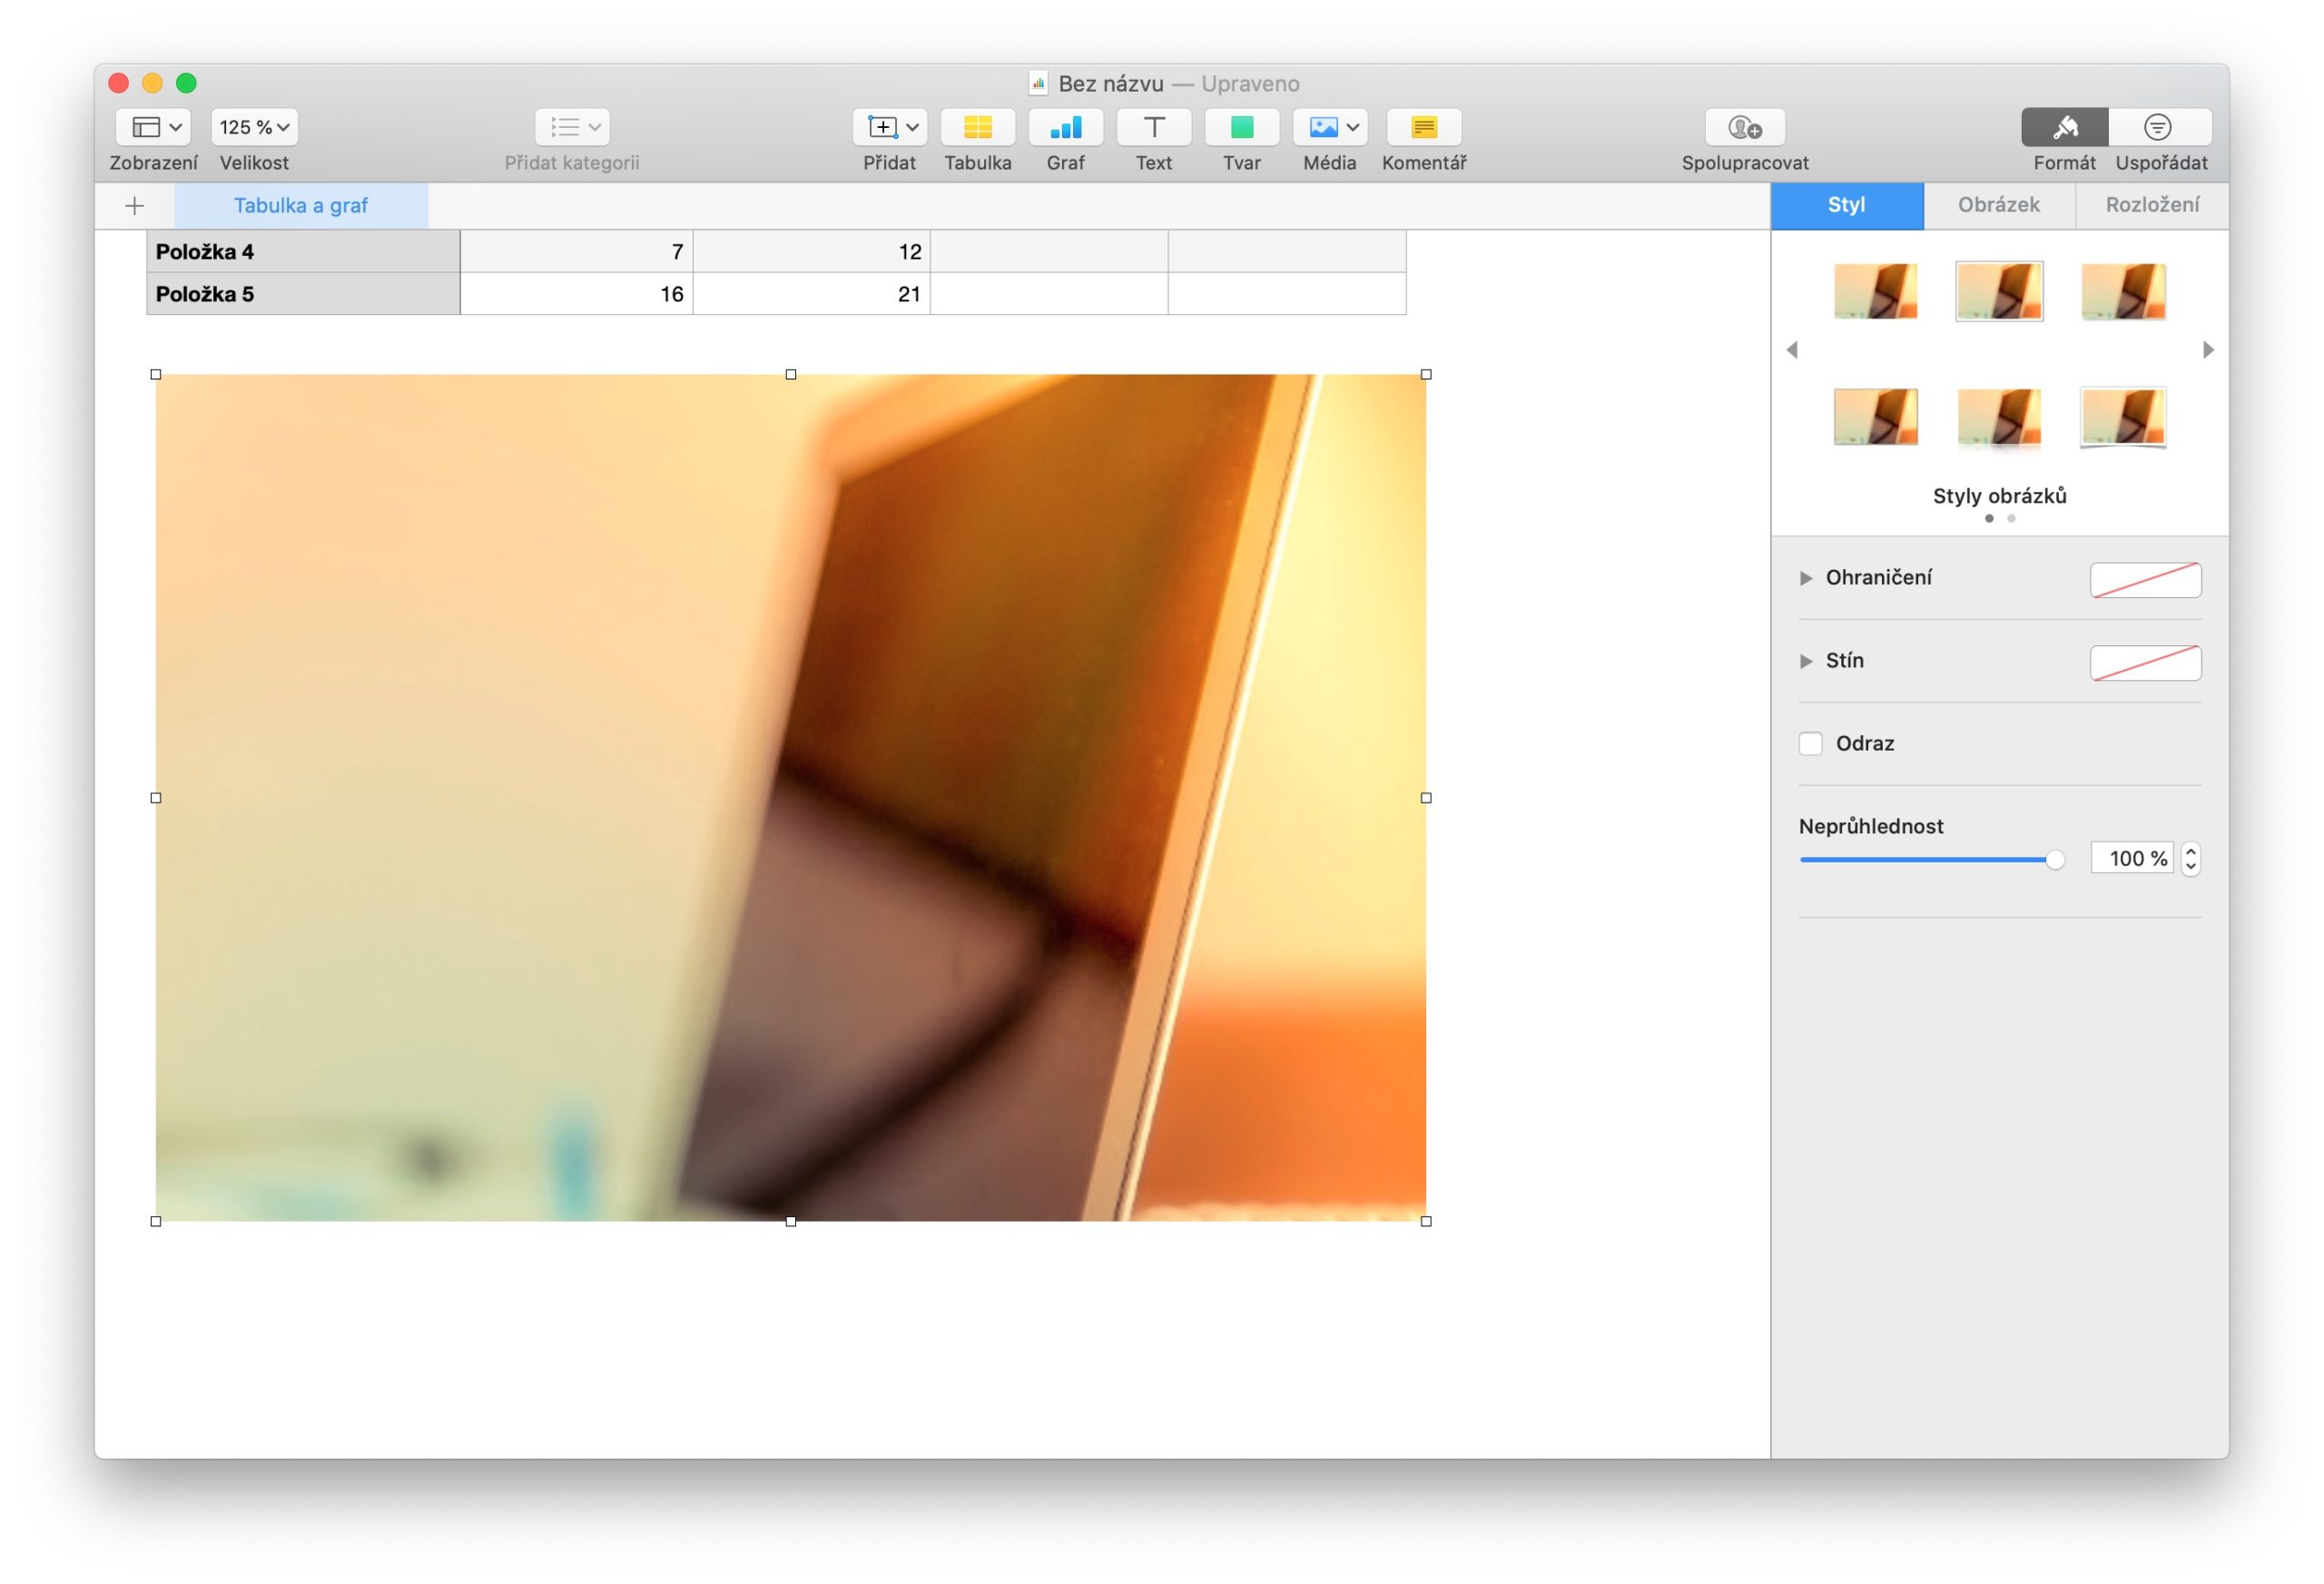
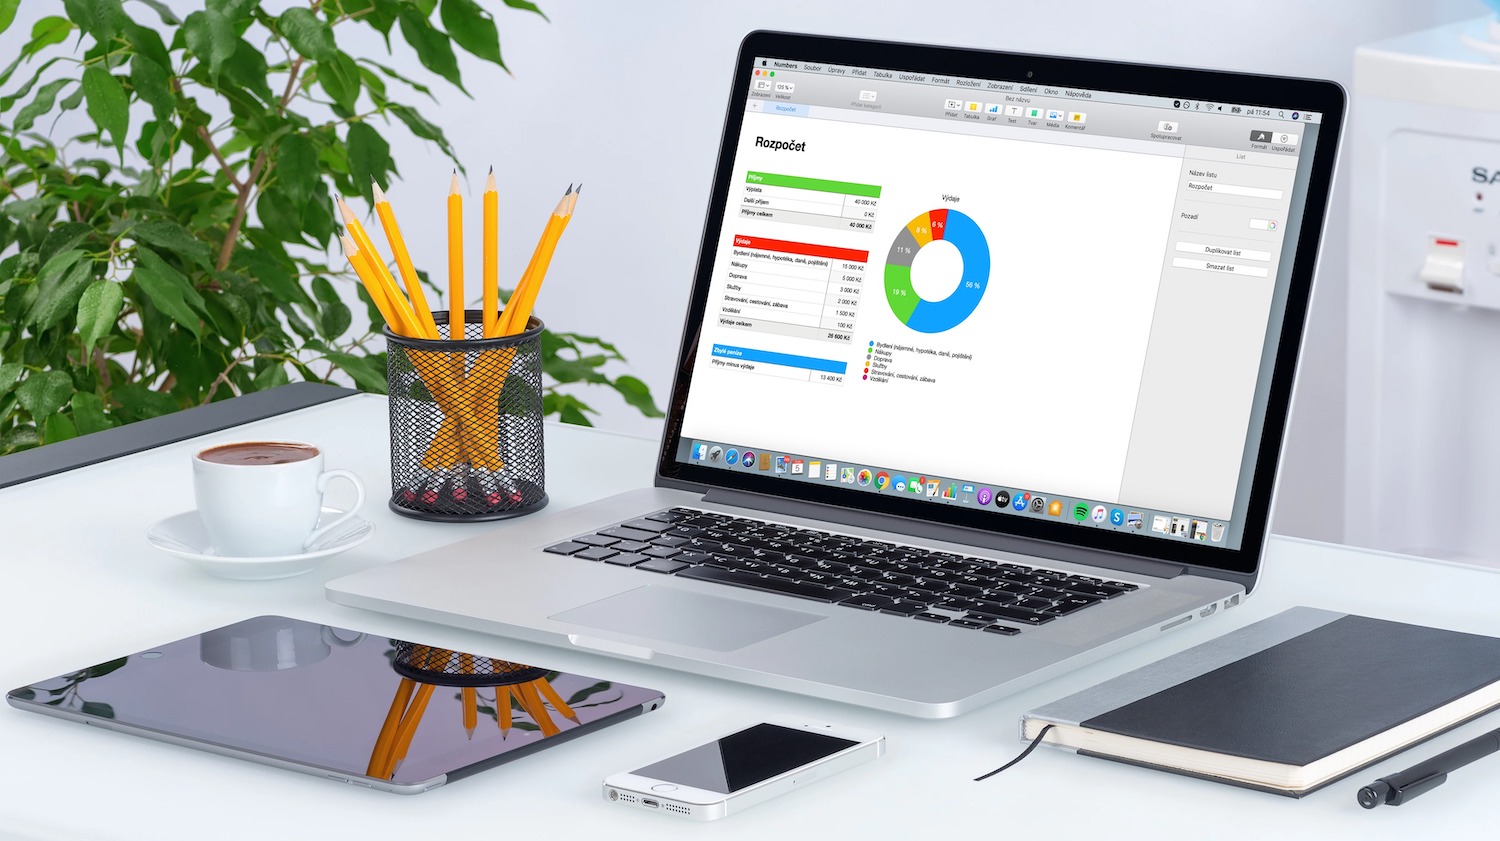
Similar to other applications in the iWork office suite, you can add images to documents, edit them, or work with media layouts in Numbers on Mac. Adding and editing images is easy in Numbers on Mac. But if you are just starting to work with this application, you will certainly find our today's article useful.
It could be interest you
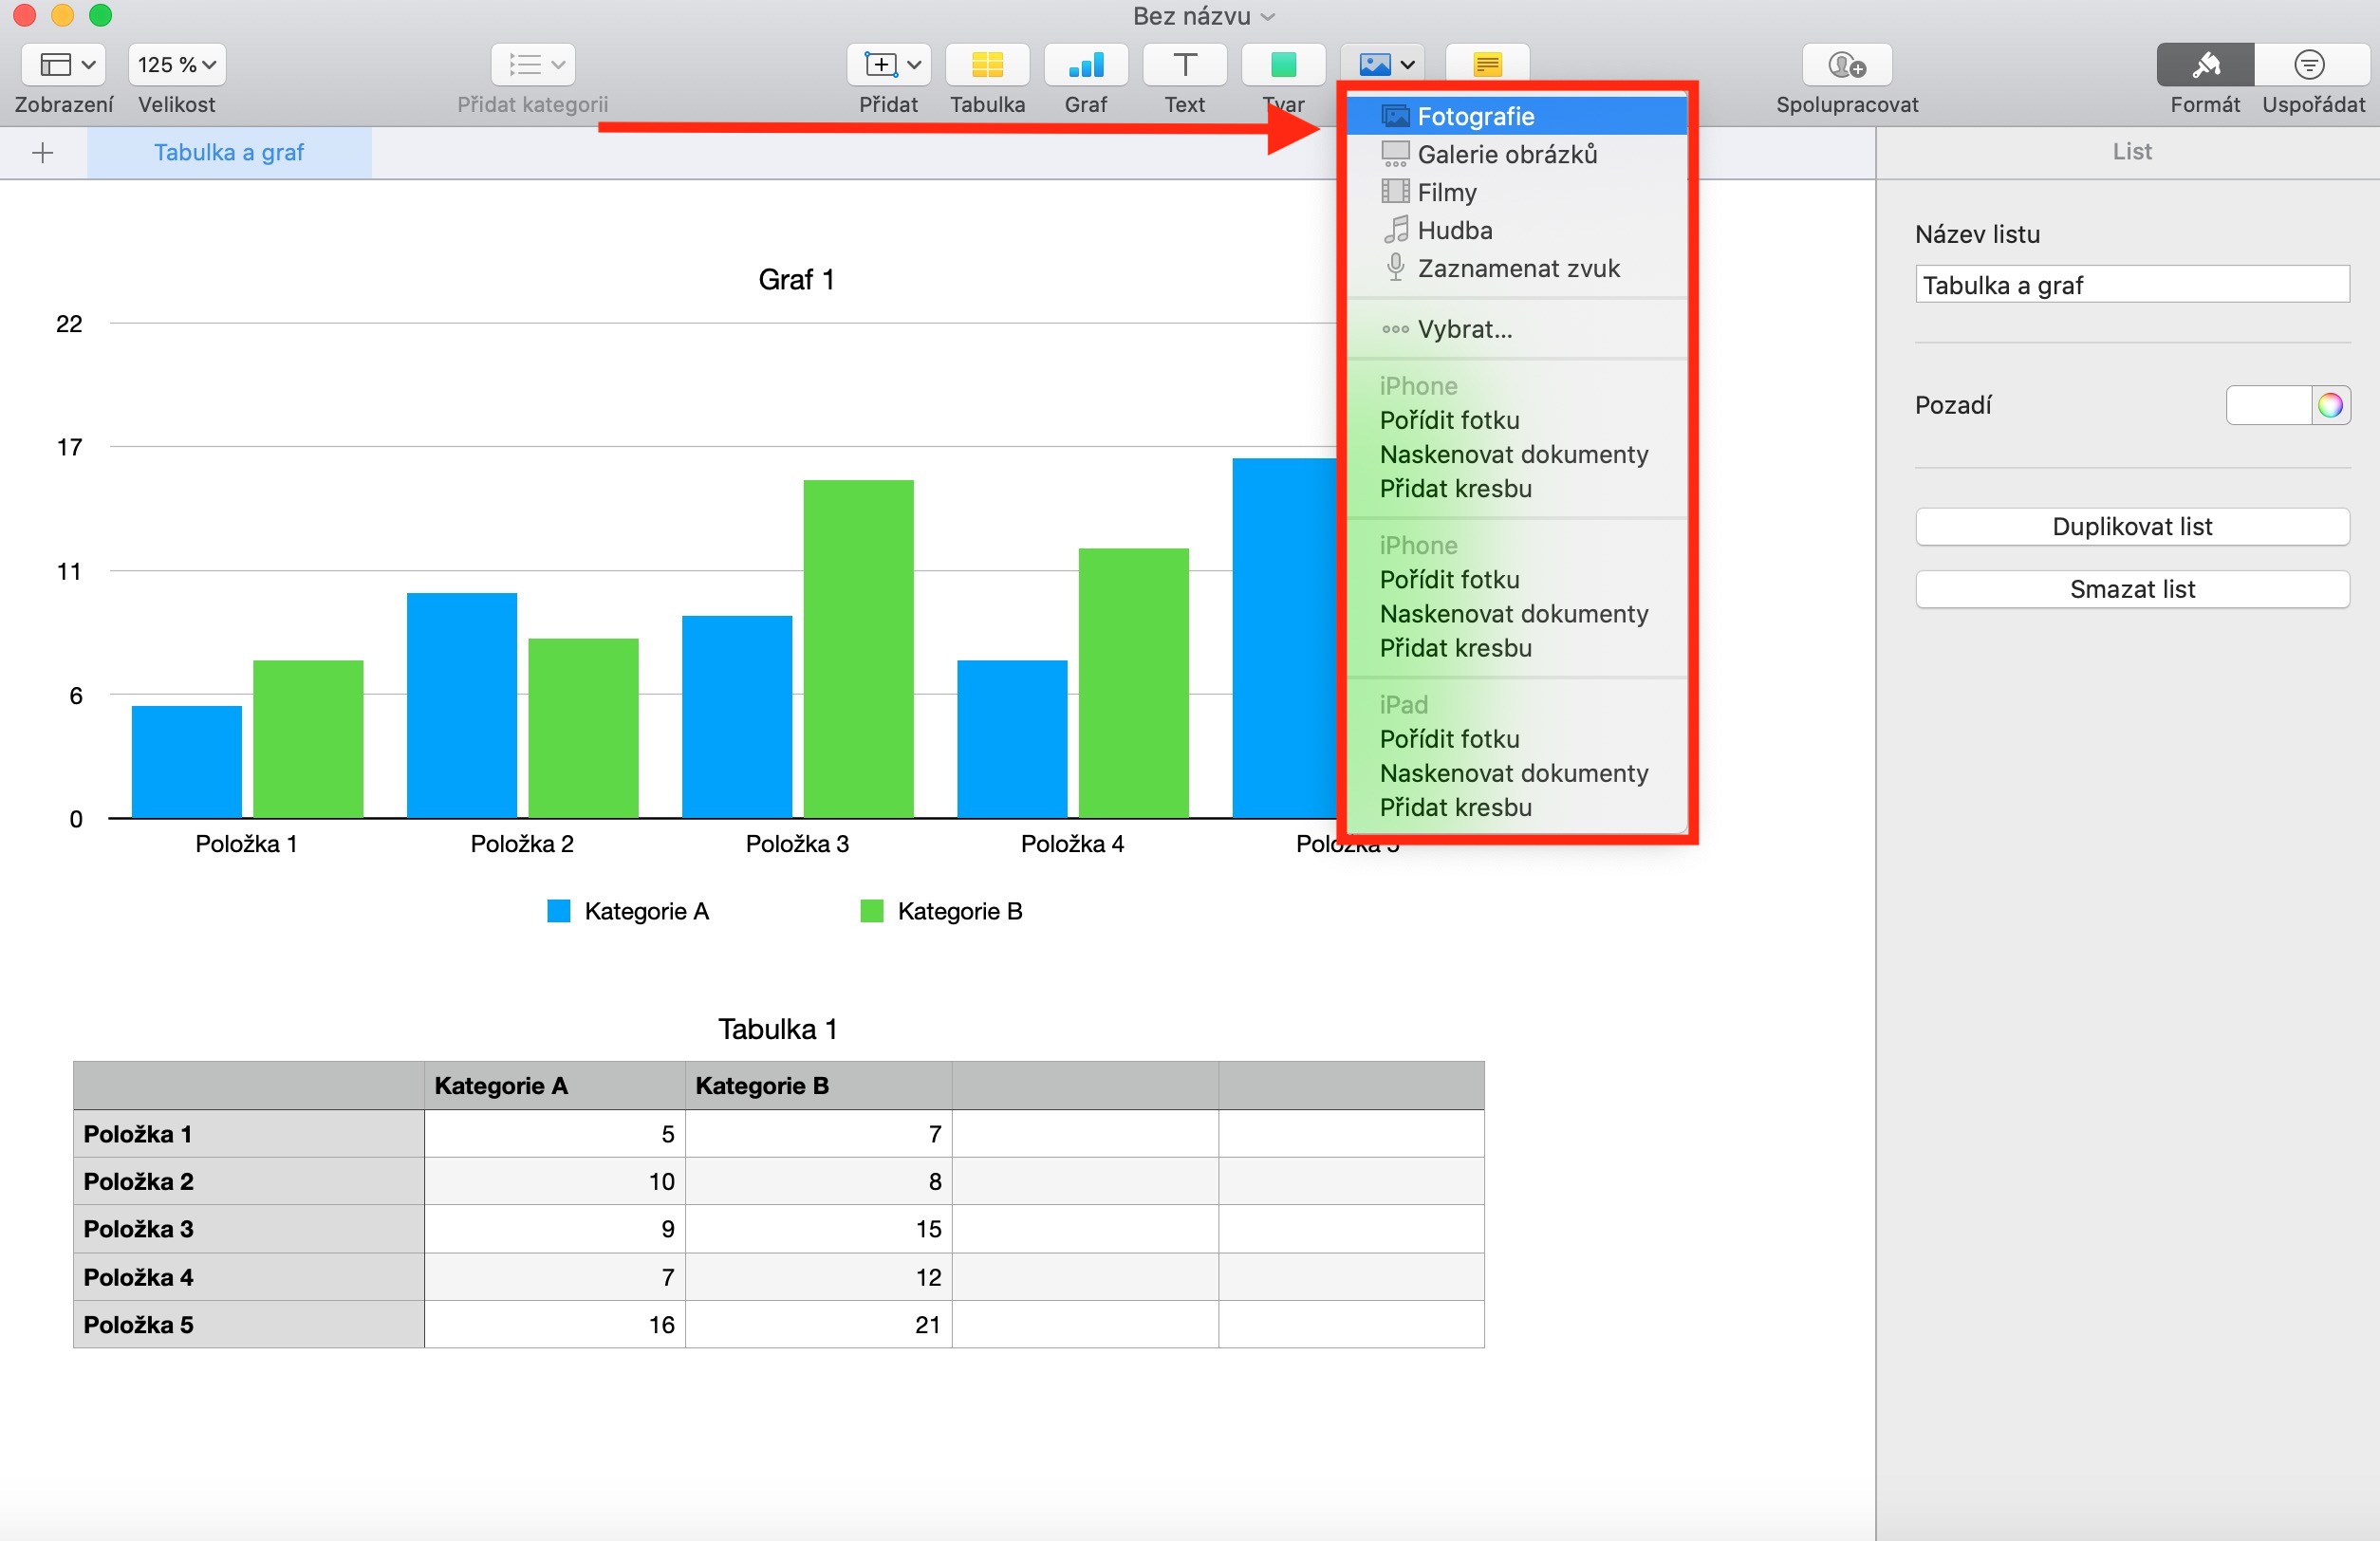
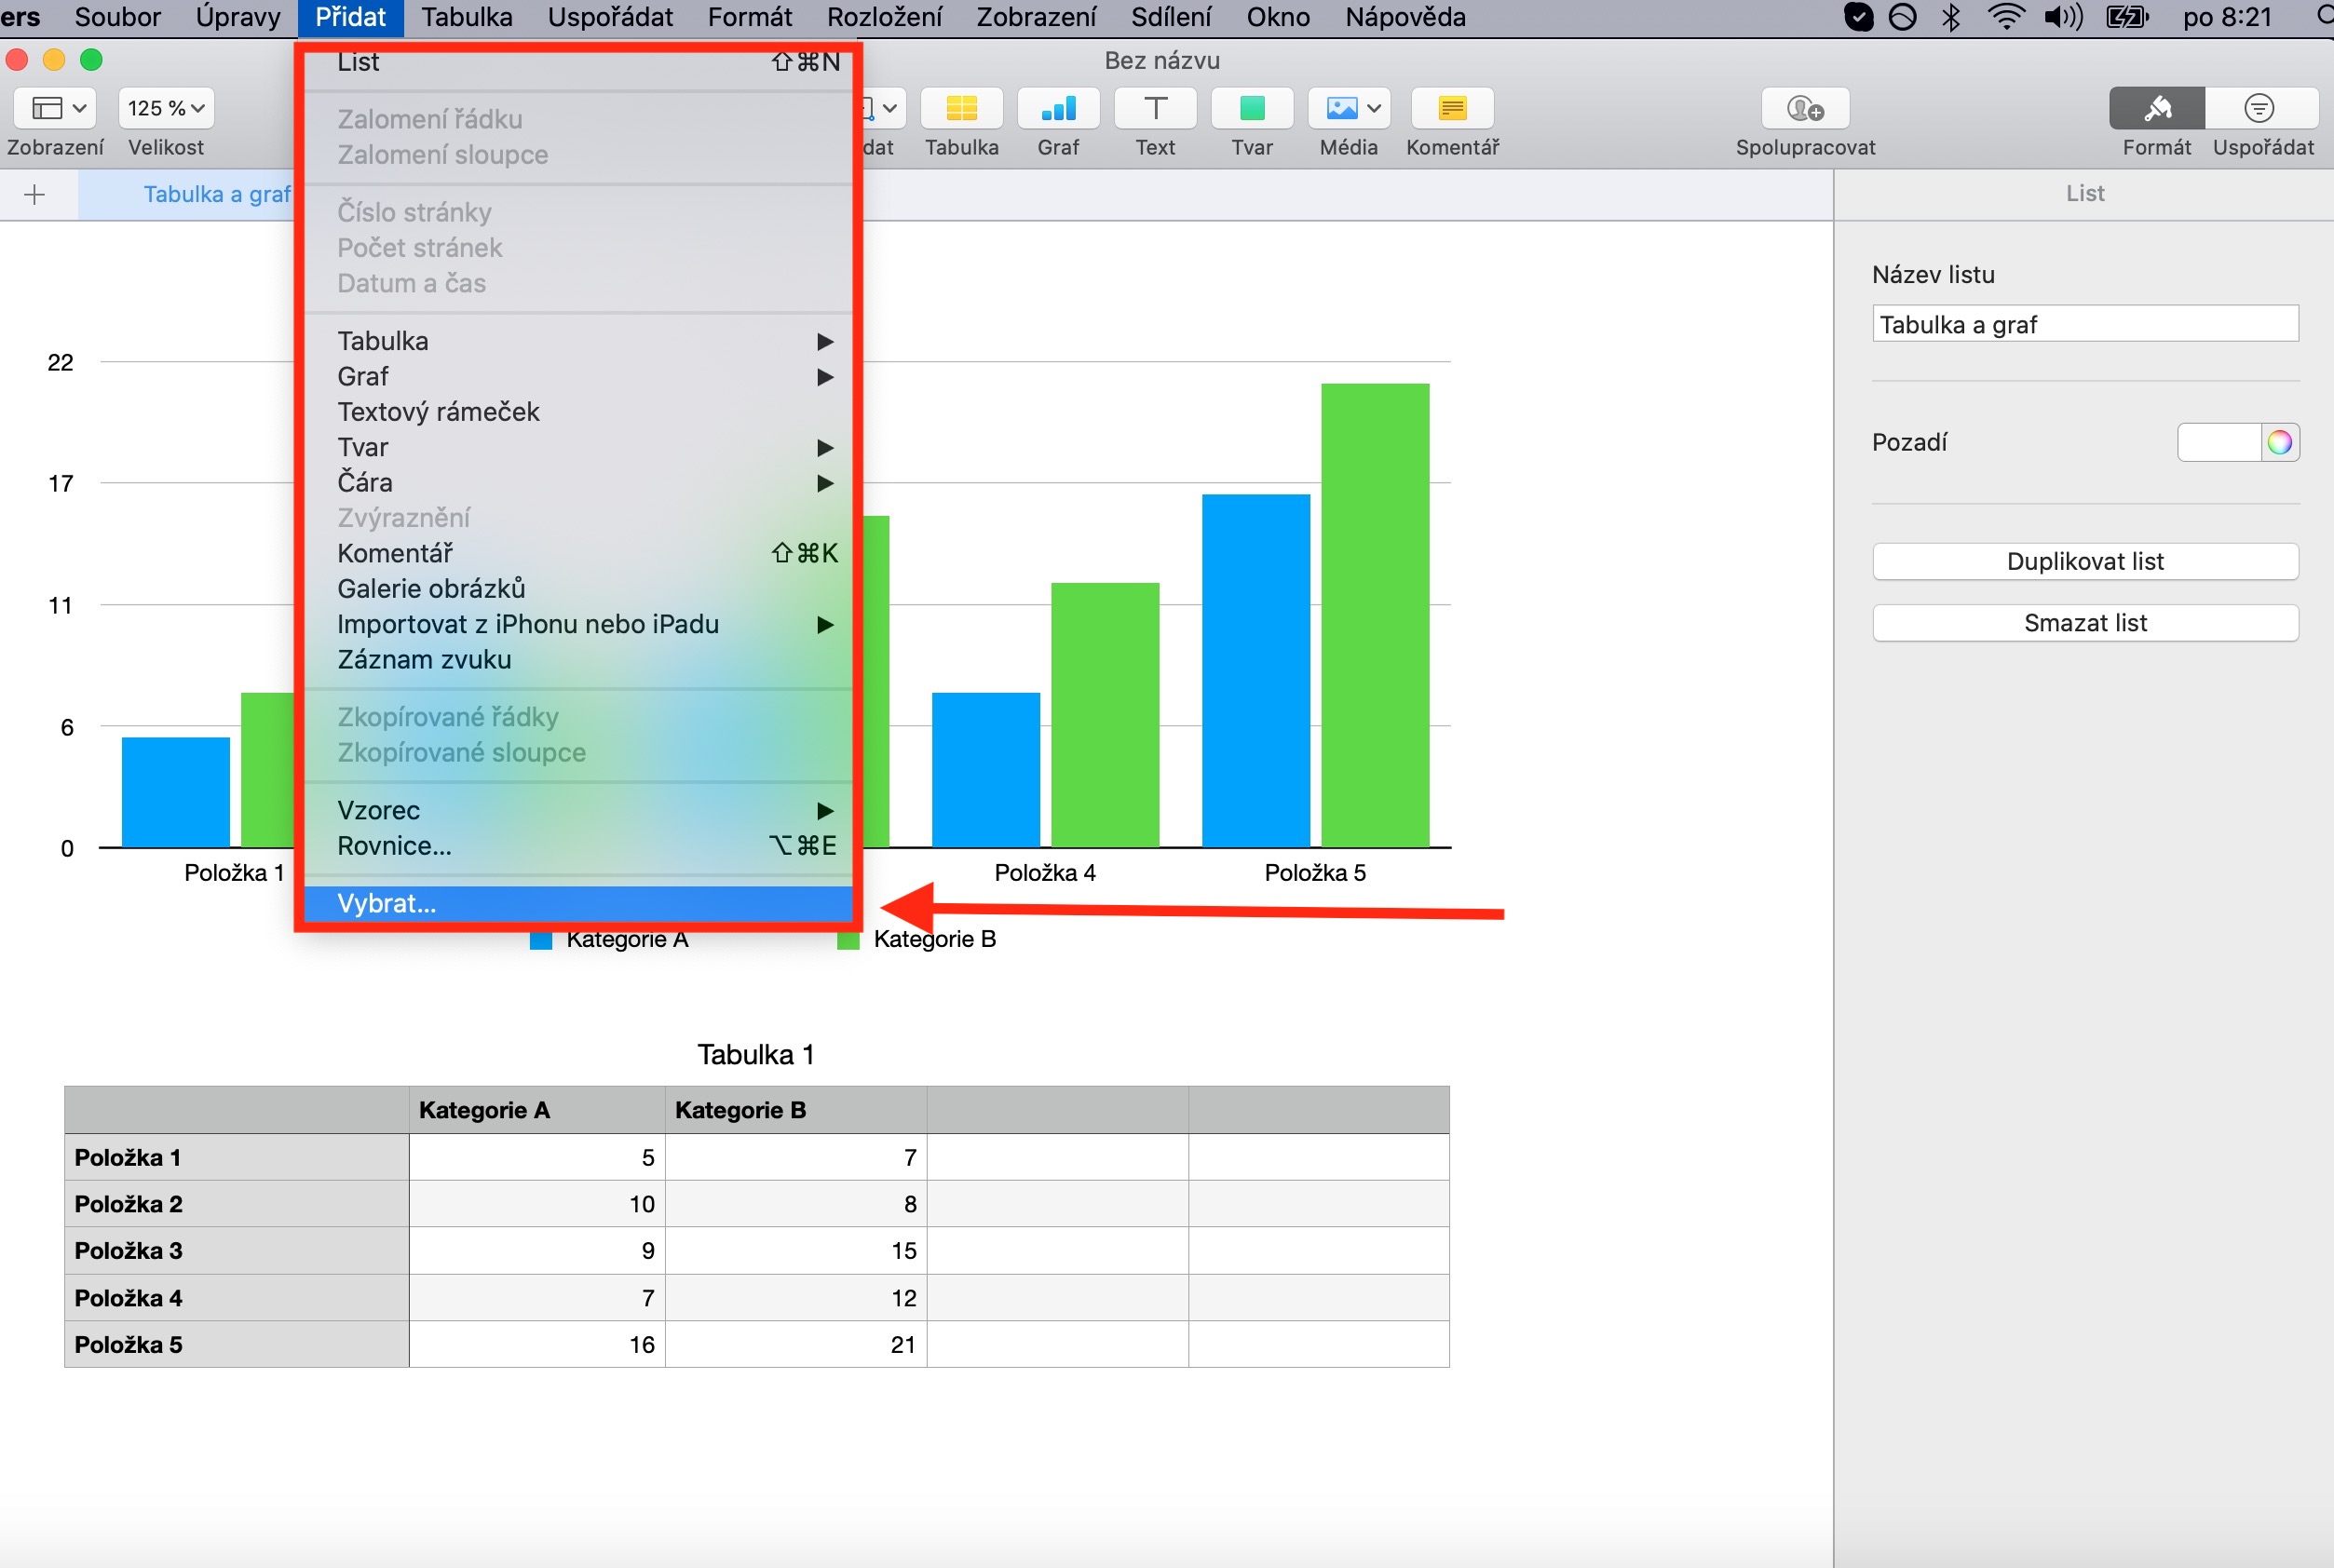
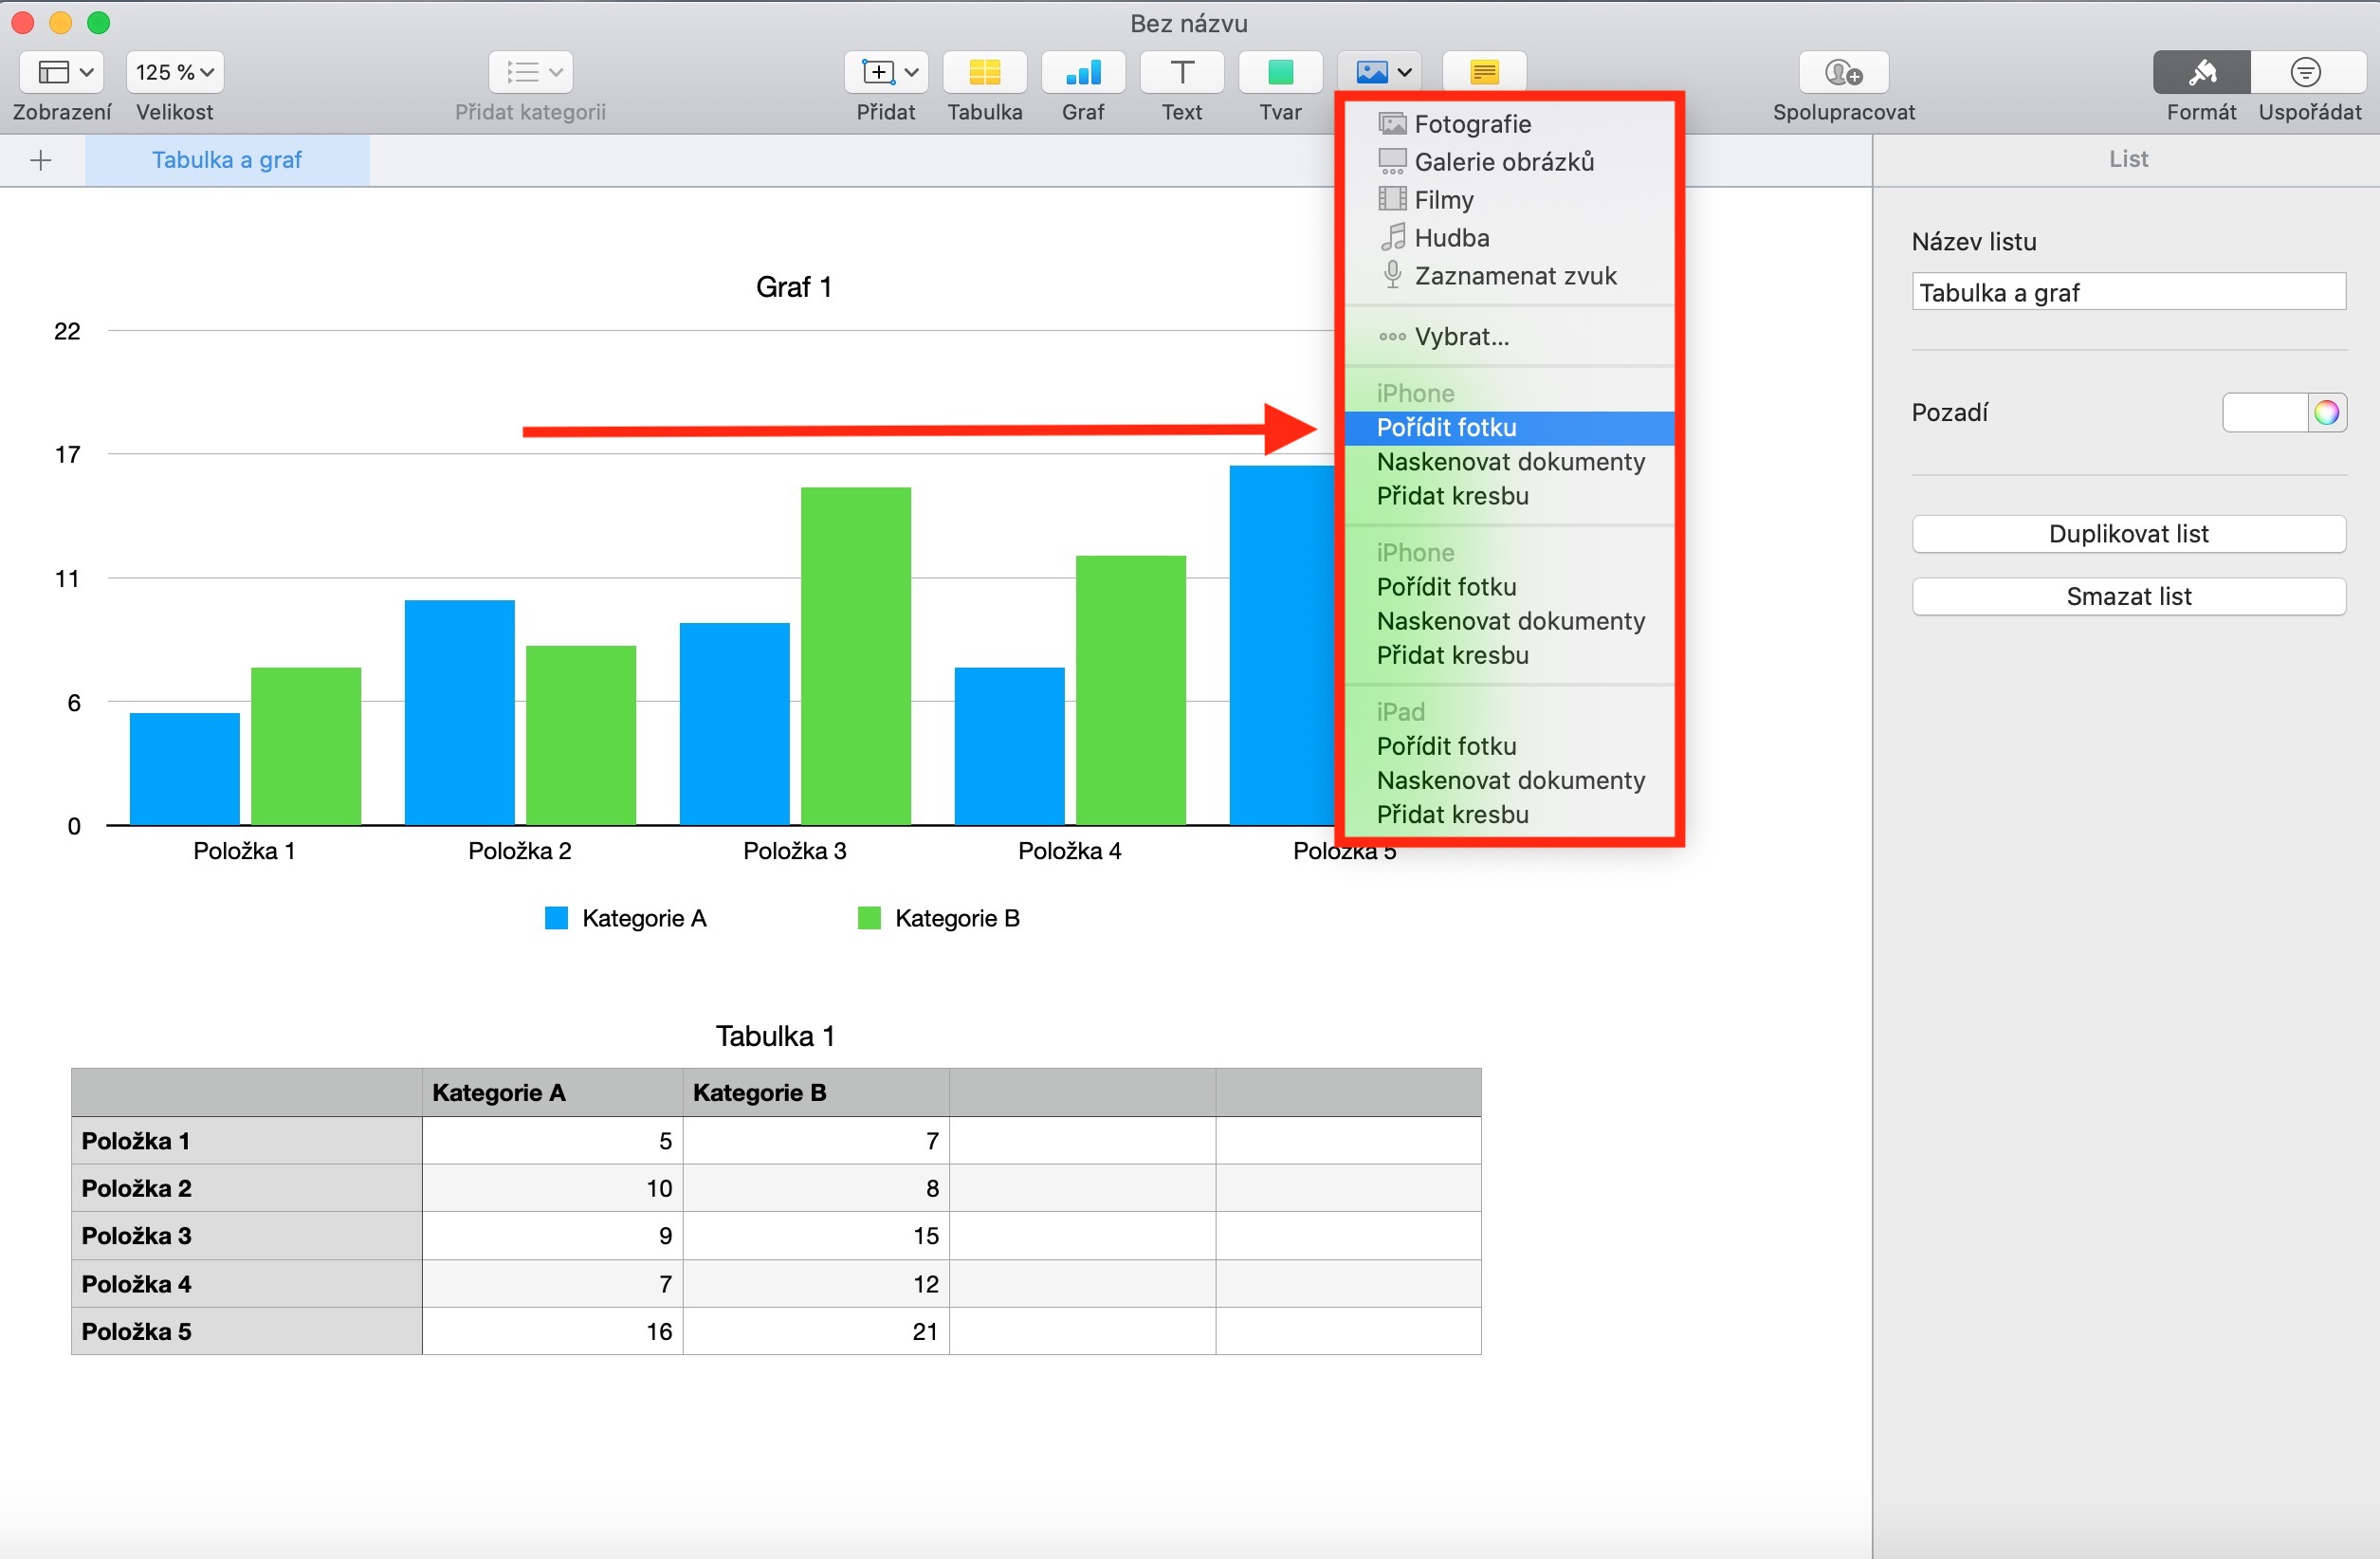
You can add an image to a Numbers document either from storage on your Mac or from your iPhone or iPad. You add an image either by clicking the Media tab in the toolbar at the top of the application window, or by clicking Add in the toolbar at the top of your Mac's screen. In the menu that appears, click on Add at the very bottom and select the desired image. To add an image from a nearby iOS or iPadOS device, click the media icon on the toolbar at the top of the app window, select iPhone or iPad, and choose whether you want to take a photo or automatically or manually scan a document.
If you want to replace the media mockup in the document template with your own image, click the photo icon in the lower right corner of the document template, then select an image from the photo library. To create your own media mockup, add an image to your document and edit it to your liking. Then click to select the image and click Format -> Advanced -> Define as Media Mockup in the toolbar at the top of your Mac screen. To add an entire gallery of images to a Numbers document on Mac, click the media icon in the toolbar at the top of the app window and choose Image Gallery. Drag the selected gallery to the desired location and edit it to your liking.
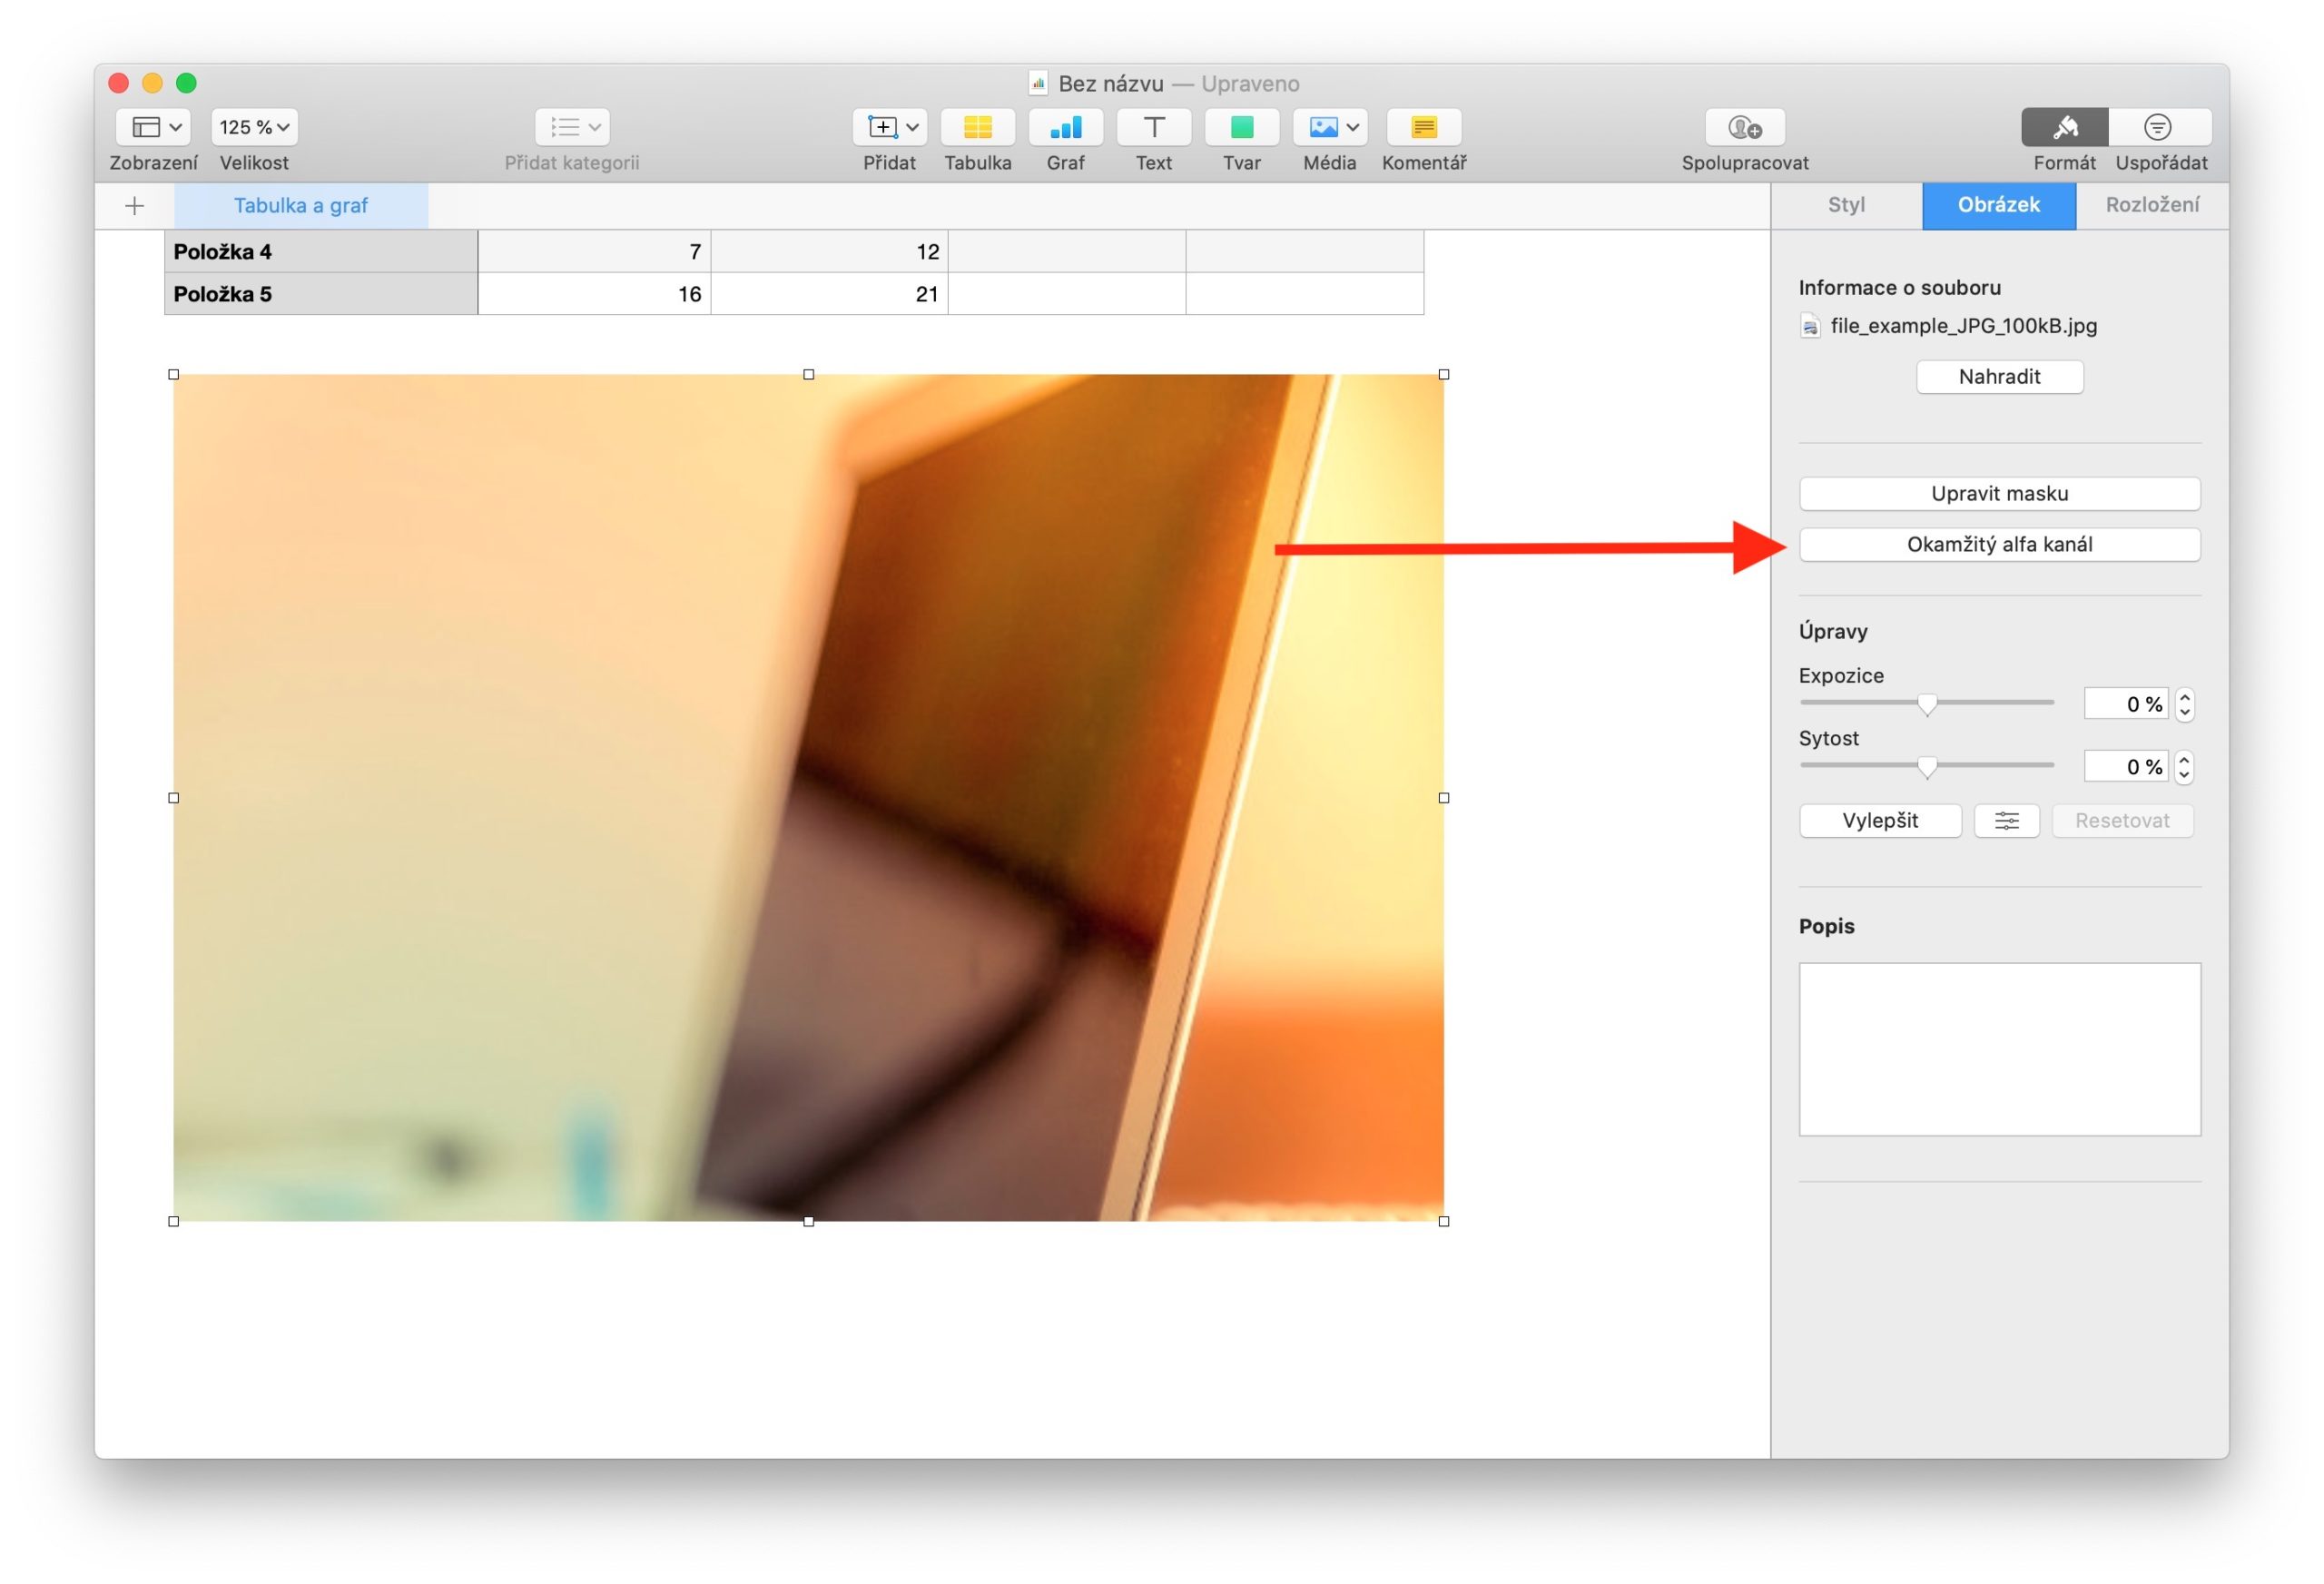
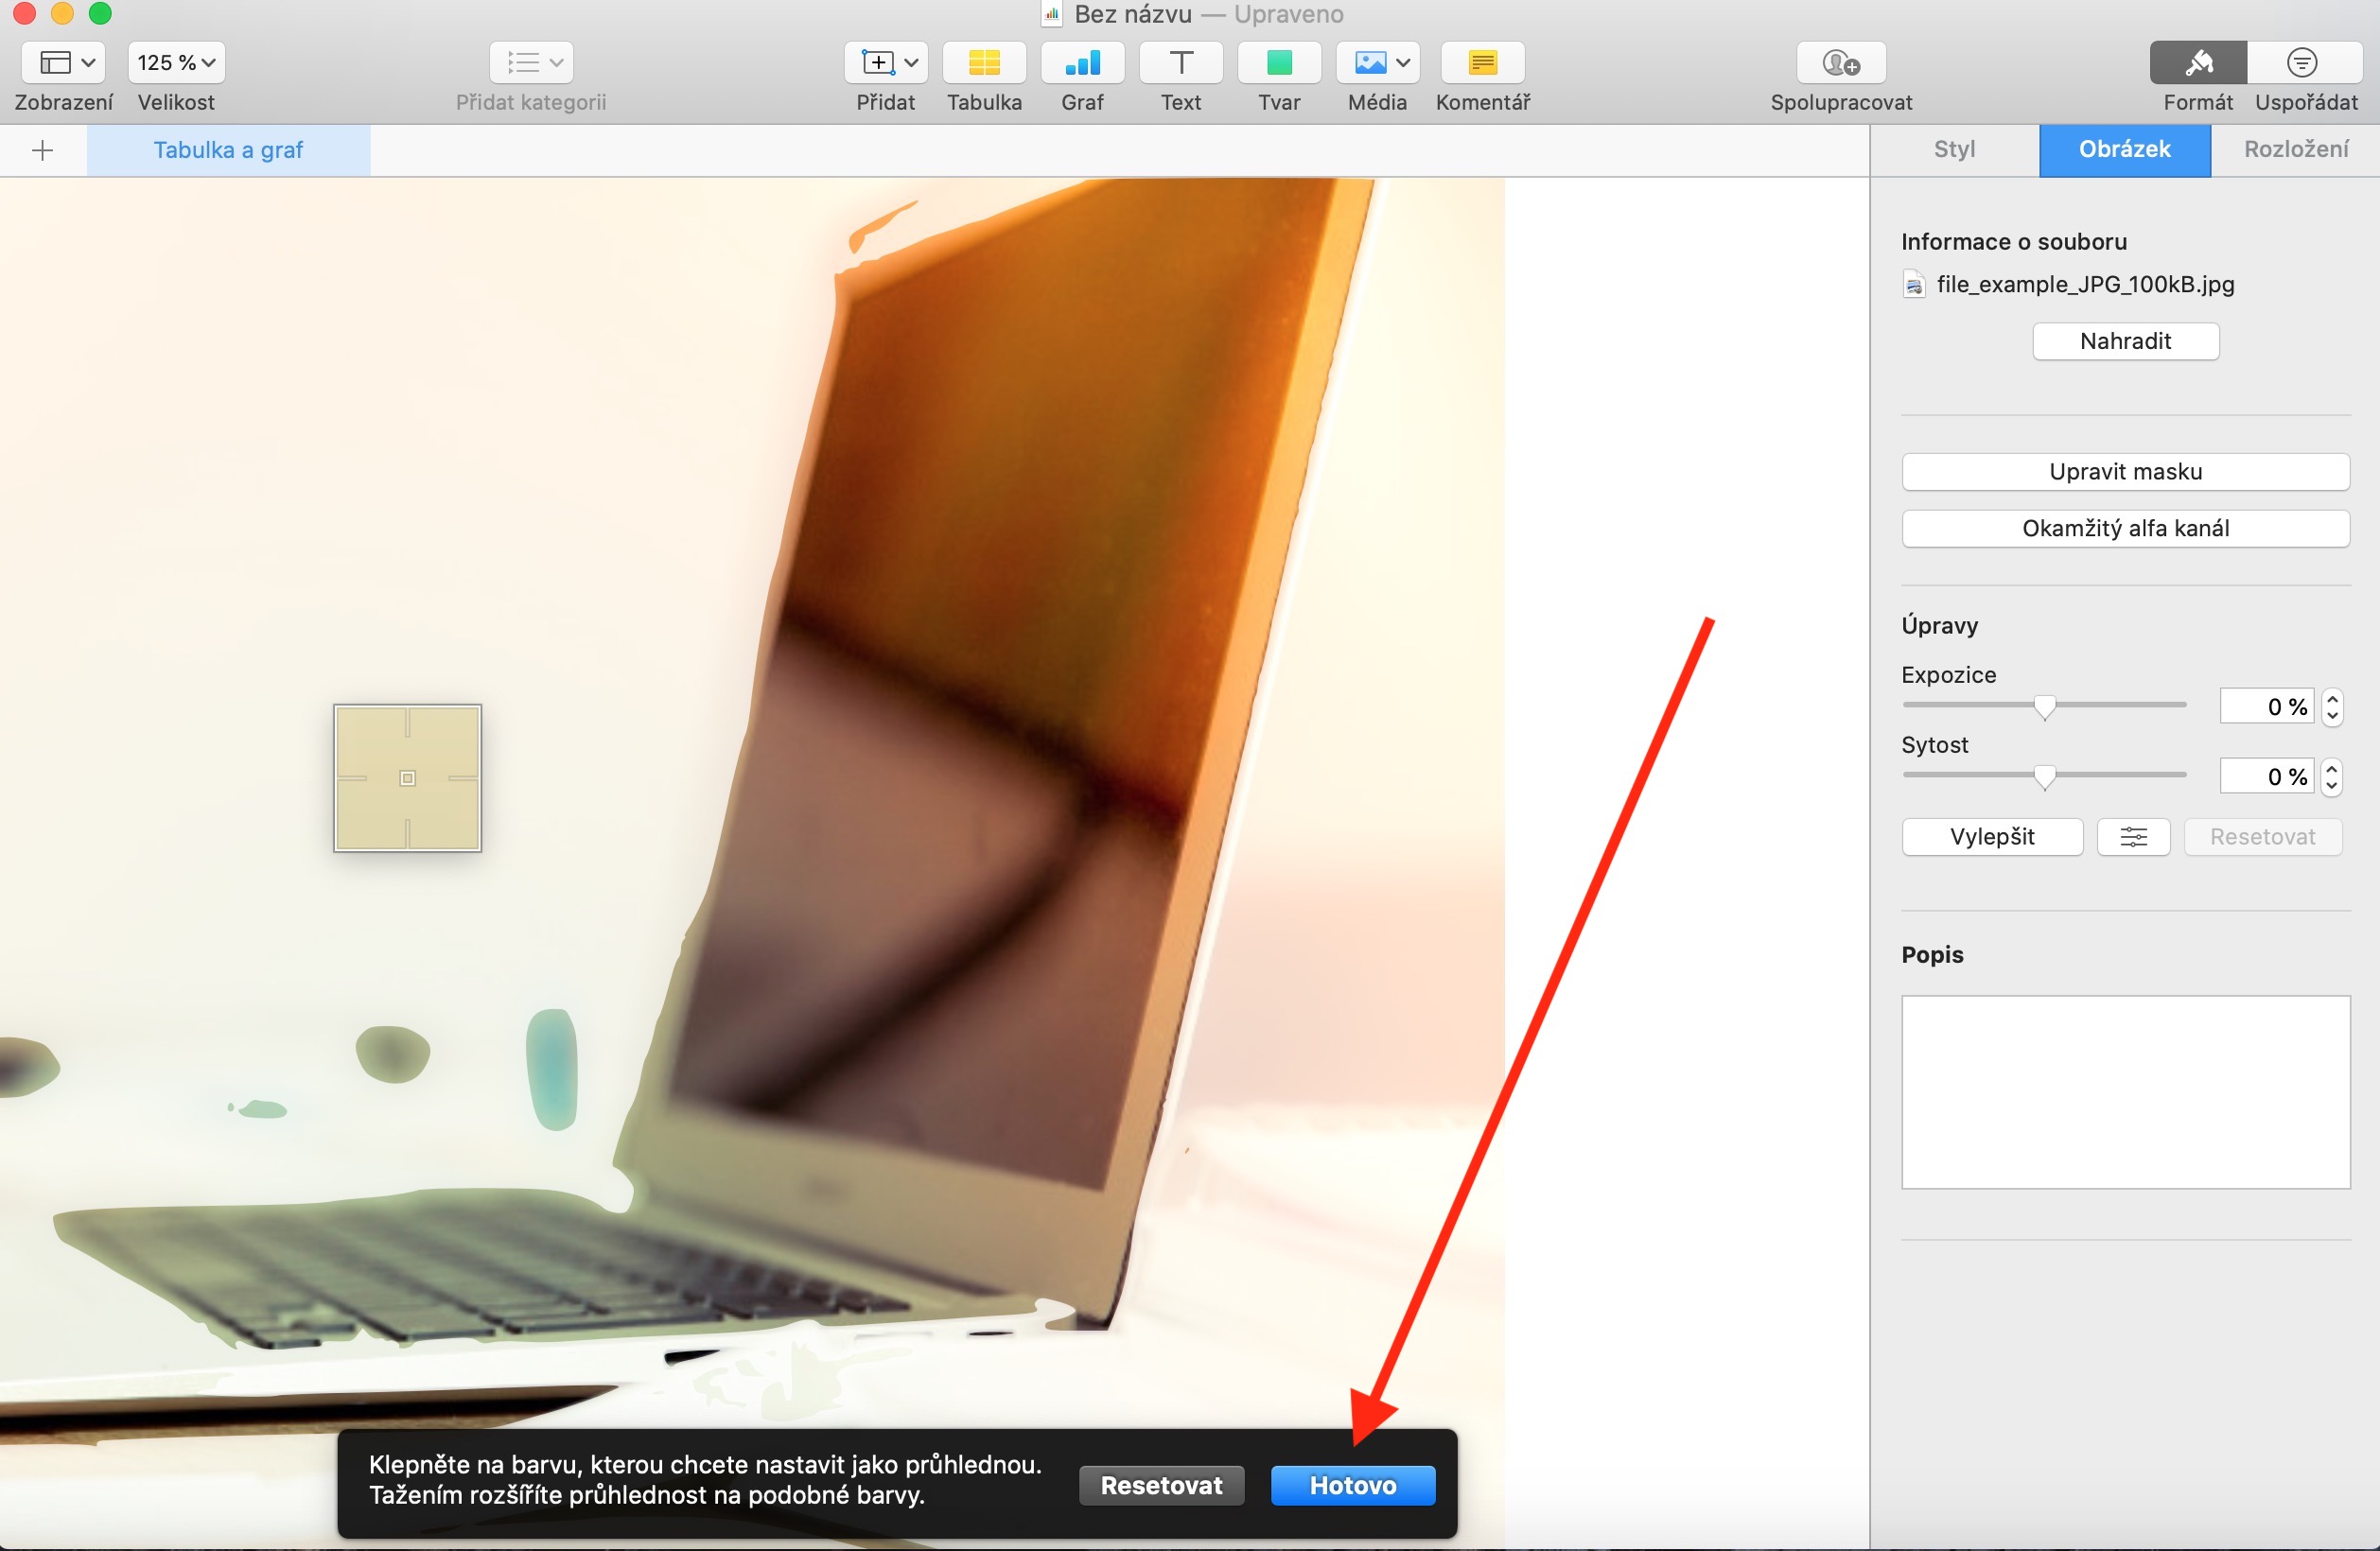
If you need to hide selected parts of an image without changing the image file, first select the image by double-clicking it. You'll be presented with mask controls to select the parts of the image you want to keep visible. When you're done editing, click Done at the bottom of the image. If you want to mask an image with a shape, click to select it and click Format -> Image -> Mask with Shape on the bar at the top of the Mac screen, then select the desired shape and drag the handles to adjust its size. To remove the background and other elements from image, first select the image by clicking and click Format at the top of the panel on the right. Select the Image tab and click Instant Alpha Channel. Click on the image to select the color you want to remove, then slowly drag your mouse over it. Hold Alt (Option) while dragging to remove color completely, hold Shift while dragging to add color back to the image. Click Done to confirm the changes.

