In today's article in the series about Apple's native apps, we'll be covering Maps on the Mac for the last time. Today we will talk about customizing the display of maps, setting preferences for the mode of transport or perhaps displaying labels.
It could be interest you

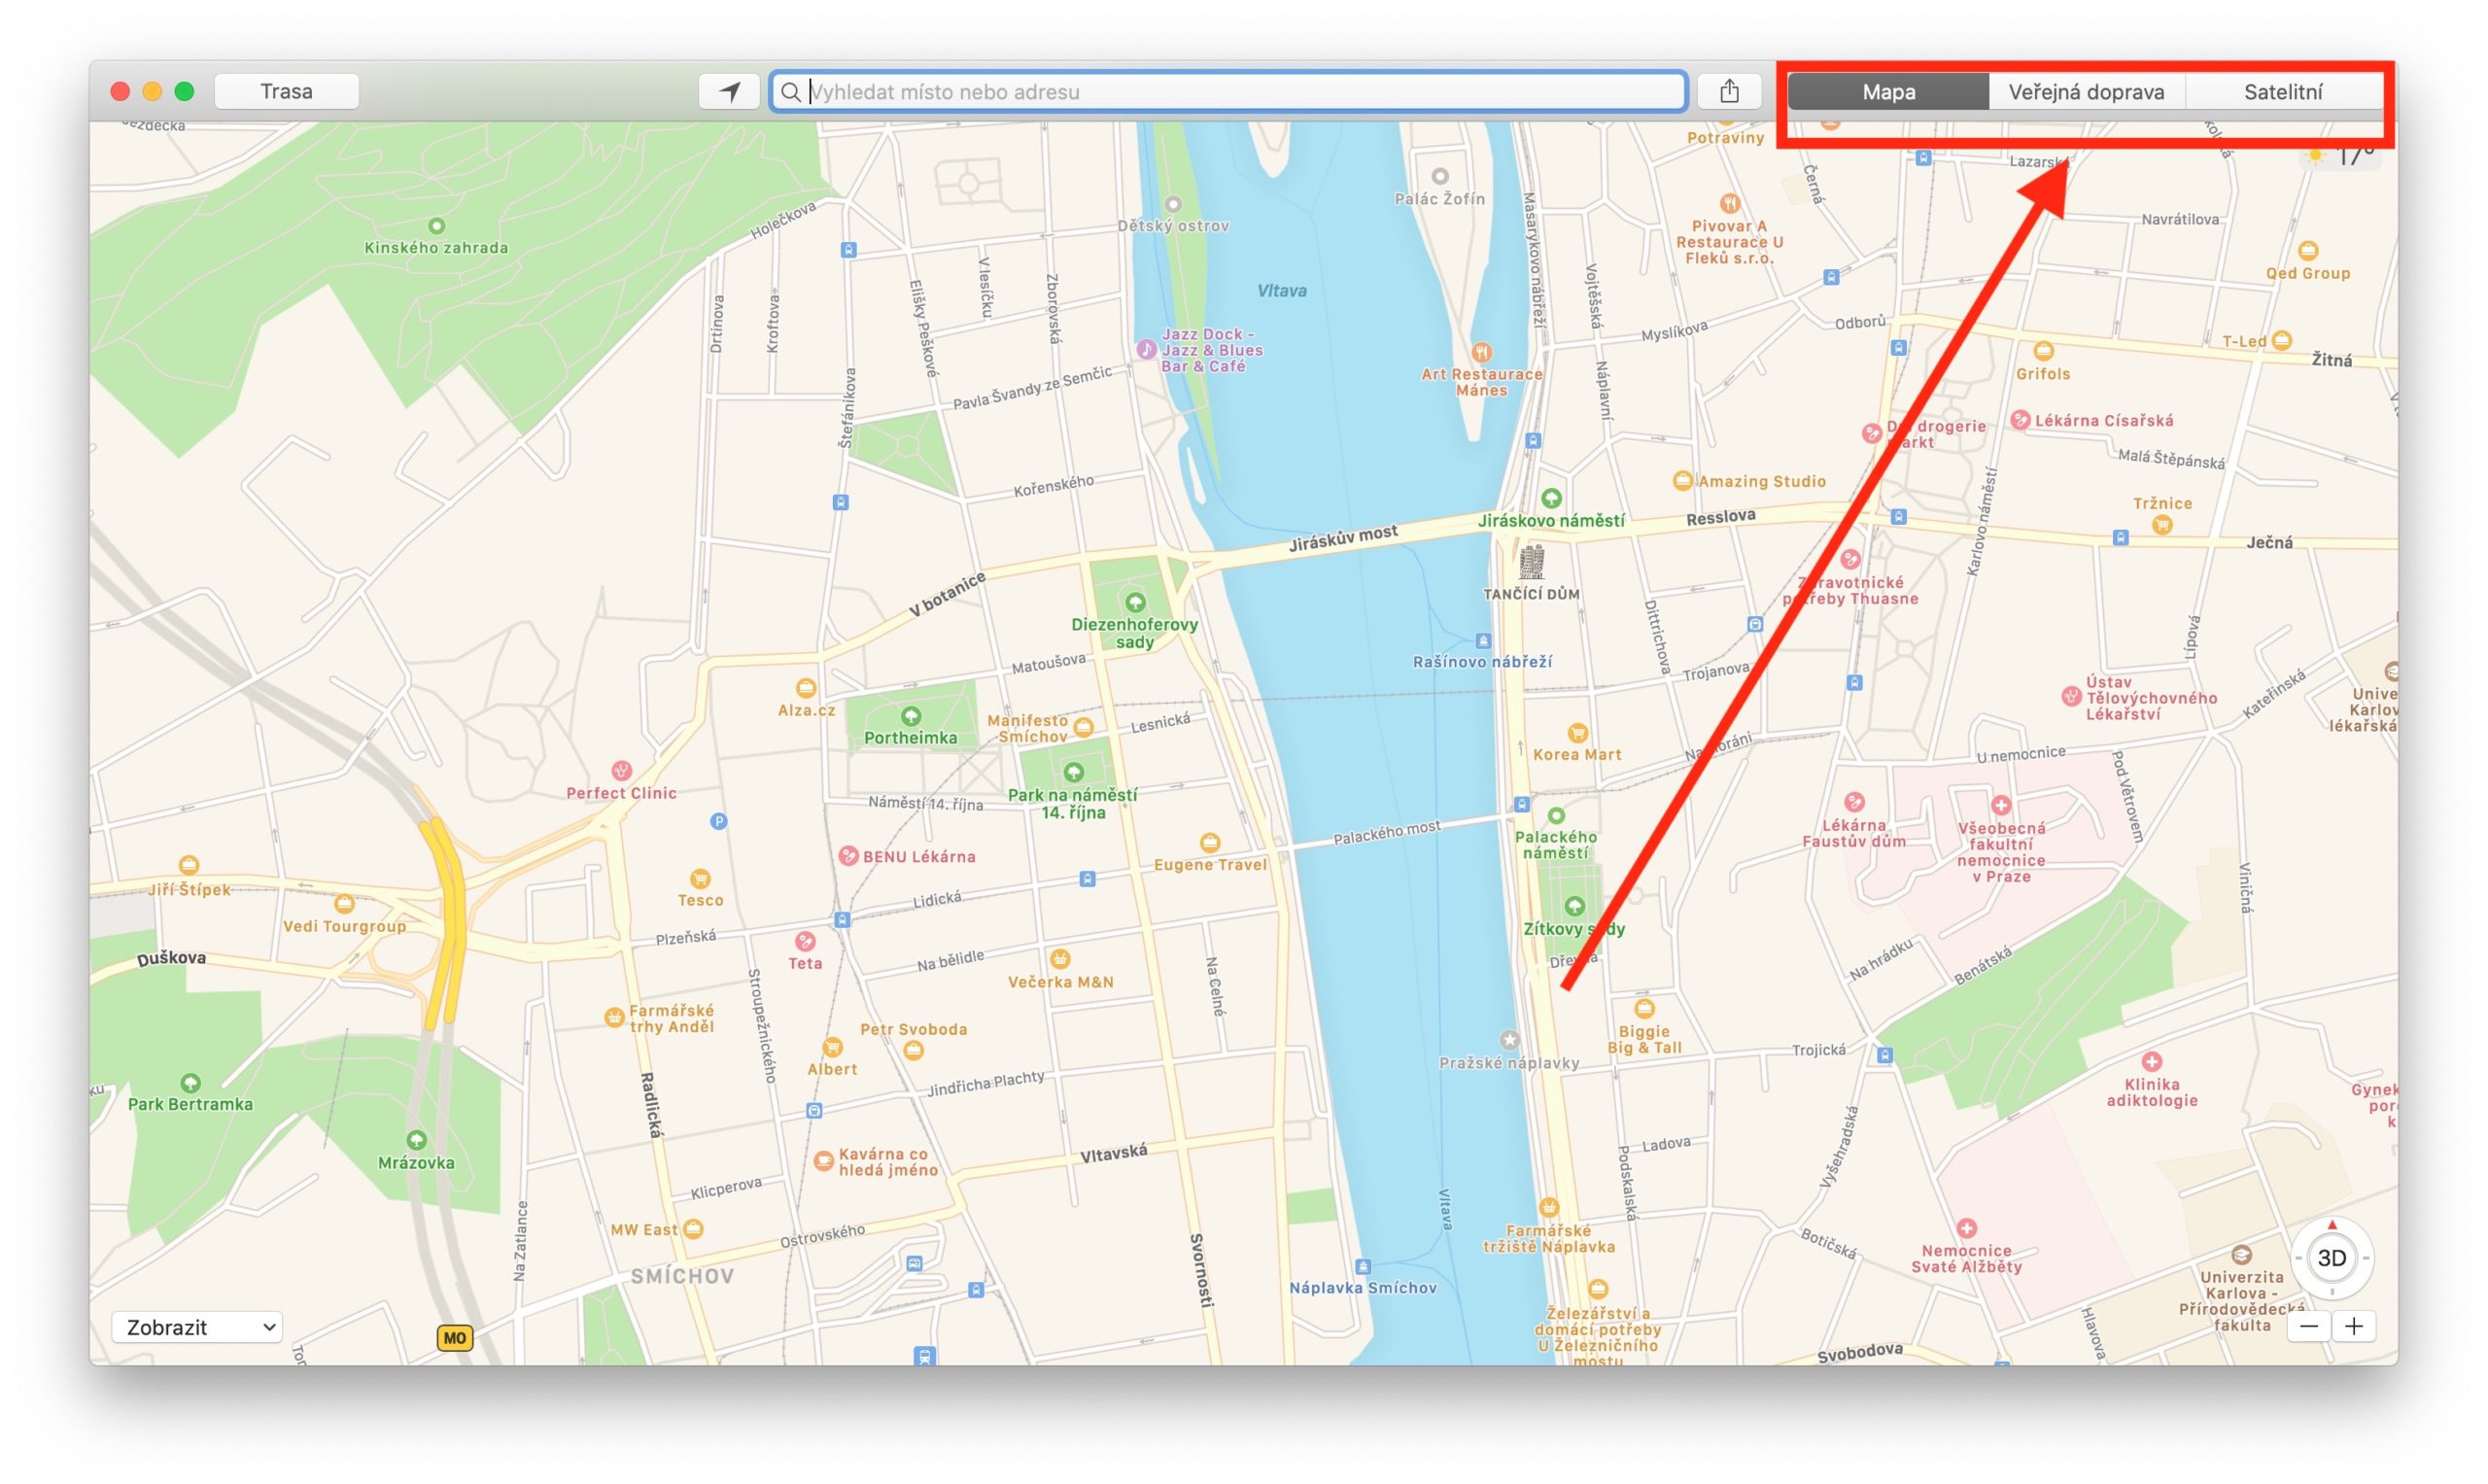
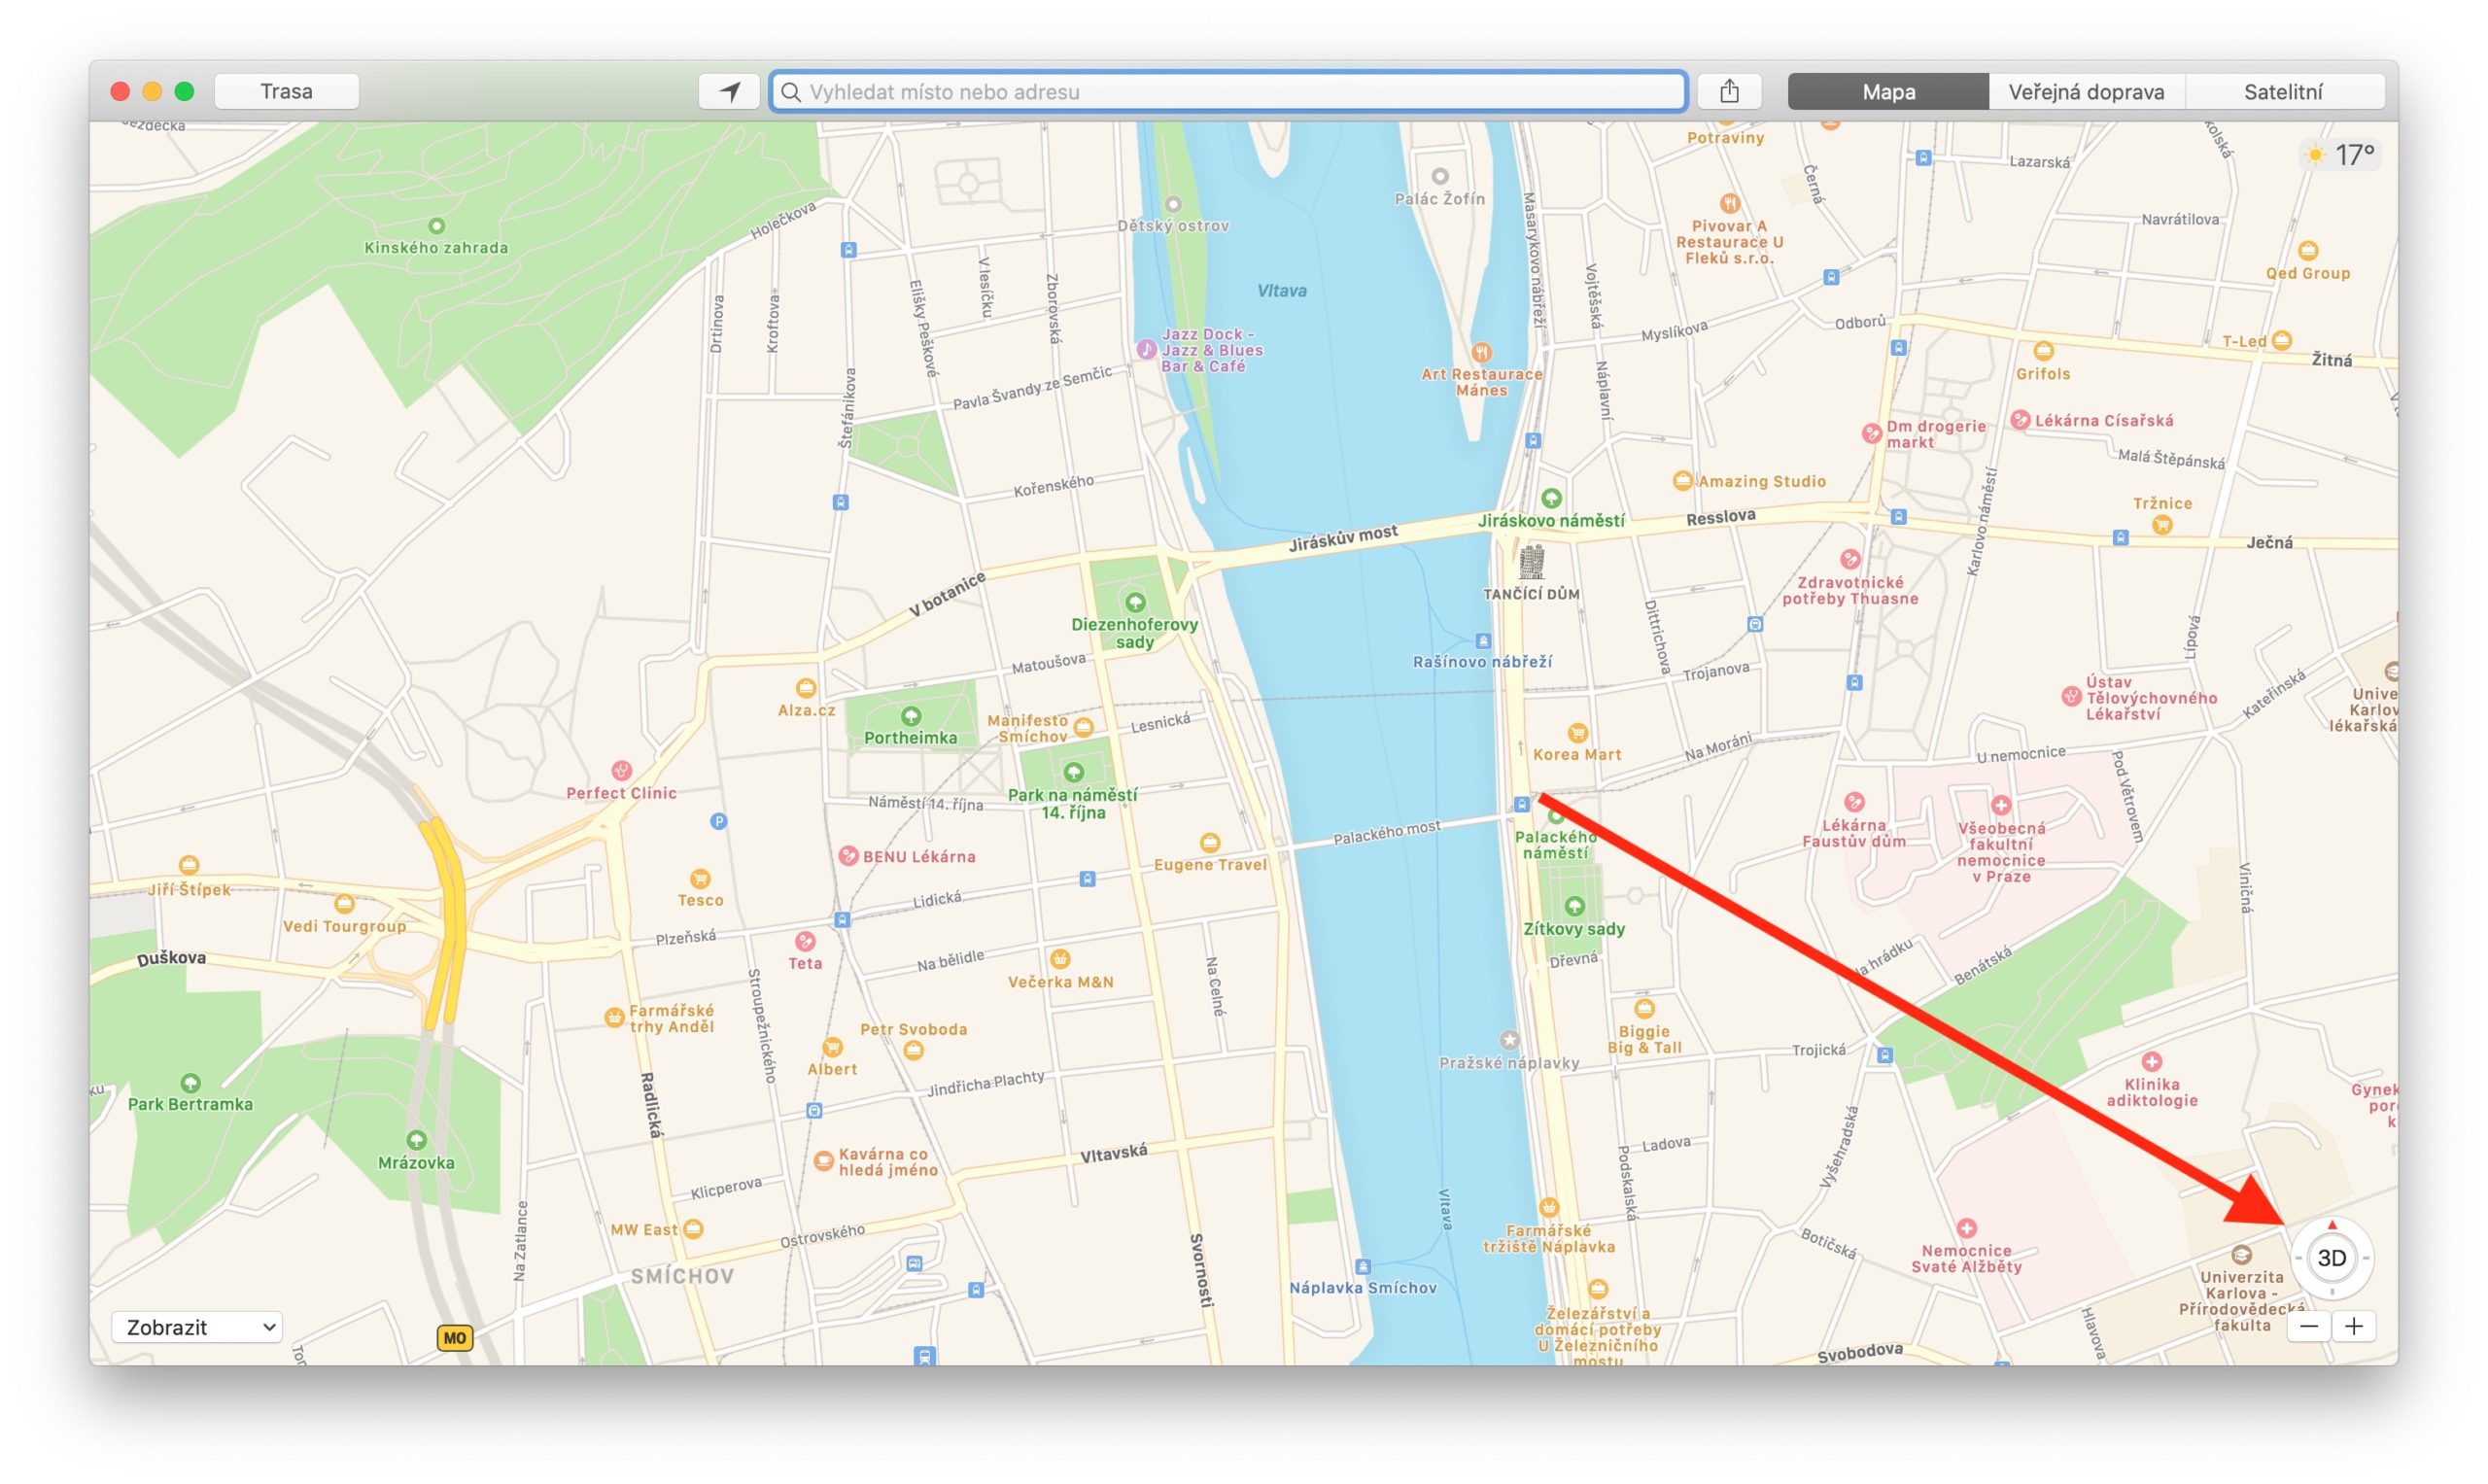
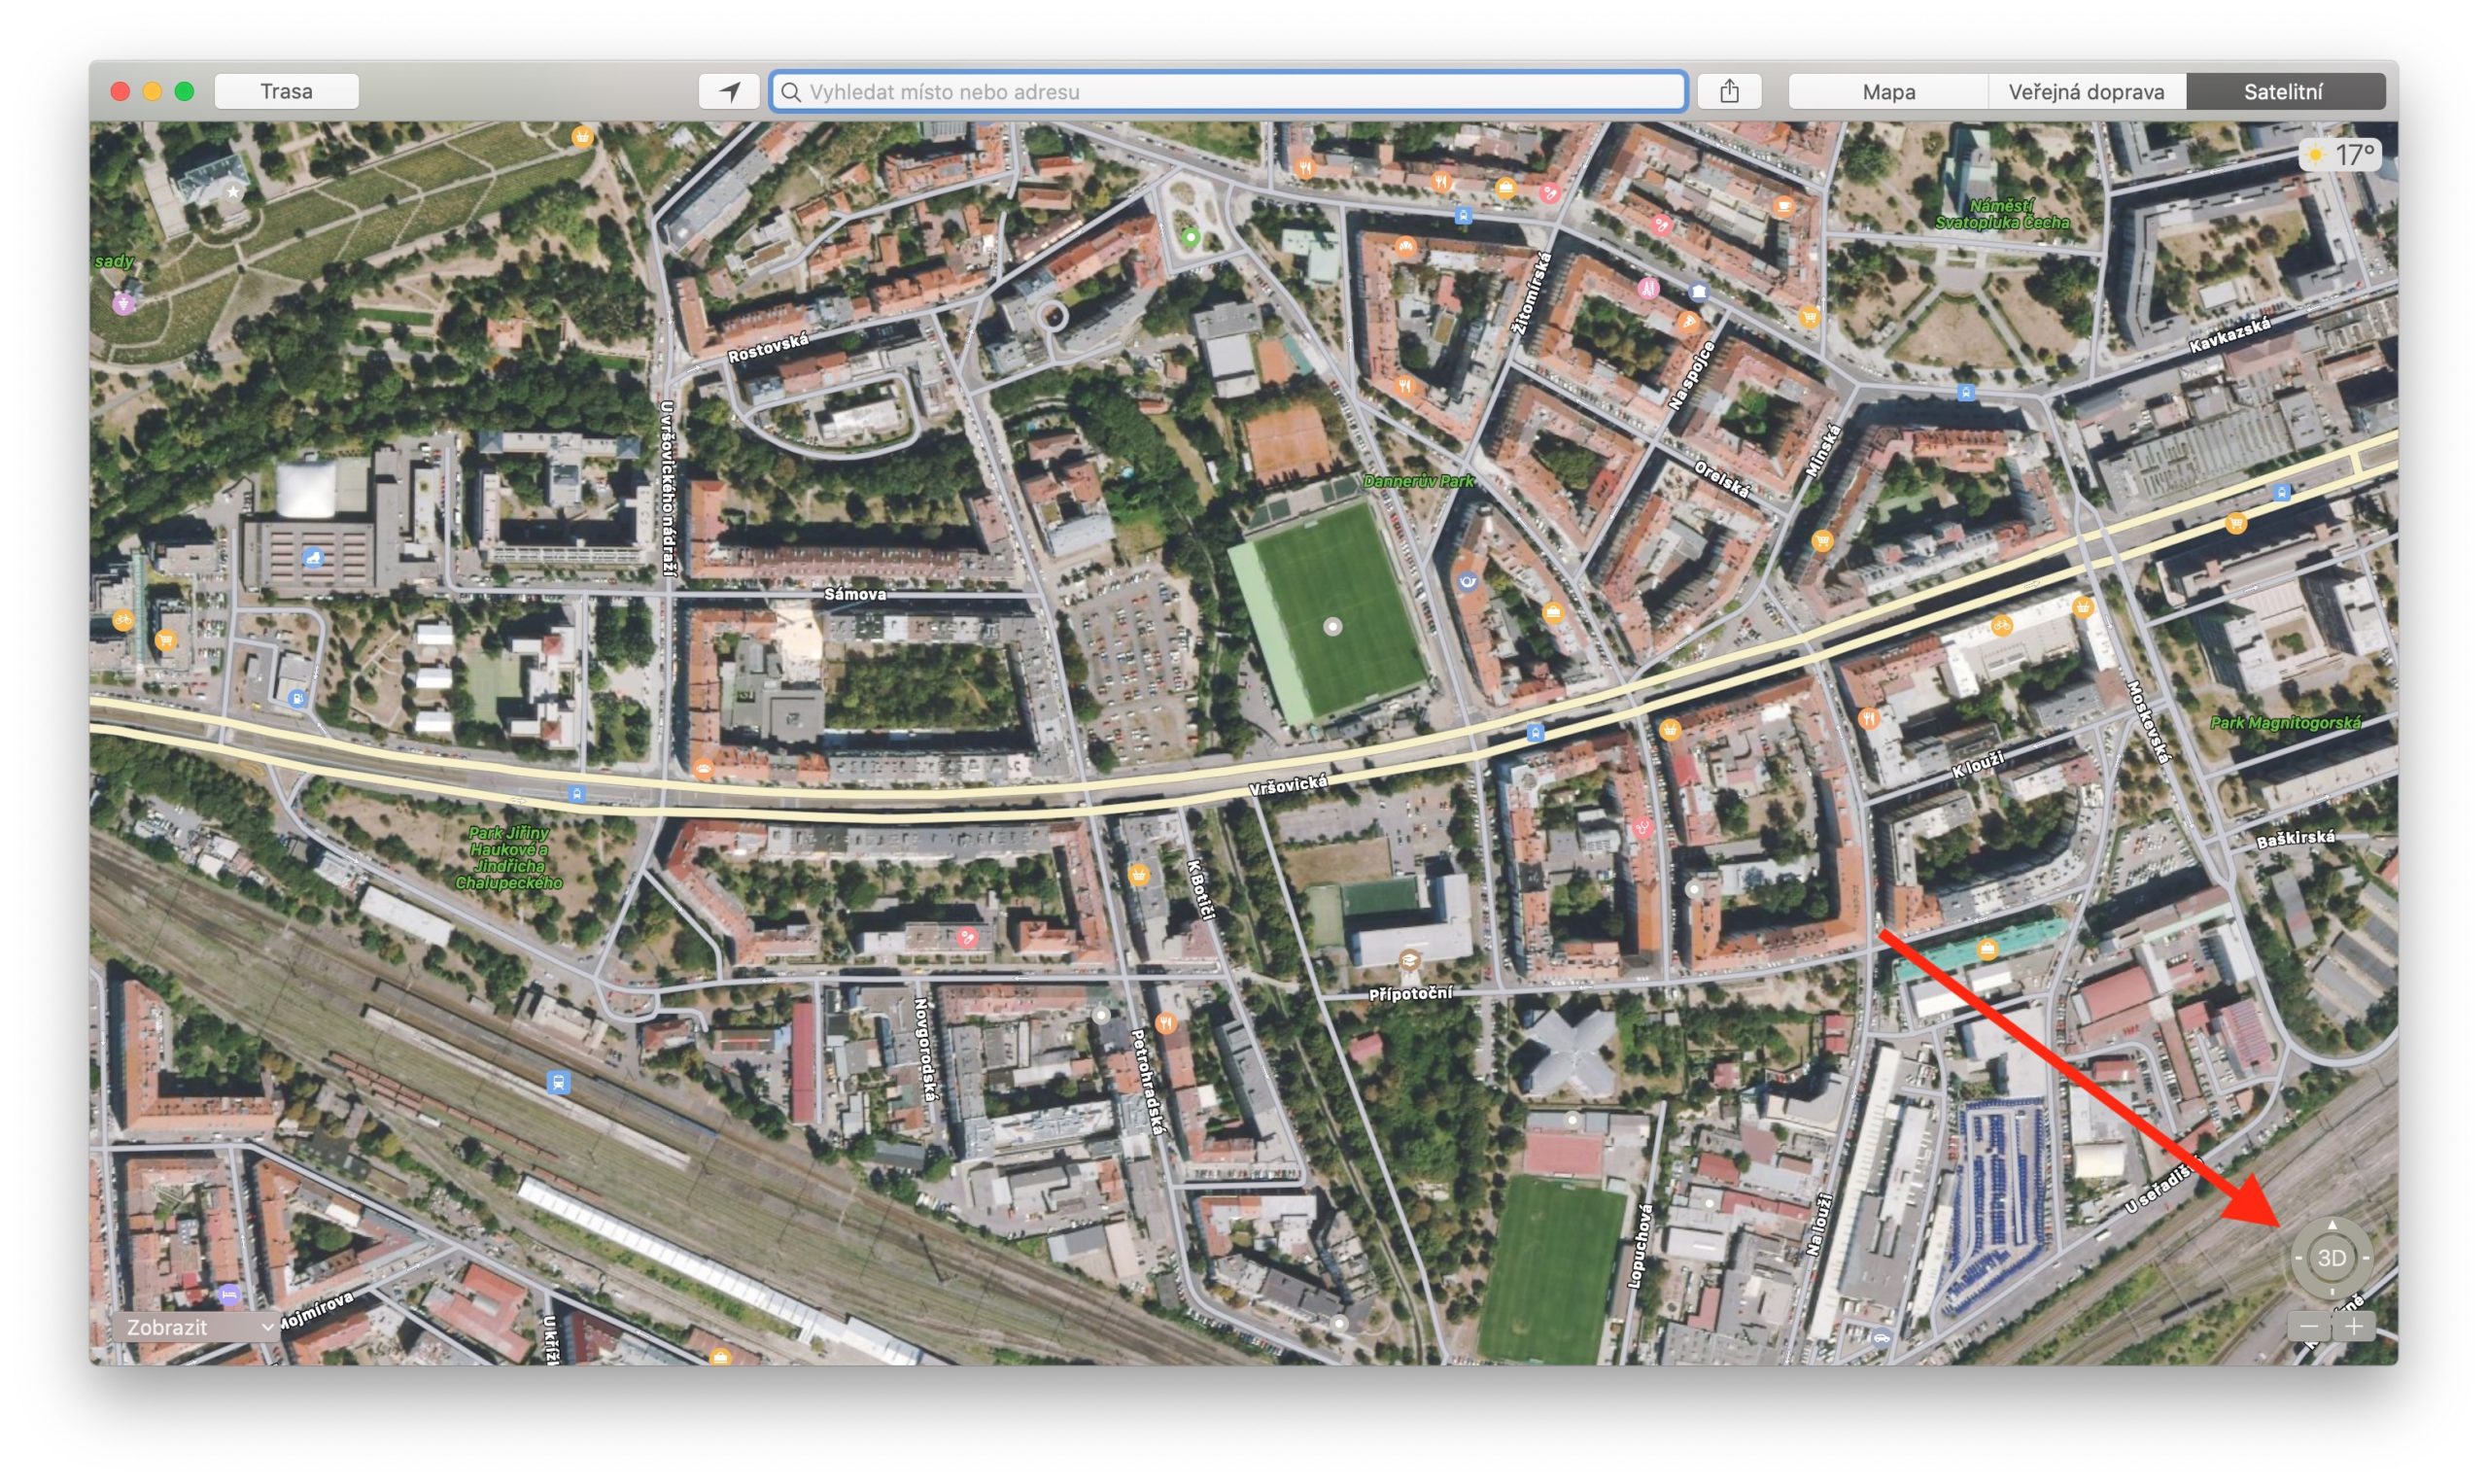
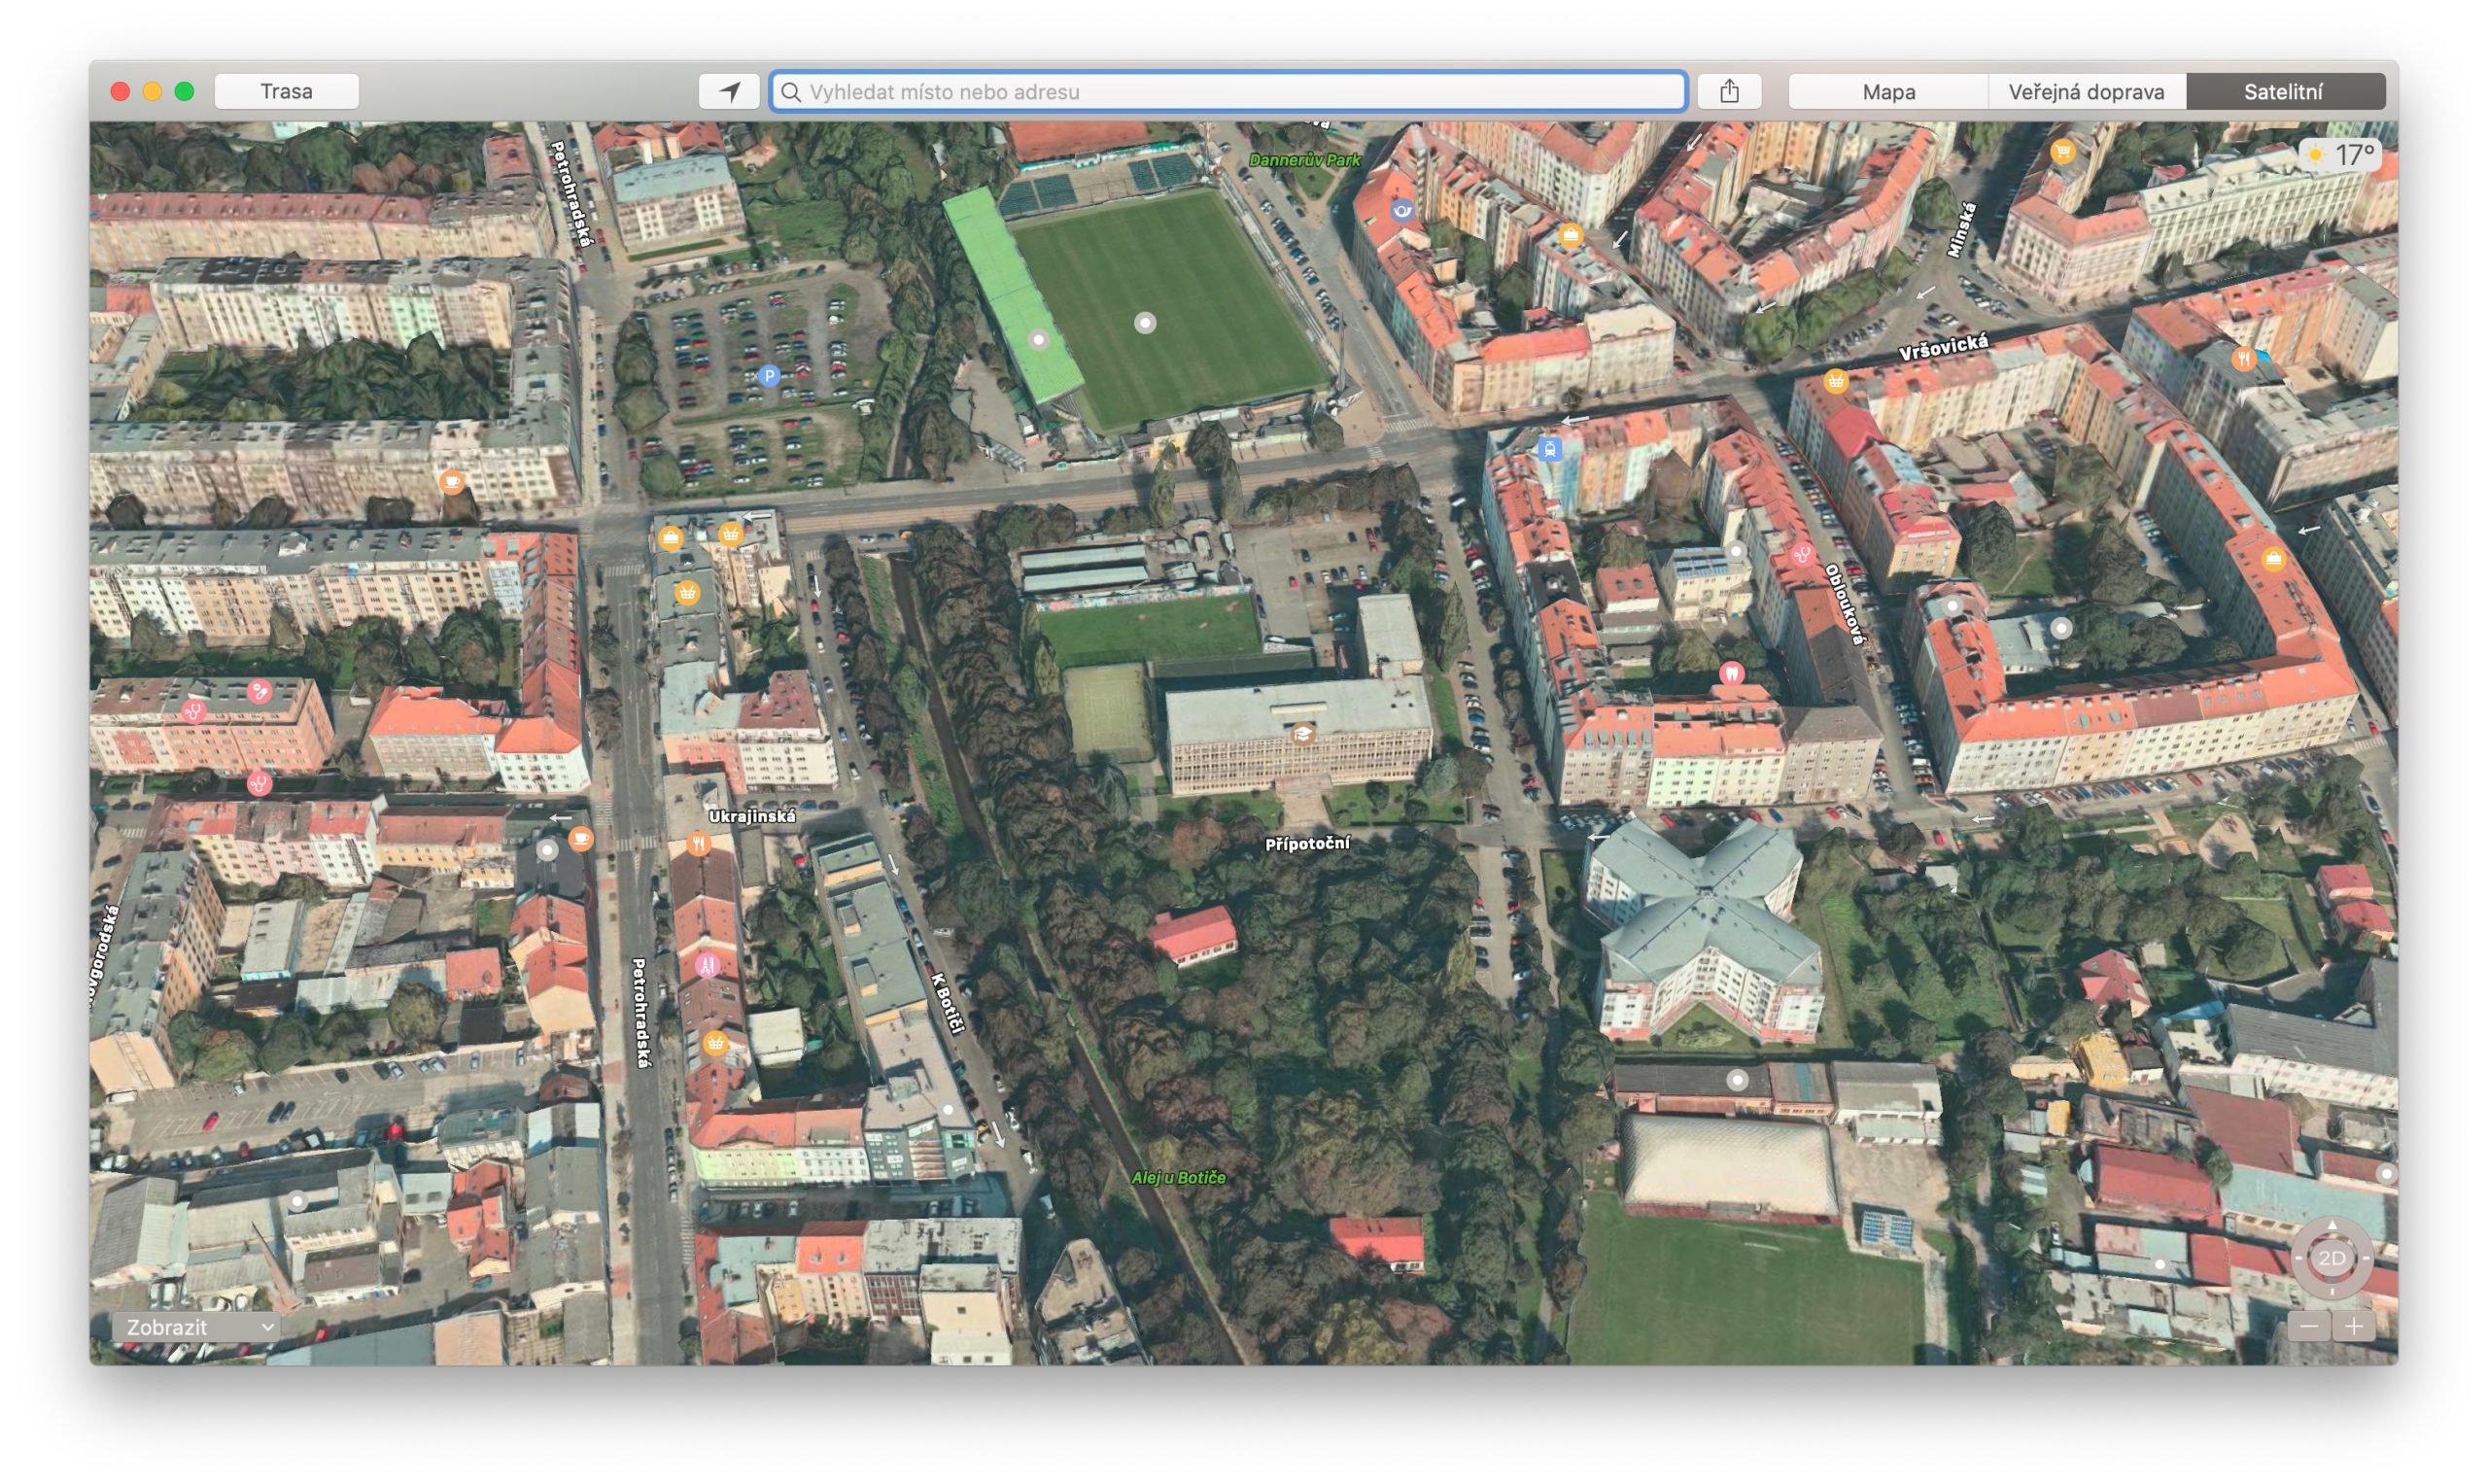
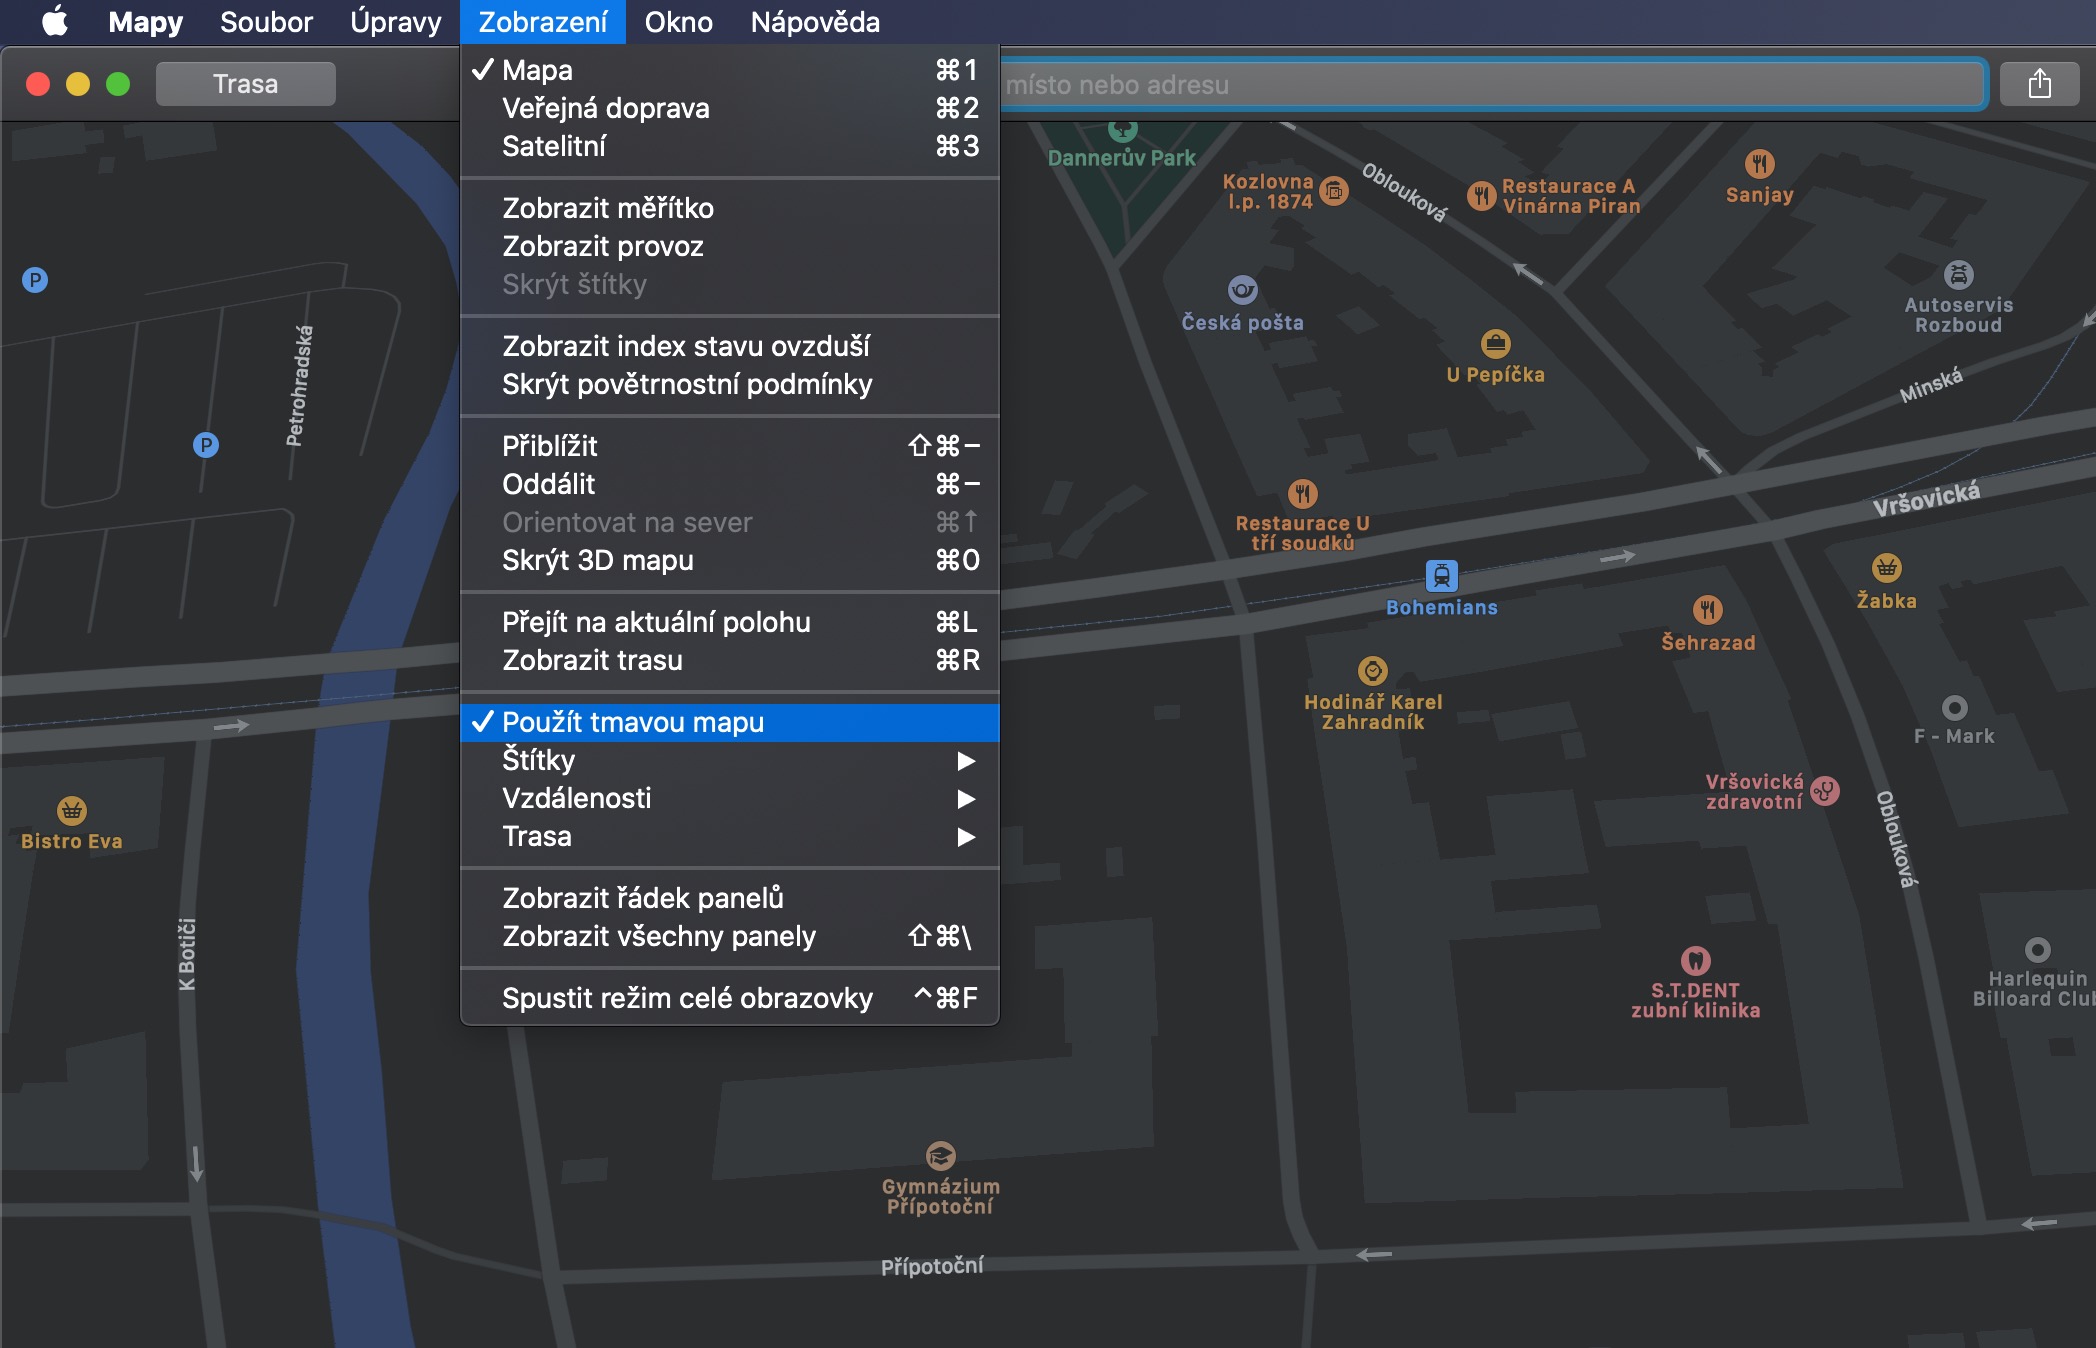
Similar to other applications of this type, Maps on Mac also offers different display options. You can thus completely adapt the maps to your needs and choose not only the type of display, but also set which elements will be shown in the Maps. To switch the basic map view, click on the Map, Satellite or Transport button in the upper right corner of the application window. In the lower left corner of the application window, you will find a button to switch to a three-dimensional view - in some cases, you will need to first zoom in on the map for a 3D view. To switch distance units, click View -> Distances on the toolbar at the top of your Mac screen to choose either Miles or Kilometers. Click View -> Show Scale to turn on the distance scale display, and if you want to switch Maps to dark mode on your Mac, click View -> Use Dark Map. In this case, your Mac needs to be put into dark mode.
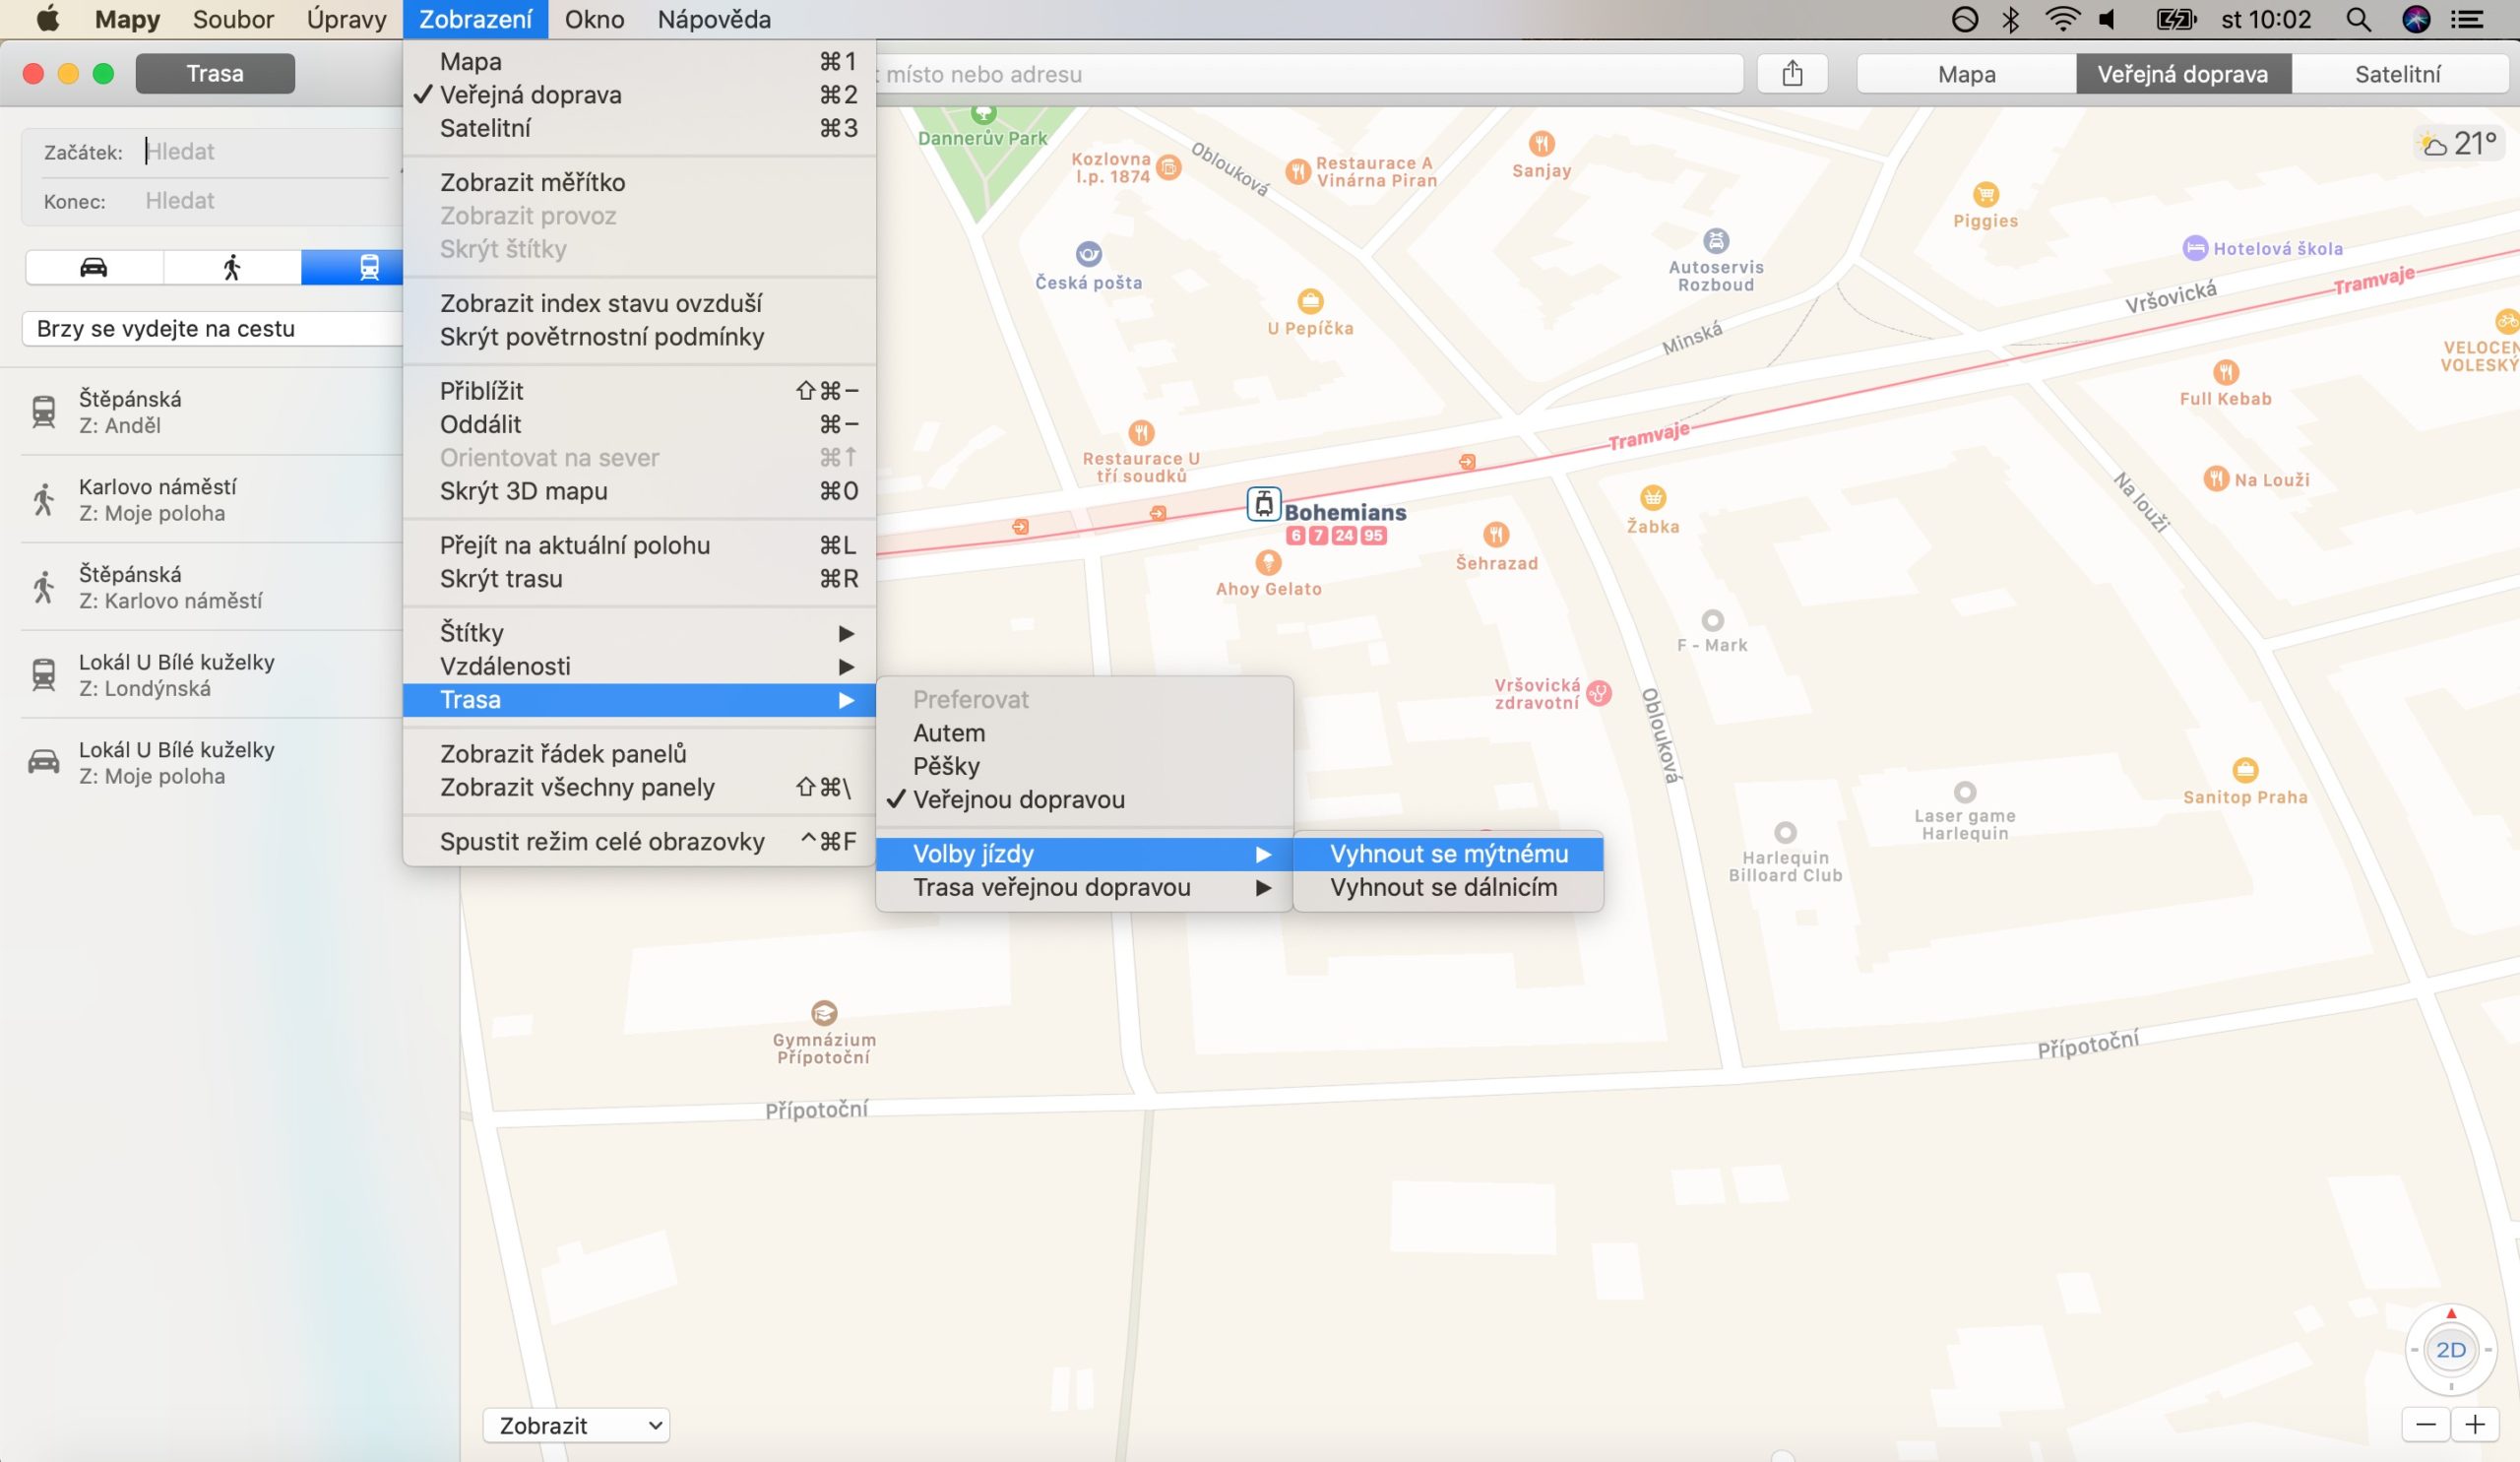
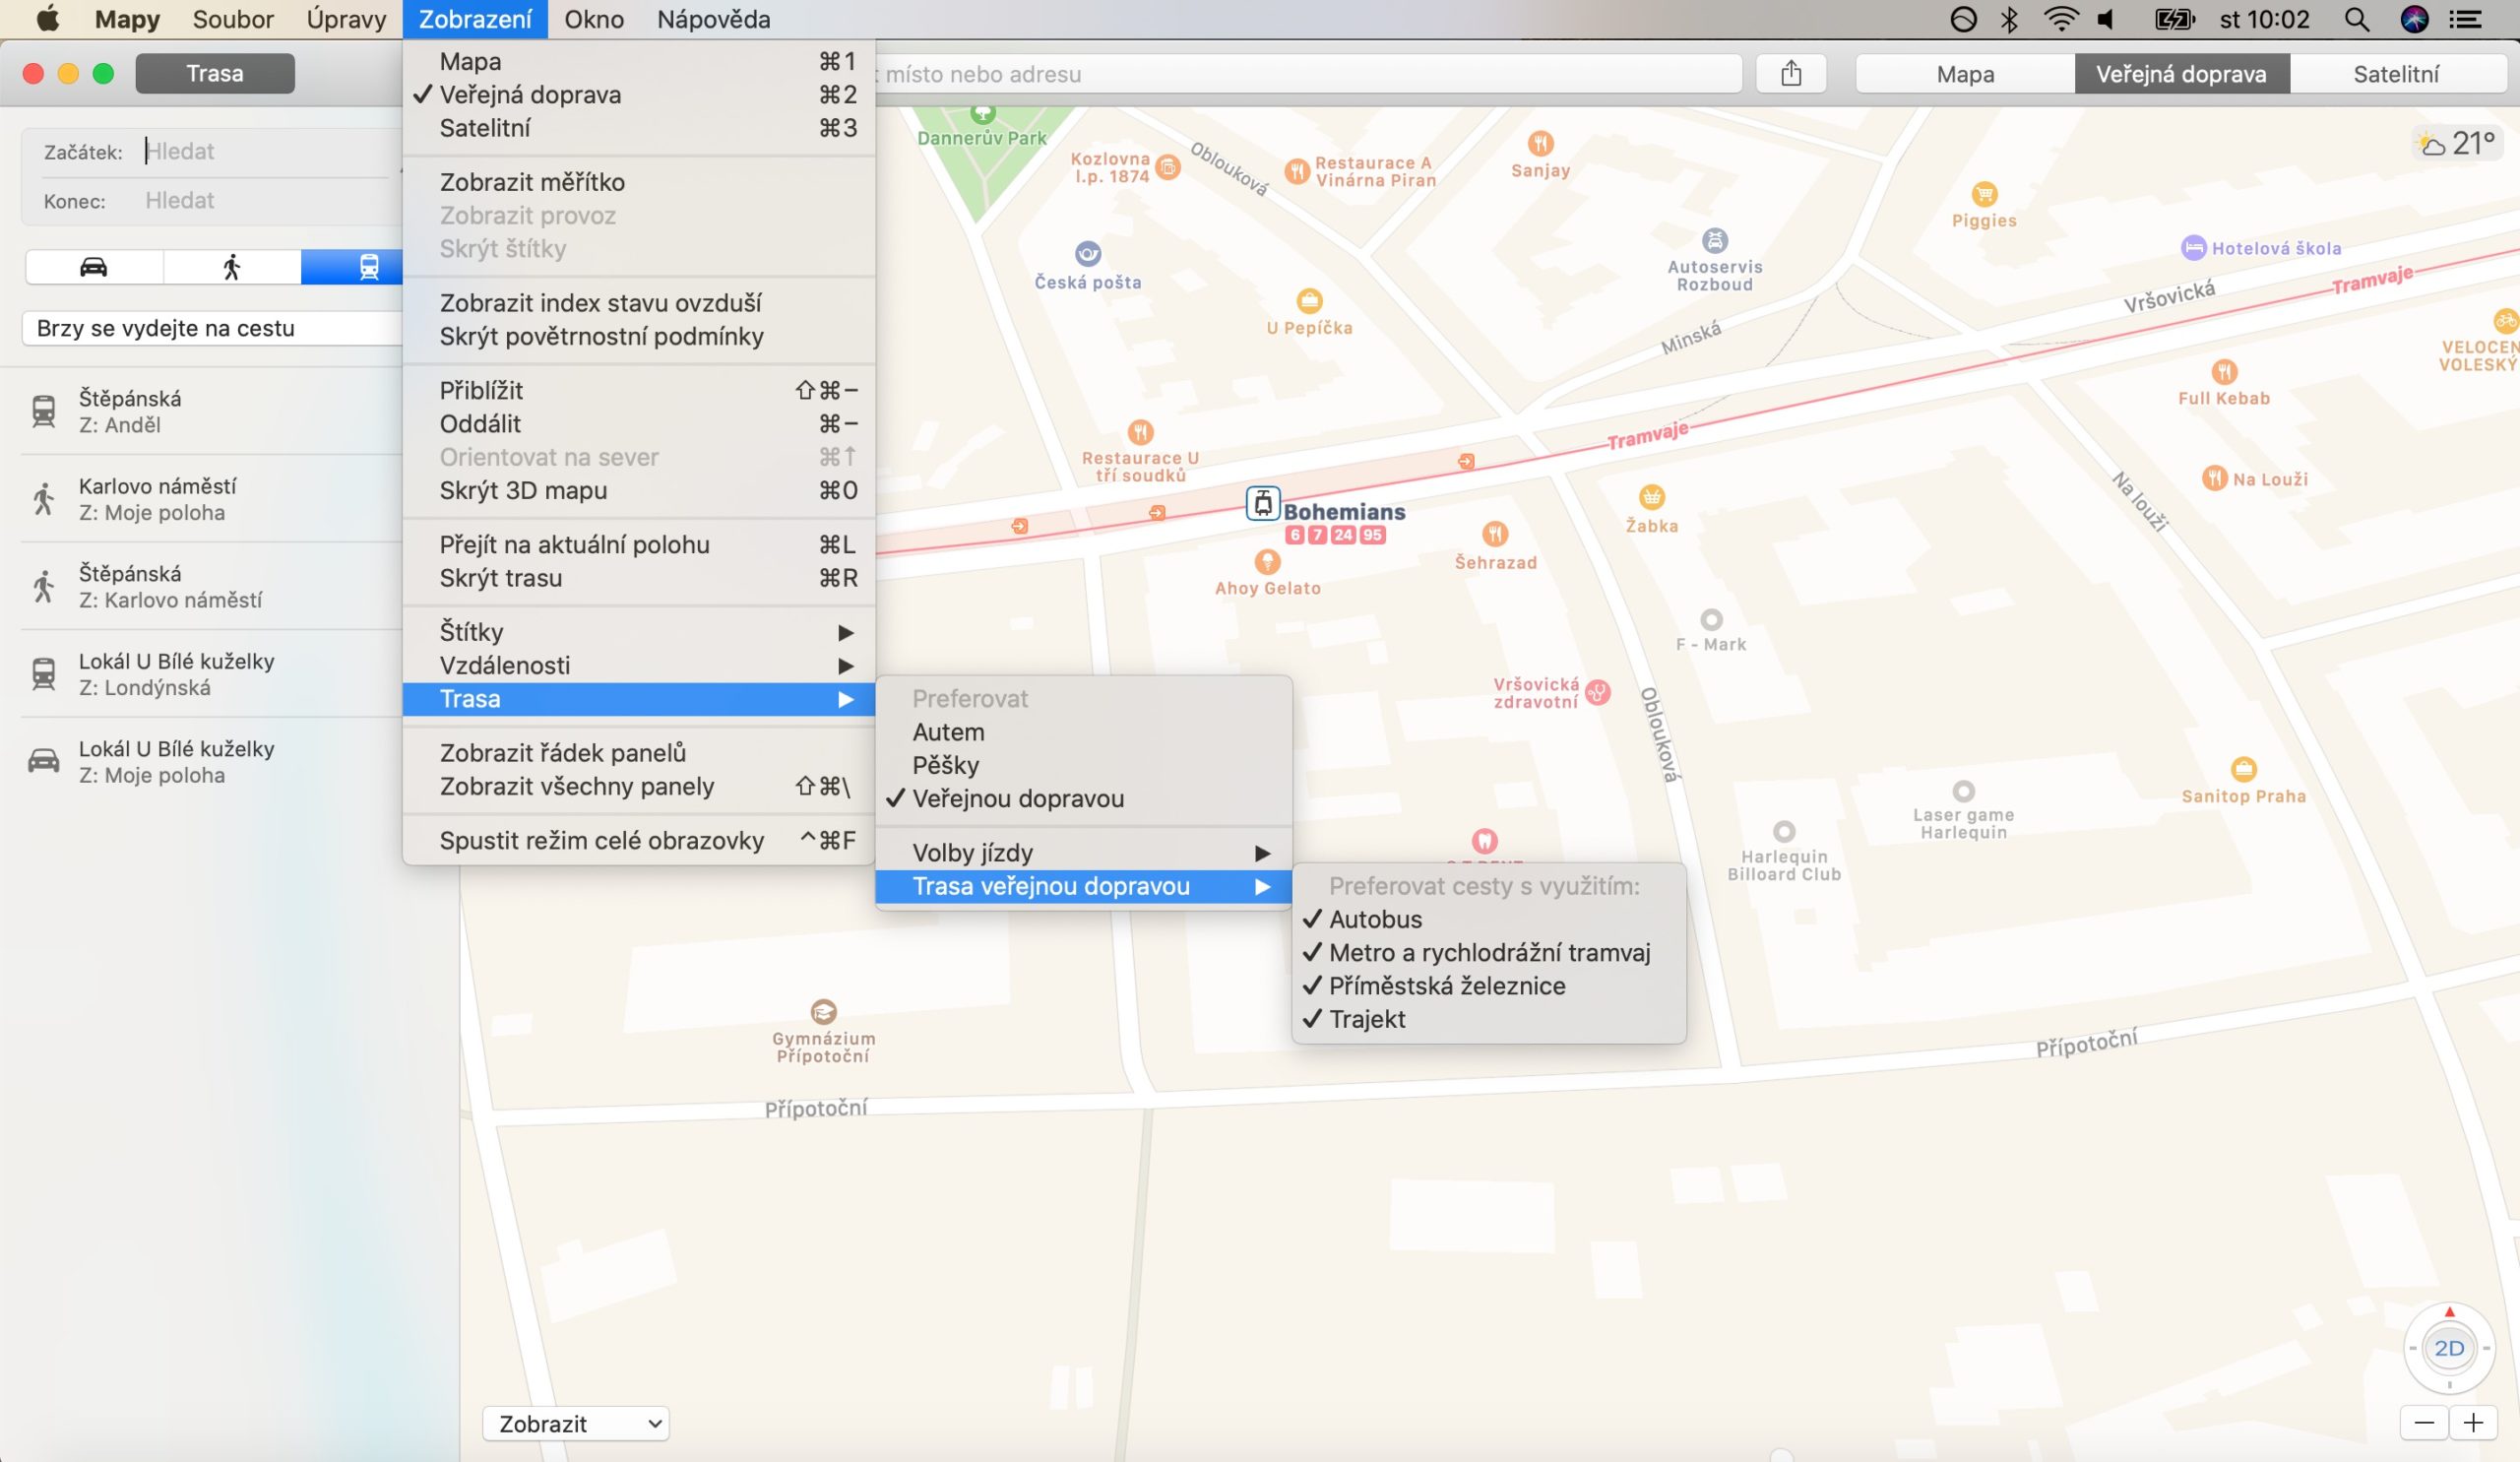
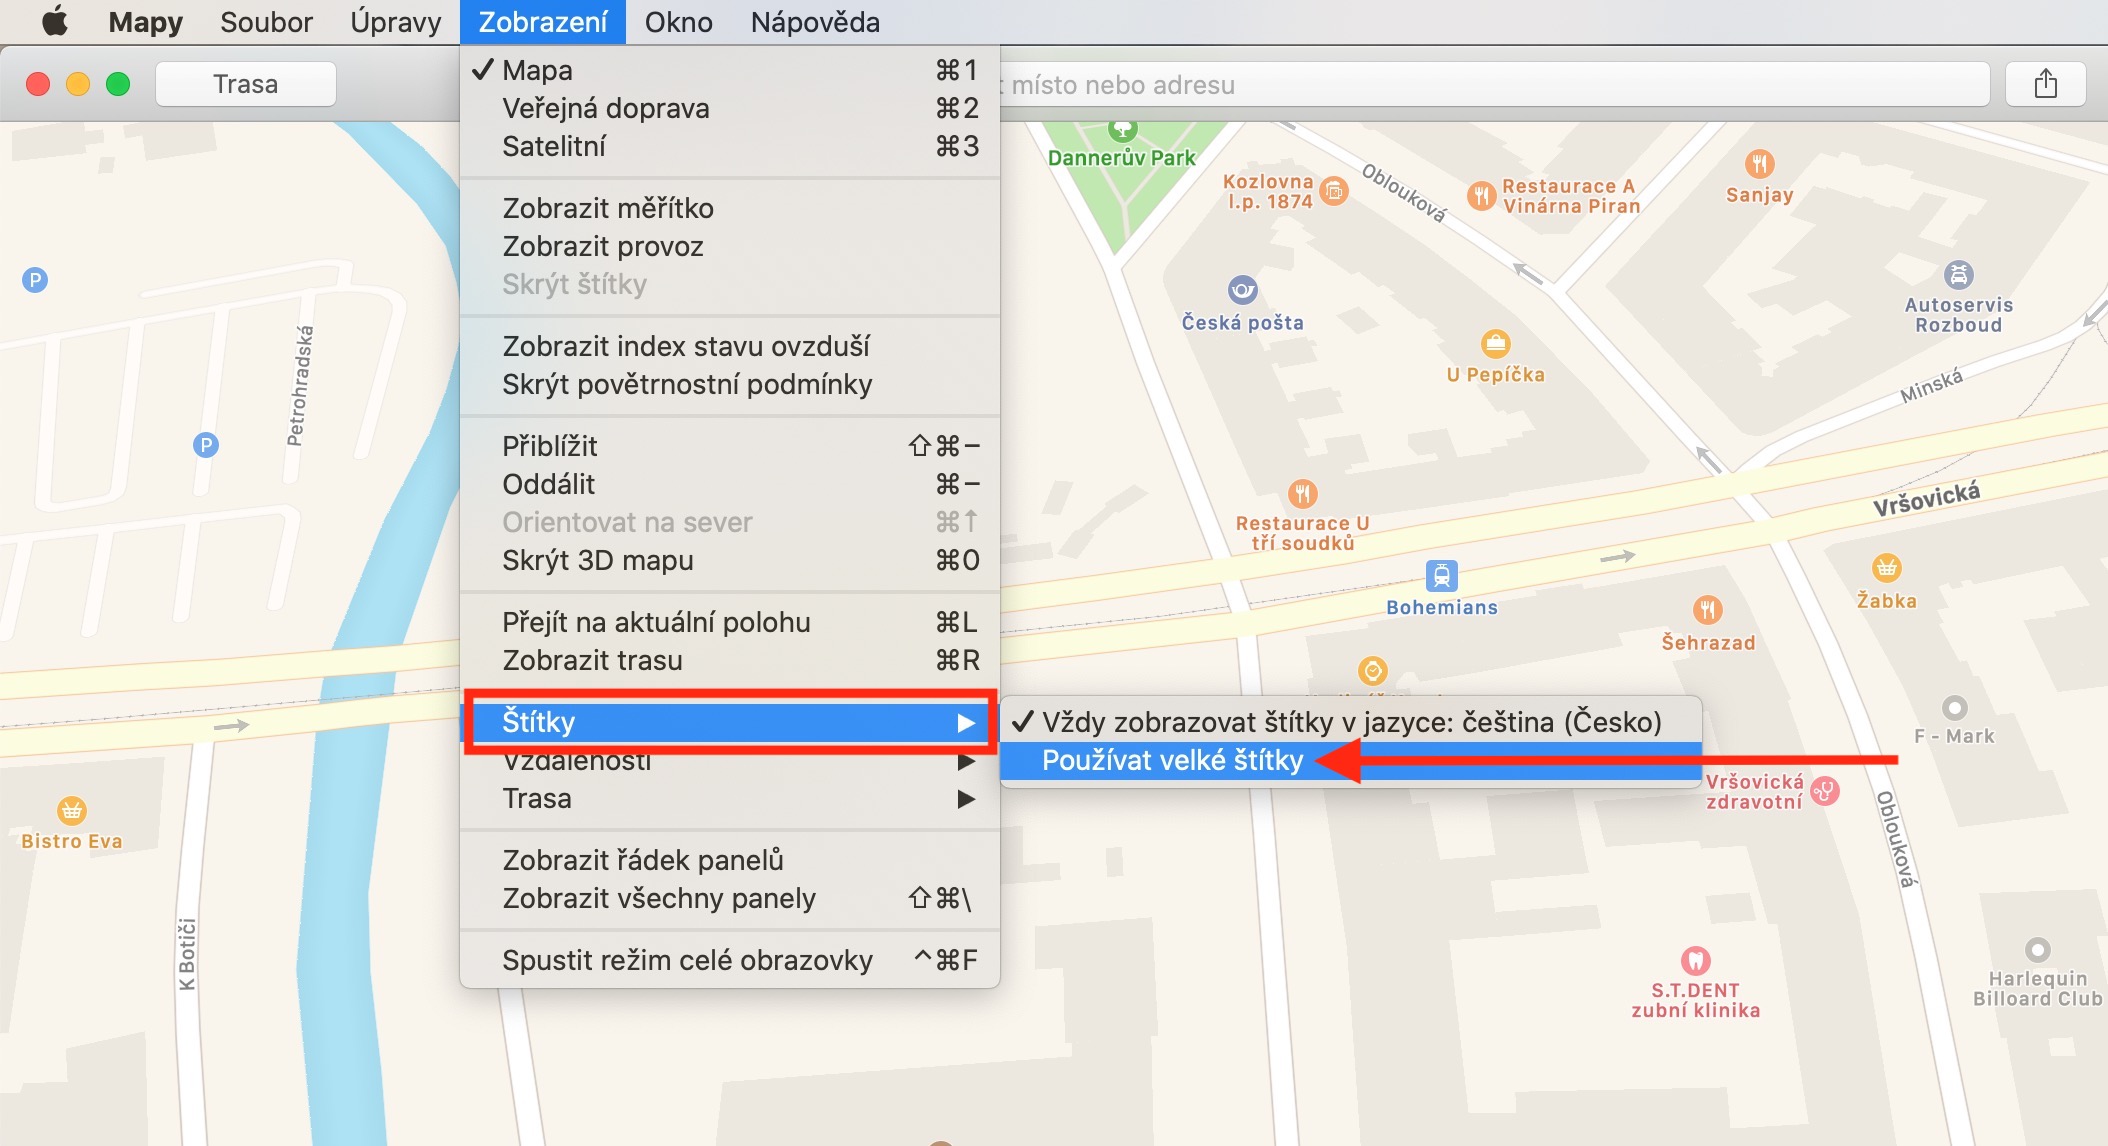
In Maps on Mac, you can also customize the display of public transport, for example. On the toolbar at the top of the screen, click View -> Route -> Public Transport Route and check the types of public transport to be included in your route planning. When choosing to drive by car, you can set additional options in the route display in View -> Route -> Drive options. If you mainly travel by a certain method (car, walking, public transport...), you can set your preferred type of transport in View -> Route. If you want to increase the size of the labels in any map view, click View -> Labels -> Use Large Labels in the toolbar at the top of the screen. To view labels in satellite view, click View -> Show Labels.
