Font Book on Mac is not exactly an application that the average user would use every day. Nevertheless, it is useful to know at least its basics. That's why we'll also cover this application in our series on native Apple applications.
It could be interest you

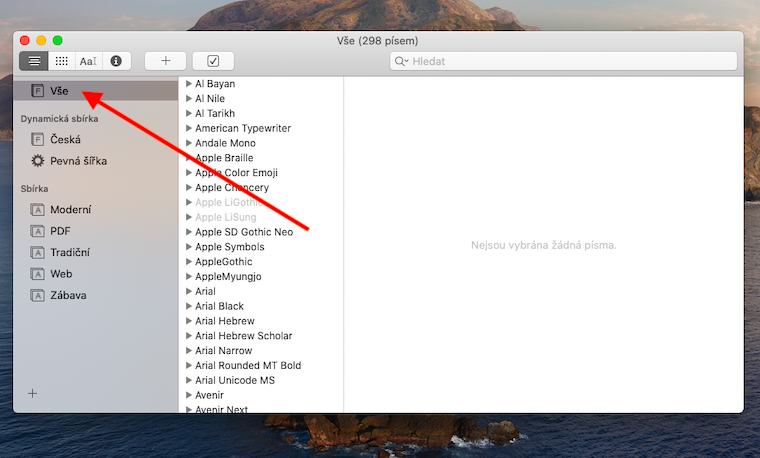
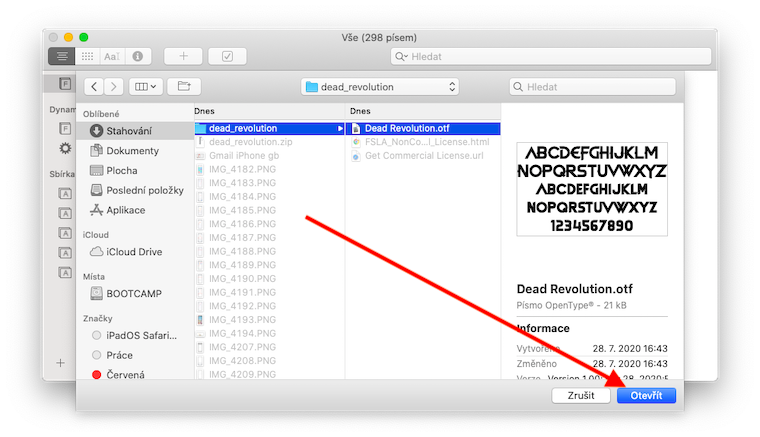
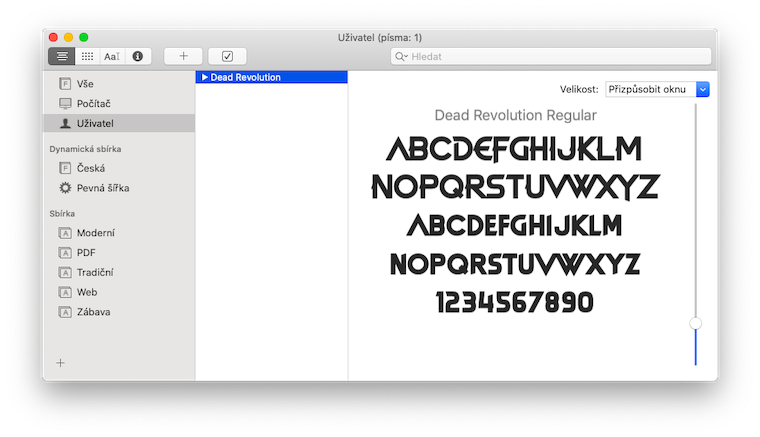
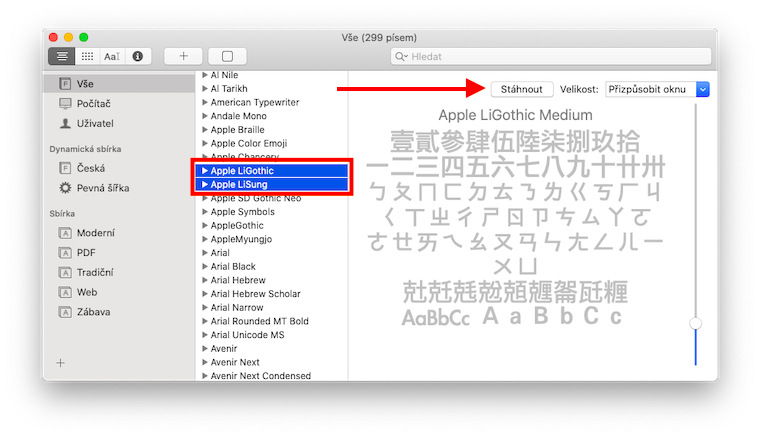
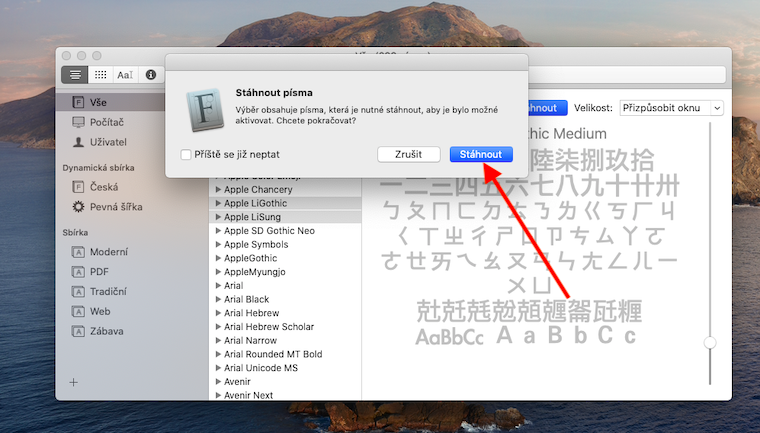
If you want to use fonts other than the standard pre-installed fonts in your applications, you must first download and then install them through the Font Book. Launch Font Book and click the “+” in the upper left corner of the application window. Then select the font you want to install in the window and double-click it. If you want to download additional system fonts, click All in the left panel, then select the uninstalled (greyed out) fonts. Click Download at the top of the window, then confirm the download in the dialog box. Any fonts you install or download appear in the Font Book and can be used in applications.
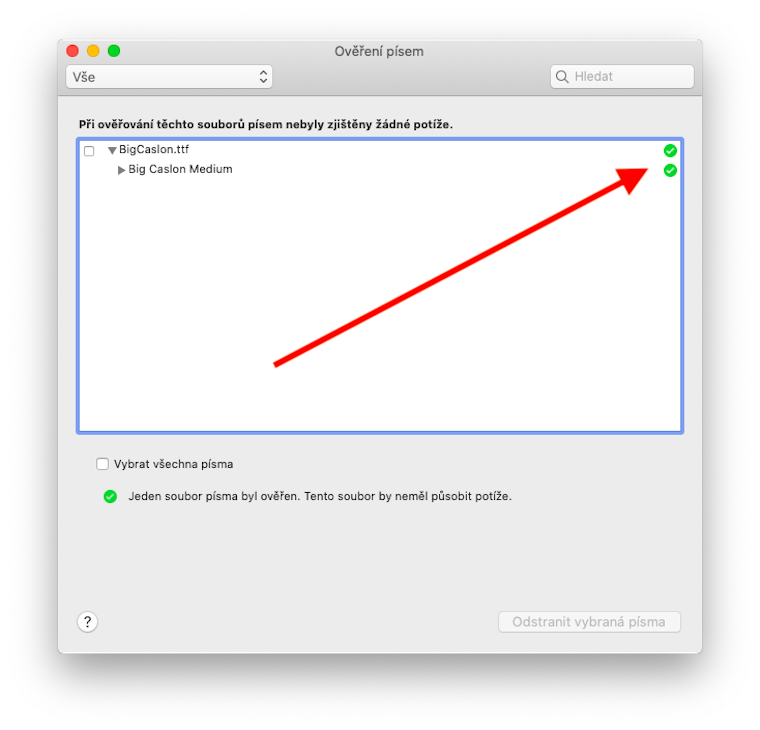
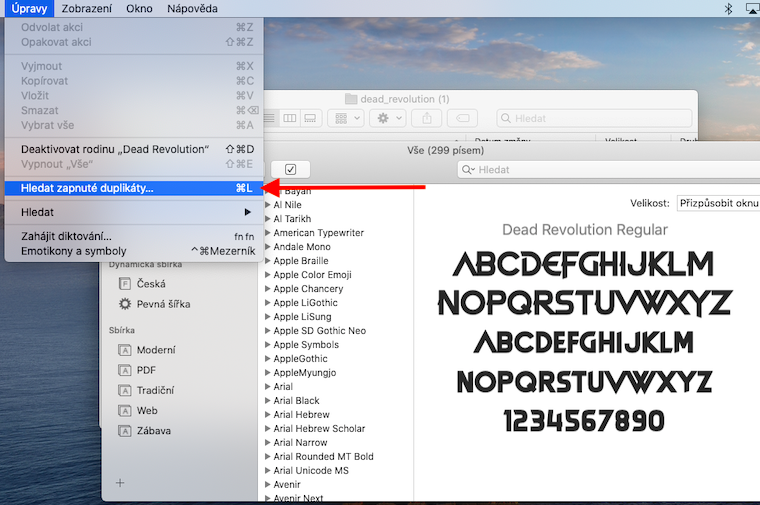
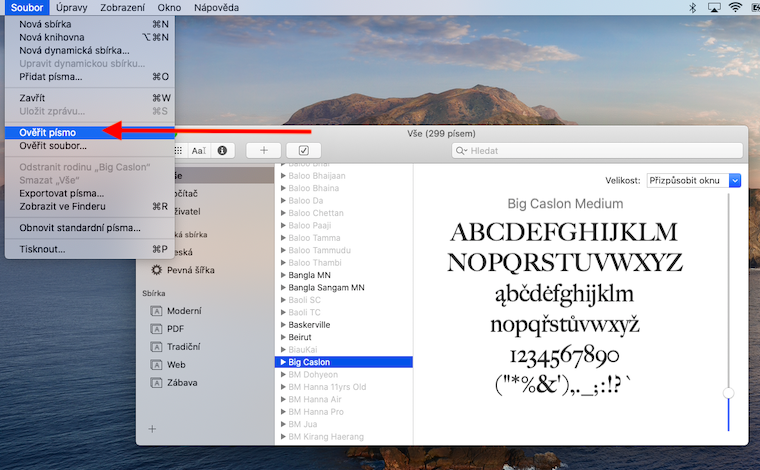
In the case of fonts downloaded from various websites, the Font Verification function will certainly come in handy. This happens automatically after their installation, but you can also do it manually. In the Font Book, select the font you want to check and click File -> Check Font on the toolbar at the top of the screen. Then, in the Font Verification window, click the triangle to expand next to the font - a green icon will appear for a font that has no problems. A yellow icon indicates a warning, a red icon indicates a test failure. If you want to check the Font Book for any duplicates, click Edit -> Find Duplicates on the toolbar at the top of the screen. In the event that duplicate fonts appear, you can choose either an automatic or manual solution to this problem.
