In today's installment of our series on native Apple apps, we'll take a final look at Fonts on the Mac. In the final section, we'll discuss viewing and printing fonts in more detail, and we'll also take a closer look at removing and disabling fonts.
It could be interest you
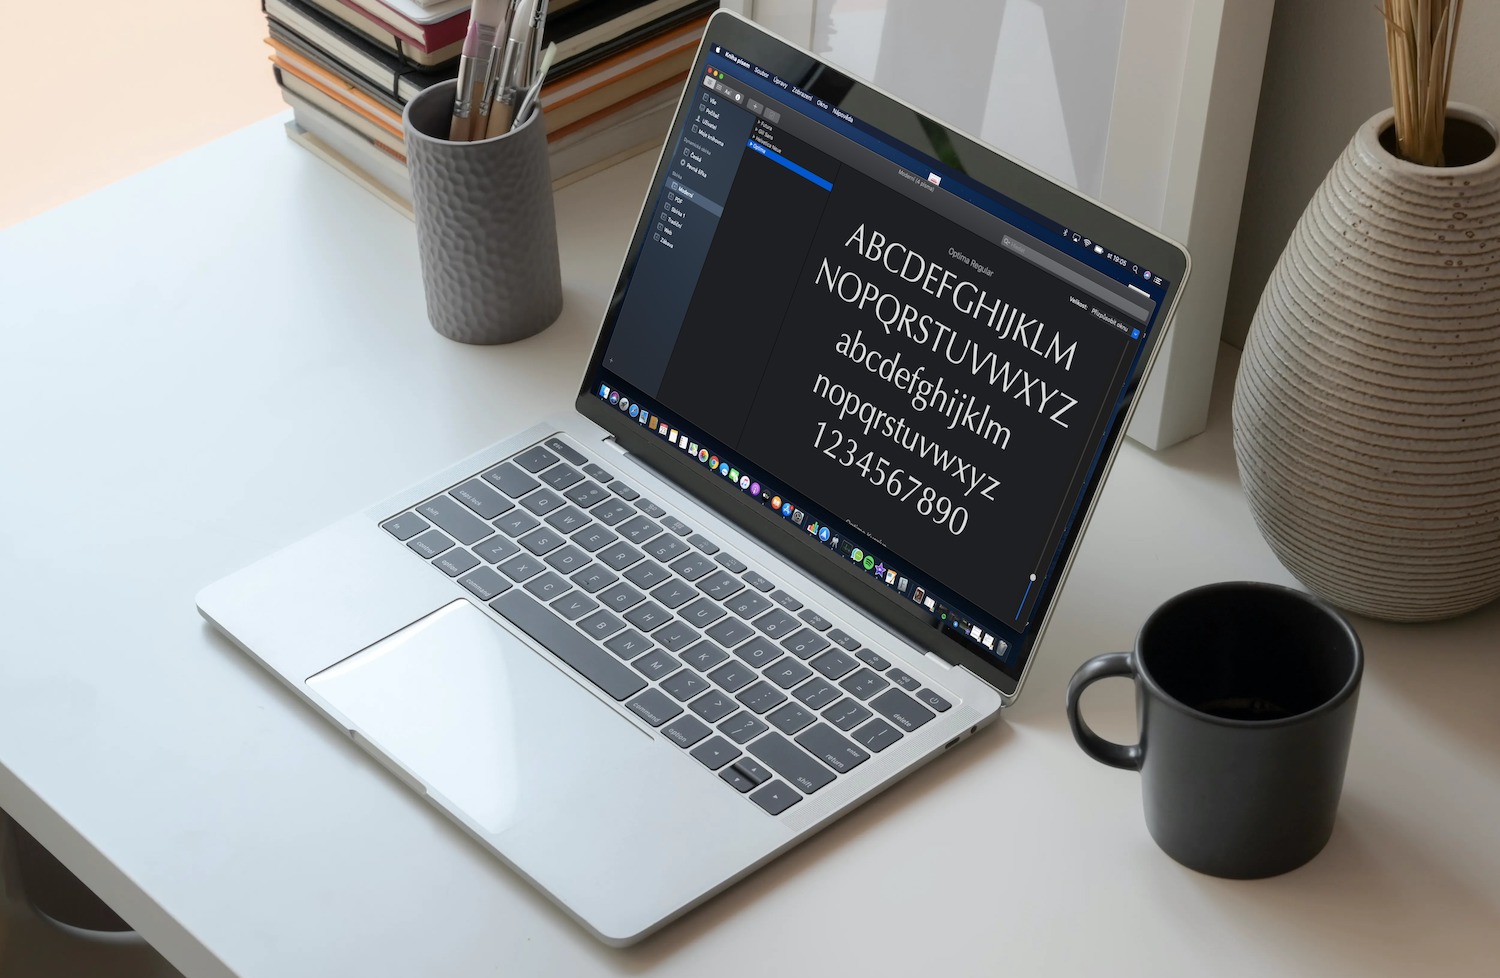
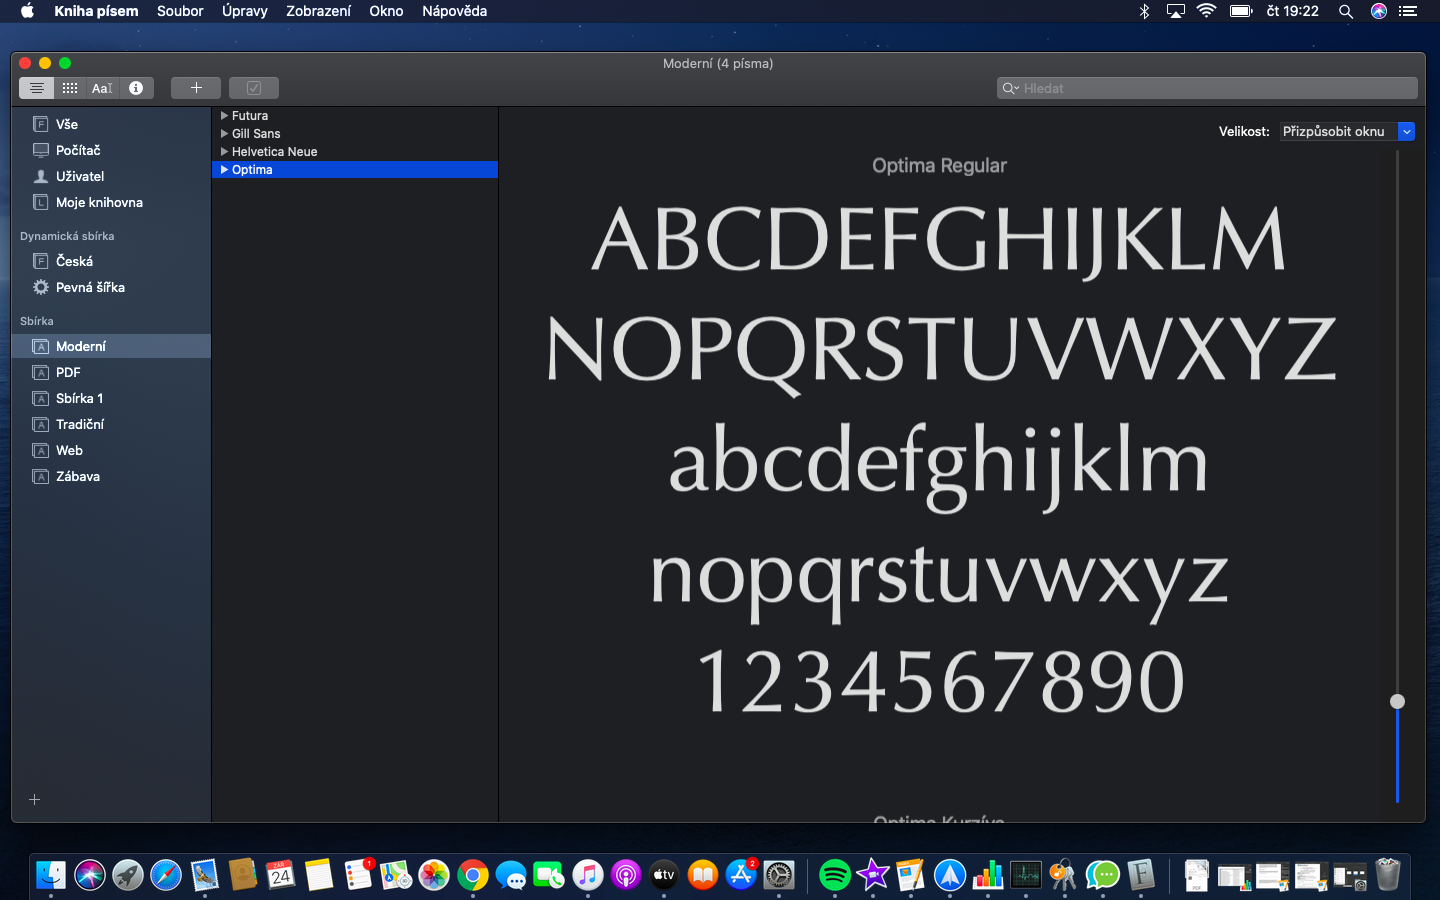
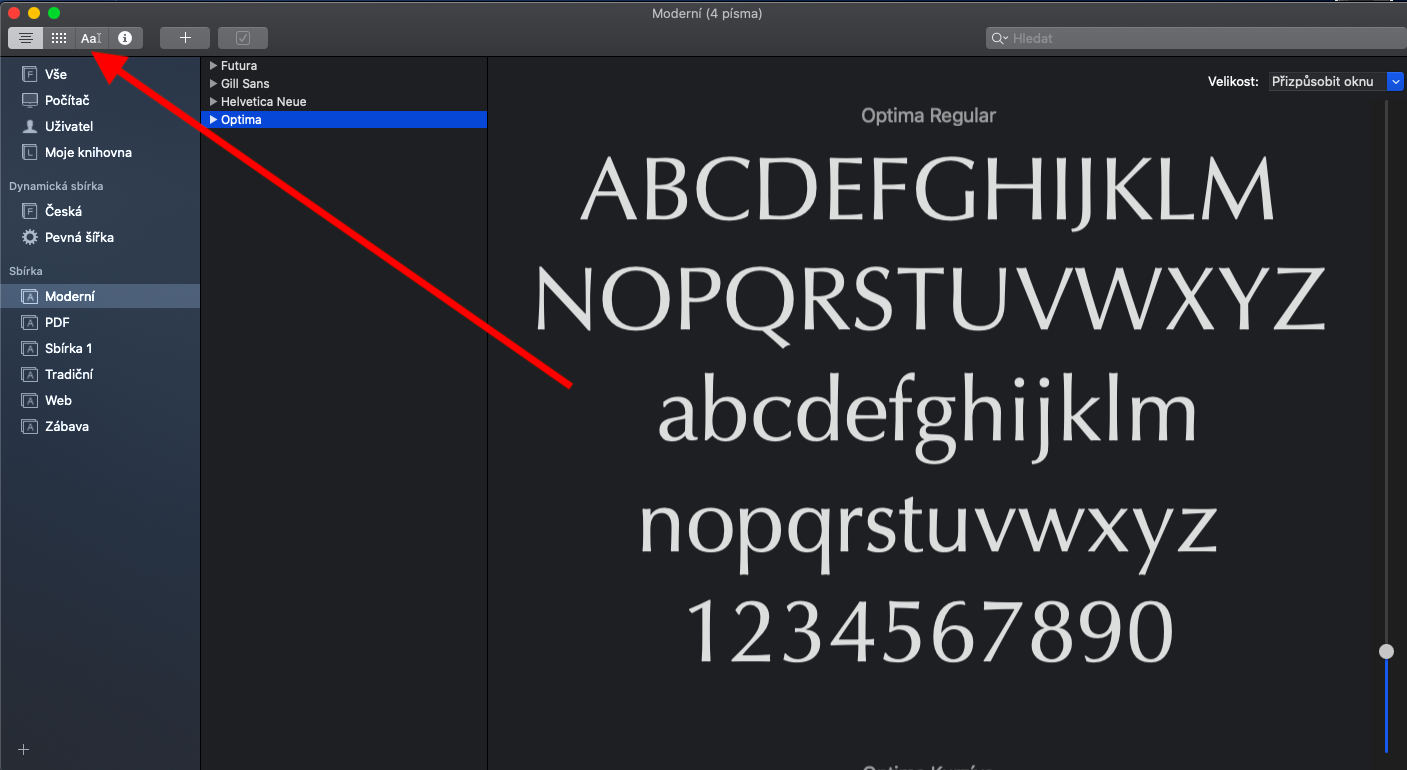
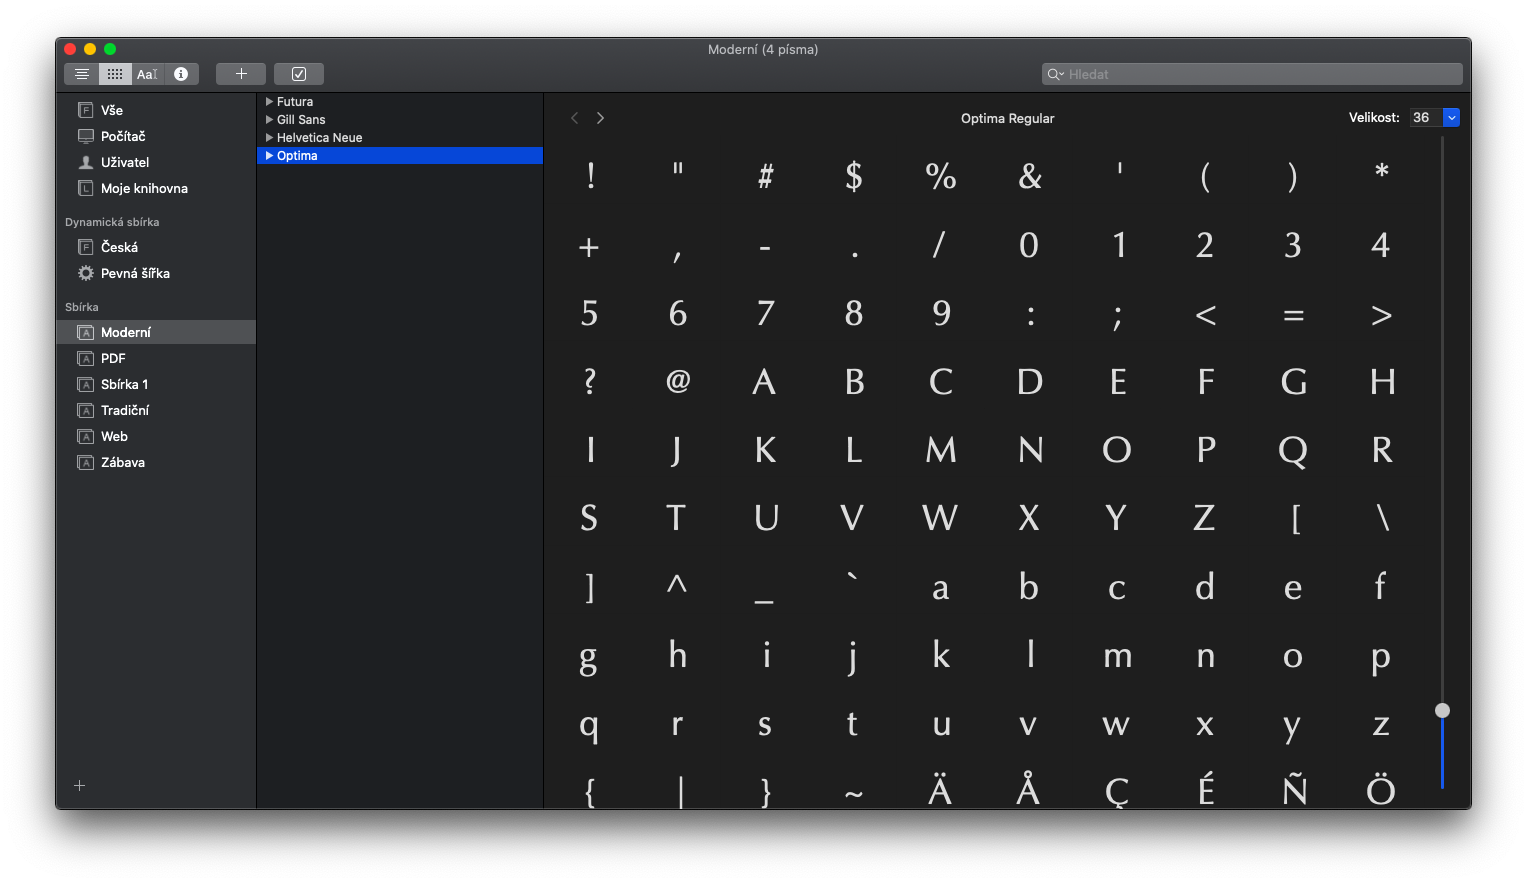
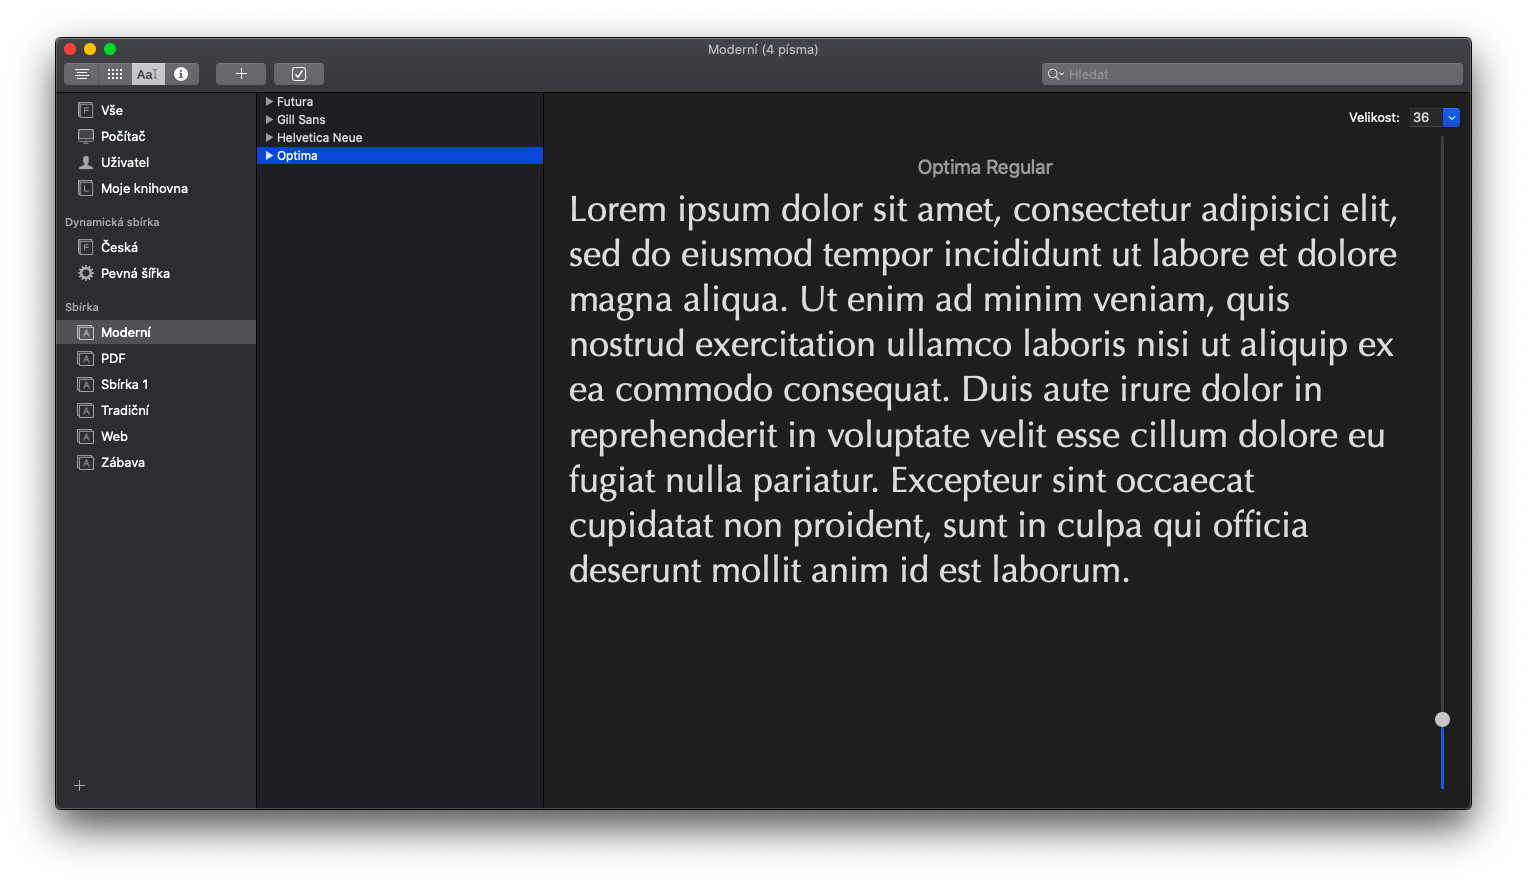
Viewing fonts in the Font Book on your Mac isn't complicated—as you'll notice when you first launch the app, you can easily view individual fonts in the app by clicking on the appropriate library or group, then the name of the selected font. You can switch between different font preview types on the toolbar at the top of the application window. If you click Sample mode, a sample of characters will be displayed using the alphabet or script of the primary language set in the Language and Region preferences. Clicking Overview will display a grid of available characters and symbols or glyphs, clicking Custom will display blocks of text showing each style.
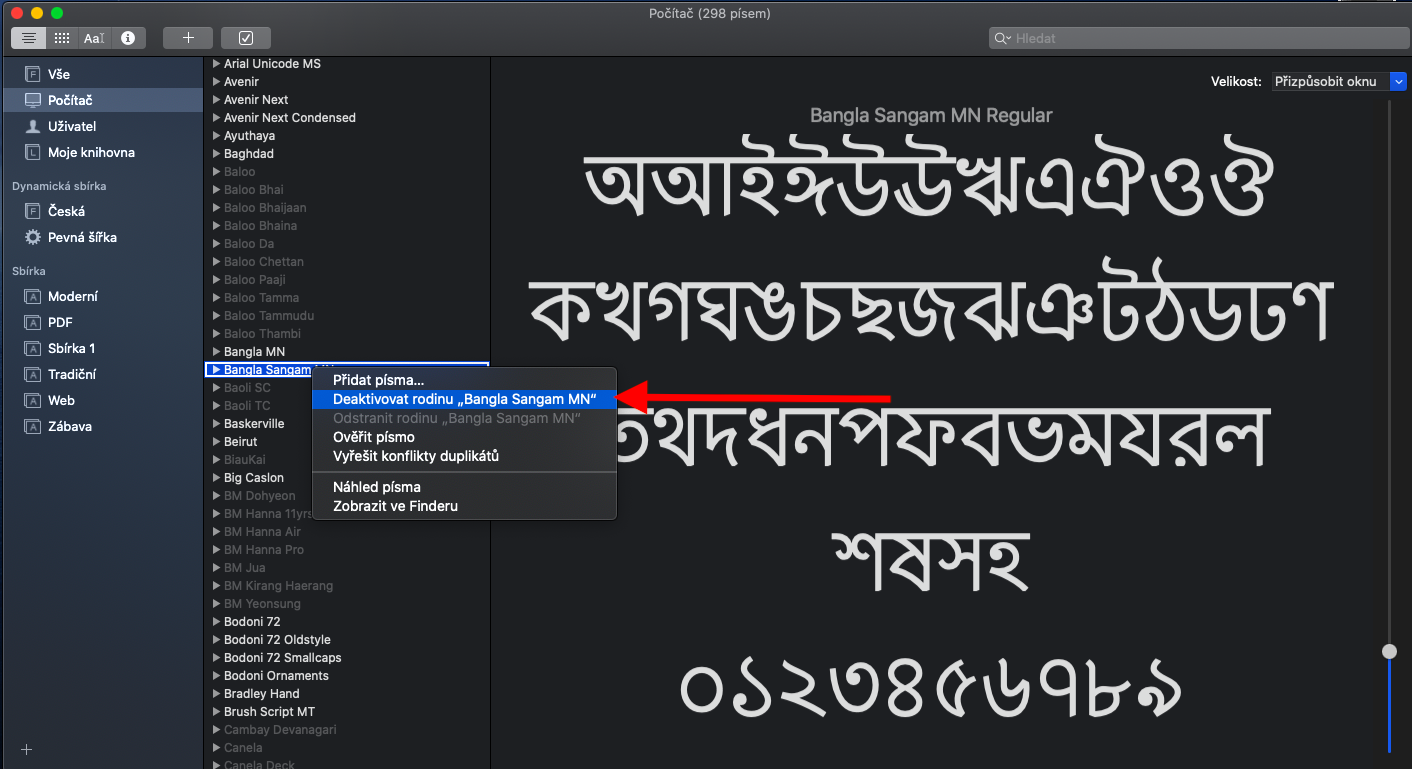
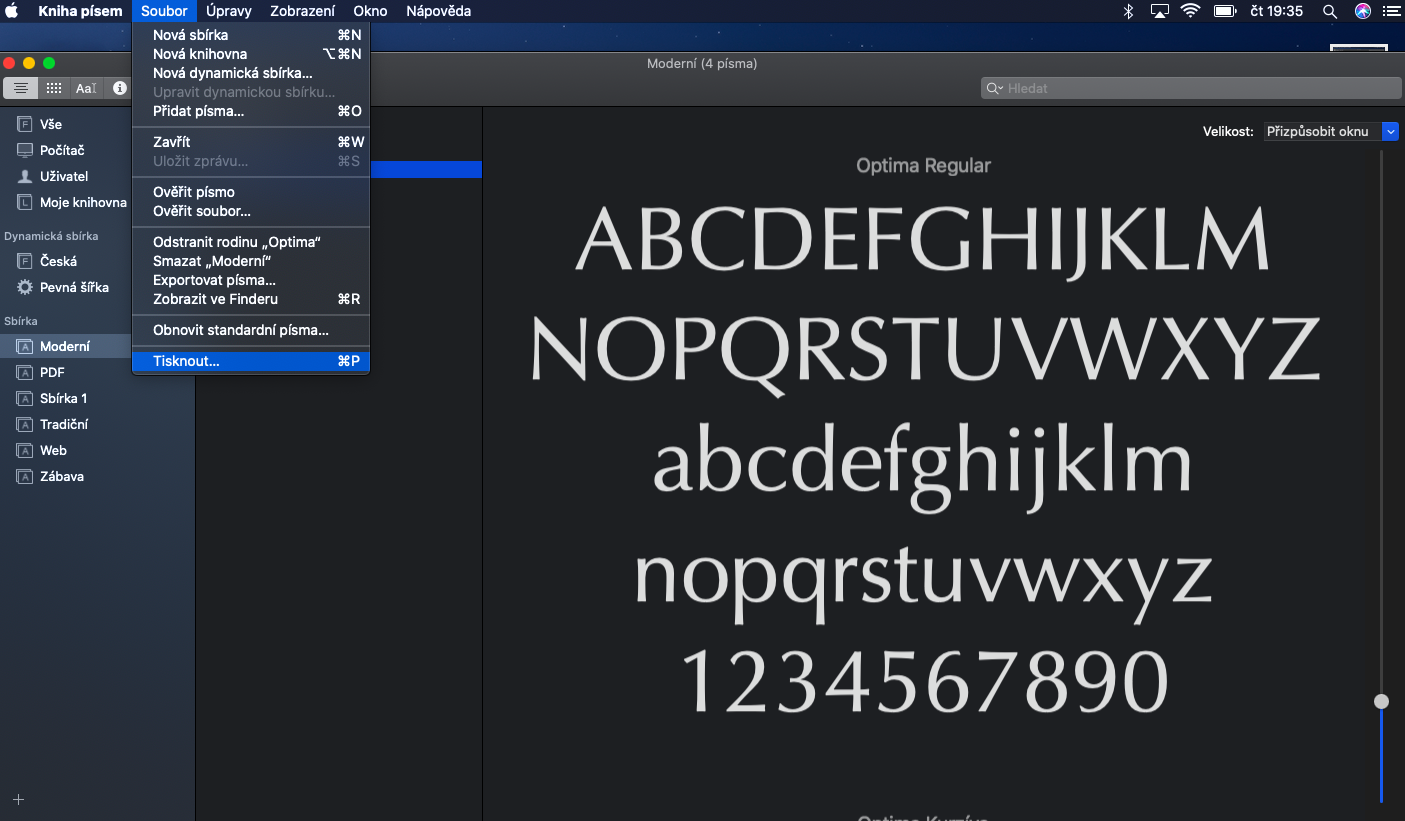
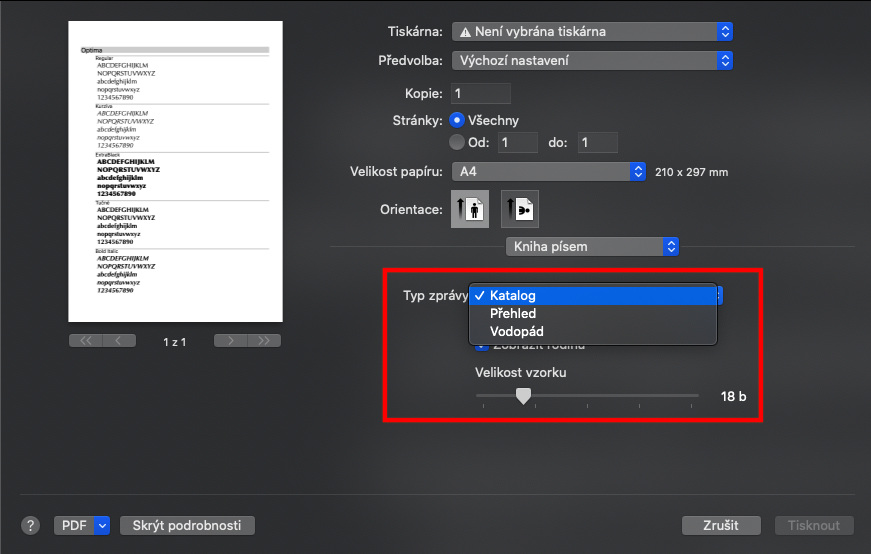
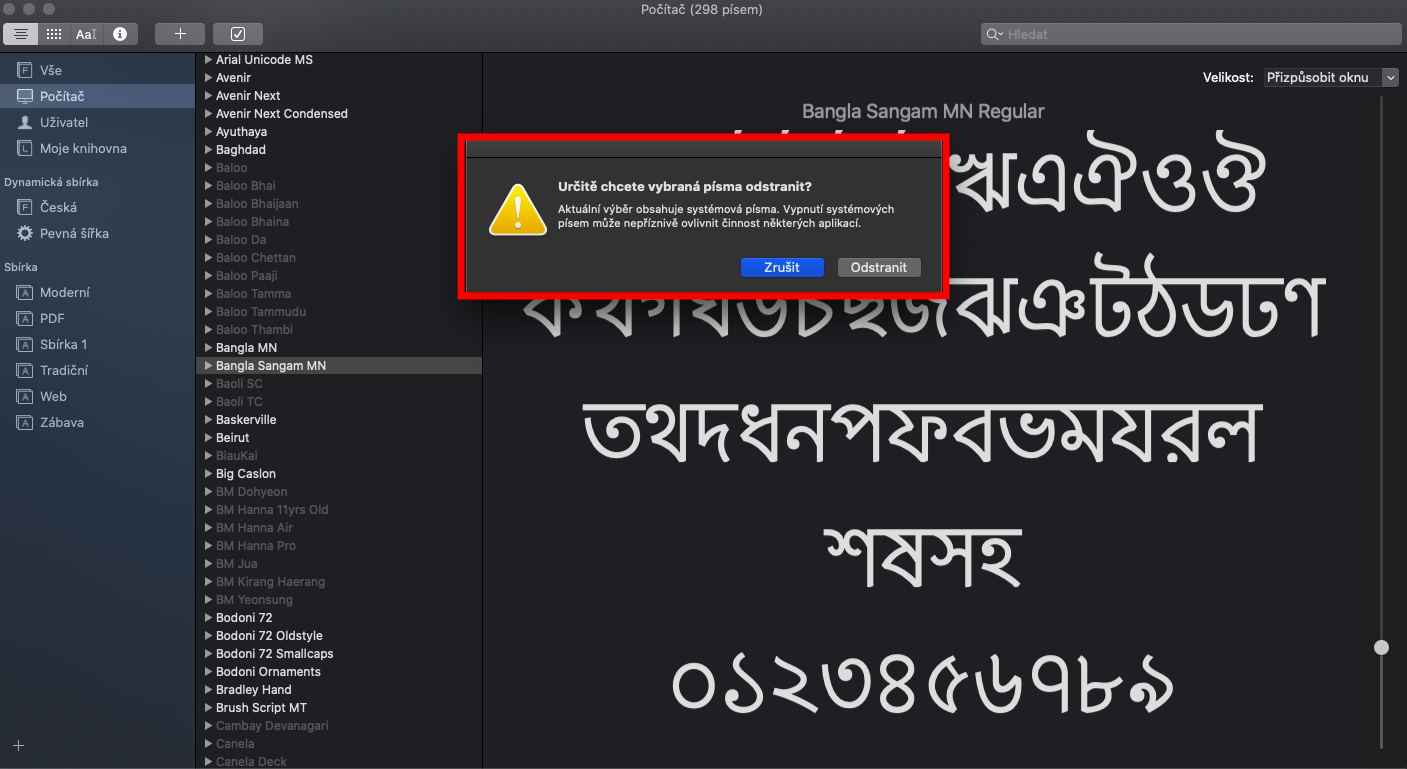
To print fonts, select the desired font collection in the Font Book on your Mac, click the selected font family, then click File -> Print on the toolbar at the top of the screen. In the Report Type menu, select whether you want to print a catalog (a line of text for each selected font), an overview (a large grid with all available characters), or a waterfall (a line of sample text for multiple font sizes). If you want to delete or disable some fonts in the Font Book on Mac, click to select them, press the delete key and confirm the deletion. Deleted fonts will not be available in the Font Book or the Fonts window. You can also disable fonts in the Font Book by right-clicking on the name of the selected font and selecting Deactivate Font Family.
