In the previous parts of the series on native Apple applications, we introduced Pages for Mac, in today's part we will get to know the basics of using the Keynote application. This tool for creating and playing presentations is characterized by a clear user interface and ease of use, thanks to which many of you will surely do without any instructions. But it certainly deserves its place in our series.
It could be interest you

Application interface and work with images
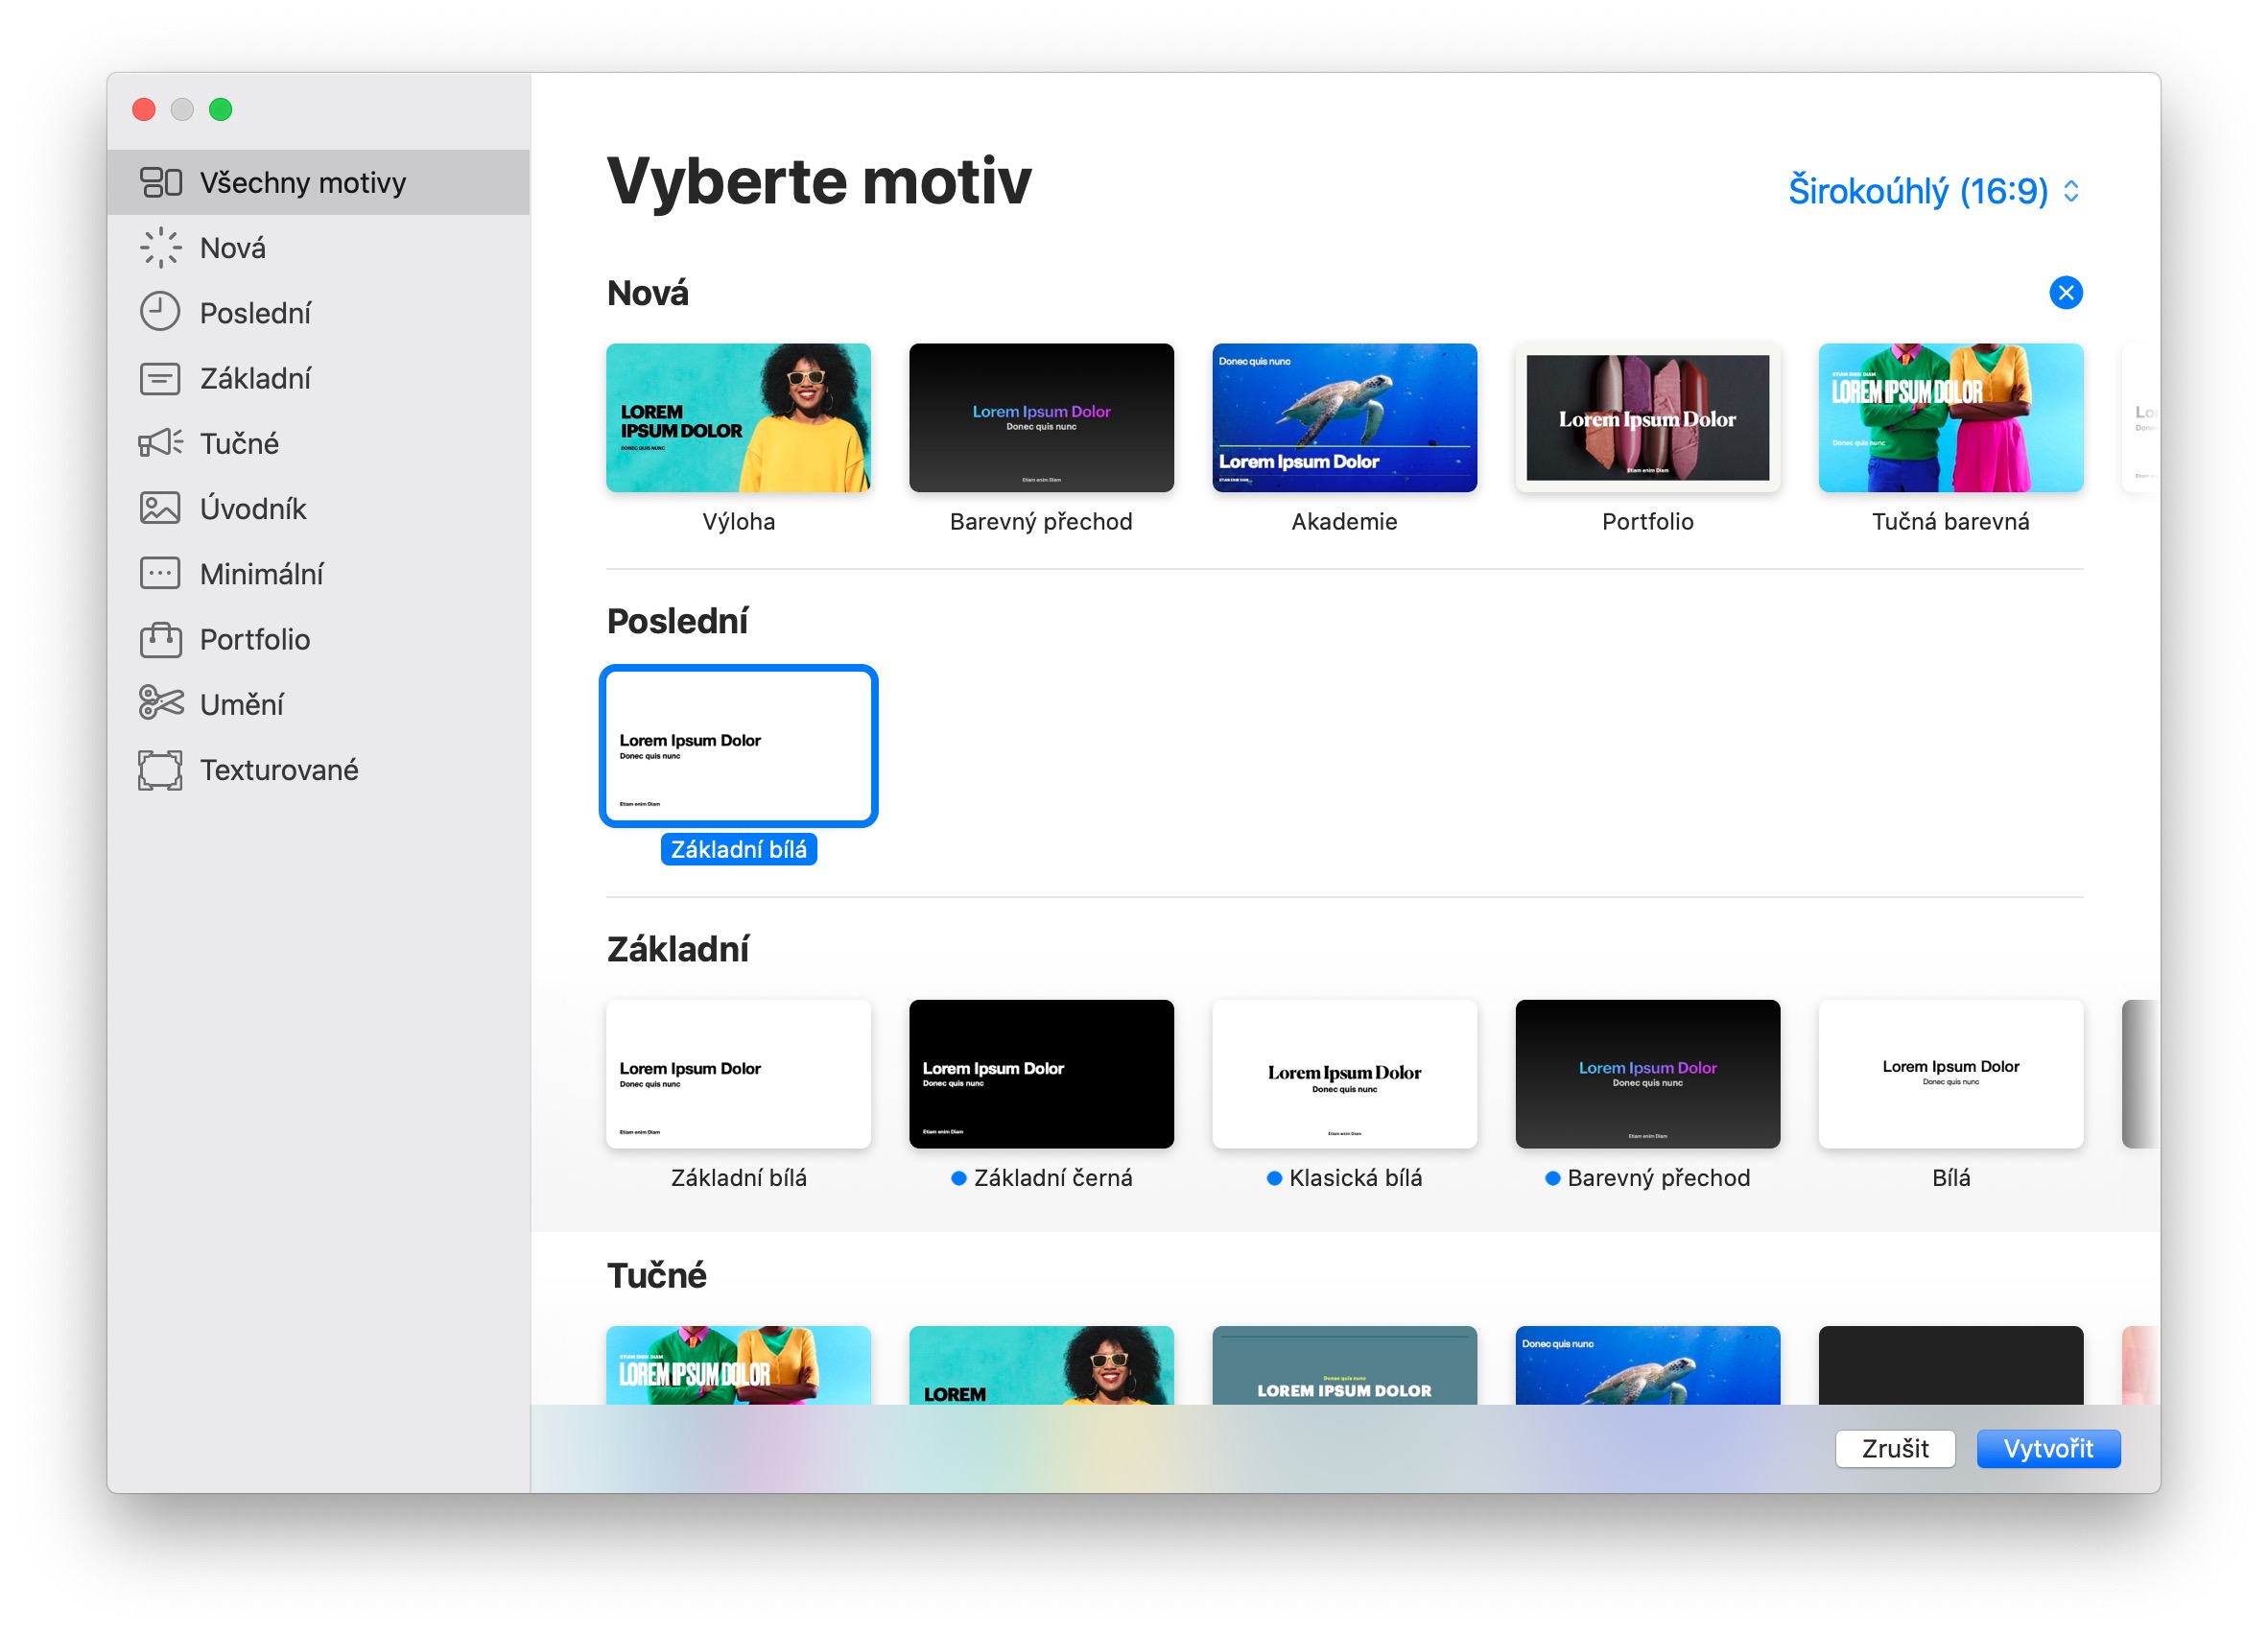
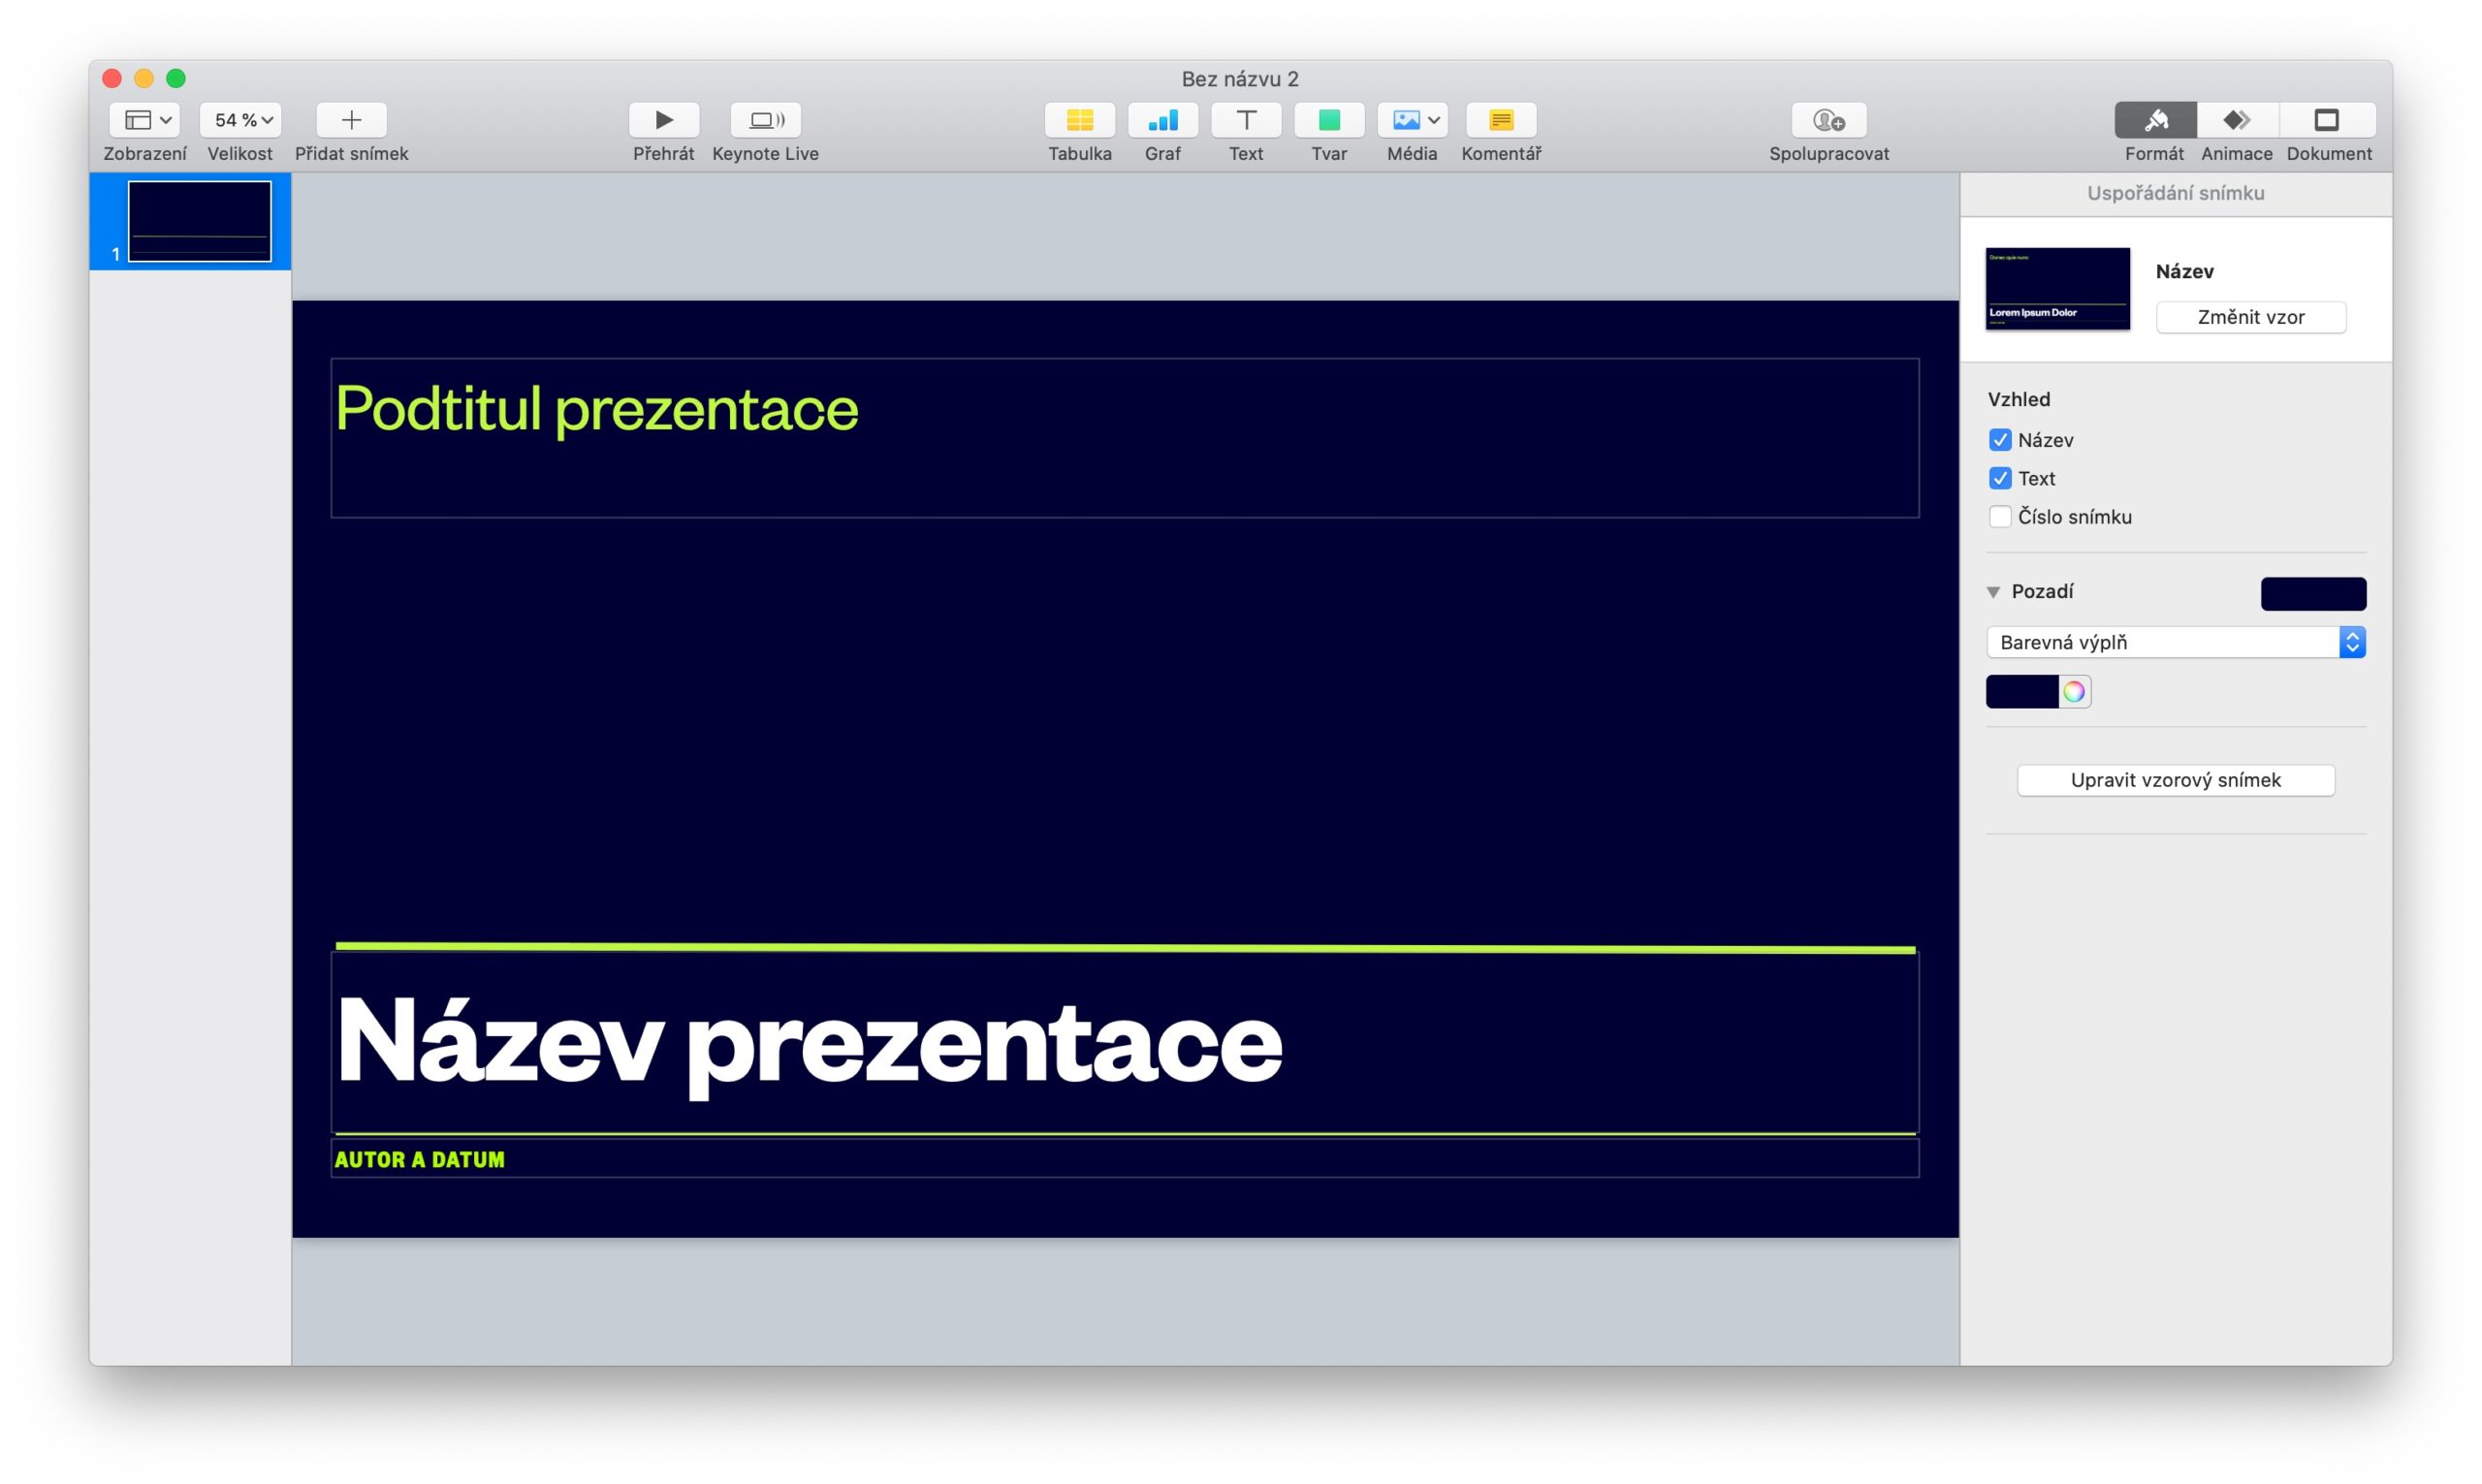
Similar to Pages, Keynote also offers you the option of choosing from a rich selection of templates when you start, which you can customize as you work. After you select the desired theme, you will see a window with previews of individual panels on the left side. You can change their order by dragging, you can start editing individual panels by clicking on the preview. The panel at the top of the application window contains tools for adding text, tables, graphs, images and other elements.
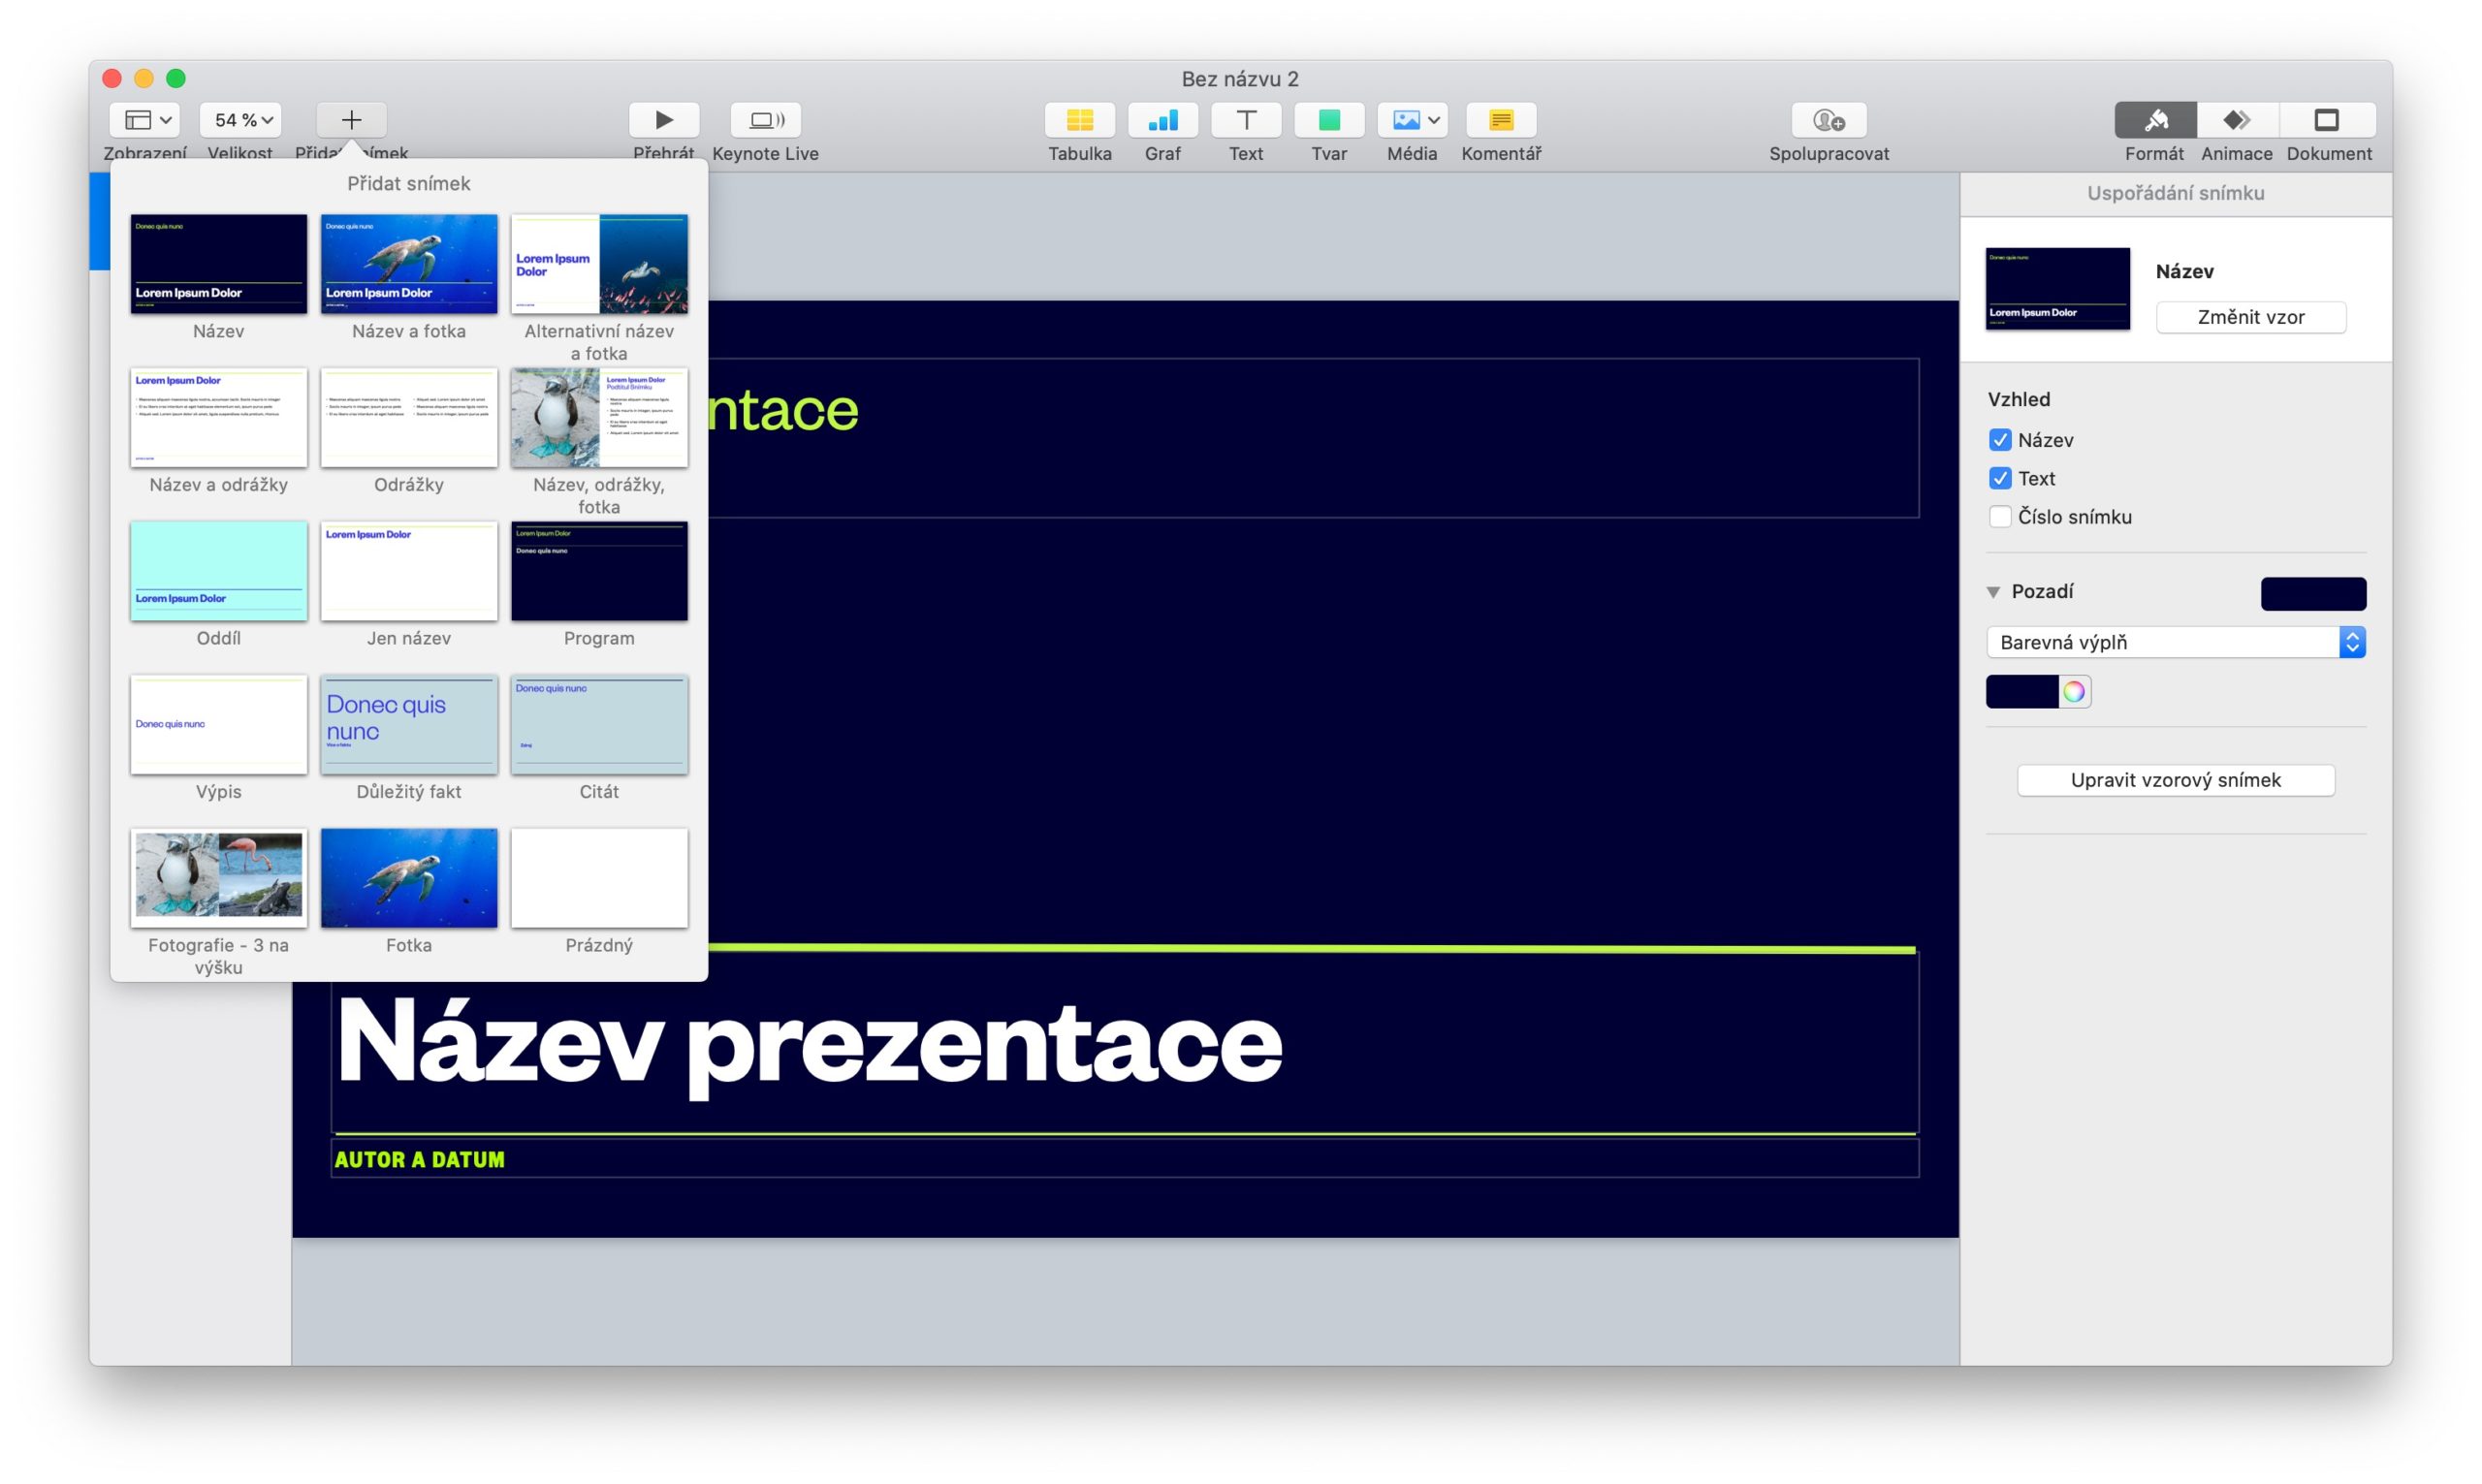
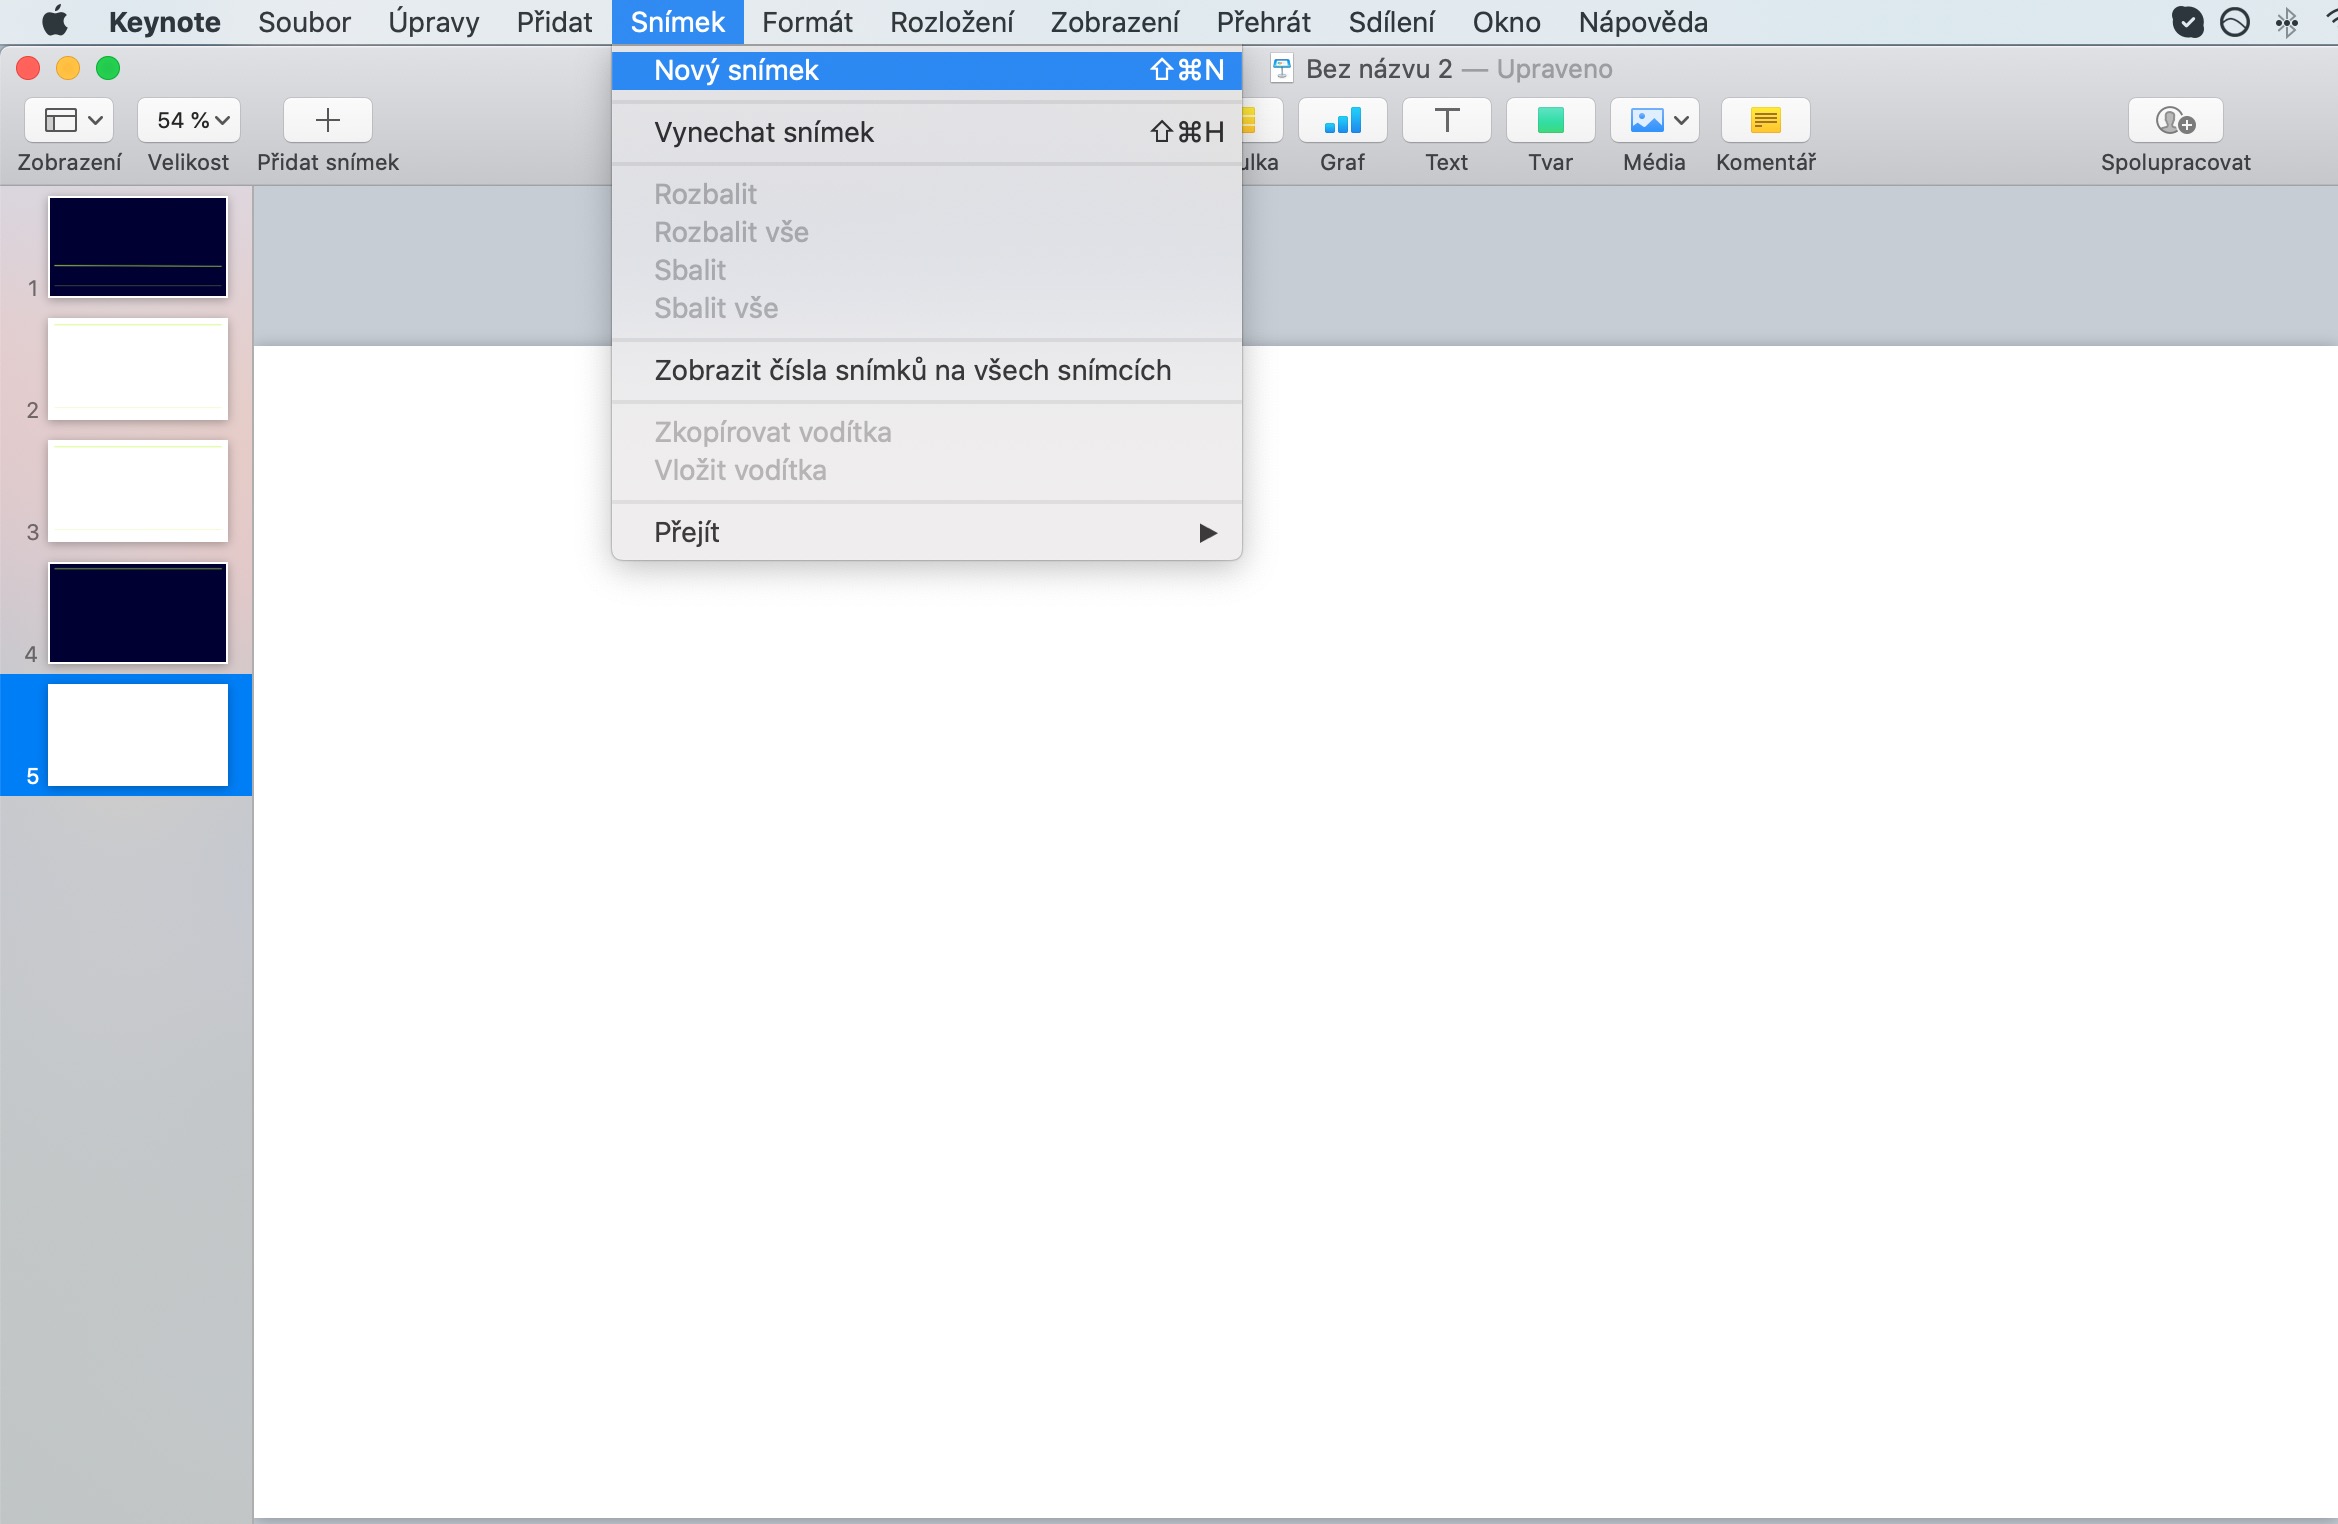
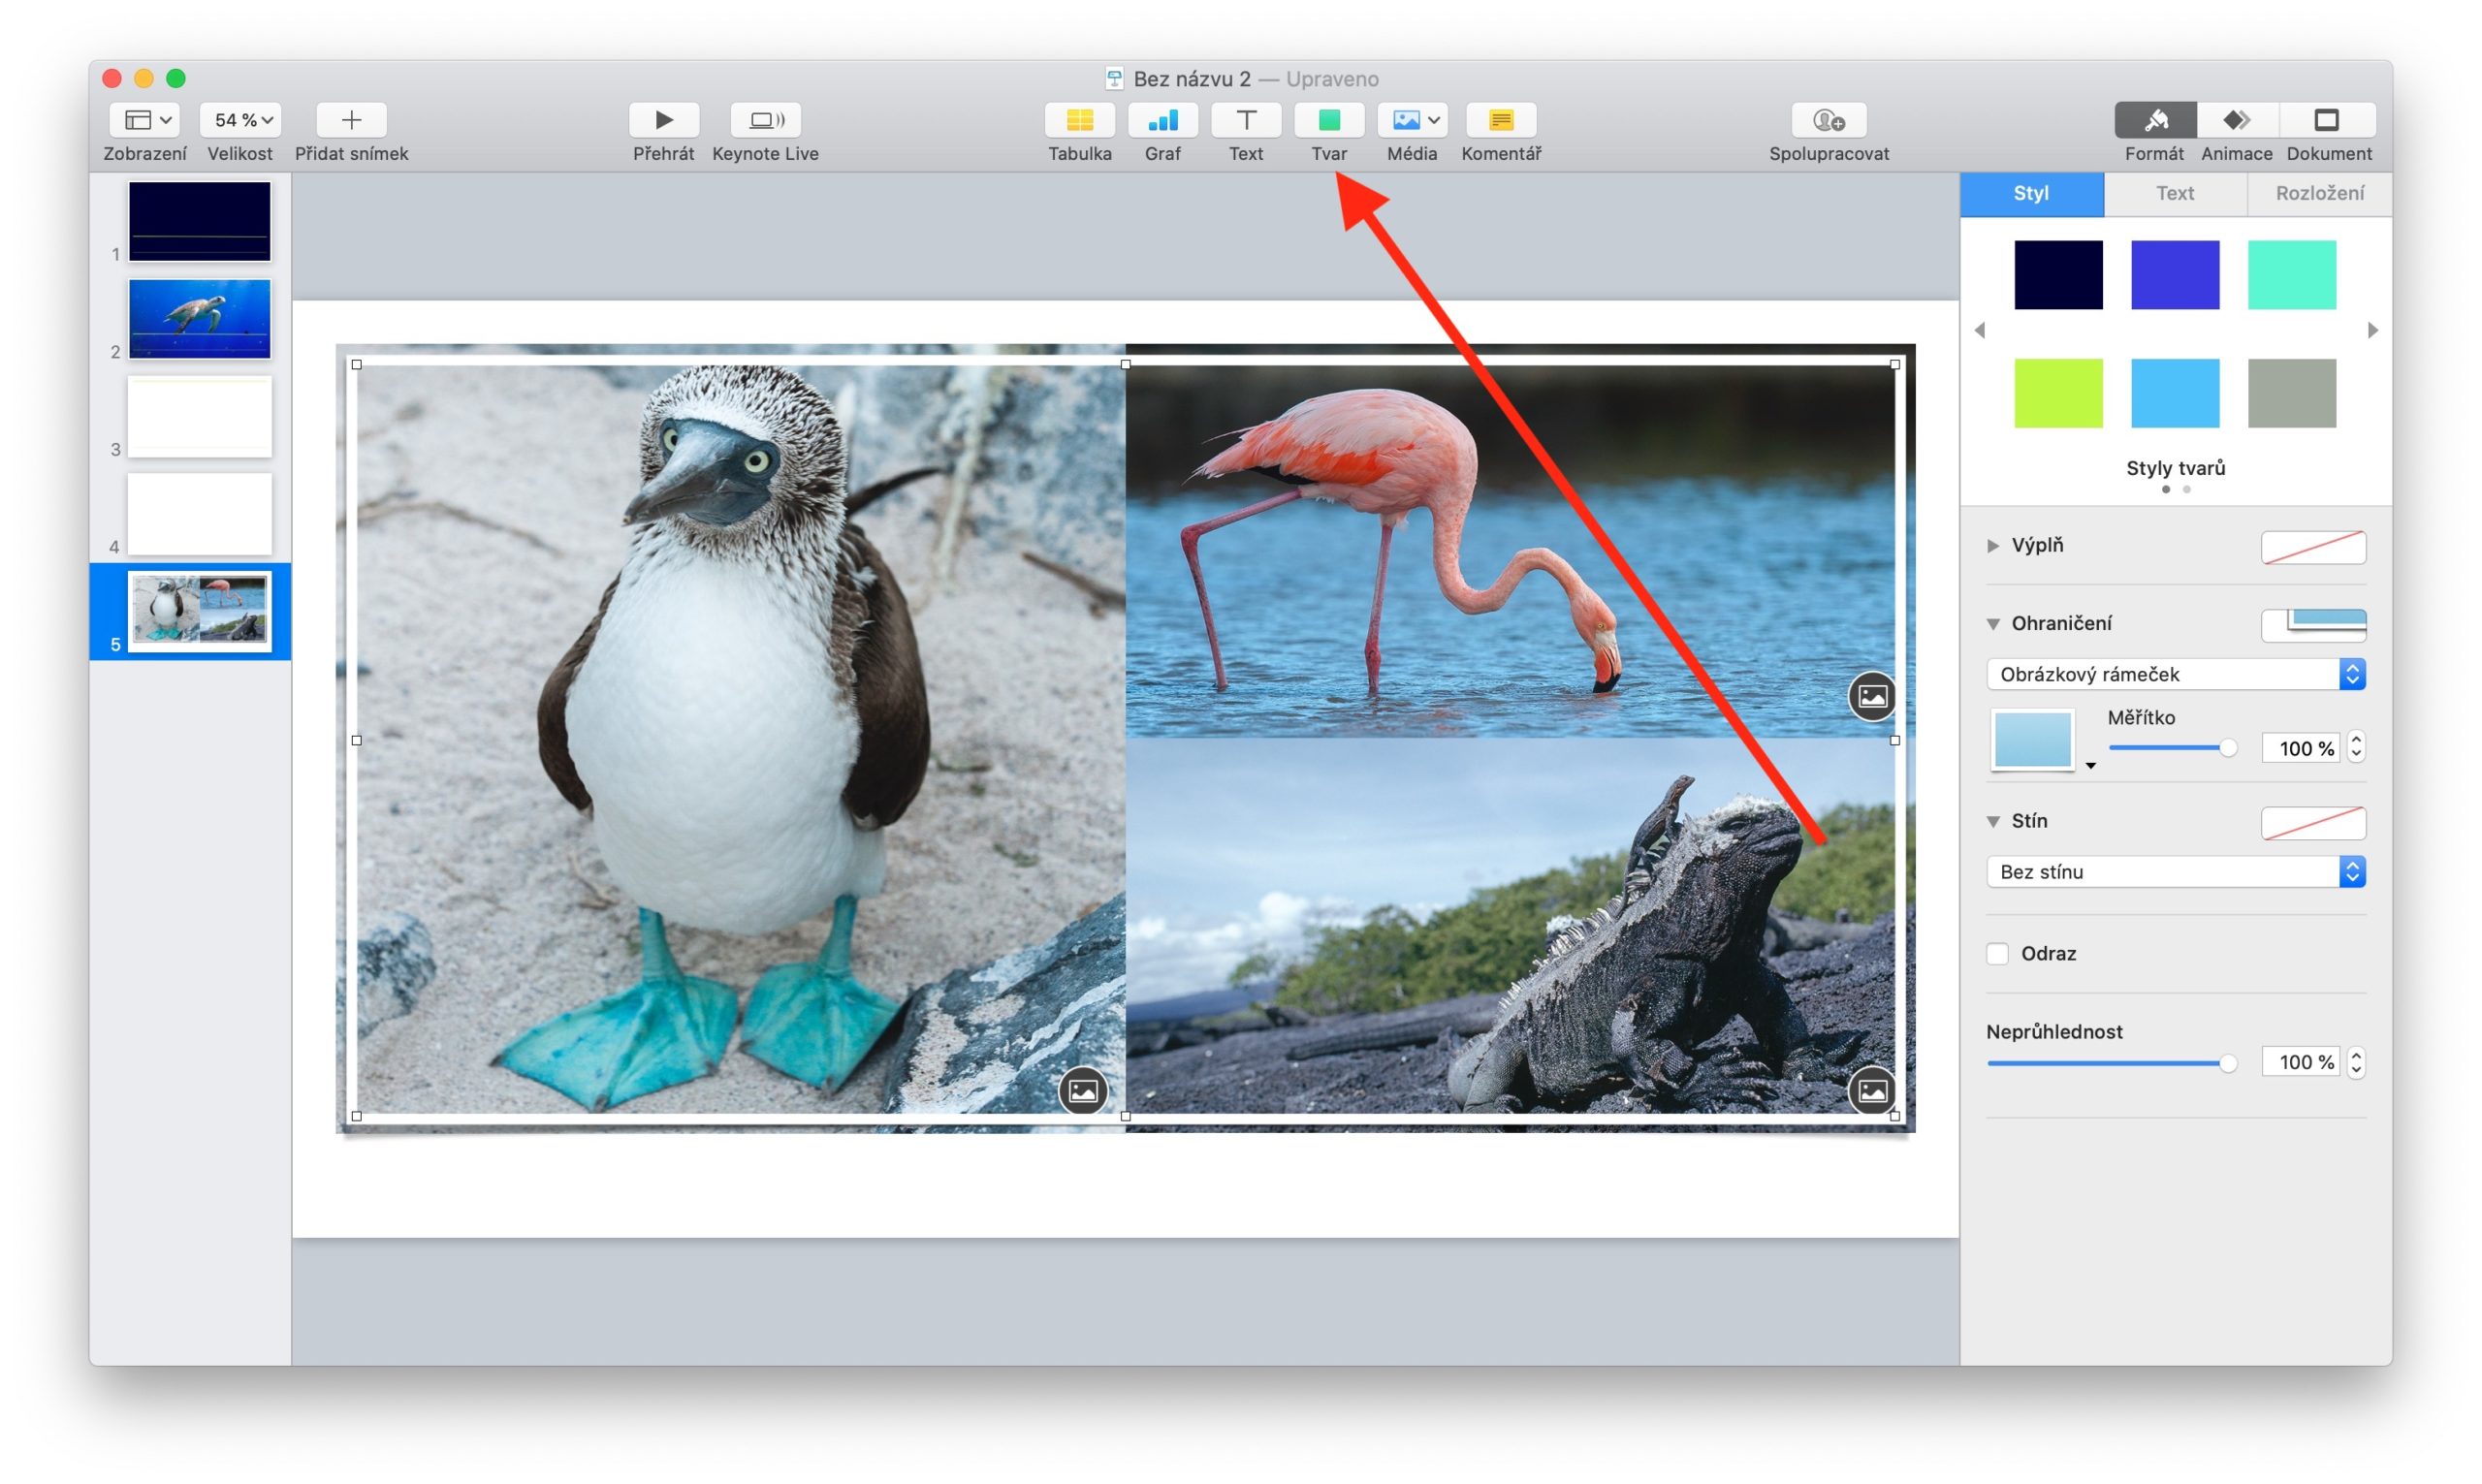
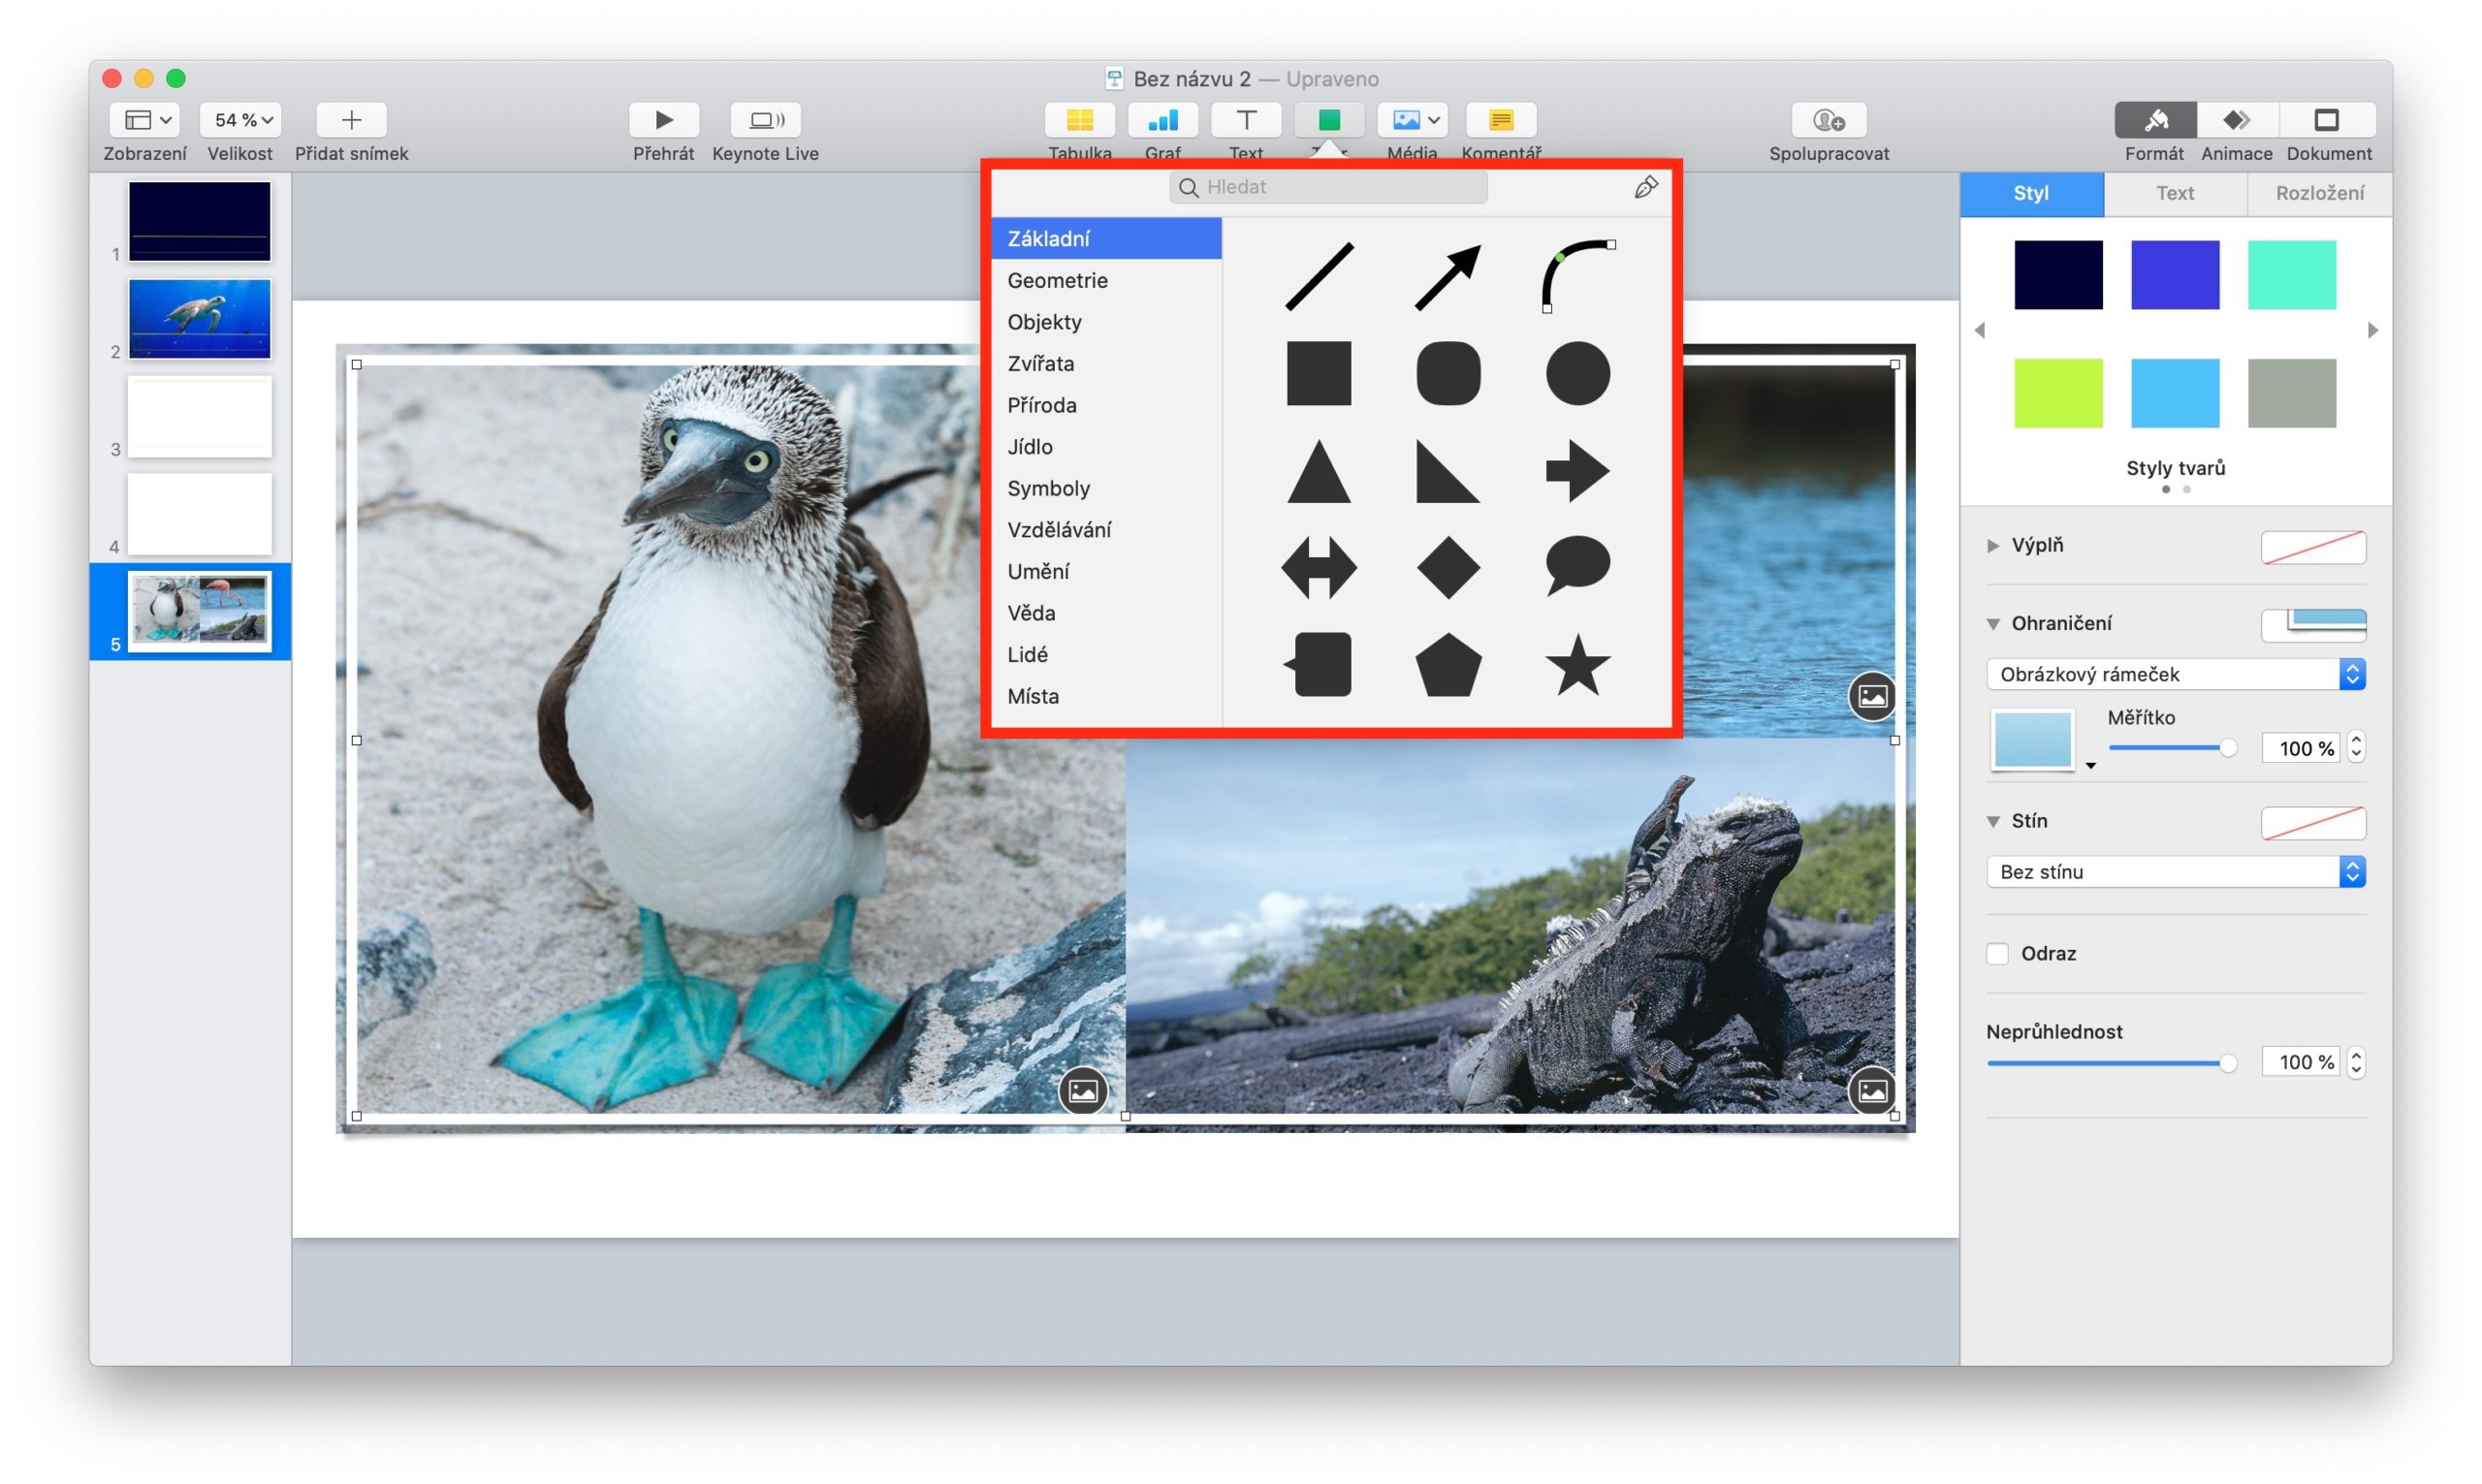
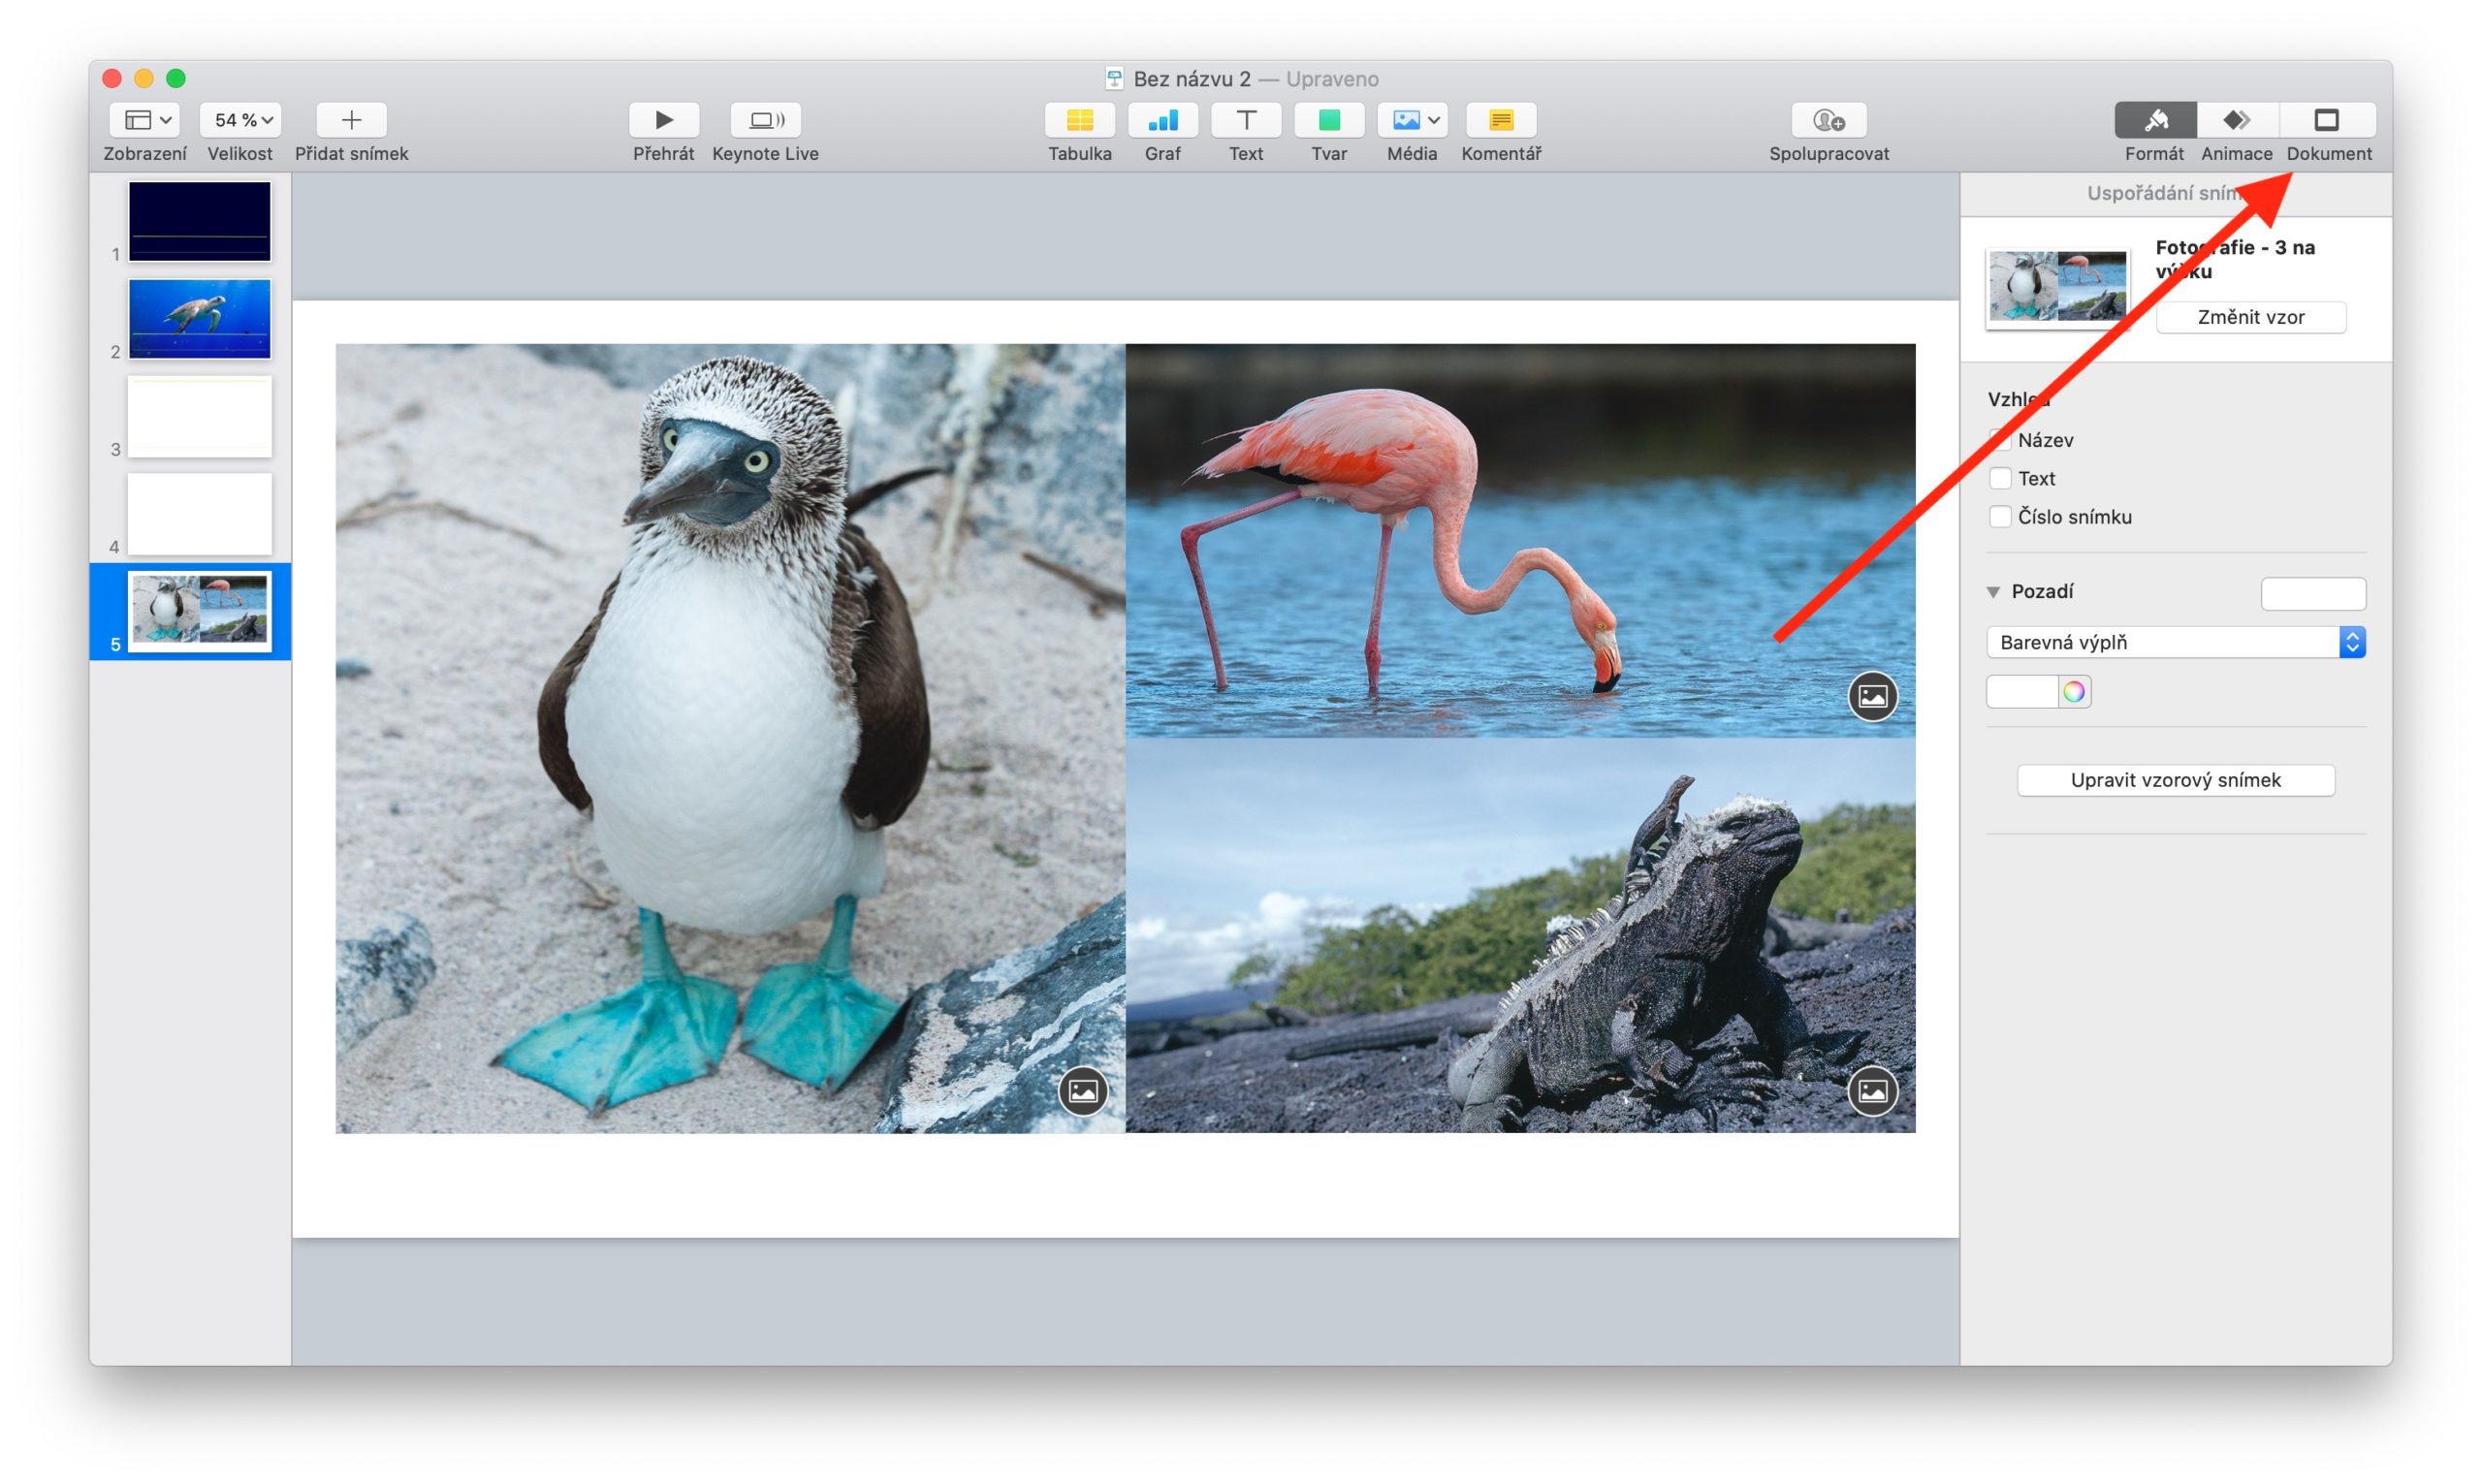
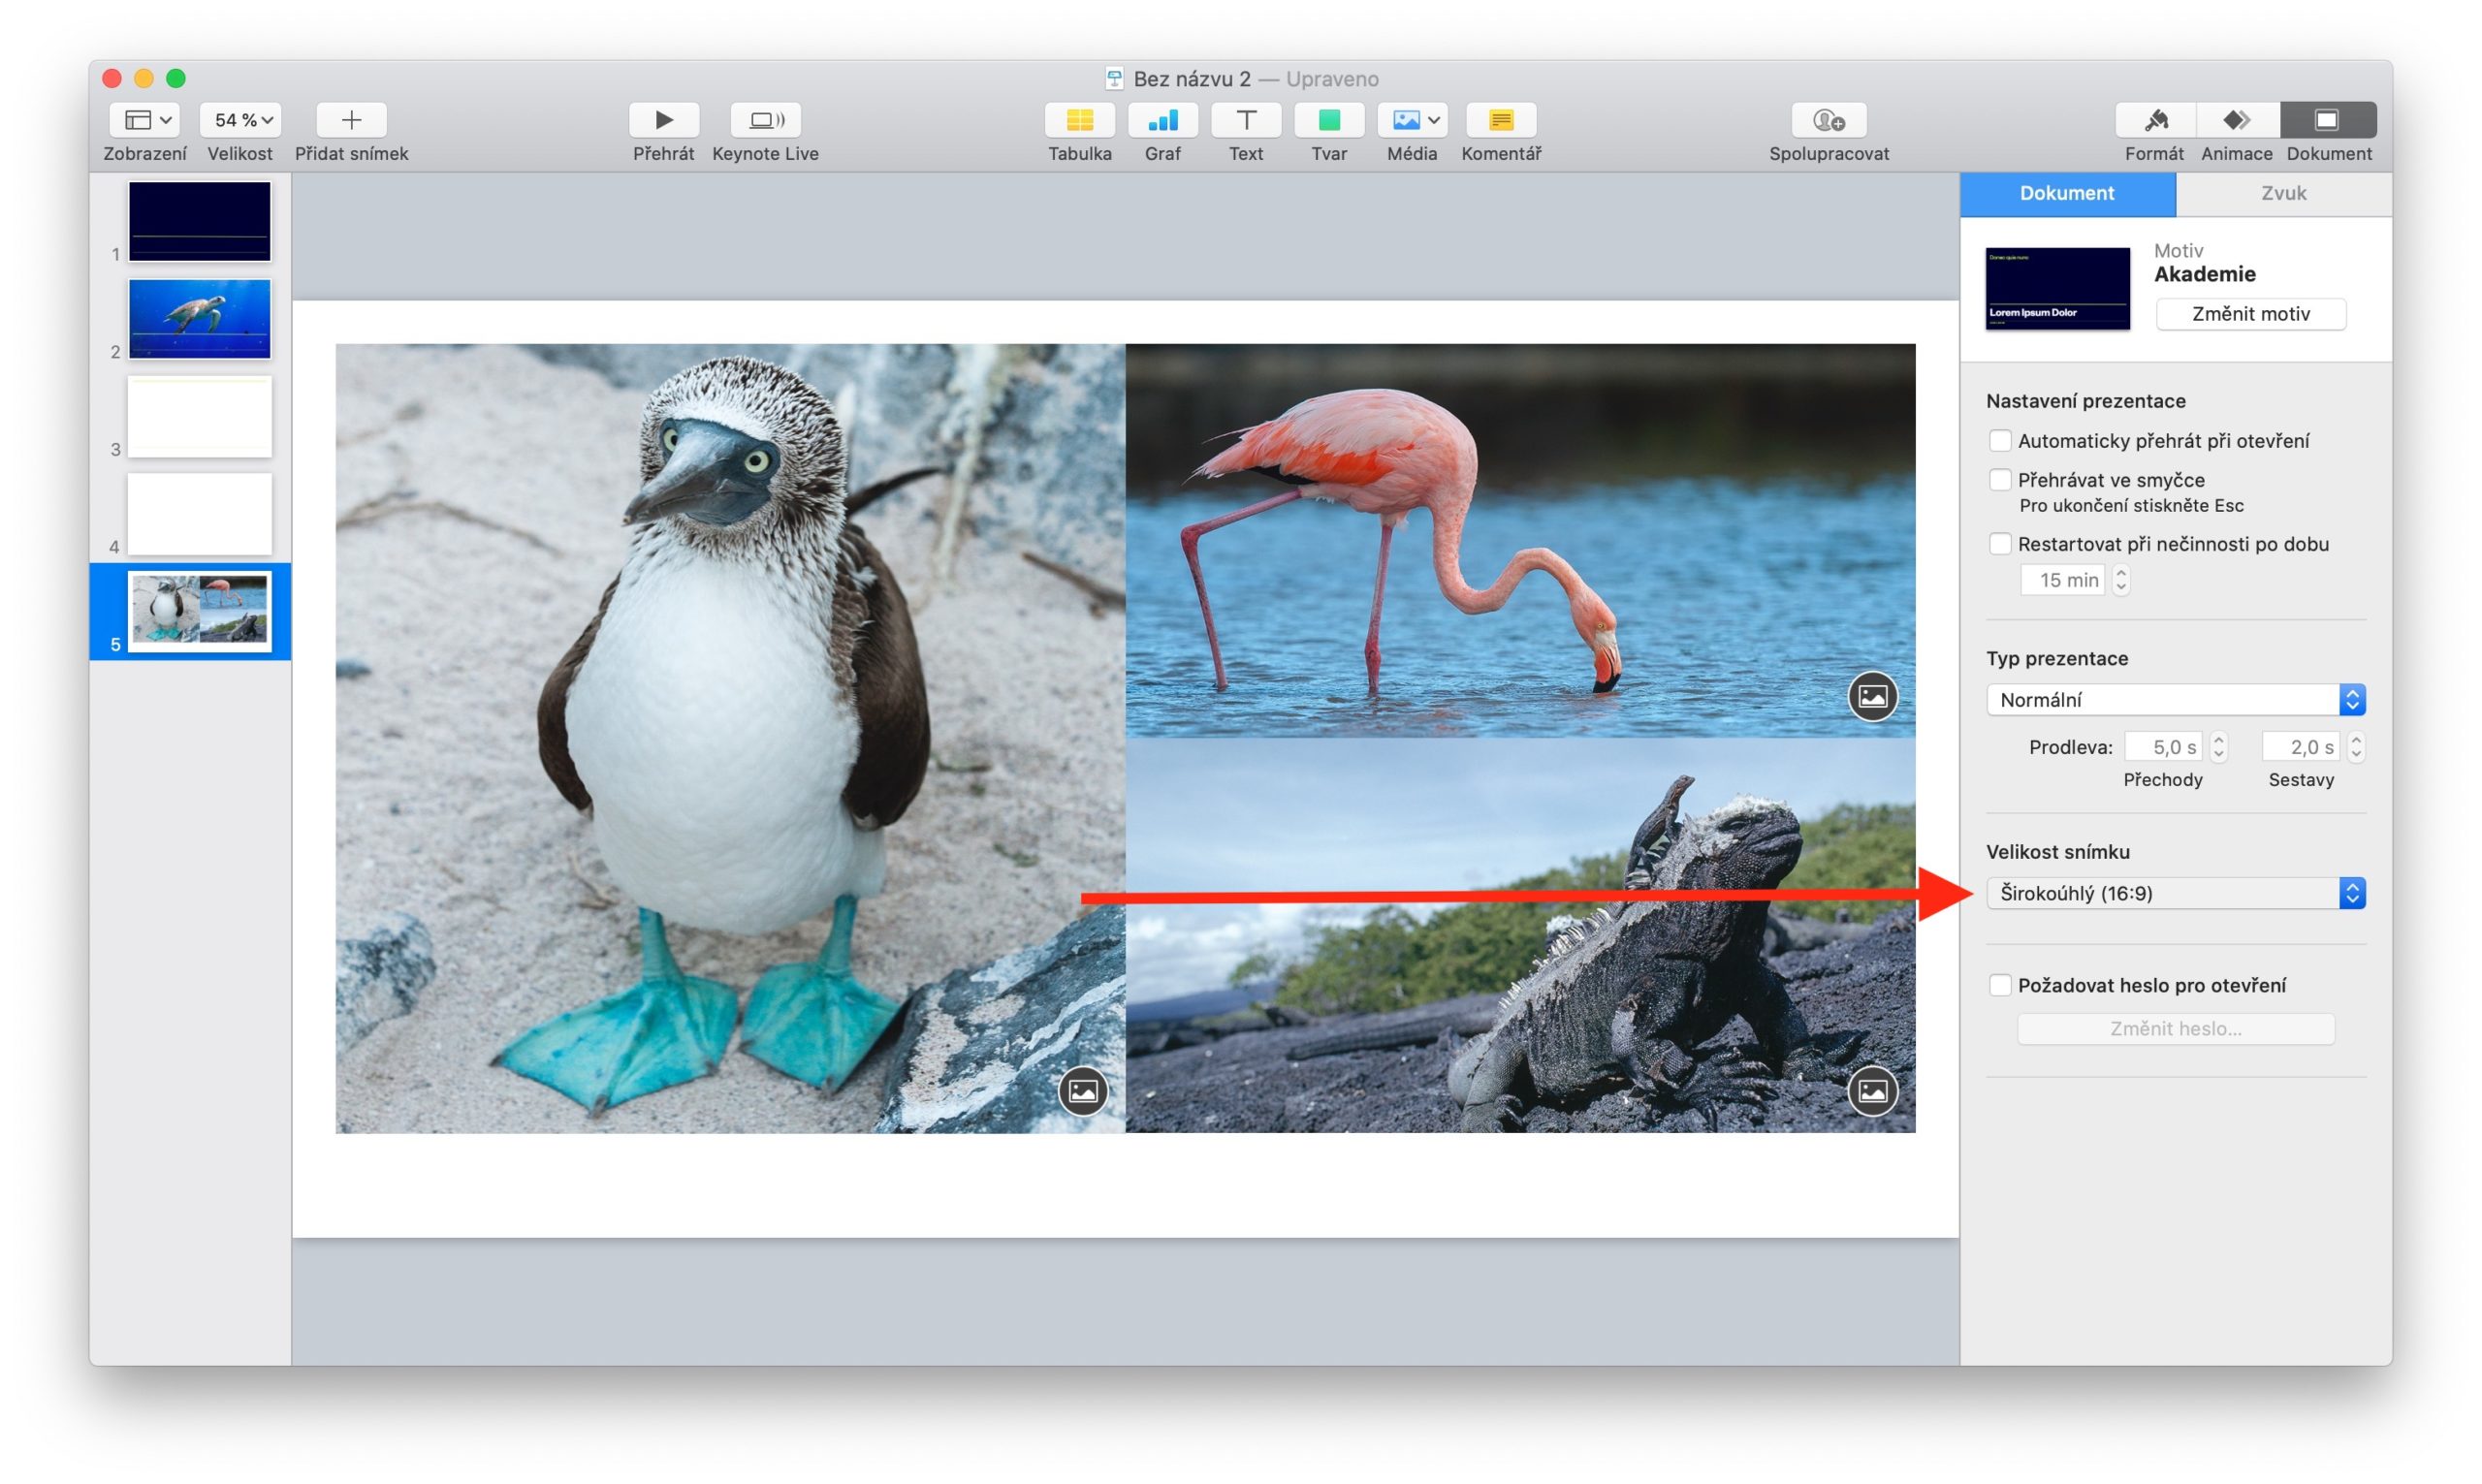
You can add a new slide to the presentation either by clicking on the “+” button in the upper left corner of the application window, or by clicking on Slide in the toolbar at the top. If you want to add a slide from another presentation, open both slides side by side and simply drag and drop the slide. You can change the image size by clicking on the Document tab at the top of the panel on the right side of the application window. At the bottom of the panel you will find a drop-down menu in which you can either select the aspect ratio or set your own image size. If you want to edit the background of an image, first select the image you want to work with in the bar on the left. In the upper part of the panel on the right side, switch to Format, select Background in the panel and choose how the background of the selected image should look like in the drop-down menu. To choose a frame border, click the Shape tab on the bar at the top of the application window, select the square you like best in the Basic category, and drag to set its location and size. In the panel on the right side of the application window, choose Format at the top, then click Style, where you can set other border parameters.
If you want to apply the same style to all the slides in your presentation, you can create a master slide. If you add new elements to the sample slide, it will not be possible to change them further in the presentation. In the top bar of the application window, click the “+” button and select the image that suits you best. Edit its name and individual elements to your liking, and click Done when you're done. To insert a mockup of an object into a master slide, click View -> Edit Master Slides on the toolbar at the top of your Mac screen. Add the element you want to make a mockup of, edit it to your liking, and click it when you're done. In the upper part of the panel on the right side, choose Format -> Style, and in the lower part of the panel, depending on the type of content, select the option Define as text mockup or Define as media mockup. If you want to enable layers, click on the background of the image and choose Format in the panel on the right, where you will check Enable Layers.
