This week, we'll continue our discussion of Keynote for iPhone in our series on native Apple apps. In this part, we will focus more closely on working with images, and we will also get closer to the details and the process of editing them.
It could be interest you

In the Keynote application for all Apple platforms, you can easily resize created slides to fit displays and monitors of devices with different aspect ratios. To change the size, click the icon of three dots in a circle on the panel at the top of the iPhone display. Click Document Settings, then select Image Size from the bar at the bottom of the screen. In the menu that appears below the image, choose the desired aspect ratio, and when the changes are complete, click Done in the upper right corner of the screen.
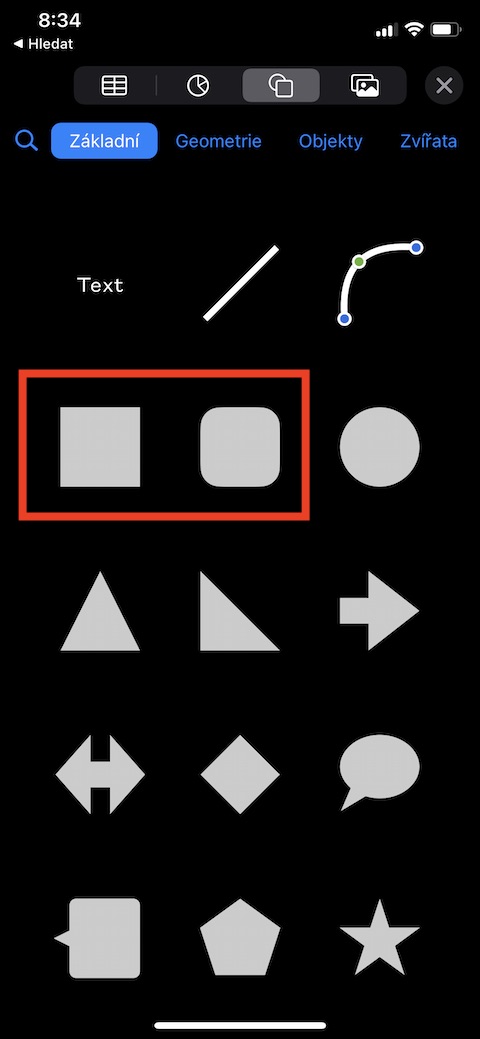
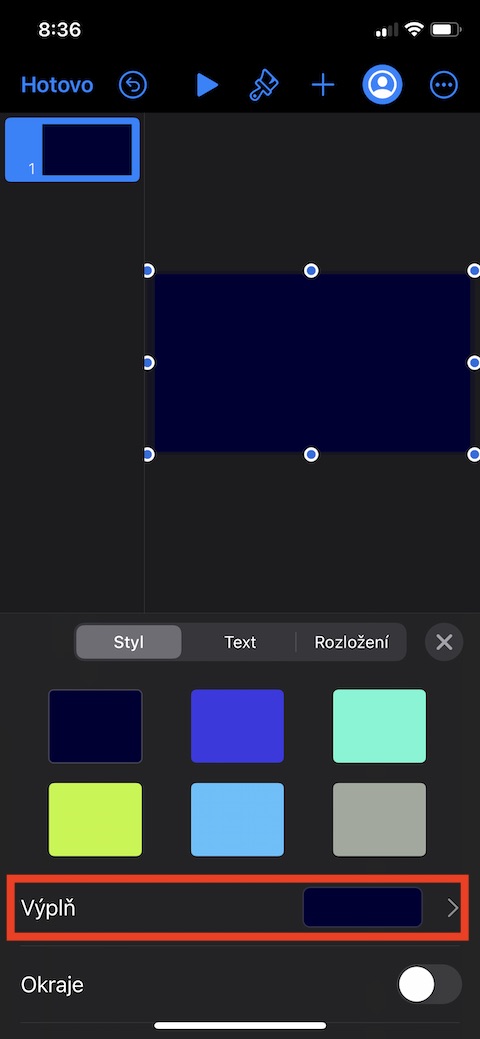
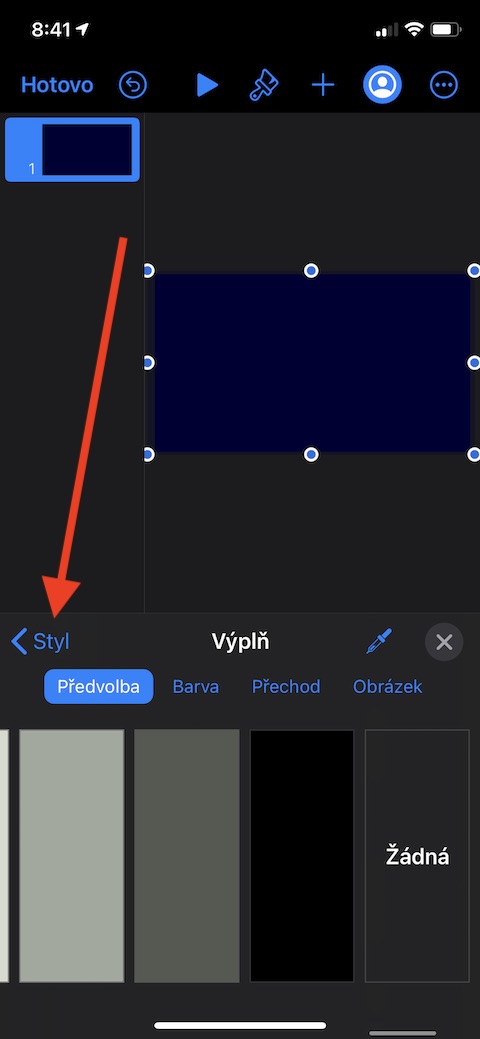
You can also easily change slide backgrounds in Keynote on iPhone. Just select the image you want to work with in the panel on the left side of the display. Then click on the brush icon at the top of the screen and select the Appearance tab in the menu that appears at the bottom of the screen. In the Background section, you can then choose whether to choose a solid color, a two-color transition, or an image for the background of the given image. To add a border to a selected slide in Keynote on iPhone, you must first add a square shape to the slide. You add it by clicking on the "+" icon on the bar at the top of the screen, then on the shape symbol (see gallery), and selecting a square or rounded rectangle from the menu. Drag the blue dots around the perimeter of the square to adjust it to form the border of the selected image. Then, on the top bar, click on the brush icon -> Style -> Fill -> Preset, where you select the option None. Click on the arrow in the upper left corner of the menu at the bottom of the display to return to the Style section, where you can click to activate the Border option and then set the desired elements according to your wishes.


