In today's installment of our regular series on native Apple apps, we'll once again be working with Keynote on the iPad. While in the last installment we discussed the basics of working with images, today we will take a closer look at adding, managing and editing images in images.
It could be interest you

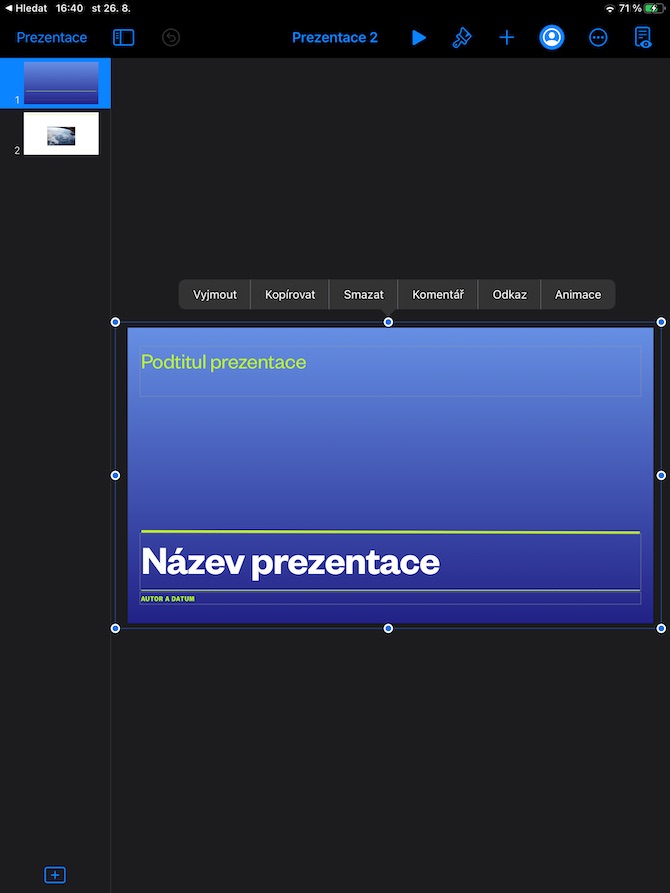
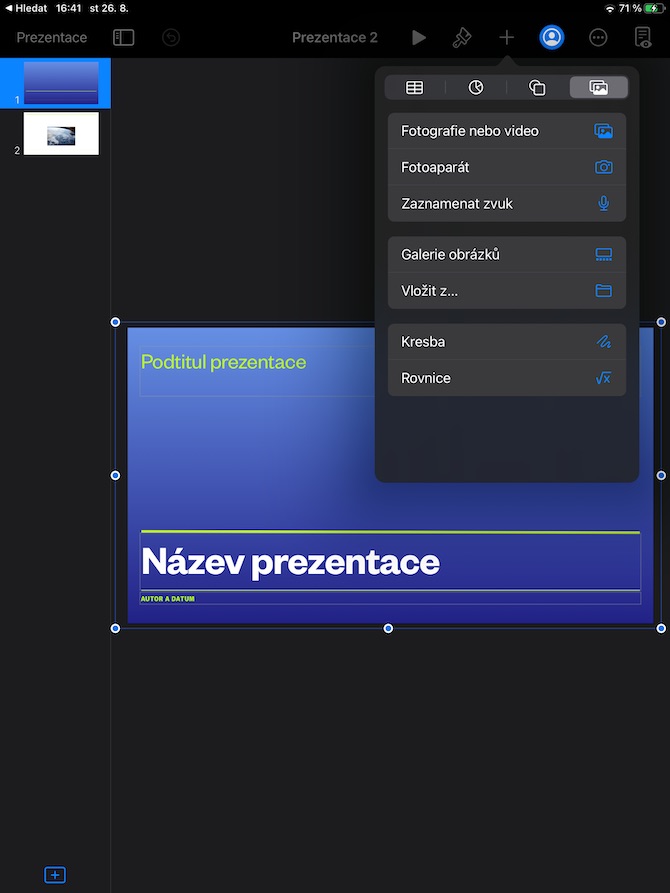
You can add your own image or photo to a slide in Keynote on iPad, or work with a media mockup, or create a media mockup yourself. To add, click on the image where you want to have the image. In the bar at the top of your iPad's display, tap the “+” symbol, then tap the tab with the photo symbol and choose Photos or Video. Tap to select the album from which you want to add a photo. If you want to add a photo taken directly with your iPad's camera to the image, click on the Camera option in the menu, choose Insert from to add from iCloud or another location. You can easily change the size of the inserted image by dragging one of the blue dots around its perimeter.
To create a media mockup, first add an image to the slide as usual and edit it to your liking. Then tap the image, tap the brush icon on the bar at the top of the iPad display. In the menu that appears, select the Image tab and select the Set as Mockup option. You can recognize the media mockup of the image by the icon with the "+" symbol in the lower right corner - after clicking on this icon, you can replace the mockup. When replacing a media mockup, after clicking on the "+" symbol in the corner of the mockup, proceed in the same way as when adding an image to the slide in the classic way.


