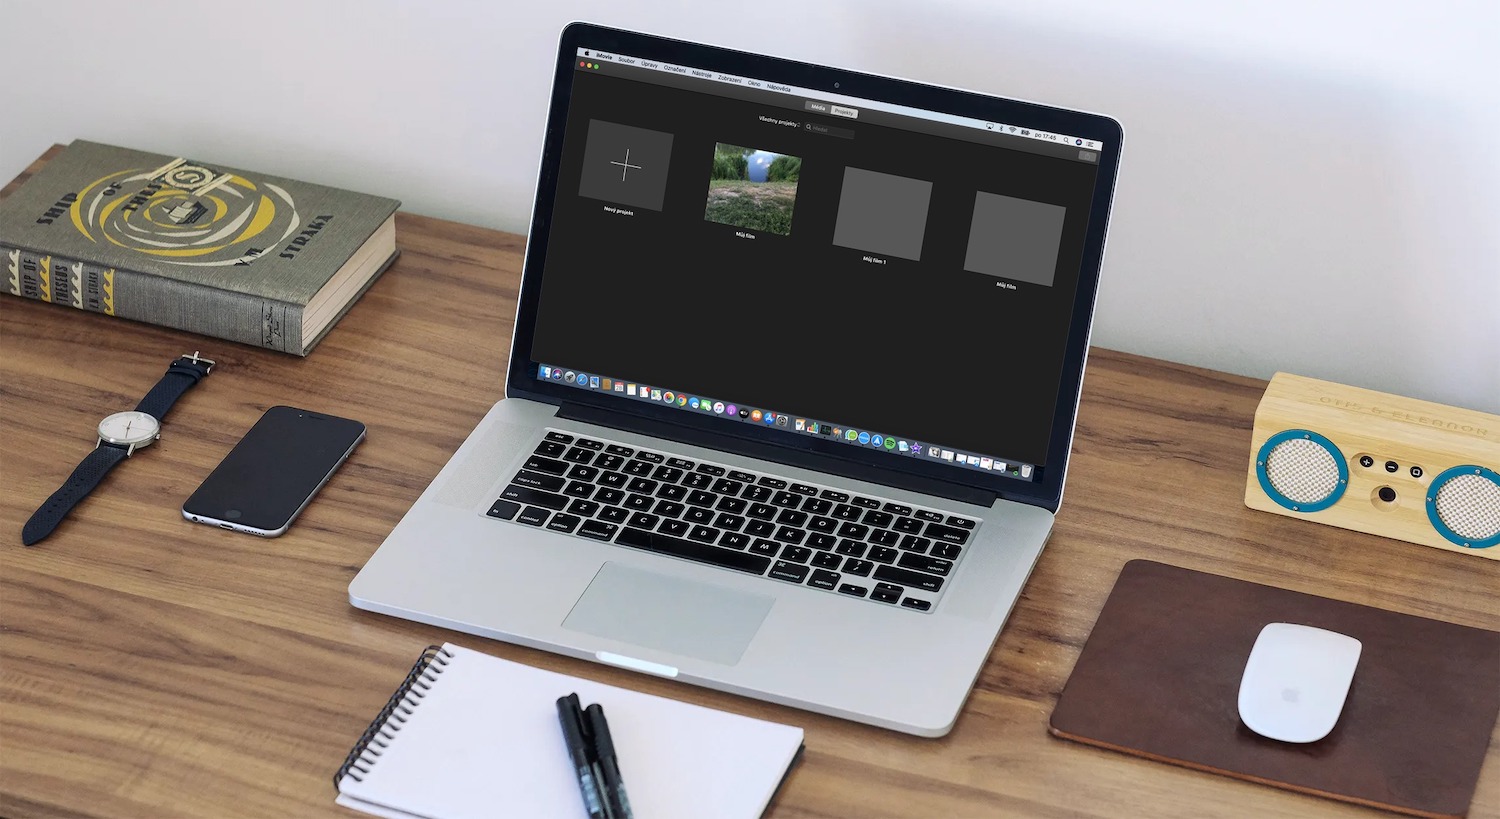
Apple's regular series about native Apple applications continues this week with the topic of iMovie on Mac. In today's part, we will look at working with clips - we will take a closer look at their selection and adding them to the movie in iMovie.
It could be interest you
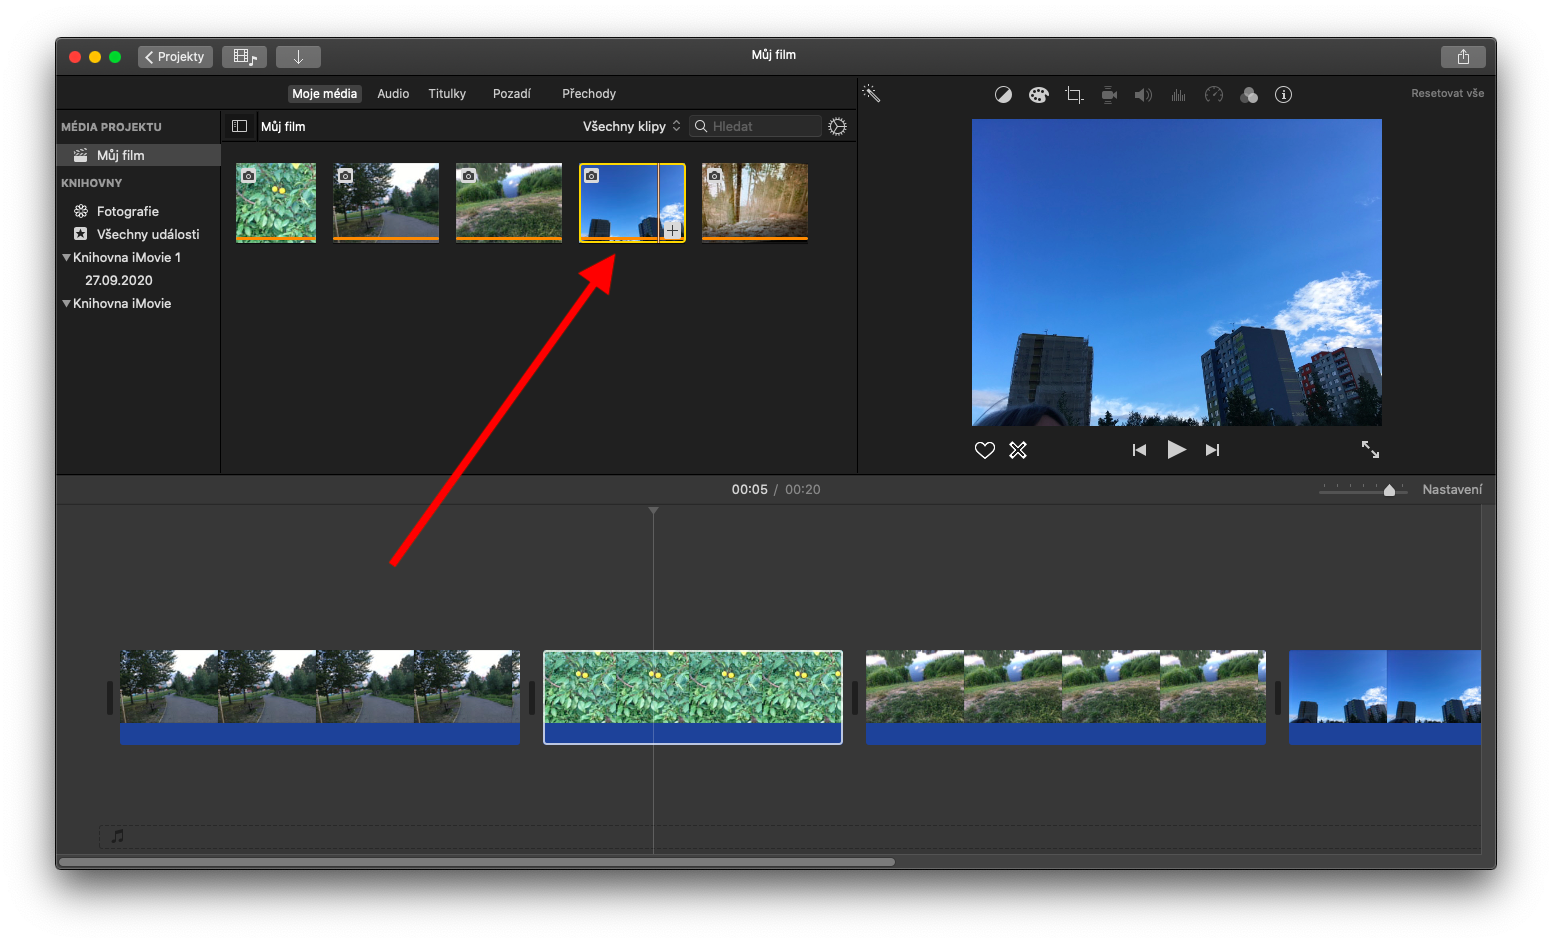
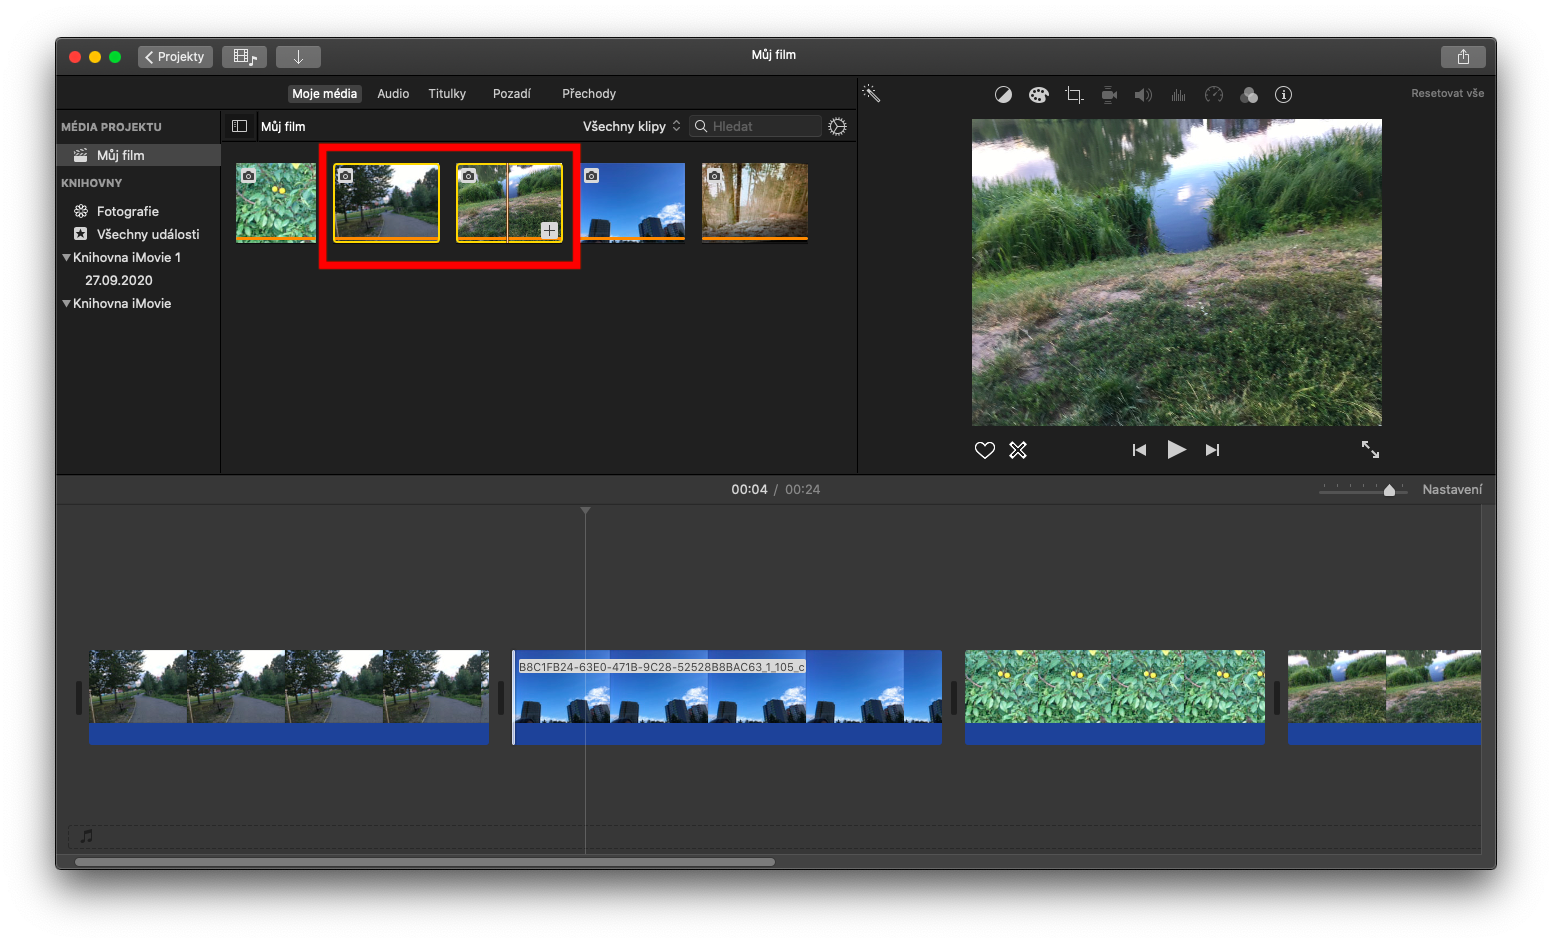
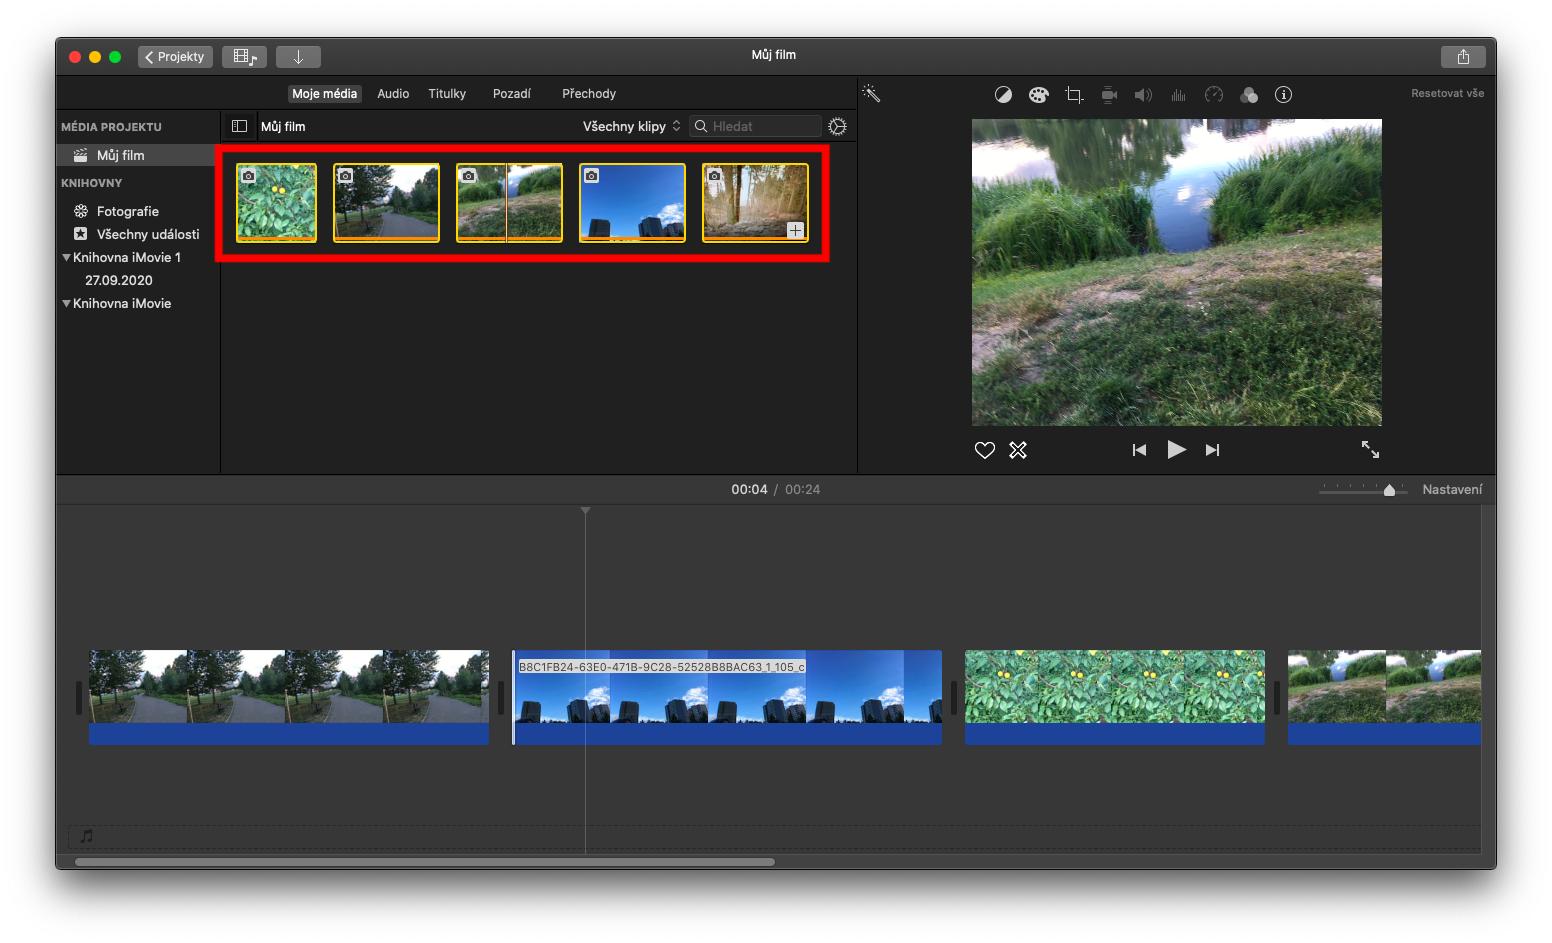
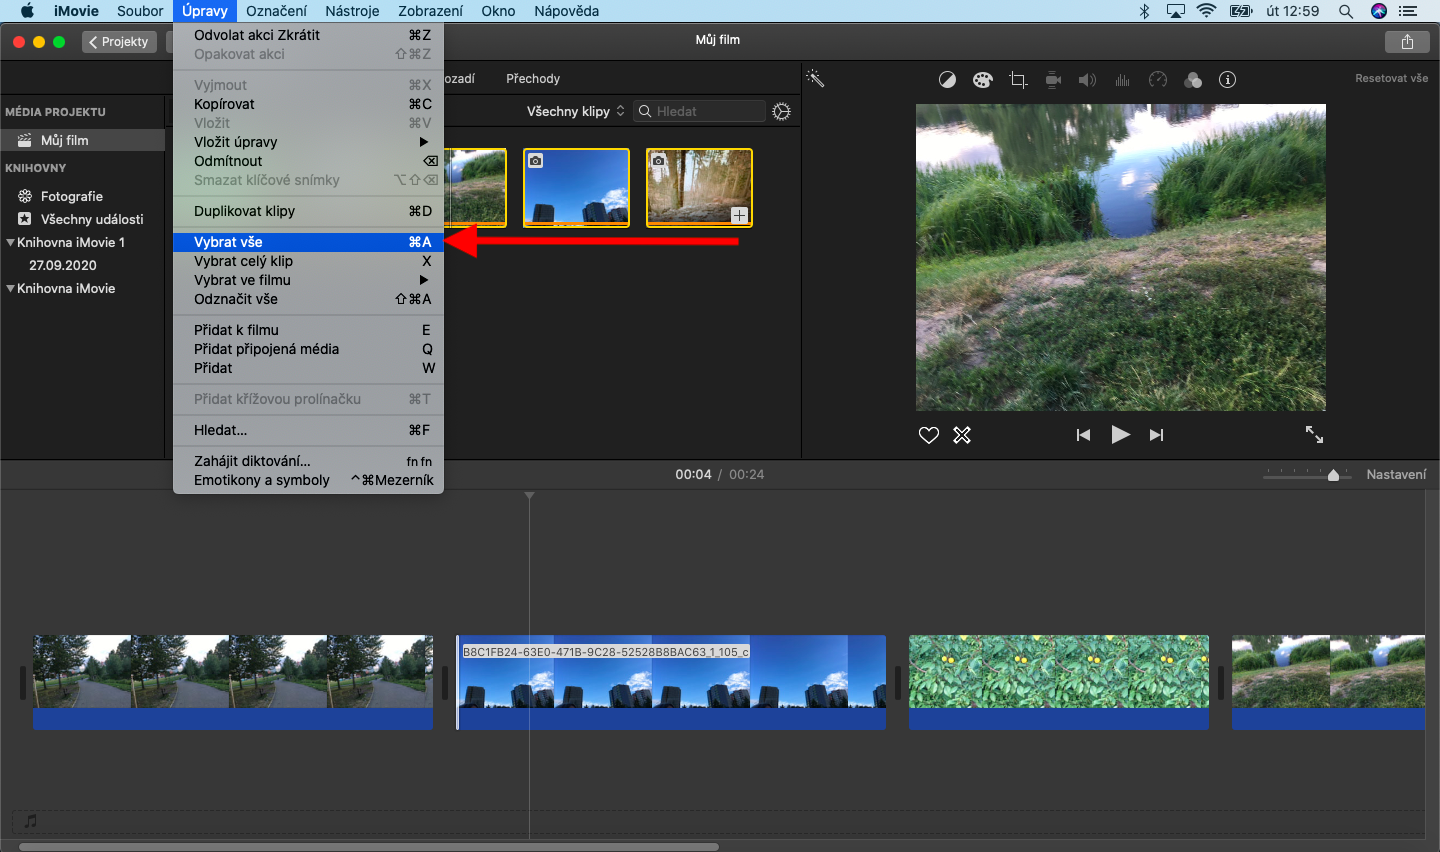
When creating movies in iMovie, you can't do without selecting clips, but it's still a very simple procedure. In iMovie on Mac, click the clip you want in the file browser or timeline—you should see a distinctive yellow frame around the clip preview with handles to adjust its length. To select multiple clips in iMovie, first press and hold the Cmd key, then click the clips you want to use. To select all clips, just select the clip and then click Edit -> Select All on the toolbar at the top of the screen. If you want to select either only video clips or only photos, choose Edit -> Select in Movie and then choose the type of content you want - you can also select transitions, maps or backgrounds this way.
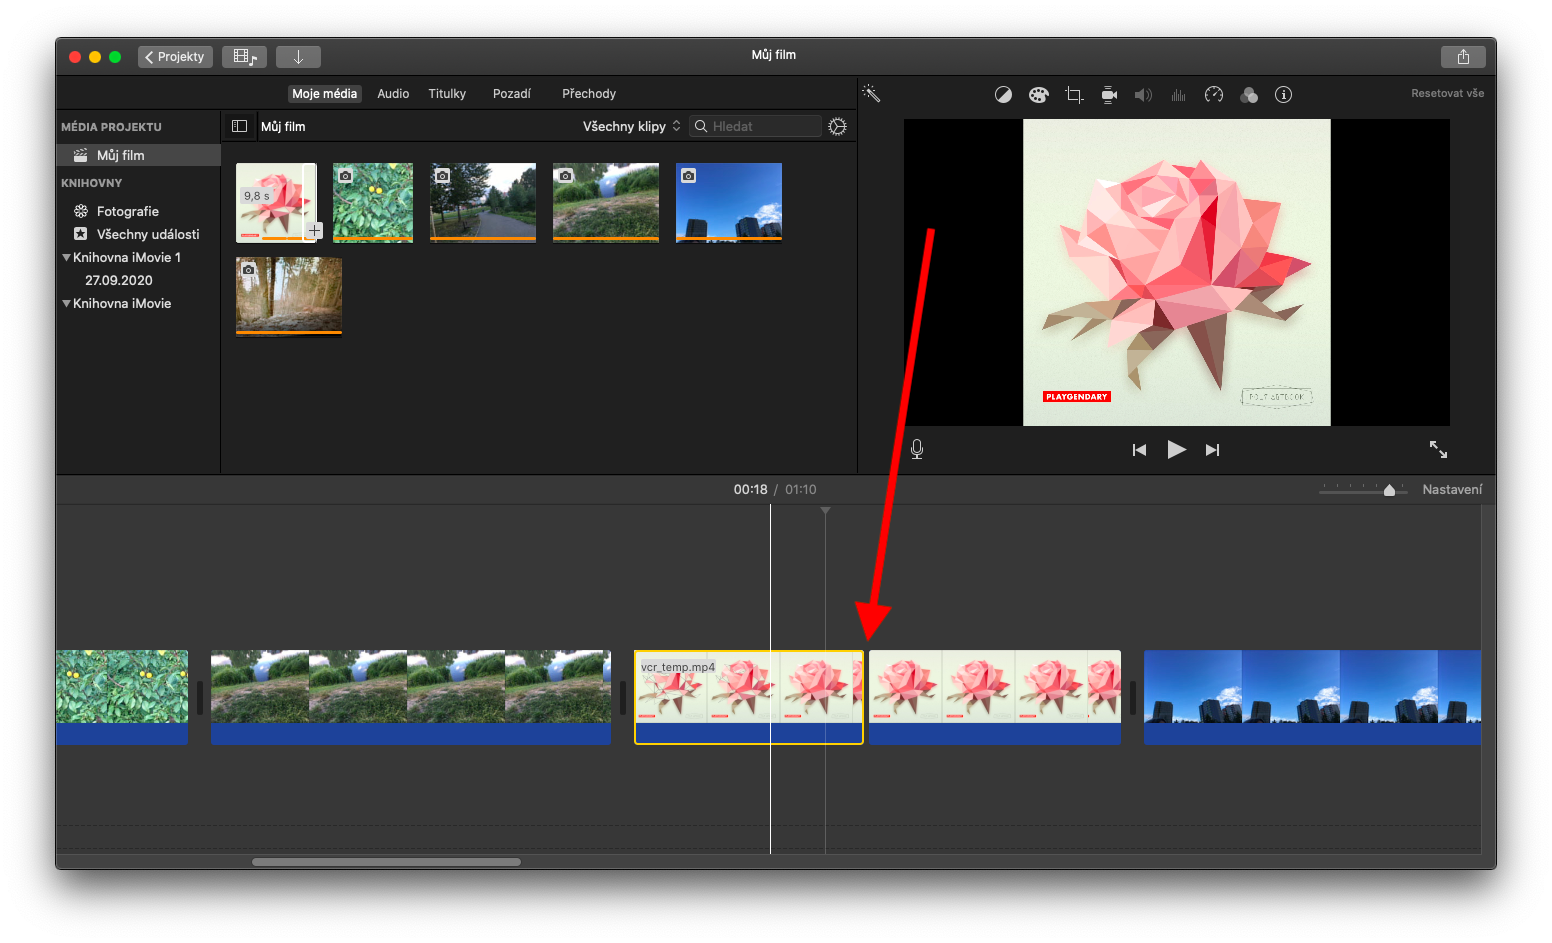
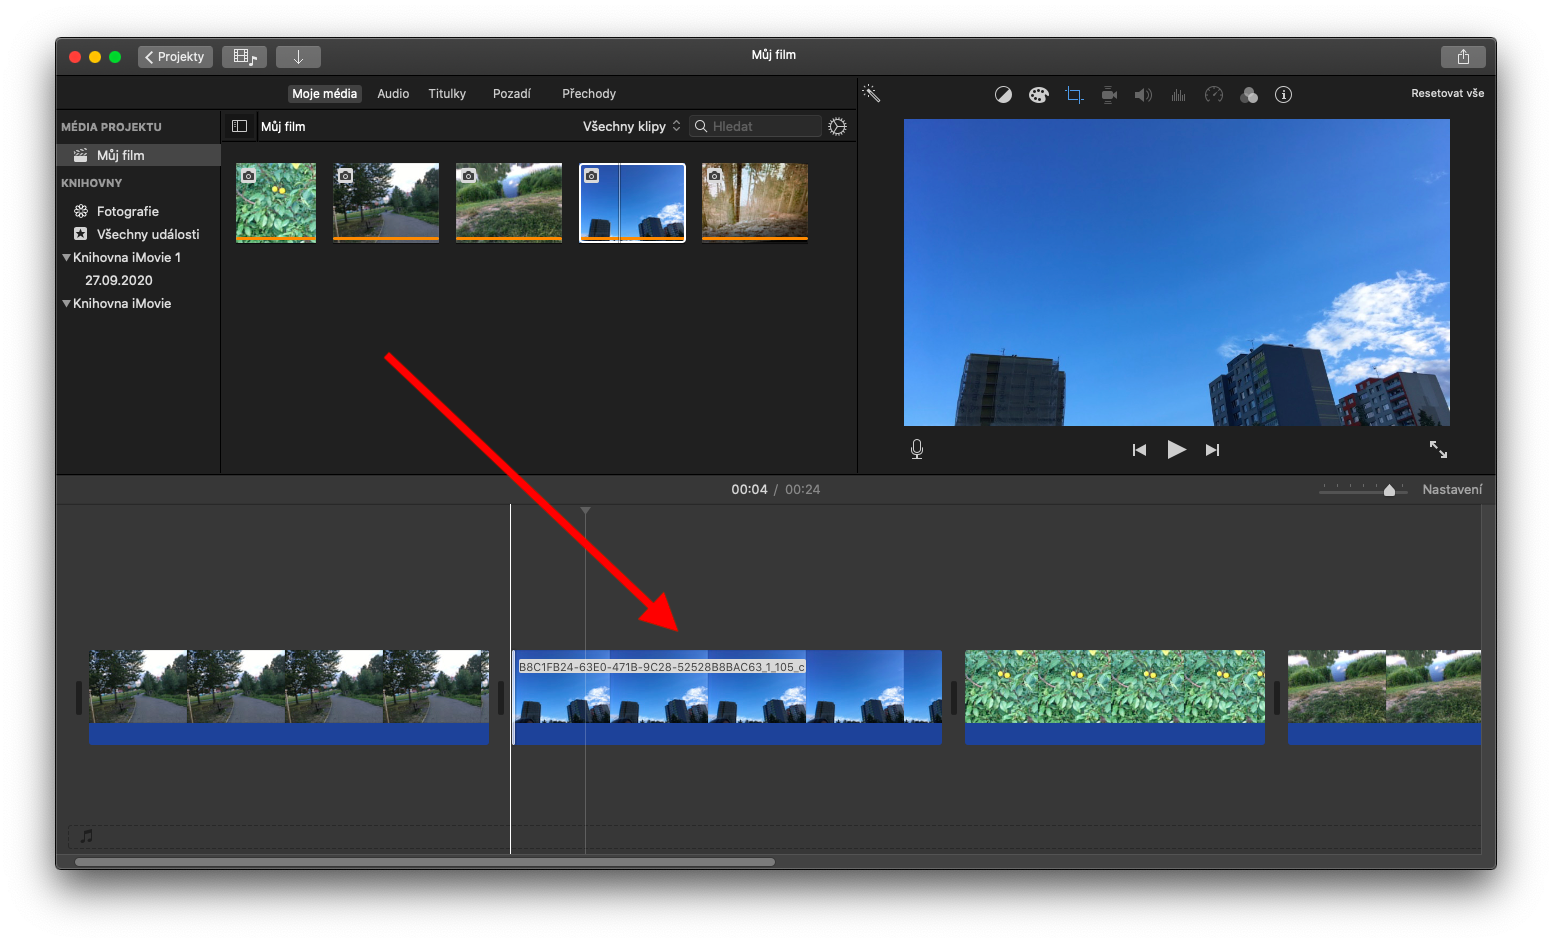
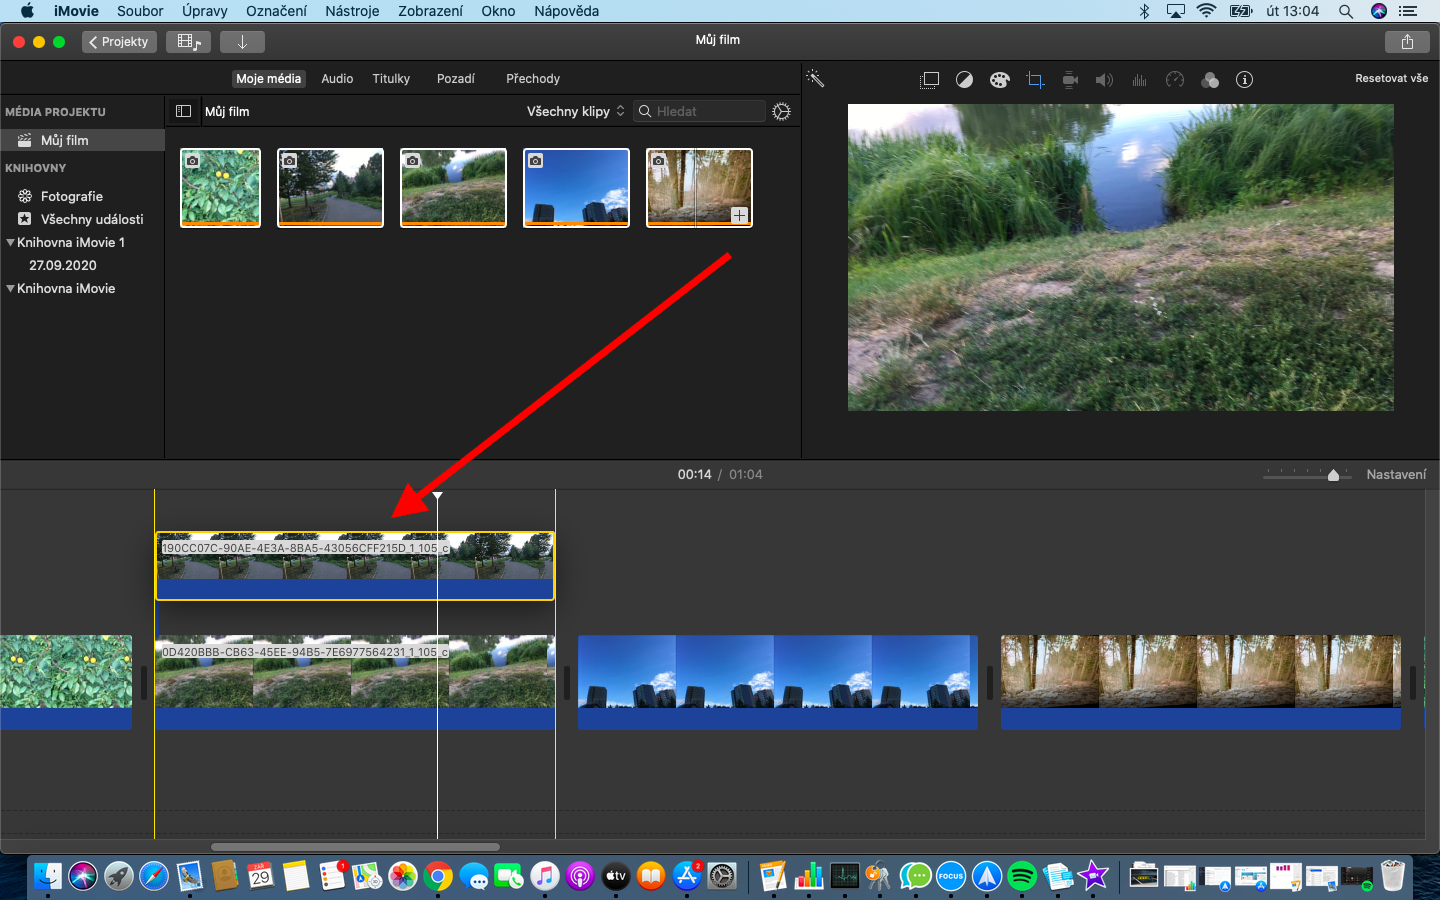
You can add a clip from the preview view to the movie timeline by simply dragging and dropping. Drag the edges of the yellow-framed clip to adjust its length, click and drag the clip preview to change its position on the timeline. If you only want to put part of a clip on the timeline, hold R and drag to select the part of the clip you want - then drag it to the timeline. You can also split any clip on the timeline into two parts and insert another clip or photo between them - first click on the selected clip on the timeline and then select Edit -> Split on the toolbar at the top of the screen, or press the keyboard shortcut Cmd + B .
Here these descriptions and instructions are very good, thank you for them.
Hello,
thank you for the positive feedback :-).