Our regular series on native Apple applications continues with the second part, dedicated to iMovie on Mac. This time we will discuss the basics of creating new film projects, but also their editing, management and choice of motifs.
It could be interest you
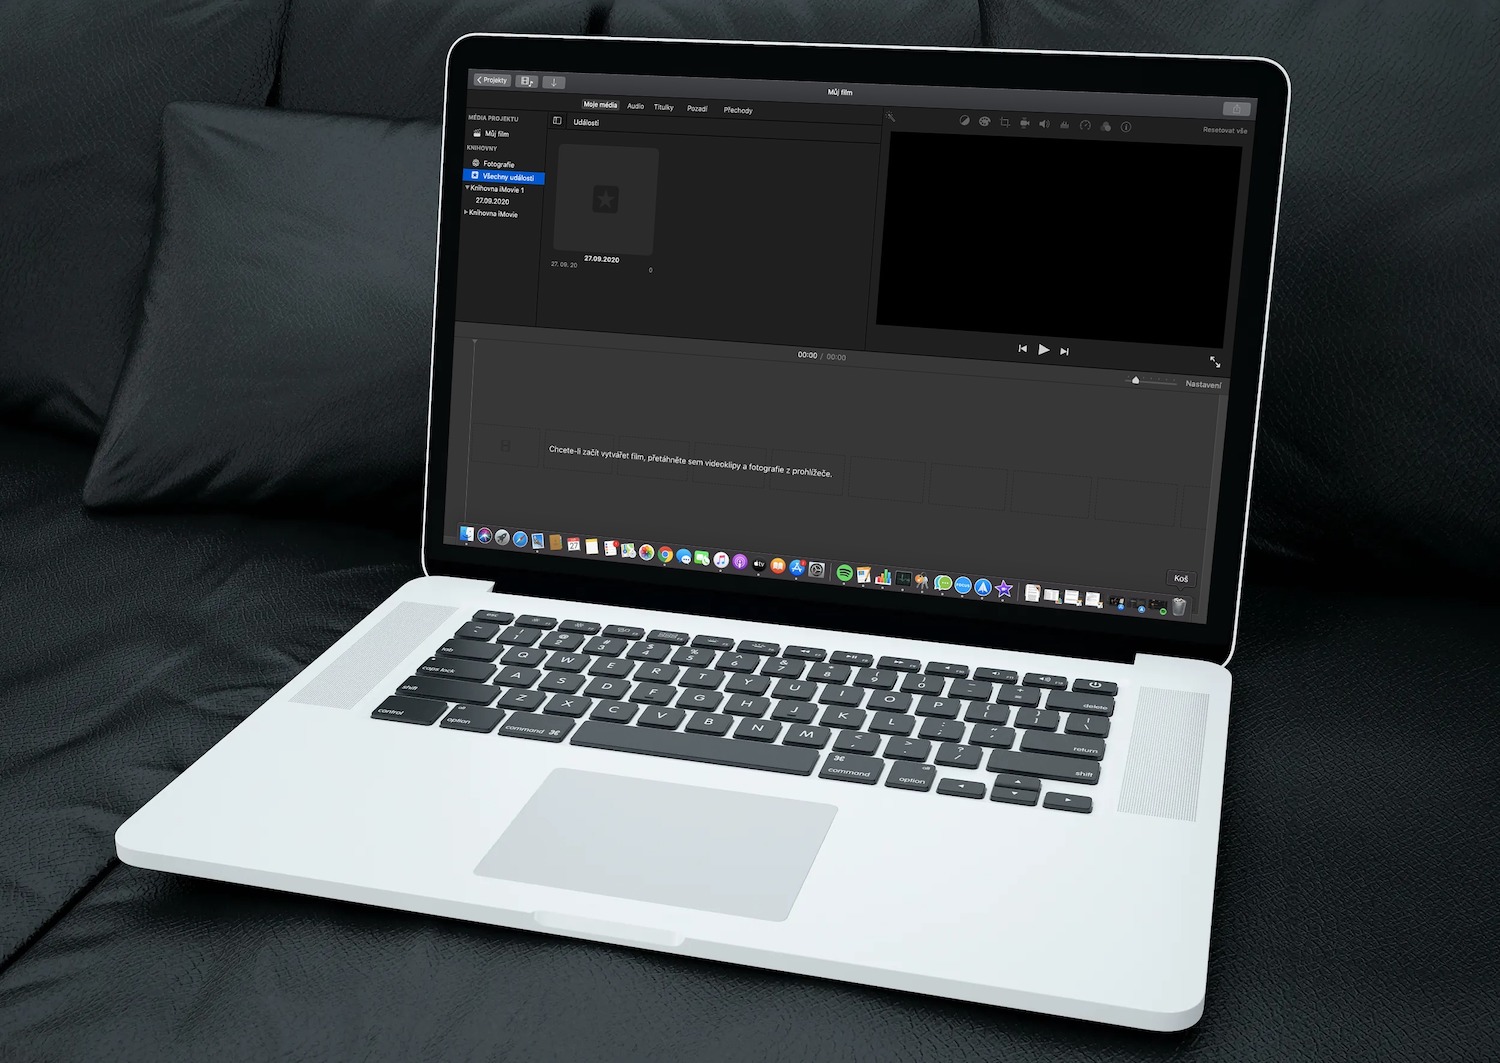
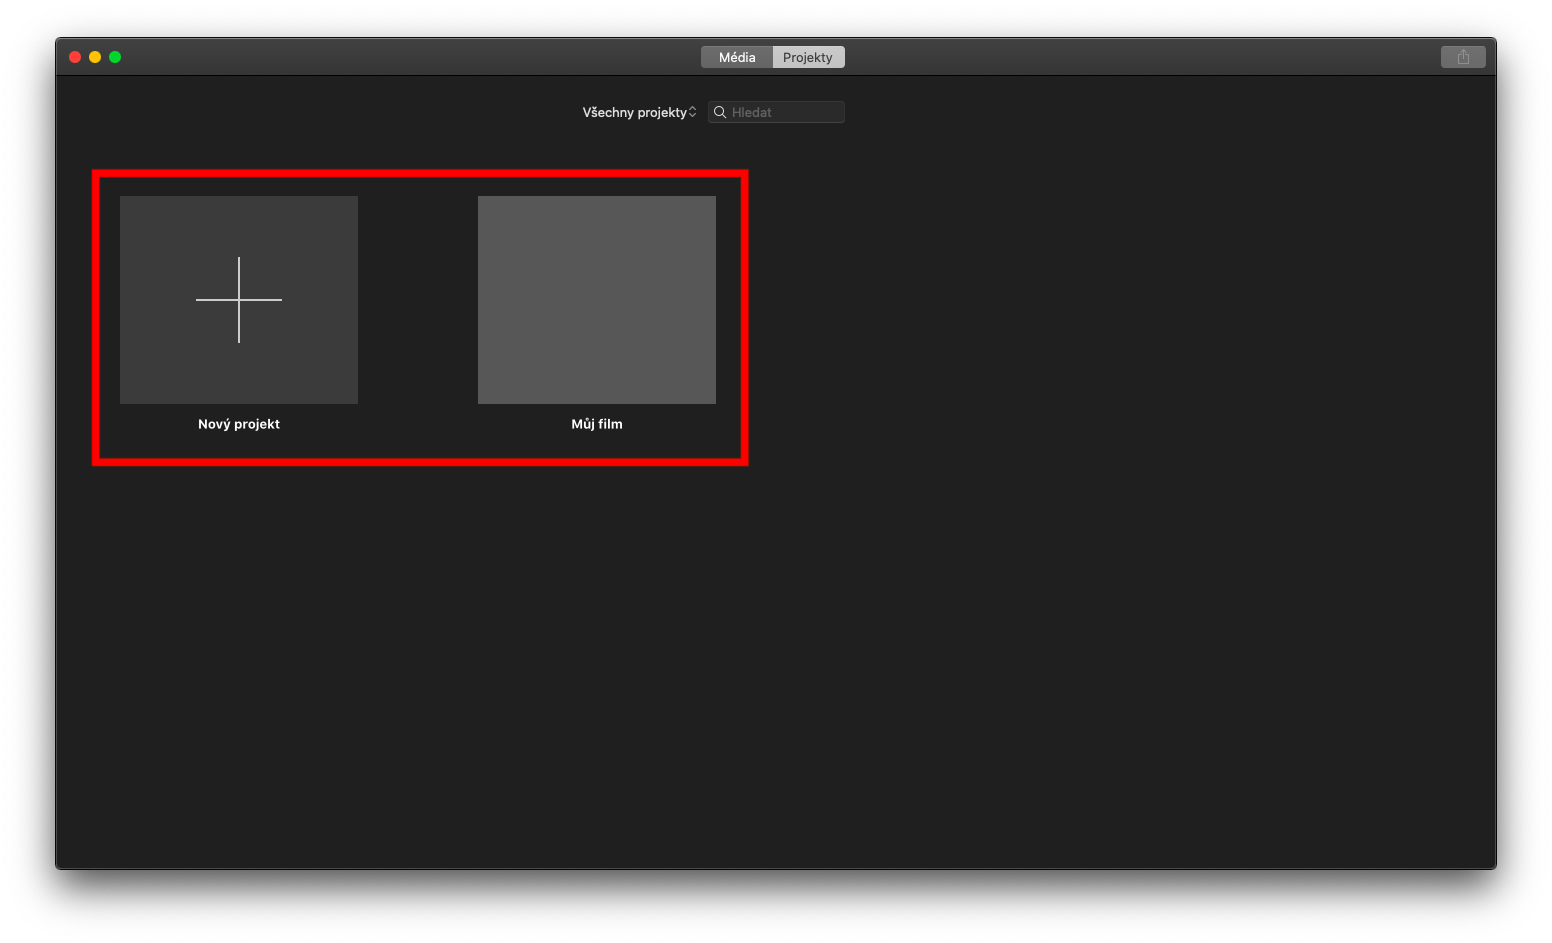
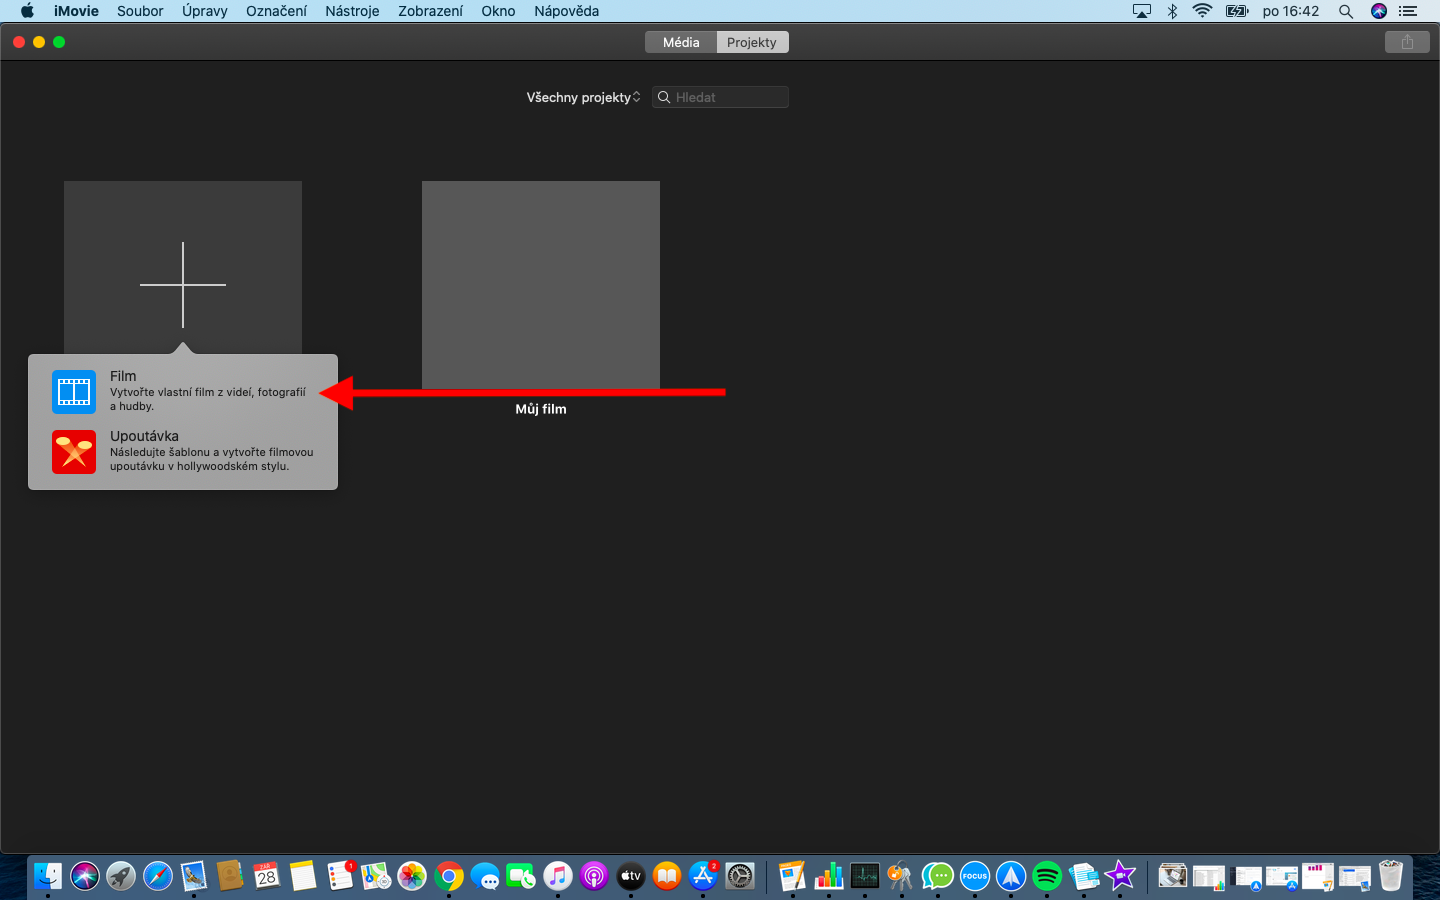
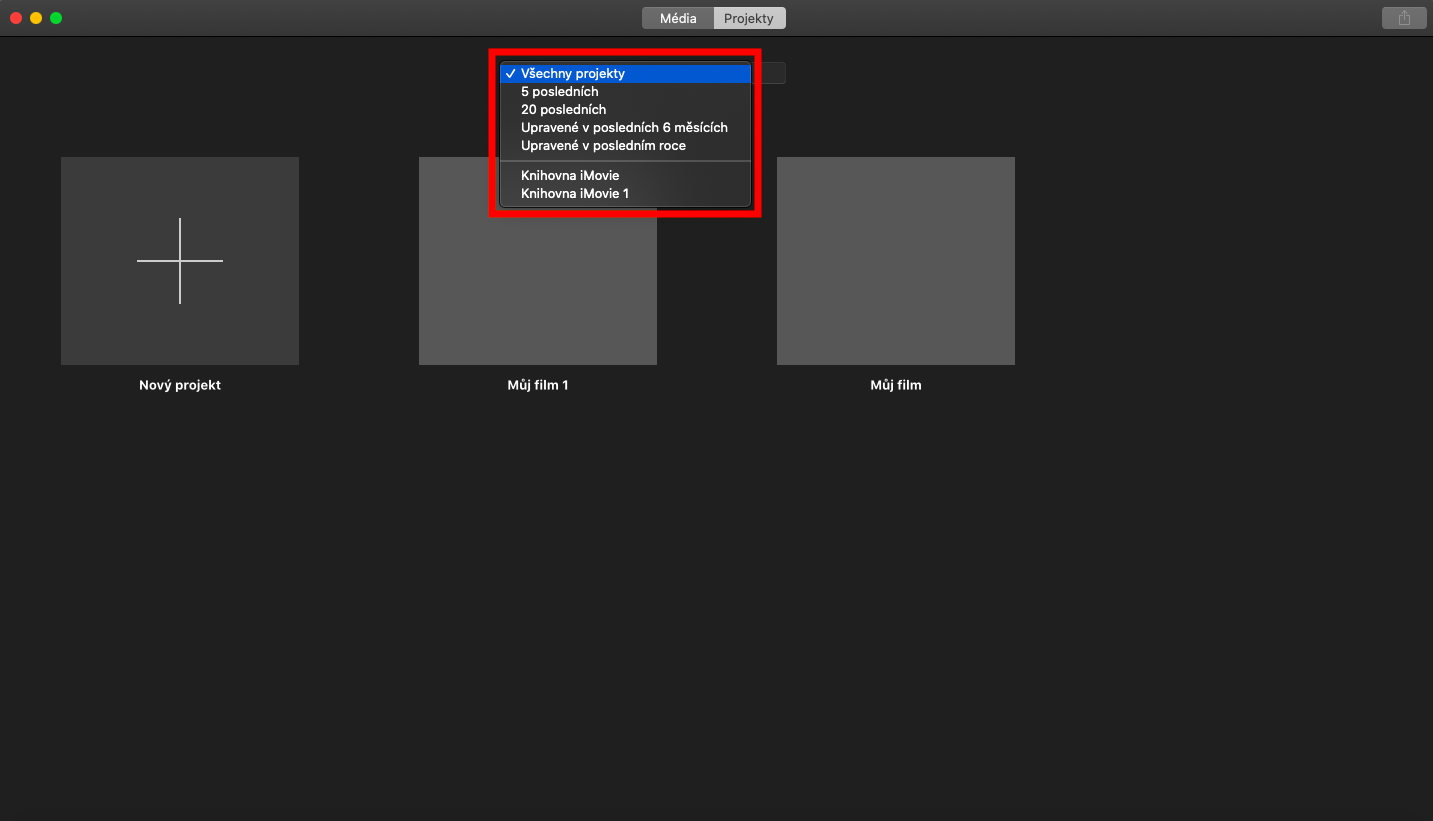
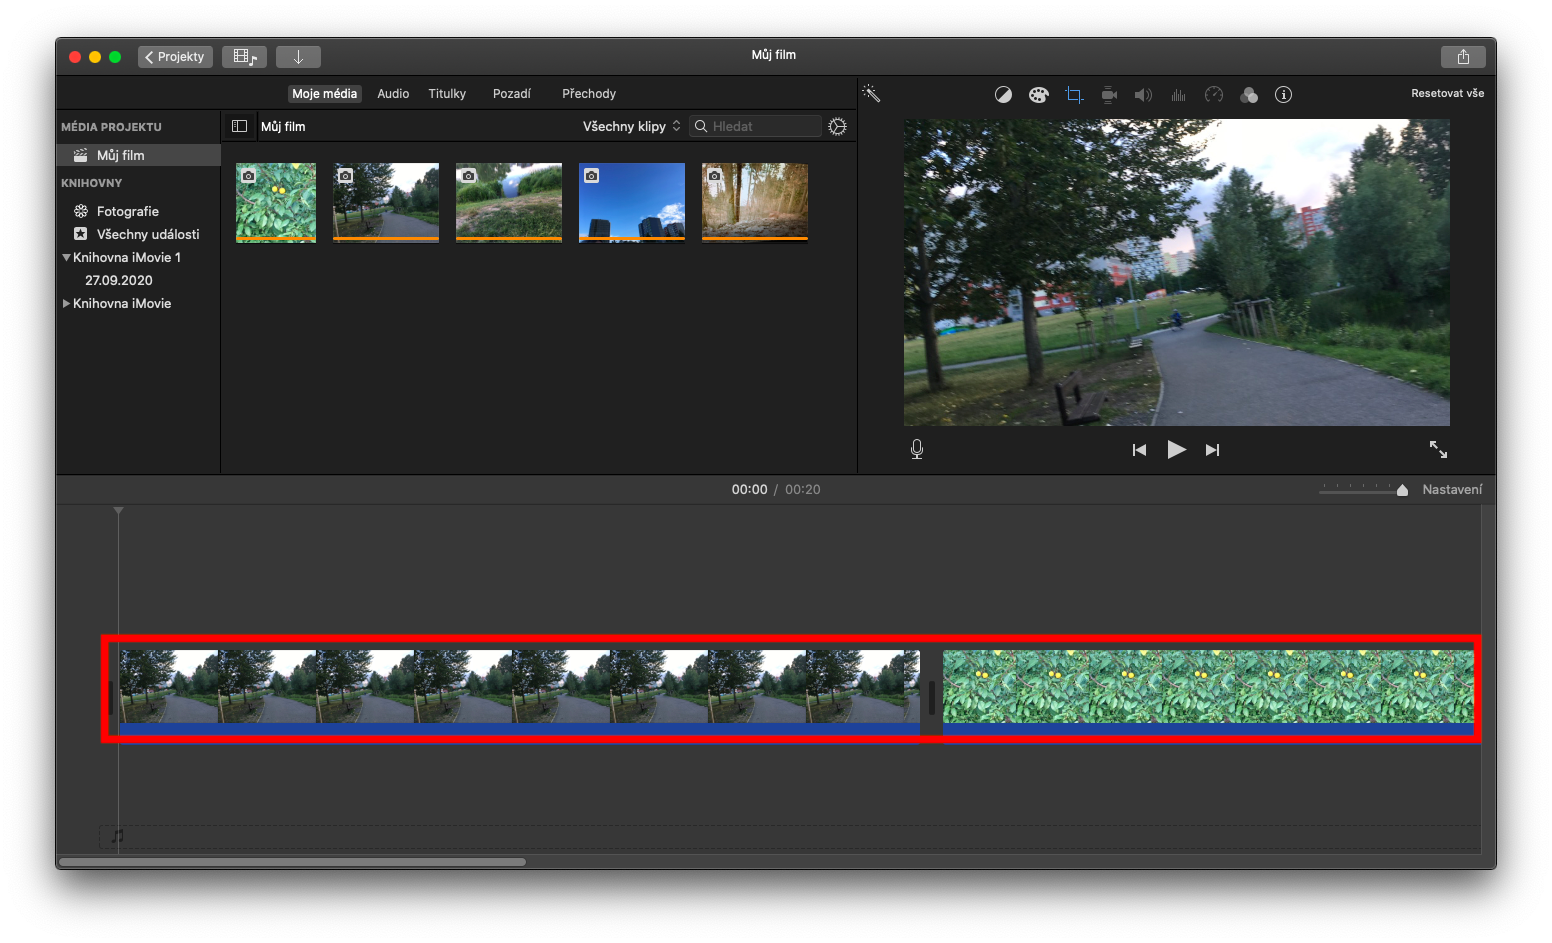
Creating a movie in iMovie starts with creating a new movie project. All projects are automatically saved continuously, so you can work uninterrupted. To create a new project, click New Project and select Movie. You create a project by gradually adding photos or clips from the library list or from your photo library, the resolution and frame rate of the movie project is determined by the first clip added to the timeline. If you want to work with an already created project in iMovie, click Projects on the bar at the top of the application window. Either search for the desired project by entering its name or part of it in the search field, or click on its preview in the list of projects. You can also specify the selection of projects in the drop-down menu on the left of the search bar. Double-click to open the project for editing. You can conveniently browse the contents of the project - videos or photos - on the timeline at the bottom of the application window.
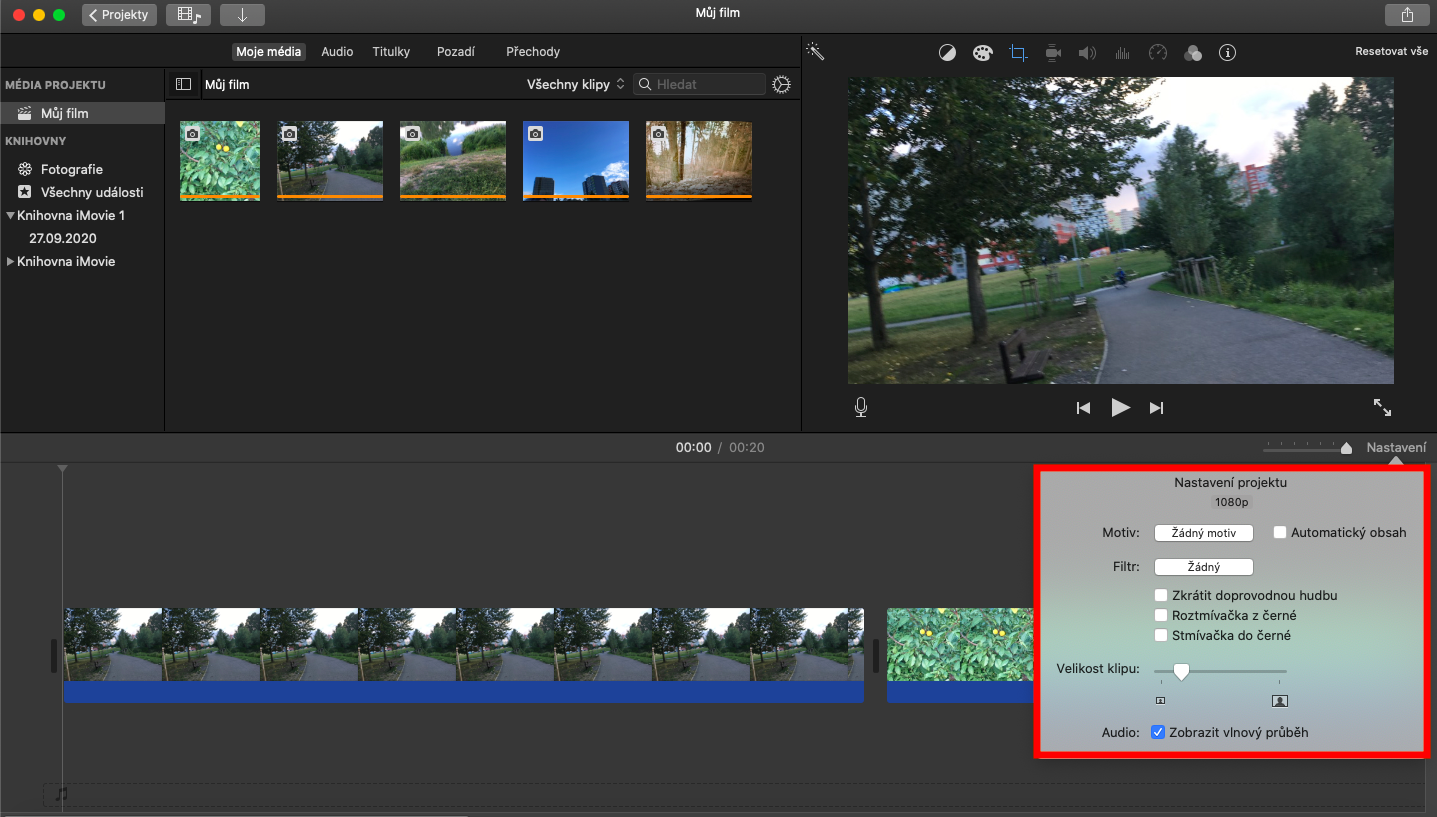
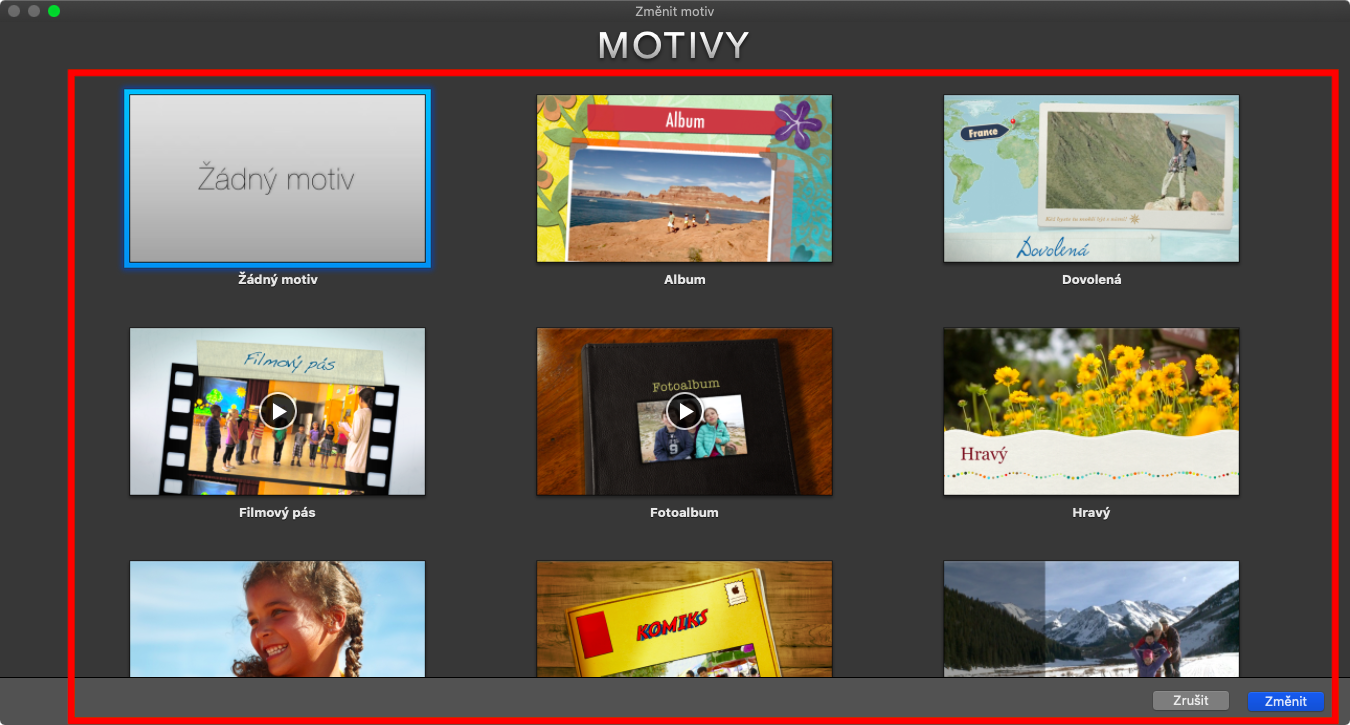
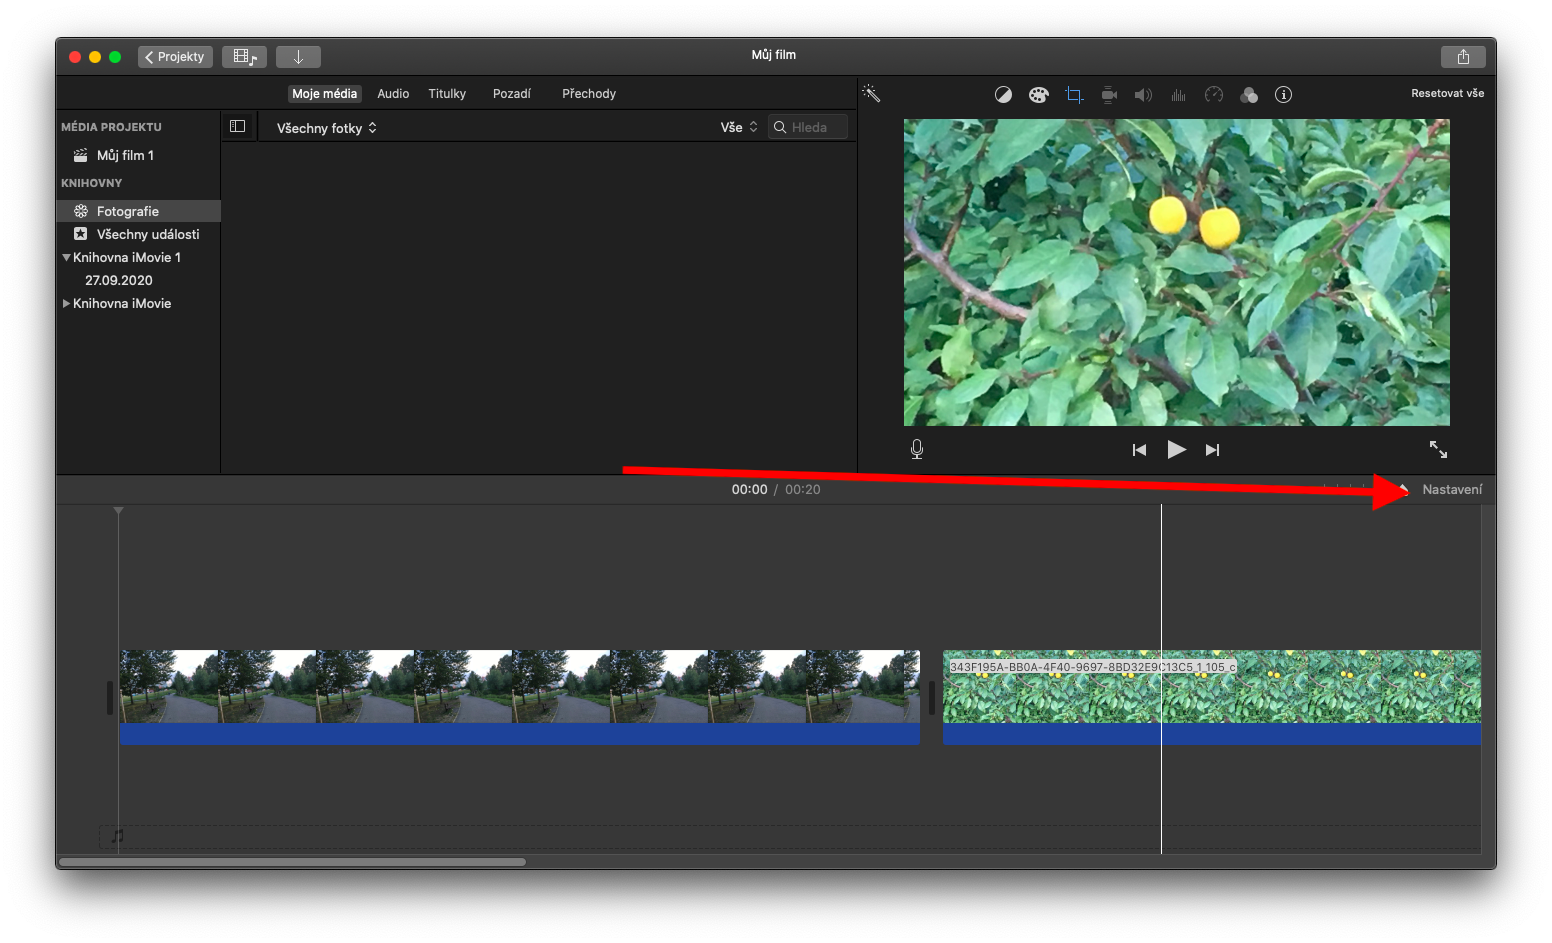
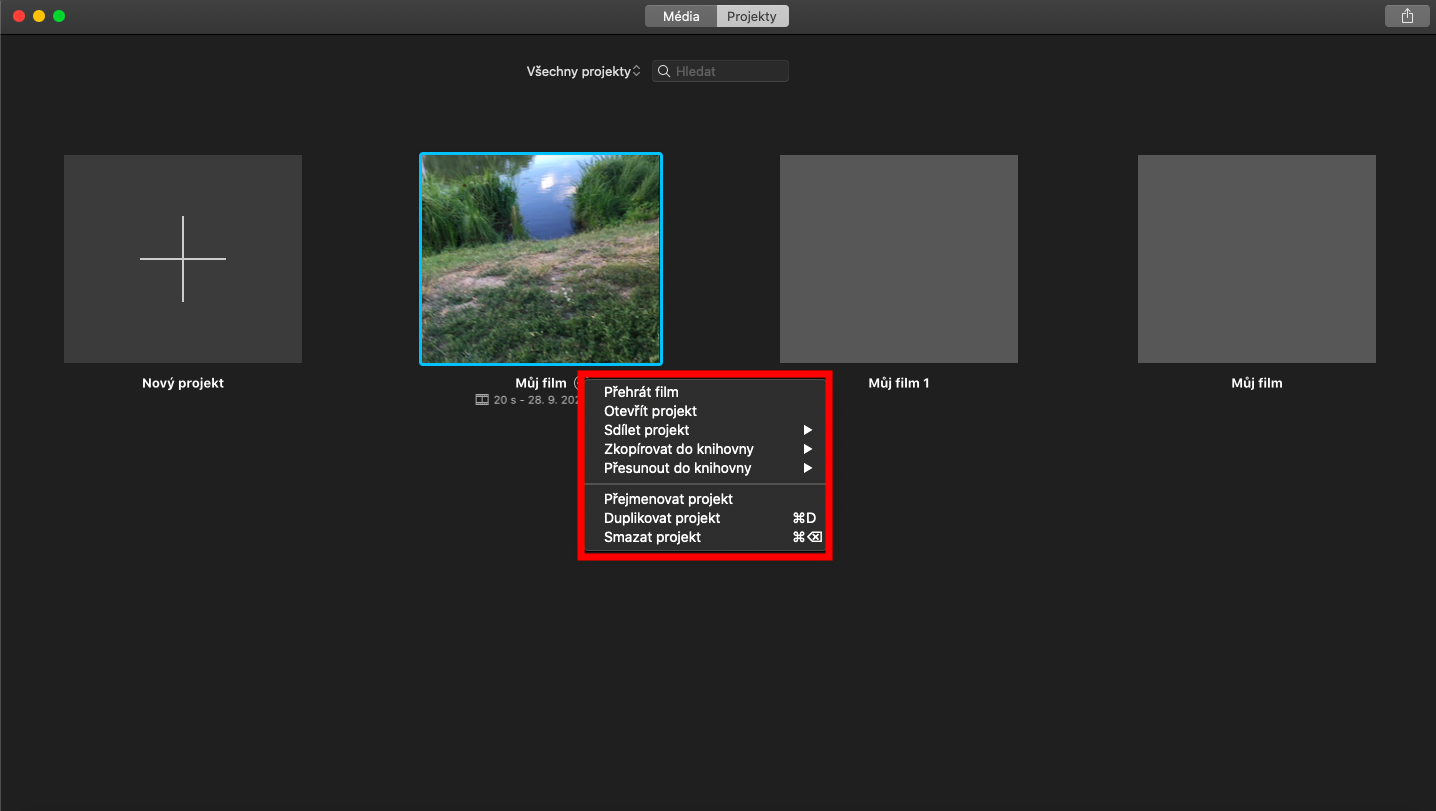
If you want to share, copy, move or perhaps rename a project, click the Projects button in the upper left corner of the application window to return to the project overview. Click on the three dots icon to the left of the name of the selected project and select the desired action. iMovie also allows you to apply titles or transitions – so-called themes – to add a unique touch to your projects. To select a theme, first open the desired project in iMovie, then click Settings in the upper right corner of the timeline. Click Theme in the menu and select the desired theme from the preview.
