This week in our native Apple apps column, we're taking a look at GarageBand on the Mac. In the last part we covered the basics of working with tracks, today we will discuss the sound balance of tracks, working with recording and locking tracks for further editing. In the following part, we will take a closer look at working with regions.
It could be interest you
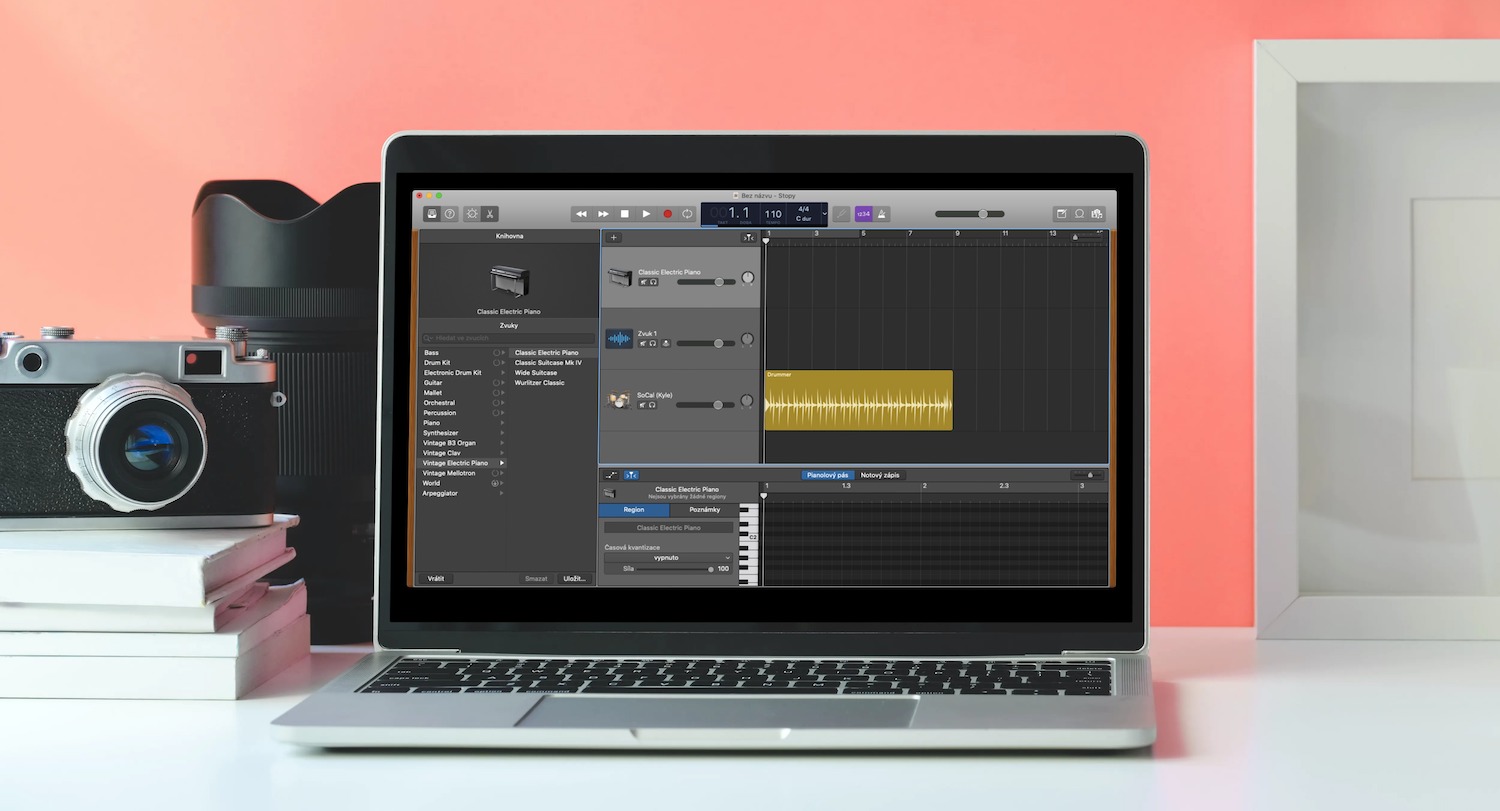
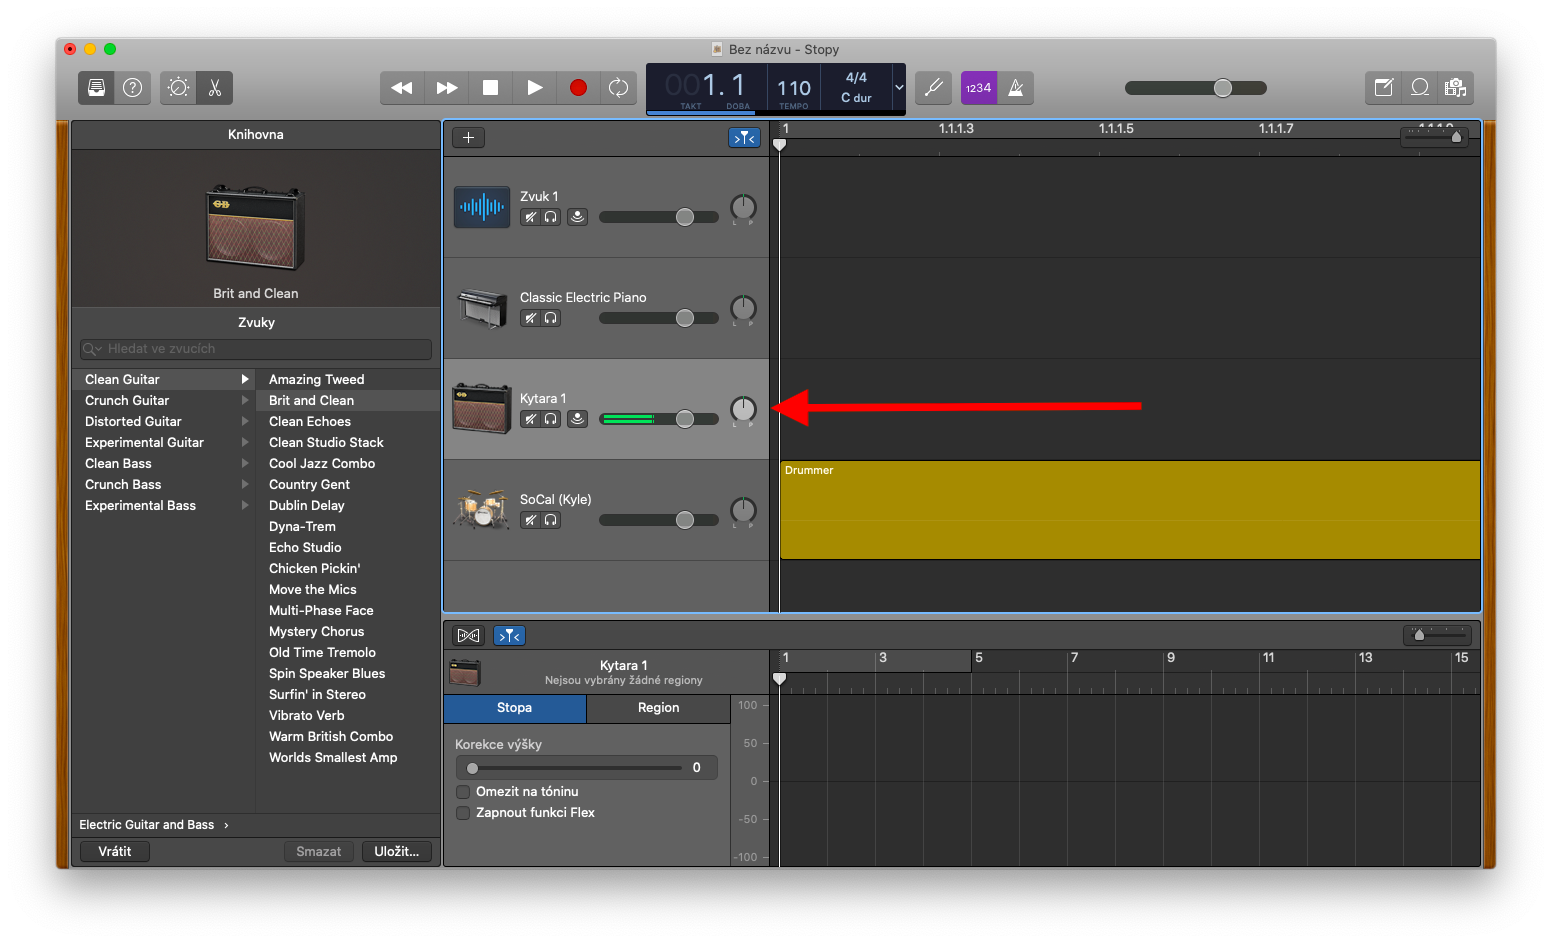
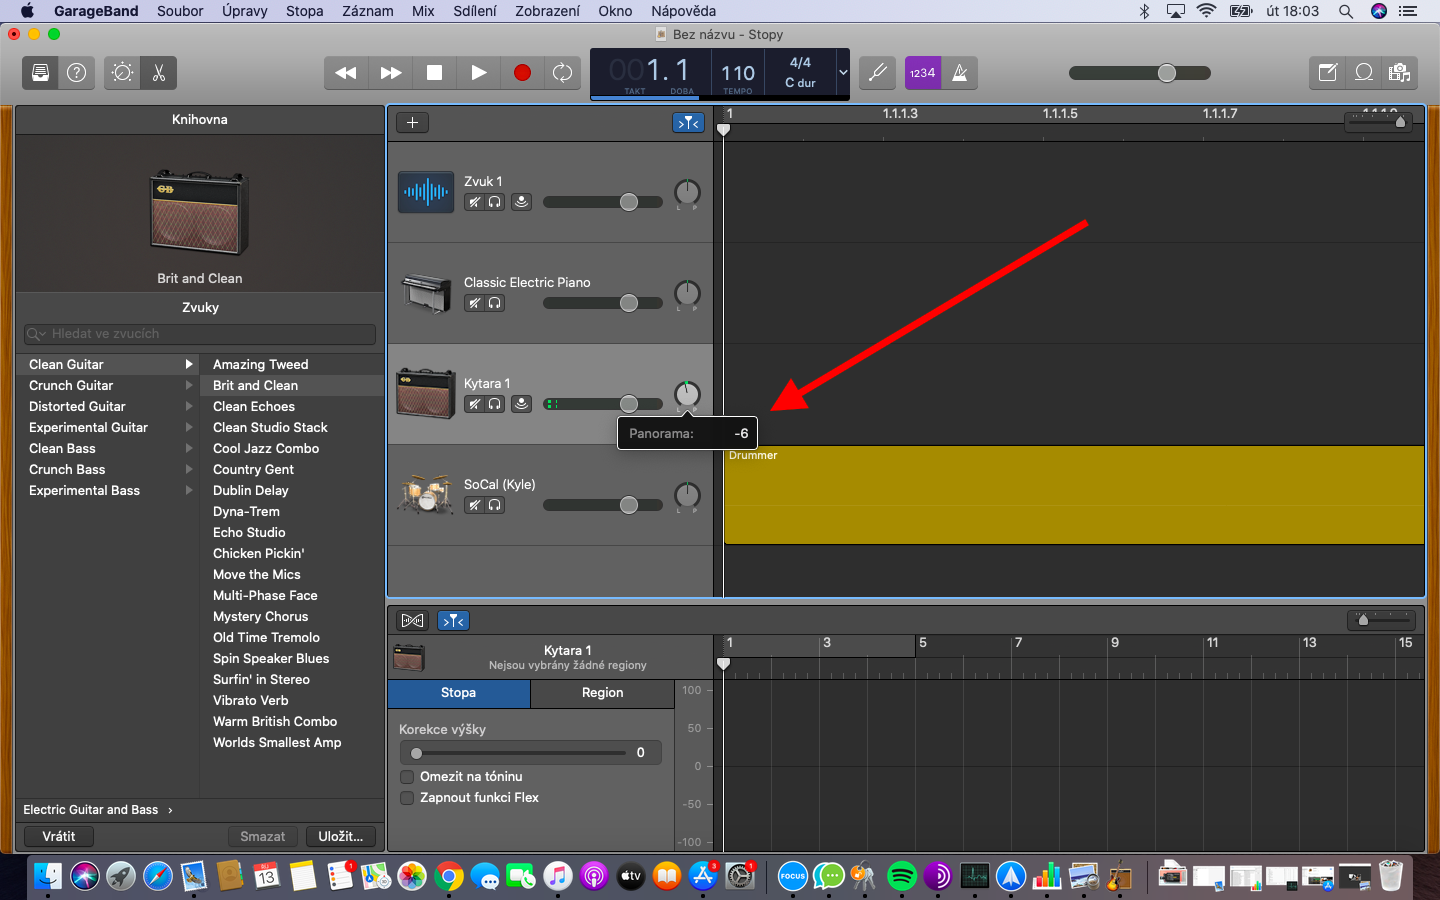
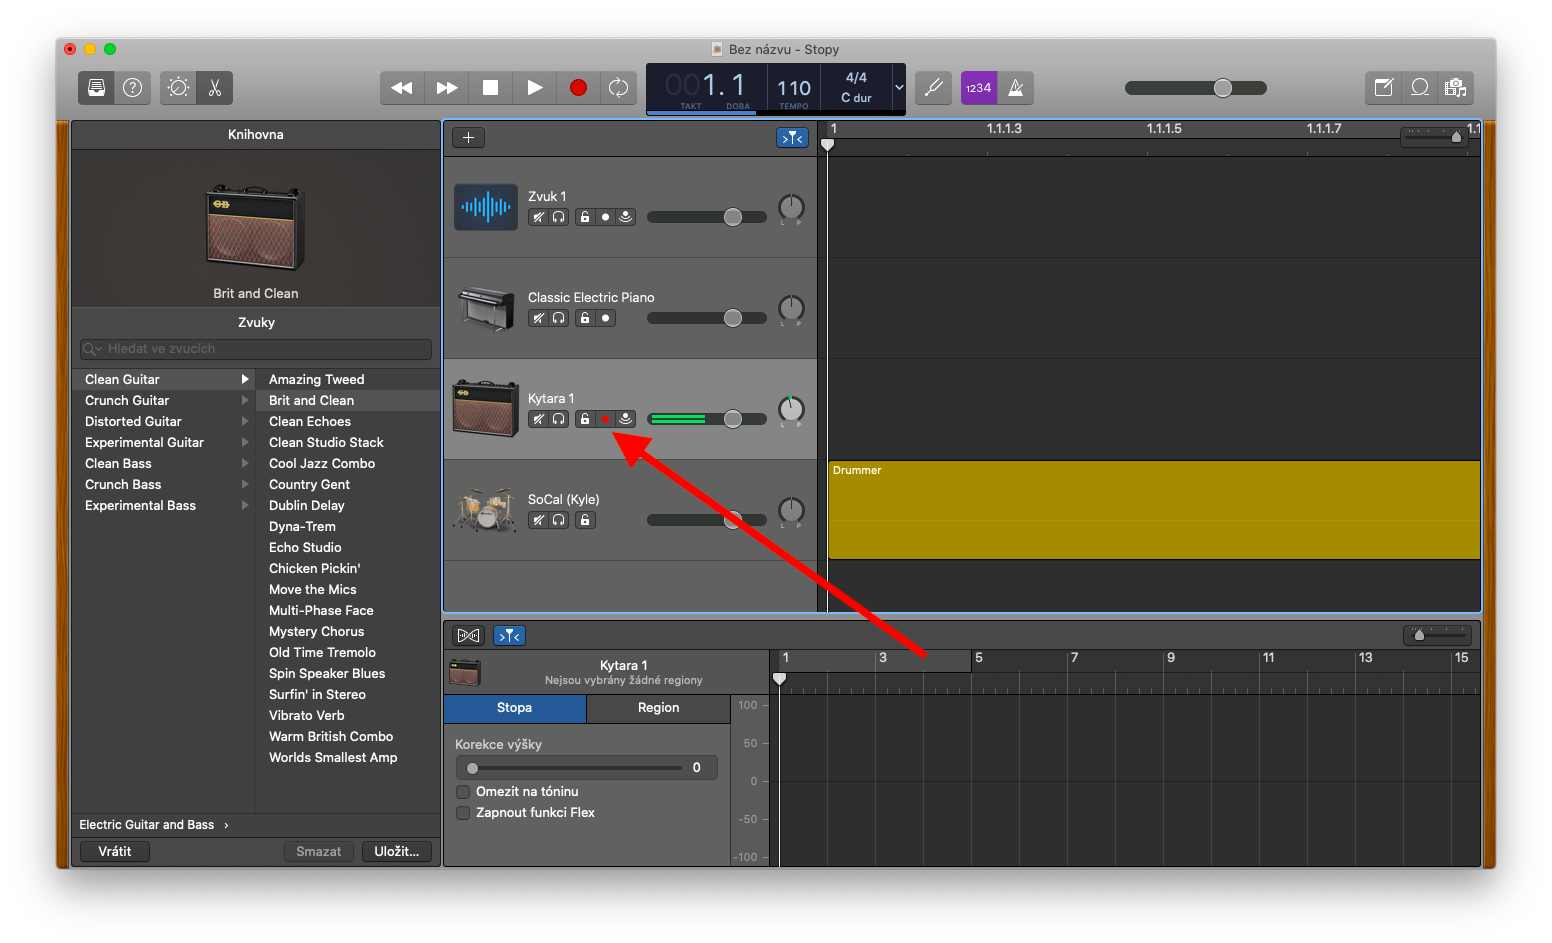
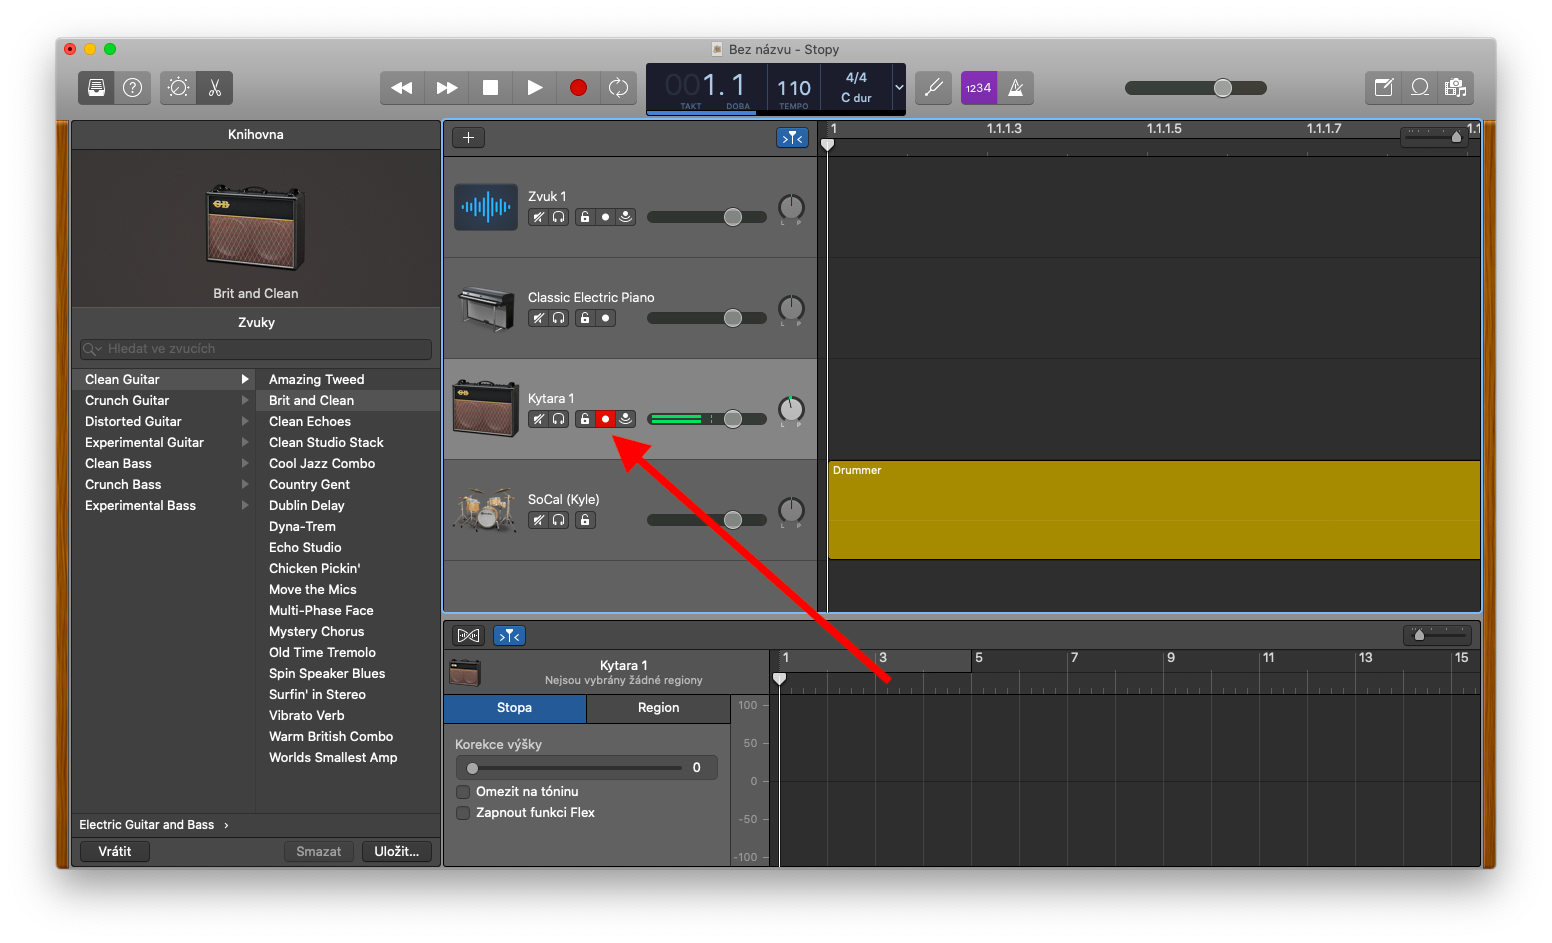
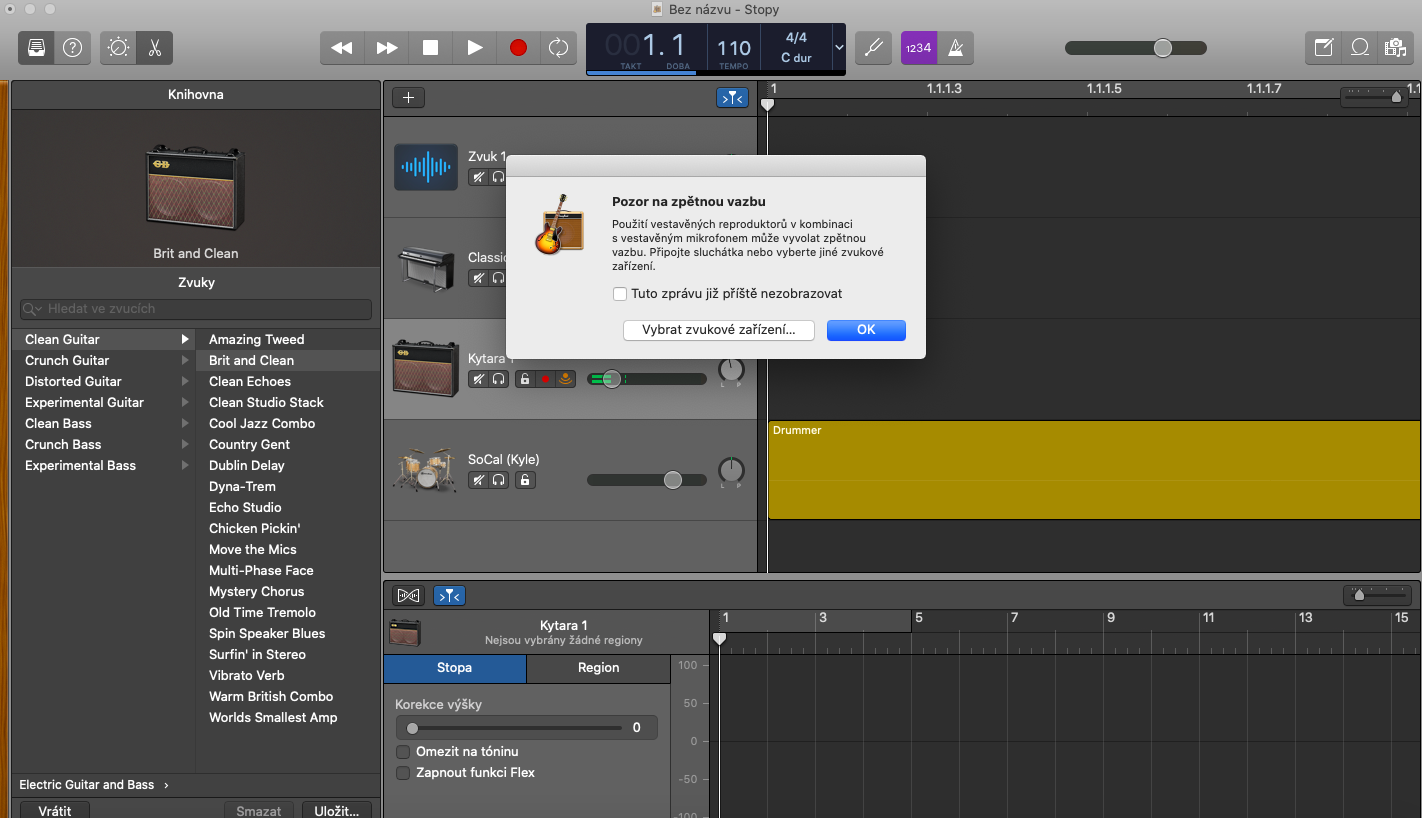
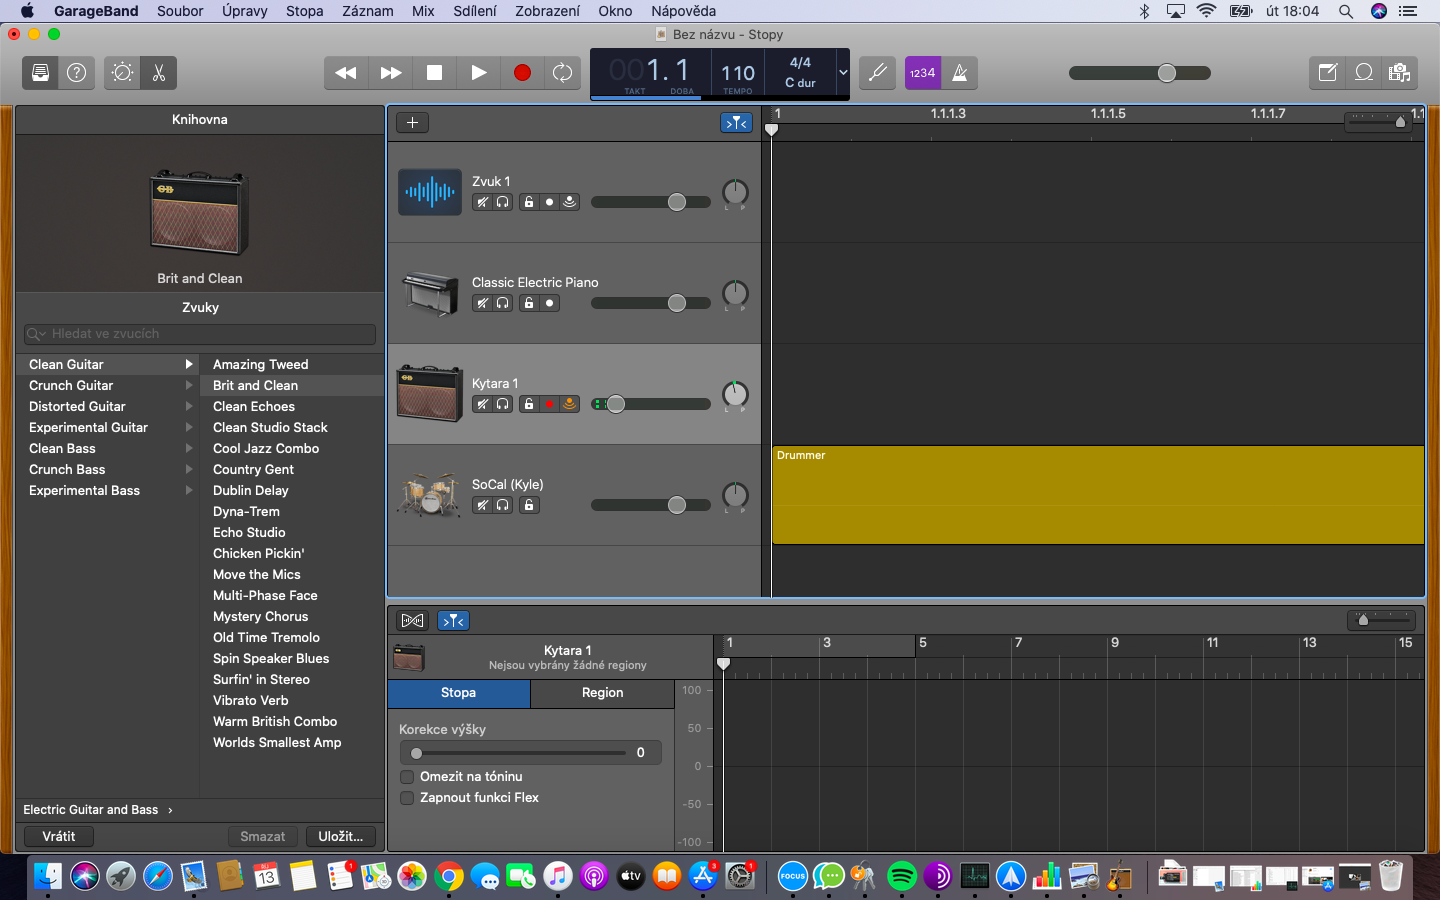
When working with tracks in GarageBand on Mac, you can also specify whether the track's audio will be heard in the center, right, or left in stereo. You can adjust the position or balance for each track separately. To set the position of individual tracks, turn the round Pan button in the desired direction - the position is marked with a dot on the rotary button. To reset the center position of the Pan button, press Alt (Option) and click the button. To prepare a track for recording, click the red Activate recording button (see gallery) in the header of the selected track. You can pause recording by clicking the button again. You can also turn on input monitoring for individual tracks in GarageBand on Mac - you can listen to the sound or input of a musical instrument or recording from a microphone during playback and recording. To activate input monitoring, click the dot icon with two arcs in the track header.
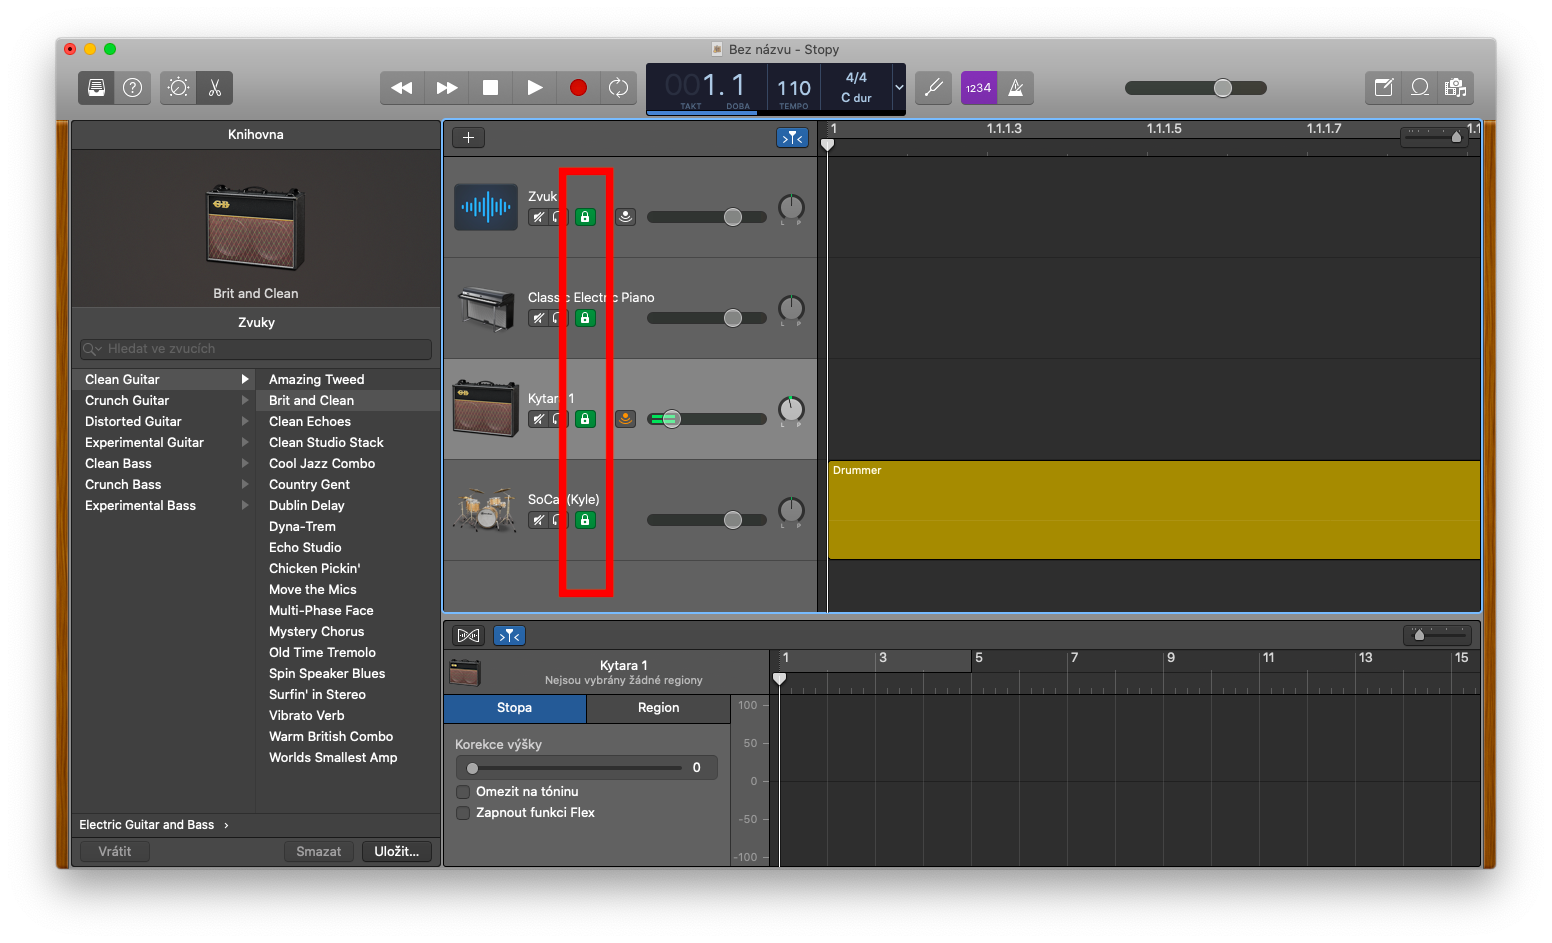
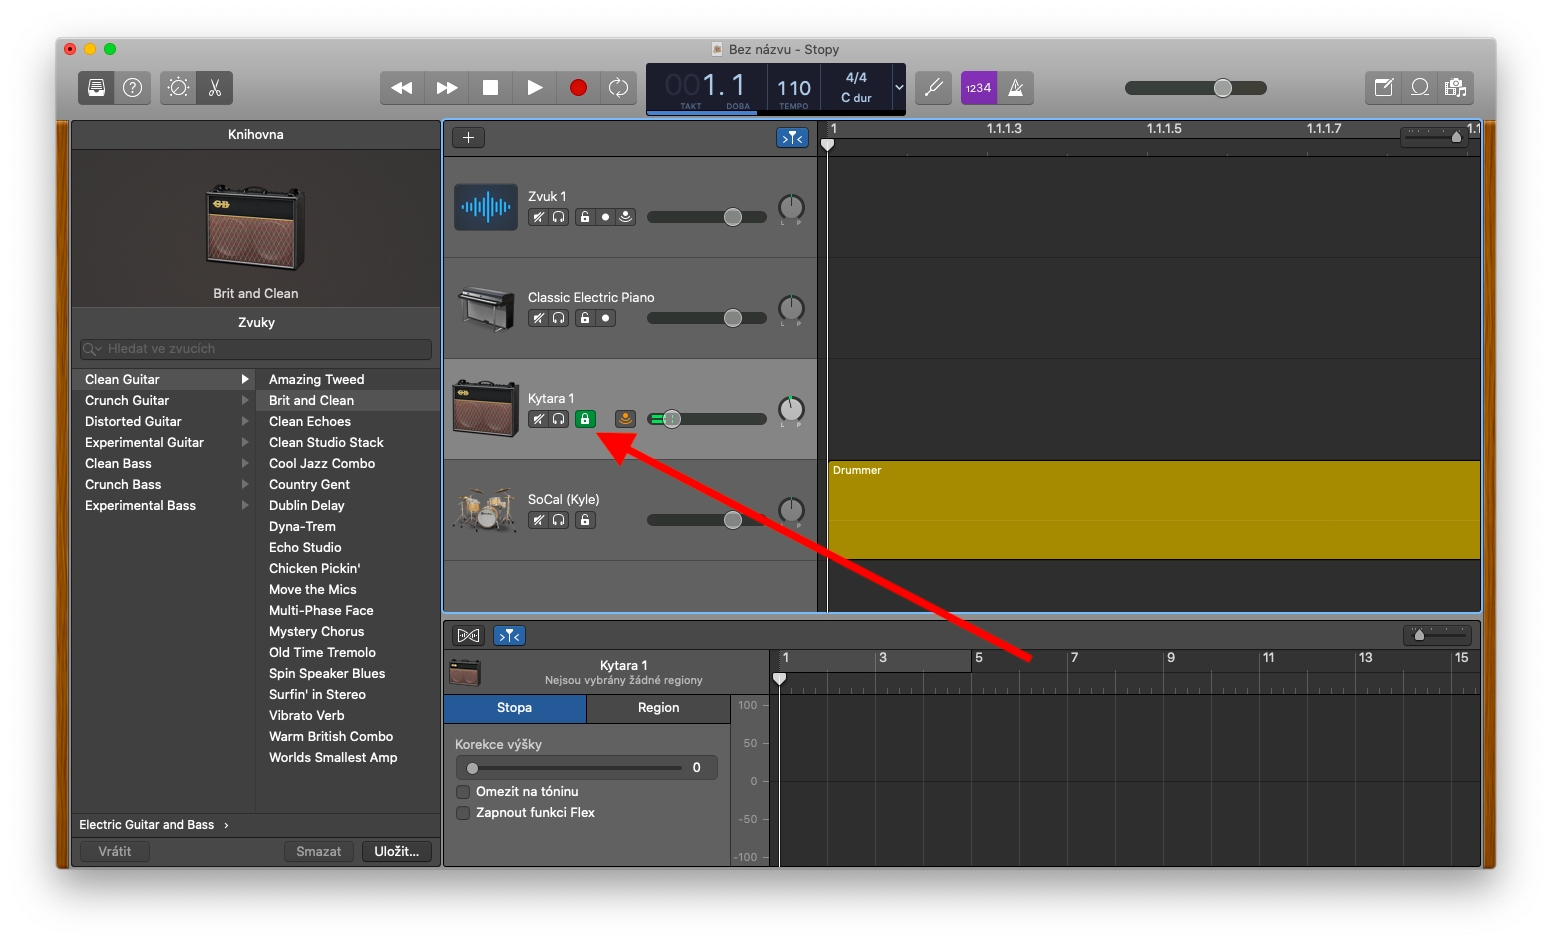
If you want to prevent unwanted changes to your recorded tracks, you can easily lock them for further editing in GarageBand on Mac. In the header of the track you will find an open lock icon - click on it to lock the track. If you don't see the aforementioned icon in the track header, click Track -> Configure Track Header -> Show Lock Button on the toolbar at the top of your Mac screen. You can recognize a locked track by the green icon of the locked lock. If you want to lock multiple tracks at once, click and hold the lock icon and drag the pointer over all the tracks you want to lock.
