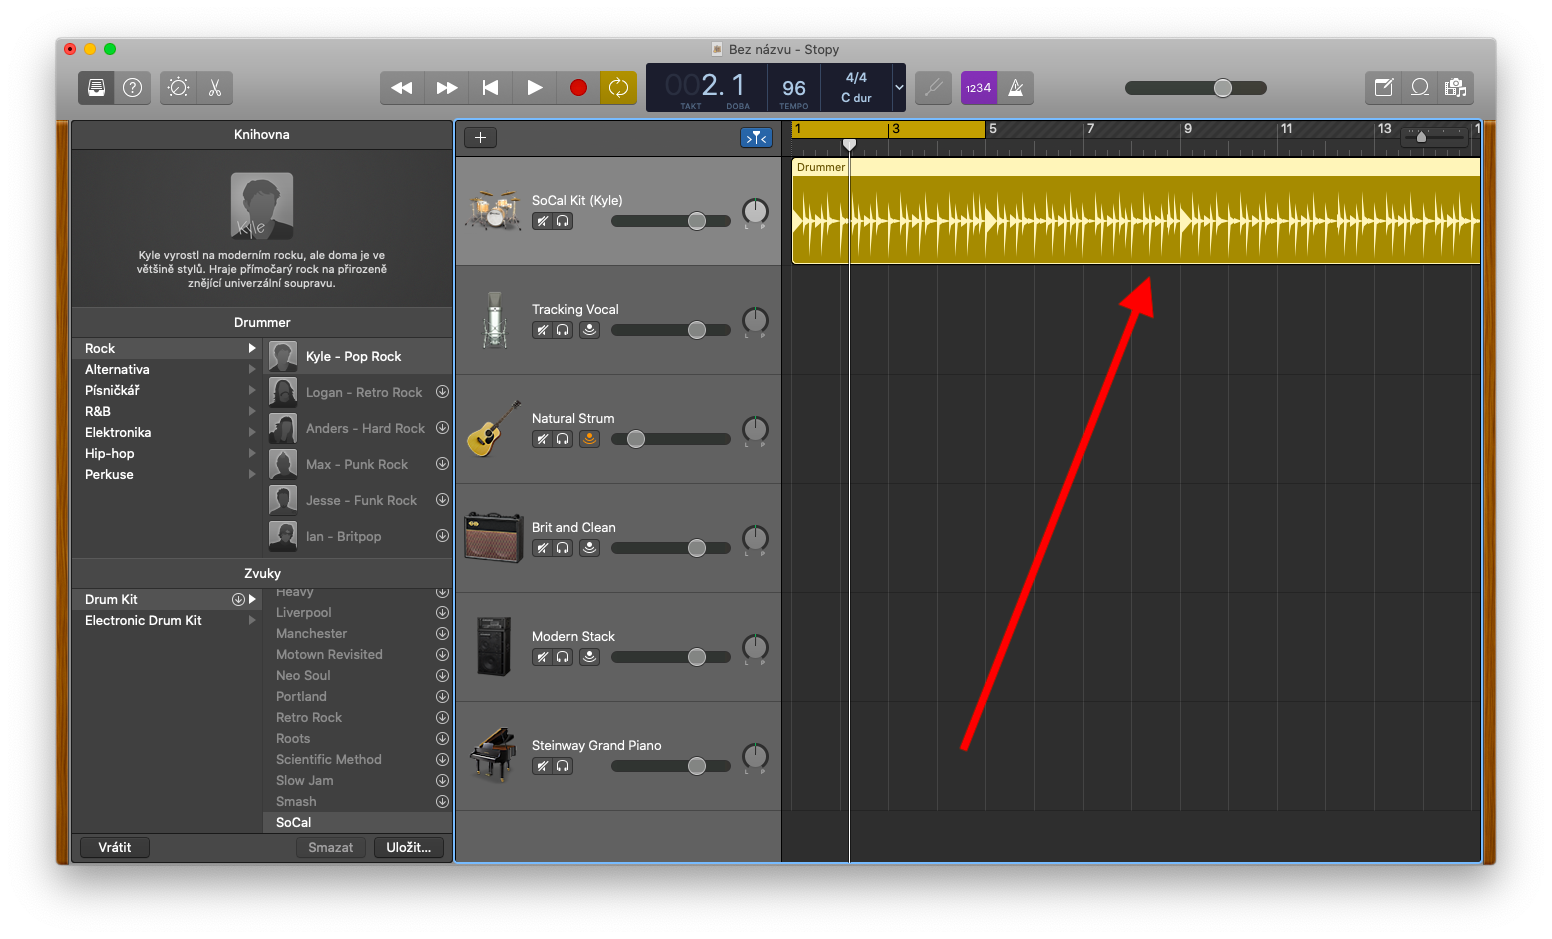
In today's installment of the series on Apple's native apps, we're going back to GarageBand on Mac - this time we're going to take a closer look at working with regions. Regions are the building blocks of the project – they are displayed as rounded rectangles in the track area of the application window.
It could be interest you
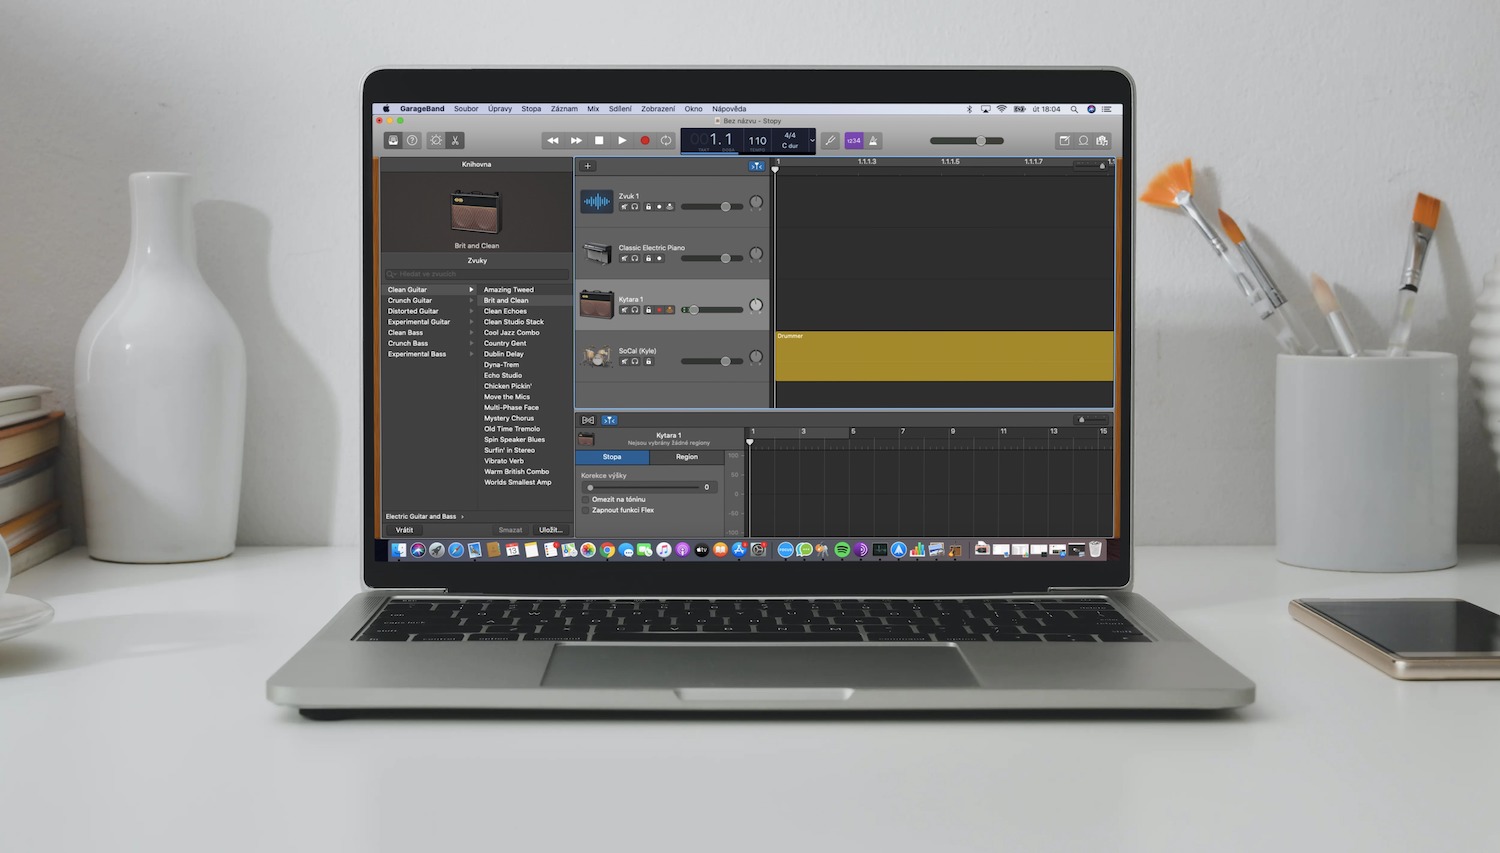
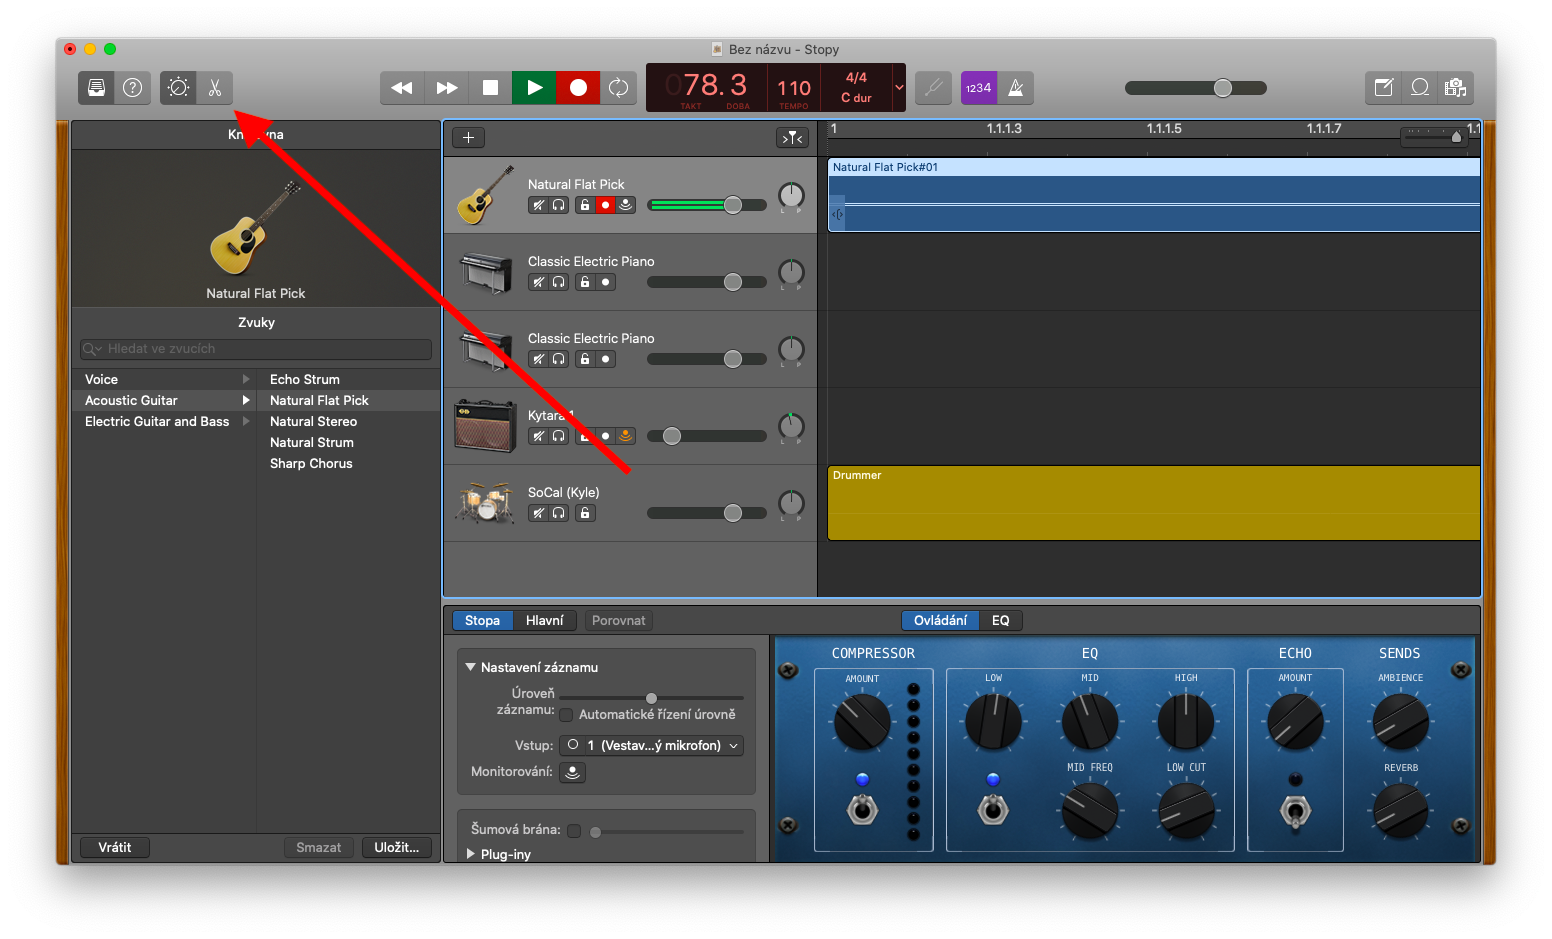
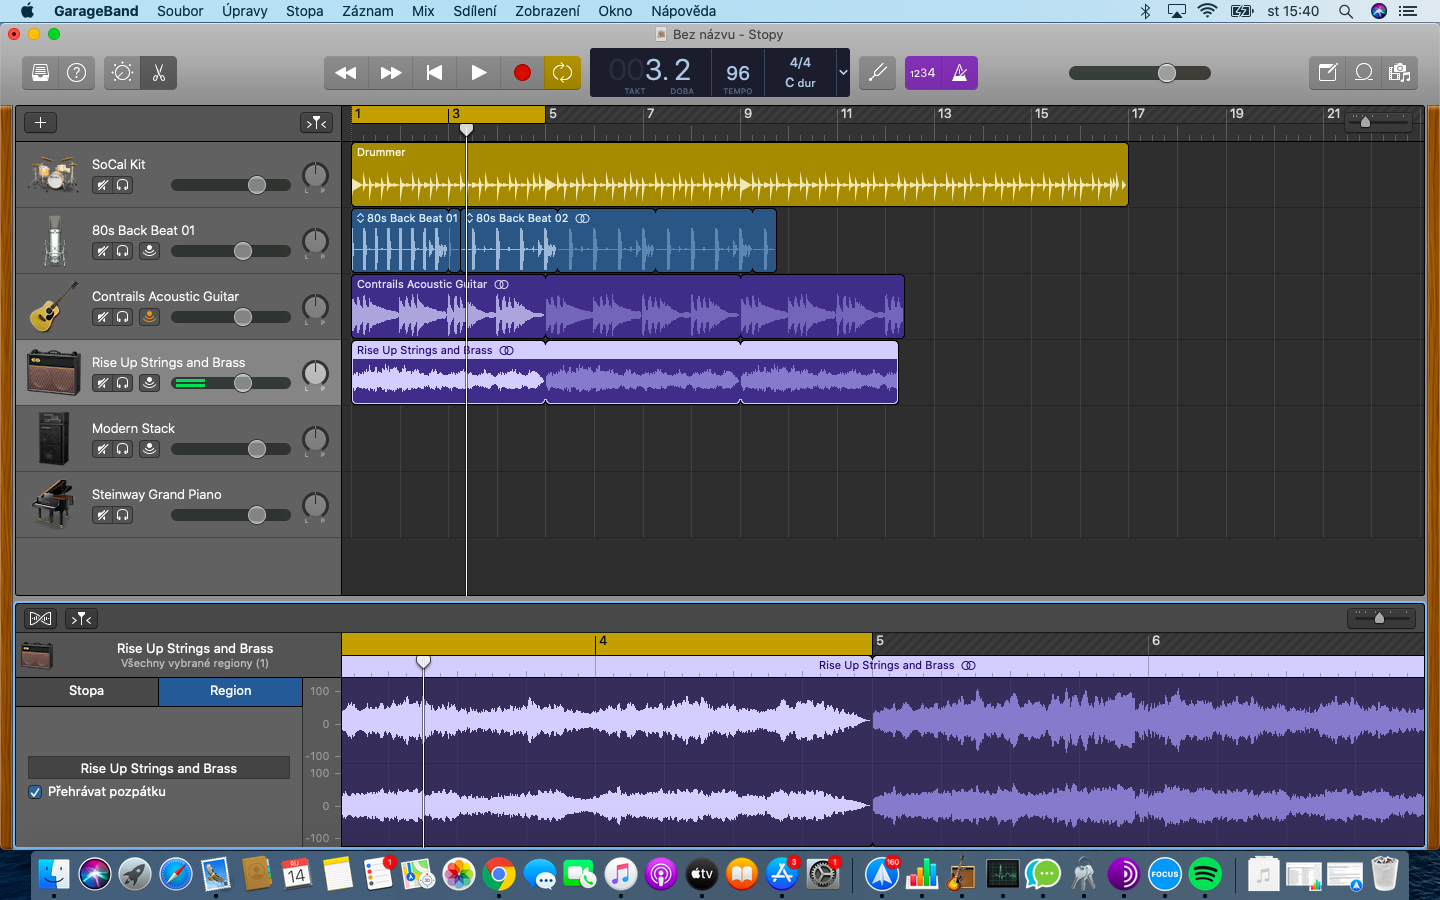
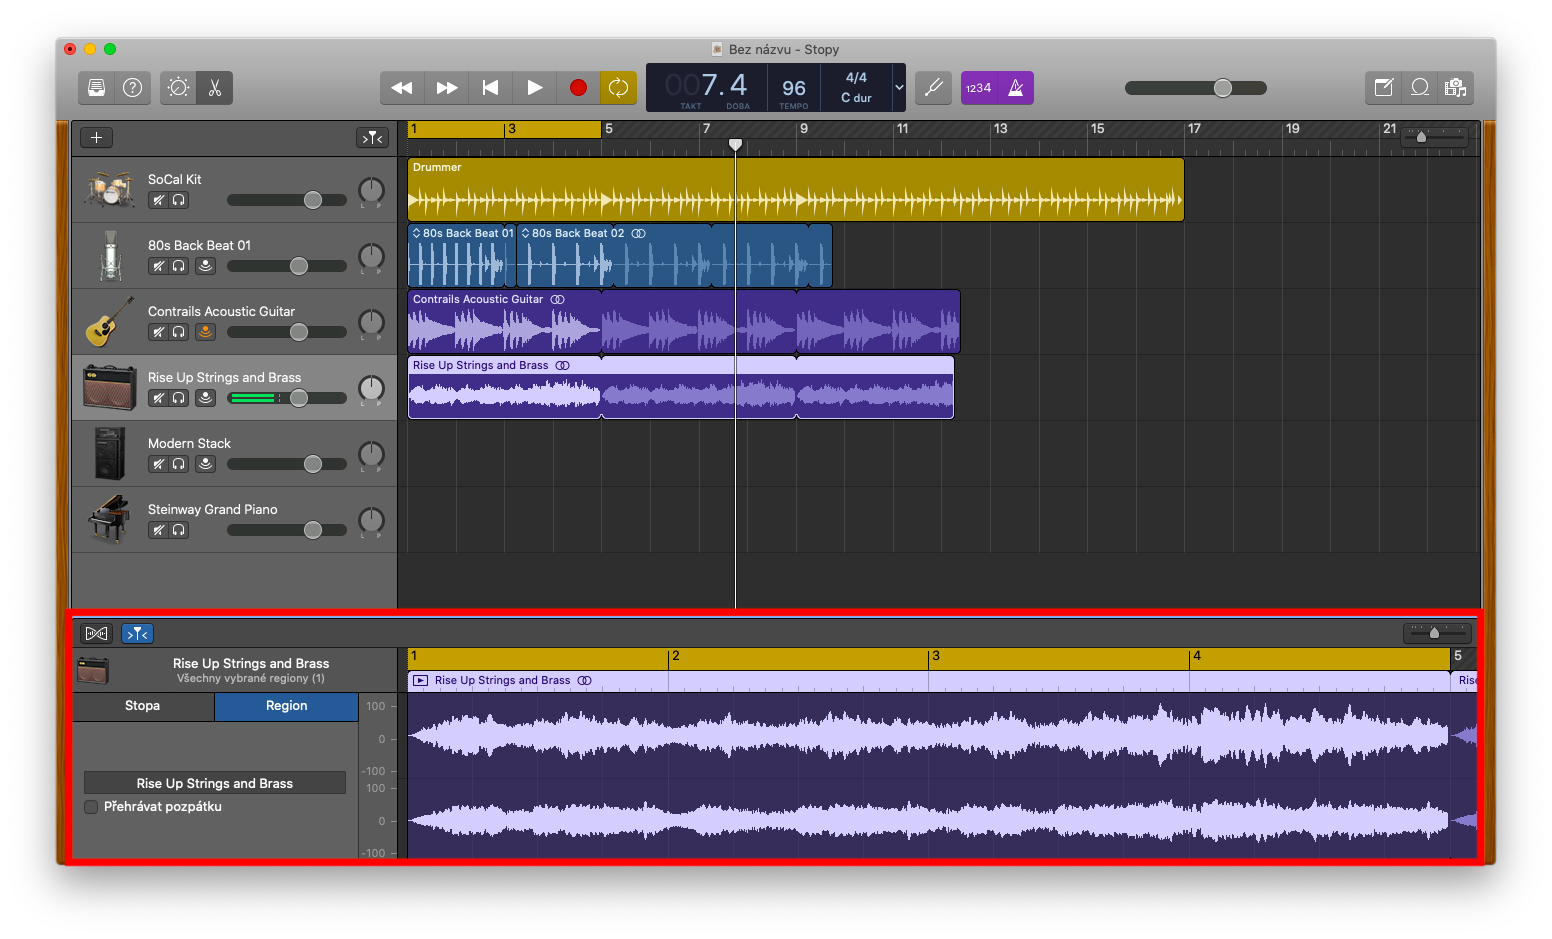
Depending on the type of content, in GarageBand on Mac we distinguish between audio regions, MIDI regions and Drummer regions. Working with regions takes place in the track area, where you can move, edit or copy individual regions in different ways. The sound editor is used to edit regions from recordings, Apple Loops or imported sound files. In the audio editor, you will find a more detailed view of the audio waveform part of the audio track. To open the sound editor, select the desired sound track and click the scissors icon in the upper left part of the application window. Another option is to click View -> Show Editors on the toolbar at the top of your Mac screen, you can also double-click to select a region. In the upper part of the editor you will find a ruler on which time units are displayed. You will then find additional controls in the menu bar.
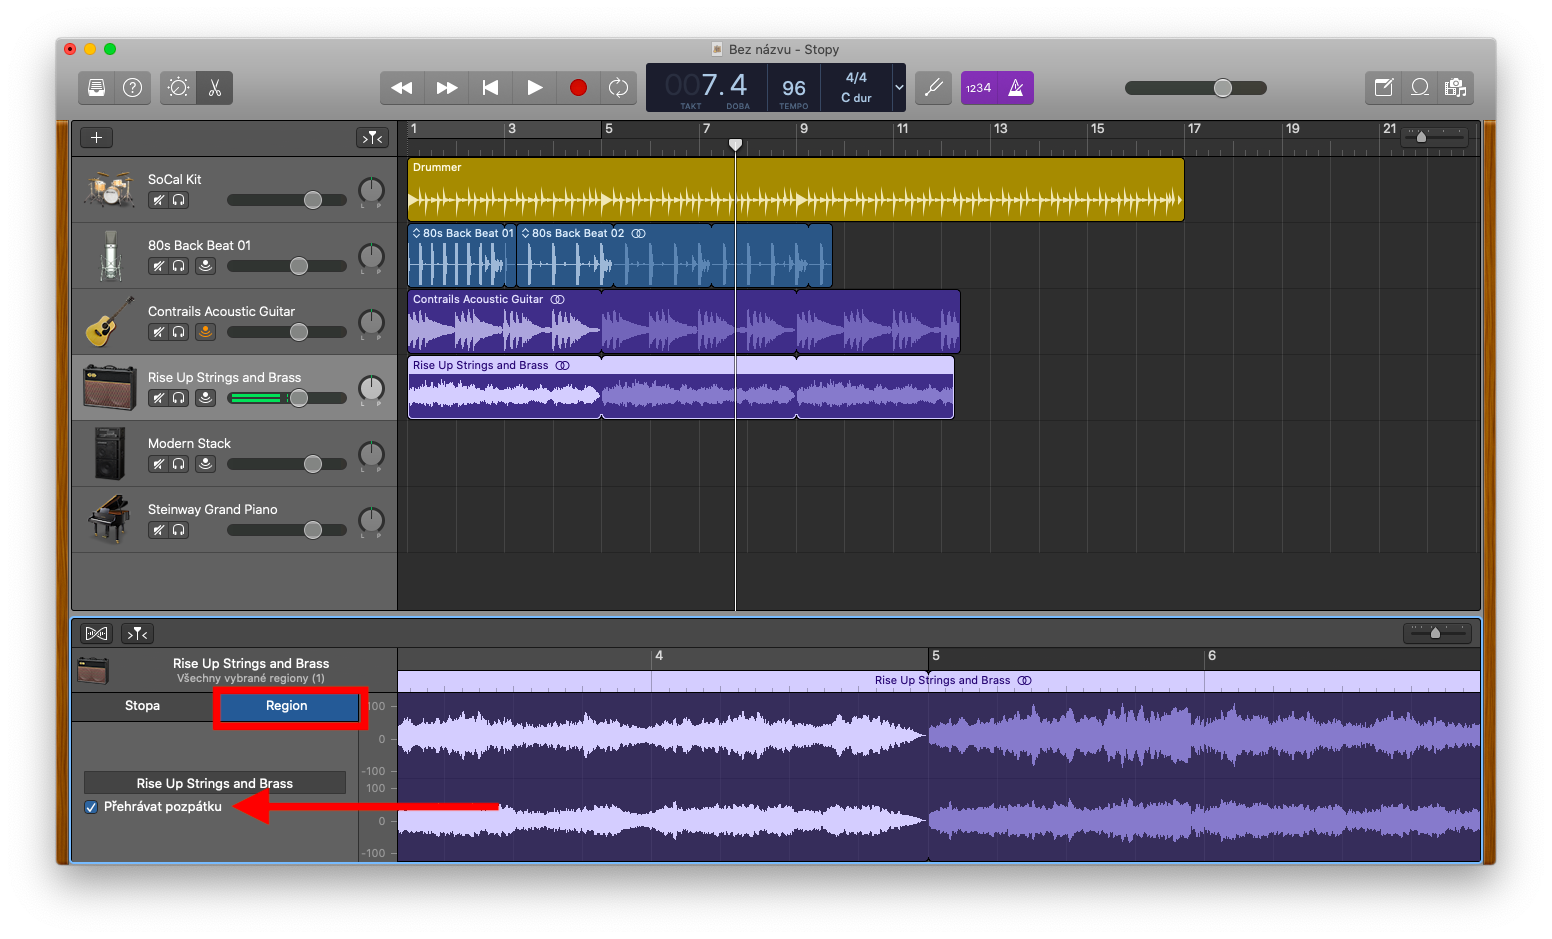
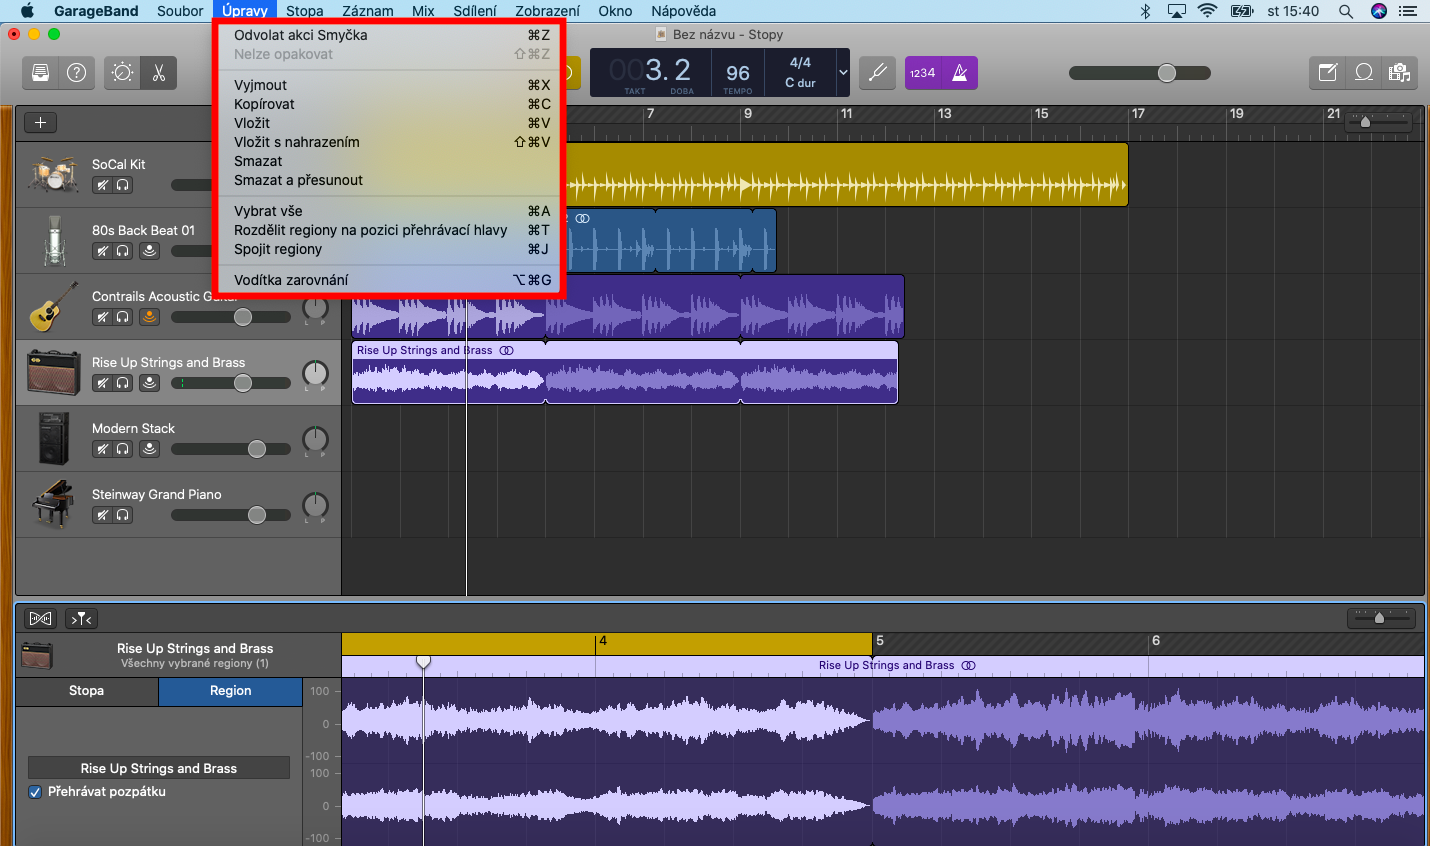
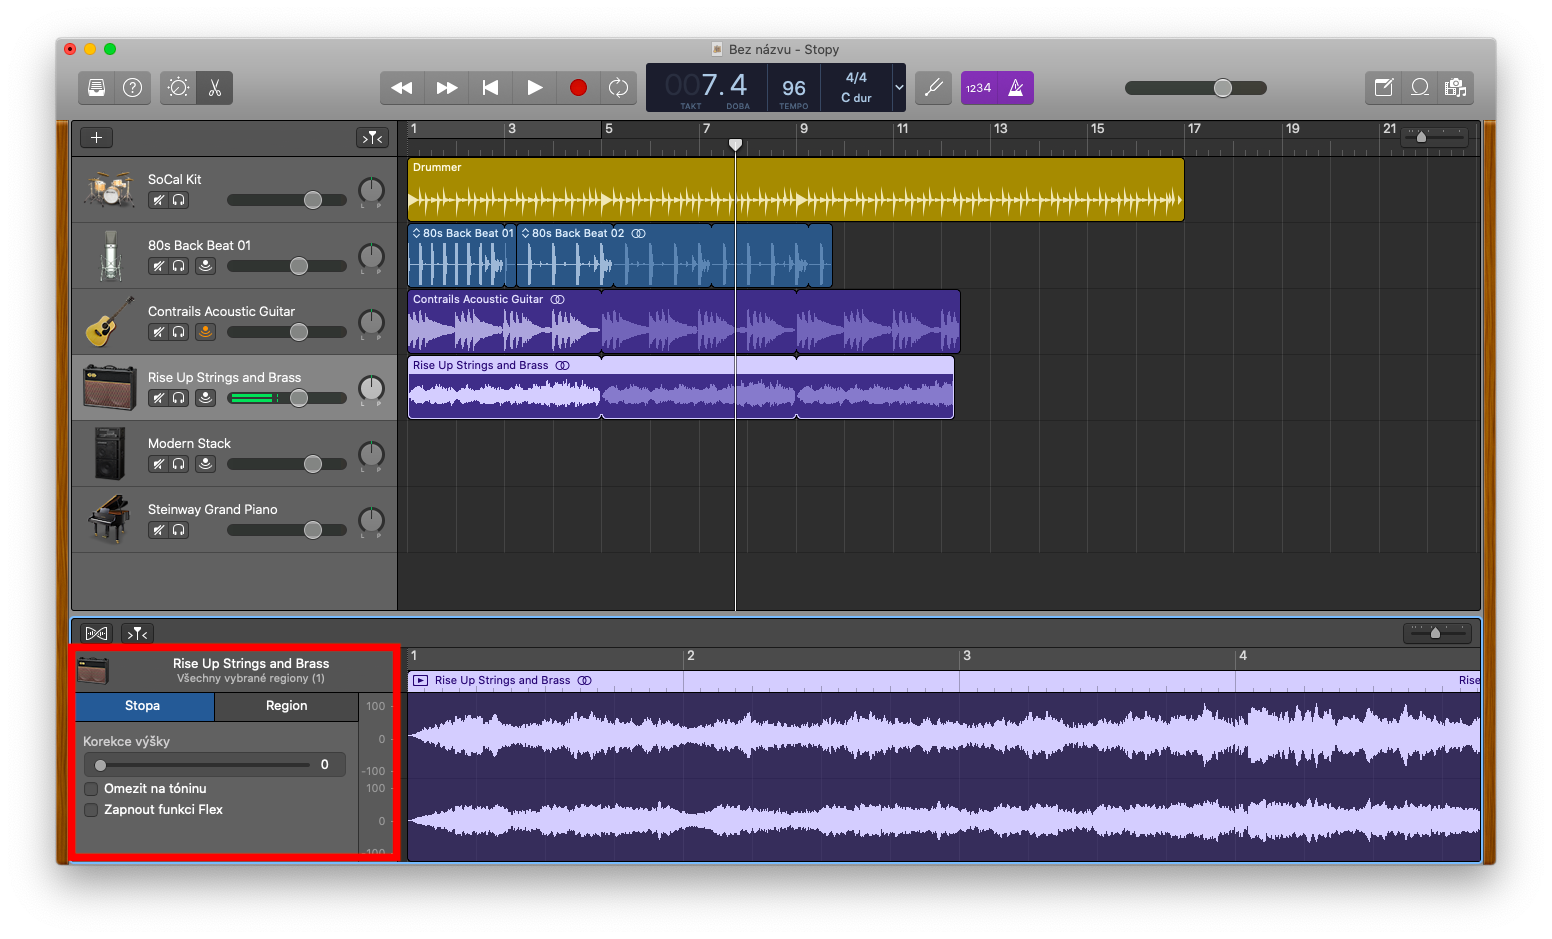
If you click the Track tab on the left side of the editor, you can check the Limit to key box to limit the pitch correction to the notes in the key of the project. Check the Enable Flex checkbox to enable Flex adjustments for the selected track, using the Pitch Correction slider you can specify the level of pitch correction applied to regions of the track. Check the Play backwards box on the Region tab to set the region to play backwards. To further work with regions, you can use the standard menu menu on the toolbar at the top of your Mac screen - click to select the desired region, then click Edit on the toolbar, where you can choose other actions.
