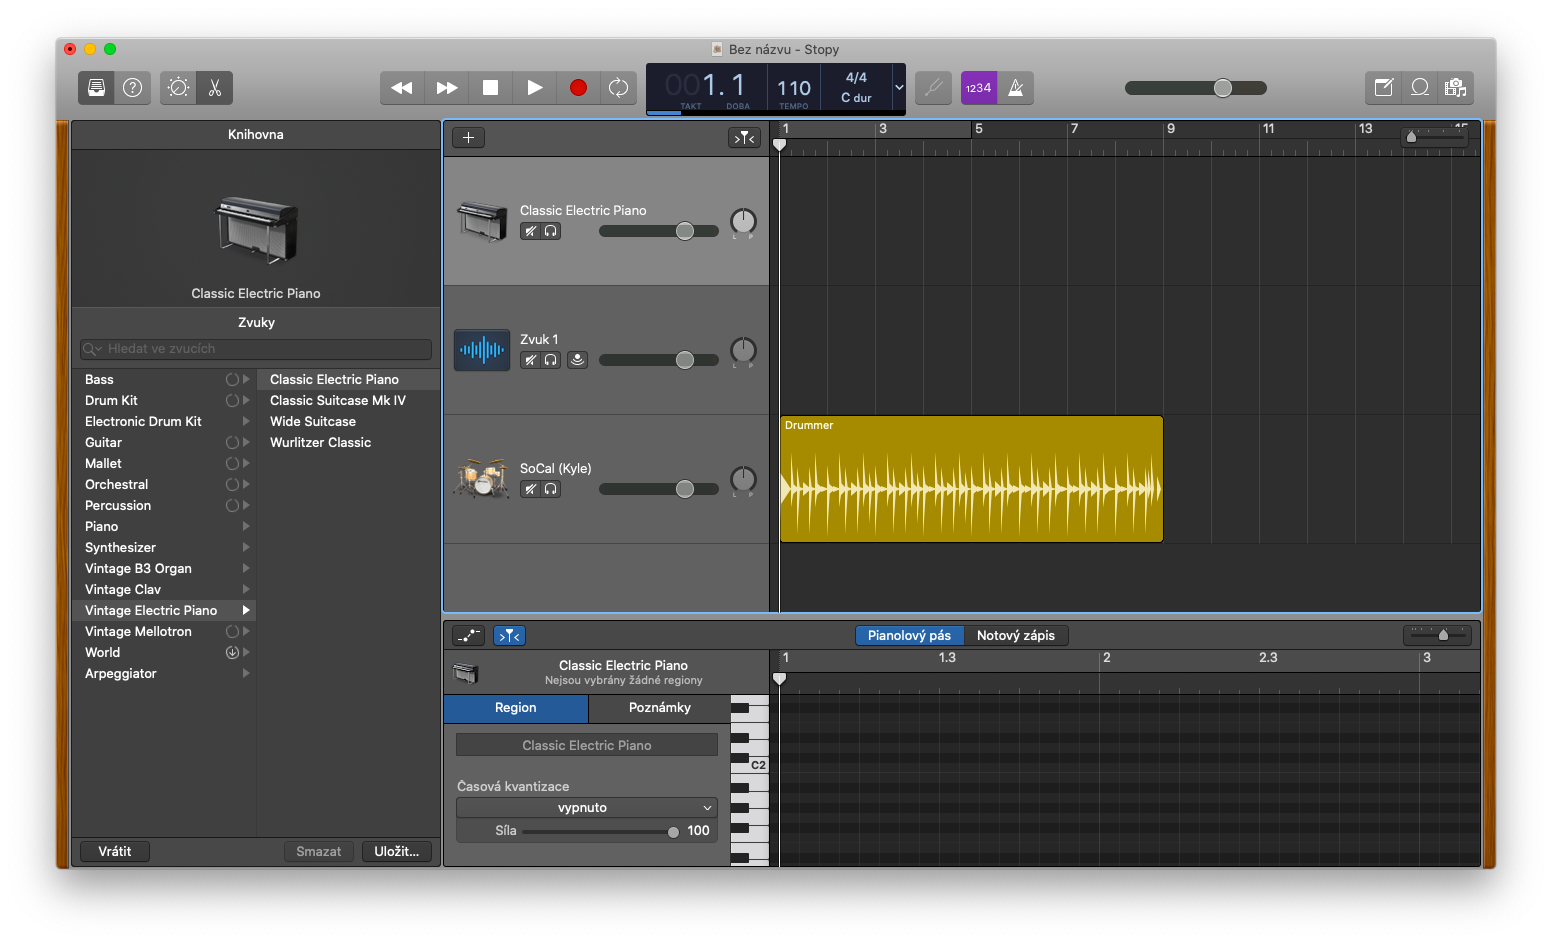
GarageBand is also one of the native applications that you will find on Mac. We will focus on this in the next few parts of our series - and as usual, in the first part we will look in more detail at the absolute basics of working with GarageBand - we will specifically focus on working with tracks.
It could be interest you

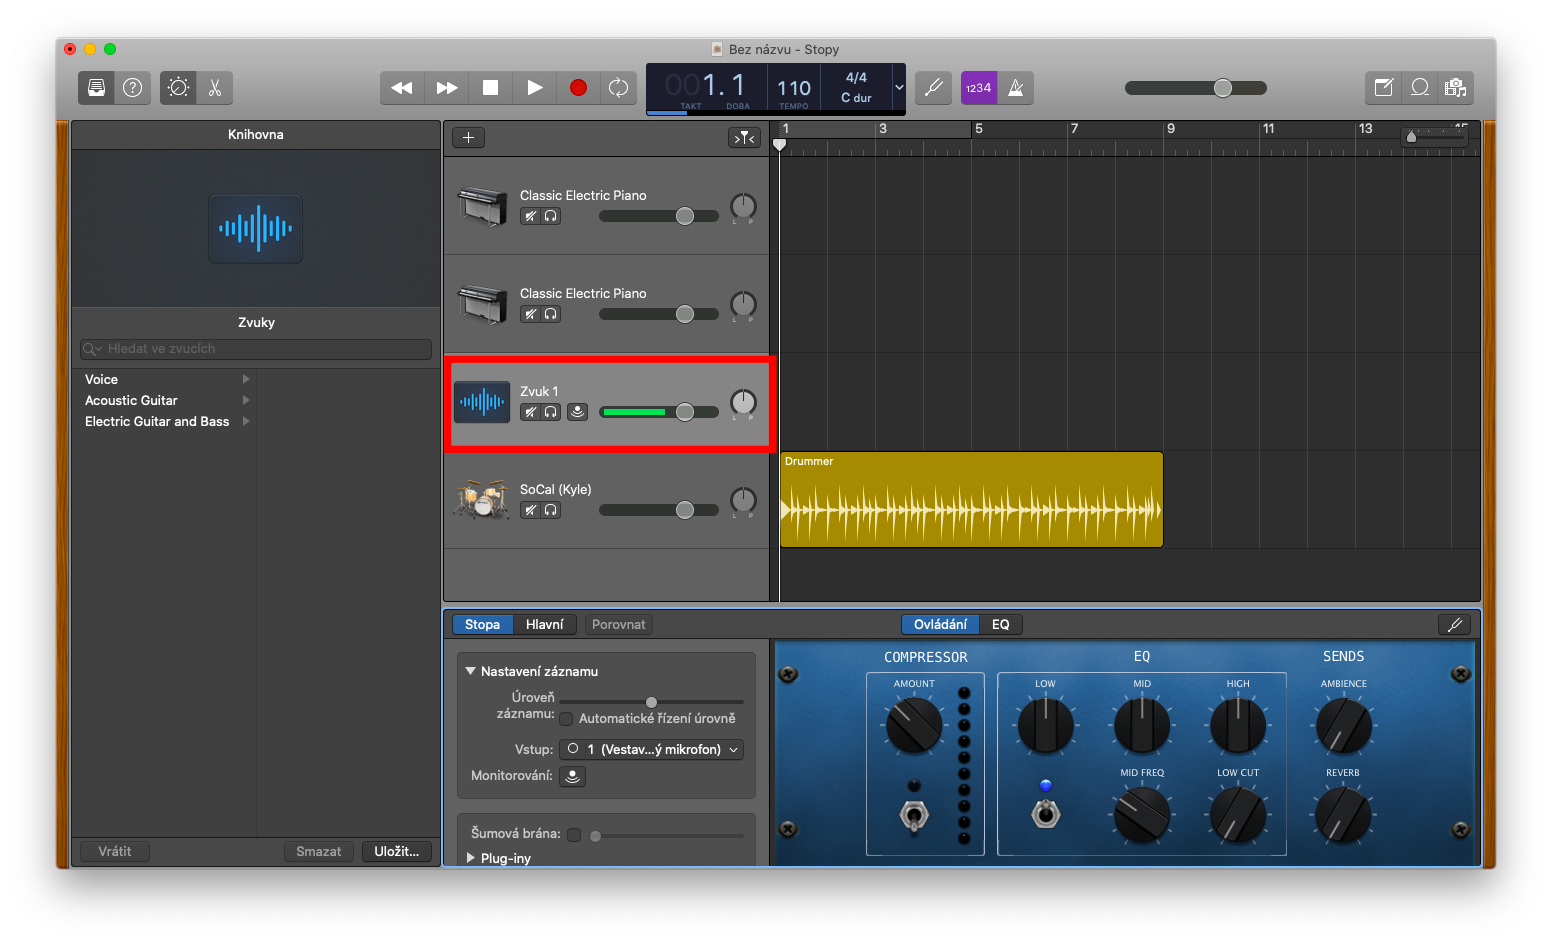
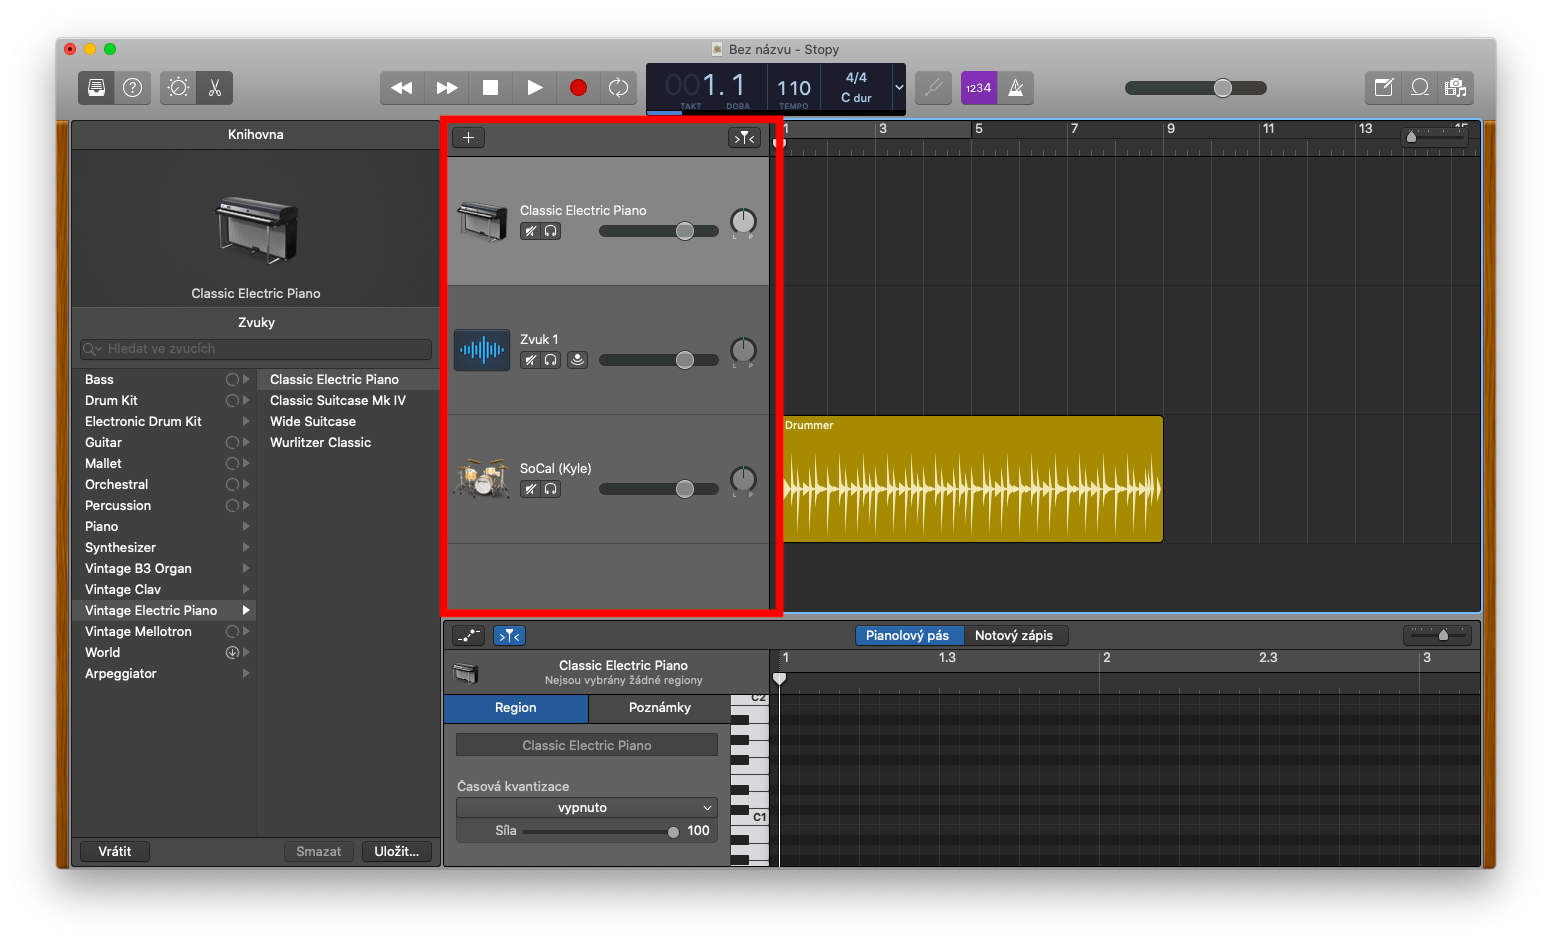
Your works in GarageBand are called projects. Whenever you work in this application, you must open or create a project. Individual projects consist of tracks, regions, and sound presets. You can find the traces in the form of horizontal lines in the relevant section. There are several types of tracks you can use in GarageBand—audio tracks, software instrument tracks, Drummer tracks, and tracks that control aspects of your entire project, such as a master track, an arrangement track, a tempo track, a transpose track, or a film track. The track icon and track name can be found on the left side of each track. In the header of the track there are also controls, with the help of which you can play the track independently, pause it, or even control its volume level.
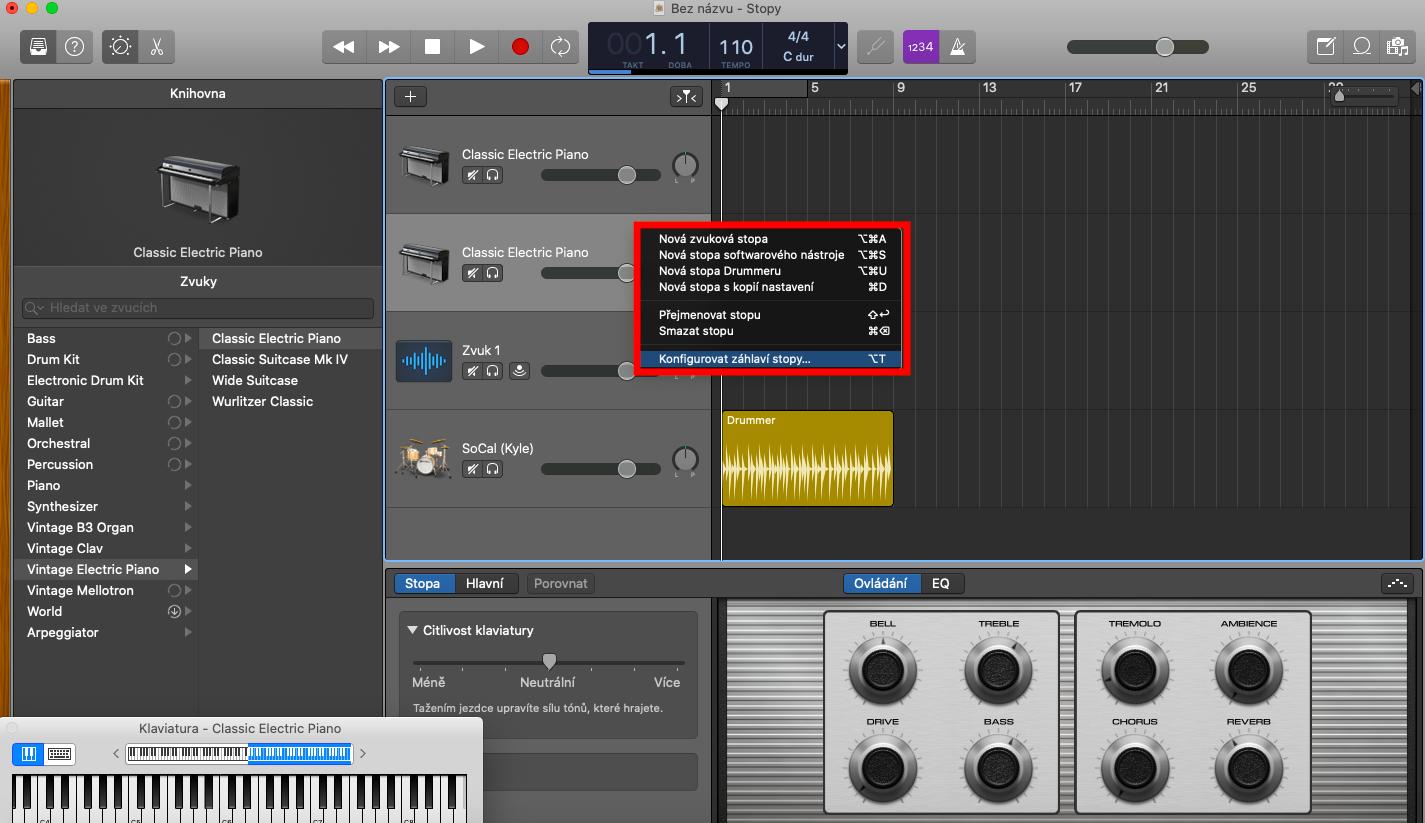
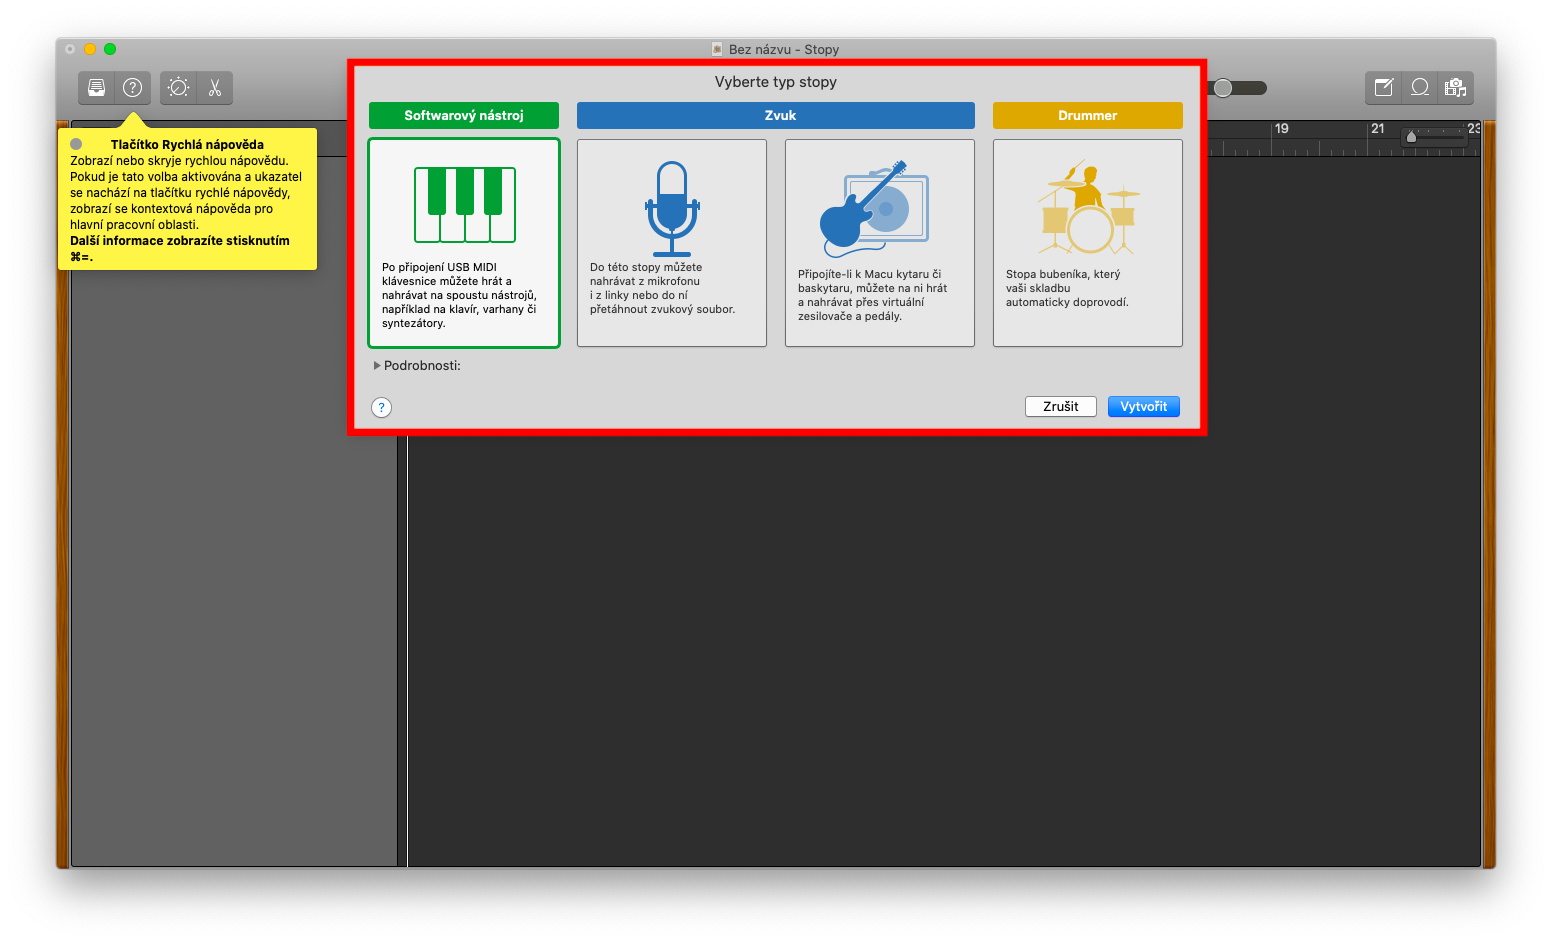
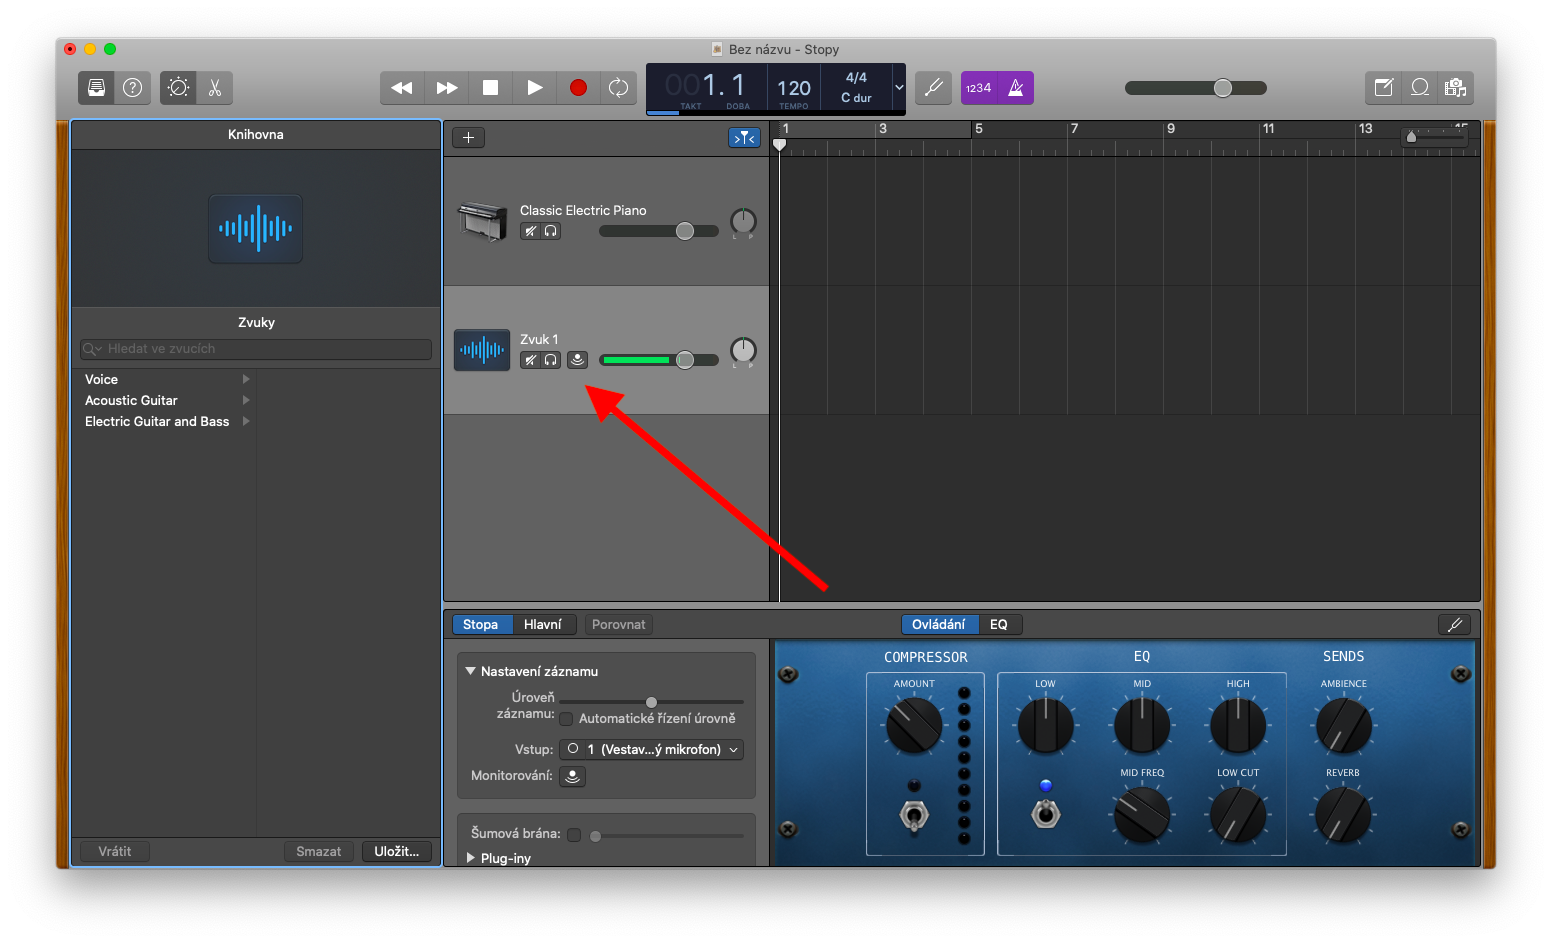
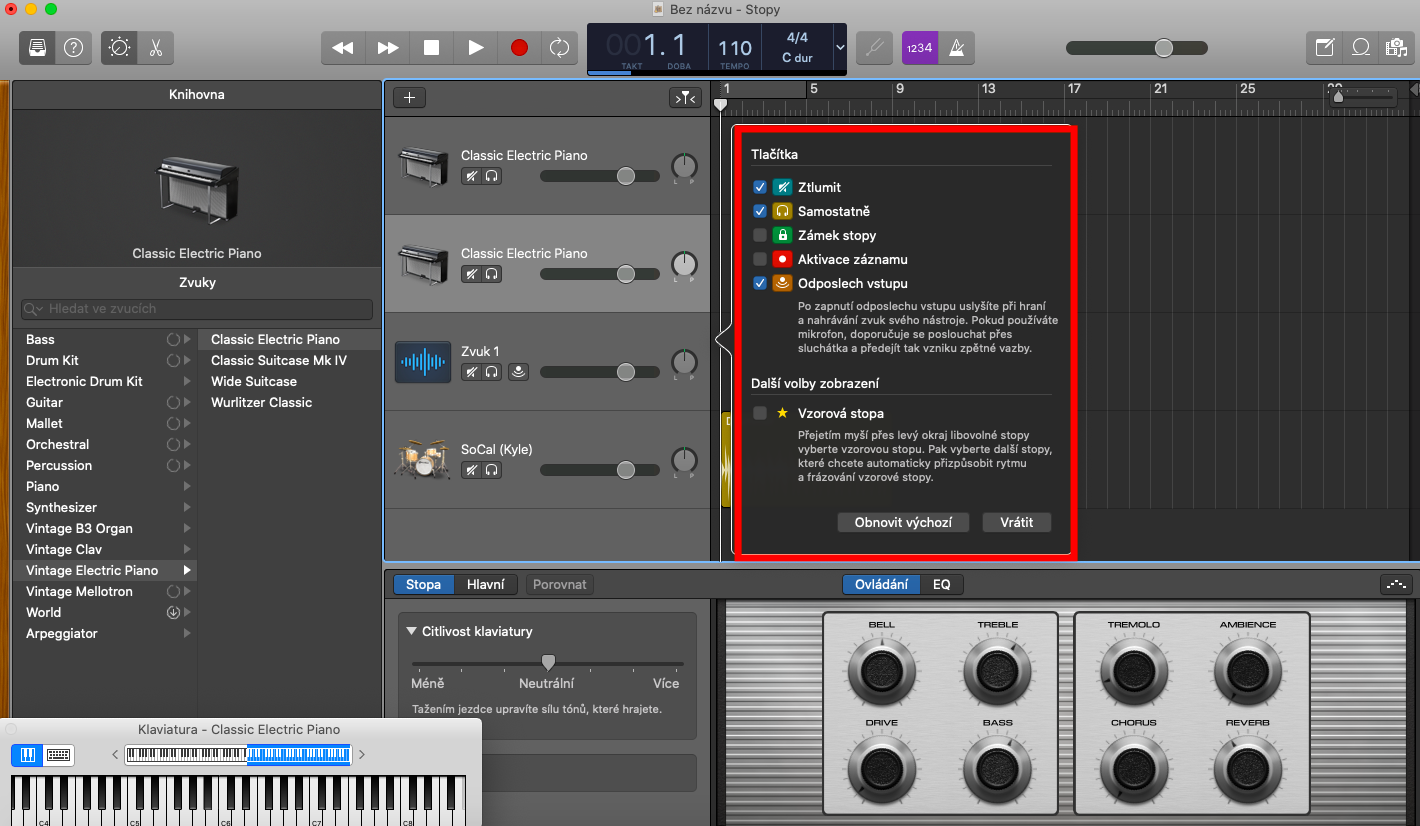
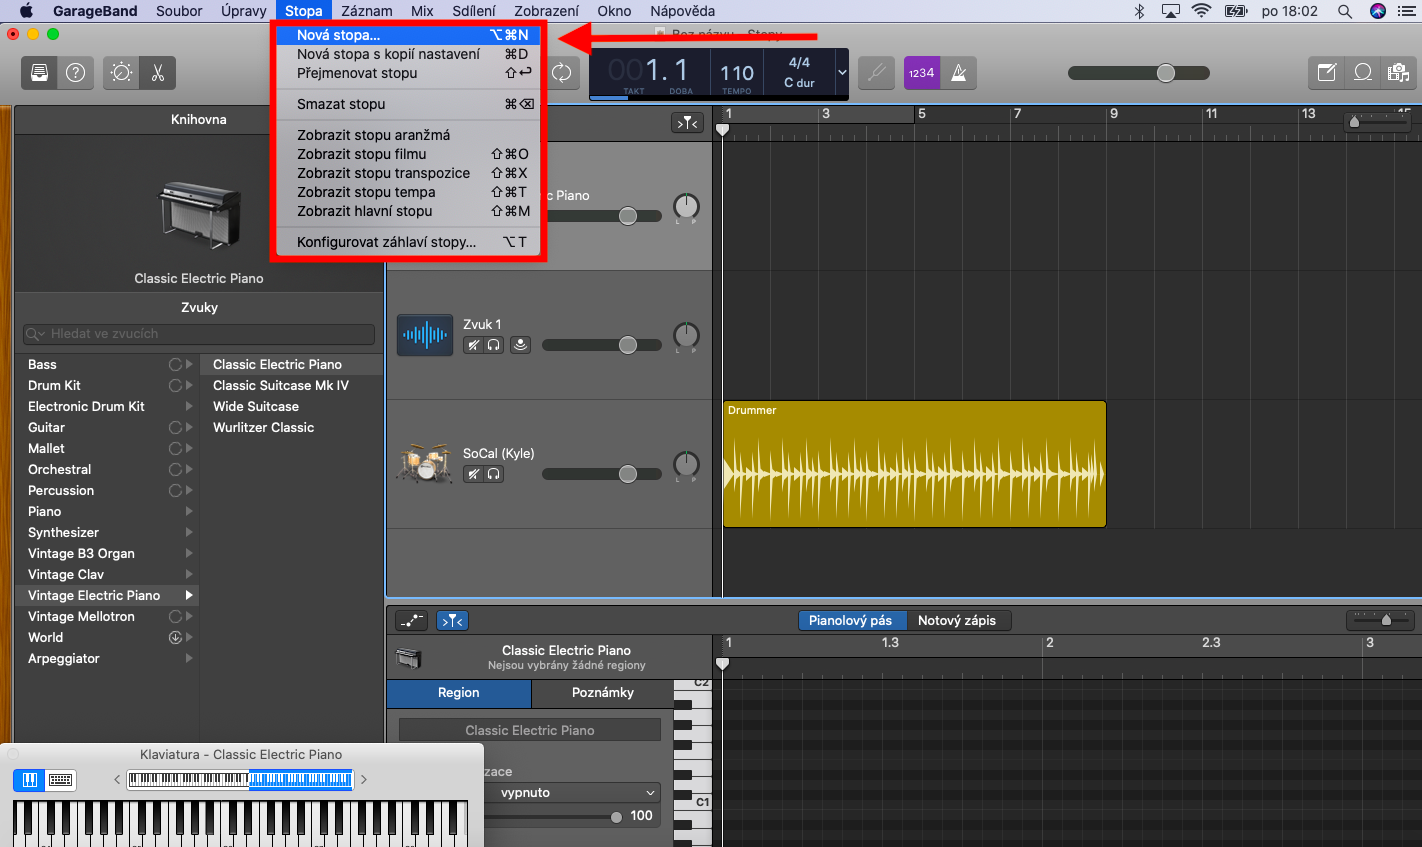
To create a new track, click Track -> New Track on the toolbar at the top of your Mac screen. Click “+” and select the desired track type. Enter all required parameters and preferences in the menu and click Create. To customize the track title in GarageBand, press Ctrl and click on the track title. Select Configure Track Header and then click to select the desired items. Use the crossed-out speaker icon to mute a track - if you want to mute multiple tracks at once, click and hold the mute button and drag up or down through the individual track previews. To play a track individually, click the button with the headphone icon in the header, to play multiple tracks solo, hold the button and drag the pointer up or down.
