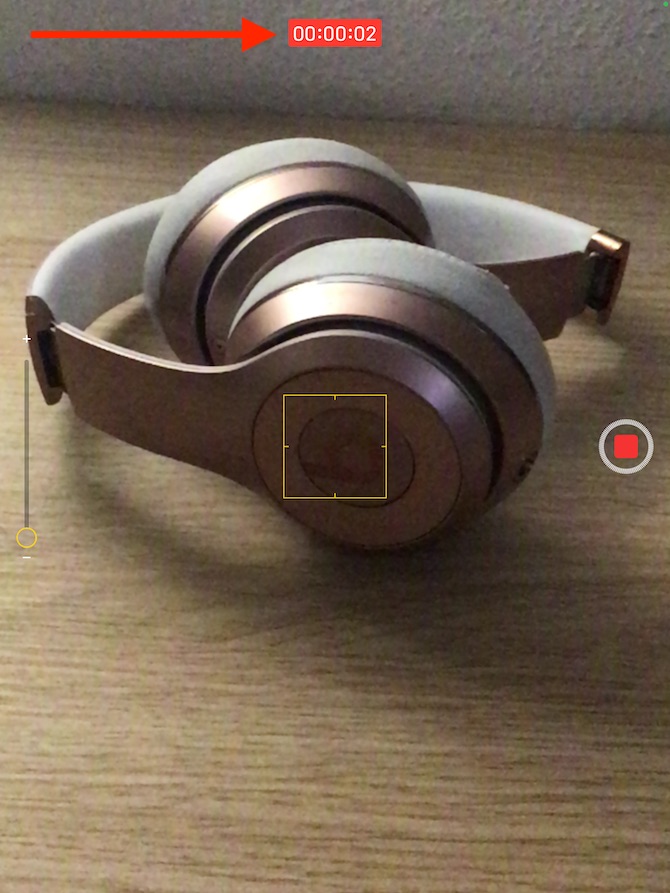
Of course, you can also use your iPad to take photos and videos. For this purpose, the native Camera application on the iPad is used, which we will discuss in our series on native Apple applications. The camera is one of the applications whose control and settings are really not complicated, but beginners will certainly welcome the article.
It could be interest you

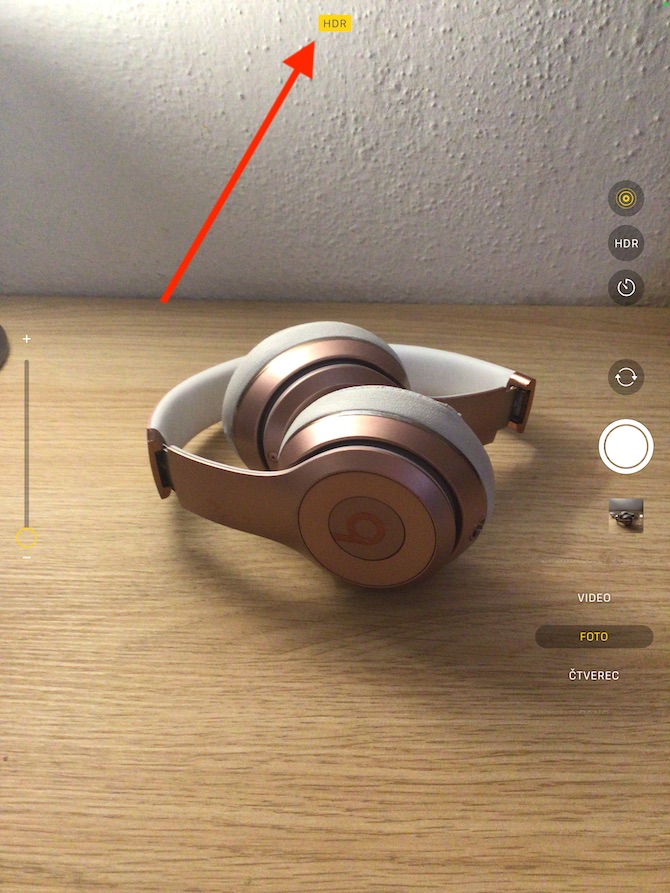
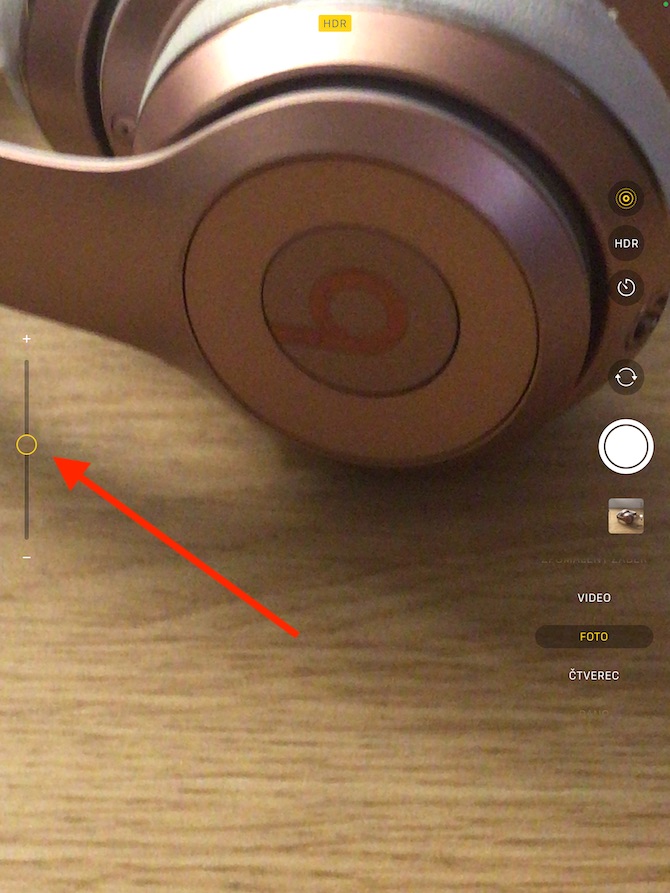
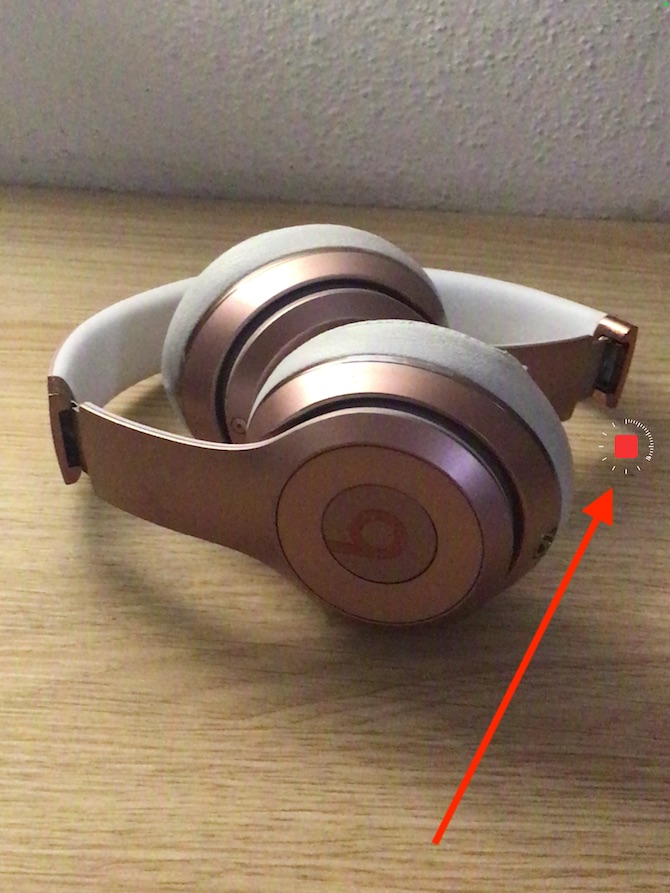
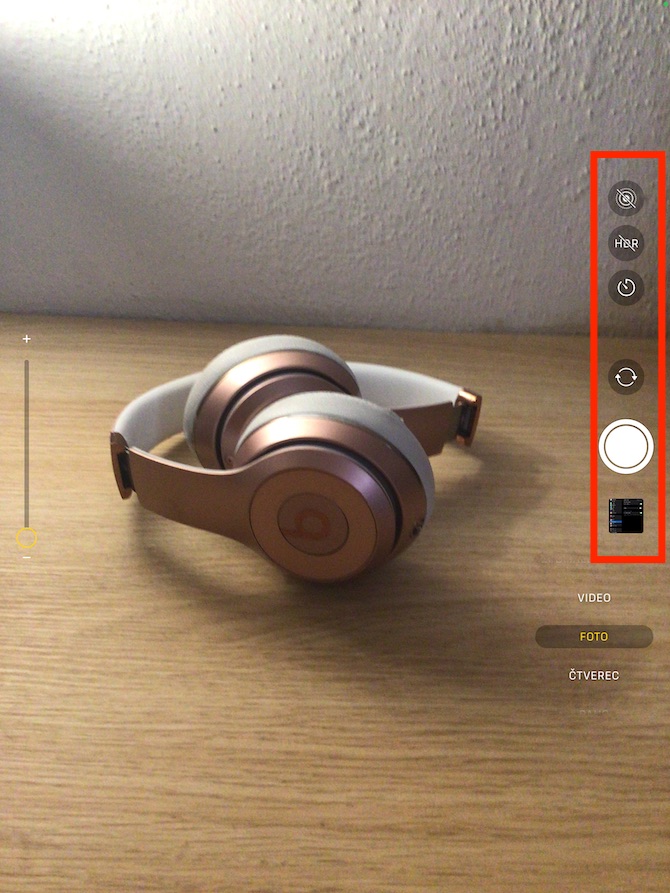
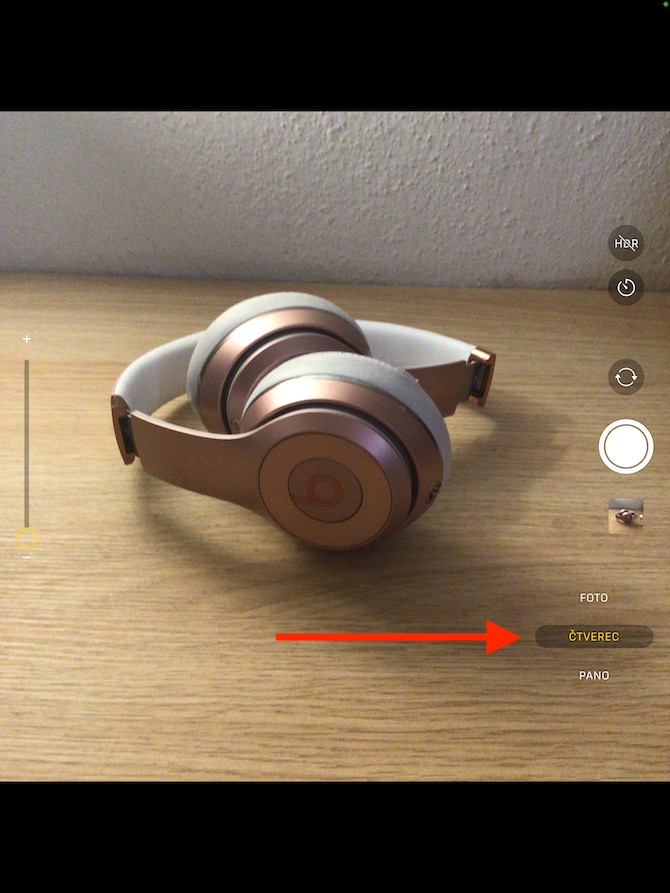
The iPad camera offers the ability to take photos and record videos in Time Lapse, Slow Motion, Video, Classic Photo, Square and Pano modes. In the default mode, the native Camera will start the classic camera mode. Take a picture either by tapping the shutter button or by pressing one of the volume buttons. On the right side of the tablet display, in Photo mode, you will find buttons for activating Live Photo, HDR, self-timer, switching from the rear to the front camera and vice versa. For models with True Tone or Retina flash support, you will also find a flash symbol on the right. On the left there is a bar for zooming in or out. On iPads, you can also zoom in or out by pinching or spreading two fingers on the display.
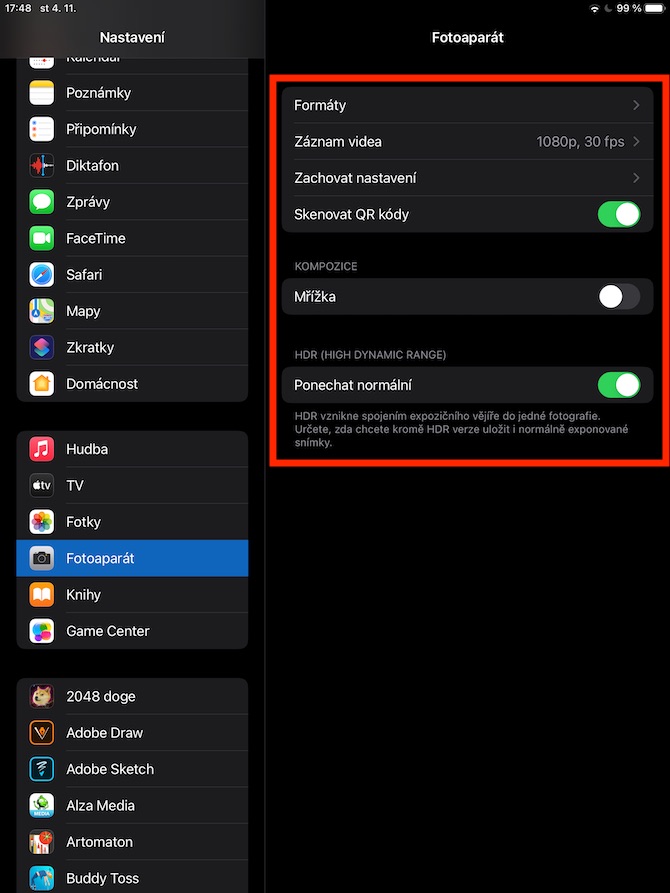
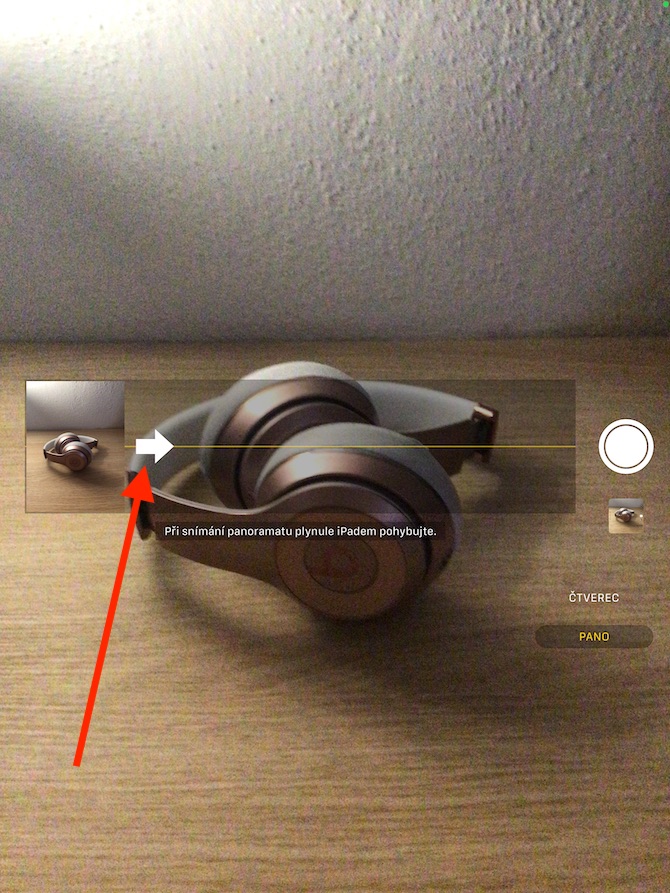
When shooting in self-timer mode, first click on the self-timer icon, select the desired time limit, and carefully place the iPad on a stable pad. You'll also need stability when taking a panoramic shot, where a line will appear on the iPad screen along which you have to guide the arrow while you slowly rotate the iPad around you. Don't forget to tap the shutter button before you start and when you're done shooting. Switch to the front camera on iPad to take a selfie. If you want your front camera shots to be mirror-inverted, go to Settings -> Camera on your iPad and enable Mirror Front Camera. However, this option is only available for some iPad models. In Settings -> Camera, you can also set the parameters of the recorded video, activate the scanning of QR codes, activate the preservation of standard images when taking photos on HDR and much more.
