In the last installment of our series on Apple's native apps, we took a closer look at Messages, in today's installment we'll focus on FaceTime. The native FaceTime application on Mac is used for audio and video calls with other owners of Apple devices. Like the previous section on Messages, this one is intended for complete beginners and new Mac owners.
It could be interest you

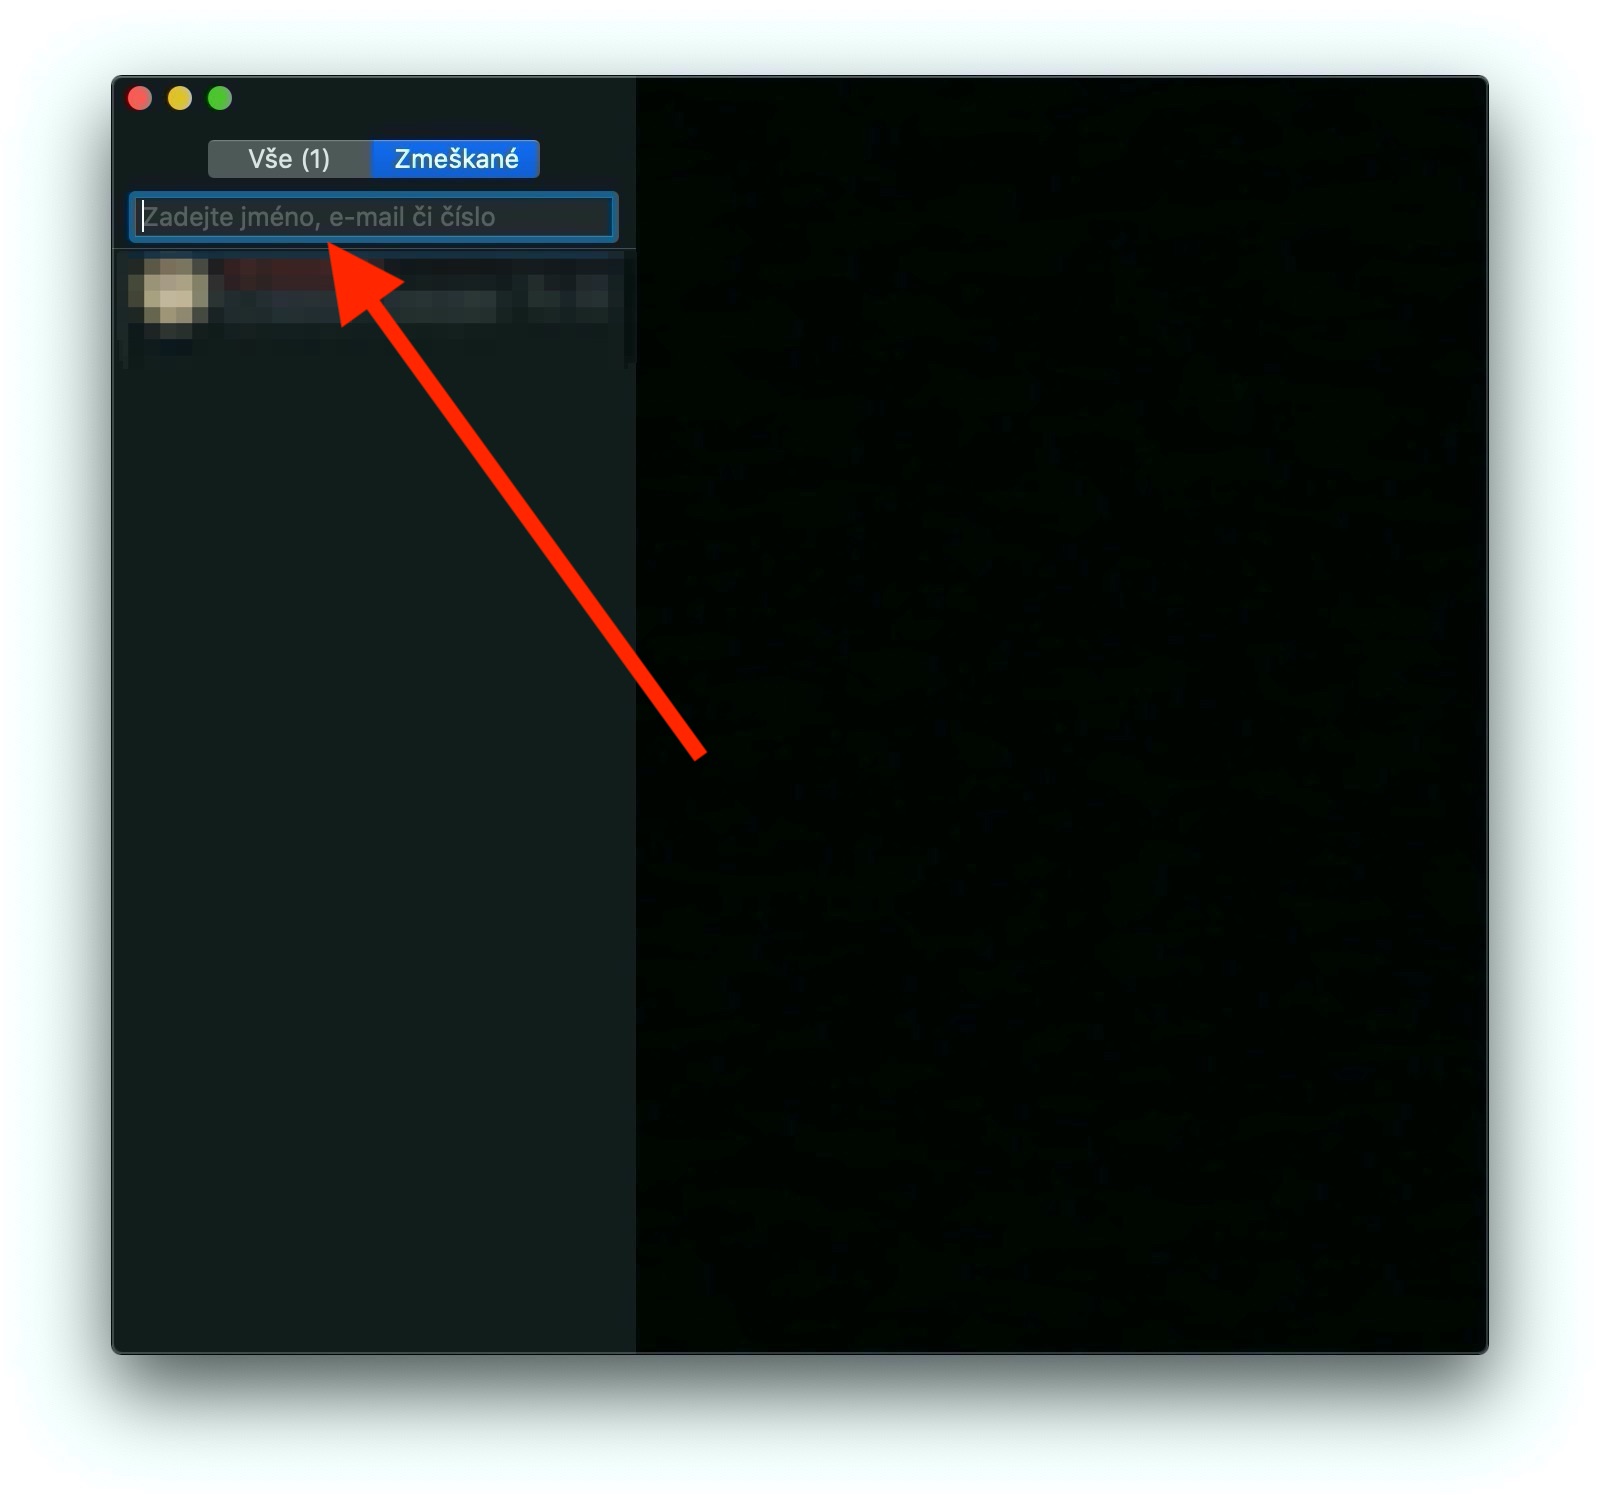
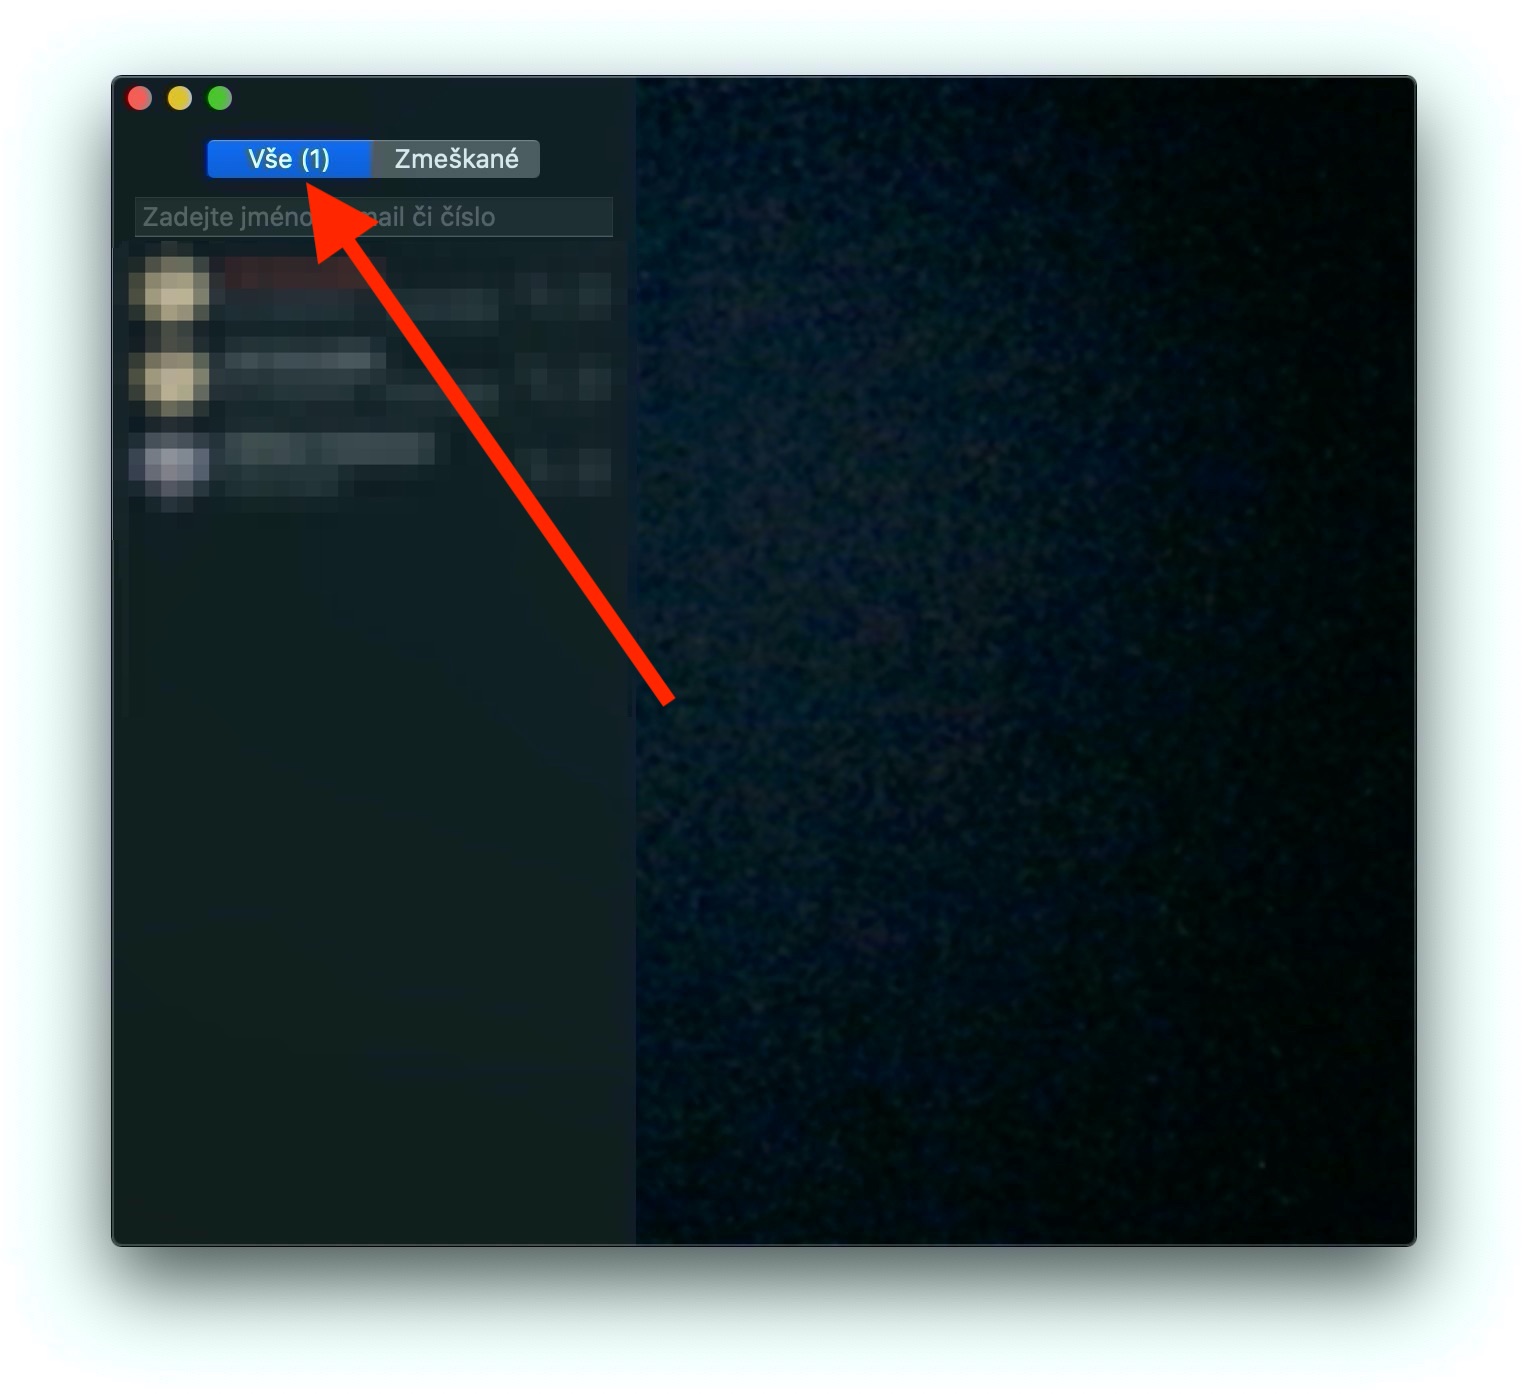
Making a FaceTime call on Mac is really very easy. Just launch the app and make sure you're signed in with your Apple ID before starting a call. If not, the application should prompt you to log in. At the top of the left panel of the application window, you can notice a search field - in it you enter the email address or phone number of the person you want to talk to. If the person is in your contact list, just enter their name. Depending on whether you want to make a voice or video call, click the camera icon or the telephone handset icon. To start a group FaceTime call, enter the names of all participants in the search field, to add another participant to an ongoing call, click the sidebar icon, click the "+" button and enter the desired contact. During a call, you can click on the camera or microphone icon to turn one or the other off.
You can recognize an incoming FaceTime call by the notification in the upper right corner of your Mac screen, where you can immediately accept or decline it. You may notice a small arrow pointing down for each option. If you click this arrow next to the Accept option, you can specify whether you will only accept a voice call without activating the camera instead of a video call. If you click this arrow next to Reject, you can send the caller a message or create a reminder so you don't forget to call them later. To turn off FaceTime completely, first launch the app and then click FaceTime -> Turn off FaceTime on the toolbar at the top of the screen.


