Among other things, Apple products can also be used to control smart home elements - the only condition is compatibility with the HomeKit platform. While in one of past episodes In our regular series on Apple's native apps, we featured the Home app for iOS, today we're taking a closer look at its Mac version.
It could be interest you

Editing accessories
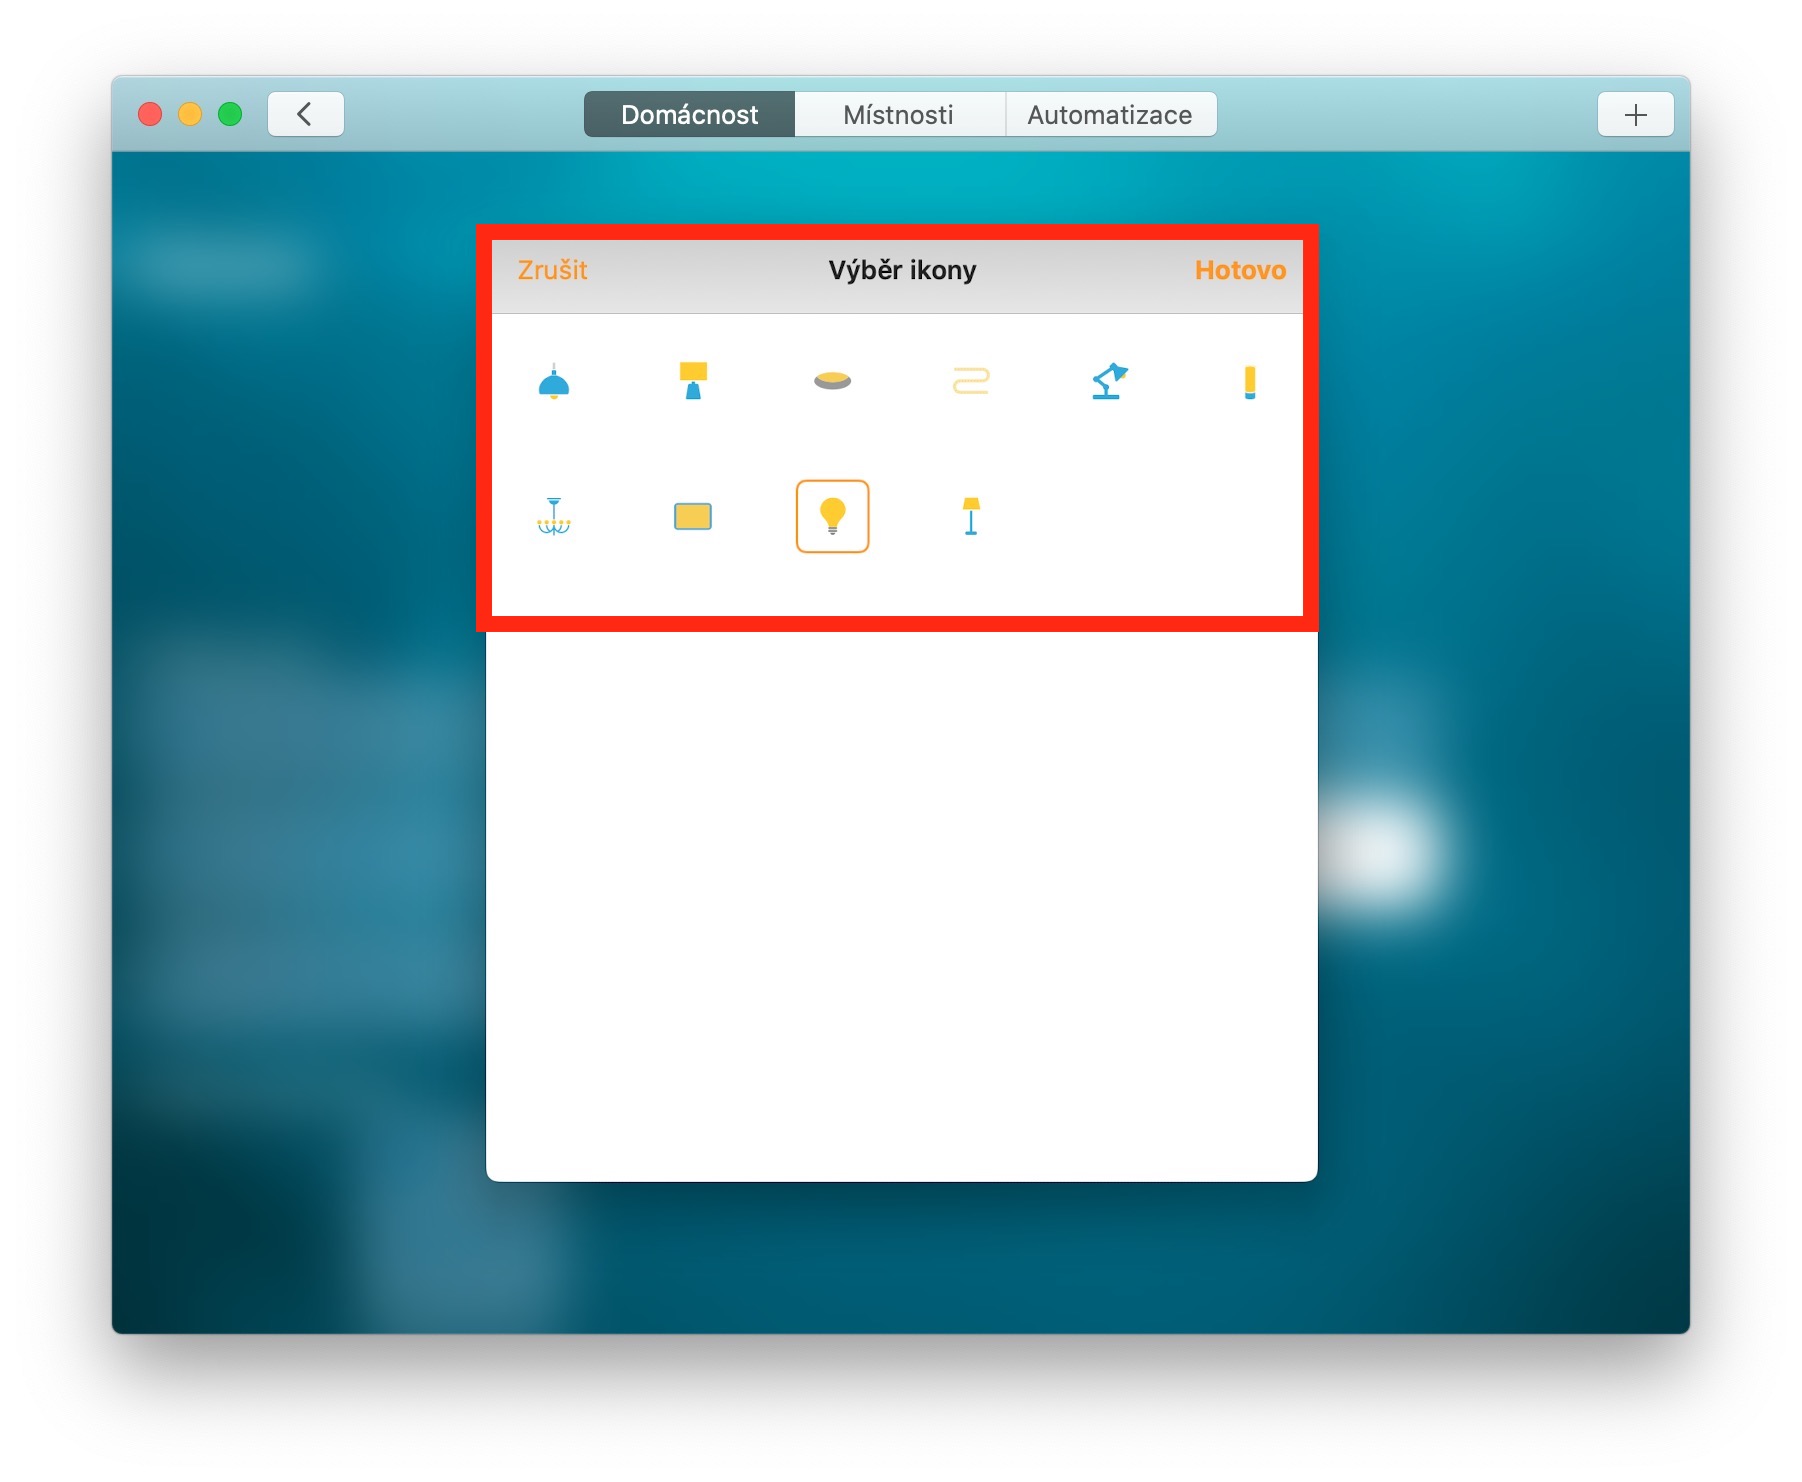
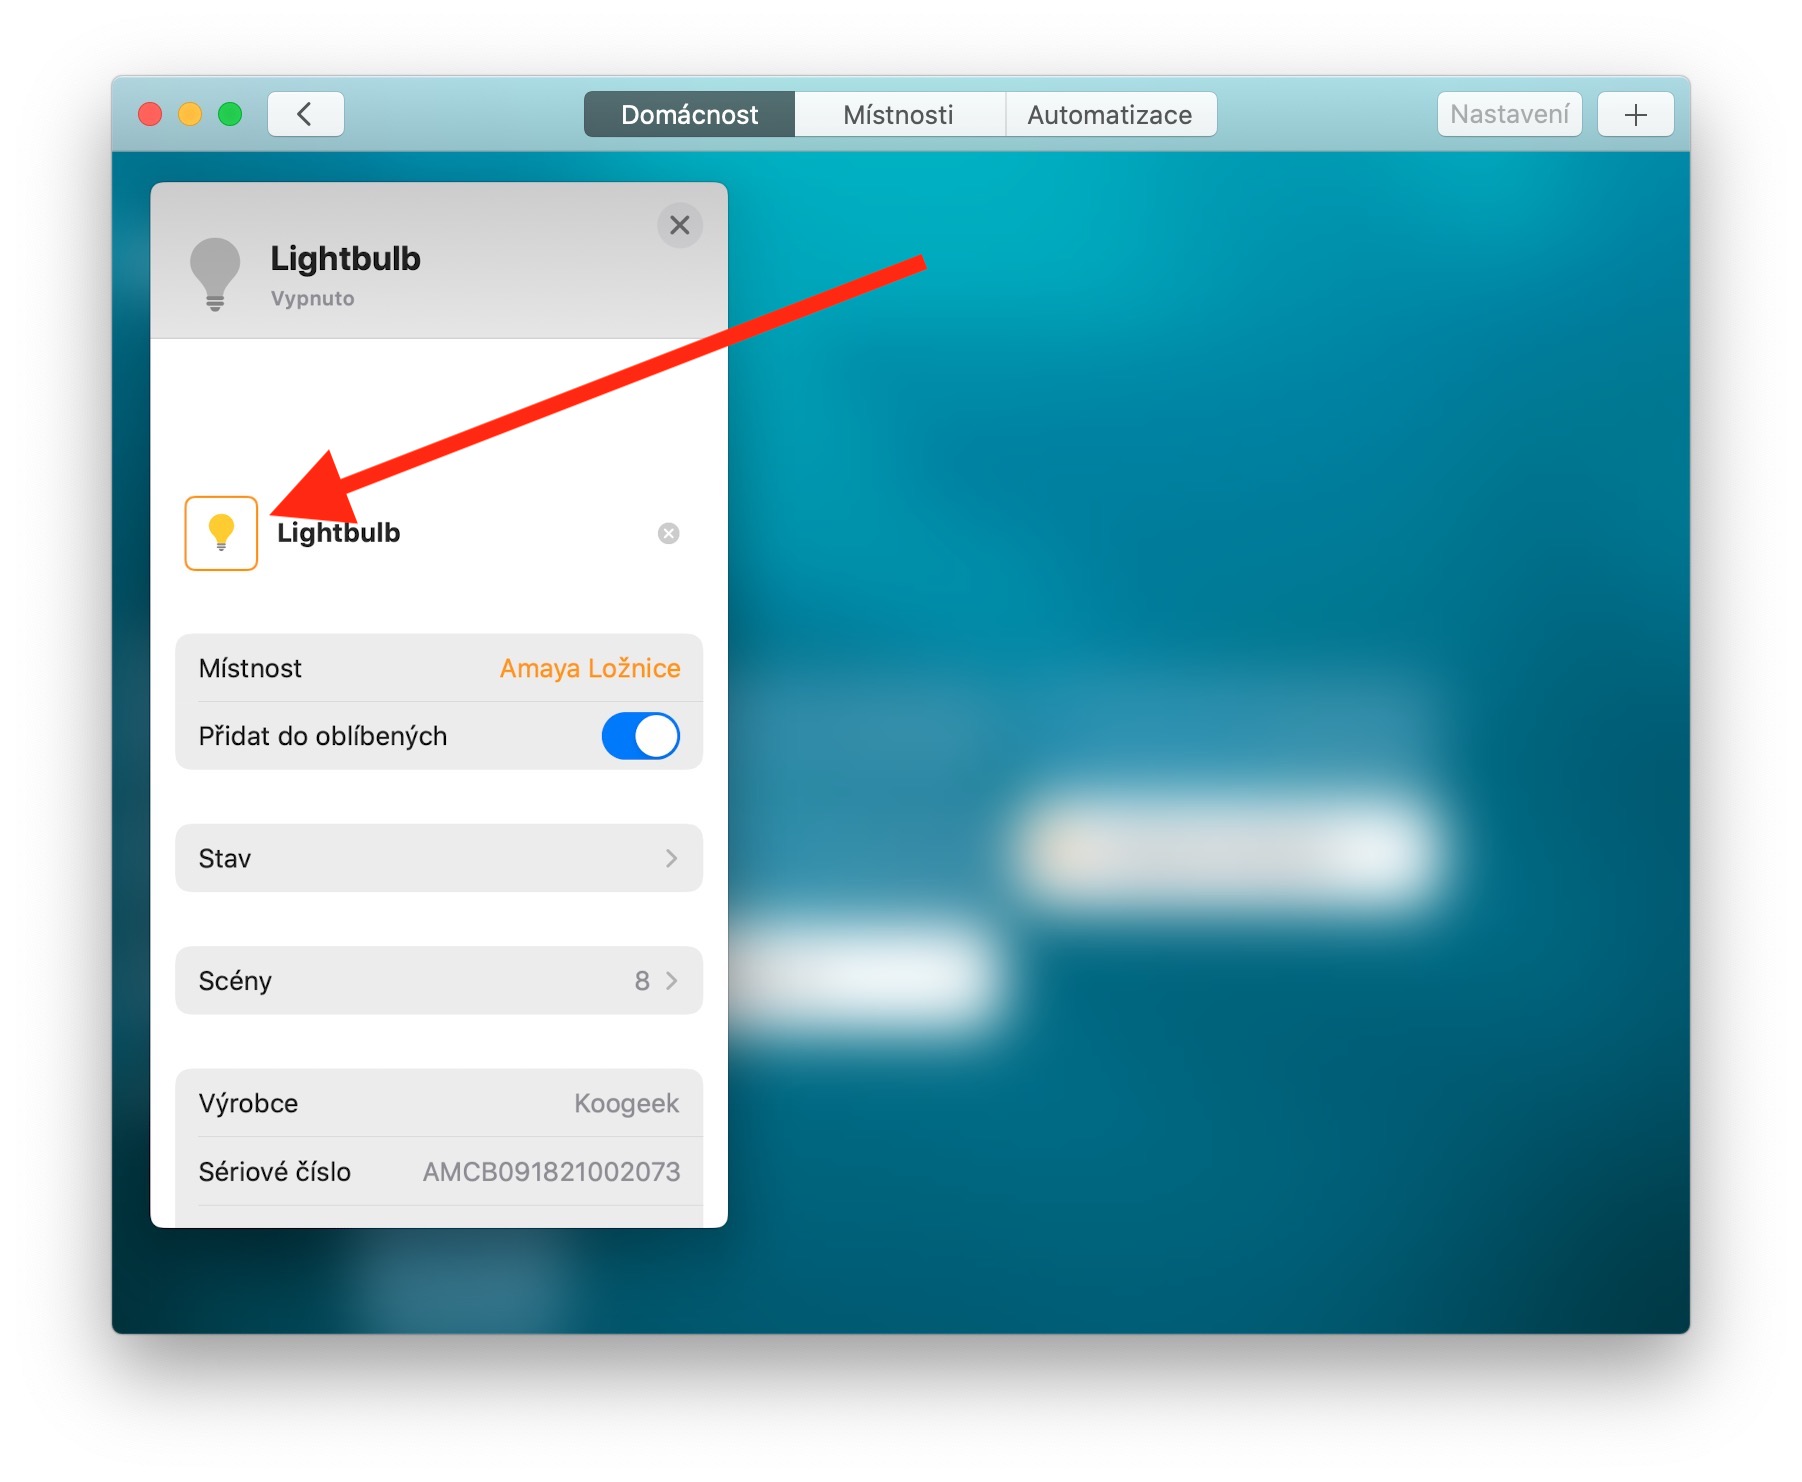
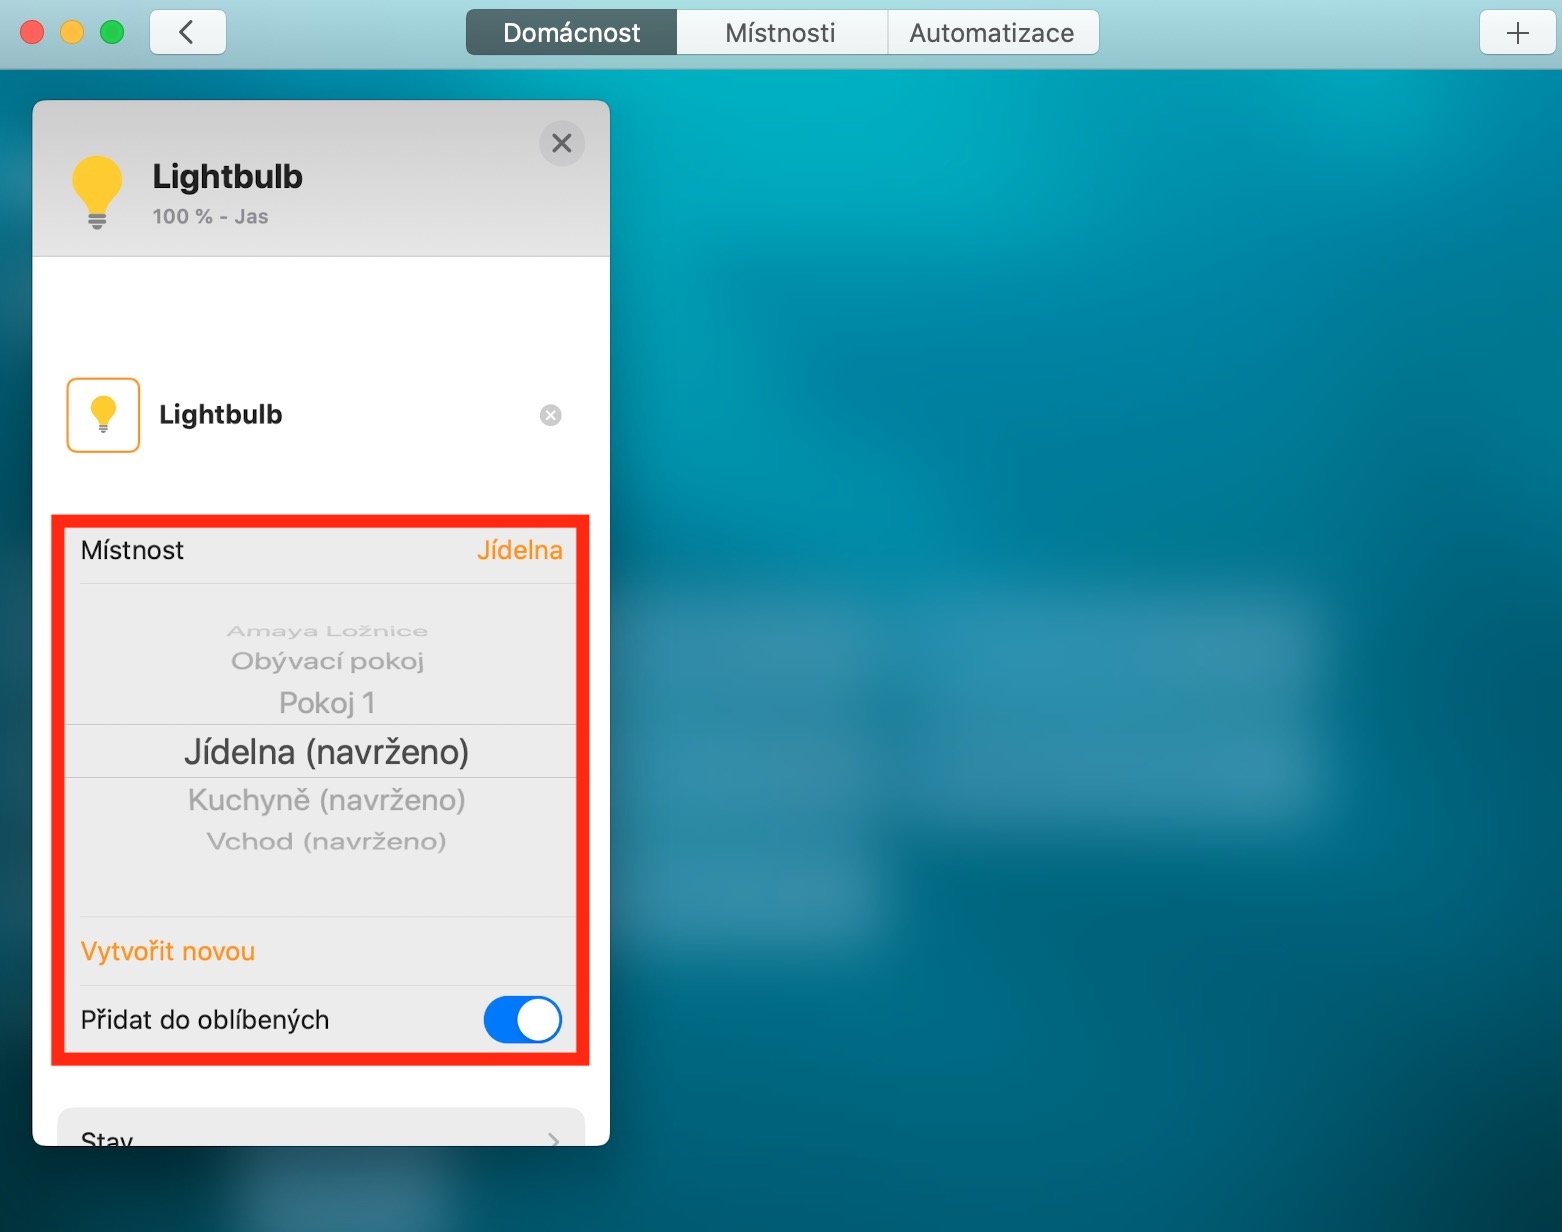
Unlike iOS devices, you can't add new accessories to your system through the Home app for Mac, but you can add them to rooms. To add an accessory to a room, select the desired item and double-click on it. In the tab that appears, go to the Room section and either select a new room in the menu or create a new one. In this tab, you can further rename the accessory, add it to favorites or access more detailed information and settings. If you right-click on the accessory tile, you'll get quick access to the settings menu. You can thus change the light icon in the Home application (the icon cannot be changed for other types of accessories). In the top bar of the application window, click on Home, double-click on the selected accessory, and in the tab that appears, double-click on the accessory icon - a menu of alternative icons will appear.
Modification of rooms and zones
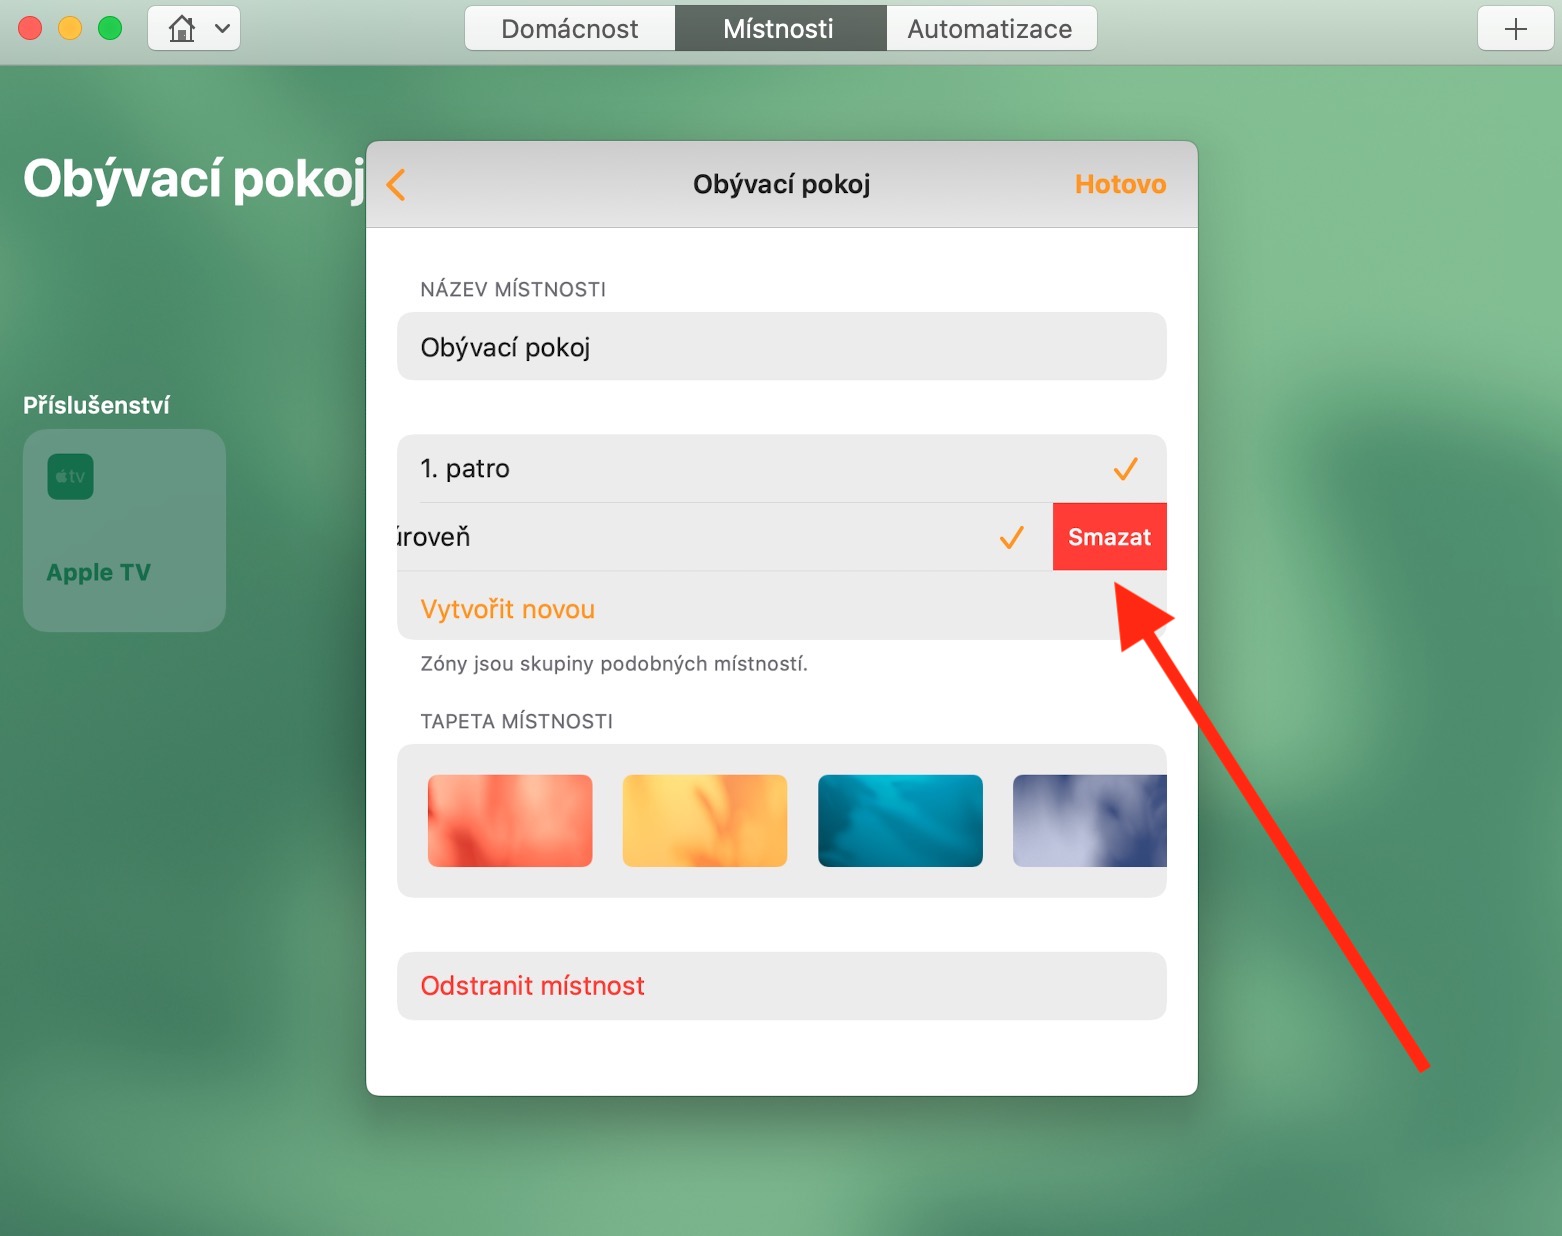
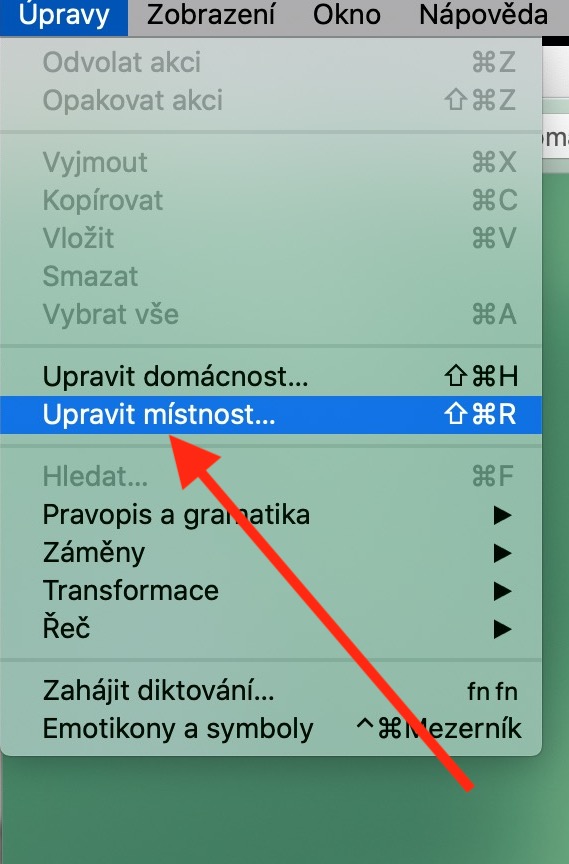
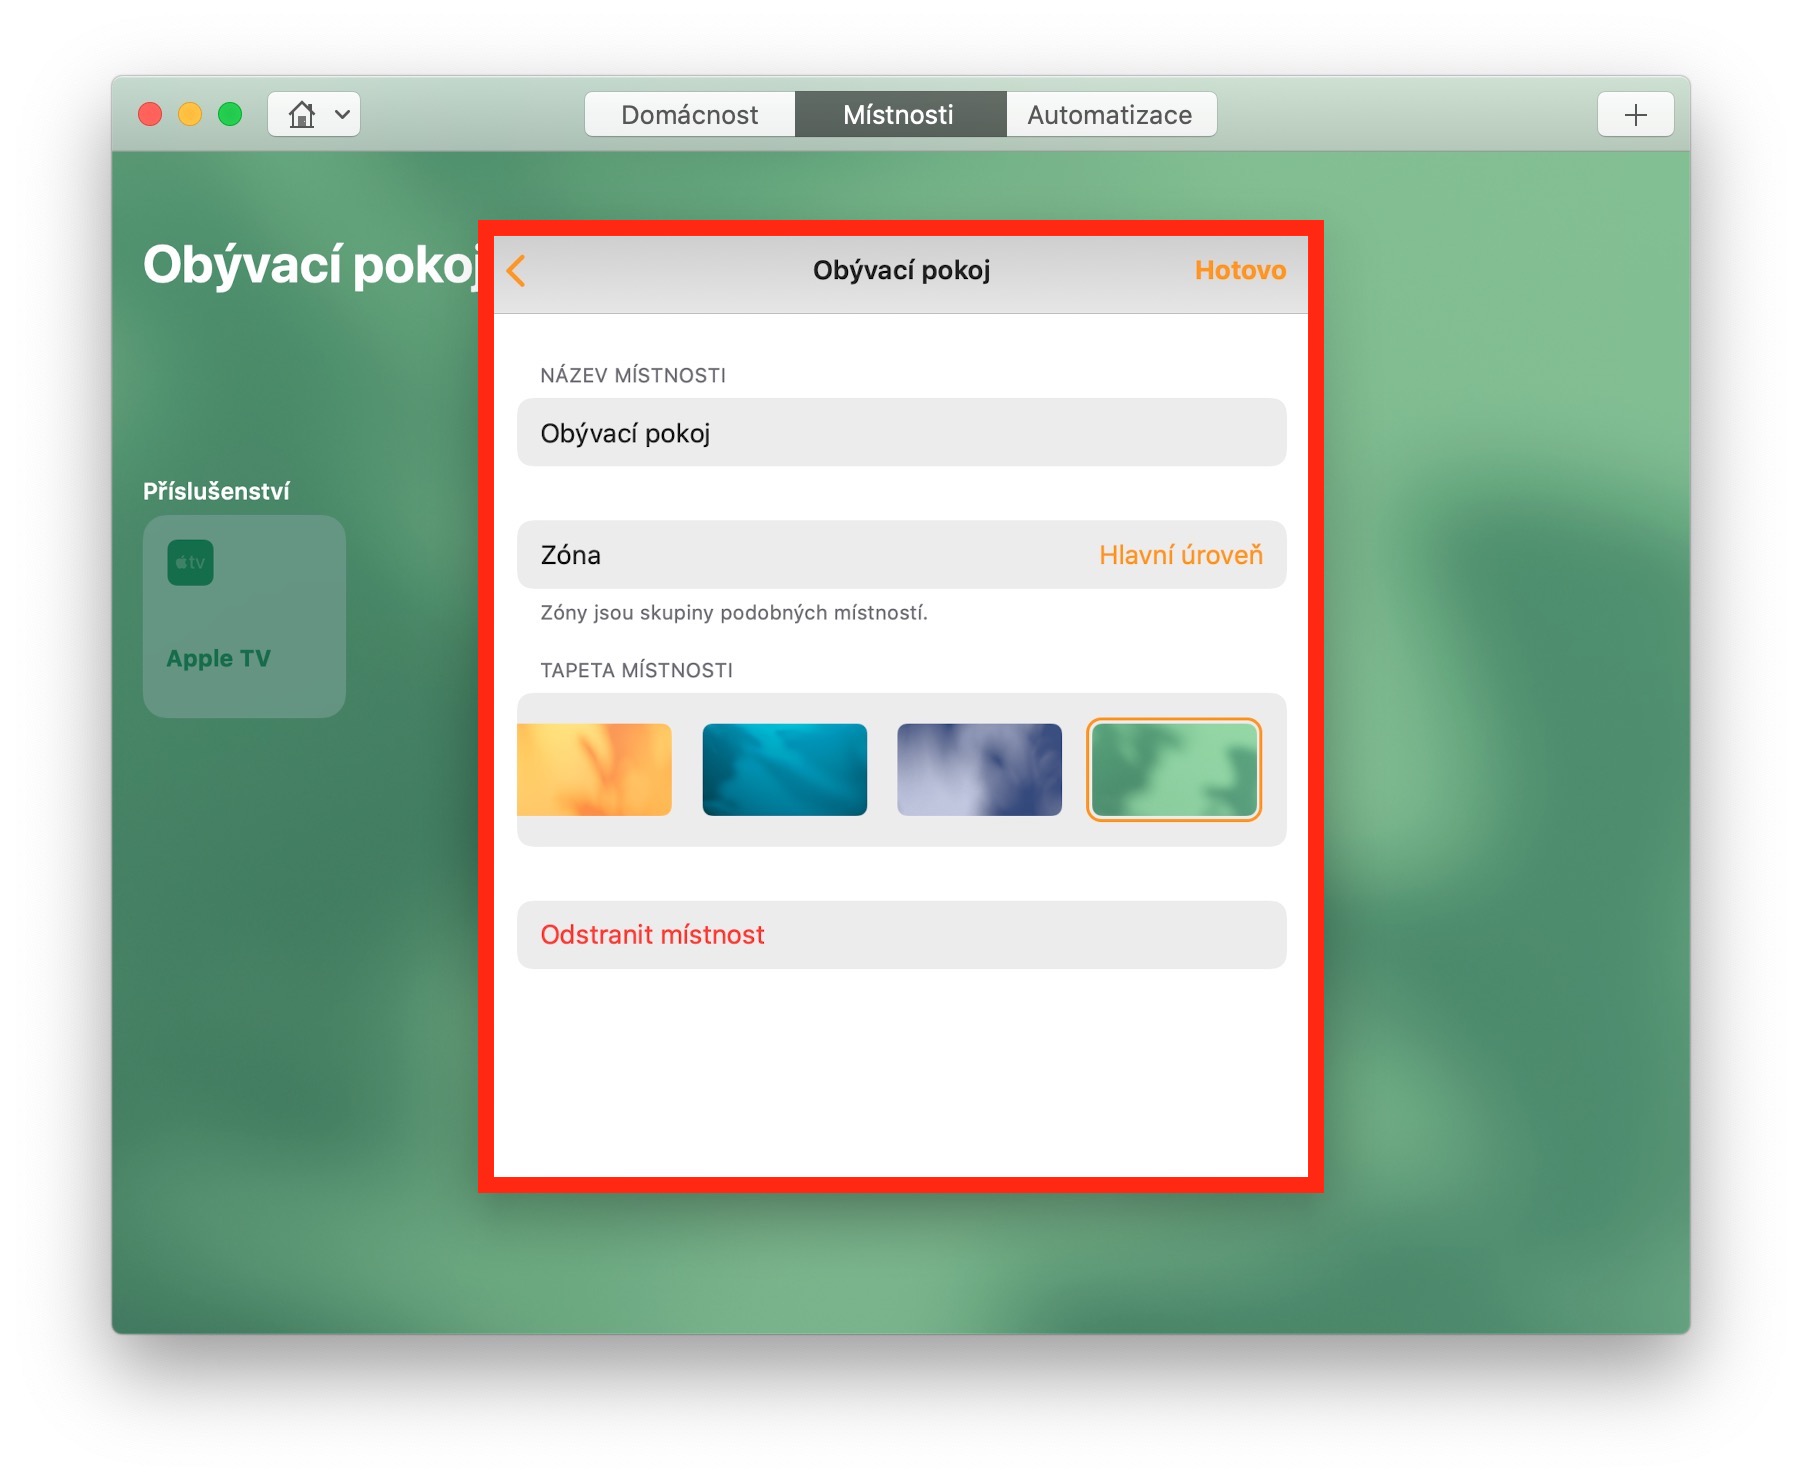
If you click on the Rooms tab at the top of the Home application window, you can edit the settings of individual rooms. Click the “+” button in the upper right corner to add an automation or scene to the room. If you click Edit -> Edit Room on the toolbar at the top of your Mac screen, you can do more advanced editing including renaming the room, changing the wallpaper, or assigning the room to a specific zone. If you want to create a new zone, click on the Zones item in the room menu and choose Create new. Unlike rooms and scenes, zones cannot be renamed, but you can delete them by swiping to the left and then recreate them with a new name.
