Installing security patches
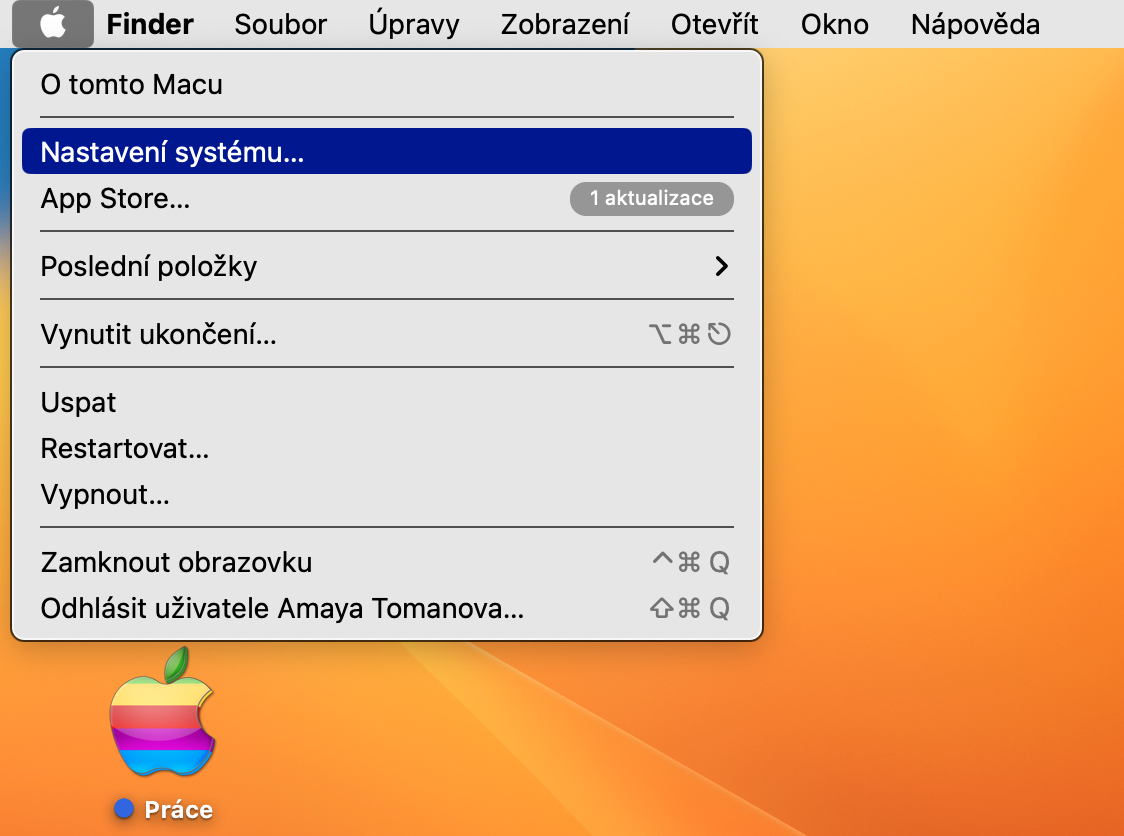
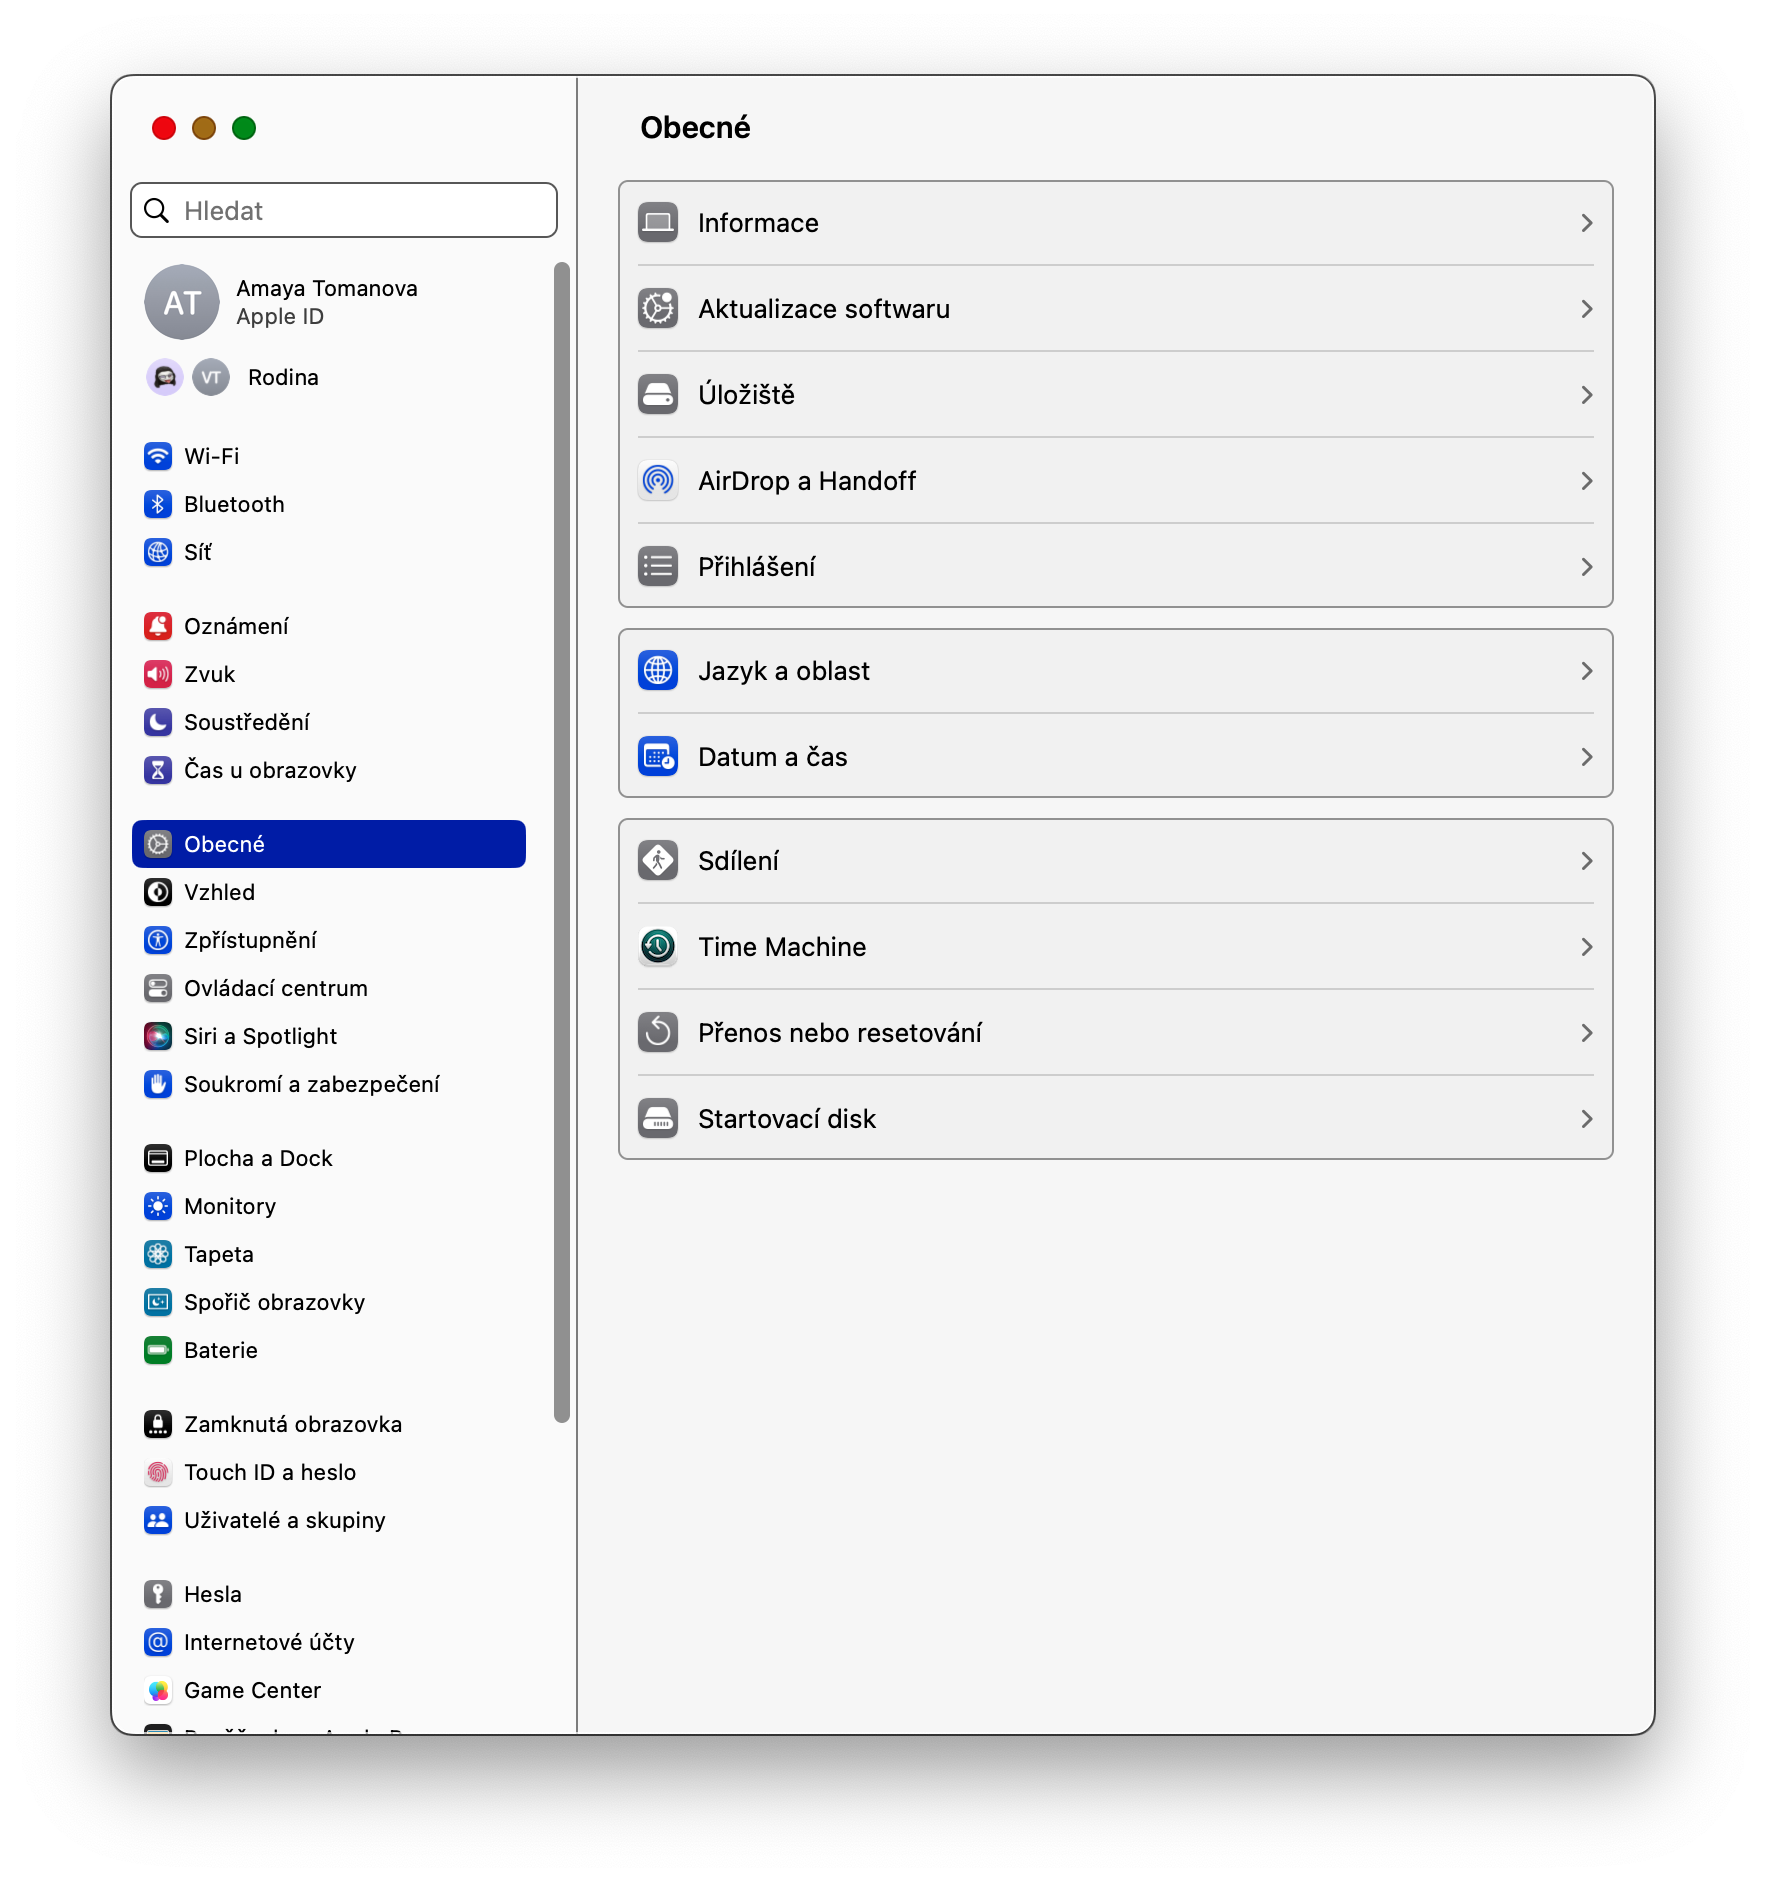
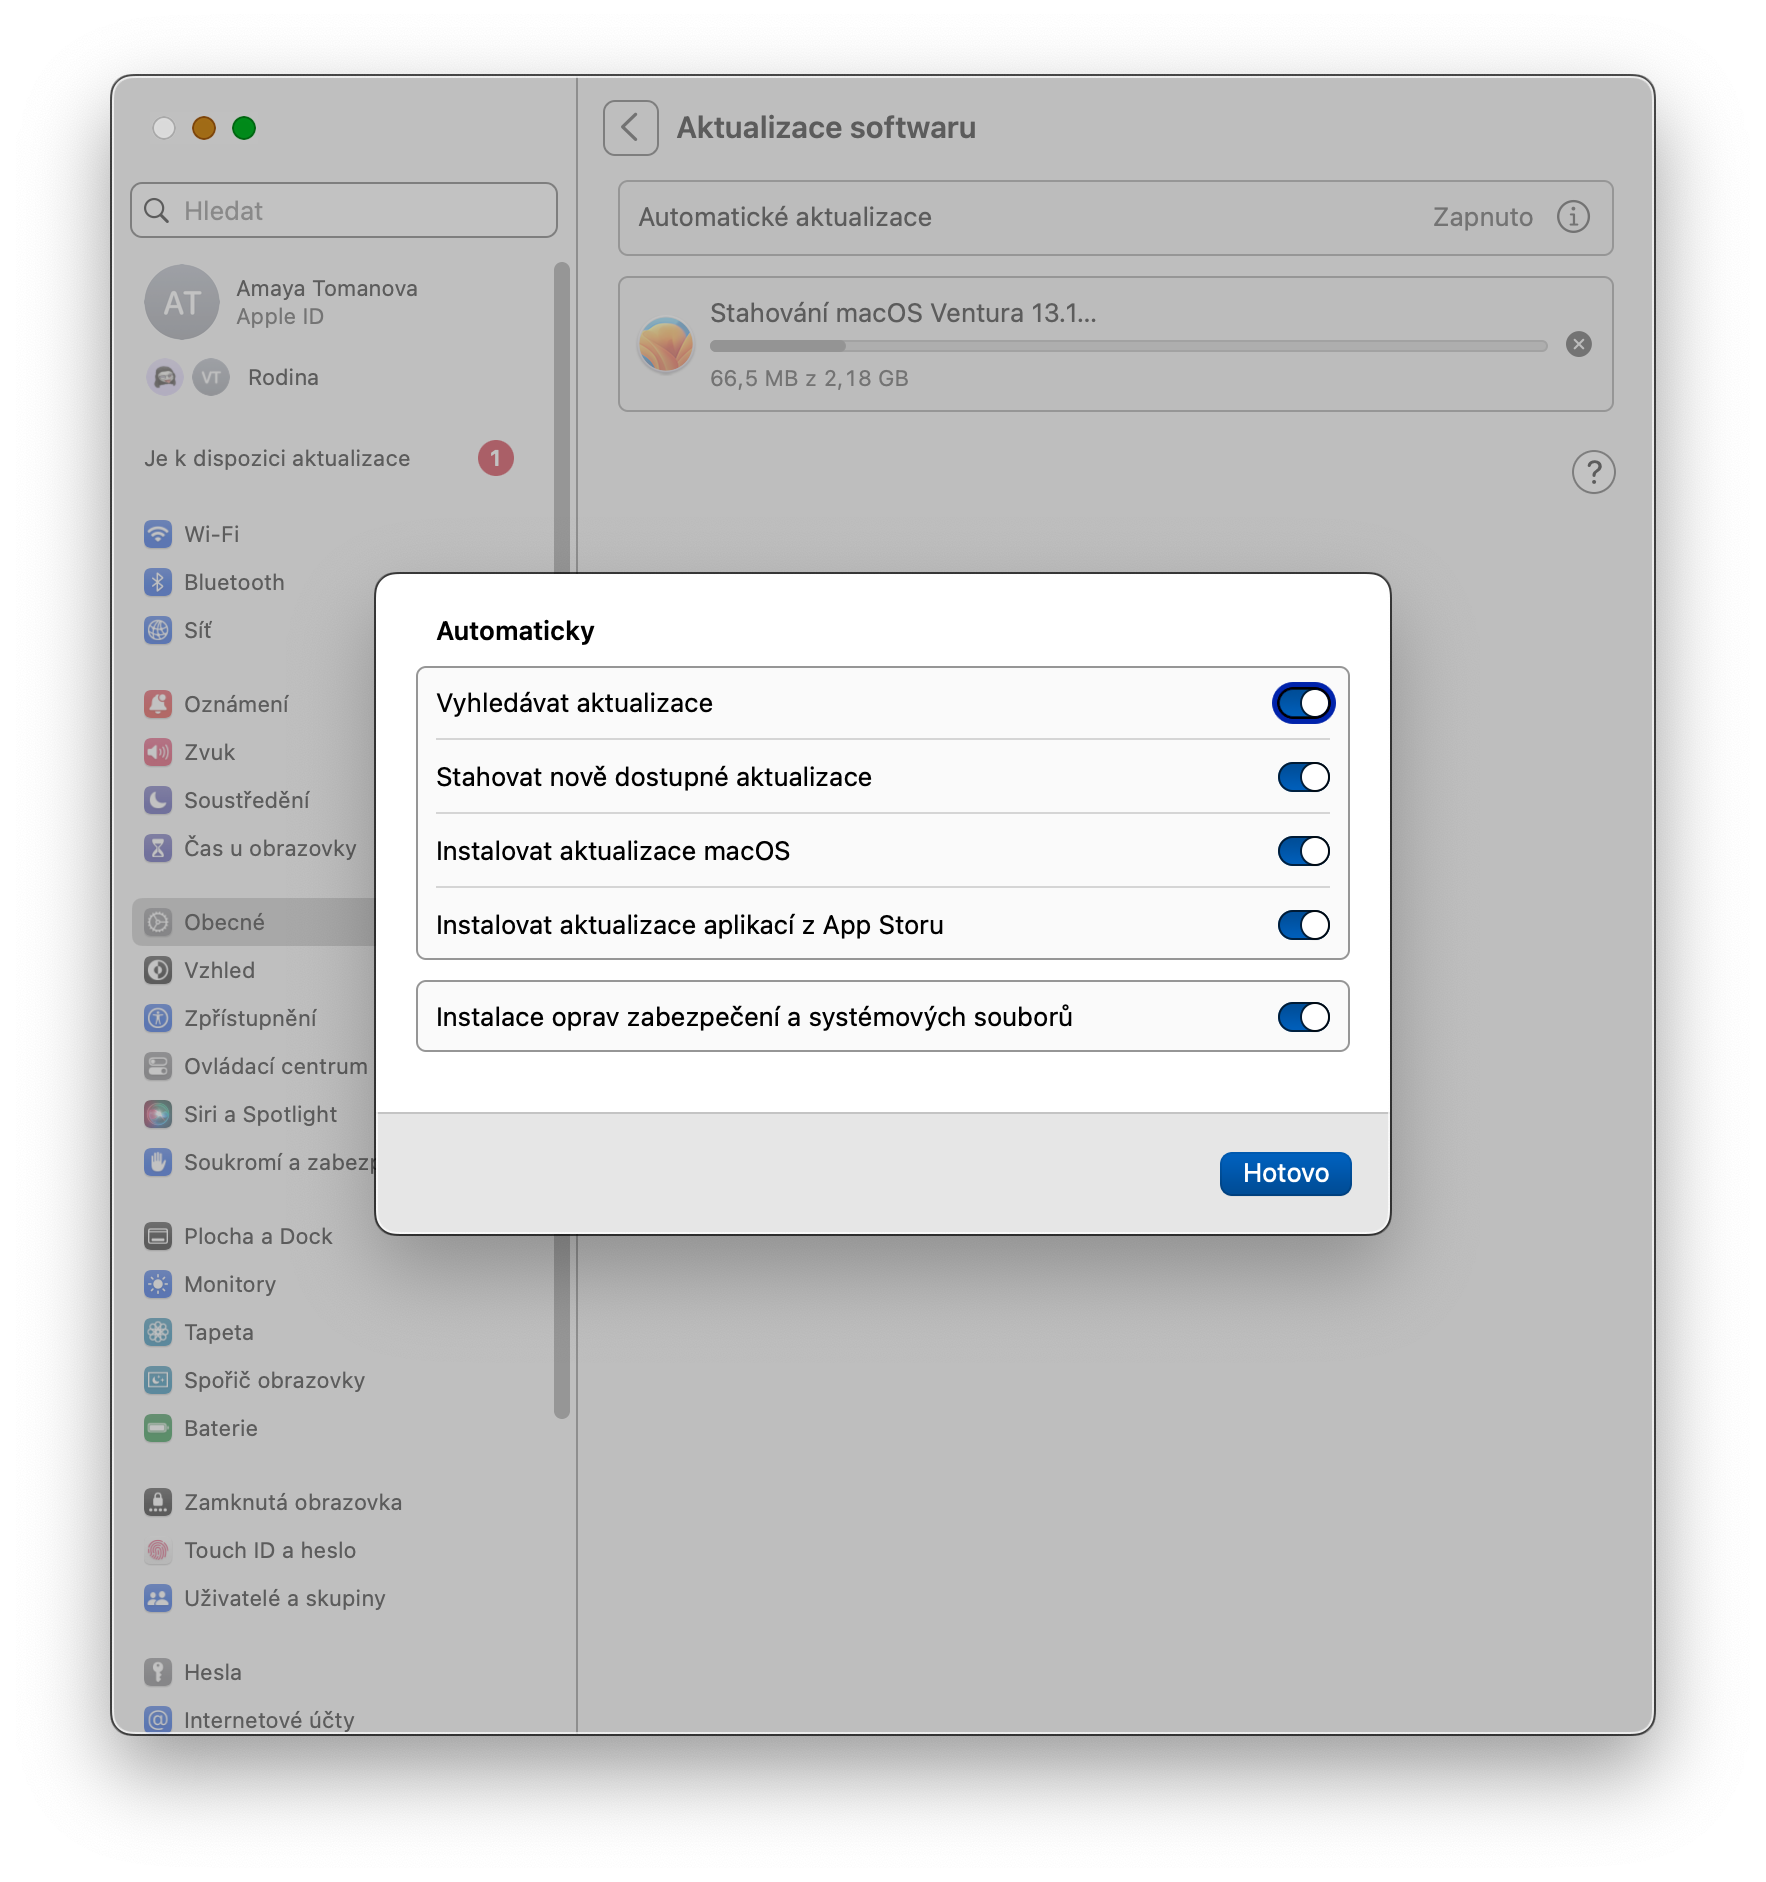
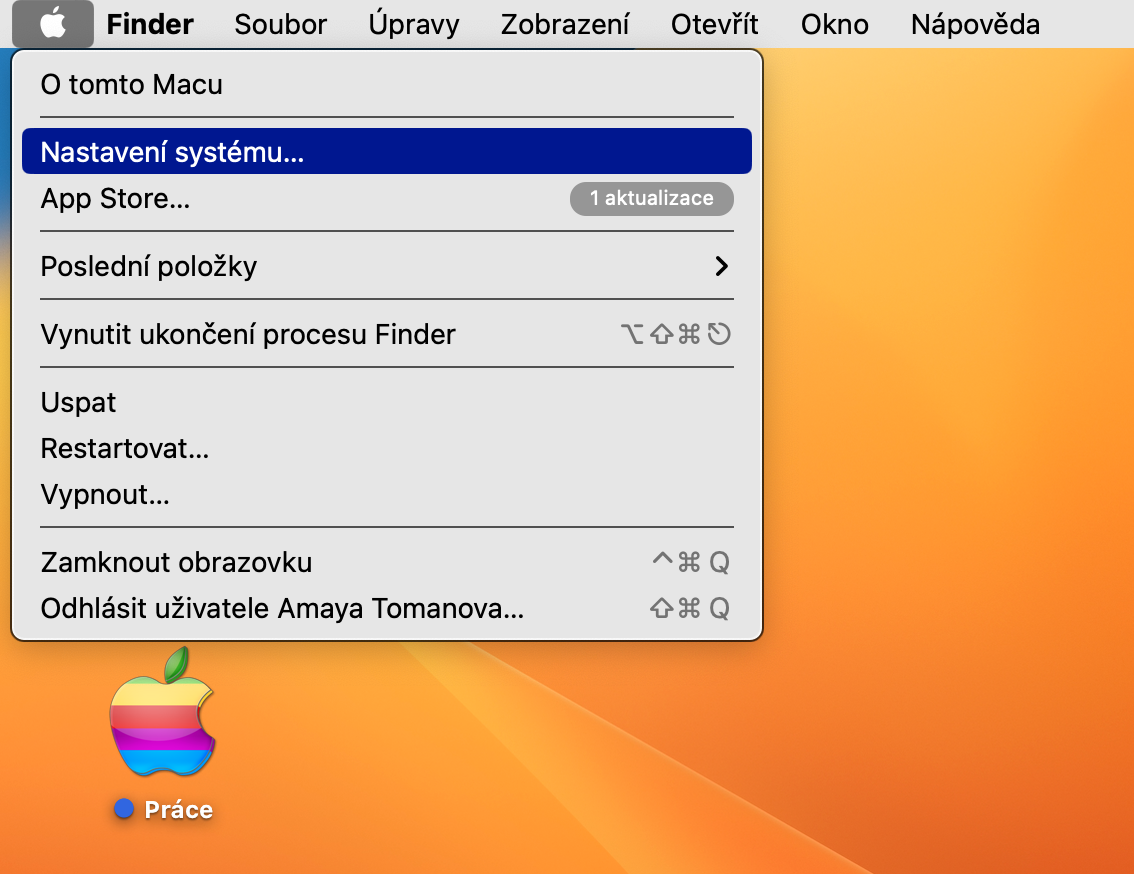
Similar to iOS 16, in the macOS Ventura operating system you also have the option to activate the installation of fixes and security, or to specify in more detail which part of the software update will be automatically downloaded to your Mac. To activate security patch installations, click in the upper-left corner of your Mac screen menu -> System settings. Choose General and panel Software update click ⓘ . Finally, activate the items you want to download automatically.
Weather notification
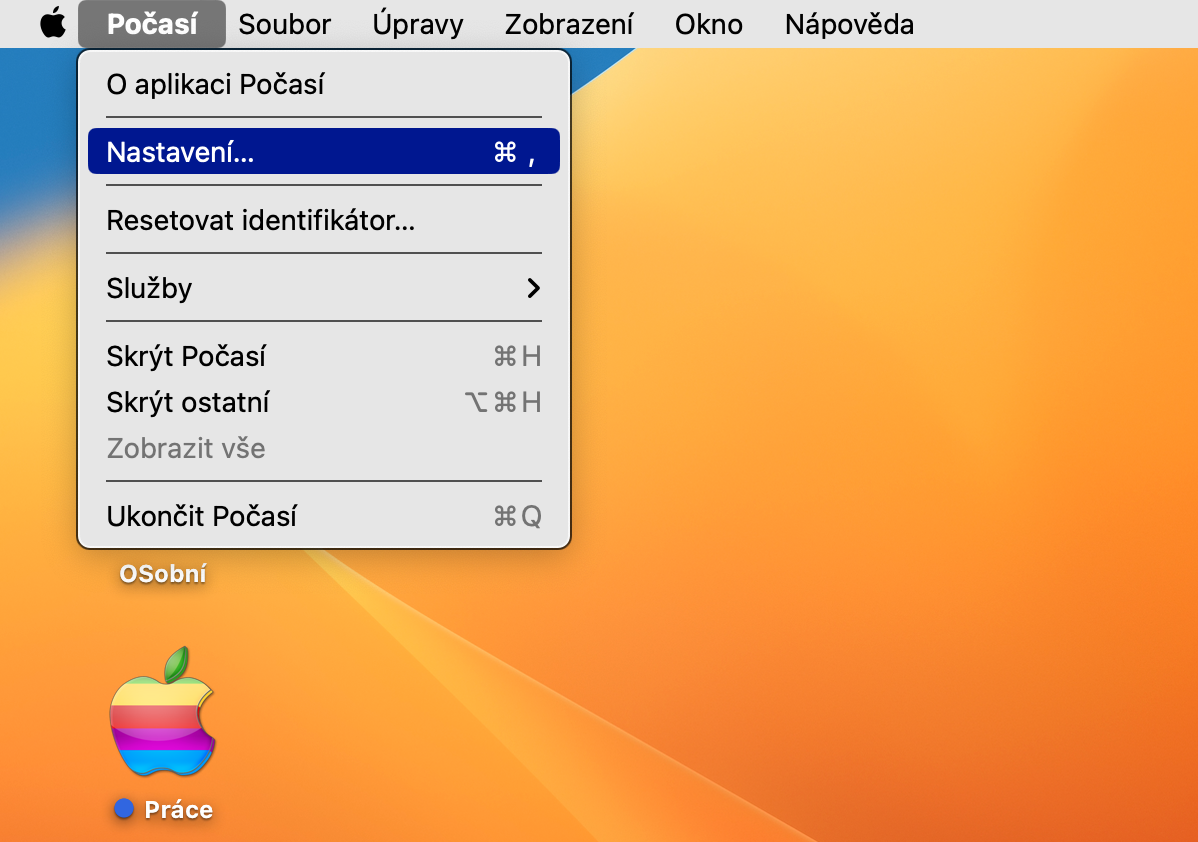
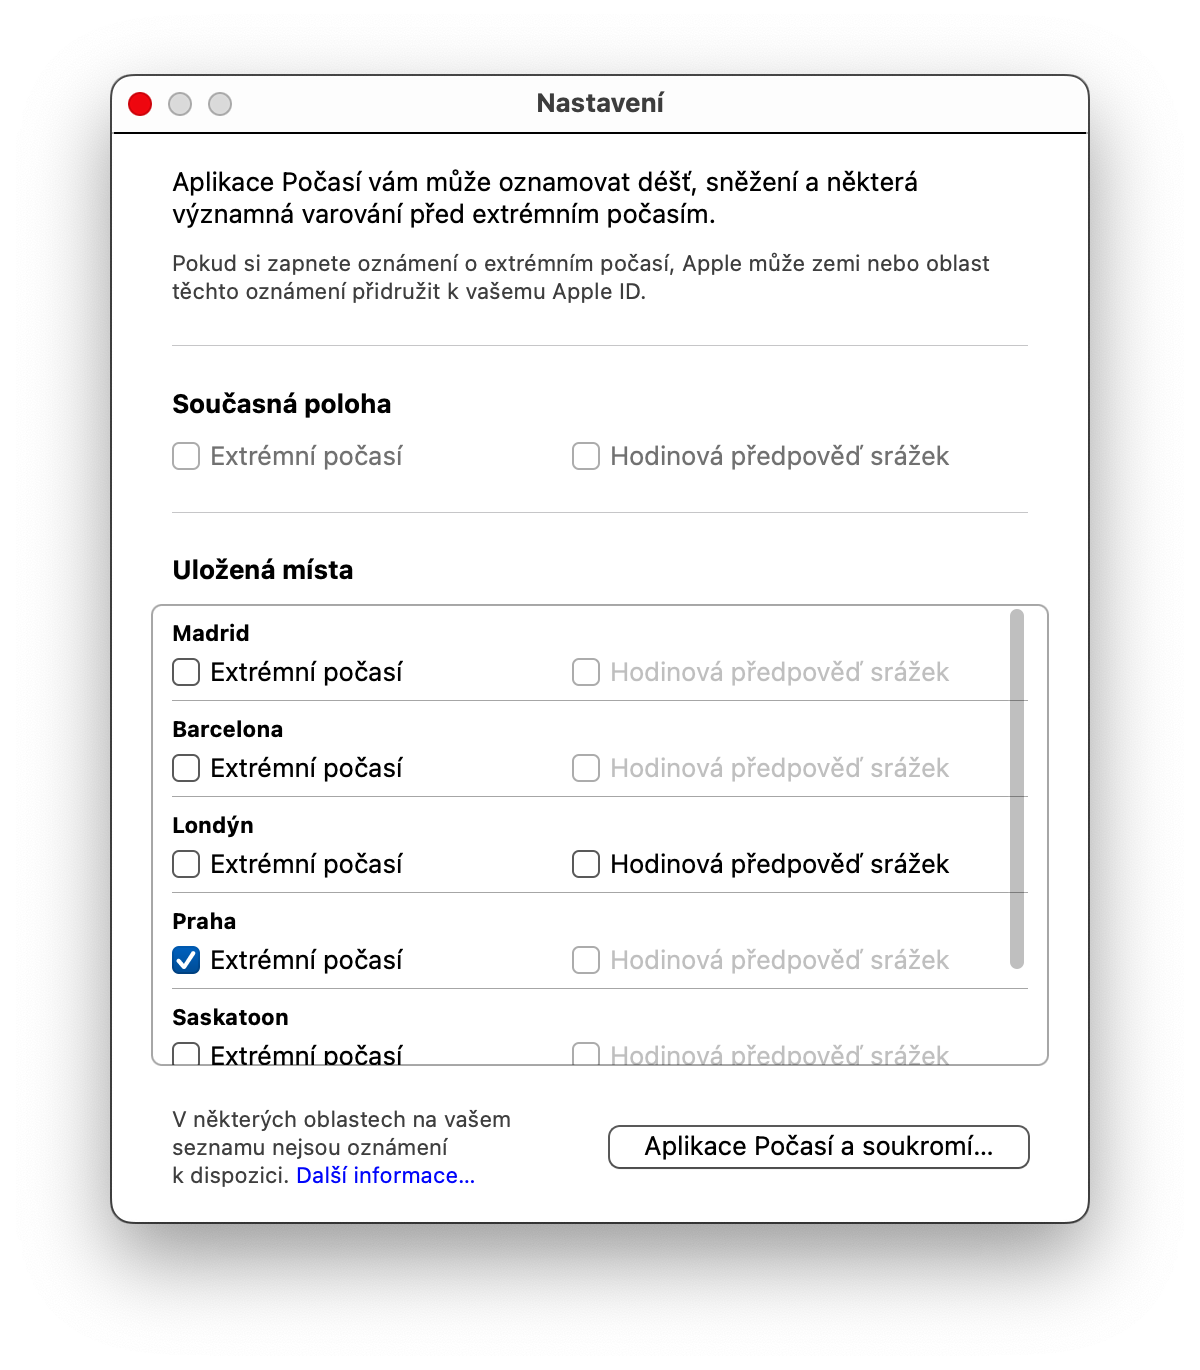
The revamped native Weather app in macOS Ventura offers, among other new features, the possibility of notifications. To activate and customize them, first head to menu -> System settings, where you select in the sidebar Notification. In the main part of the window, select Weather and choose a notification style. Then launch the Weather app and click on the bar at the top of your Mac screen Weather -> Settings. Then activate the desired notifications for the selected locations. Notifications may not be available for some areas.
Customizing Spotlight
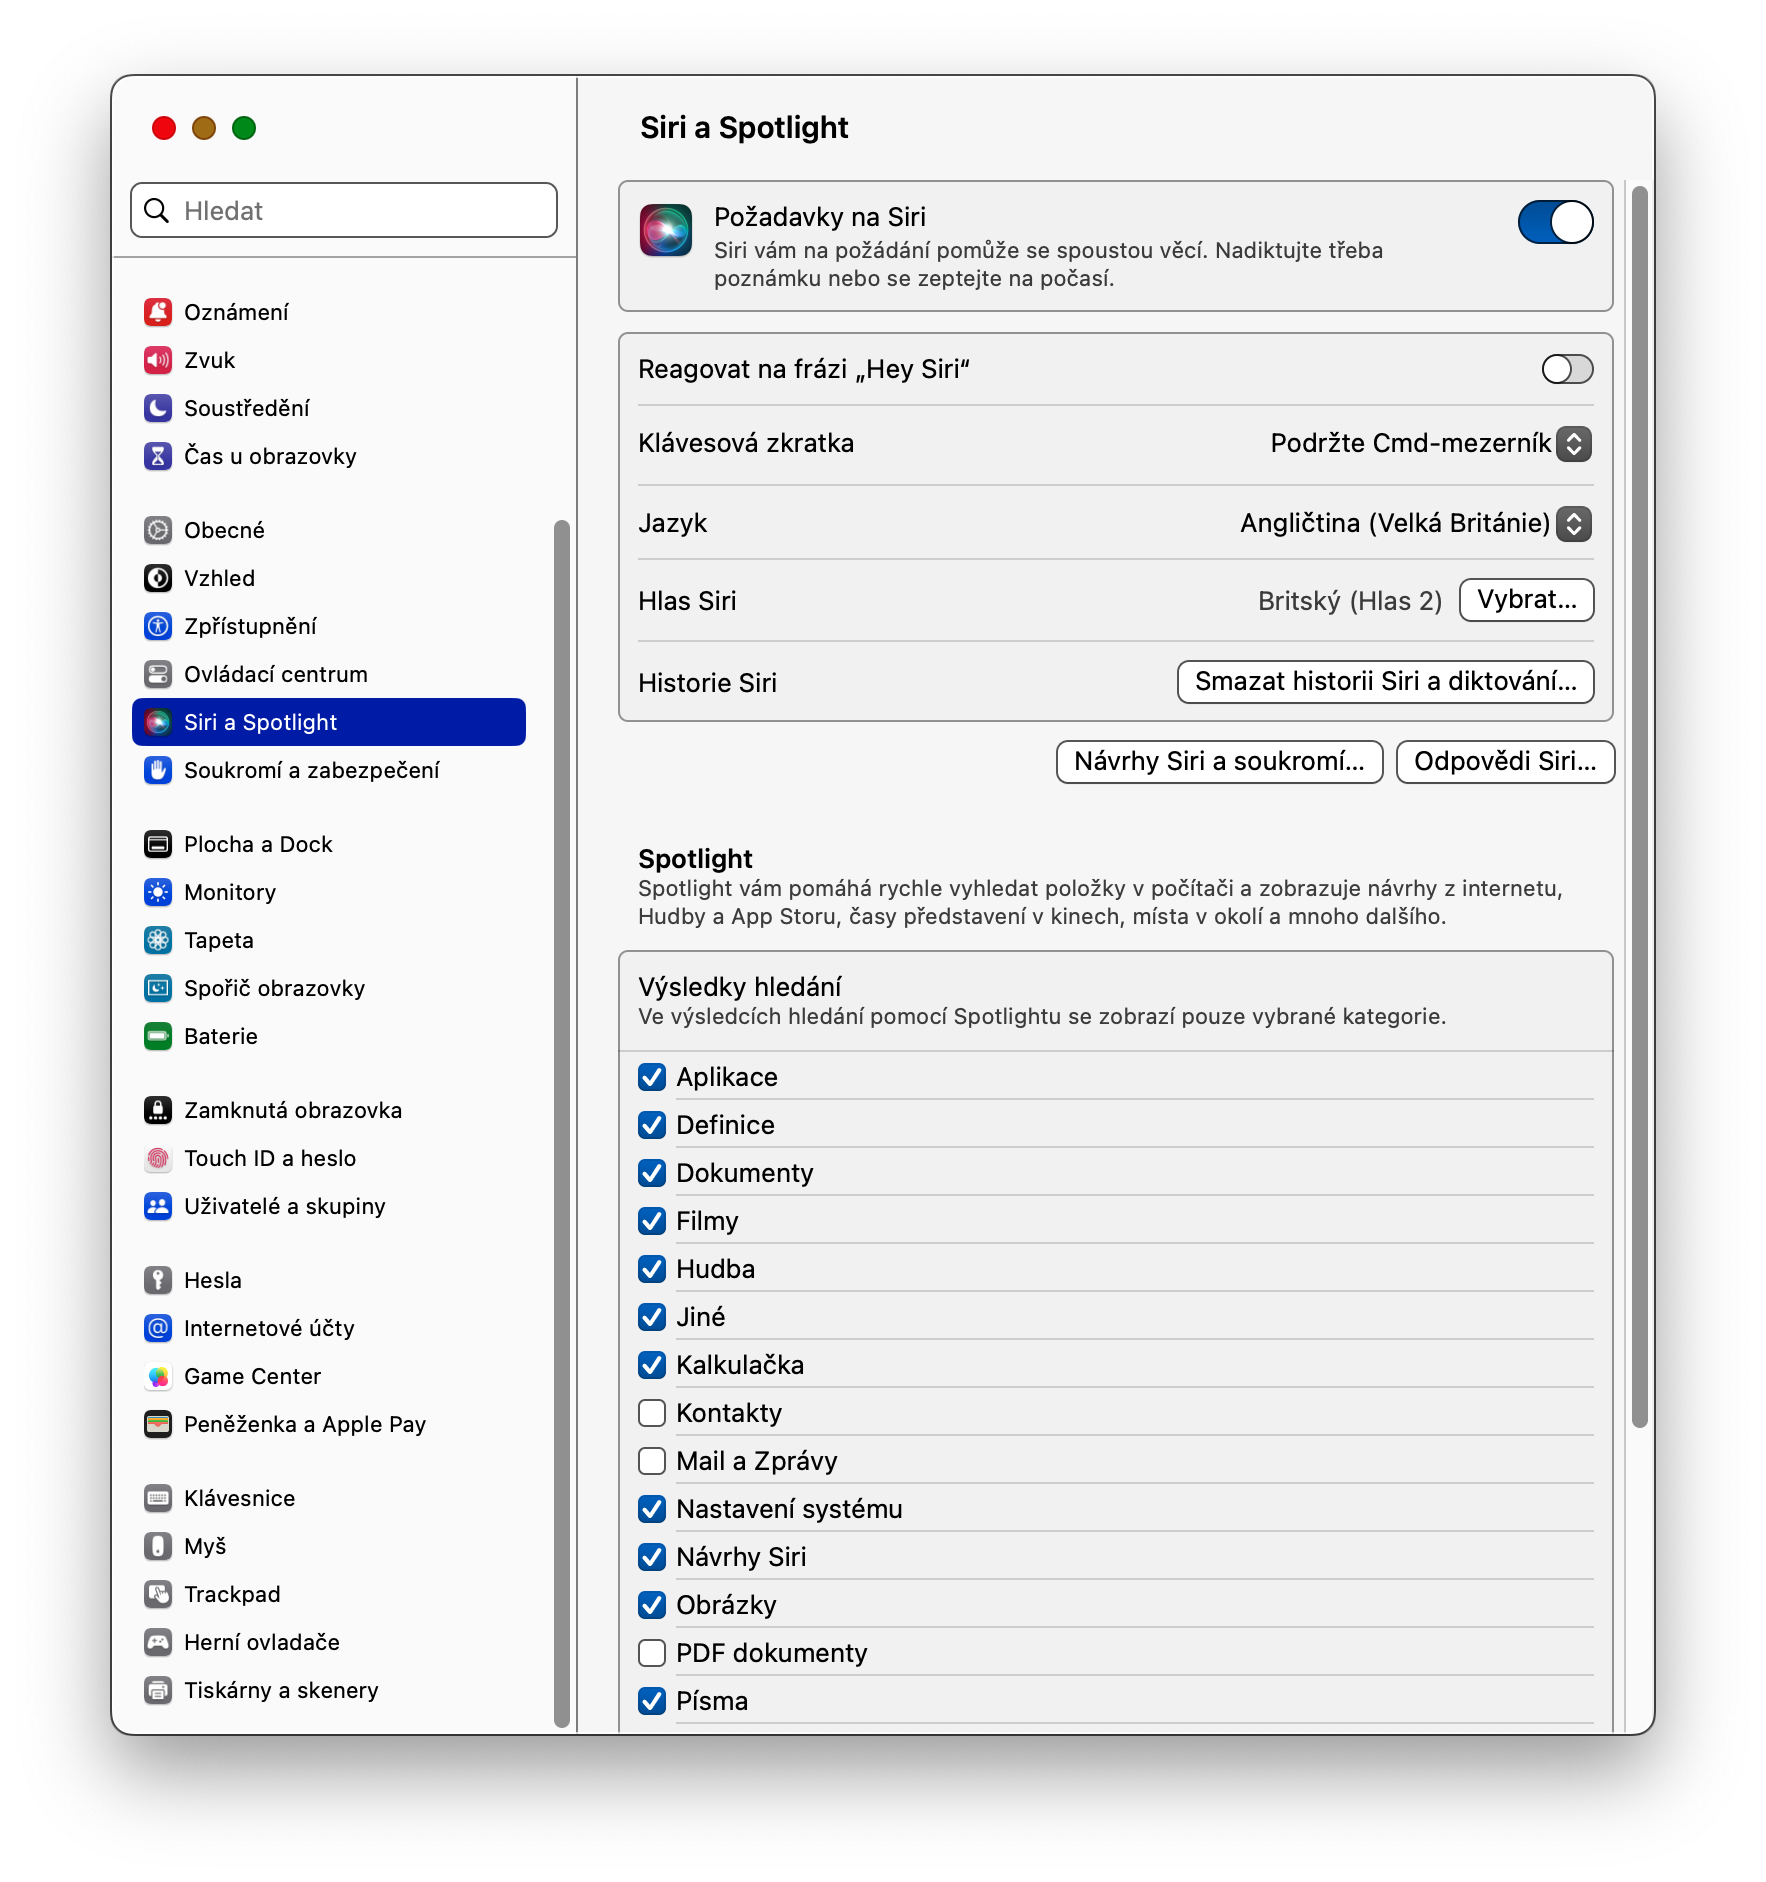
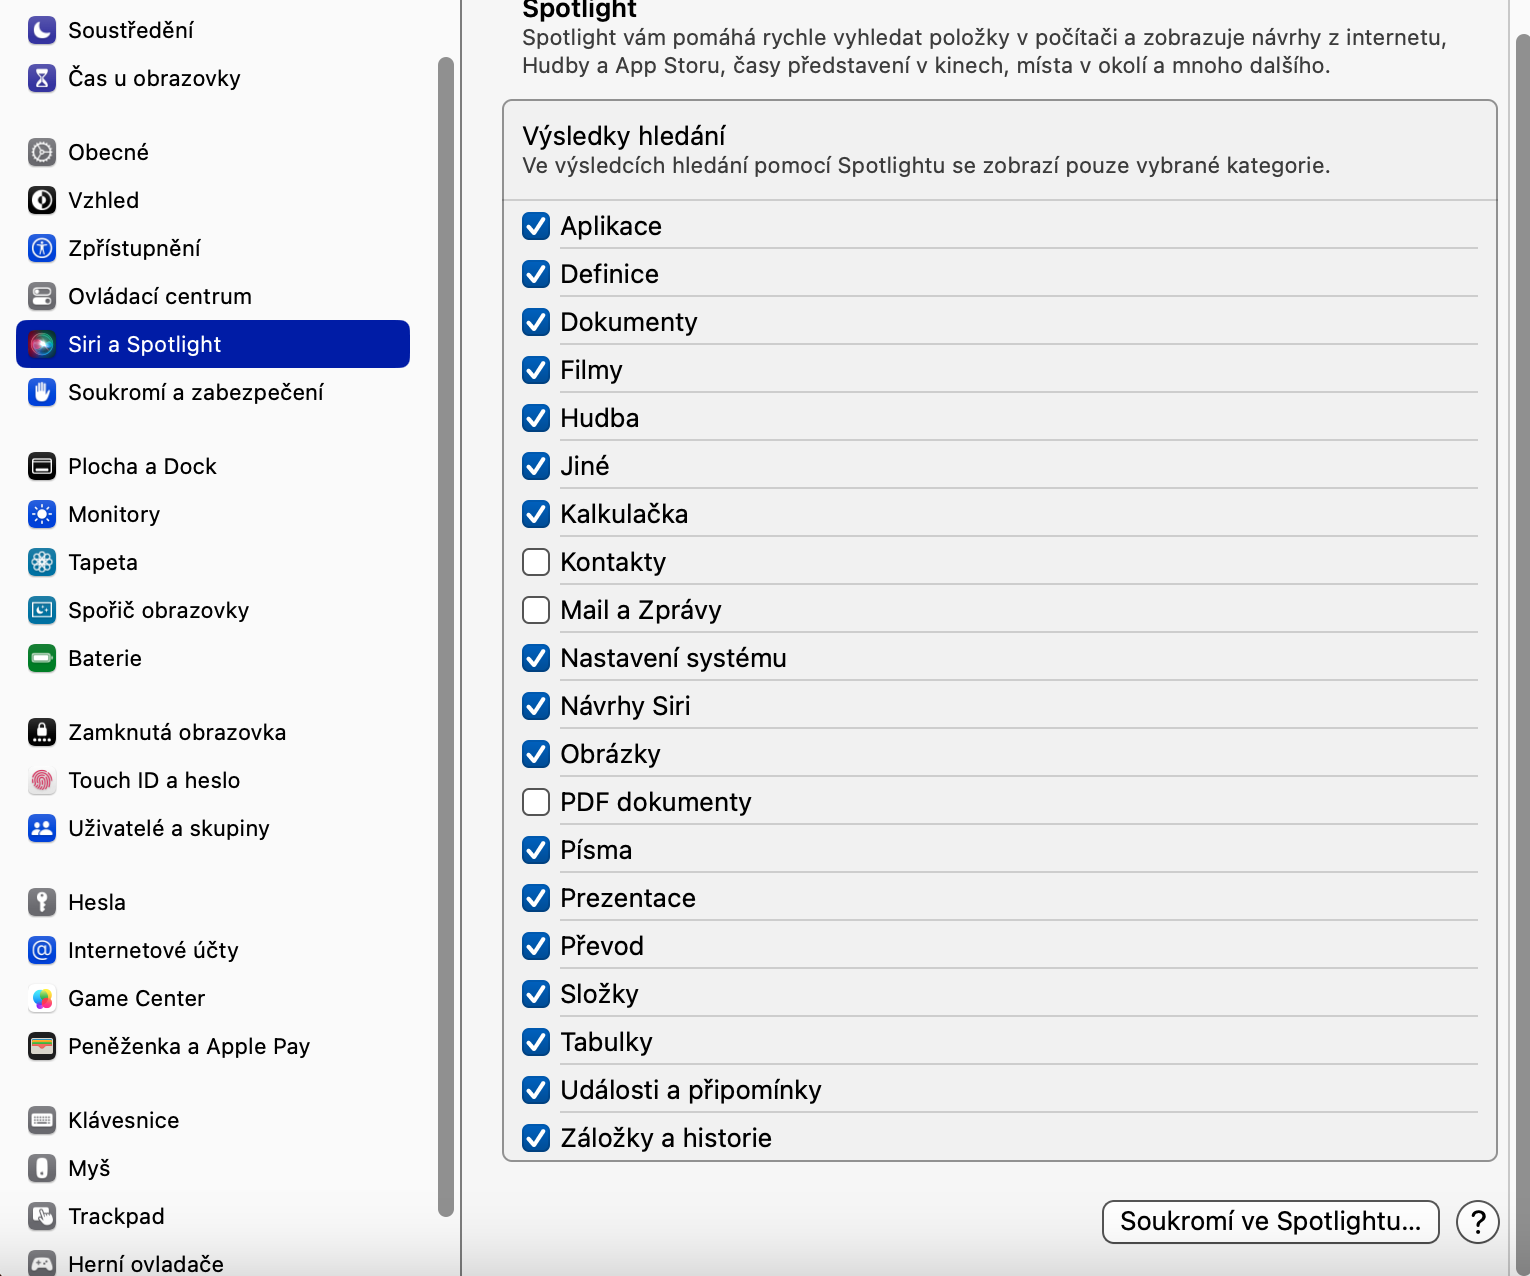
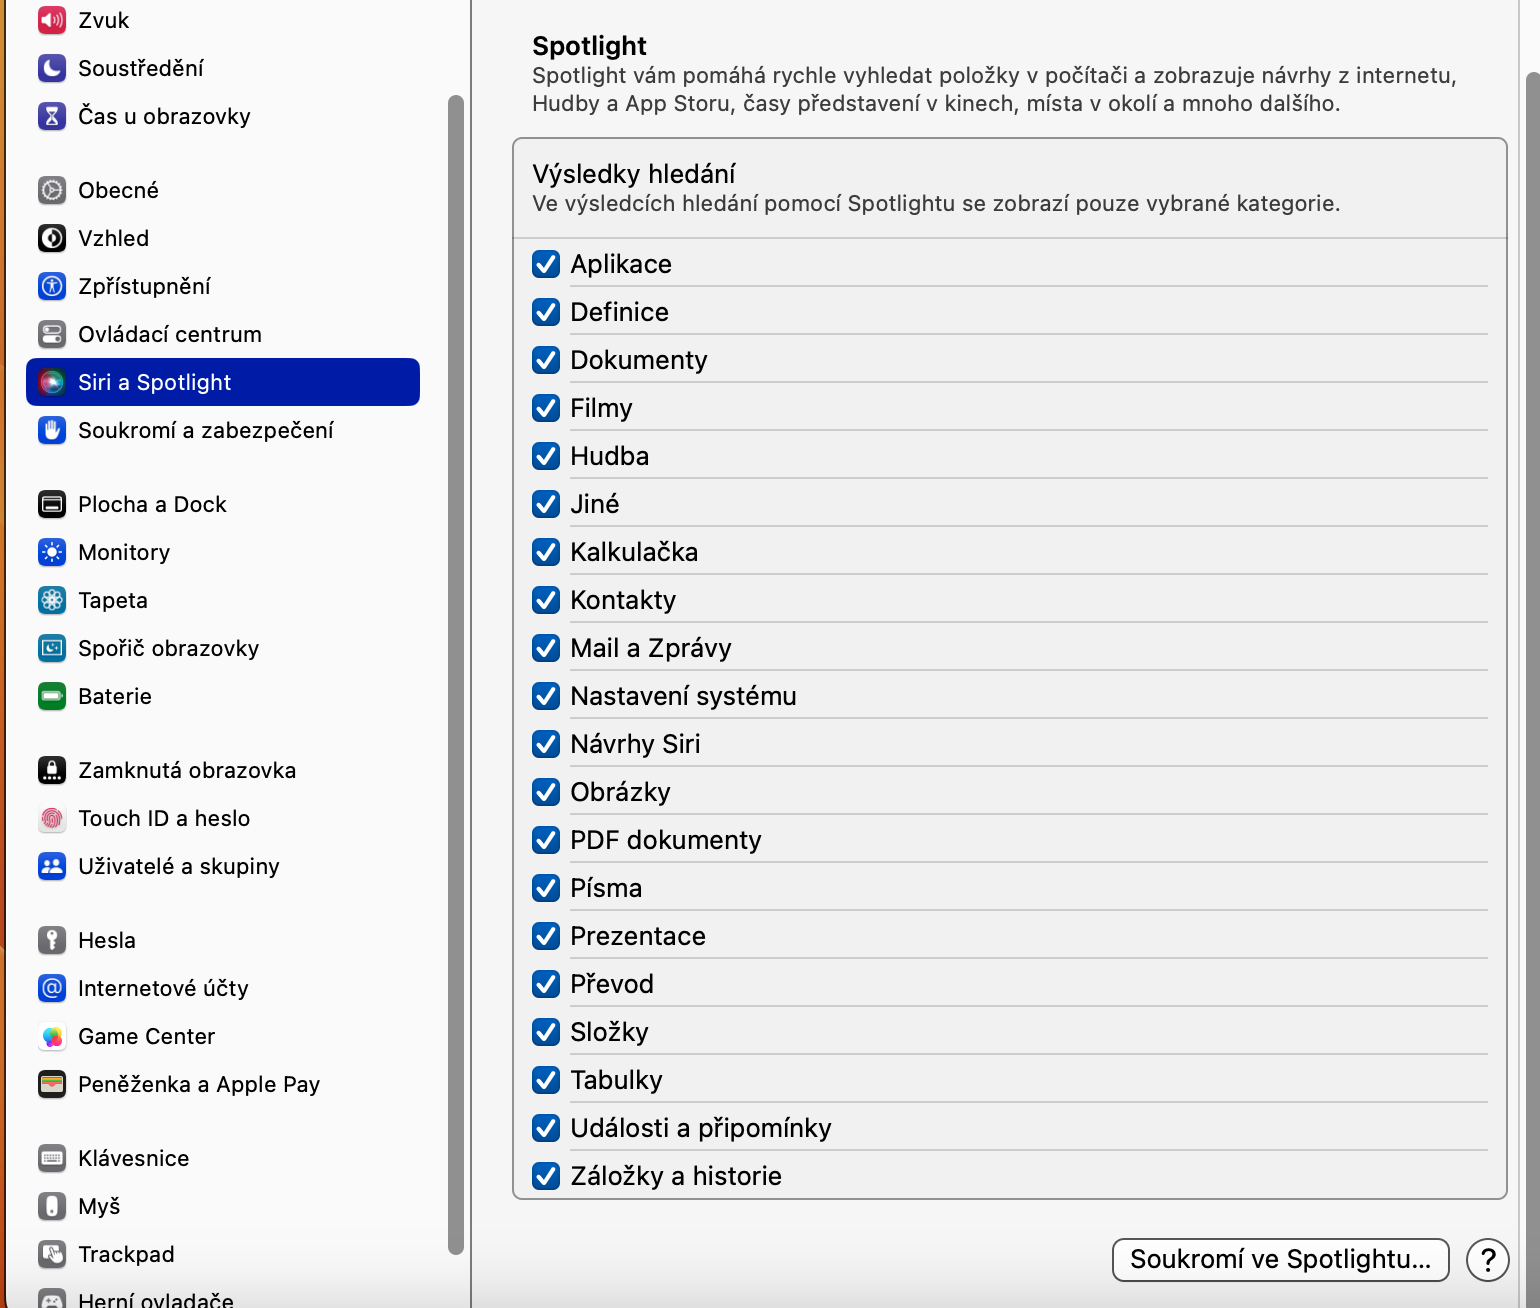
In macOS Ventura, you can Spotlight service use even more efficiently. You can view file path, contact details and much more. To customize the areas that Spotlight will work with, click in the upper left corner of your Mac's screen menu -> System settings. On the left side of the settings window, click Siri and Spotlight. Finally, it is enough in the main part of the window in the section Spotlight check the selected sections.
New fonts
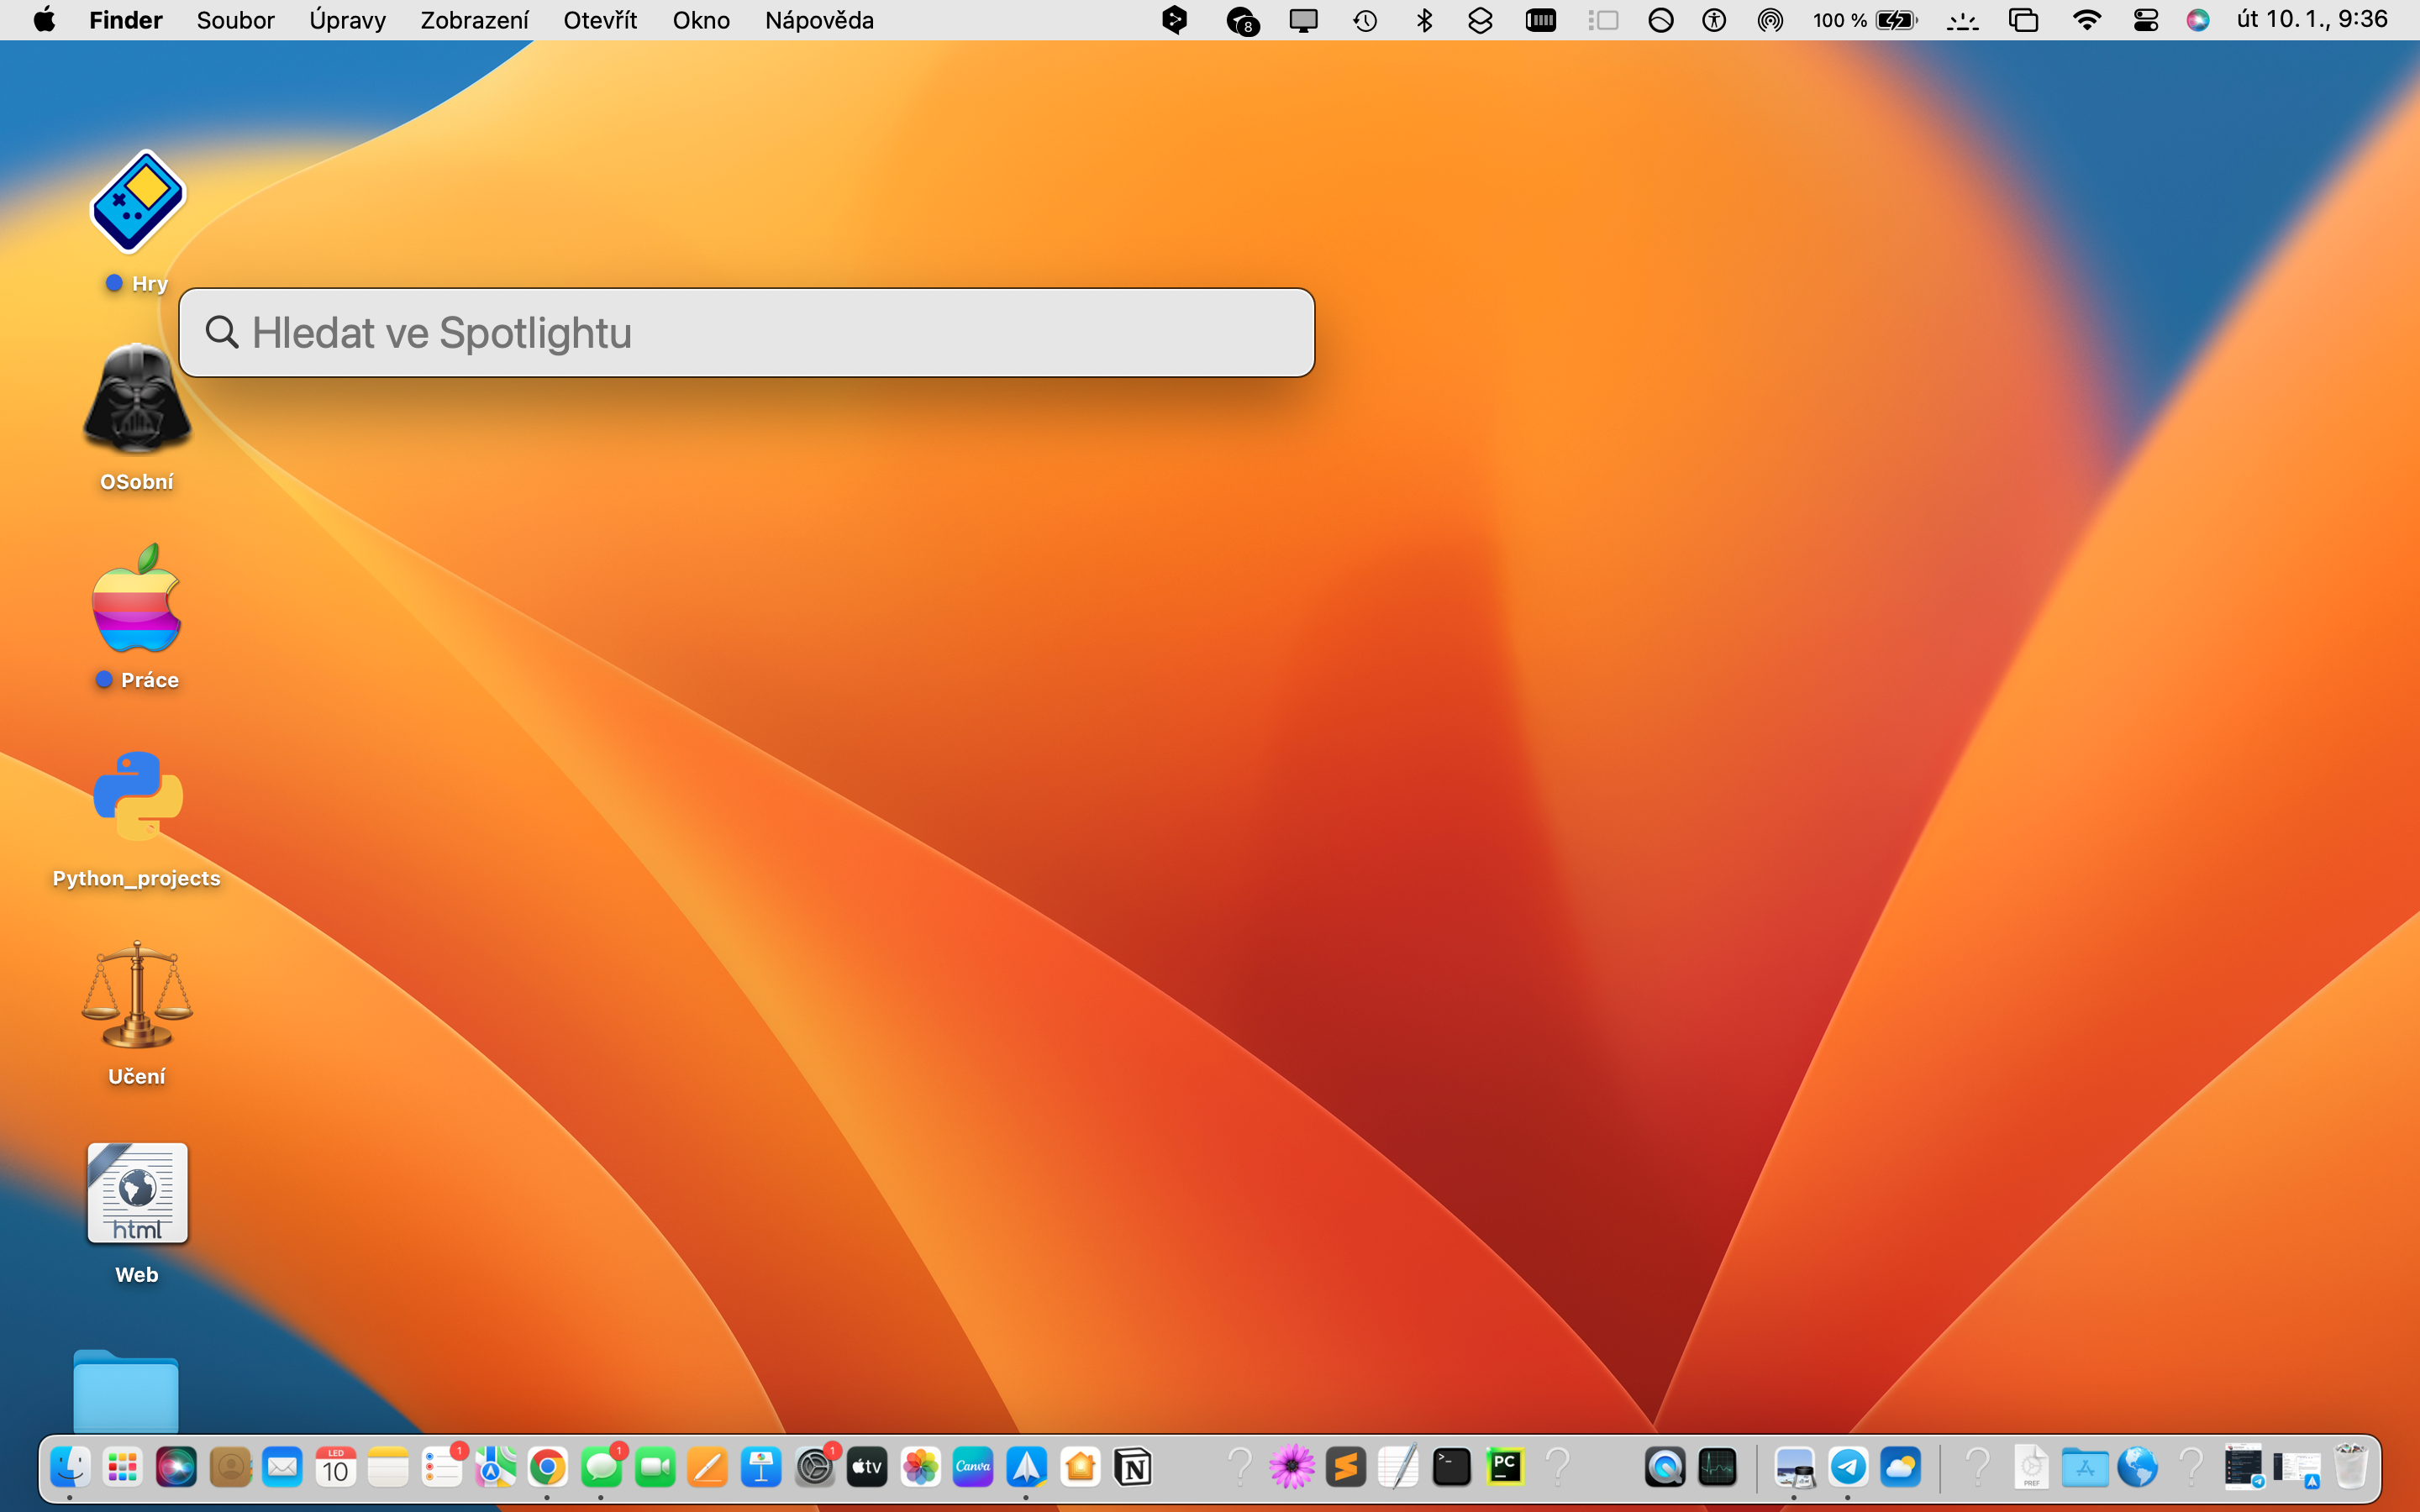
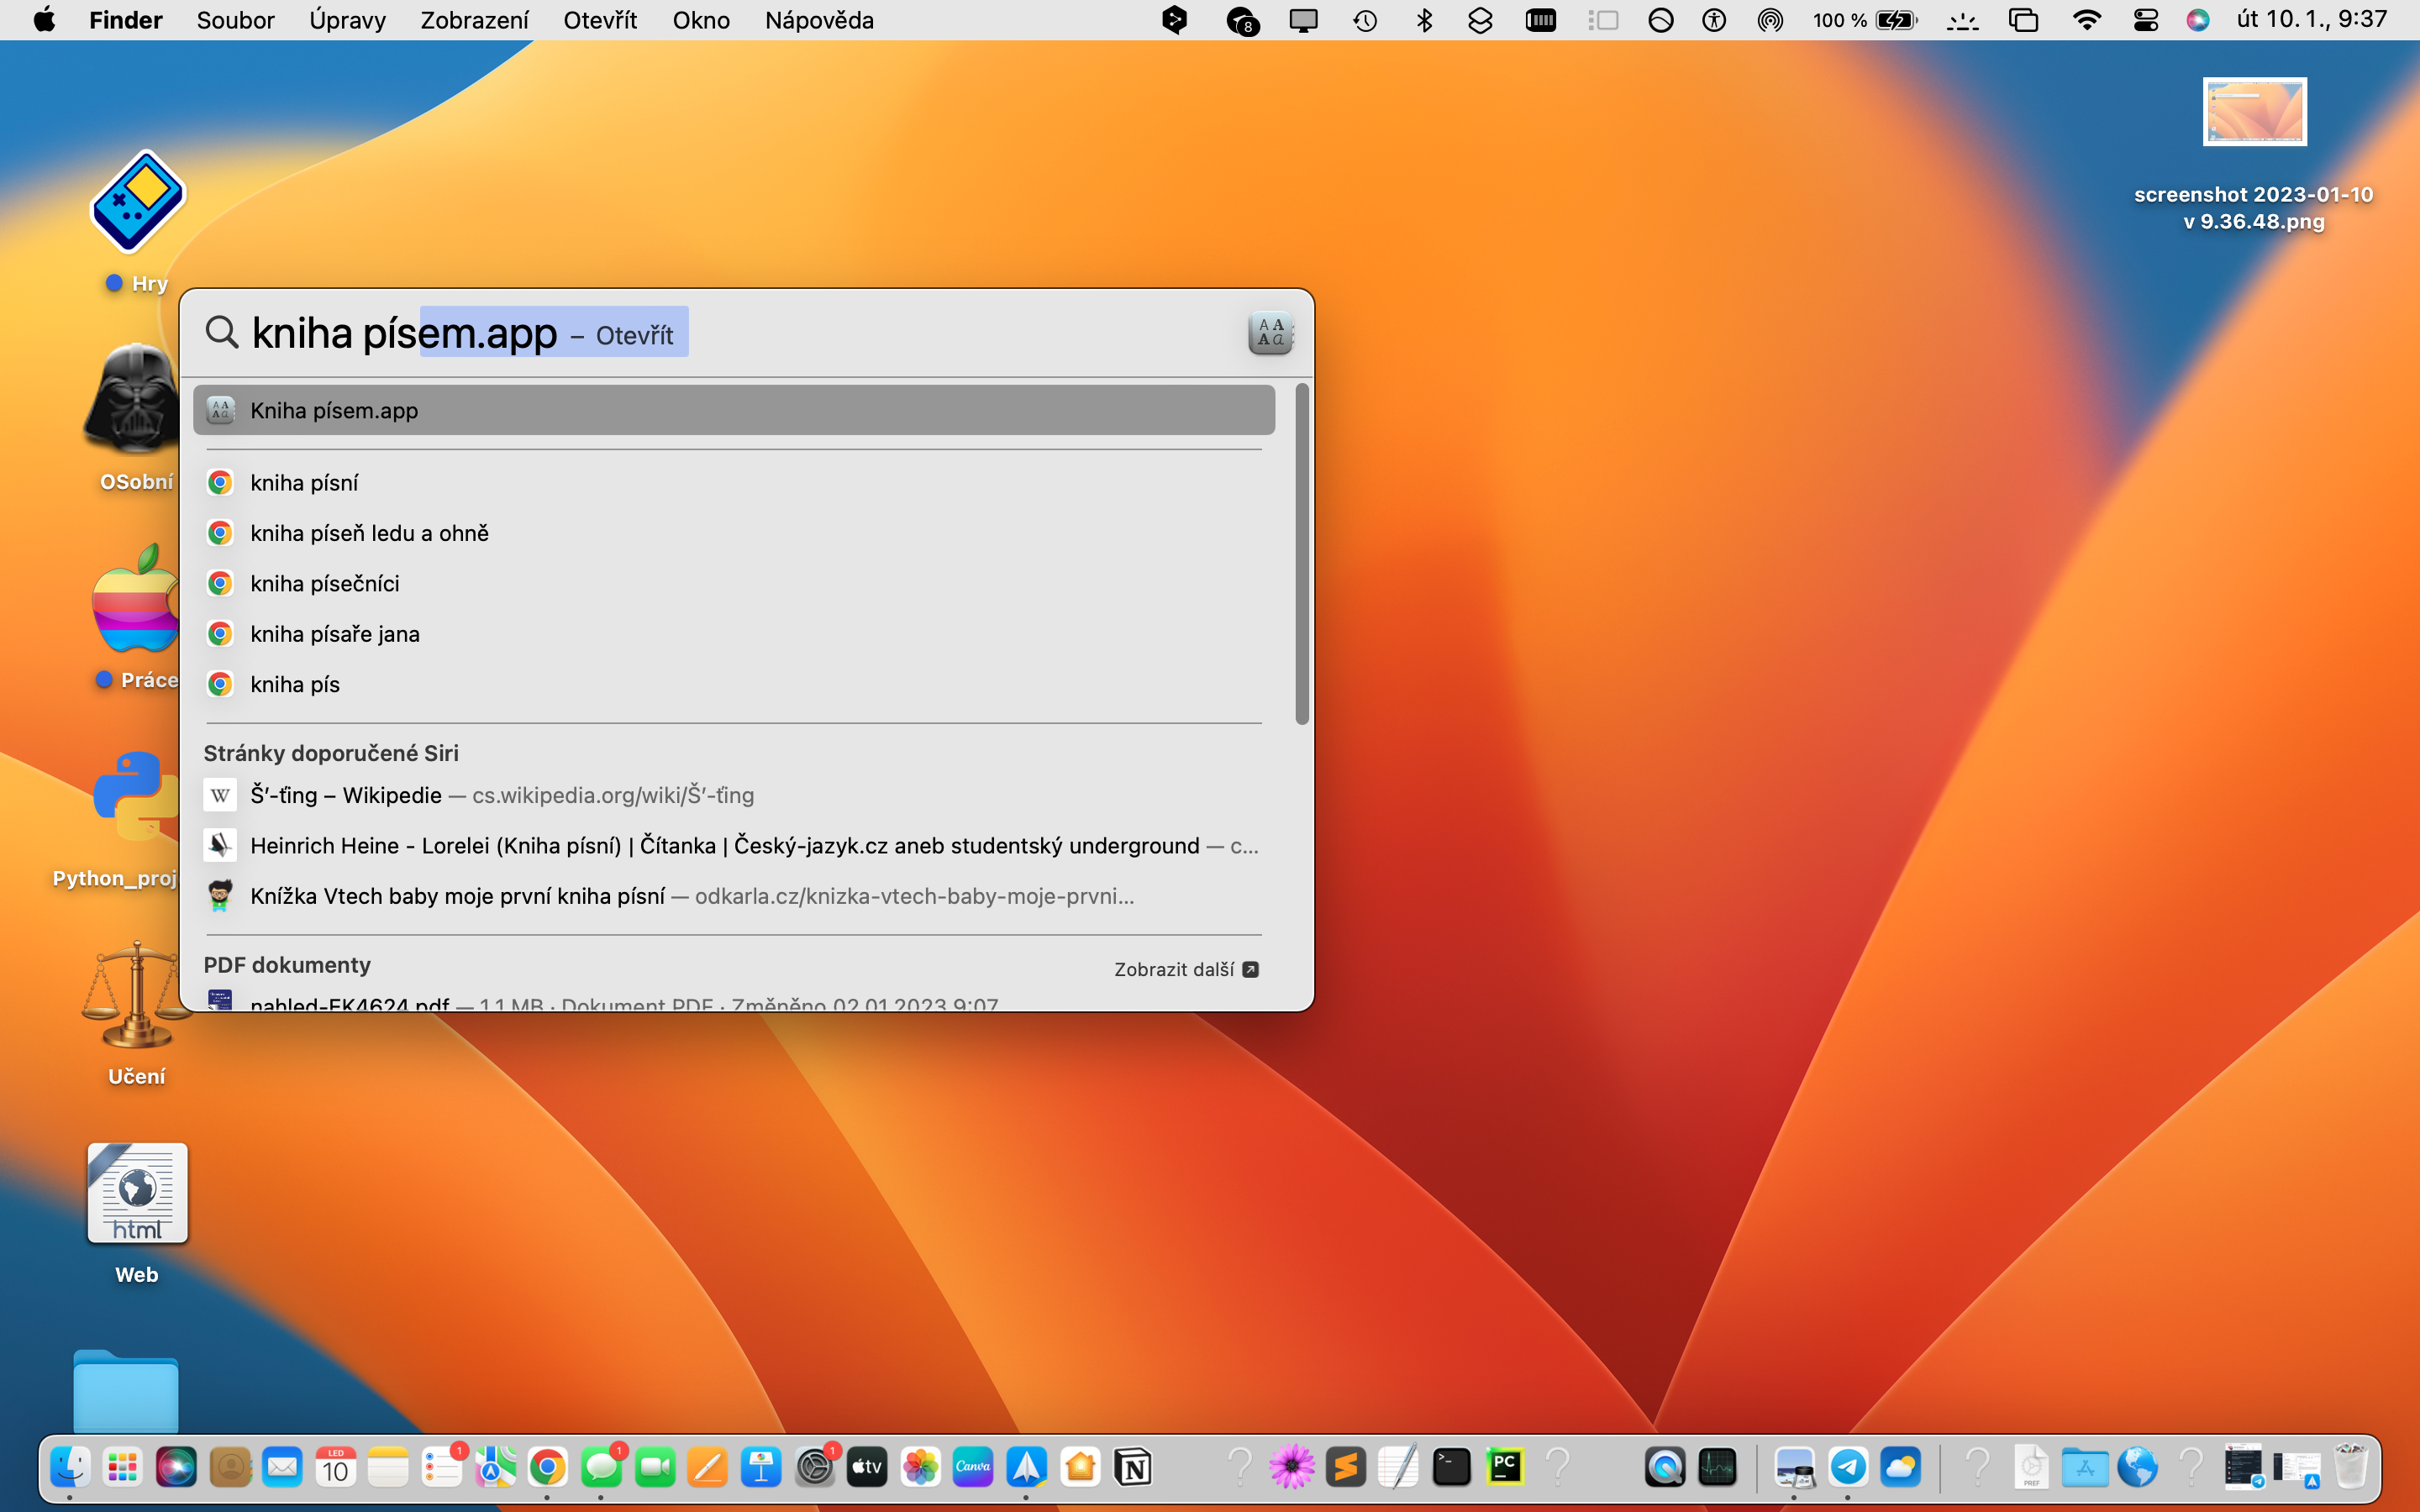
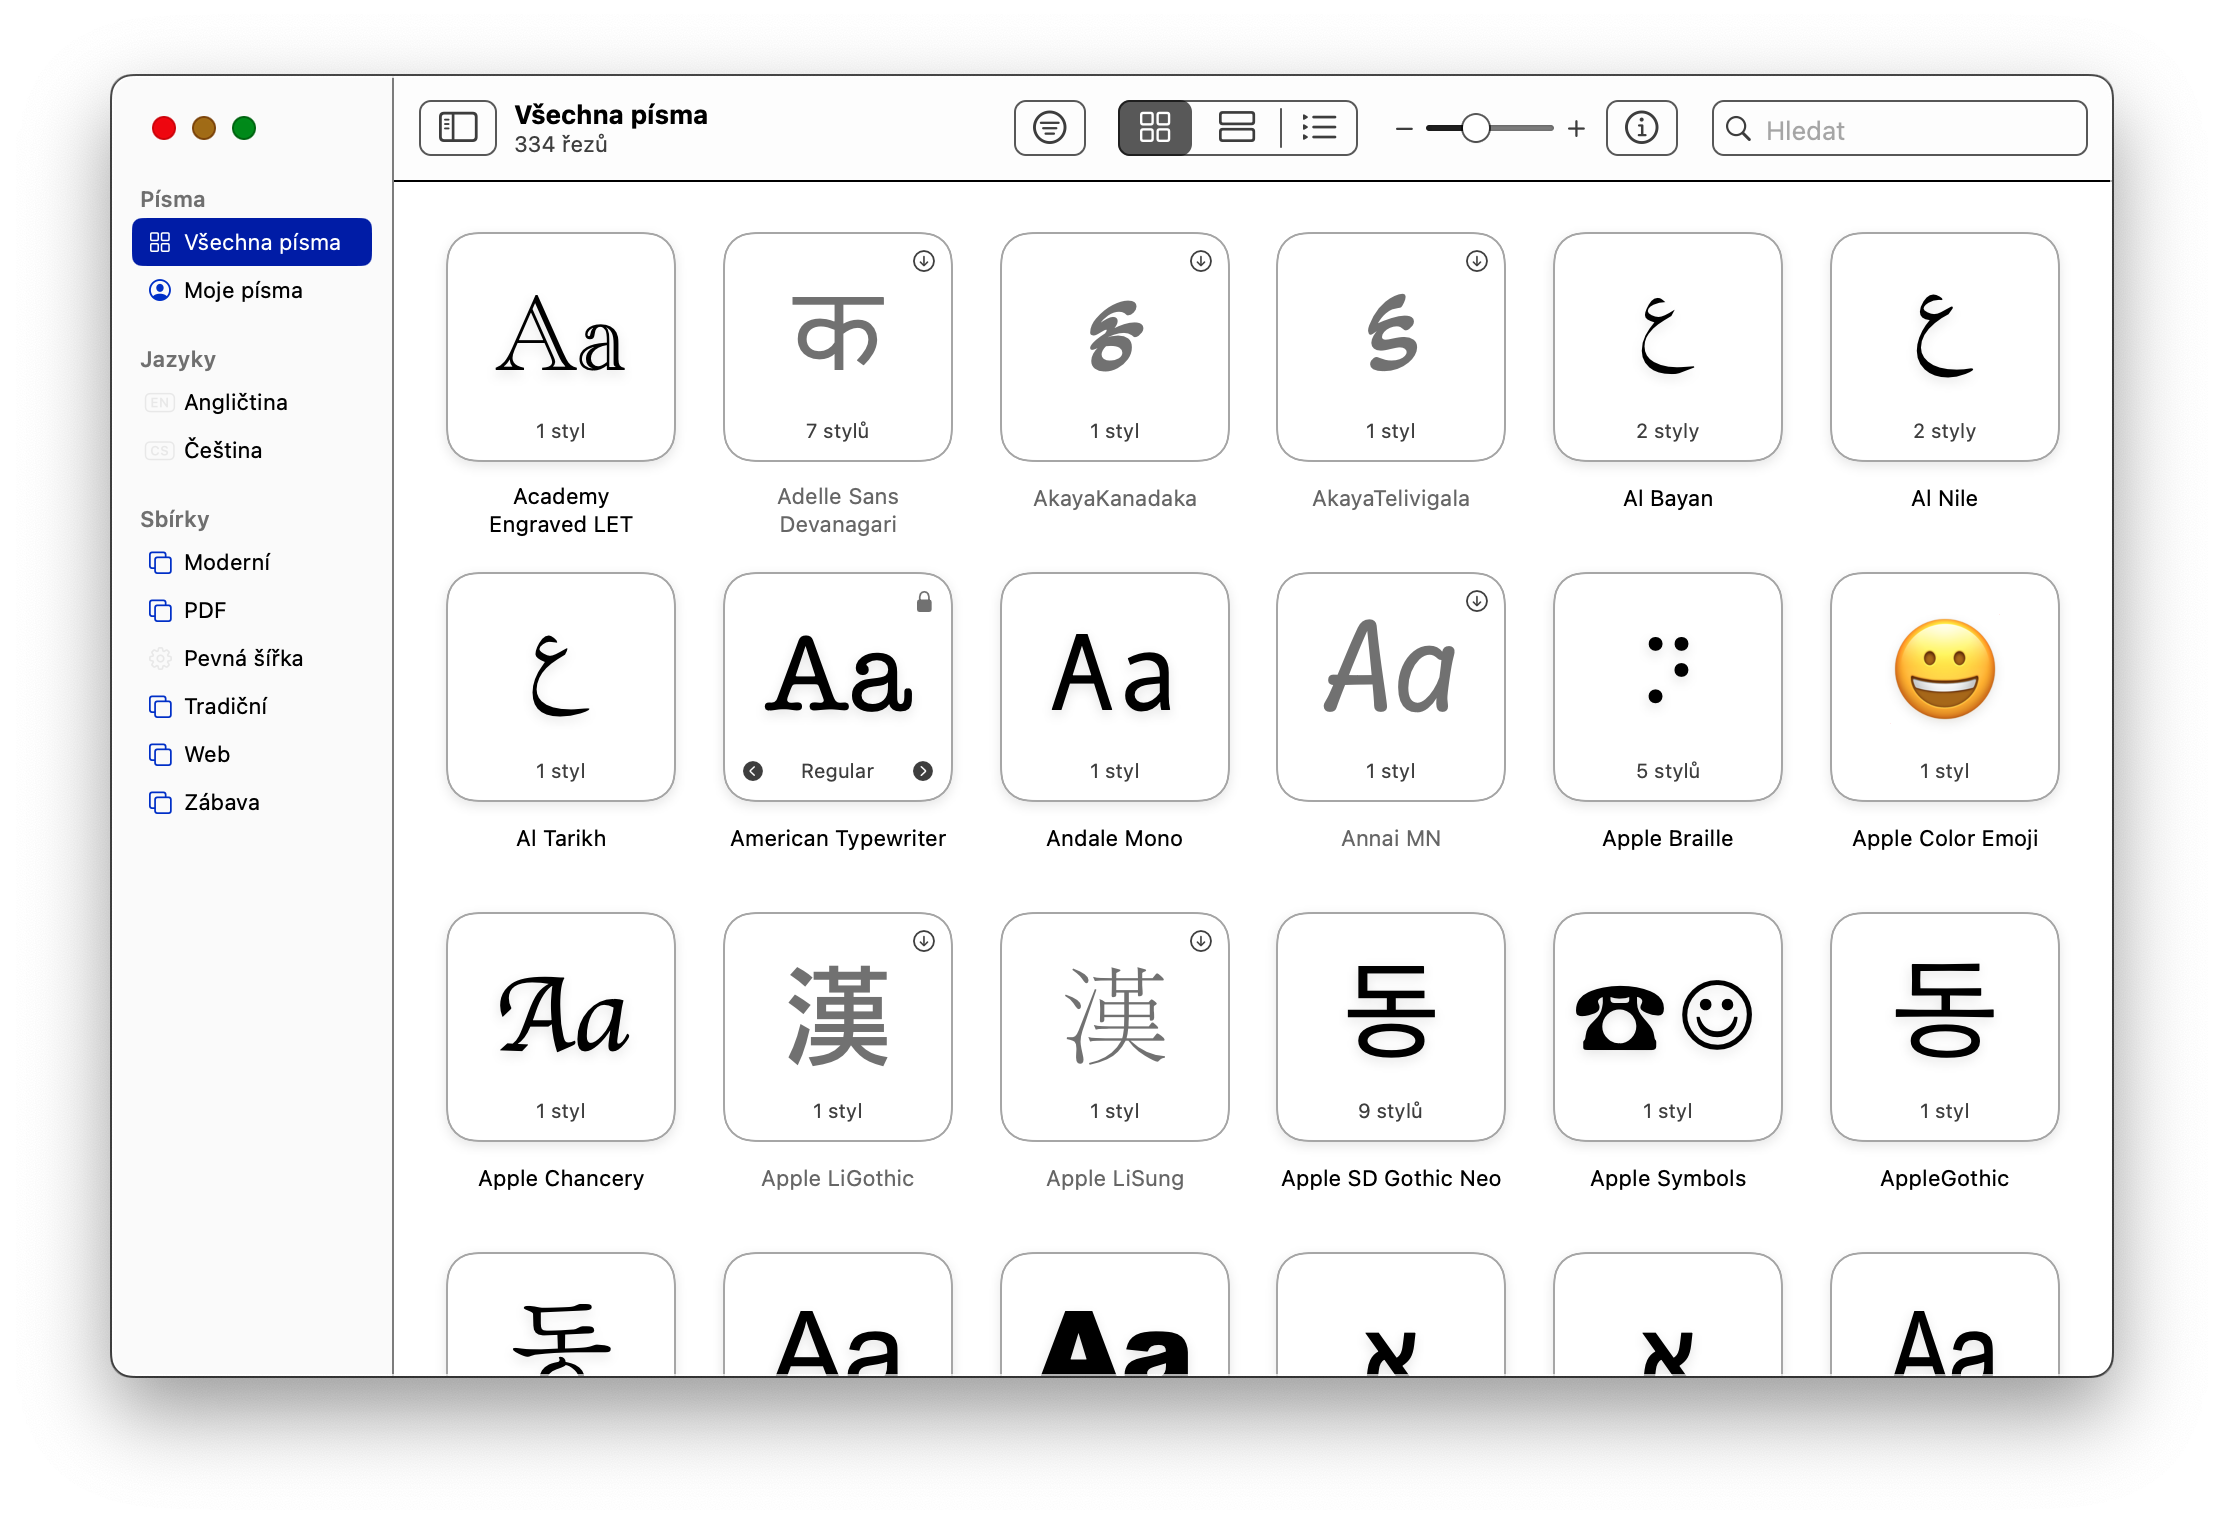
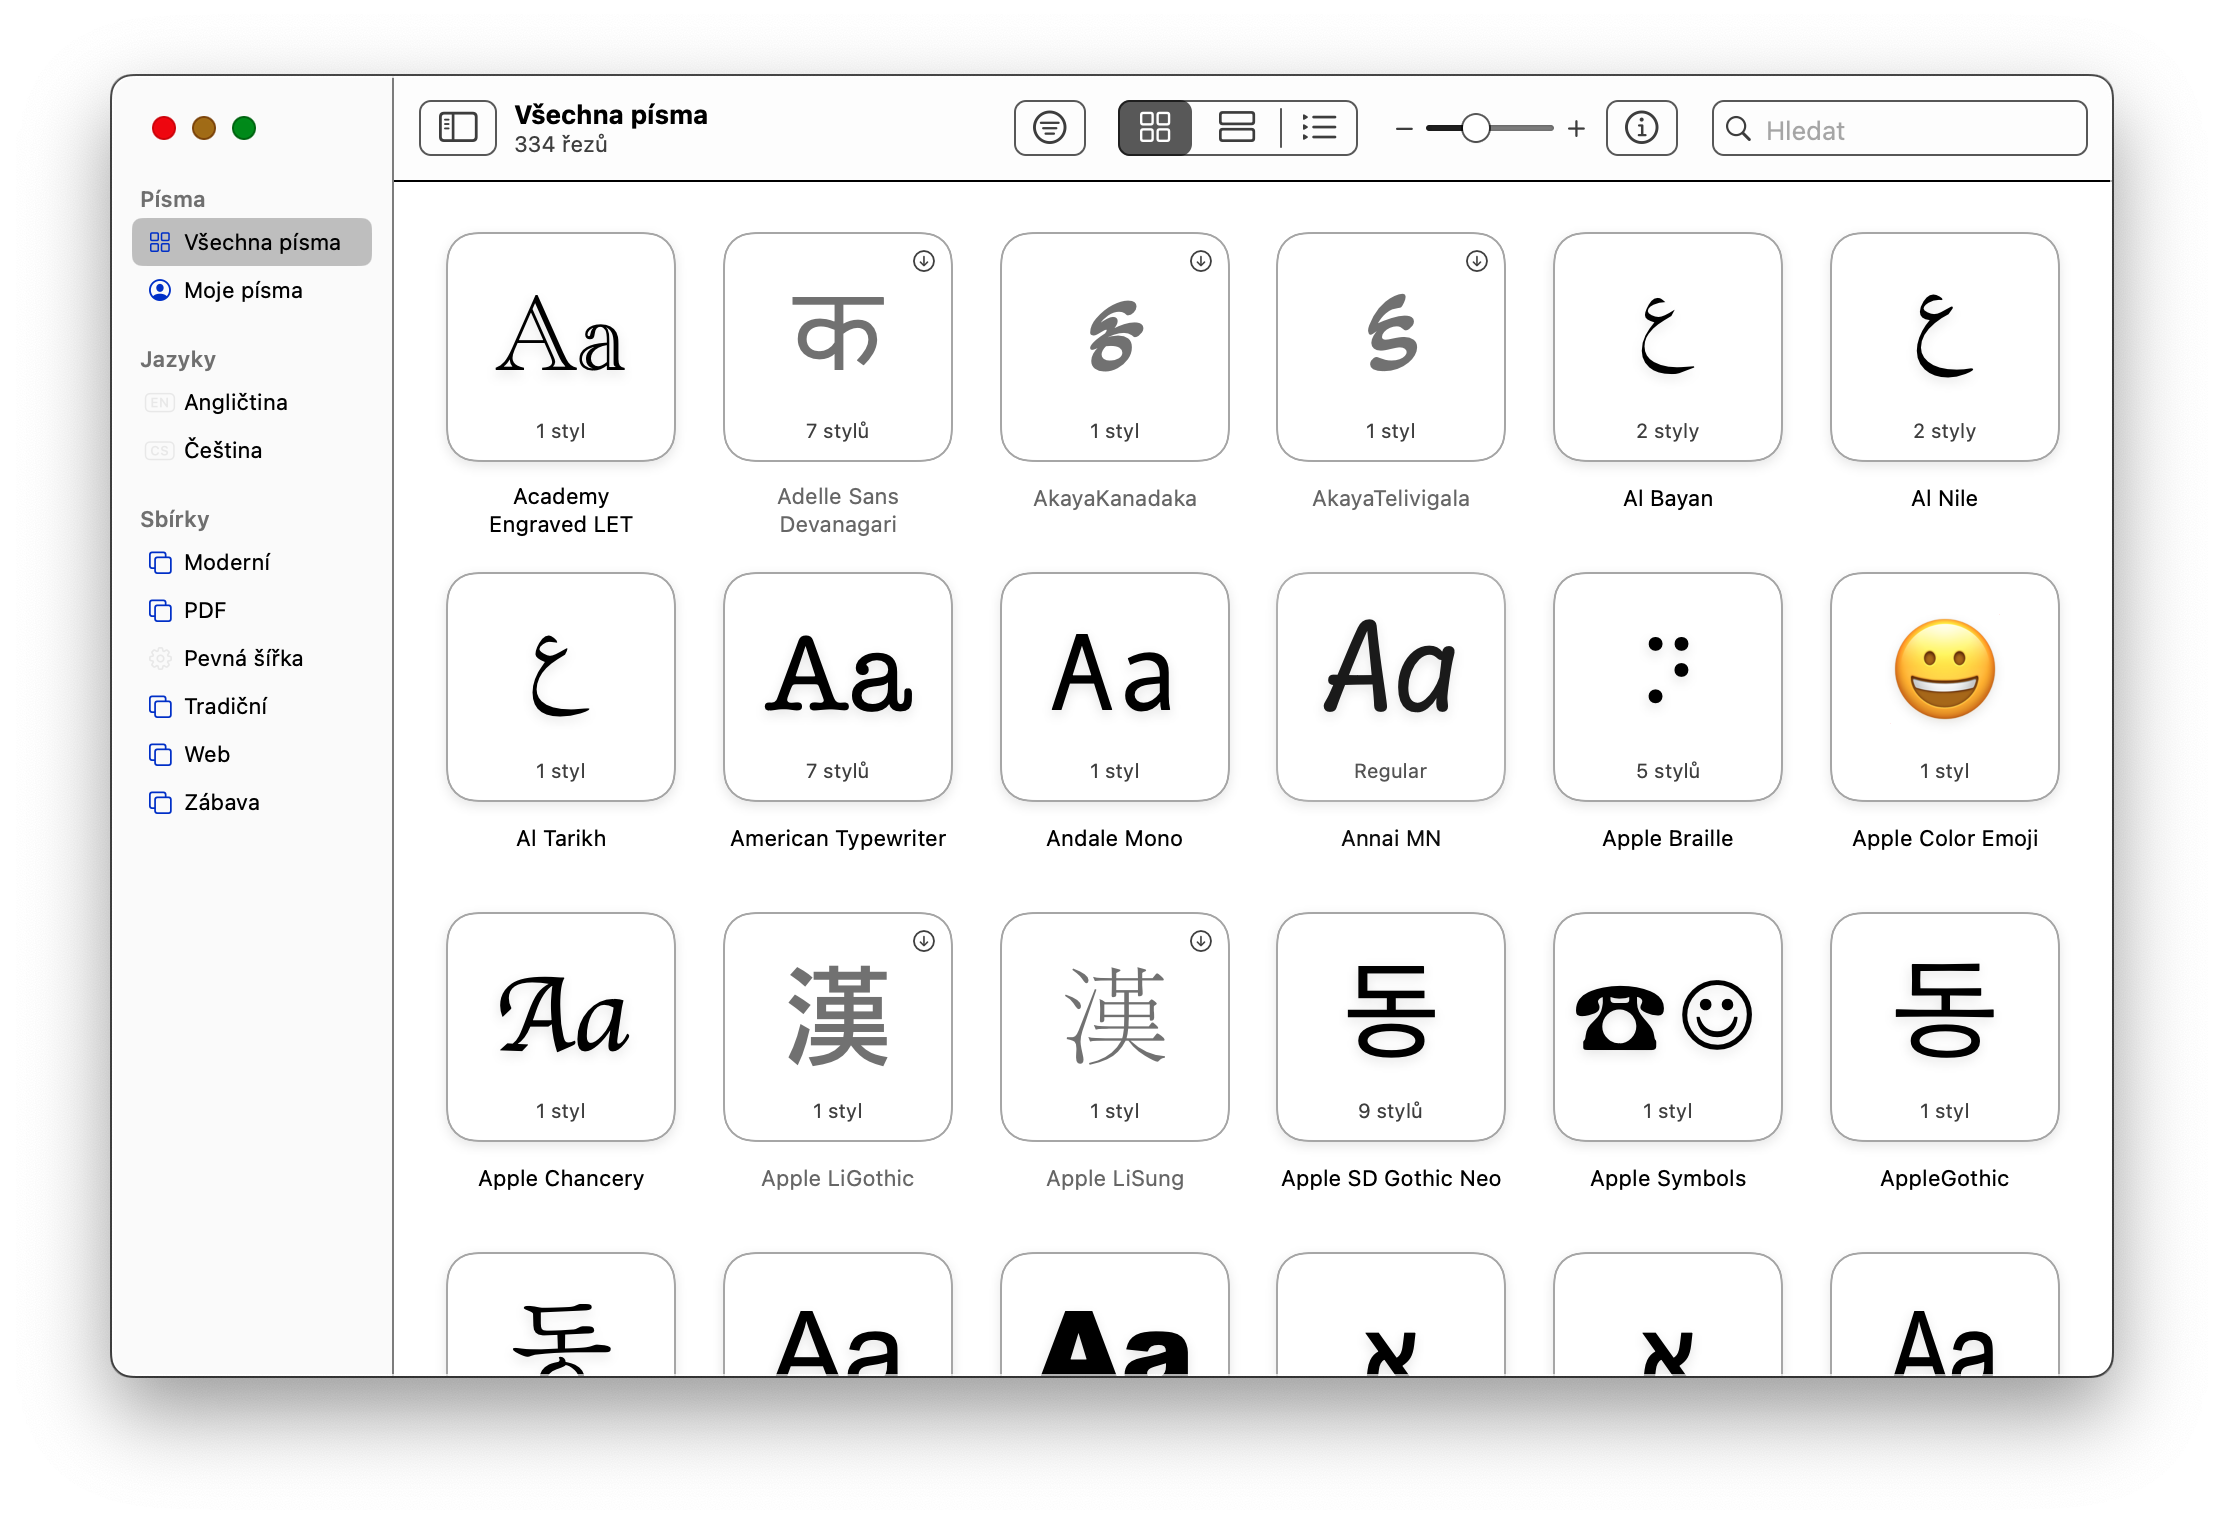
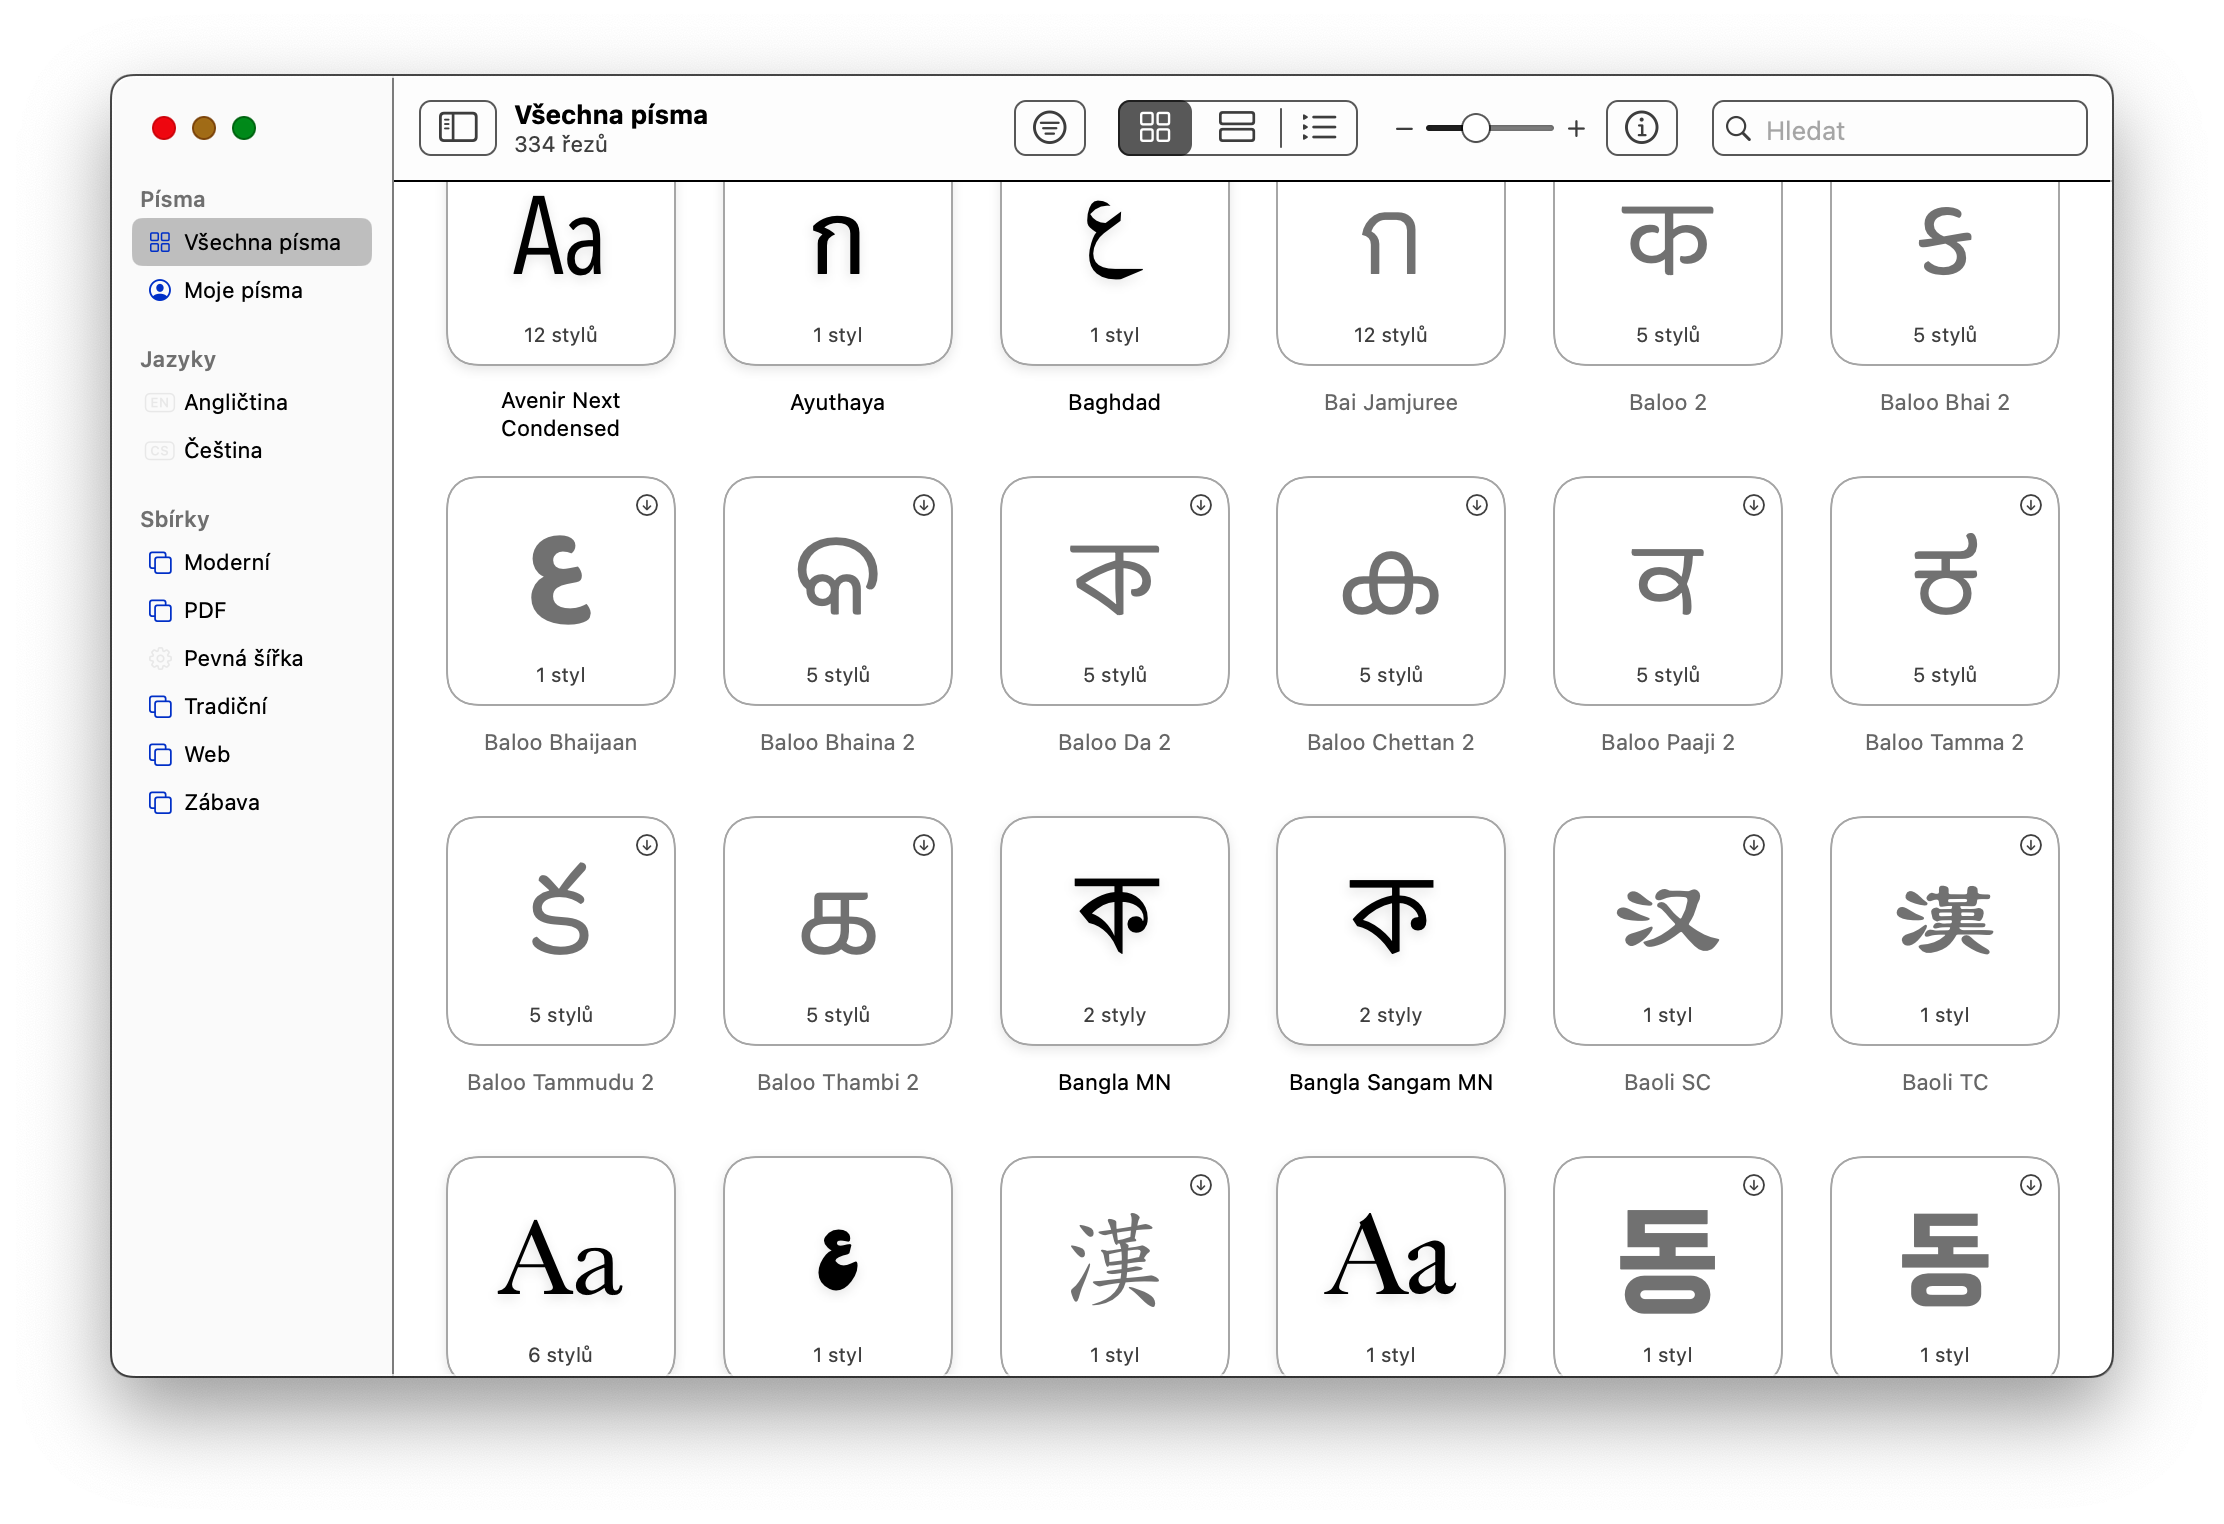
With the advent of the macOS Ventura operating system, the options related to the installation of new fonts have also improved. To activate new fonts on a Mac running macOS Ventura, run the utility Book of scriptures – for example via Spotlight. Here you can browse font previews and download selected fonts by clicking the arrow icon in the upper right corner of the preview panel.
Internship Manager
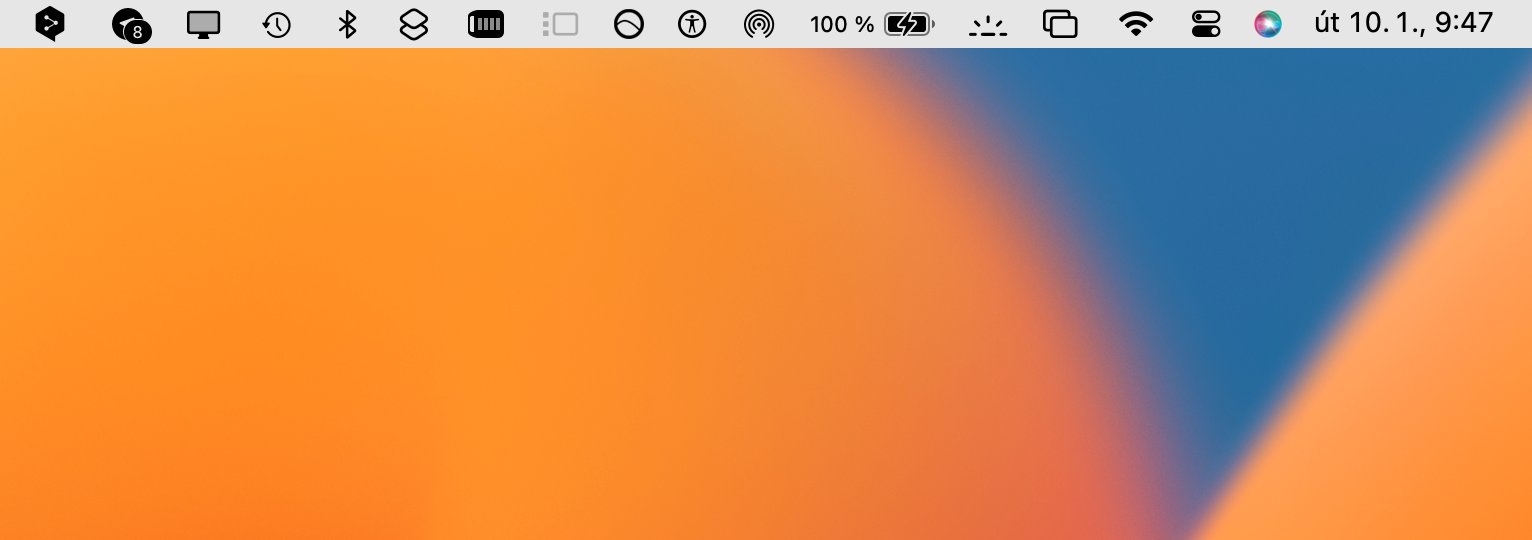
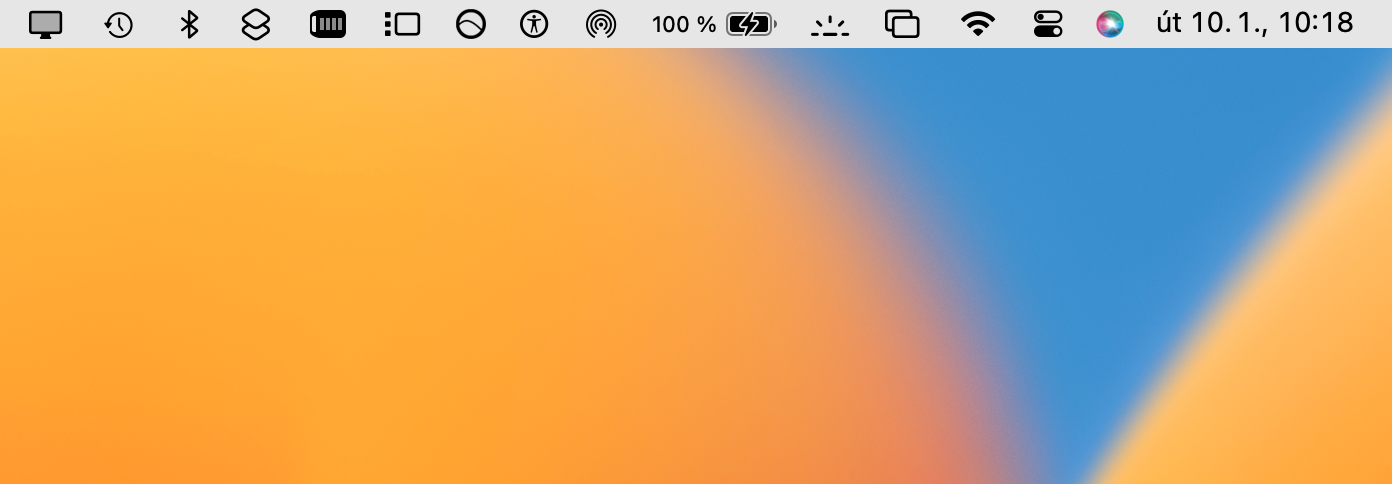
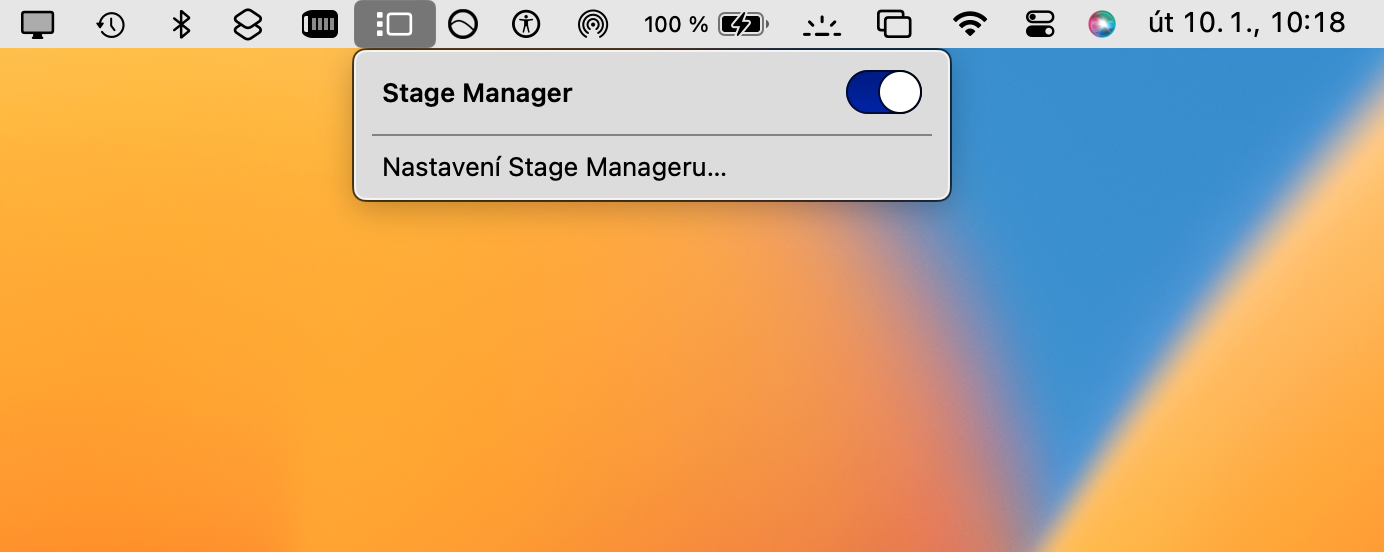
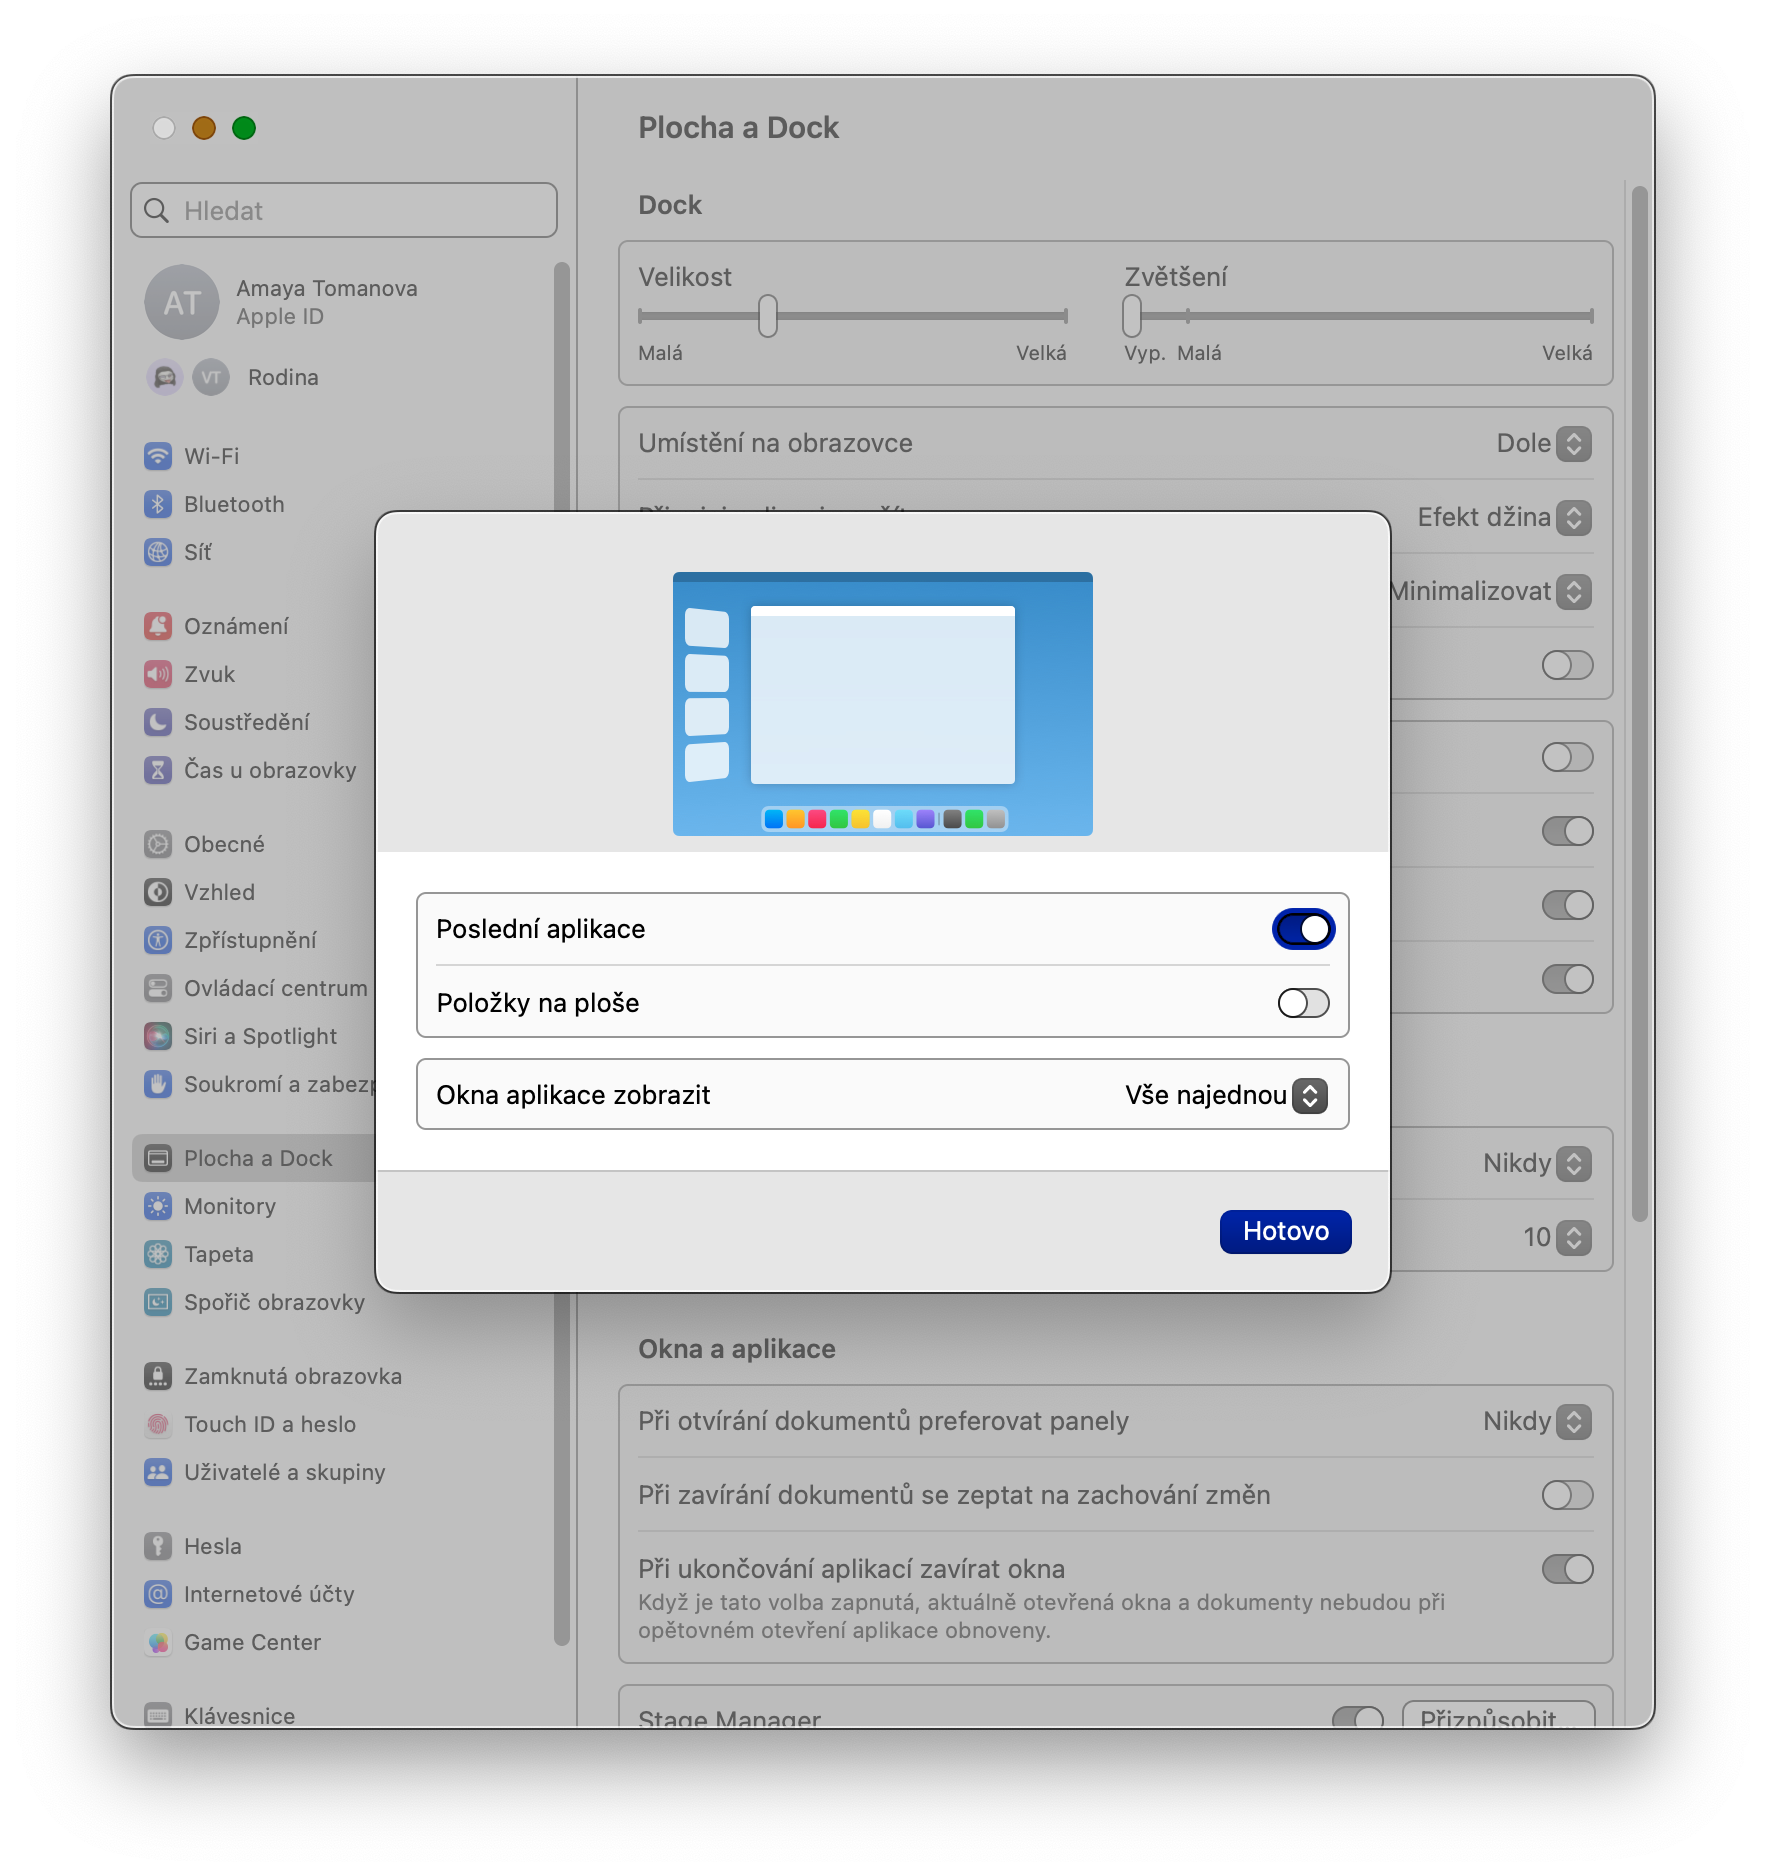
The macOS Ventura operating system also brought a novelty in the form of the Stage Manager function. So far, however, it is more likely to be criticized by users and experts. By default, Stage Manager should be automatically disabled. However, if you are among the exceptions where this was not the case, or if you inadvertently activated this function and now you do not know how to get rid of it, follow the steps below. Just click on the icon in the menu bar at the top of your Mac screen Internship Manager – this is a rectangle with three points on the left side. In the menu that appears to you, in the end, just disable the Stage Manager item.
