Macs are becoming more and more popular in the world. It offers a perfect design and, with the arrival of its own Apple Silicon processors, also unrivaled performance and economy. Whether you decide to use a Mac or MacBook for work, browsing the Internet or playing, you can be sure that it will look and function perfectly. However, even a master carpenter sometimes makes mistakes - out of the blue, you may find yourself in a situation where your Mac starts to show some problems. These problems can often come from a built-in drive that may not be working properly. The good news is that you can use Disk Utility for analysis and possible repair.
It could be interest you

What is Disk Utility?
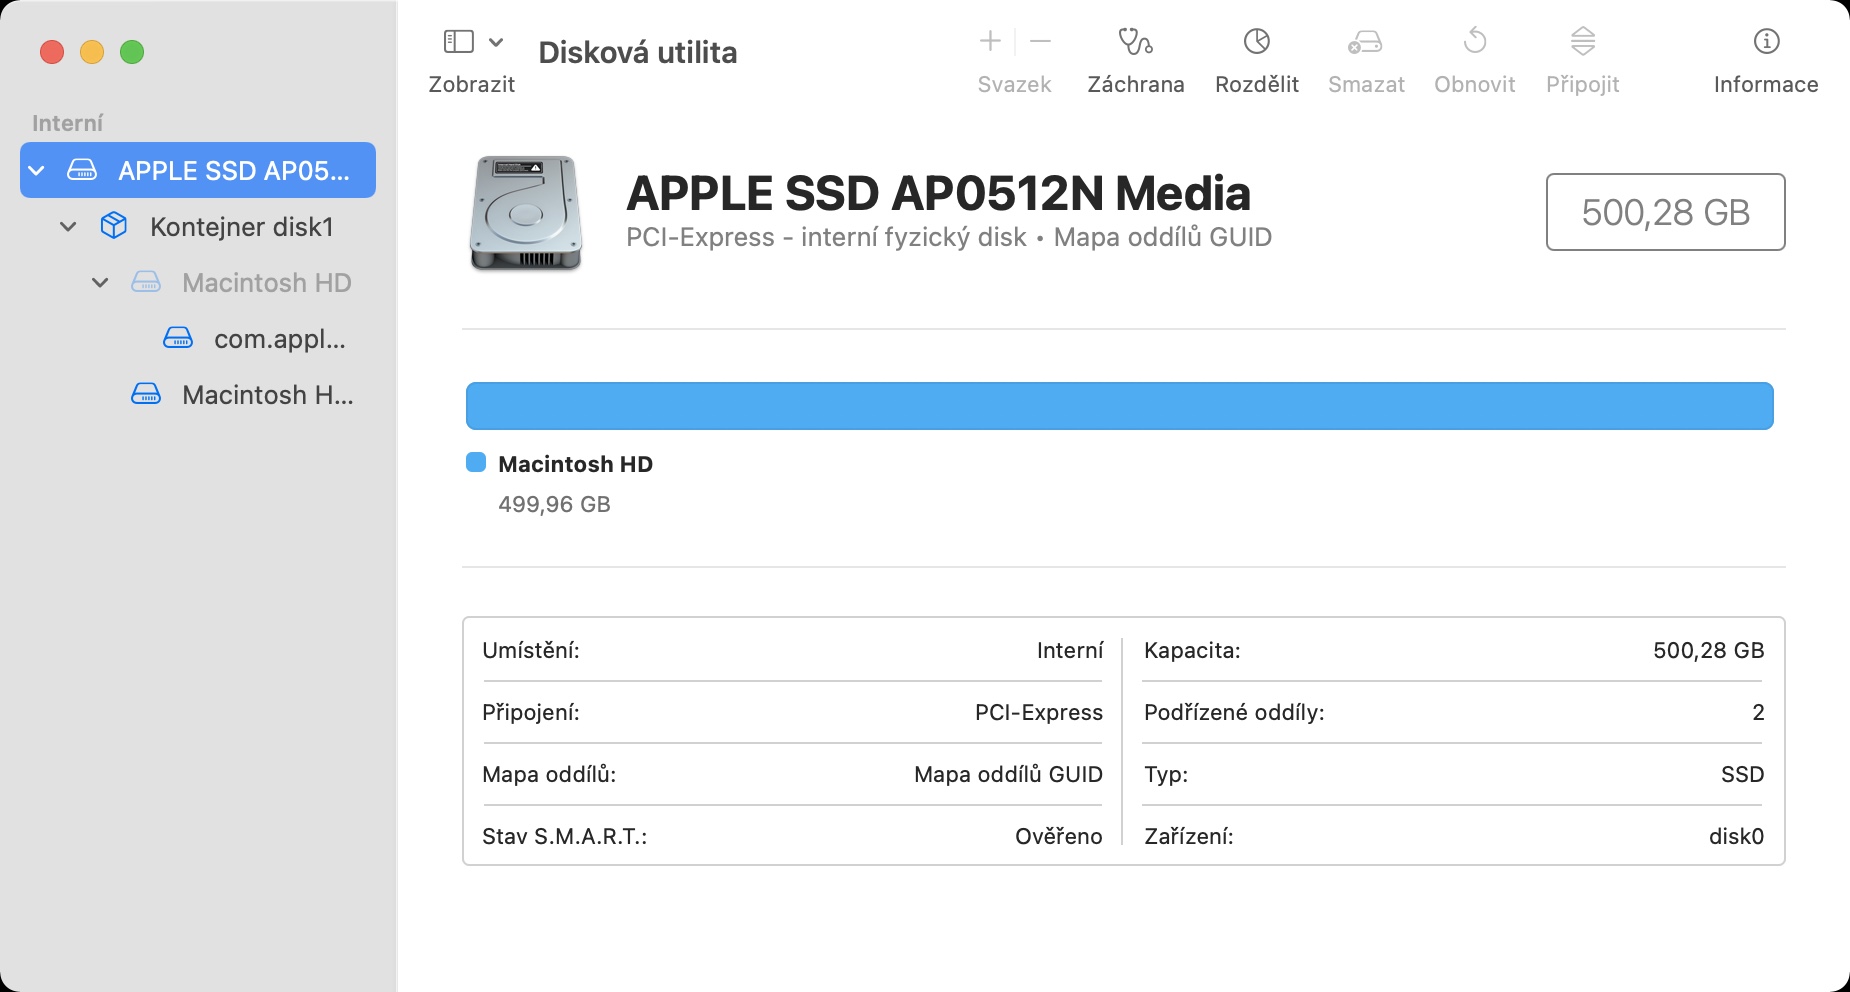
If you're hearing about Disk Utility for the first time, it's a built-in application that can work with all your drives. For example, if you need to safely format, delete, change its partitions, or perform any other action related to your disk, you can do so within Disk Utility. In addition, there is also a Rescue function, thanks to which you can have a specific internal or external disk analyzed. This analysis will try to detect any problems associated with the disk, such as formatting or directory structure. If any of the above-mentioned problems occur, you may encounter random termination of applications or the Mac itself, among other things, everything may load more slowly.
How to repair disk?
You can run Disk Utility directly from within the macOS operating system. Just go to Applications, open the Utilities folder, or launch Spotlight and find the app there. But it's better to do all disk repairs in macOS Recovery mode, which you can enter when you start your computer. However, this procedure must be used if you cannot get into the macOS system at all. The procedure for running Disk Utility in macOS Recovery differs depending on whether you have a Mac with an Intel processor or an Apple Silicon chip:
If you have a Mac with Intel, follow these steps:
- First, your Mac or MacBook completely turn off.
- Once you do, eat it turn on with the button.
- Immediately after that, hold down the shortcut on the keyboard Command + R
- Hold this shortcut until it appears macOS Recovery.
If you have a Mac with Apple Silicon, the procedure is as follows:
- First, your Mac or MacBook completely turn off.
- Once you do, eat it turn on with the button.
- Button for switching on though don't let go.
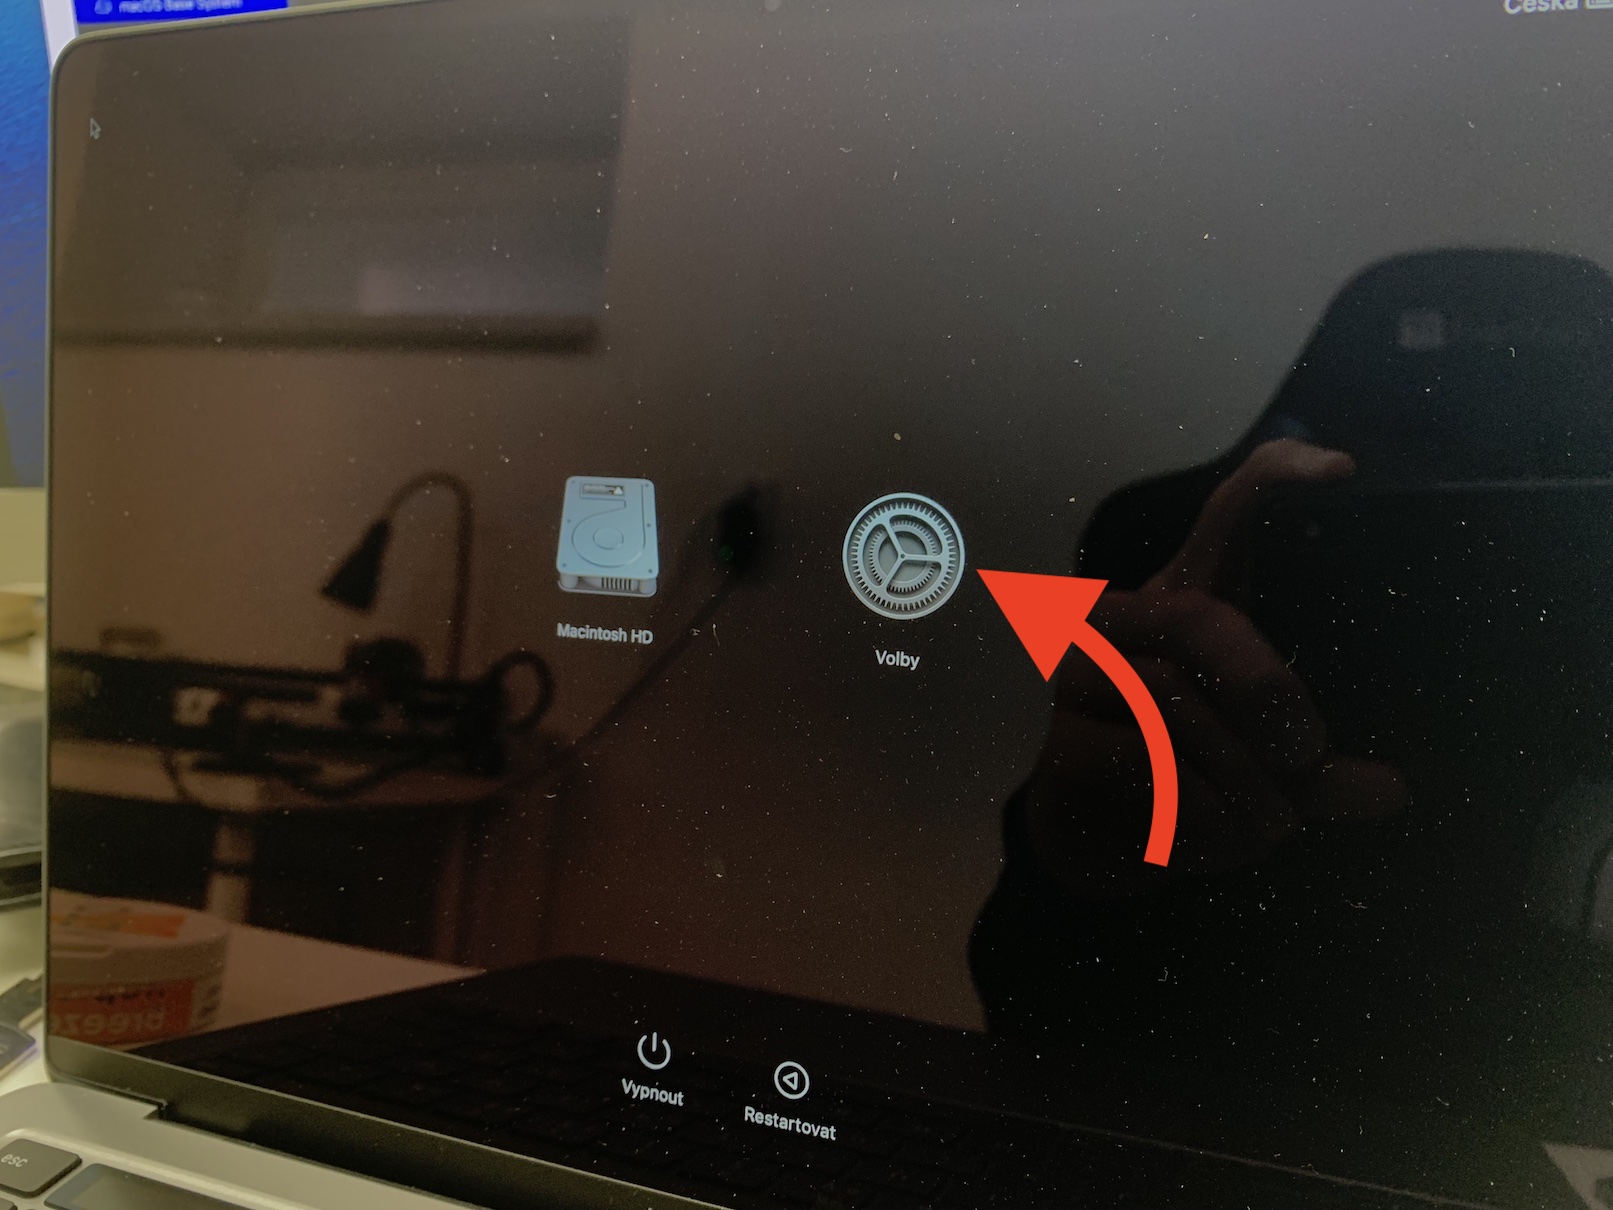
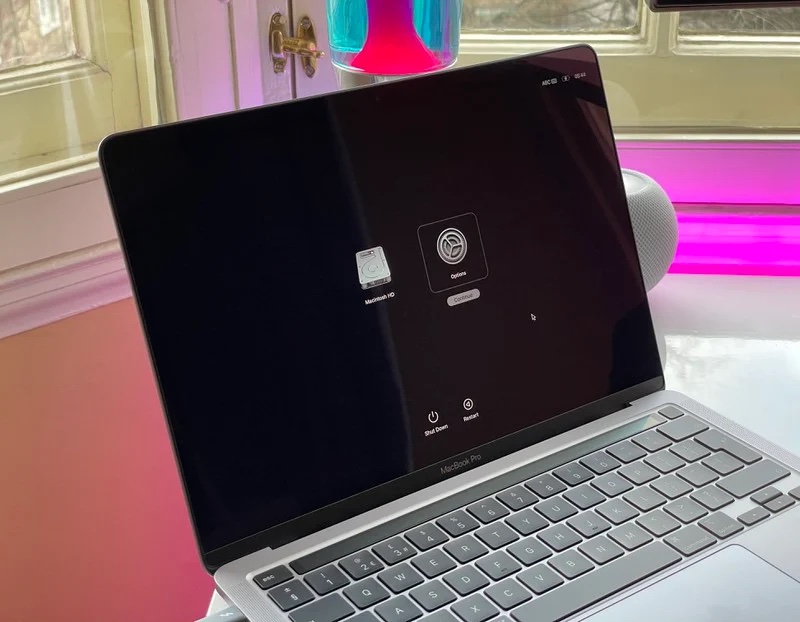
- Hold on until it appears options before starting.
- Then click here gear icon and continue.
Start Disk Utility
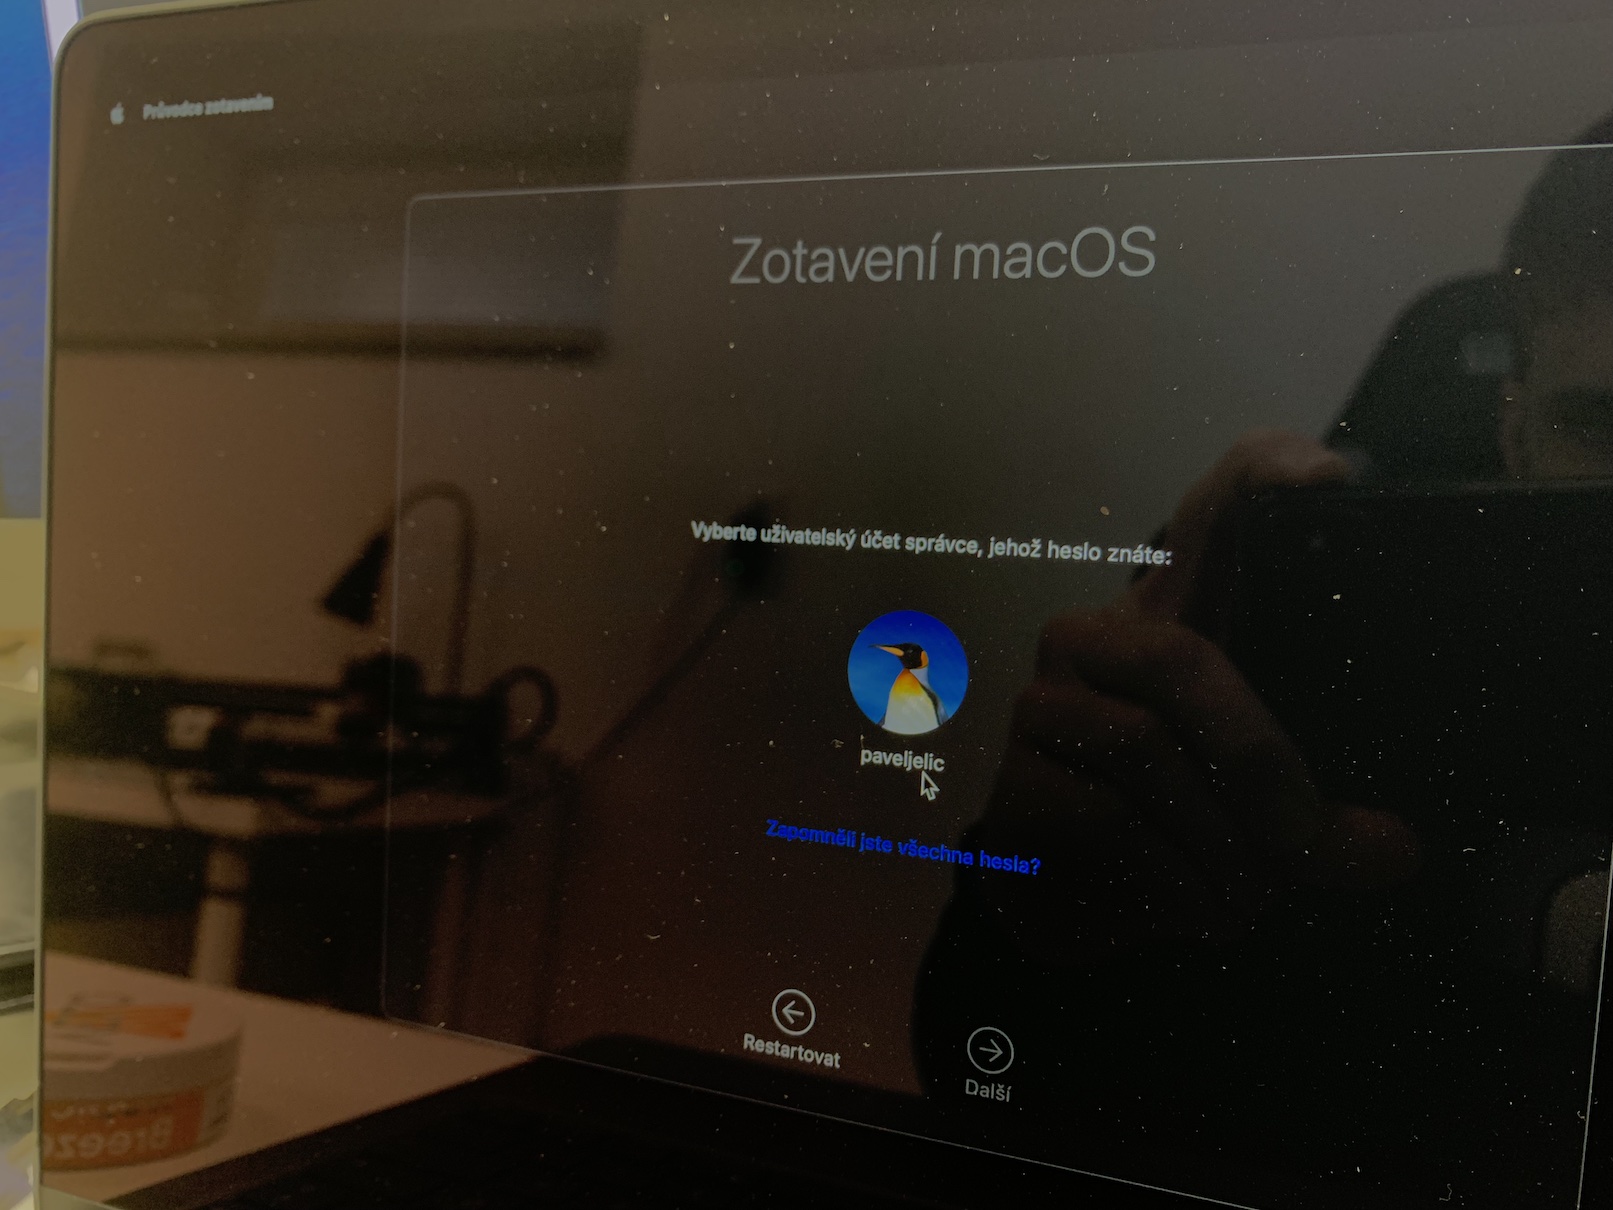
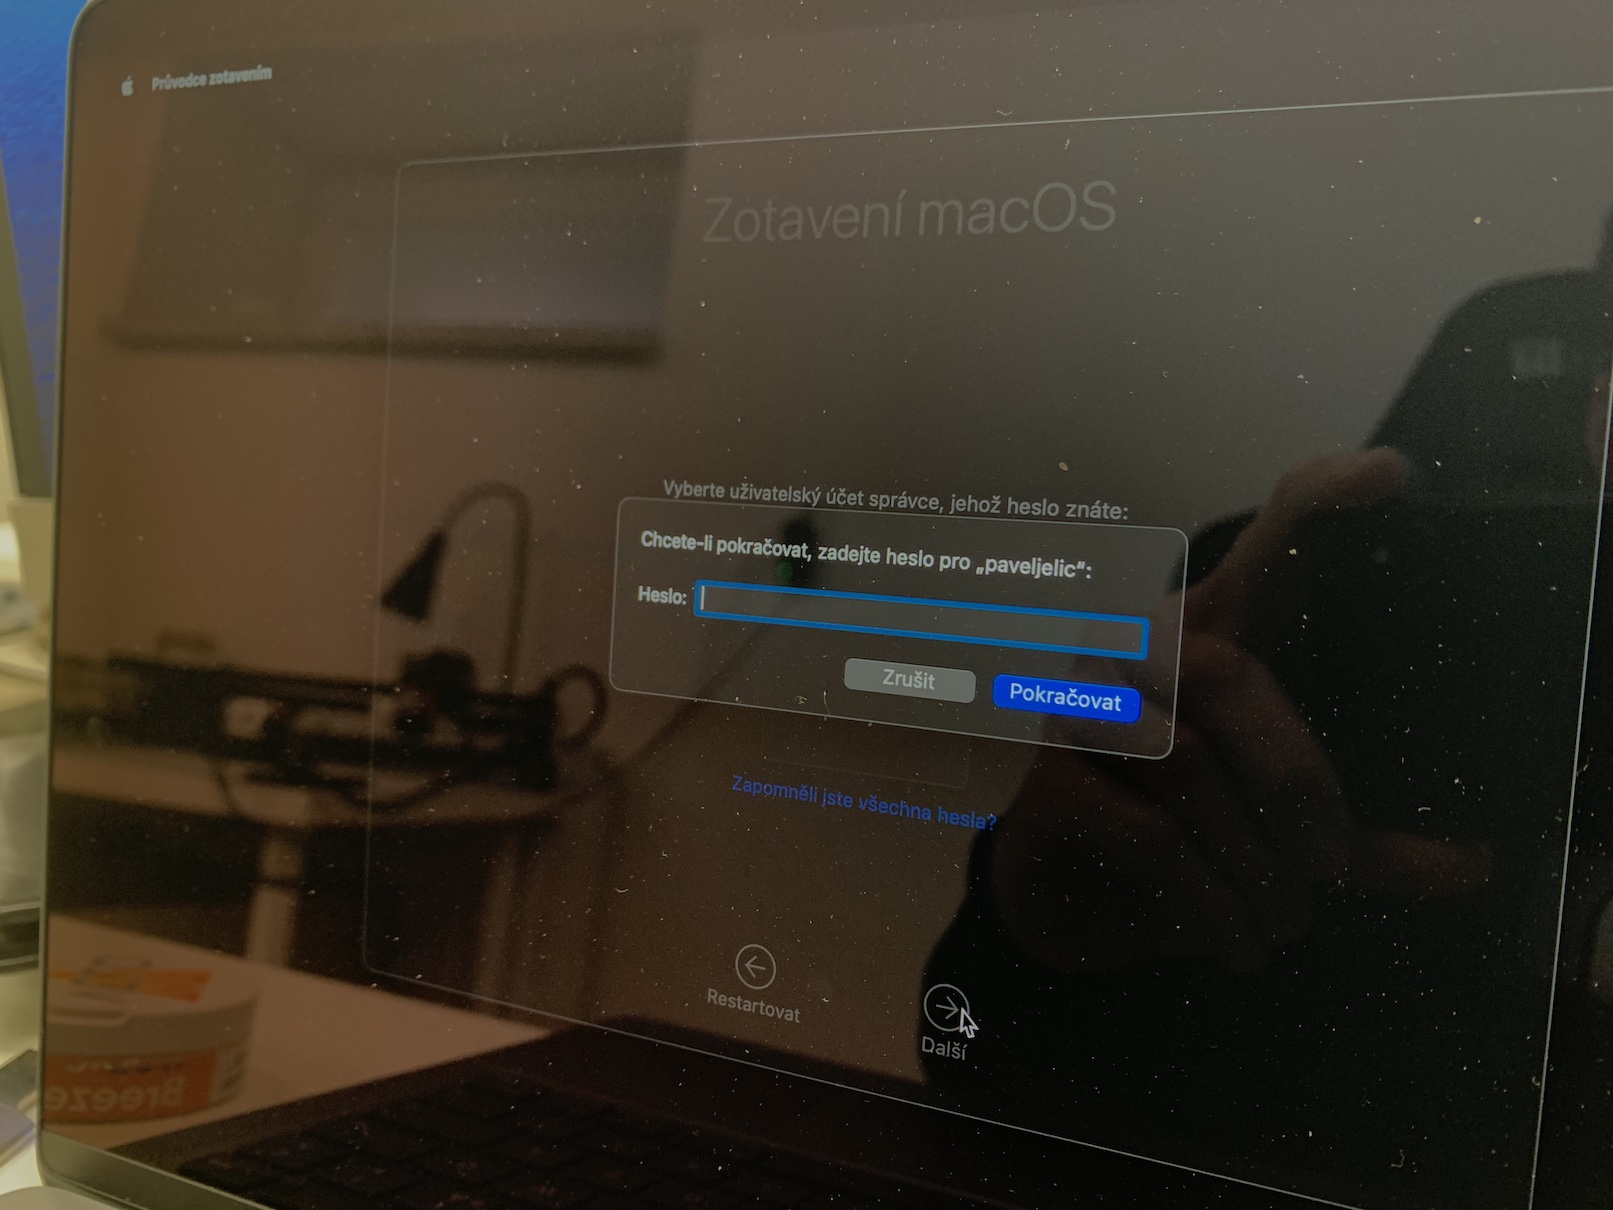
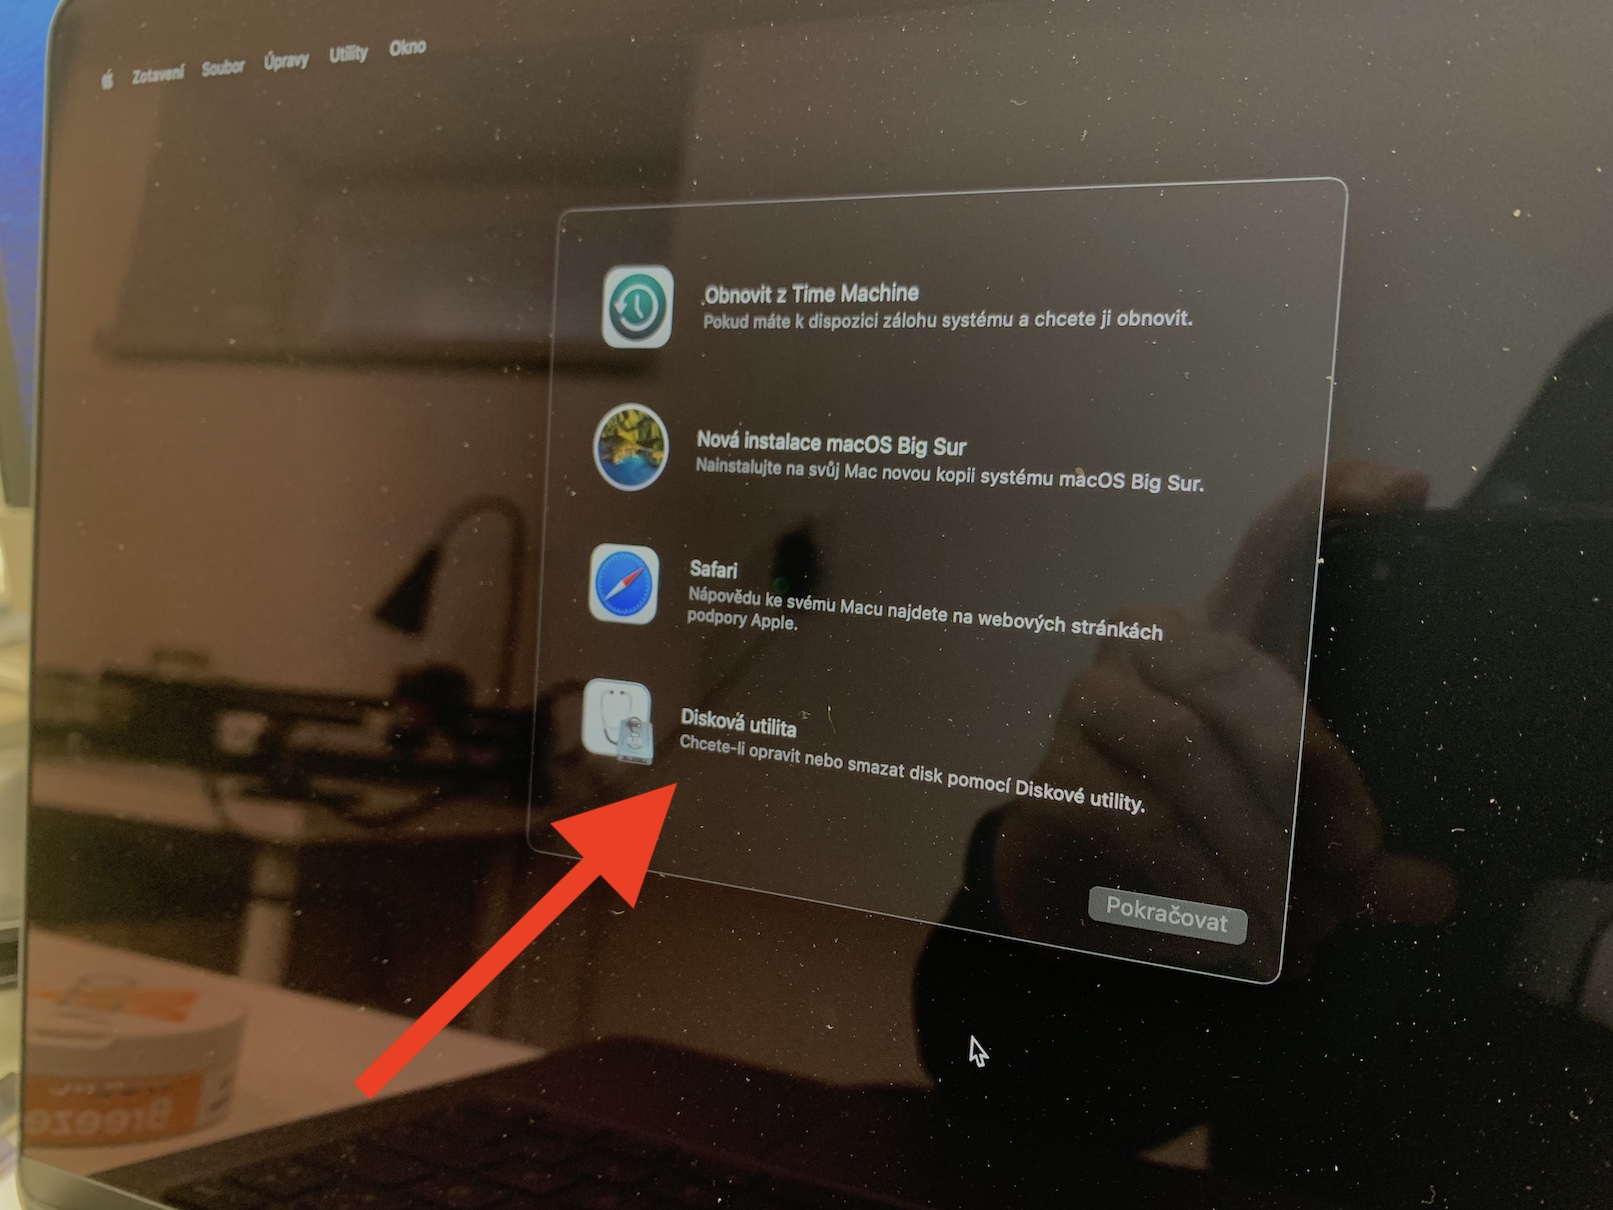
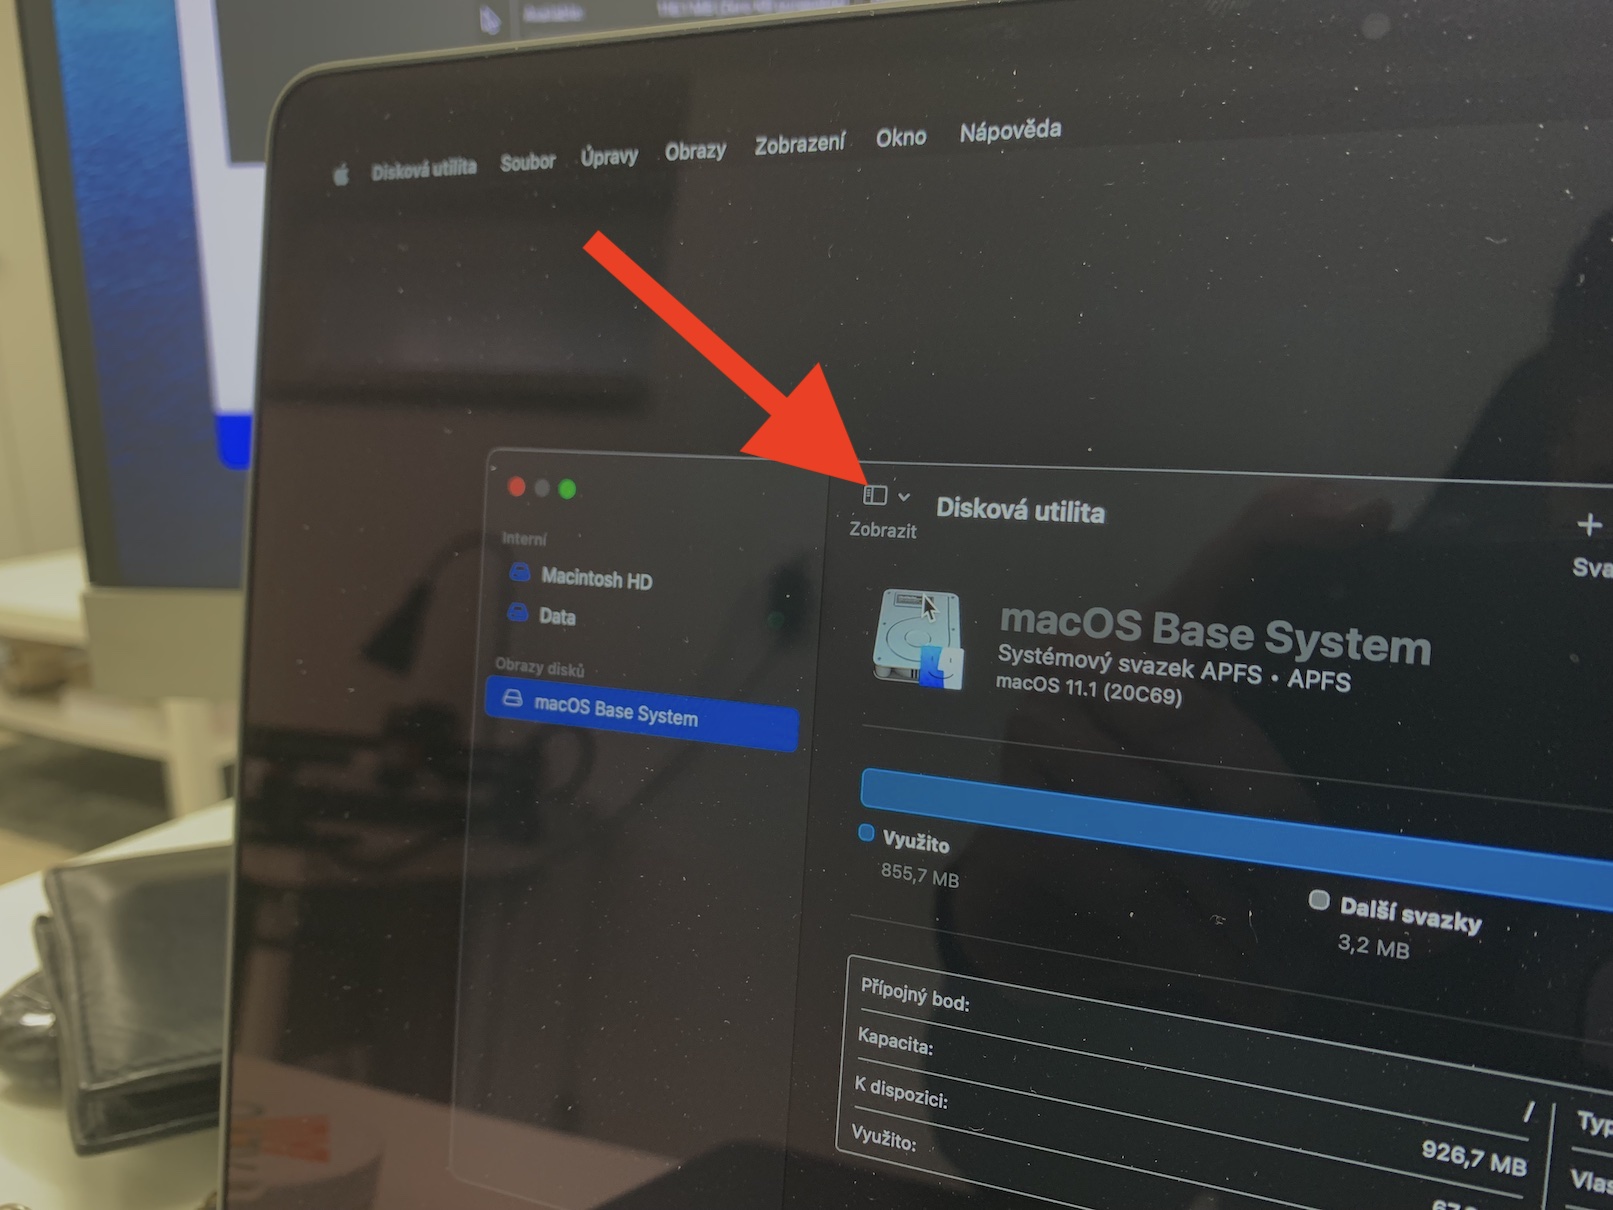
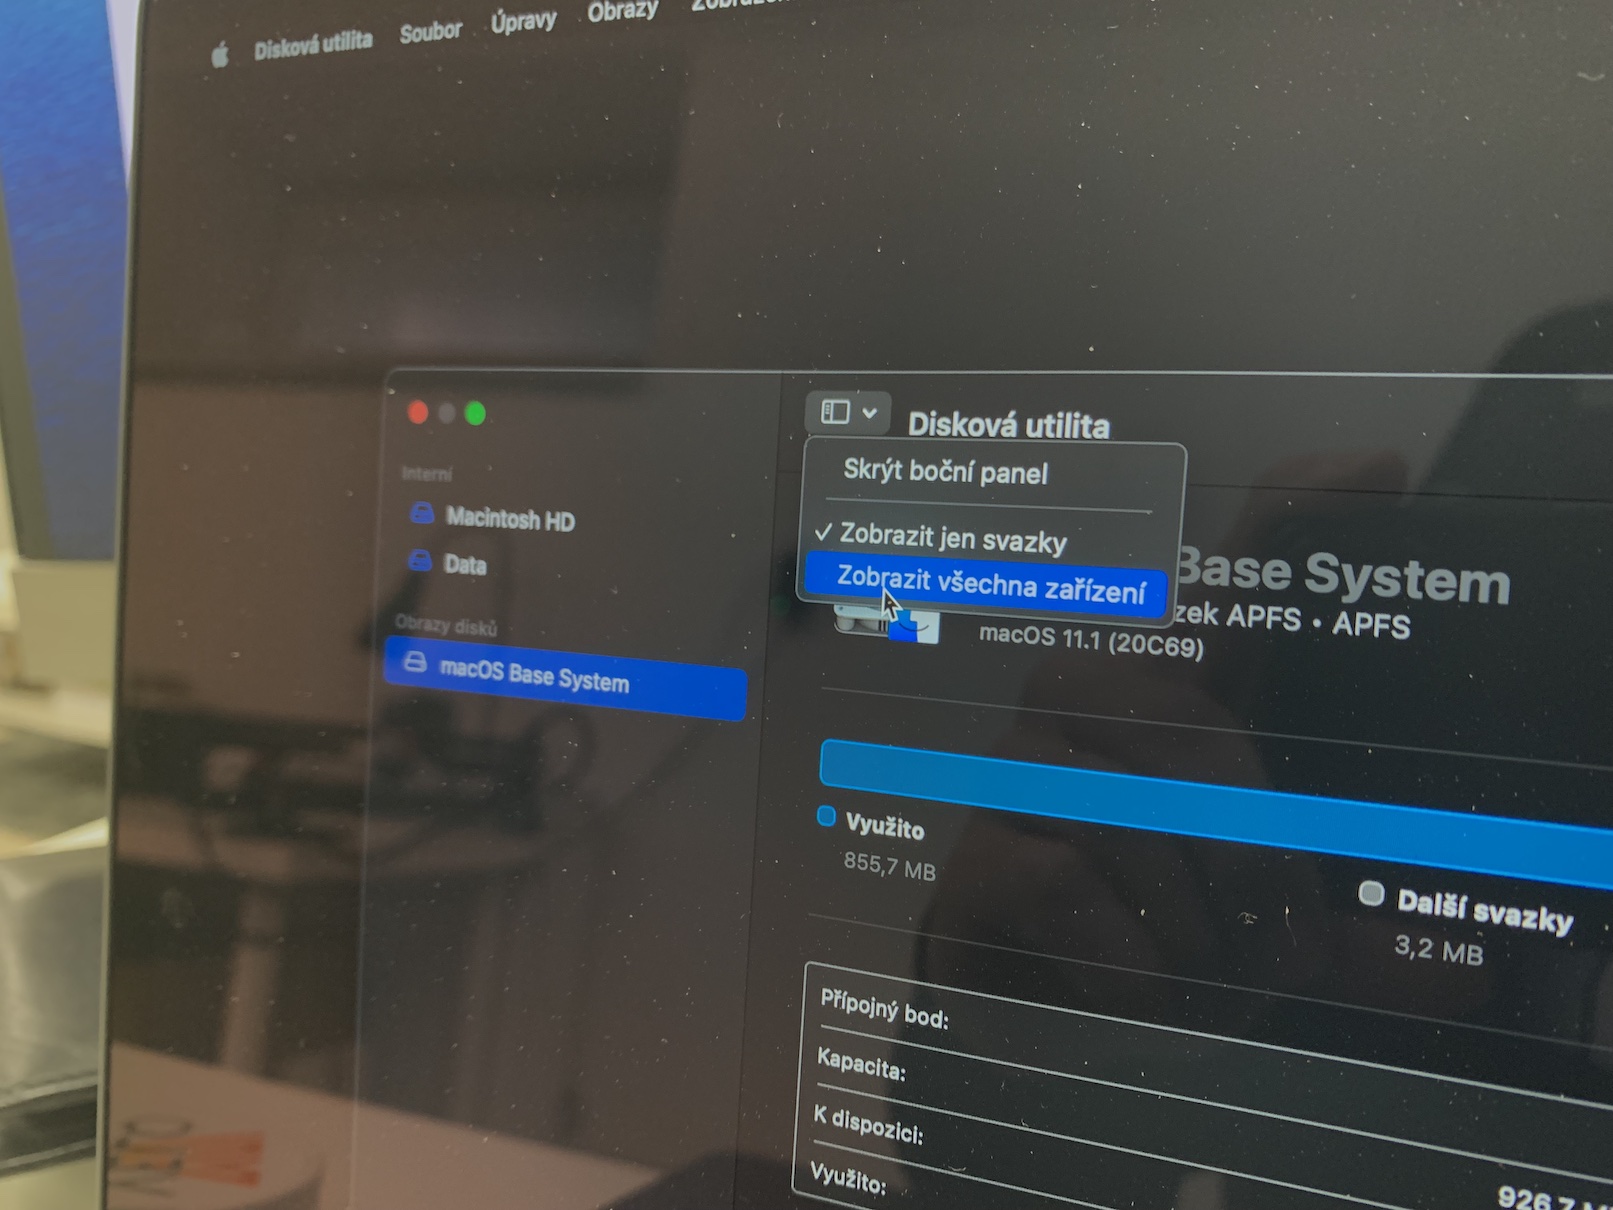
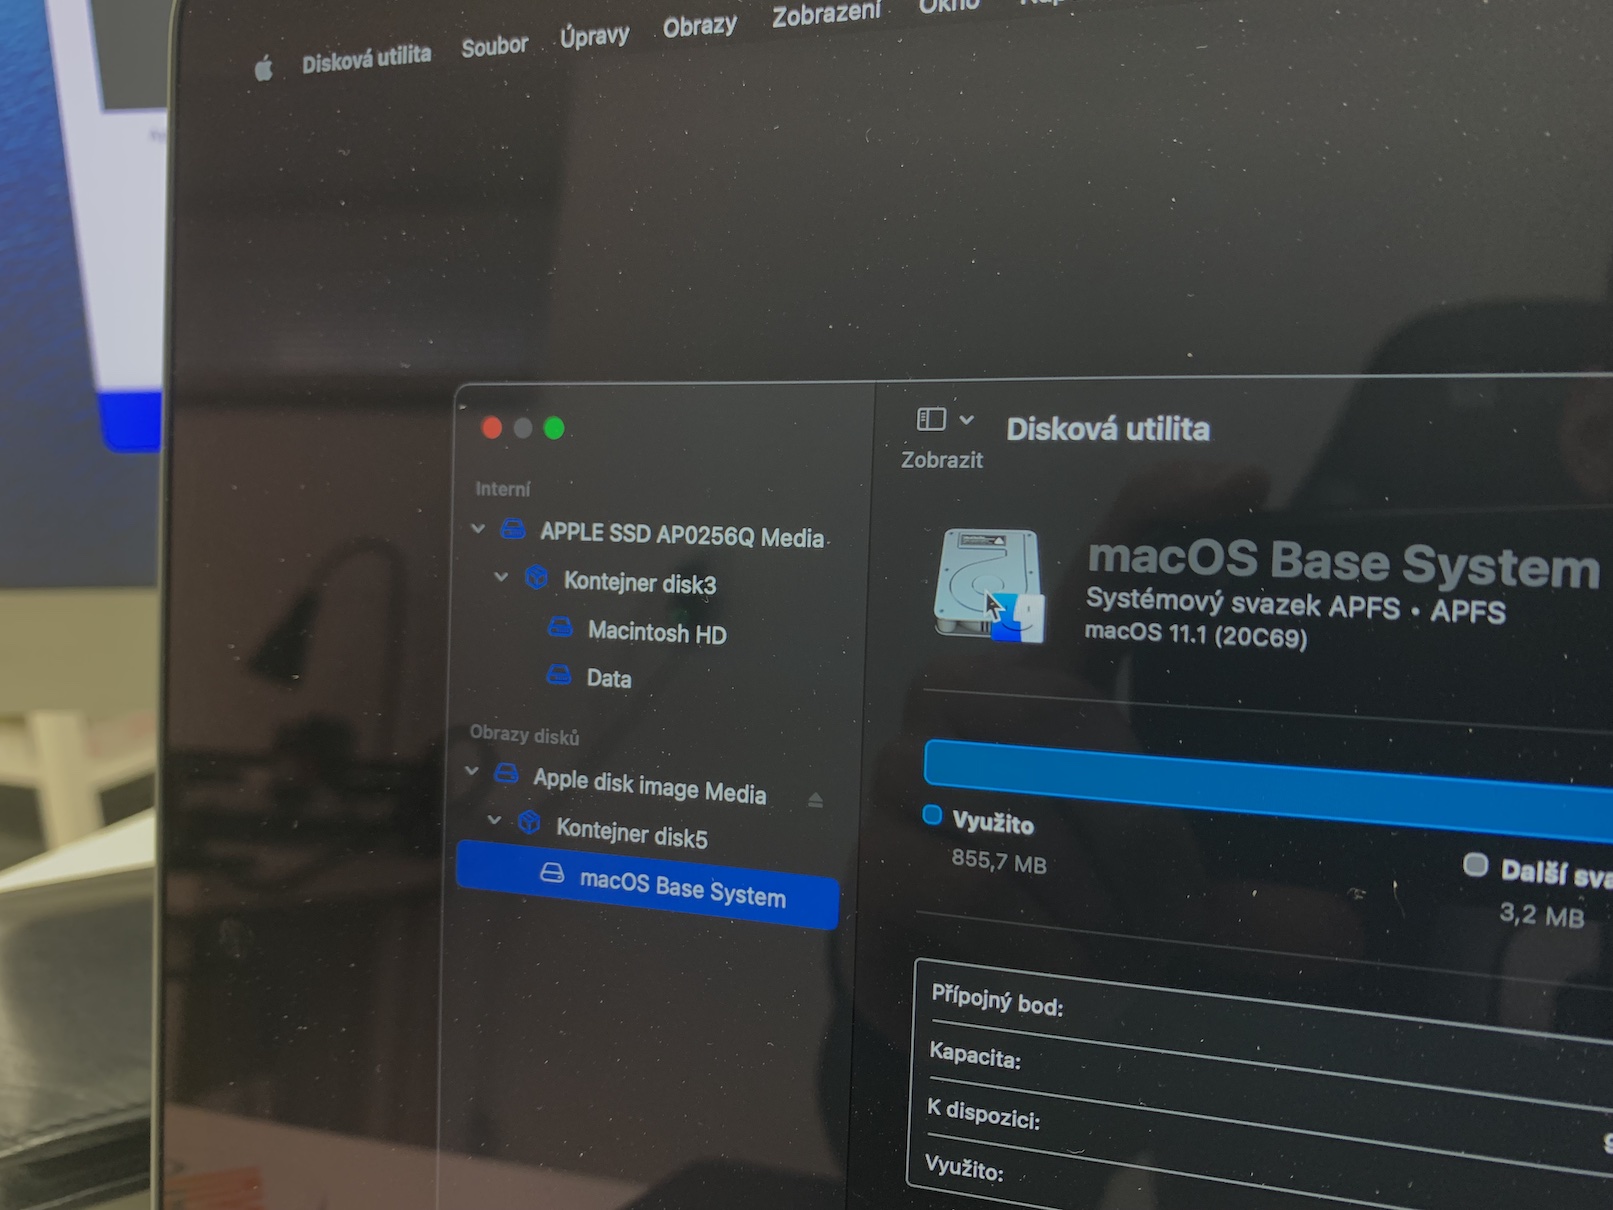
Once you're in macOS Recovery mode, you'll need to log in to your user account. So click on it, and then authorize yourself with a password. After successful authorization, you will find yourself in the interface itself macOS Recovery, where select and tap on the option Disk Utility. Next, a small window with Disk Utility will appear, where in the upper toolbar, click on view icon, and then select from the menu Show all devices. After this operation, all available disks, both internal and external, will be displayed in the left menu. Now all you have to do is start repairing individual disks, containers, and volumes.
Disk, container and volume repair
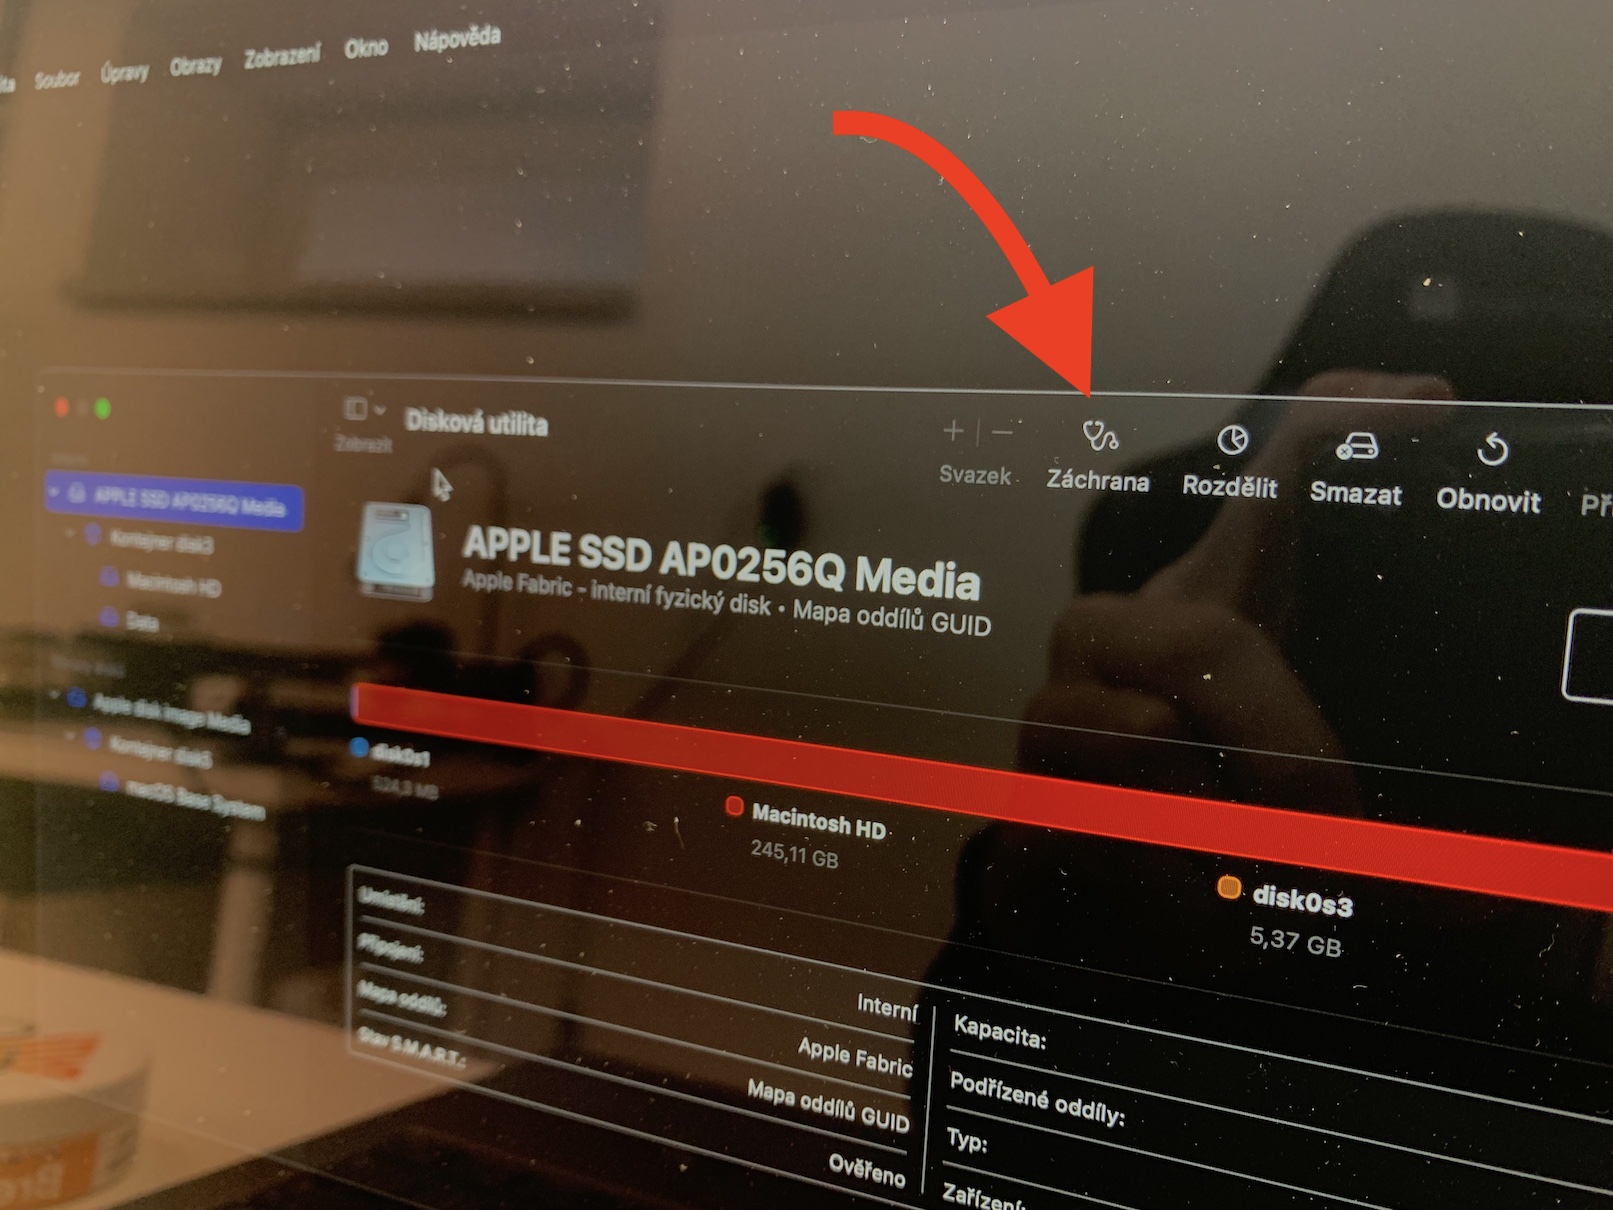
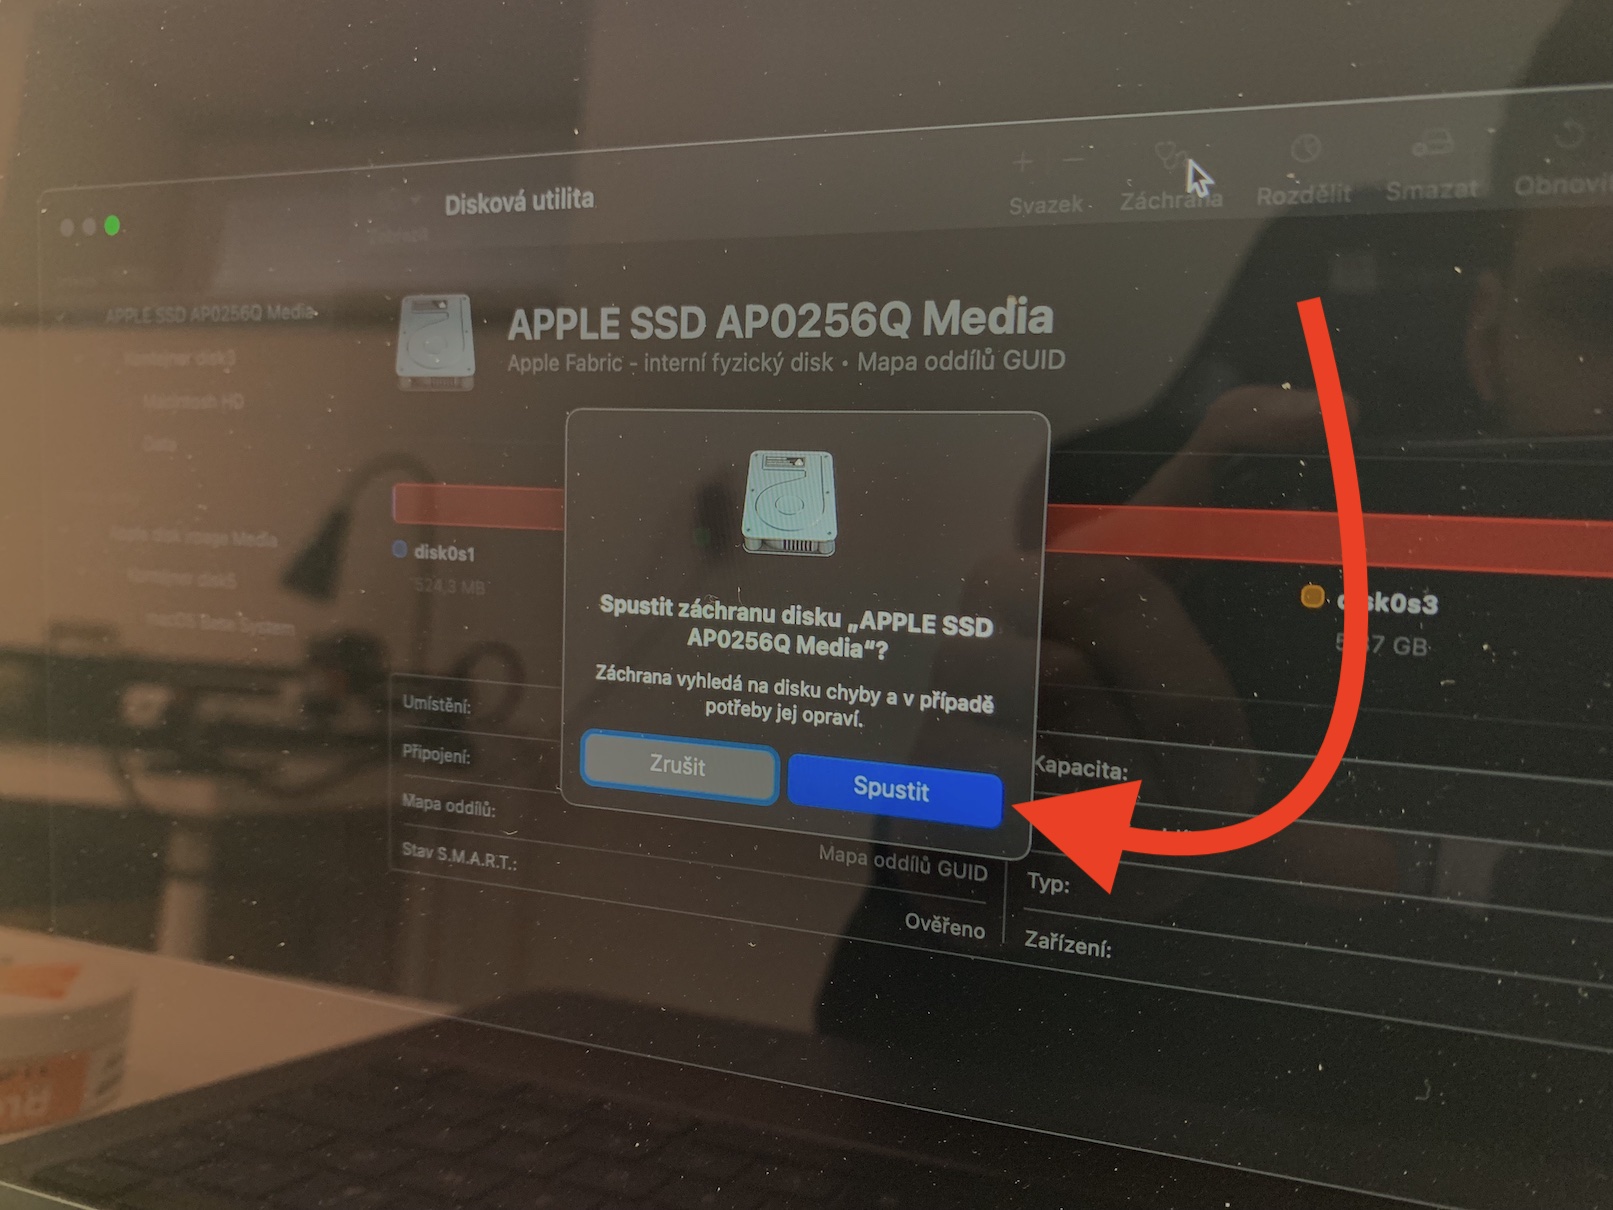
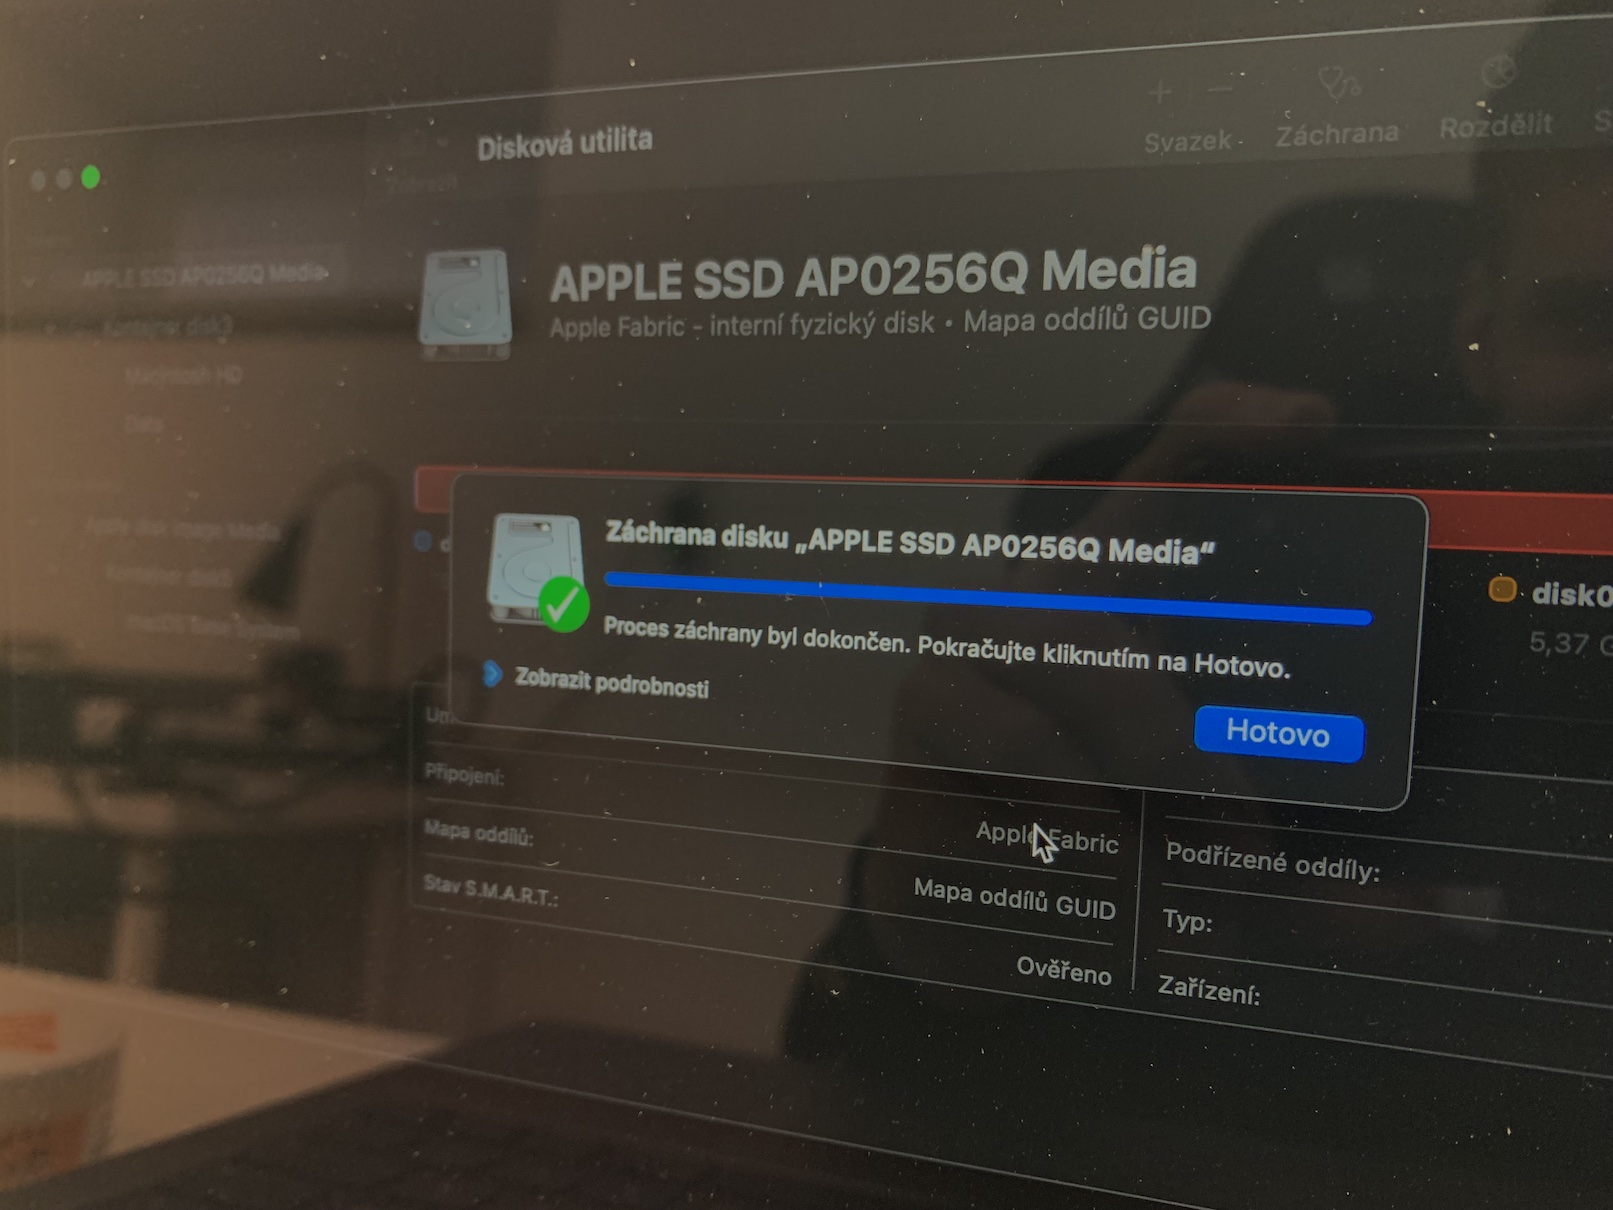
The internal drive of the macOS device is always found first in the category Internal. Its title should be APPLE SSD xxxxxx, then you will find a specific container and volume under it. So first tap on disk name, and then click on the top toolbar Rescue. A small window will appear where you press the button Start. As soon as the repair (rescue) process is complete, a dialog box will inform you about it, in which click on All done. Do the same procedure iu containers and bundles, don't forget to fix it too other connected disks, including external ones. In this way, it is relatively easy to repair malfunctioning disks that can cause various problems.
